
Fresh petals have a quiet power that can change a room fast. Once you learn a few basics, your hands will start making magic.
Flower design is not about being perfect. It’s about learning the why behind each choice, then letting your own style show up in every arrangement.
-
1. Start With the “Shape First” Rule

Start With the “Shape First” Rule Before you touch the flowers, pick the overall shape you want, like a teardrop, fan, or tall oval. When your outline is clear, every stem you add feels purposeful.
Try sketching a quick shape on paper, then hold a flower bunch near it. This helps you see where stems should lean and where they should stand tall. The benefit is big: your design looks intentional right away, even if you are new.
-
2. Learn Color With a Simple Color-Block Plan

Learn Color With a Simple Color-Block Plan Choose one main color, one supporting color, and one “pop” accent. Think of it like building blocks for your eye.
For example, pair soft pink with cream and add a few tiny red berries or dark purple blooms. Your arrangement will look balanced instead of random.
This technique is unique because it trains your color sense without needing fancy rules. A helpful tip: limit yourself to three color families at first, then grow from there. For cost, look for seasonal flowers or mixed grocery bundles and use the stems you already can afford.
-
3. Practice Stem Prep Like a Pro
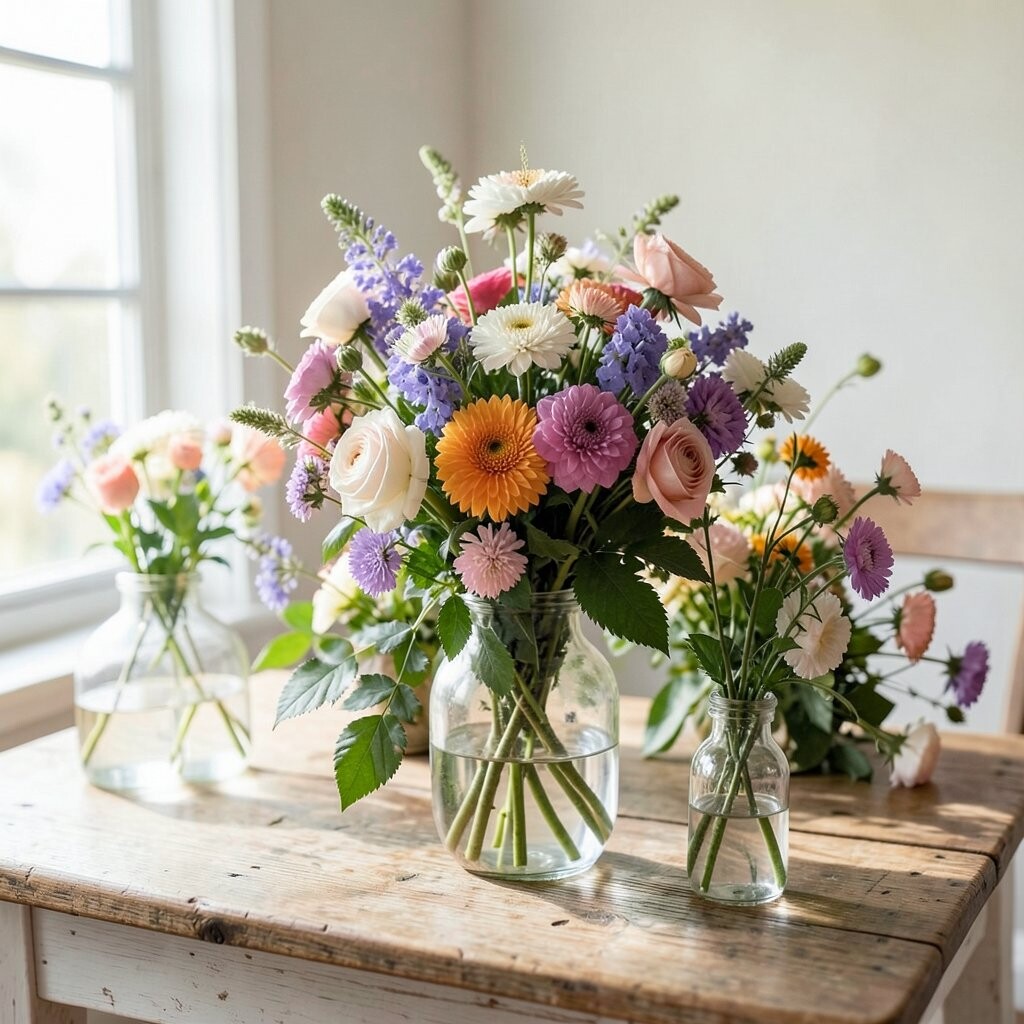
Practice Stem Prep Like a Pro Healthy stems make your arrangement look fuller for longer. Start by cutting stems at an angle with clean scissors or a sharp knife.
Remove leaves that would sit underwater, because they can cause cloudiness. Then give stems a fresh drink of water for a bit before arranging. If you can, keep your flowers out of strong sun and drafts while you work.
You get a clearer, fresher look when water flow is working well. That’s a beginner win that feels instantly rewarding.
Try personalization by using different cutting heights for different heights and textures. For current trends, many designers now emphasize “clean greens” or minimal foliage, so remove leaves with intention instead of leaving everything messy.
-
4. Master the Water-Switch Technique for Instant Vitality
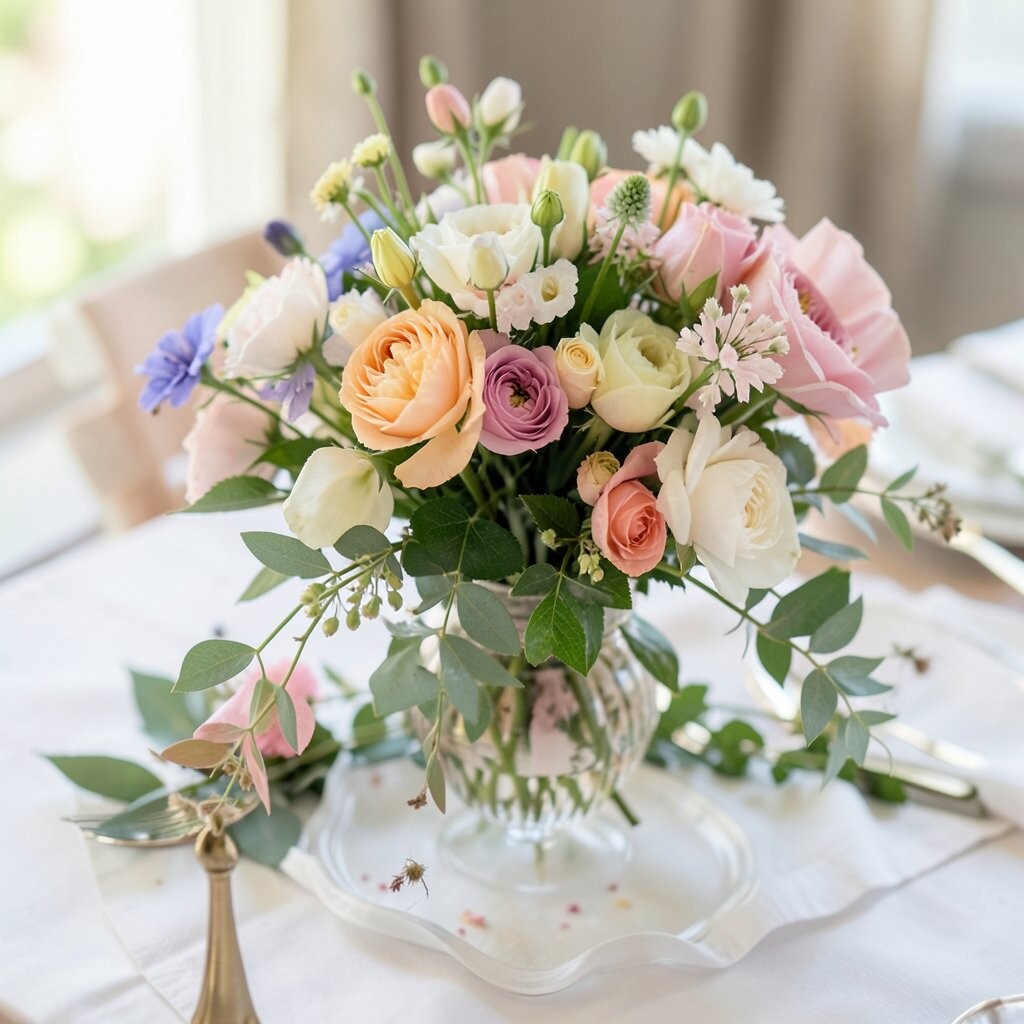
Master the Water-Switch Technique for Instant Vitality If flowers start drooping, it doesn’t always mean you picked the wrong ones. Sometimes they just need a quick refresh, and you can fix that with a gentle water switch.
Fill a clean vase, add flower food if you have it, and re-cut the stem ends slightly. Your bouquet often perks up, and your confidence grows fast.
-
5. Use Floral Tape and Wire for Calm Control

Use Floral Tape and Wire for Calm Control When stems feel wild, floral tape and thin wire can turn chaos into calm. Wrap lightly at the base, then shape the stem into your plan.
This technique is unique because it lets you bend flowers without breaking them. It also helps you build curves that look “designed,” not improvised.
For personalization, try making a soft wave shape or a gentle spiral. On the cost side, tape and wire are inexpensive tools that last a long time, so they are worth buying once.
-
6. Build Arrangements With the Triangle Layout

Build Arrangements With the Triangle Layout Use a triangle layout to keep your flowers steady and easy to balance. One focal point sits highest, two supporting points fill the sides.
Place the tallest stems first, then add medium heights, then fill with smaller blooms. The benefit is that your arrangement looks balanced from every angle. For a tip, rotate the vase during building so you see gaps before they show.
-
7. Try a Monochrome Moment for a Chic Look
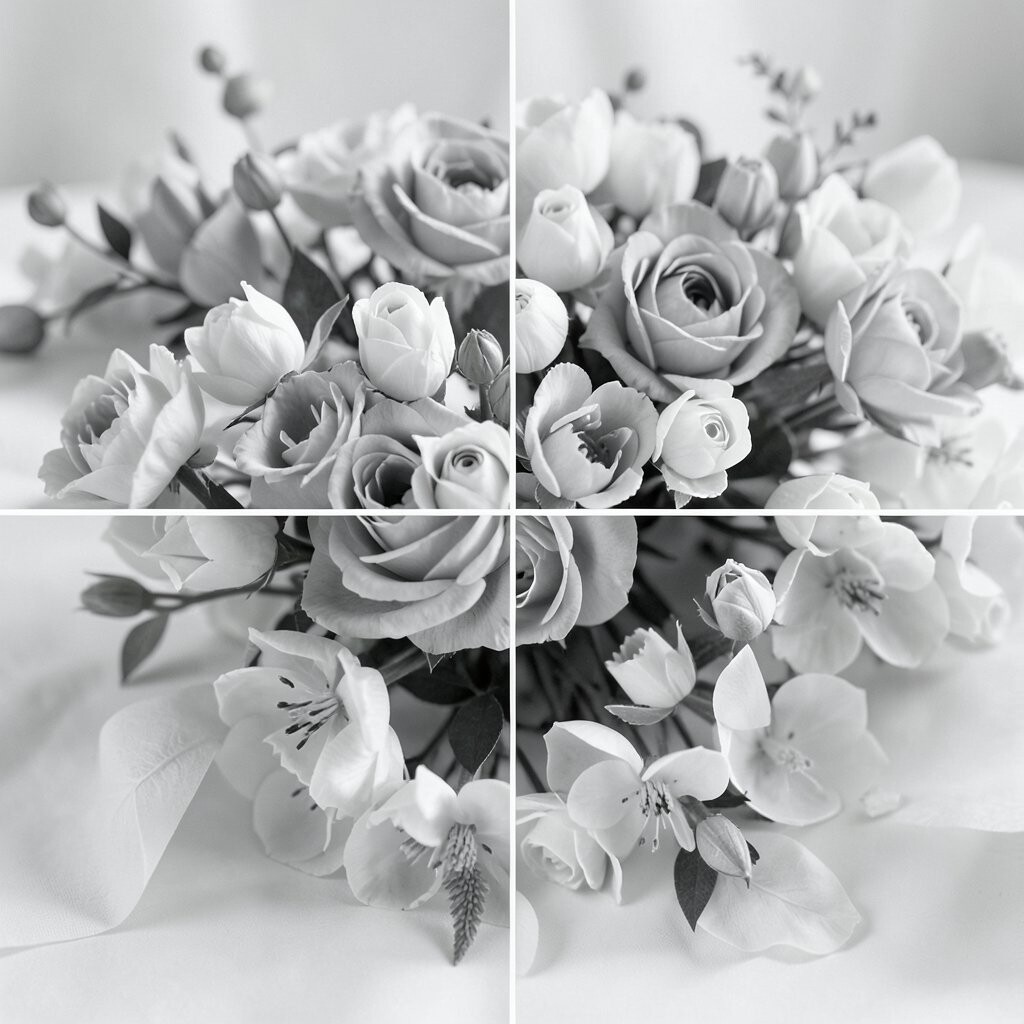
Try a Monochrome Moment for a Chic Look Pick one color and use different shades, like lavender, lilac, and soft mauve. This gives a modern, tidy feel.
Add texture to keep it interesting, like mixing smooth petals with airy filler blooms or greenery. Your eyes stay focused, and the whole piece looks intentional.
This is a fun trend style that often shows up in modern home decor. To keep costs low, buy a few stems of the same color from mixed bouquets and fill extra spots with greenery. Personalize by adding one unexpected accent, like a tiny cluster of berries in the same color family.
-
8. Learn Filler Flowers Without Overfilling

Learn Filler Flowers Without Overfilling Filler flowers make the arrangement feel full, but too much can hide your main blooms. Aim for “support,” not “cover.”
Use filler in pockets where the design needs softness, like between petals and along the edges. A practical tip is to place three small groups of filler instead of scattering everywhere. This keeps your arrangement airy while still looking lush.
You get uniqueness because your filler becomes part of the rhythm. The design feels layered, not crowded.
If you’re thinking about cost, choose affordable fillers like baby’s breath or greenery. For personalization, decide on a theme, like “garden fresh” with wild textures or “clean modern” with minimal filler.
-
9. Create a “Green Spine” With Strategic Foliage
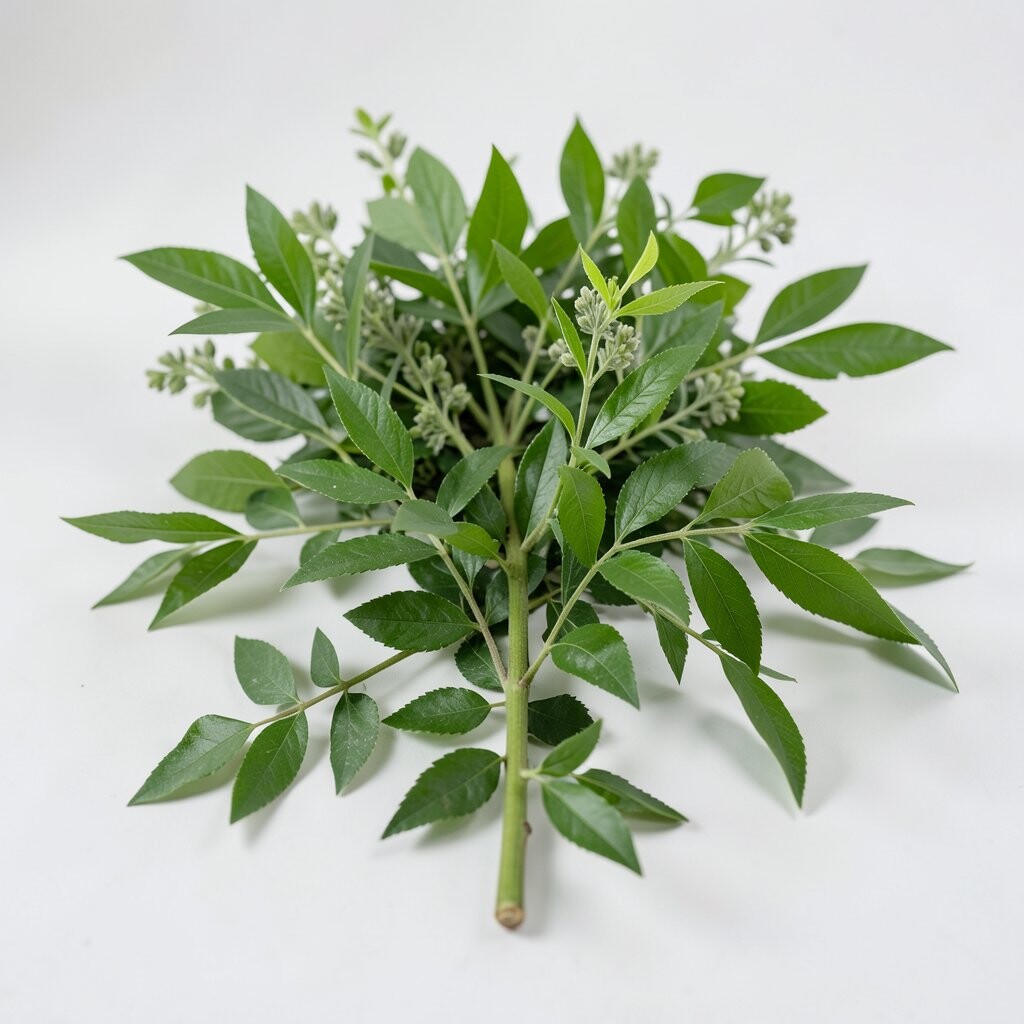
Create a “Green Spine” With Strategic Foliage Green foliage is not just background; it’s structure. Choose a few strong leaves to guide the direction of your whole arrangement.
Place foliage like a spine first, then add blooms around it. This method helps your arrangement look designed even if your flower selection is simple.
-
10. Practice the “Less Vase, More Story” Rule

Practice the “Less Vase, More Story” Rule Your vase choice changes how your flowers feel. A tall vase makes stems look elegant, while a wide bowl makes them look abundant.
This technique is unique because it focuses on storytelling through shape. Even the same flowers can feel different in a clear glass vase versus a matte ceramic one.
Try personalization by matching the vase to the mood: bright colors for lively spaces and muted tones for calm corners. For cost, use jars, thrift store finds, or candle holders—just make sure they hold water safely.
-
11. Master the “One-Minute Focal Point” Trick
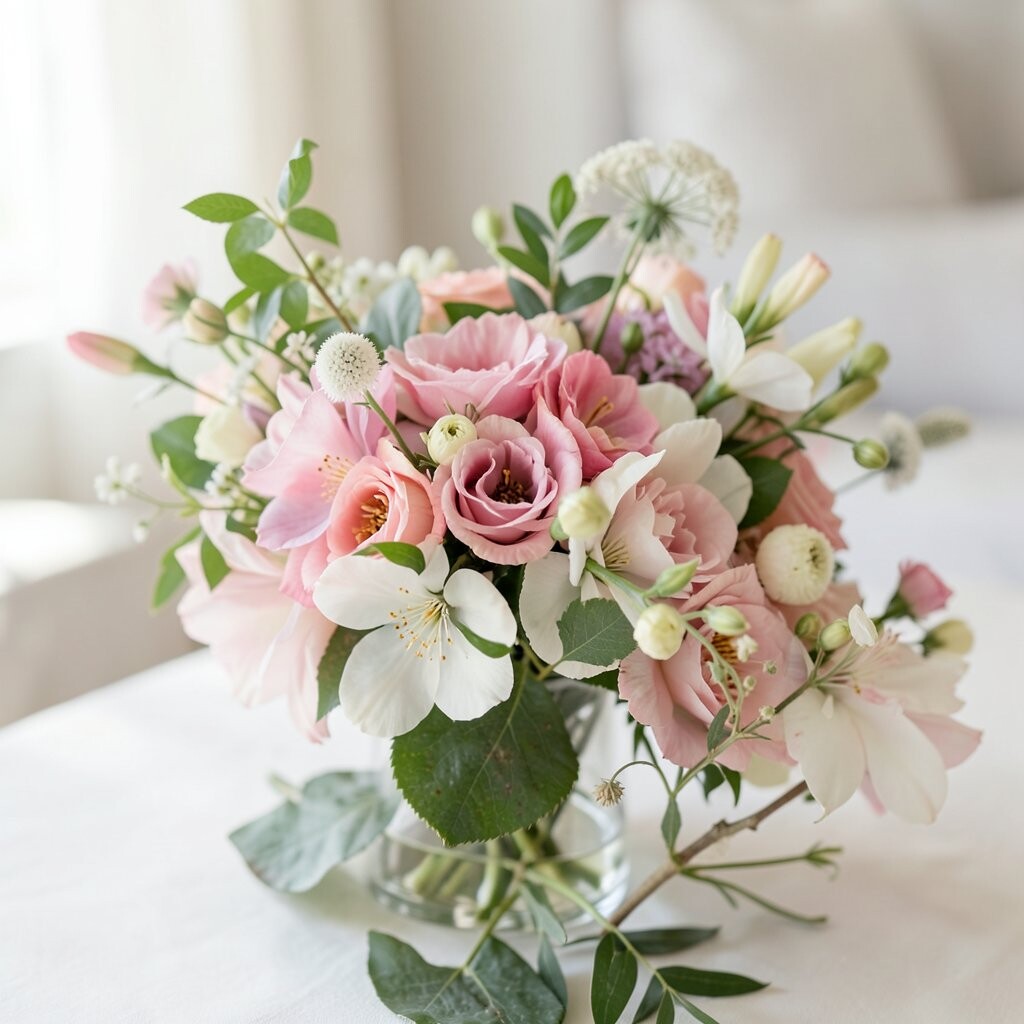
Master the “One-Minute Focal Point” Trick Pick one bloom or group as the focal point and keep it clearly visible. This gives your arrangement a main character.
To do this, rotate the vase and check from the front at eye level. Adjust stems until the focal point looks like it naturally wants to be seen. The benefit is instant clarity, which makes your work look more advanced.
-
12. Use Seasonal Flowers for Better Looks and Lower Costs
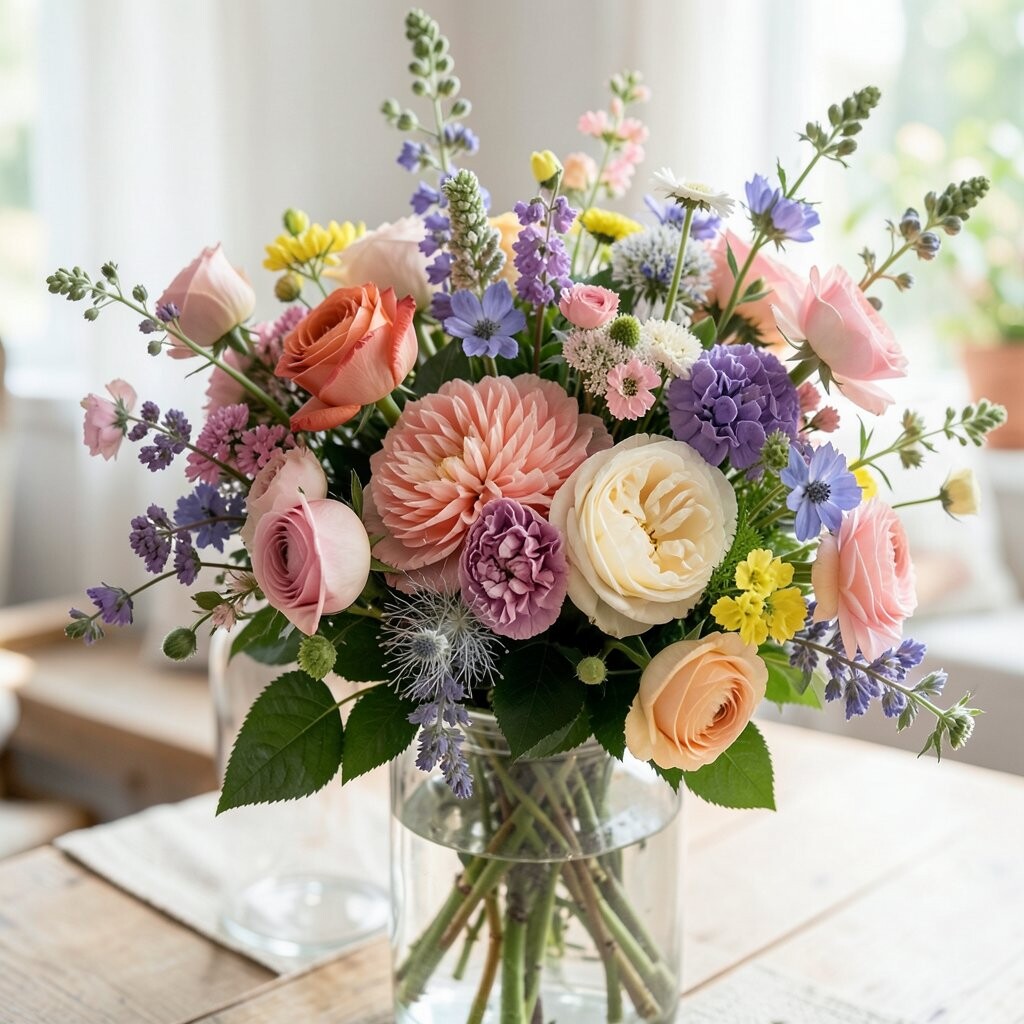
Use Seasonal Flowers for Better Looks and Lower Costs Seasonal flowers are usually fresher and cheaper because they are easier to find. They also tend to last a bit longer.
Try building your design around what’s available, like spring tulips, summer sunflowers, or autumn dahlias. Your arrangement will look current and feel tied to the time of year.
This approach is unique because it turns a limitation into a style. For tips, ask a florist what is in season, or check local markets for mixed bundles. Personalize with color matching to your room, like warm oranges for cozy spaces or cool blues for bright walls.
-
13. Learn How to Make Soft Transitions With Gradients
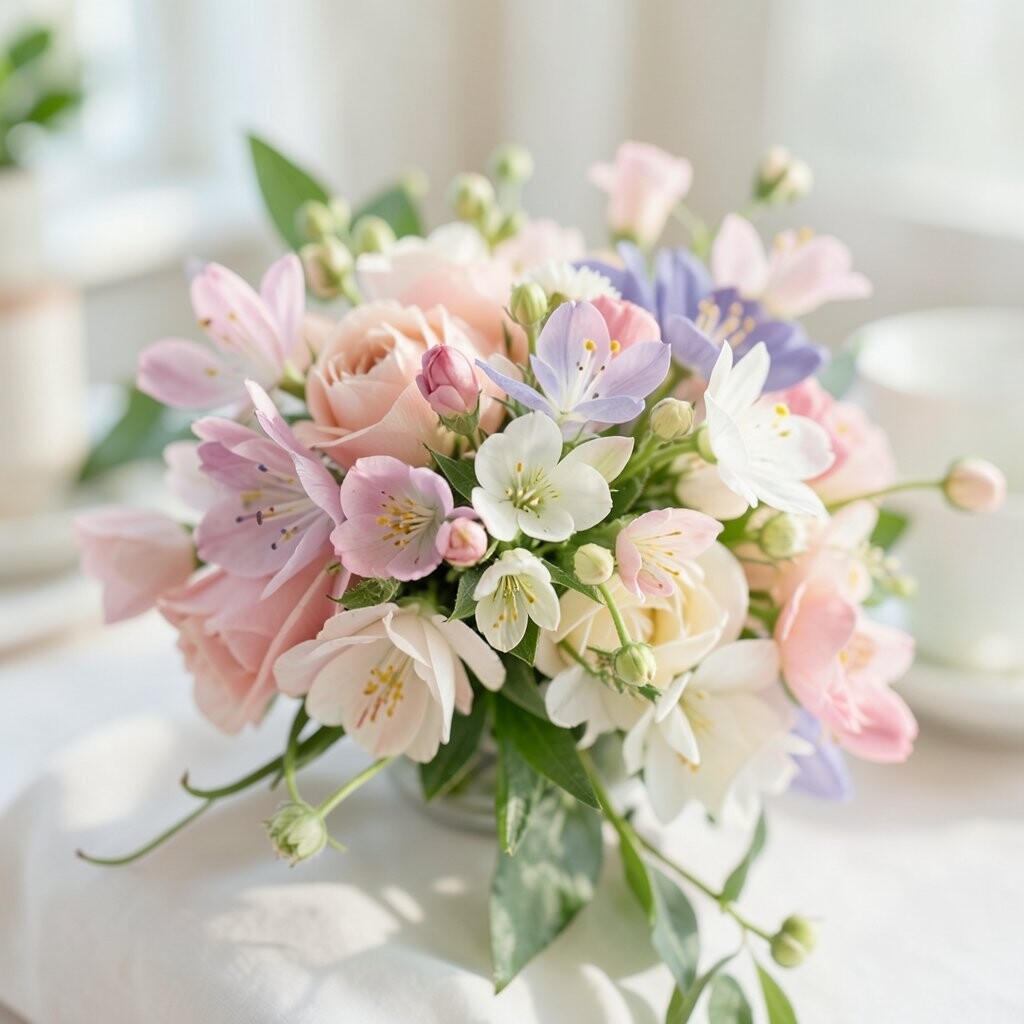
Learn How to Make Soft Transitions With Gradients A gradient means colors or sizes move smoothly from one area to another. That smooth change makes designs look calm and expensive.
Start with your strongest blooms at one side, then add medium-sized blooms as you move across. Finish with smaller blooms or gentle filler near the edges. This works for color gradients too, like dark to light petals.
You’ll notice your eye travels the way you planned. That’s the benefit: your design feels smooth instead of choppy.
For personalization, pick a gradient that matches your favorite outfit colors or a photo you love. Cost-wise, gradients can be made with smaller amounts by reusing stems and placing them strategically.
-
14. Try the Ribbon-Edge Finishing Style

Try the Ribbon-Edge Finishing Style Finishing touches make beginners look like they practiced for months. One easy method is the ribbon-edge style, where you aim blooms toward one clean outer line.
As you add flowers, keep turning the vase and check the outer silhouette. Trim or reposition stems until the edge looks neat and curved.
-
15. Keep a “Texture Mix” List for Instant Variety
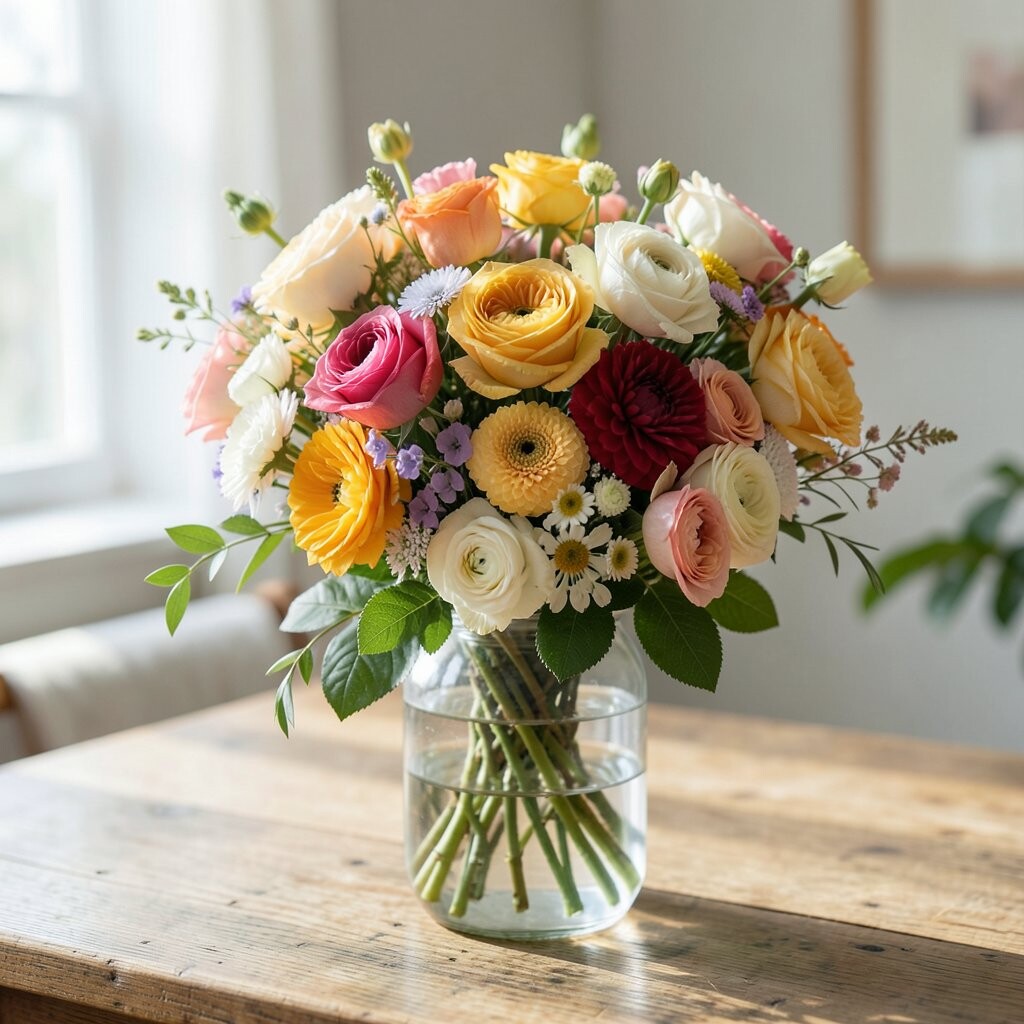
Keep a “Texture Mix” List for Instant Variety Texture is what makes flowers feel interesting, like velvet petals or feathery greenery. Make a quick list of textures you love.
Mix at least three types, such as round blooms, airy filler, and spiky or wispy foliage. When textures differ, your arrangement looks rich even with fewer flowers.
This technique is unique because it shifts your focus from only color to the feel of the design. A useful tip: hold flowers close to your eyes while choosing, so you notice texture differences. For cost considerations, prioritize texture plants like eucalyptus or seeded branches, which can stretch the look of cheaper blooms.
-
16. Make Your Own Signature Style With Mini Experiments
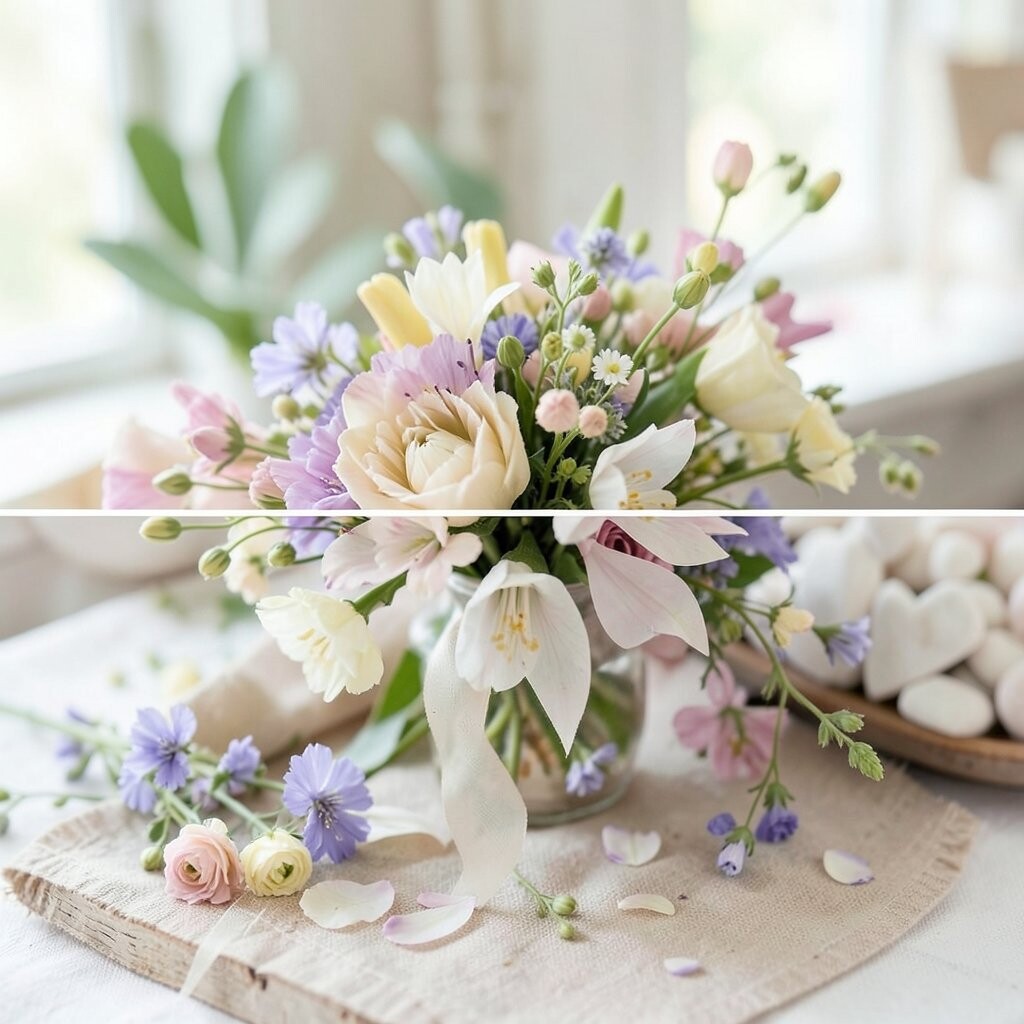
Make Your Own Signature Style With Mini Experiments Set aside small “practice sessions” where you design with one rule at a time. For example, only use one color family, or only use three textures.
This is how you build a signature style that feels like you. Keep a small notebook with photos and notes, like what you loved and what you want to change next time. The benefit is that improvement becomes clear, and your confidence grows with each try.