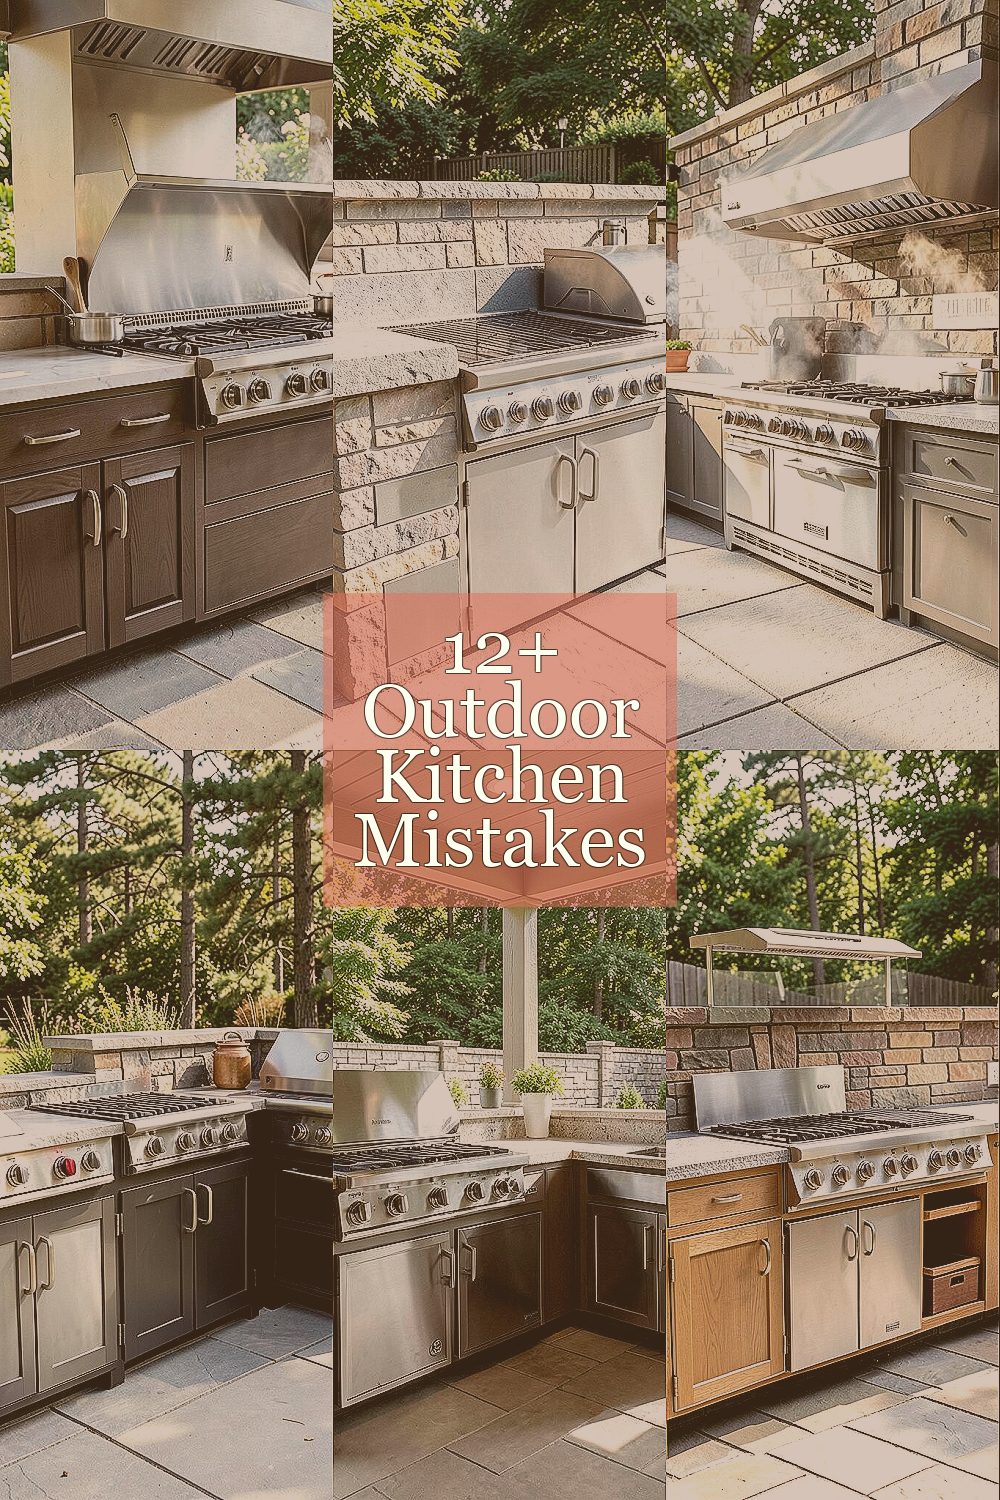
Outdoor cooking should feel easy, not stressful. The right design choices can make your backyard kitchen perform beautifully for years.
1. Skipping a Layout Plan That Matches Real Cooking
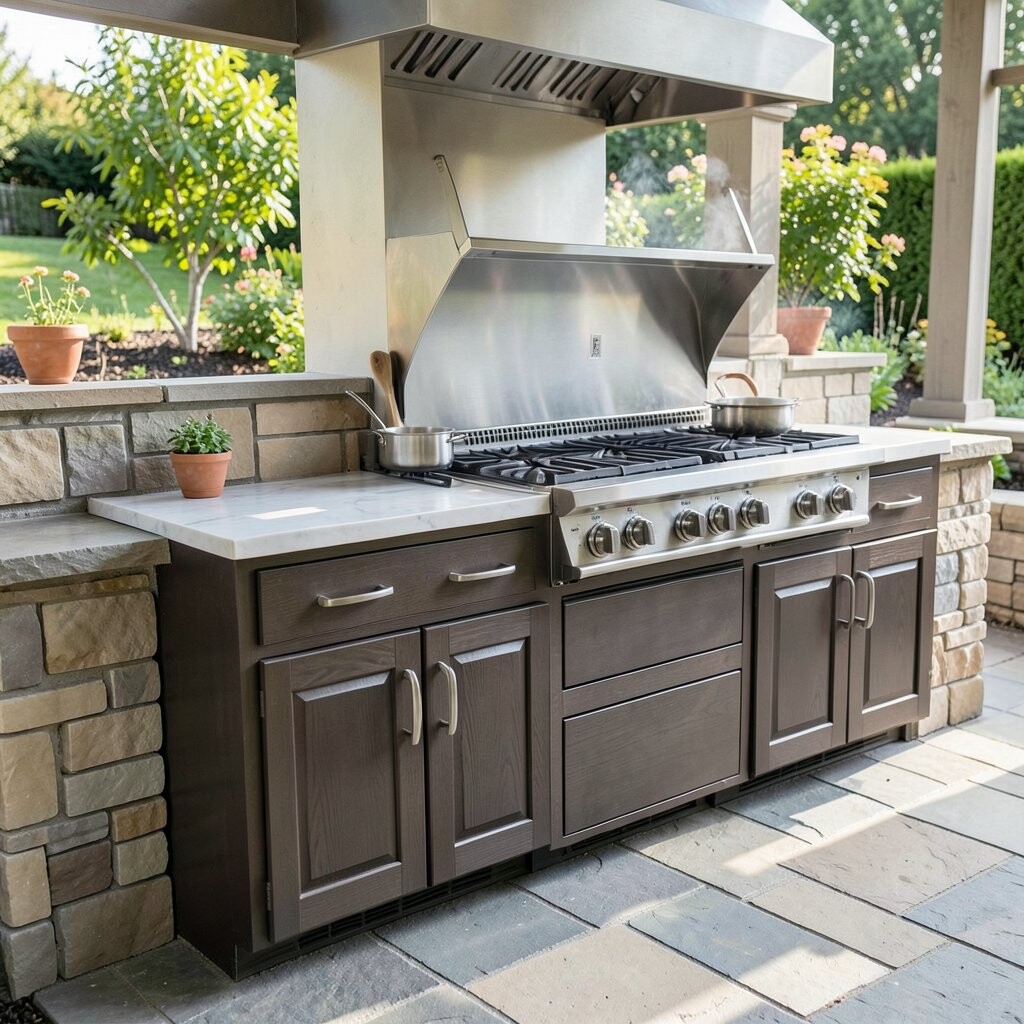
If the sink, grill, prep area, and storage don’t line up, cooking turns into a constant shuffle. A smart layout keeps motions smooth and reduces trips across hot surfaces.
Start by picturing your routine: where food lands, where it’s cleaned, and where you grab plates. Aim for clear pathways and enough counter space near the grill so you can stage ingredients without crowding. Consider adding a separate prep zone to keep raw food away from serving areas, which also helps with cleanliness.
2. Choosing Materials That Look Great but Won’t Hold Up
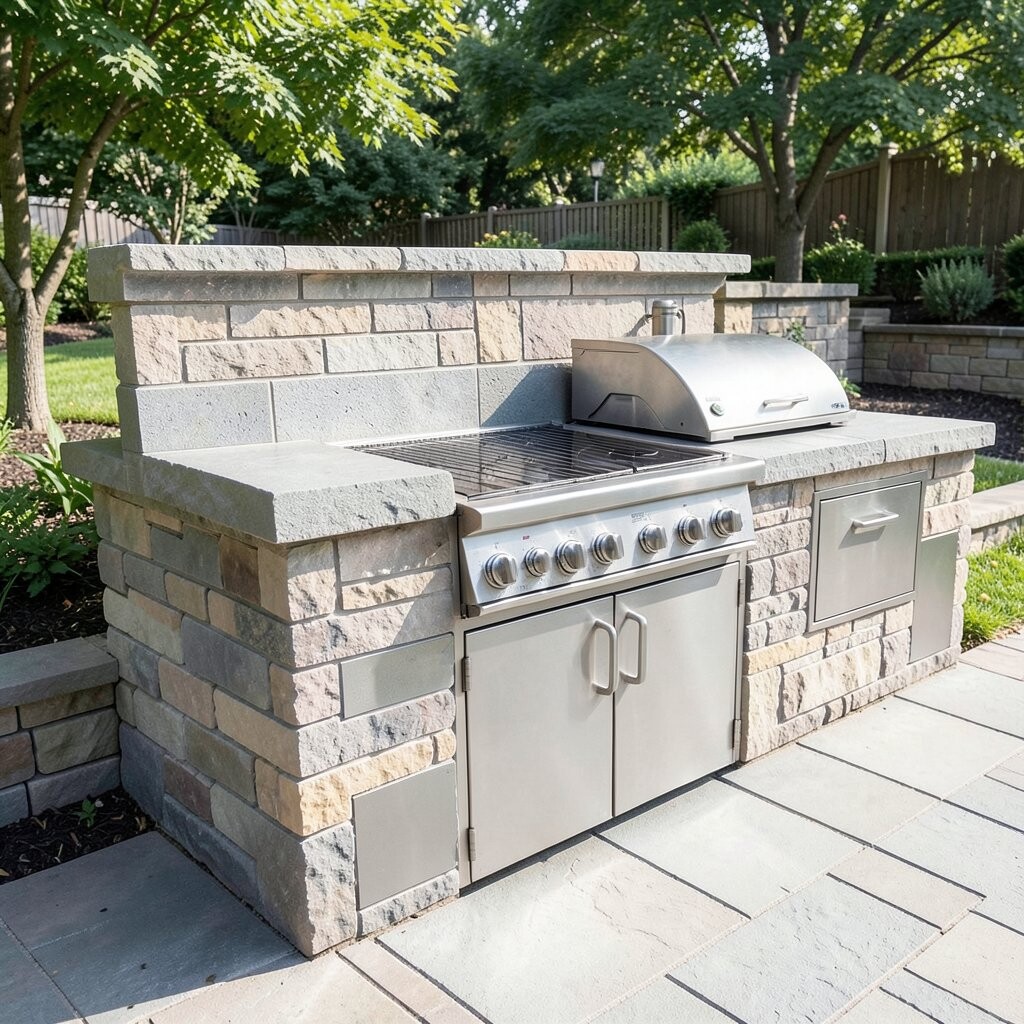
Pretty finishes can fade, crack, or stain when they face sun, rain, and temperature swings. Outdoor kitchens need materials built for moisture and heat, not just showroom charm.
Look for weather-resistant countertops, sealed surfaces, and corrosion-proof hardware. Stainless steel parts are popular because they handle heat well, and properly rated outdoor-rated components keep maintenance lower. When you personalize, ask what finish and sealant are recommended for your climate so your investment stays attractive.
For cost control, you can mix tiers: choose high-durability surfaces at the cooking zones and save on less-used areas. Many homeowners also like outdoor-friendly tile or stone that matches their home style while staying practical. The unique “live-in” look often comes from selecting materials that develop a gentle patina rather than peeling or warping.
3. Underestimating Ventilation and Smoke Management
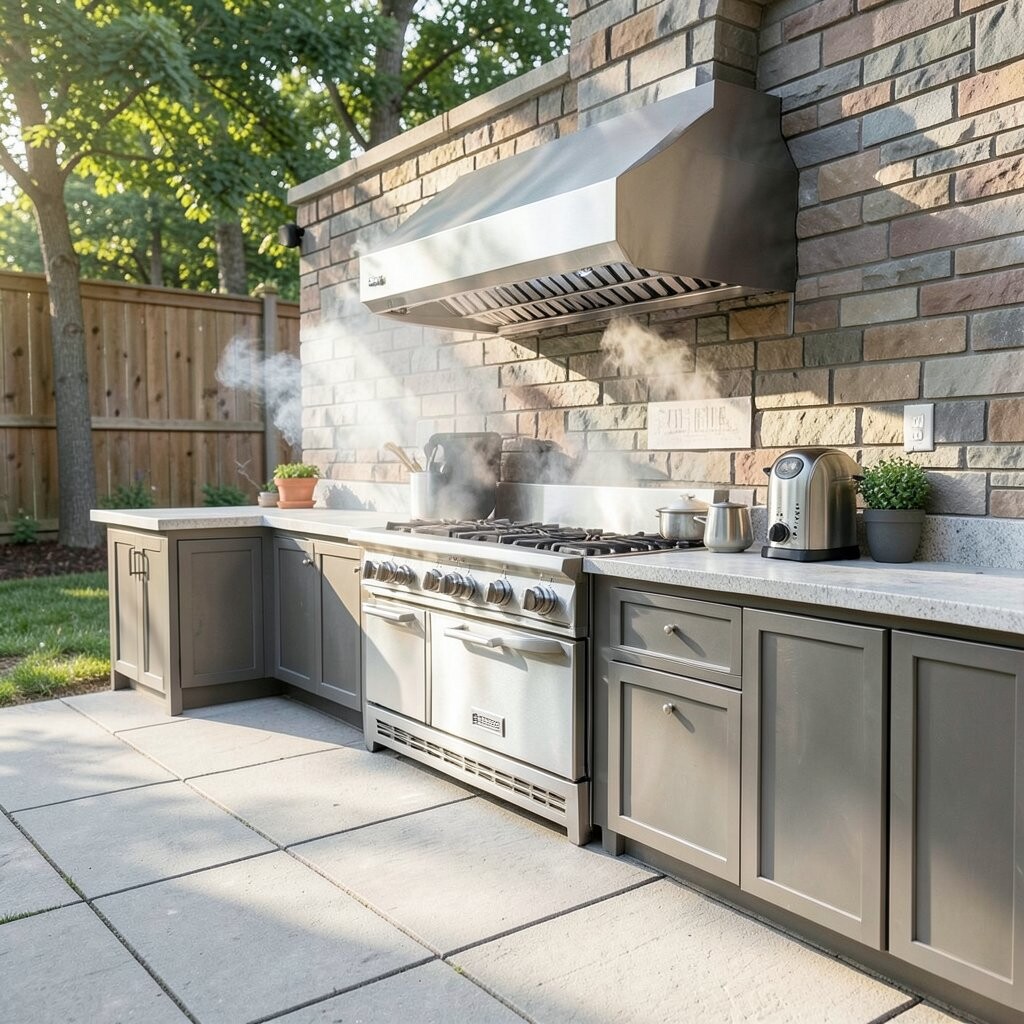
Smoke rolling across your seating area is one of the quickest ways to ruin a backyard evening. It can also stain walls and create lingering odors.
A common mistake is skipping an outdoor hood or using a plan that doesn’t guide airflow. Make sure the grill location and any canopy or vent system are designed for your cooking style. If you love roasting or grilling thicker cuts, plan for stronger ventilation from the start.
Even small design choices matter, like positioning the grill away from prevailing wind directions. Use heat-safe barriers or shielding where needed to protect nearby surfaces. You can personalize the look with a matching chimney-style cover or a streamlined hood that ties into your home’s architecture.
Budget-wise, ventilation can sound optional, but it often prevents future upgrades. A well-designed airflow plan also makes the space more comfortable for guests, which is a real quality-of-life benefit. If you’re unsure, ask a local installer to evaluate typical wind patterns and grill output.
4. Forgetting Electrical and Gas Planning Early
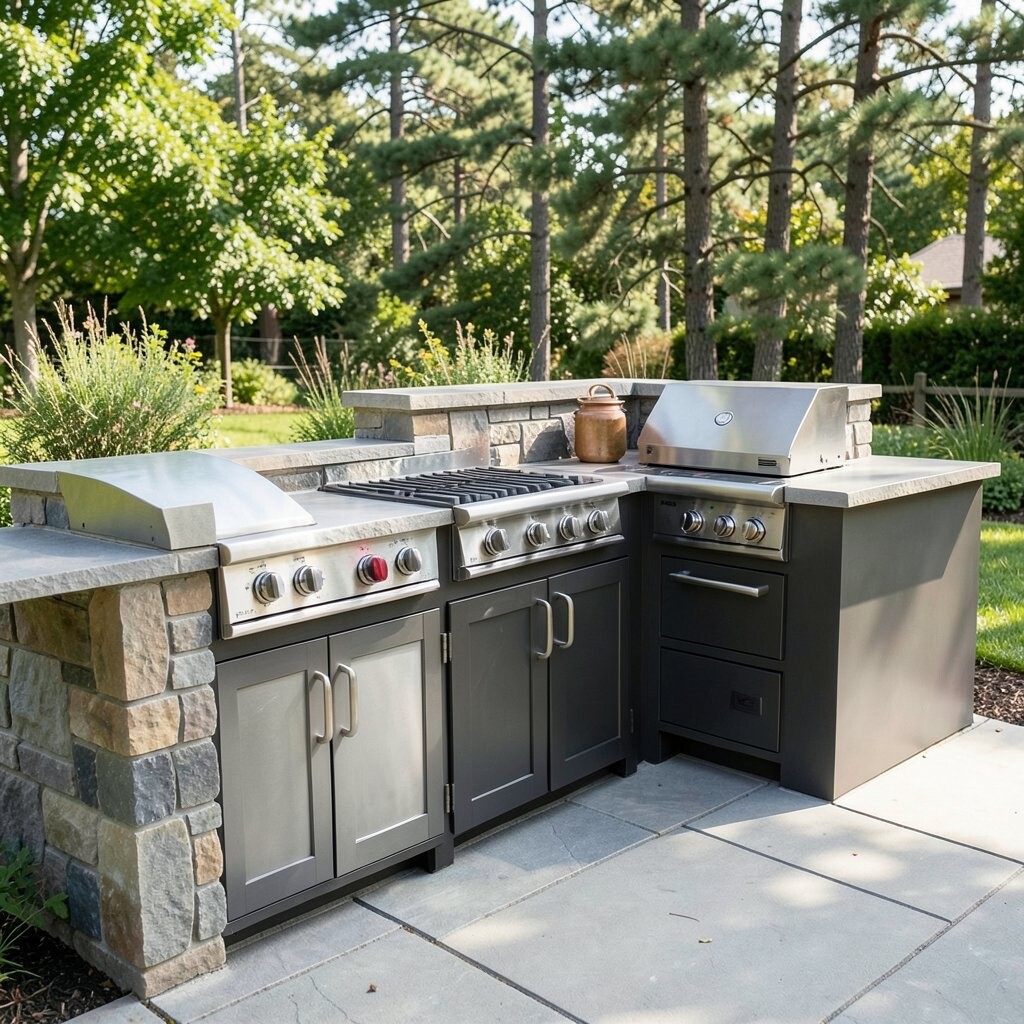
Nothing slows a project like discovering the power or gas setup needs changes after the counters are installed. Outdoor appliances also pull more energy than many people expect.
Plan outlets for lights, refrigeration, and small tools like blenders or chargers, and include weatherproof covers. If you use a gas grill, map the route and confirm local code requirements before building the base. For a unique touch, you can add under-cabinet lighting or LED steps, but only if wiring is planned during construction.
5. Ignoring Lighting Design Beyond a Single Overhead Light
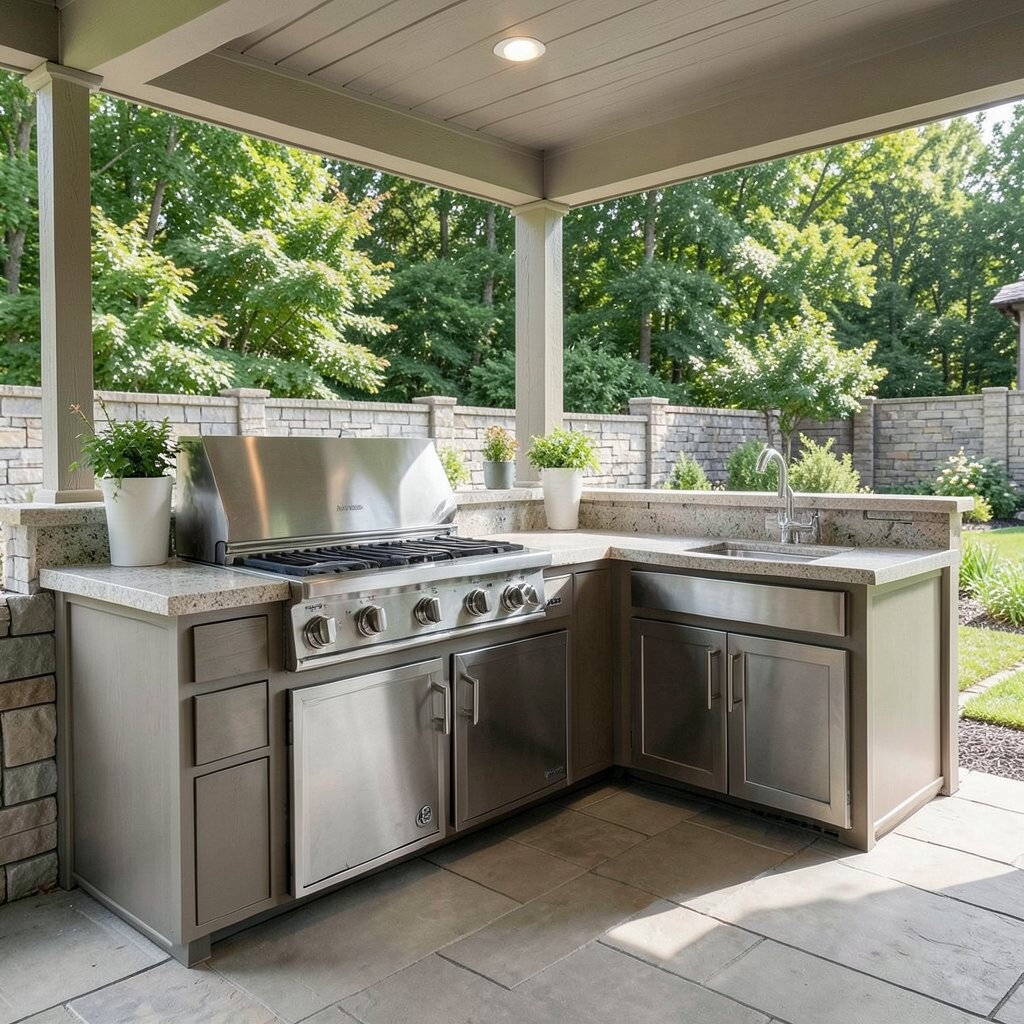
Daytime cooking is easy to picture, but night cooking needs layered light to feel safe and pleasant. One bright fixture often creates glare near the grill and shadows near the prep area.
Use a mix: warm task lighting at counters, subtle ambient lighting for the dining space, and weatherproof steps or path lights. Consider dimmers so you can shift from “cook mode” to “relax mode” without harsh brightness. Well-placed lighting also makes your outdoor kitchen look upscale from the driveway.
To keep costs reasonable, start with the essentials first, like under-shelf LEDs and a focused light over the prep zone. You can later expand with accent lights that highlight stone, brick, or built-in shelving. This approach gives you a personalization path that grows with your budget and your hosting style.
6. Building Too Little Storage for the Items You Actually Use
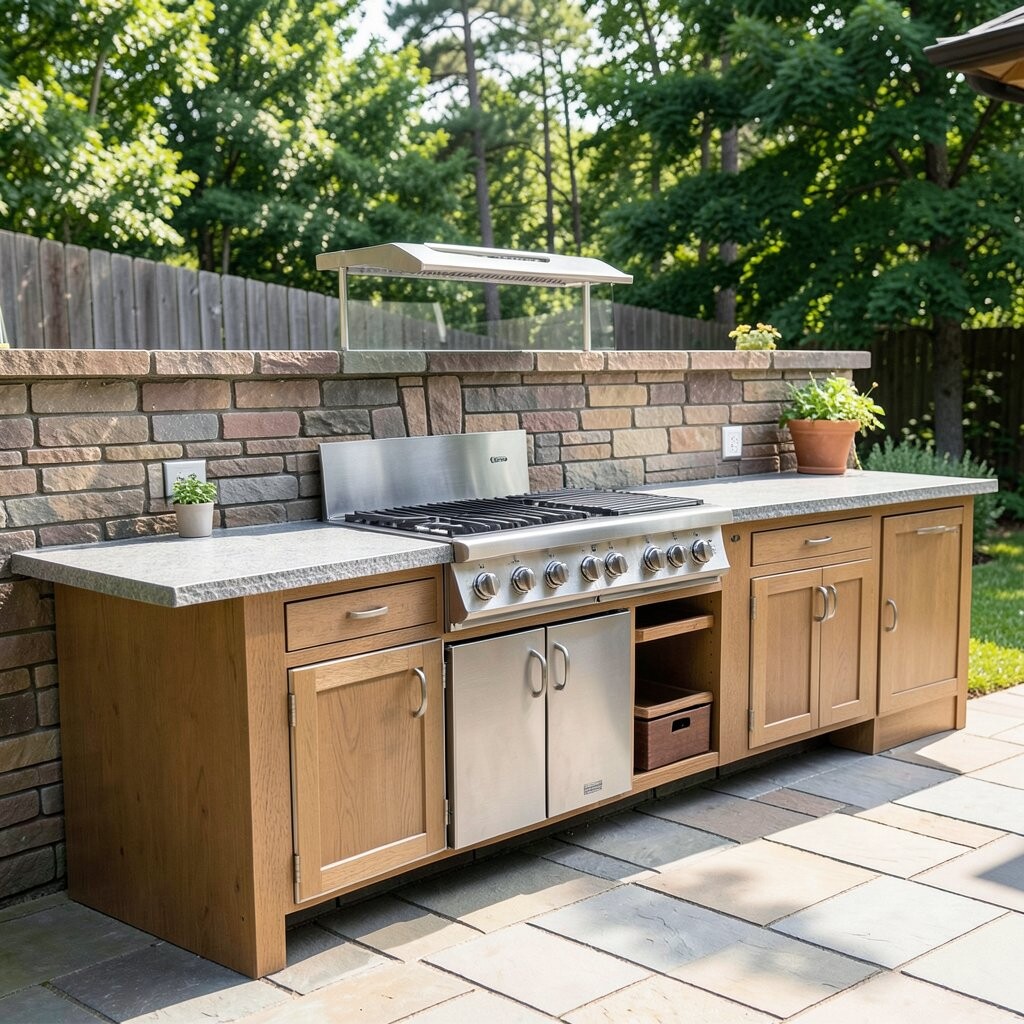
When storage is limited, people end up leaving tools on counters, and the whole kitchen feels cluttered. Clutter also makes it harder to clean and keeps cooking surfaces from staying ready.
Design cabinets and drawers for real habits, such as where you store grilling tools, extra utensils, and seasonal supplies. Add closed storage for items you don’t want exposed to dust or weather. If you want a sleek look, built-in doors and matching panels can hide clutter while still keeping everything within reach.
Think about specialized storage too, like a dedicated spot for propane cylinders, trash bins, and paper goods. Weatherproof storage benefits you most if your area is humid or has frequent rainfall. This is also a place where personalization shines, because different families store different things.
7. Choosing a Counter Height That Doesn’t Fit the Main Cook
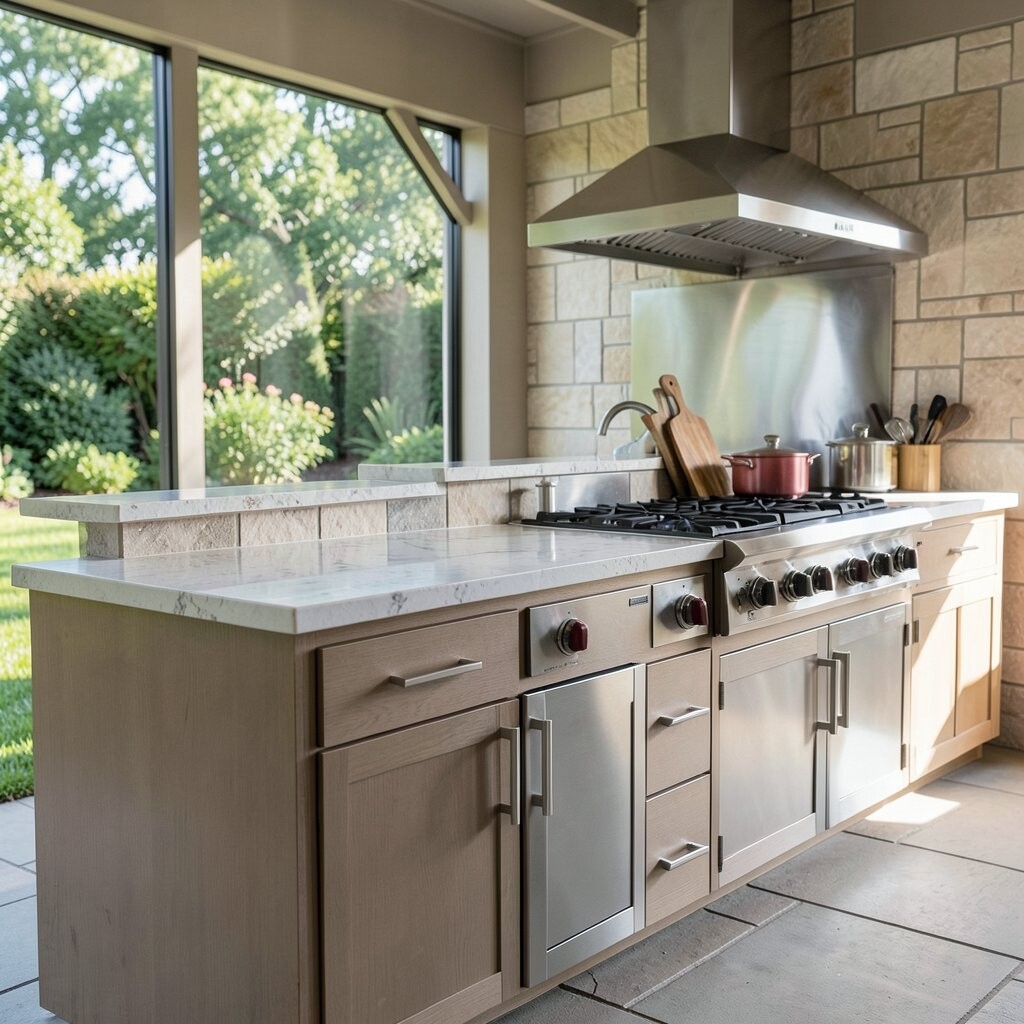
Comfort matters when you’re standing for long grilling sessions or chopping vegetables. A counter height that’s slightly off can cause shoulder and back fatigue over time.
Measure based on the person who cooks most, and remember that outdoor seating and standing differ from indoor kitchens. If you plan to eat at a bar, design the bar height separately from the prep counter so guests can sit comfortably. Small changes, like adjusting the counter edge profile or adding a bar overhang, can make the whole space feel custom.
When you’re balancing cost, it’s often smarter to get height right than to add expensive fixes later. A good fit improves usability more than extra decorative features. Plus, it can make the kitchen feel “made for you,” which is one of the biggest benefits of a personalized outdoor build.
Don’t forget to account for the height of appliances and the thickness of countertops. Even a few centimeters can change how tools rest on the work surface. Planning for these details early helps your outdoor kitchen feel effortless every time.
8. Under-Planning for Drainage and Cleaning
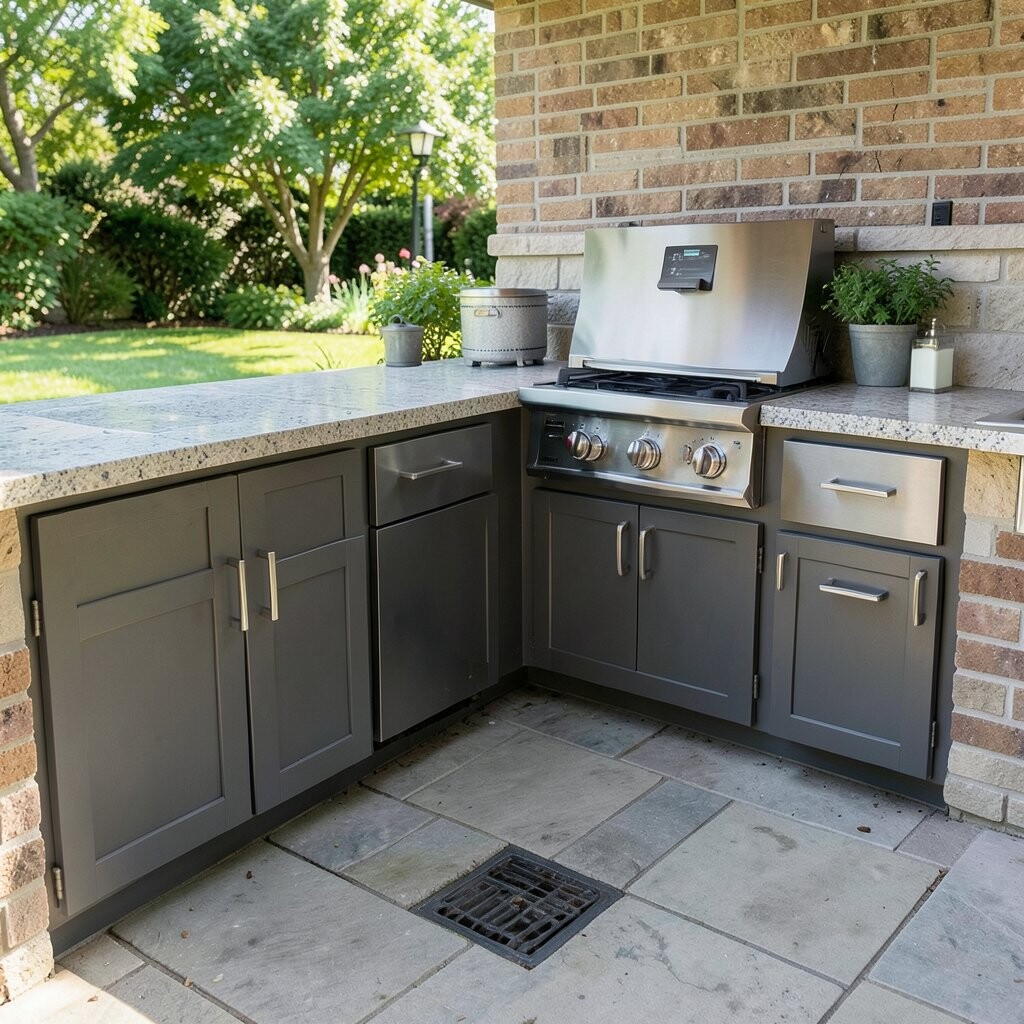
Water pooling around sinks, ice bins, or prep areas creates mess and can even lead to slippery spots. It also makes odors more likely to linger.
Design for drainage with proper slopes, a plan for where water goes, and easy-clean surfaces. If you include a sink, make sure the plumbing is set with outdoor-ready components and correct venting. For cleaning convenience, choose grout and sealants that resist stains from sauces and oils, especially if you host often.
To keep maintenance simple, use removable liners for trash and drip areas where possible. Consider outdoor-friendly cleaning tools and storage, so supplies are right where you need them. This practical approach helps your kitchen stay “guest ready,” even after messy cookouts.
9. Overcrowding the Design With Appliances You Don’t Use
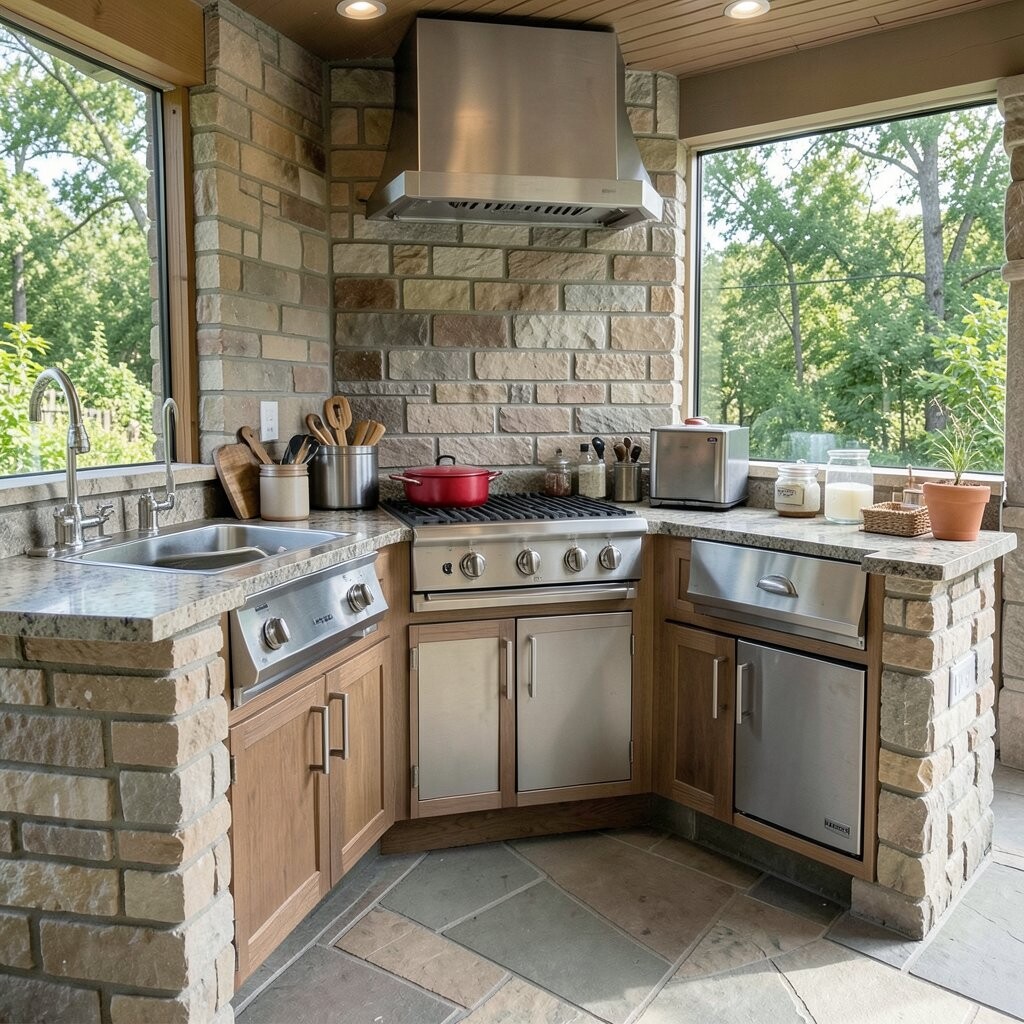
Adding every possible appliance can look impressive, but too many extras reduce counter space. Less counter space means more clutter during real cooking.
Start with the “core” items that match your cooking style, like a grill, a prep counter, and a way to store frequently used ingredients. If you enjoy pizza nights, a dedicated pizza oven can be a unique centerpiece. If you mostly do burgers and steaks, a full oven setup may not deliver enough benefit for the cost.
Personalize with thoughtful upgrades instead of everything at once, such as a compact warming drawer or a small refrigeration drawer. Those additions can improve hosting comfort while still keeping the layout balanced. Set a budget for the essentials first, then add one or two special features that you’ll truly use.
Trends also change, so plan openings for future add-ons rather than building a final layout that can’t adapt. For example, leaving space for extra shelves or modular side burners can keep your kitchen useful over time. This helps you avoid wasting money on features that don’t fit your routine.
10. Choosing the Wrong Grill Placement for Wind and Traffic
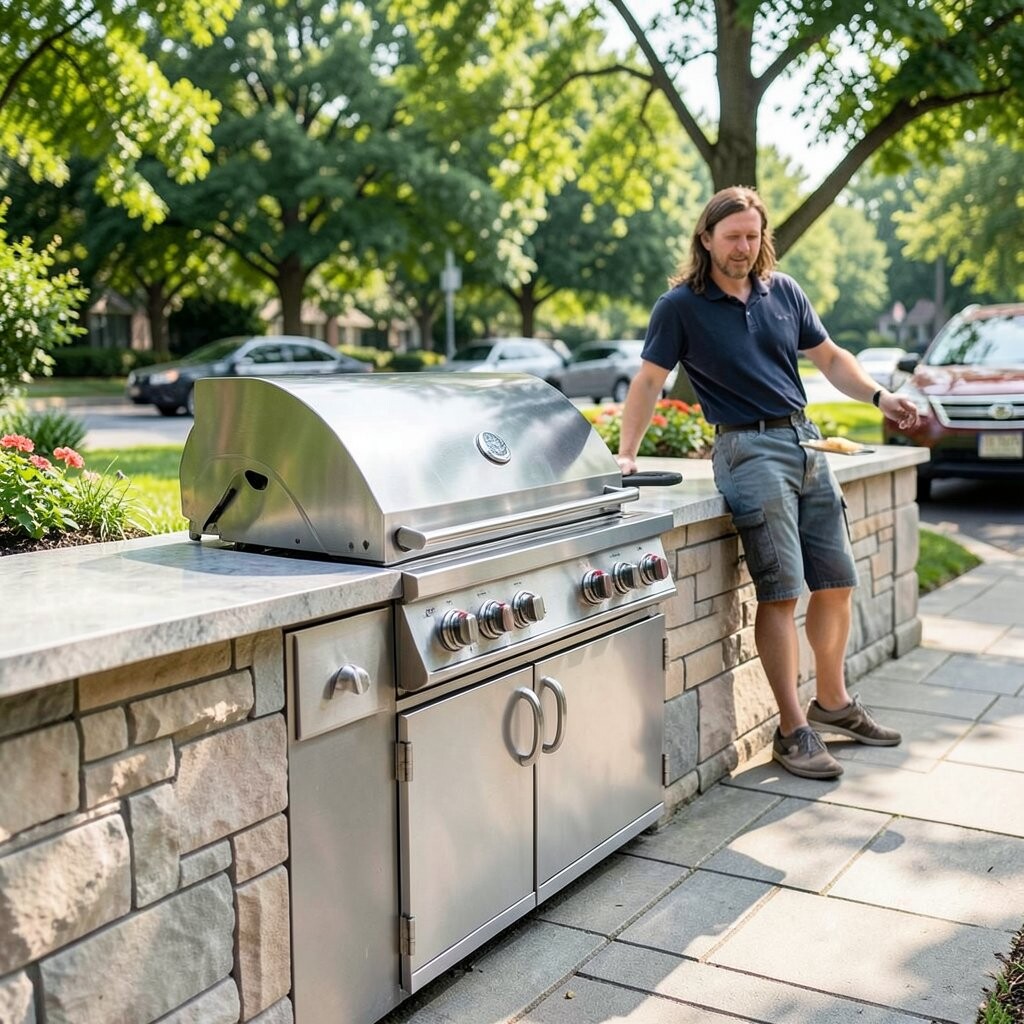
A grill that’s too close to doors, footpaths, or seating can create friction every time someone wants to move around. Wind can also affect flare-ups and cooking consistency.
Place the grill where traffic flows are clear, and keep it positioned to reduce smoke drift toward people. Test the placement in different weather patterns if possible, because wind direction can shift across seasons. If you want your kitchen to feel inviting, align the viewing area so guests can watch cooking without standing in the grilling zone.
11. Skipping a Weatherproof Cover or Shelter Strategy
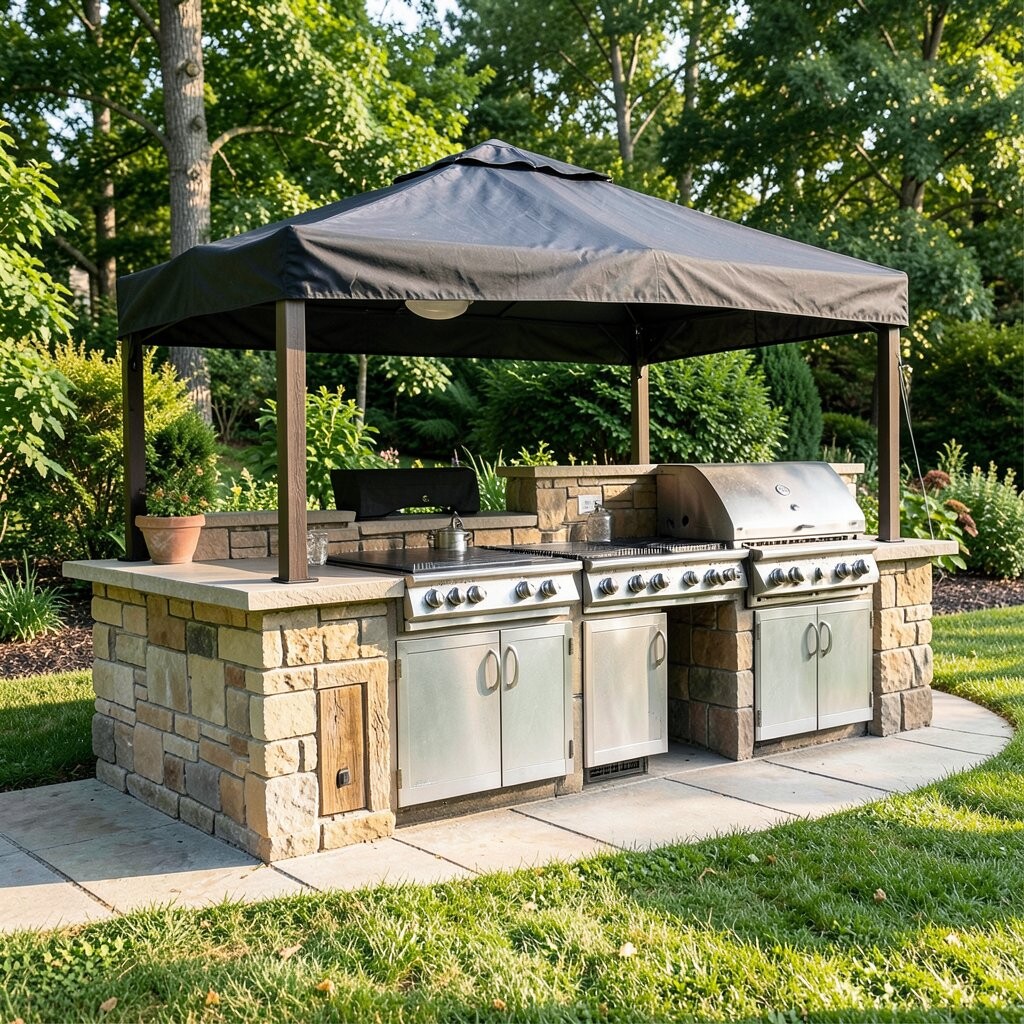
Outdoor kitchens are exposed even when you think they’re “out of the way.” Sun, rain, and wind can shorten the life of appliances and finishes without proper protection.
Plan for a canopy, pergola, or cover that suits your climate and your entertaining schedule. A roof can also create a comfortable gathering area, especially when storms roll in or when it gets too sunny. If full shelter is too expensive, start with a well-fitted cover for the grill and weather-rated covers for smaller appliances.
Trends show more homeowners blending kitchen structures with pergolas and outdoor rooms, which gives a “destination” feel. You can personalize the look with matching materials like wood tones, metal accents, or stone columns. Just remember that shelter isn’t only about comfort; it’s also about preventing premature wear and costly repairs.
12. Neglecting Fire Safety and Heat Clearance
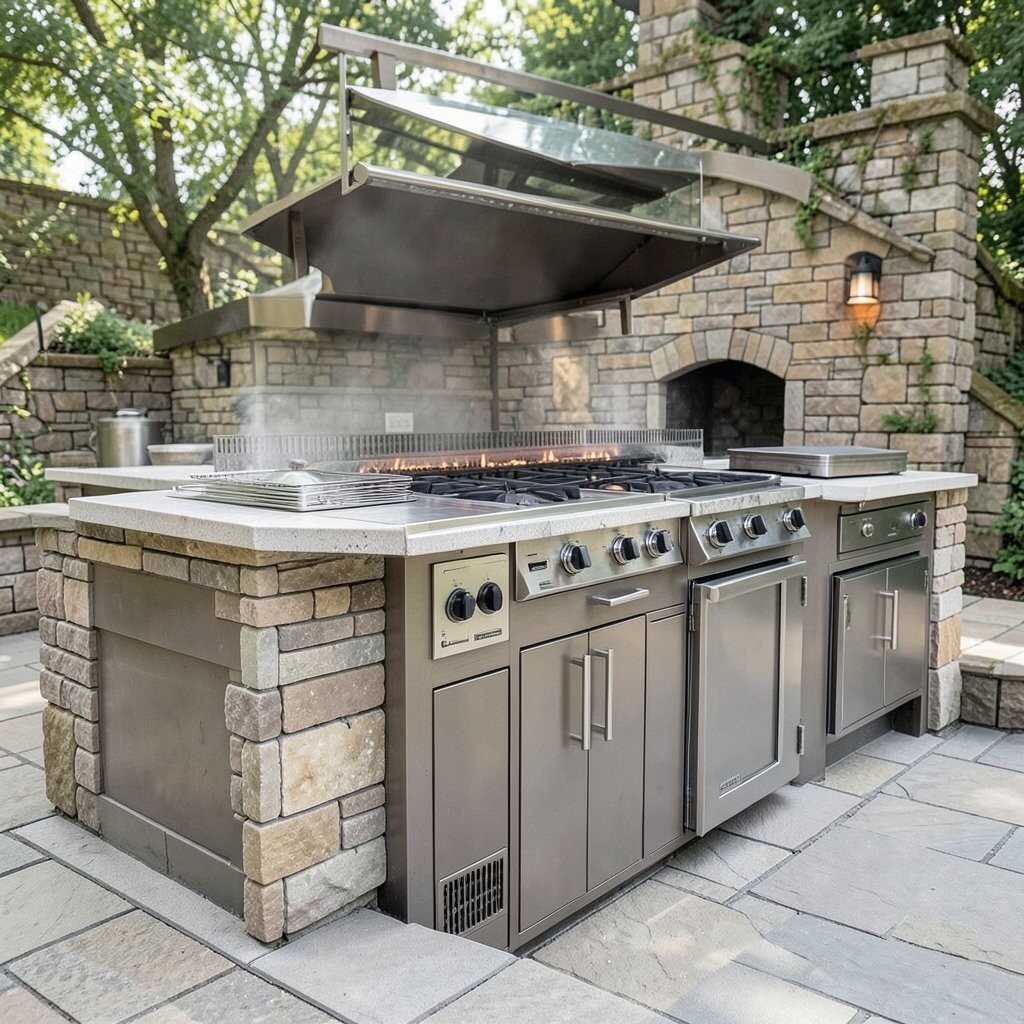
Heat travels farther than people think, and it can damage nearby surfaces or create a safety risk. Avoiding fire concerns should be part of good design, not an afterthought.
Follow manufacturer clearance guidelines for grills, hoods, and outdoor-rated fixtures. Plan spacing from cabinets, counters, and any overhead structures, especially if you add a cover or decorative panels. Consider heat-resistant materials around the grill, like non-combustible backsplashes or protected wall finishes, so your kitchen looks great and stays safe.
13. Failing to Plan for Budget Flexibility and Future Upgrades
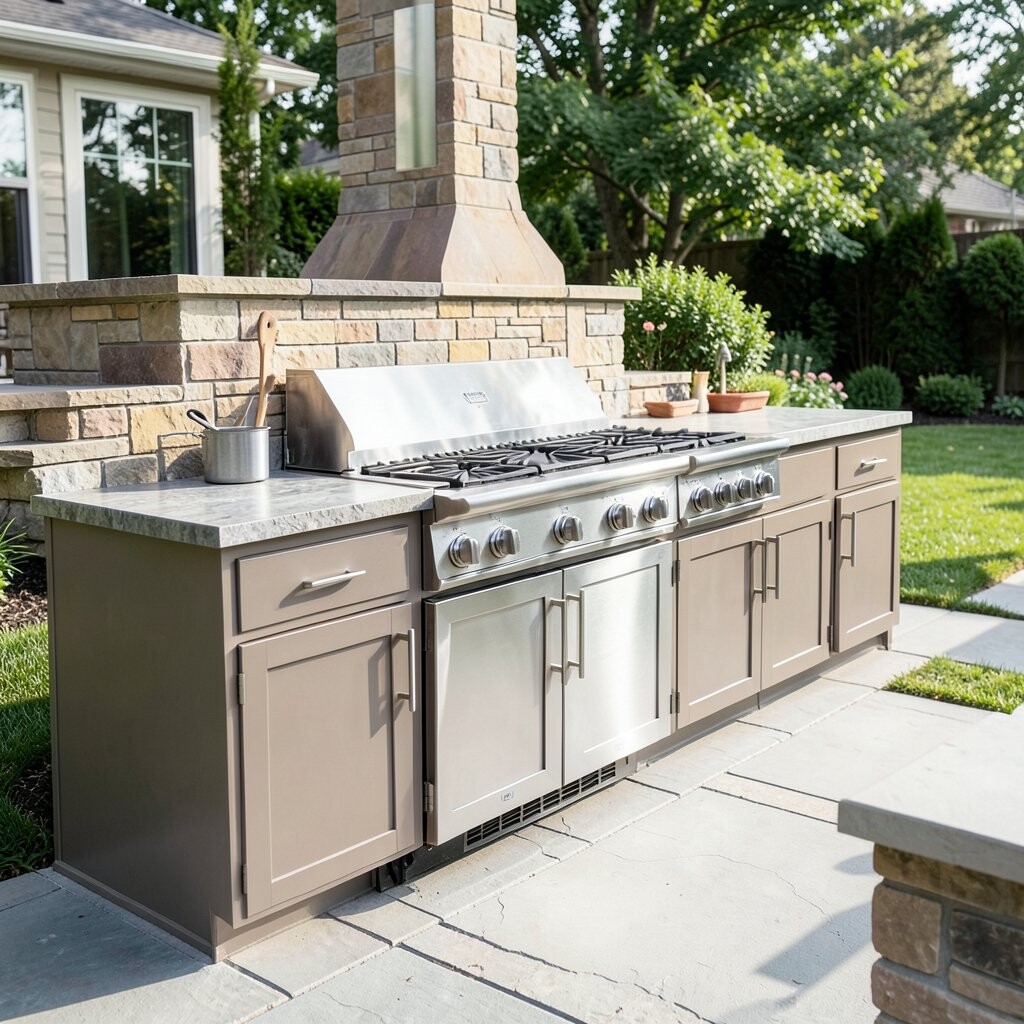
Outdoor kitchens often grow in scope after the first phase, especially when people fall in love with hosting. If your budget plan is too rigid, changes can turn expensive quickly.
Set aside a realistic buffer for installation details like plumbing, electrical, delivery, and finishing. Choose a “base build” that’s sturdy and code-compliant, then plan upgrades in stages, such as adding refrigeration, extra storage, or a fire feature later. This approach helps you stay within budget while still allowing personalization as your taste evolves.
Current trends lean toward modular features, like expandable counter layouts and adaptable storage systems that can change with seasons. When you design with flexibility, you can upgrade the look with new accessories rather than replacing entire sections. That’s a smart way to keep the project exciting while protecting your finances.
Also, think about long-term ownership costs, including sealing, cleaning products, and replacement covers for appliances. Spending a bit more on weather-resistant components now can reduce future expenses. A planned upgrade path makes your outdoor kitchen feel current and functional for many years.