
A well-run pantry feels calm, not chaotic. Small changes can make everything easier to find and use.
1. Start With a Quick Pantry “Map”
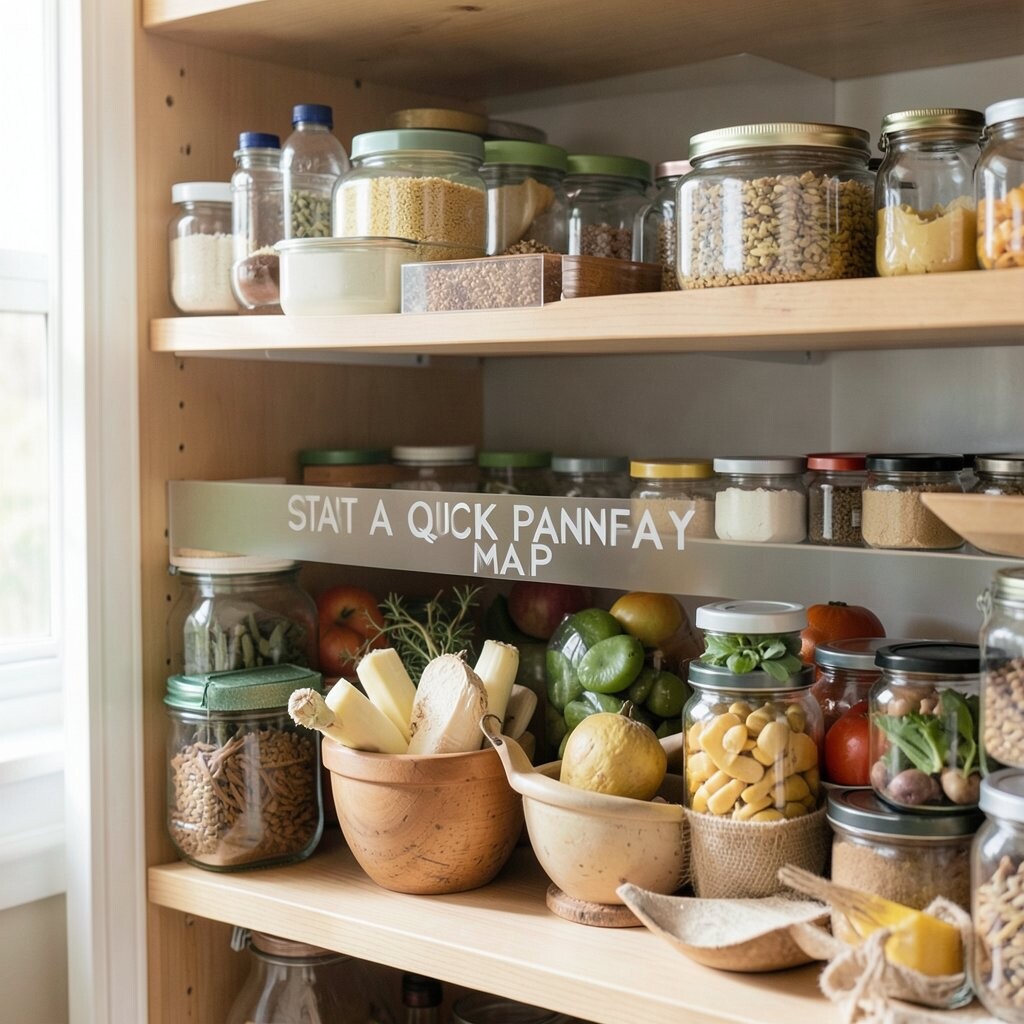
Before you buy anything, look at your shelves and imagine a simple layout. You can map where snacks, baking items, and everyday staples live so each space has a job.
Write the layout on paper or in a notes app so you don’t lose your place. Put the most-used items at eye level so you reach them without stretching. This saves time and reduces the chance of buying duplicates.
2. Use Clear Containers for Frequent Staples

Switching to clear containers makes your pantry look instantly tidier. Labels also prevent that “What is this?” moment when jars get shuffled.
Use airtight containers for flour, sugar, cereal, and pasta to help keep them fresh. Choose sizes that match how fast you go through each item.
For cost control, start with the top five items you use most. Many people upgrade gradually and still get great results. If you want a modern trend, try stackable containers with matching lids.
3. Create a Snack Zone That Stays Contained
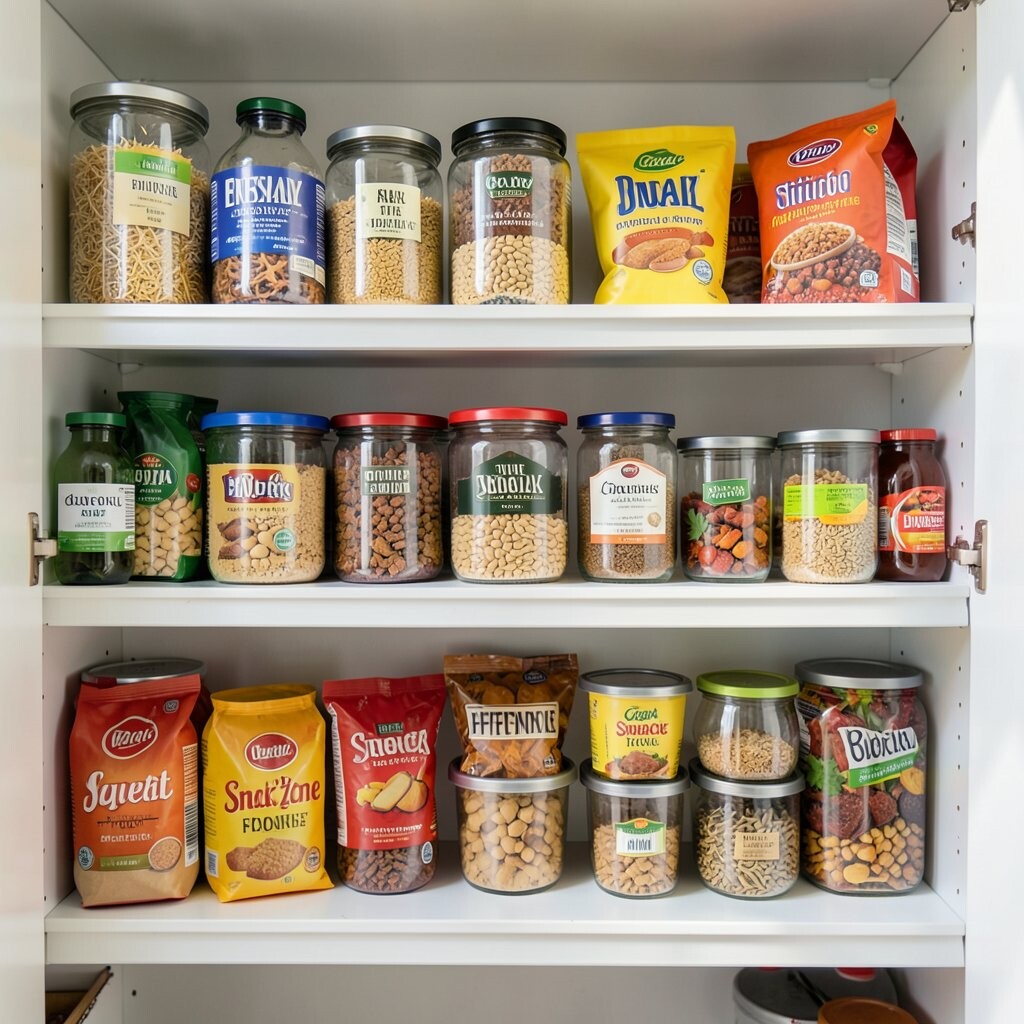
Designate one shelf or one bin as the snack zone so your pantry doesn’t spread treats everywhere. A visual boundary makes it easier for everyone in the house to put things back.
Keep chips, bars, and crackers in a mix of bins and small boxes. This also helps you see what’s running low before guests arrive.
If you have kids, use a lower shelf with a few go-to options. It reduces spills and keeps the “snack hunt” from turning into a mess. Rotate products every week so older items move forward.
For personalization, pick bins in colors that match your kitchen. Even small choices make the organization feel more “yours.”
4. Label Everything, Even If You Think You Know
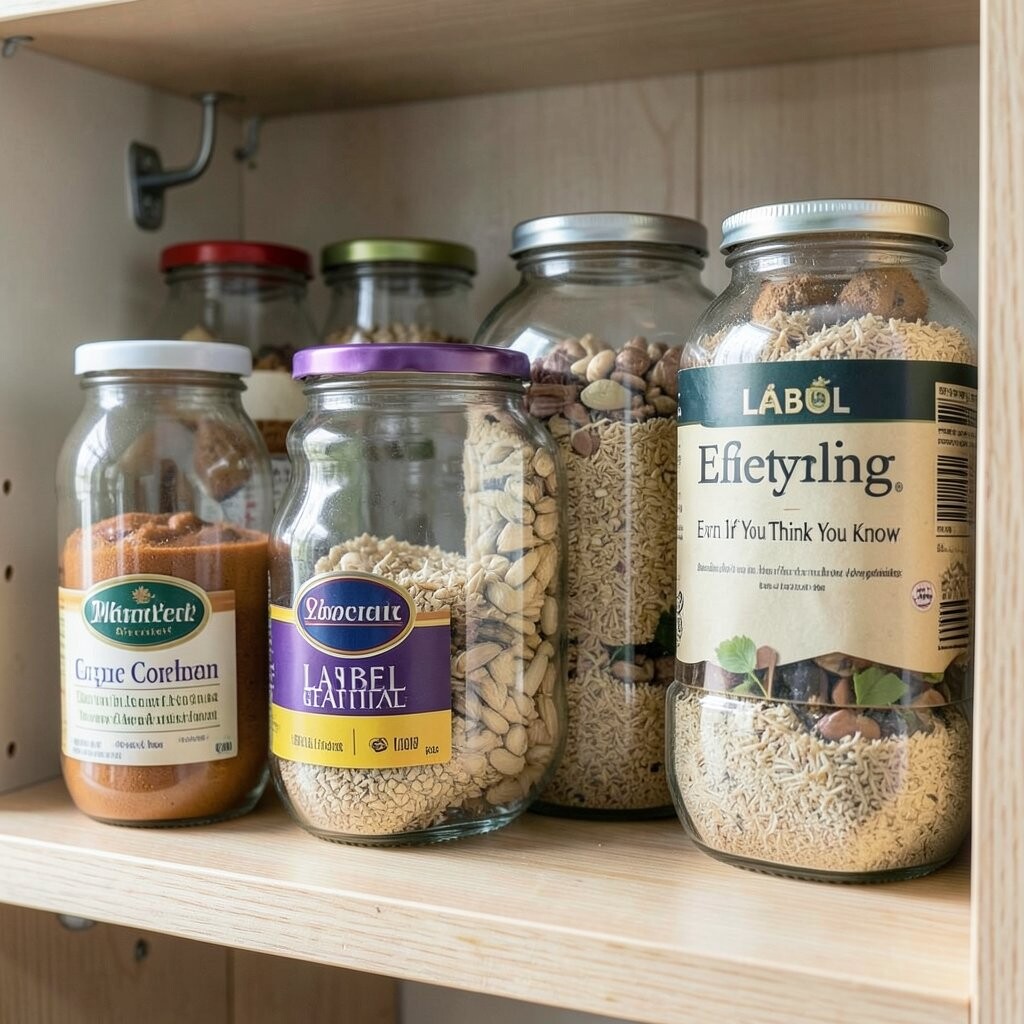
Labels turn guesswork into a quick glance. They also help when multiple people shop or refill the pantry.
Use simple names like “Rice,” “Coffee Beans,” or “Baking Soda,” and add dates when helpful. Keep labels consistent so the pantry looks neat from any angle.
5. Put Heavy Items on Lower Shelves
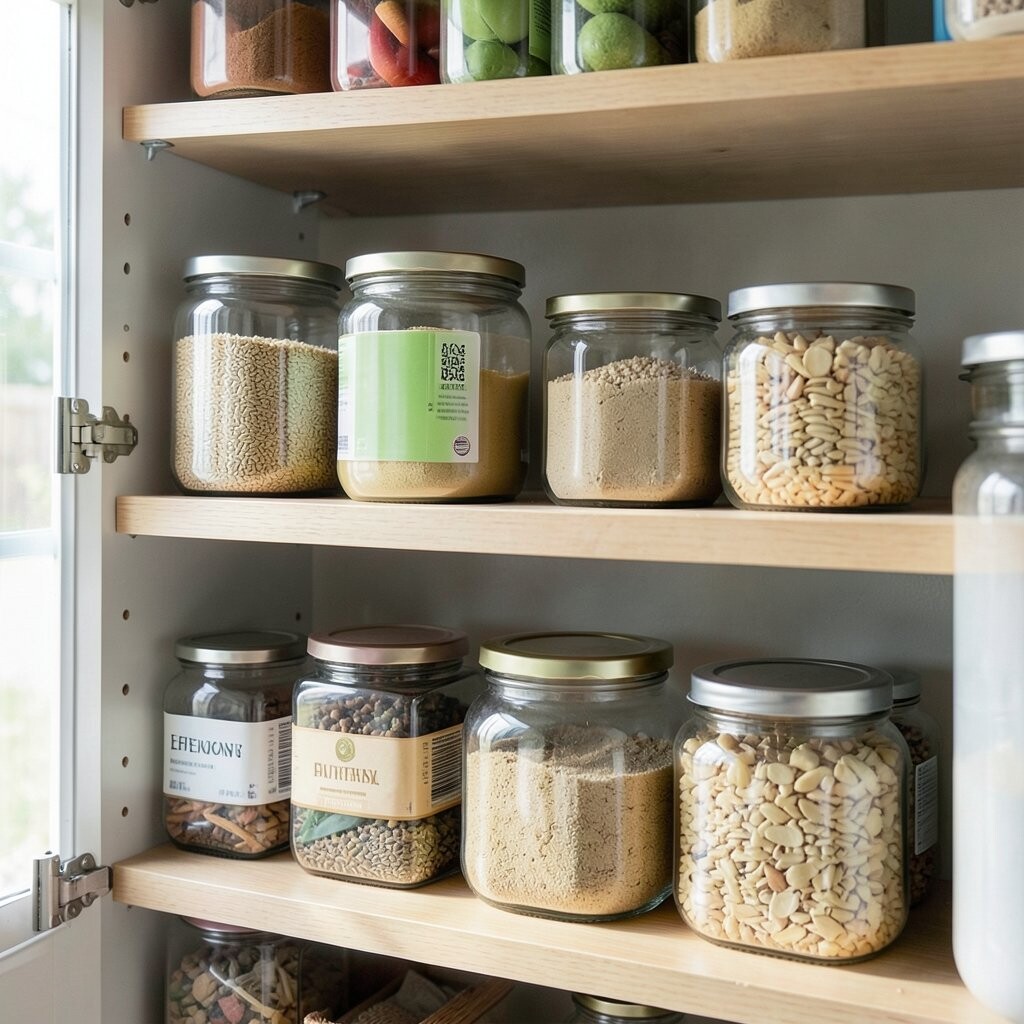
Heavy goods like canned tomatoes and big bags of rice should live lower for safety. It’s easier to lift, and jars won’t tip over as often.
Store tall, lightweight items higher so they don’t crush what’s underneath. This also keeps access smooth when you’re cooking fast.
To personalize, adjust your layout based on who uses the pantry most. A home with teens might prefer a higher snack level, while kids benefit from a clear, guided zone.
6. Add a “First In, First Out” System

Use a simple front-to-back rotation so older items get used before newer ones. When you restock from the back, freshness stays on track.
Try using two spaces for the same product, like one bin for new and one bin for older. This makes it harder to forget the items you already have.
If you want a trend that’s gaining popularity, consider using “FIFO” labels on containers. It keeps organization more automatic without extra effort. It also helps you cut food waste, which is a real budget win.
7. Group by Cooking Frequency, Not by Brand

Instead of sorting only by type, sort by how often you cook with it. Items you grab weekly should be easy to reach.
Place daily tools—seasonings, oils, pasta shapes, and grains—closer to the front. Seasonal items like special spices can move to the back or higher shelves.
To personalize, think about your routines. If you make pancakes often, give your baking shelf a prominent spot. If you meal prep, create a “meal base” area for rice, beans, and sauces.
8. Use Shelf Risers to Double Your Space
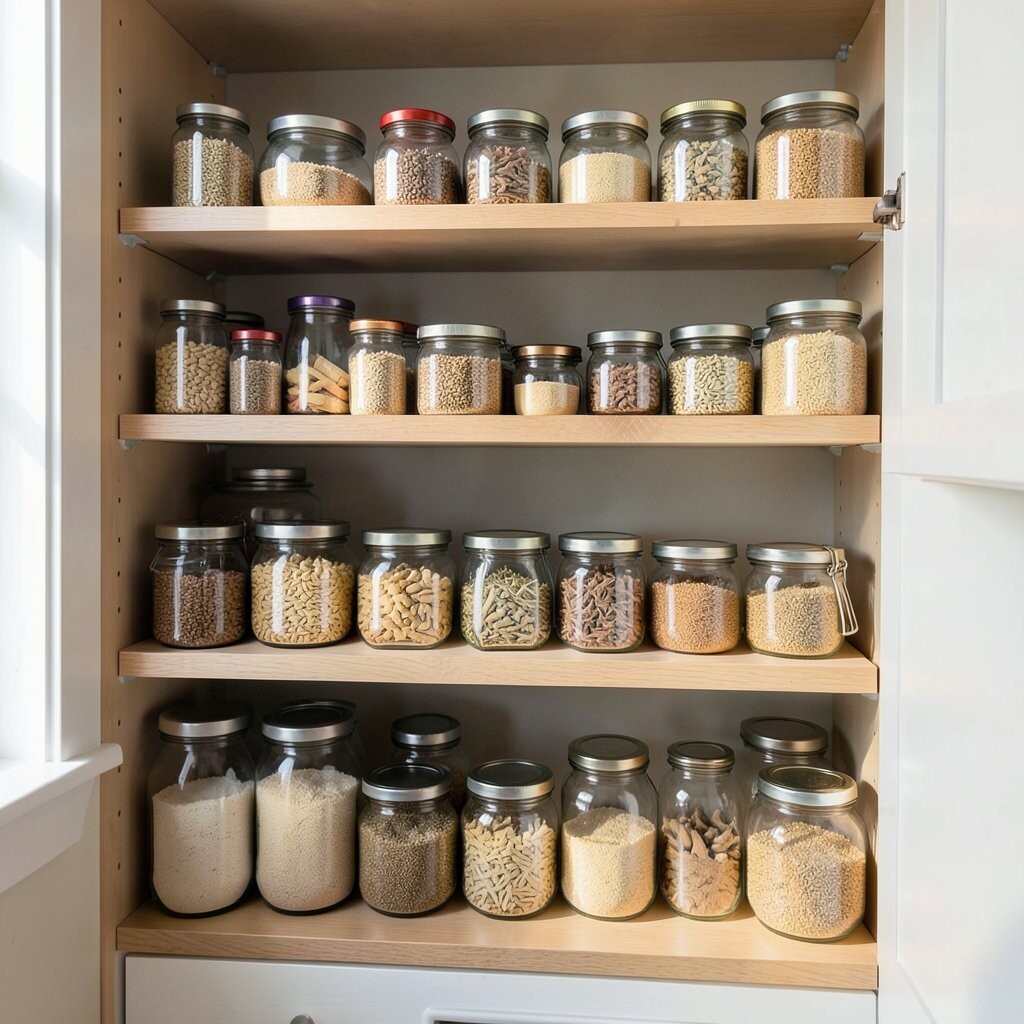
Shelf risers are like giving your pantry a second layer without adding more shelves. They help you use vertical space and see items without digging.
You can place them under jars, on canned goods stacks, or alongside boxed items. This also helps you keep tall products from blocking smaller ones.
Choose risers that fit your shelf depth so they don’t wobble. Many people prefer metal or sturdy plastic for longer life.
For cost considerations, look for sturdy risers at discount stores or online bundles. Even a couple of risers can change the entire feel of your pantry.
9. Keep a Small “Kitchen Backup” Shelf

Set aside a limited space for backups like extra flour, paper towels, or backup sweeteners. When everything is considered a “backup,” nothing feels organized.
This shelf prevents last-minute panic buys by making your stock visible. It also limits overbuying so you don’t fill every corner with duplicates.
10. Store Baking Supplies in a Dedicated Corner

Baking items tend to multiply because they’re used in smaller amounts but bought in bulk. A dedicated corner keeps them from taking over the entire pantry.
Keep flour, sugar, cocoa, baking powder, and chocolate chips in the same area. Use smaller containers for things like sprinkles or specialty chips so they don’t disappear.
For personalization, match the layout to your favorite recipes. If you love cookies, place chips and sprinkles at the front for quick grabs. If you do bread, give yeast and flour a clear path to reach.
11. Use Baskets for “In-Between” Items

Baskets are great for items that don’t fit neatly into jars. They also make the pantry look styled, not cluttered.
Try baskets for packets like tea, hot cocoa, drink mixes, or snack packs. When the basket is full, you stop adding more, which helps you control volume.
Pick baskets that match your kitchen style, like woven for warmth or simple plastic for easy cleaning. This trend toward “mix and match” textures makes pantries feel cozier.
If you want to keep costs low, repurpose baskets you already own. Just make sure they’re sturdy and easy to wipe down.
12. Sort Spices by Use, Not by Type
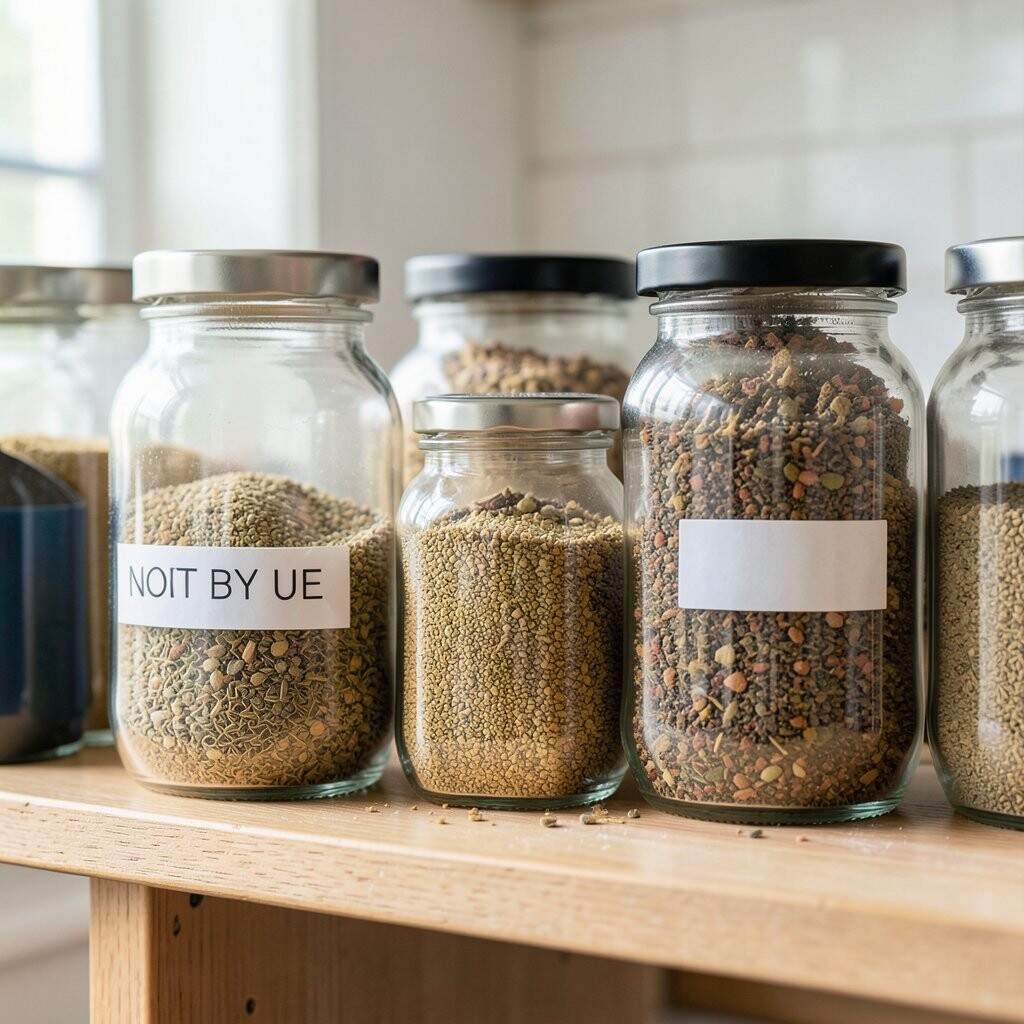
Spices are easiest to manage when they’re sorted by what you reach for most. If you cook tacos and stir-fries weekly, those spices should be closest.
Store everyday seasonings at eye level and keep specialty spices slightly higher or toward the back. This keeps your cooking smoother and helps you avoid expired jars.
For a practical touch, group spice blends together and keep single spices separate. It reduces time sorting while you cook. Add small labels so you can read them quickly from a distance.
13. Add a Clear “Trash and Date” Spot

Set a small bin or drawer area where you place expired items or packaging you need to discard. It stops clutter from spreading while you organize.
As you clean out, check dates on oils, baking powder, and canned goods. Then toss what’s expired so the rest stays reliable.
This makes each organizing session shorter because you know where items go. It also helps you maintain order after the pantry looks good. If you enjoy tidy workflows, this is a simple trend that keeps “maintenance” easy.
14. Keep Utensils and Tools Near the Pantry Work Zone
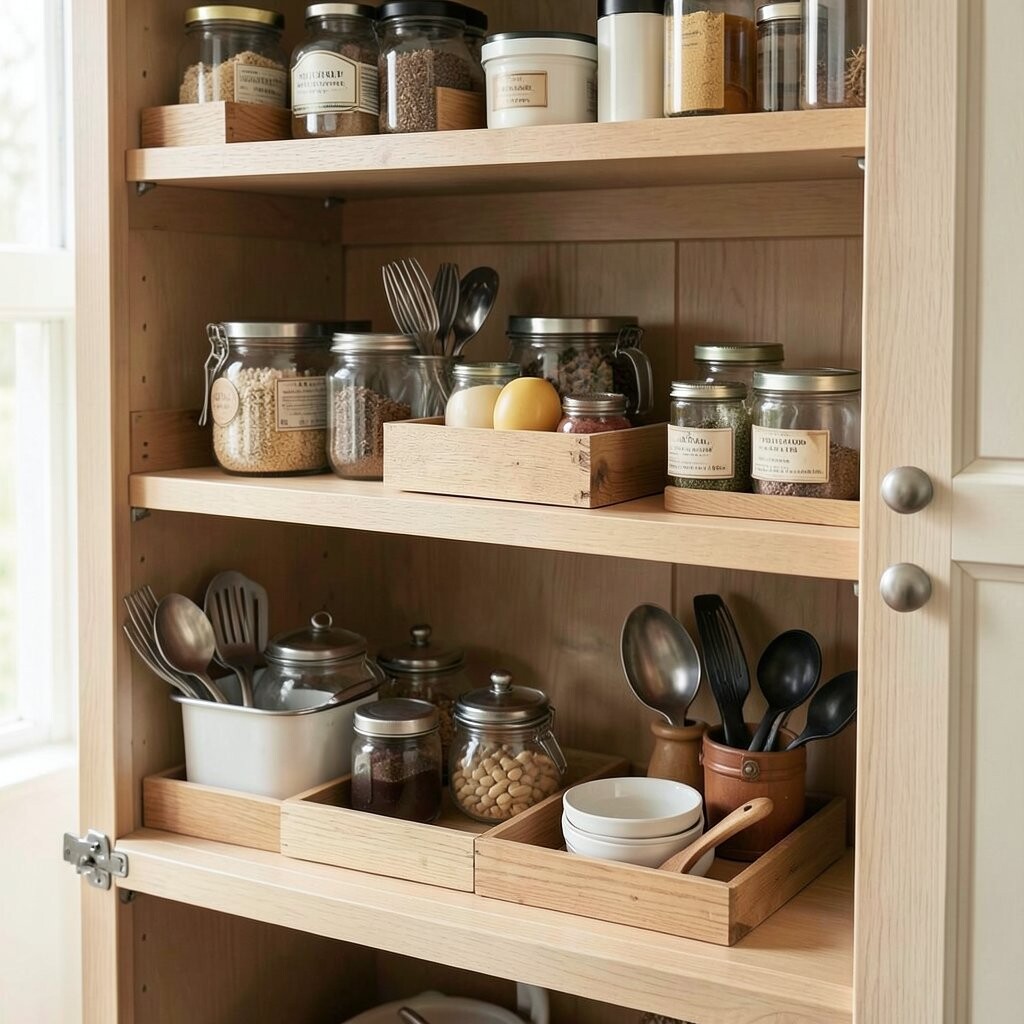
When you store measuring cups, funnels, and can openers right where you pack and pour, you reduce trips. That small distance adds up across a busy week.
Use a small container for tools so they don’t wander into other cabinets. A tidy tool spot makes refill days faster and cleaner.
15. Switch From Bags to Jars Where It Matters

Some pantry items behave better in jars because you can see and scoop them easily. Grains, nuts, and dried ingredients often feel more organized in a solid container.
Use jars when the item is used often or when you need quick access. Keep bulk bags if they’re cheaper and you can store them in a stable location.
For cost considerations, blend strategies: jars for daily items and bags for low-use bulk purchases. If you’re following trends, look for uniform jar sets that match your labels. You’ll get a more cohesive look without buying everything at once.
16. Store “Similar Shapes” Together

Grouping by shape helps you avoid wasted shelf depth. Boxes, cans, and bags stack differently, so organizing by form makes a big visual difference.
Keep cans in neat rows and align boxes so labels face outward. For bags, stand them upright or store them in a bin so they stay visible.
This method also makes restocking easier because you know where each item fits. It’s a practical way to keep your pantry functional even when life gets busy. Add a quick “return path” so items go back to the right shape group.
17. Create a “One-Handle” Restock Routine
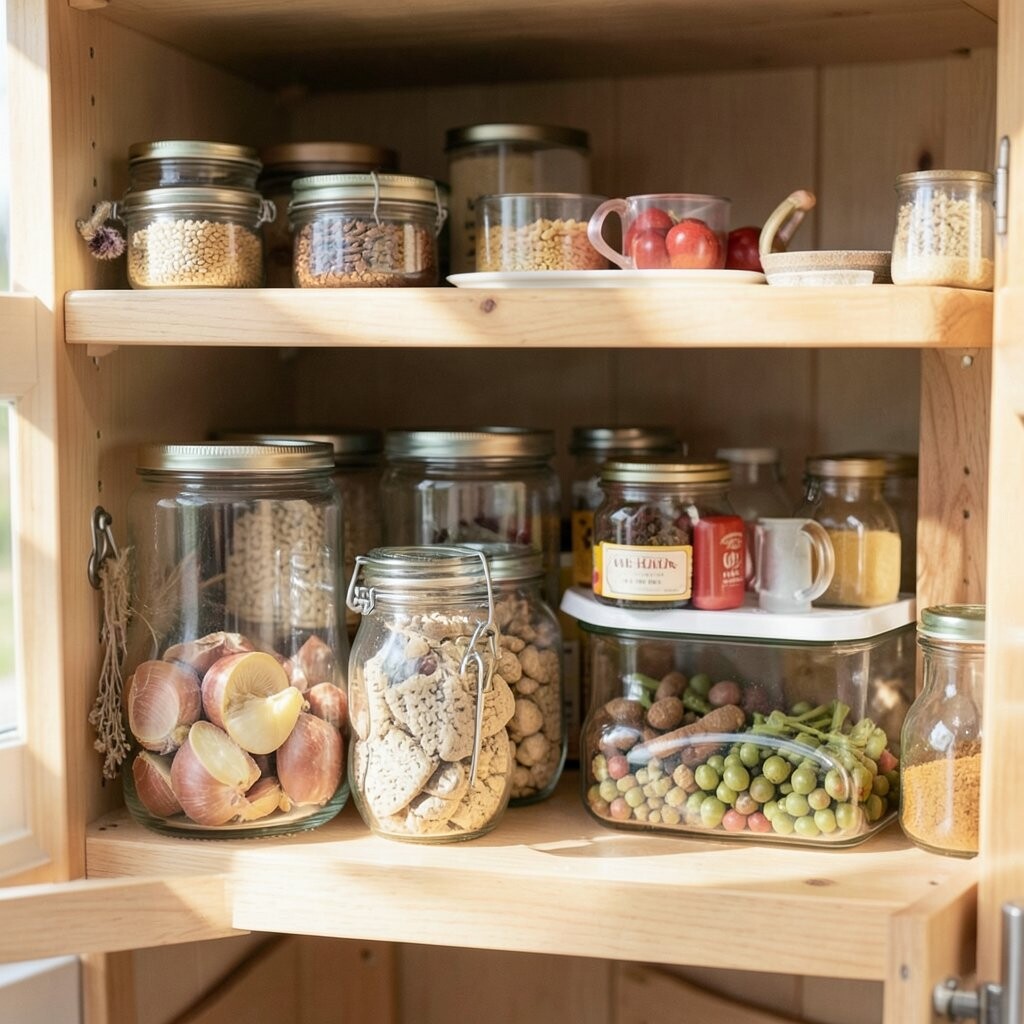
When you restock, follow a single habit so you don’t leave items sitting on the counter. Start by checking the front of each category and moving older items forward.
Then place new items in the back, wipe the container if needed, and label if it’s a new product. This routine keeps your pantry consistent over time.
Many people find that using a short checklist reduces stress. If you want personalization, tailor the routine to your shopping style, like weekly grocery refills or pantry-top-ups. Over time, the process becomes almost automatic.
18. Use Clear Lids or Window Labels for Quick Viewing
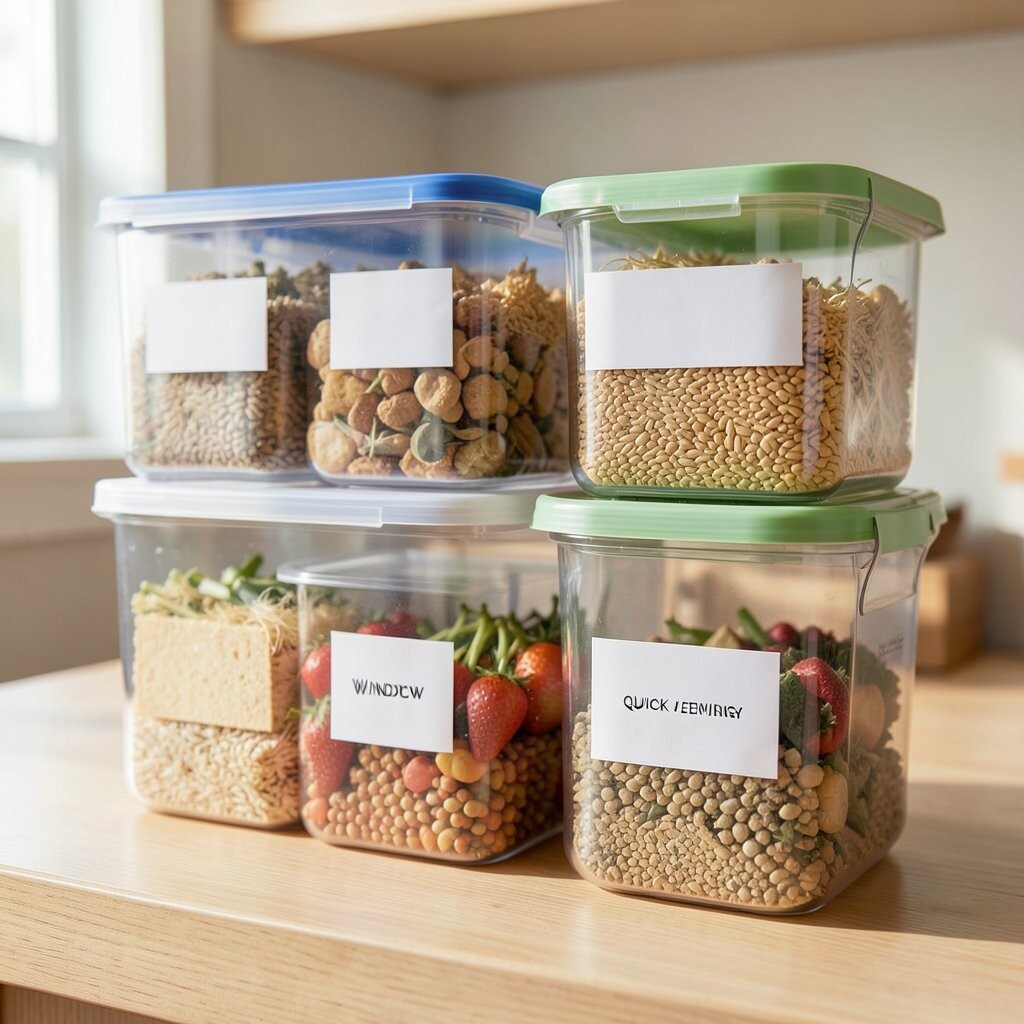
Even if you can’t label every jar perfectly, clear lids and window labels give you fast visual clues. You’ll reach for the right item without opening everything.
Choose labels with large text and place them where you can read them from standing height. This helps when you’re cooking and your hands are busy.
19. Control Inventory With Set “Max” Levels

Decide how much space you allow for each category before you shop. When a bin or shelf reaches its max, you pause until you use what’s inside.
This simple limit reduces clutter and makes organization last longer. It also prevents that “panic buy” feeling when a product is on sale.
For cost considerations, max levels help you spend on what you truly need. It also reduces the chance of expired items sitting in the back. This is a practical trend borrowed from retail: stock stays tidy when capacity is known.
20. Keep a Small “Dining Extras” Bin
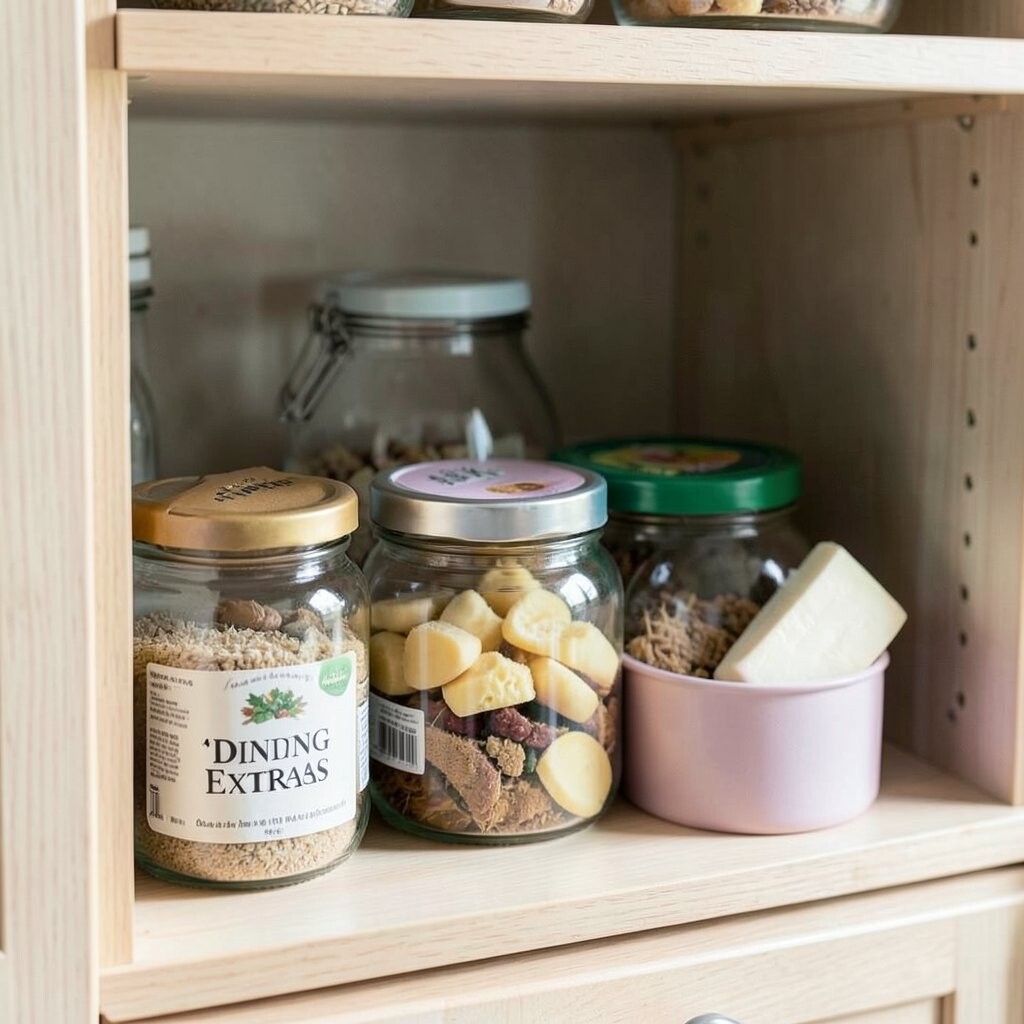
Some items only come out for hosting or special meals, like fancy cocoa, extra napkins, or dessert toppings. A dedicated bin keeps them from mixing with everyday staples.
Place this bin on an easy-to-reach shelf so you can grab it quickly. When it’s contained, you avoid the scattered “event pile” that grows over time.
21. Personalize With a Style Theme and Seasonal Swap
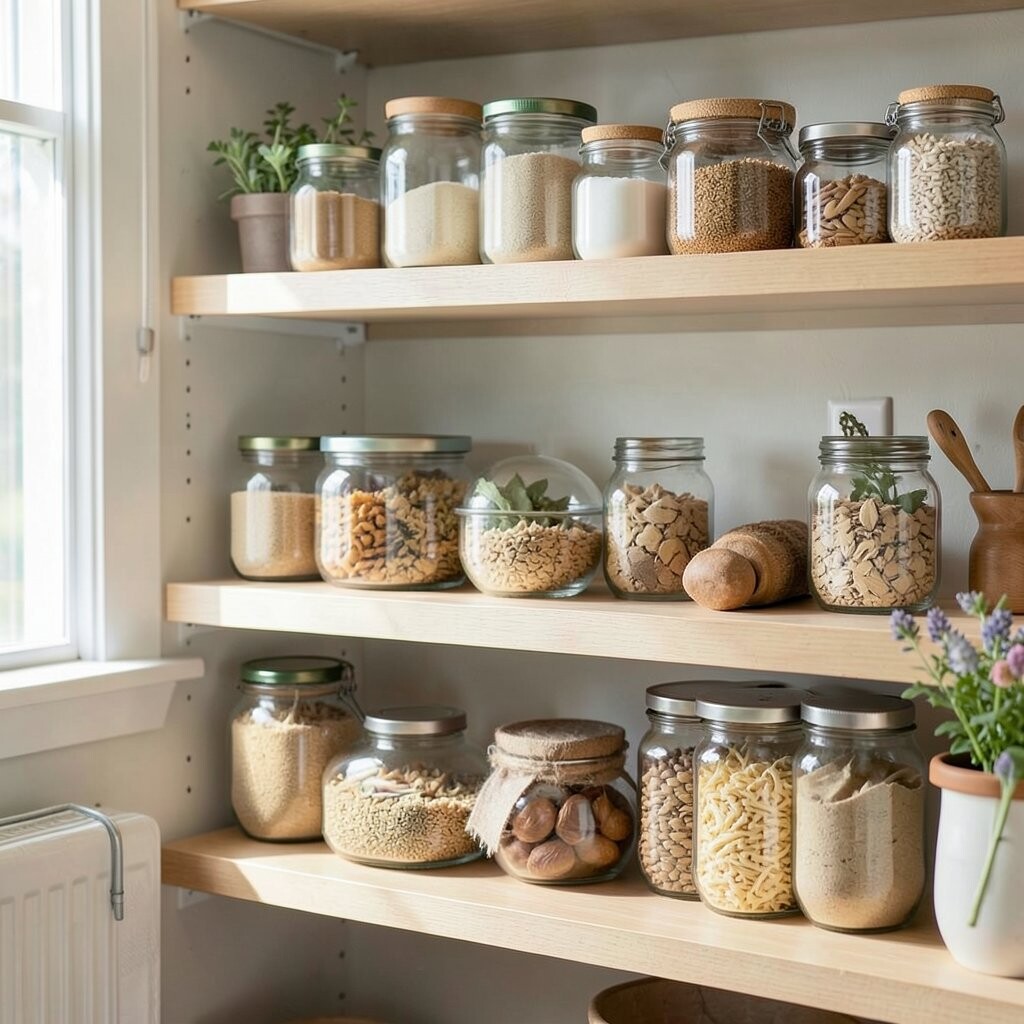
Your pantry can be efficient and beautiful at the same time. Pick a style theme like warm neutrals, bright labels, or matching containers so everything looks intentional.
Then do a seasonal swap by moving holiday baking supplies to a dedicated shelf and bringing in your current favorites. This keeps the pantry feeling fresh without reorganizing from scratch.
For trends, many people use color-coded labels or category tabs to make navigation fun. Cost-wise, you can keep most items the same and only update labels or bins a little at a time. Personal touches make maintenance easier because you’ll actually enjoy opening the pantry.