
Ready to make aprons that look as good as they feel? You can sew something charming even if you’re brand new to the machine.
1. Classic Cross-Back Kitchen Apron

This apron sits neatly and flat, with a cozy cross-back strap that looks tidy and stylish. It’s a beginner-friendly project because the shape is simple and forgiving.
Choose a medium-weight cotton or canvas so the fabric holds its structure. The cross straps help it fit many body types without complicated sizing changes. For personalization, add a small pocket panel in a contrasting print so the front pops every time you cook.
2. Tiered Ruffle Garden Apron

This apron looks cheerful and old-fashioned, with two or three gathered tiers that sway when you move. It instantly makes your kitchen feel like a sunny greenhouse.
Ruffles can seem fancy, but they’re just straight pieces sewn to a longer strip and gathered on top. Use lightweight quilting cotton for the tiers and a sturdier fabric for the waistband so it wears well. When you personalize it, try matching the ruffles to a favorite dish towel color.
If you’re worried about gathering, practice on scrap first and keep your stitches consistent. A zigzag stitch or a narrow serger-style finish helps the raw edges stay neat. Budget it by using prints only on the tiers and keeping the body fabric solid.
3. No-Waste T-Shirt Apron

This pattern is visually fun because it keeps the T-shirt’s natural shape and cuffs for easy structure. It feels comfortable right away, like an apron wearing you back.
Because you’re recycling fabric you already own, it’s one of the cheapest options for beginners. Cut the body of the shirt into an apron front and back, then add simple straps that tie at the waist. For uniqueness, use the shirt’s neckline as part of the top edge for a quick, modern look.
To make it more practical, reinforce the strap seams with a second line of stitching. A lightweight fusible interfacing on the top edge helps the neckline hold its shape while you wash it. Try a contrasting thread color if your sewing machine allows it, since that small detail makes the apron look intentional.
This is also great for learning basic sewing control because the fabric is soft and forgiving. Keep it simple at first, then level up later by adding a small patch pocket.
4. Half Apron for Baking Days

A half apron is minimal and cute, covering your torso while leaving your legs free for quick movement. It looks especially charming over skirts or fitted dresses.
It’s great for beginners because you can draft the shape using your own measurements and a simple straight edge. Use a midweight cotton for the body and add bias tape along the top edge for a clean finish. For personalization, sew a themed pocket panel like strawberries, cherries, or tiny checks.
5. Wrap-Style Bistro Apron with Adjustable Ties

This apron gives a professional vibe with a wrap front and ties that can adjust for comfort. The style looks neat in photos and practical during long cooking sessions.
The uniqueness comes from how you can build it to your comfort level using longer ties and optional side coverage. Beginners like it because the panels are flat, and you only need to focus on accurate seam allowances. For practical tips, press your seams before topstitching so the front lays smooth.
Cost stays low when you use one main fabric and one pocket fabric. Trending looks right now include tiny gingham, subtle stripes, and vintage-inspired florals. If you enjoy personalization, add embroidered initials to the pocket flap or hem a small contrast band at the bottom.
6. Vintage Patchwork Apron Front
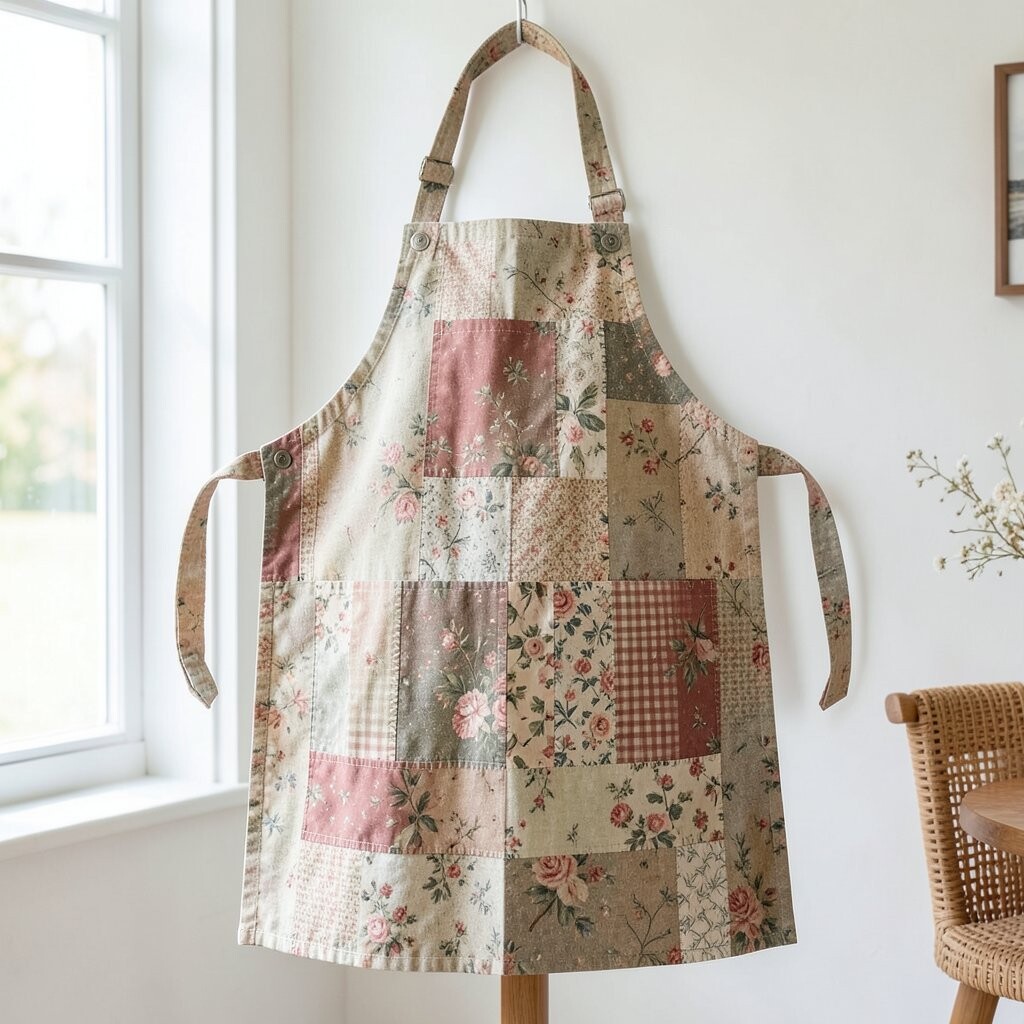
This apron front looks like a charming quilt square collection, with different fabrics stitched together in a satisfying pattern. Even when you keep the back simple, the front makes it feel special.
Patchwork can be beginner-friendly if you use pre-cut charm squares or cut fabric into uniform rectangles. Sew the pieces into blocks, then attach them to a plain apron back and straps. The unique part is that every batch of scraps becomes one-of-a-kind, and it reduces fabric waste.
Choose a limited color palette for an easy win, like warm reds plus cream, or blues plus gray. For a practical tip, keep your seam allowances consistent so the blocks line up. If you want it to last longer, use a cotton with tight weave for the patchwork and a tougher fabric for the ties.
7. Reversible Apron with Two Different Looks

A reversible apron feels like getting two aprons in one, because you can switch the fabric style depending on your mood. It looks neat from any angle, which is perfect for hosting.
This one is unique because you build pockets and ties so both sides are finished. Beginners benefit from the simple structure: you sew two matching apron halves together, then turn and stitch the edges. Add an optional center pocket on both sides for a symmetrical, tidy look.
To avoid frustration, mark your turning gap clearly and press everything flat before final topstitching. For personalization, pick two fabrics you love—like a floral print and a solid linen-look fabric. Cost considerations are fair because you can use fewer yardages by choosing coordinating fat quarters for the fronts.
Current trends favor reversible designs in neutral tones with bold pocket prints. If you’re gifting, embroider a small charm icon or add a stitched label so it feels handcrafted.
8. Bib Apron with Clear Measurement Guide

This apron has a classic bib shape that covers your upper chest and ties at the back. The visual is crisp and practical, like a tidy diner apron with a homemade touch.
What makes it unique is the easy measurement focus, which helps beginners avoid guessing complicated geometry. Use your chest and waist measurements to set the bib width and strap length, then keep the bottom edge straight. A simple top pocket adds both function and charm without turning it into a complex project.
For practical tips, use a lightweight interfacing on the bib so it stands up nicely. Reinforce stress points where straps attach by stitching twice or adding a small bartack. Cost is manageable because you only need enough fabric for the bib and one pocket, plus strap length for ties.
If you want personalization, choose a printed fabric for the bib and a solid for the pocket, or switch it for a reversed look. Keep the colors bright if you like a cheerful kitchen vibe, or choose soft tones for a calmer feel.
9. Japanese-Style Half Apron with Side Pocket
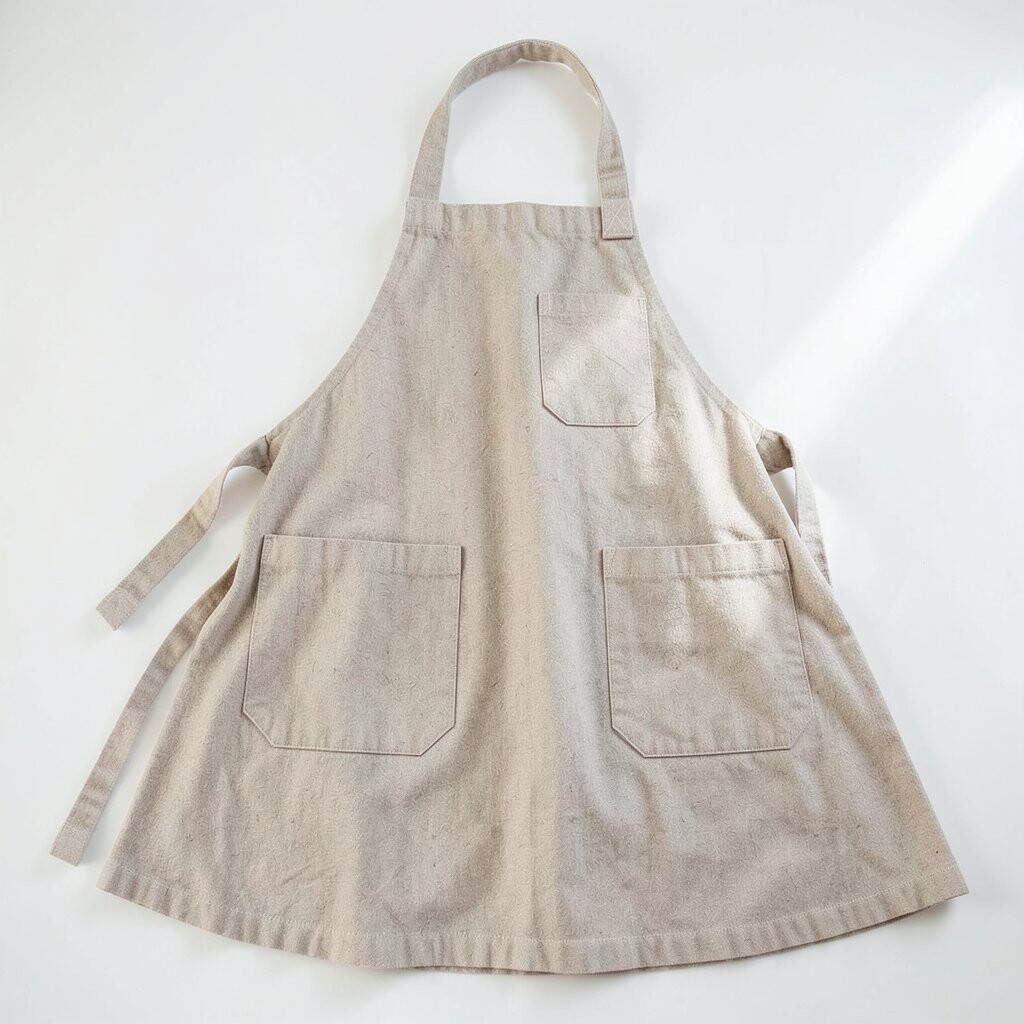
This apron looks clean and minimal, with a side pocket that feels practical instead of bulky. The style often uses elegant fabric choices and simple lines that look polished.
It’s unique because the pocket sits to one side, which can make reaching for tools or a phone feel effortless. Beginners can sew it without complicated gathers by using simple seams and a neat edge finish. For practical tips, use bias tape or a narrow hem to keep the edges smooth.
Choose cotton lawn or poplin for a light, crisp drape, then add a pocket lining if you want extra durability. Personalization can be as simple as selecting fabric with small repeating motifs like teacups, cherries, or tiny waves. Keep cost in mind by using one yard of fabric when possible and cutting pocket pieces efficiently.
10. Ruffled Neckline Apron with Button Detail
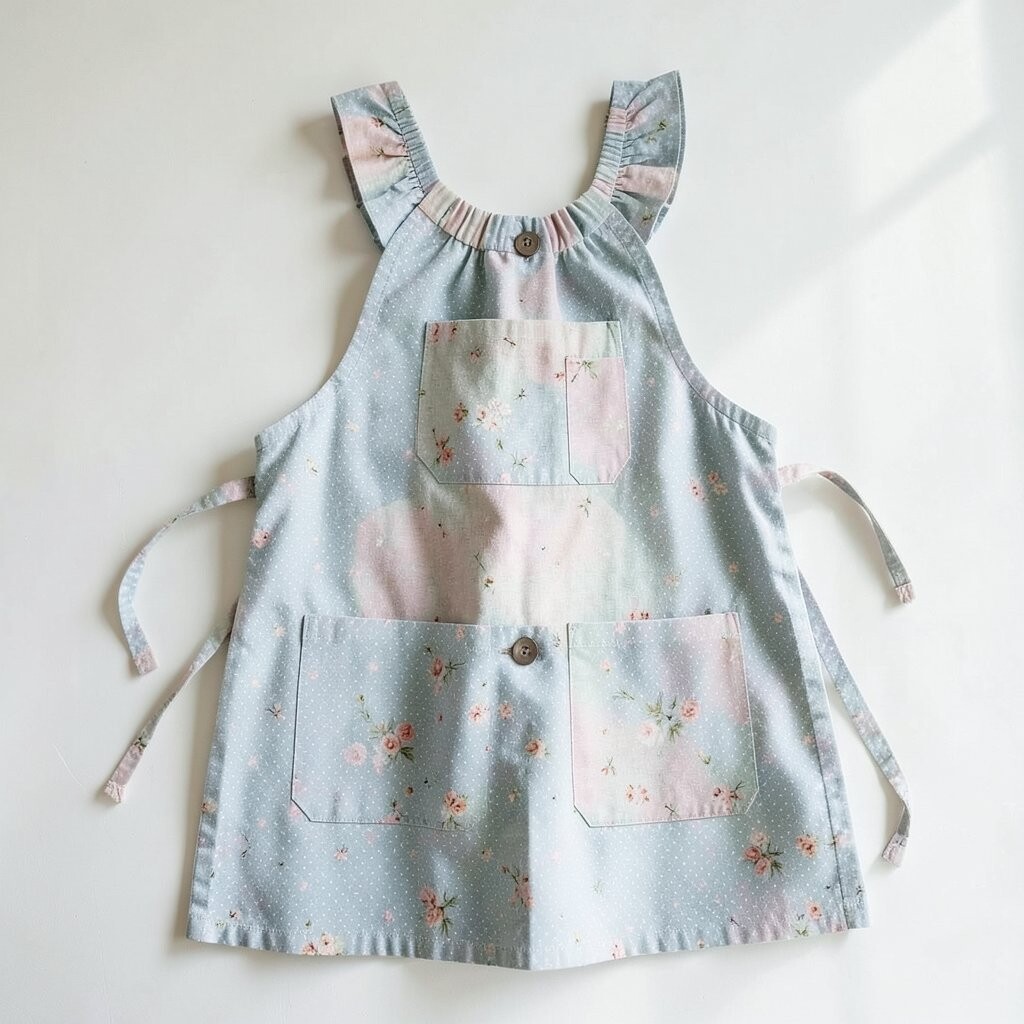
This apron has a sweet neckline ruffle and a small button detail that makes it feel like a boutique find. The visual charm is especially noticeable when you wear it over a plain shirt.
What makes it unique is the way a neckline ruffle frames your face, adding softness without needing a full flounce everywhere. Beginners can sew a ruffle by using a long stitch on a single strip, then gathering it to fit the neckline. Add one or two buttons at the top for a secure and decorative closure.
For practical tips, use a light stabilizer on the neckline so buttonholes don’t stretch. Try contrasting thread for the button stitching to make it stand out. Trends right now include soft pastels, gingham, and subtle floral prints, so those pair well with a delicate ruffle.
11. Patterned Chambray Utility Apron with Tool Loops

This apron looks sturdy and modern, with tool loops that give it a workwear vibe. It’s visually distinctive because it feels ready for real projects, not just baking.
Even though it has extra features, it stays beginner-friendly when you focus on straight seams and simple loop construction. Make tool loops from narrow strips of the same fabric, then baste them in place before topstitching. The benefits are clear: you can hold a towel corner, a wooden spoon, or small measuring tools.
For personalization, add a loop that matches your hobby—like one for a pastry brush or a small whisk. Cost considerations are easy because chambray or durable cotton works well without expensive materials. If you want a trend-forward look, choose a dark chambray with a light pocket insert for contrast.
12. Pleated Skirt Apron with Simple Bodice

This apron features soft pleats in the skirt section, creating a “flow” effect that looks elegant when you walk. The top stays simple, so your efforts focus on a visually rewarding detail.
Pleats can feel intimidating, but you can keep it manageable by using a small number of wide pleats. Sew the pleated panel to a straightforward bodice, then finish the edges with a clean hem or bias binding. For personalization, pick a fabric with movement, like a medium-weight cotton with a subtle stripe or micro-floral pattern.
13. Pocketed Crossbody Apron for Craft Time

This apron looks like a craft organizer, with pockets placed for quick access to scissors, tape, and small tools. The visual is unique because it resembles an apron-cum-crossbody accessory.
It’s designed to help you stay organized during crafting, and the crossbody style makes it comfortable when you’re moving around. Beginners can sew it by using one main apron panel, then attaching pocket rectangles and a strap system. Choose sturdy fabric like cotton duck or canvas so the pockets keep their shape.
For practical tips, add a slightly angled pocket edge so items don’t fall out as easily. Personalization ideas include labeling pockets with stitched icons, or using a fabric print that matches your craft theme. Cost can be kept reasonable by using canvas for the main body and only one coordinating print for the pocket set.