
Even the smallest tools can make sewing feel calmer and more organized. These pin cushion ideas are practical, fun to make, and easy to personalize.
1. Classic Herb-Scented Pincushion

A pin cushion filled with dried lavender or rosemary smells amazing while you sew. The gentle scent can make your workspace feel cozy and fresh.
Choose a sturdy fabric like linen or cotton canvas so pins stay secure. Fill it with dried herbs, plus a thin layer of fiberfill to help it keep its shape. For a practical touch, add a small removable inner pouch so you can refresh the herbs over time.
2. Scrap Fabric Pin Cushion in a Yo-Yo Flower

This pin cushion uses tiny scrap circles to create a bright yo-yo flower. It looks cheerful on your sewing table, even when you’re in a hurry.
Stack and stitch yo-yos to form a layered center, then top with a button for extra charm. Use a firm stuffing and a non-slip bottom so pins don’t poke through as you reach. To personalize, mix prints by color family, like warm reds and oranges or cool blues and greens.
If you’re watching costs, this is one of the cheapest options because it uses leftover fabric. A popular trend is upcycling with small fabric scraps, and yo-yos are perfect for that look. Keep it durable by reinforcing the center with extra stitching where your pins land most often.
3. Thimble-Top Pincushion with a Mini Ladder Stitch

Try a pincushion that sits right on top of a thimble for a neat, stackable feel. It’s both functional and oddly satisfying when you grab pins.
Use a small round base, then sew a ring of fabric to hold the thimble steady. Add a decorative ladder stitch around the edge so it looks tidy and intentional. The uniqueness comes from combining a classic sewing tool with a custom pincushion top.
For practical tips, keep the stuffing compact so the thimble doesn’t wobble. If you want extra grip, use a dot of fabric glue at the base before the final stitches. Personalize the design by choosing a thimble color that matches your thread stash or your scissors case.
Cost is usually low if you already have a spare thimble or can thrift one cheaply. A current style trend is “small desk accessories,” and this fits right in. You can also make a matching set with a thimble needle holder for a coordinated look.
4. Flat “Pin Tray” Pincushion with Quilted Fabric
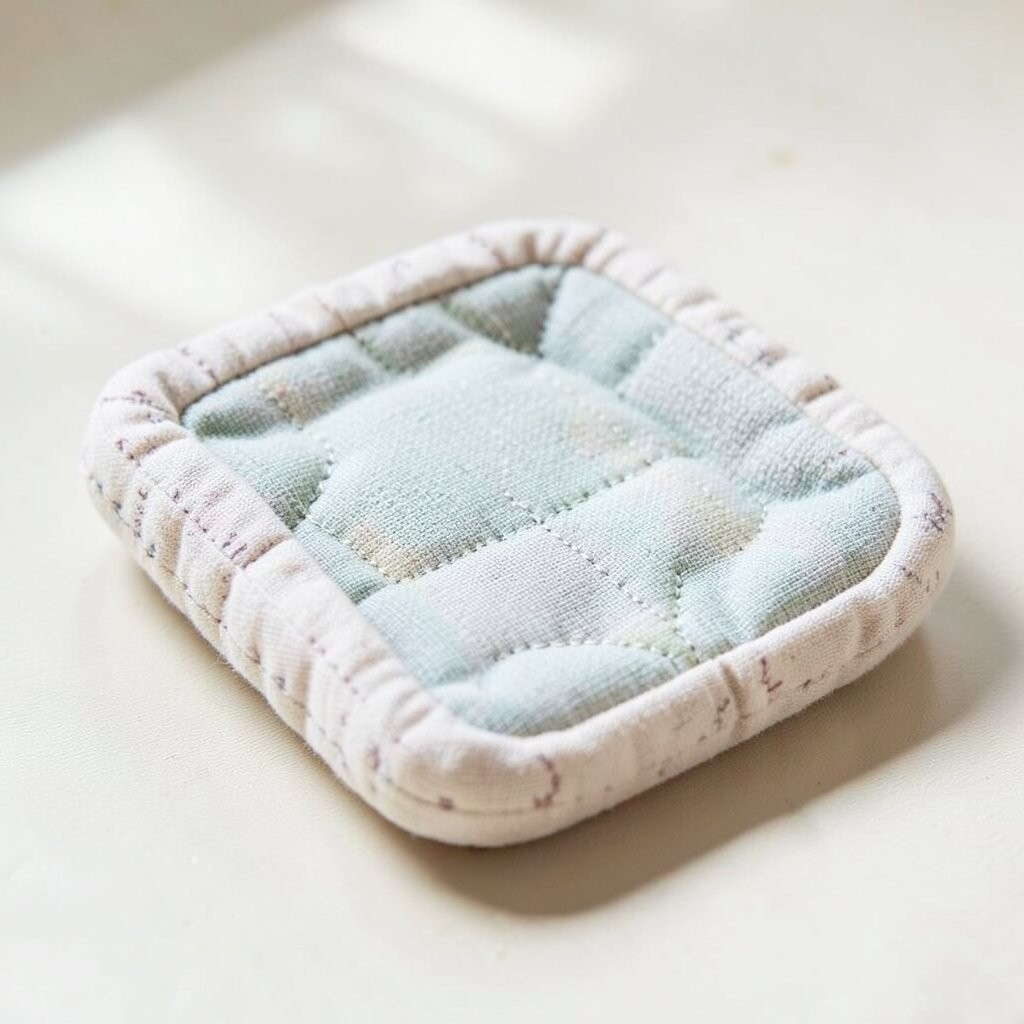
A flat pin cushion is great when you like to pin garments while keeping your workspace tidy. It lays gently on the table and still holds pins firmly. It’s especially handy for ironing-heavy projects.
Make it by quilting two layers of fabric with batting between, then adding a firm center pad. Choose a pin-friendly top fabric like denim, twill, or tightly woven cotton. To personalize, draw a simple shape with stitching—like stars or a heart—so it looks like a small decorative mat.
5. Denim Pocket Pincushion with Button Closure
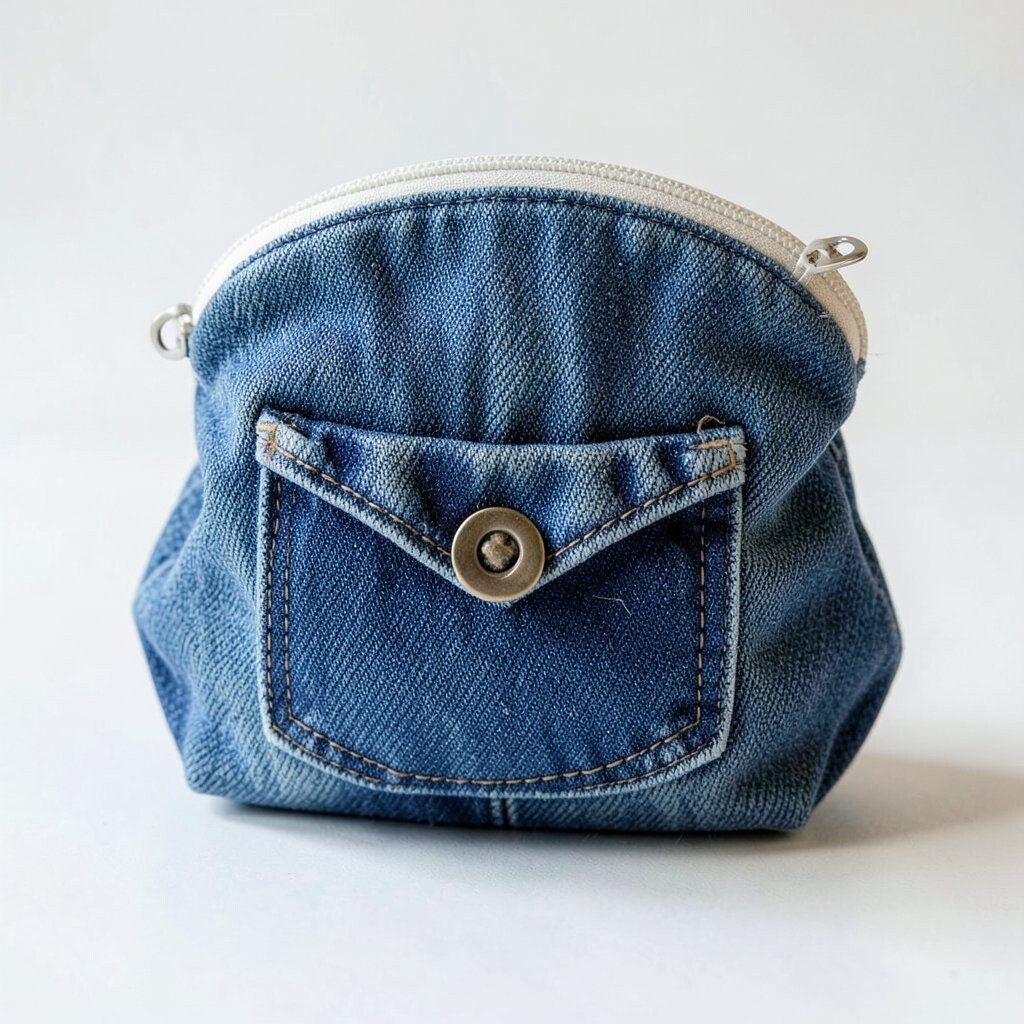
A denim pocket pincushion feels sturdy and familiar, like using an old favorite pair of jeans. The pocket shape also gives you a natural place to store a few extra pins. It looks cool and casual on any sewing setup.
Cut a pocket panel from denim, line it with cotton, and stitch the edges so it holds stuffing securely. Add a small button or snap so pins don’t fall out during travel. Use thick batting so the pin points sink in instead of sliding off.
This idea can be very budget-friendly if you recycle old jeans. The current trend of “upcycled fashion supplies” makes denim tools especially popular. For practical personalization, vary the pocket seam lines or keep the original distressed look.
6. Mushroom Shaped Pincushion with Felt Caps
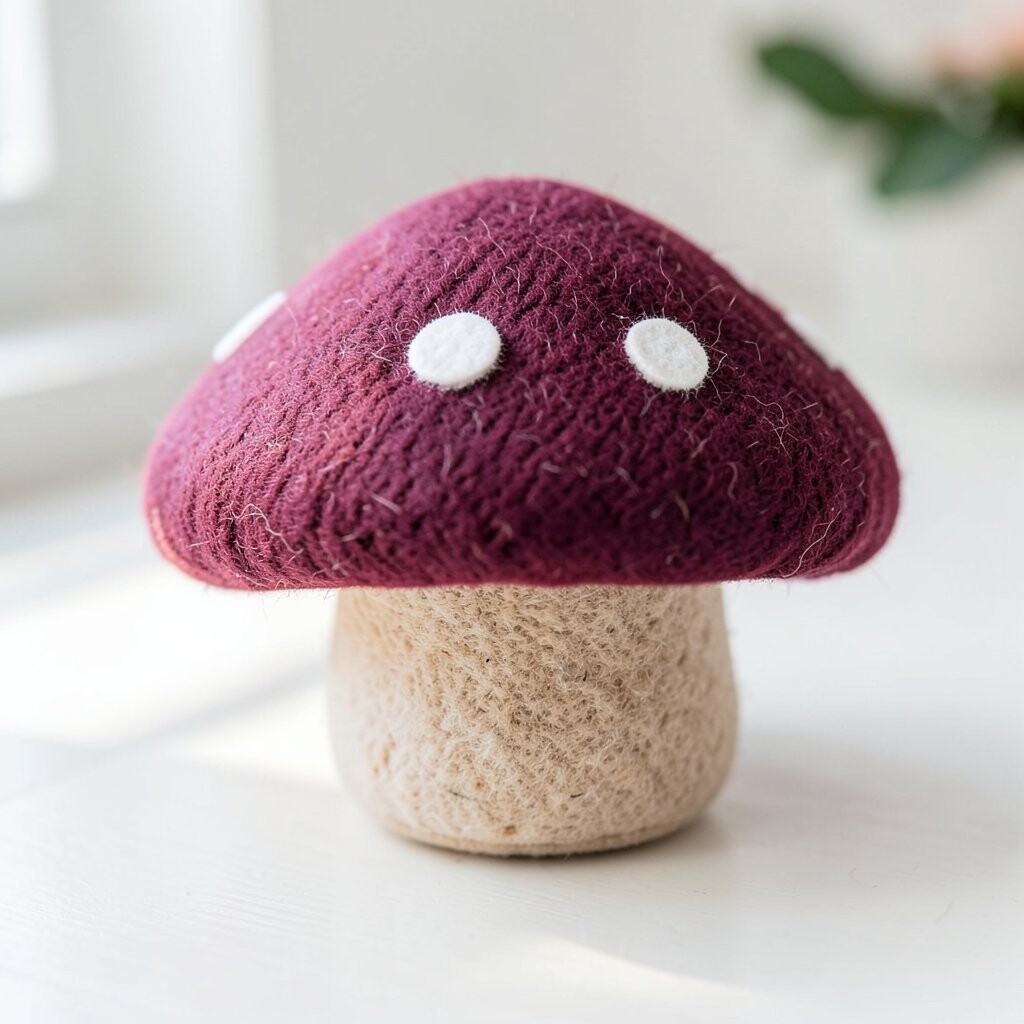
A mushroom pin cushion is adorable and surprisingly useful. When you set it down, it instantly adds personality to your sewing space.
Use felt for the cap and a fabric or felt base for the stem, then stuff lightly so it stays firm. Stitch the “dots” on the cap with contrasting thread for a playful look. Make sure you reinforce the underside so pins stay secure where you press most often.
Personalize by choosing different mushroom styles, like classic white-and-red or a modern pastel palette. A practical tip is to add a weighted base fabric circle so the mushroom doesn’t tip over. If you want cost control, felt is affordable, and you can mix in small leftover pieces.
7. Round Pin Cushion with Quilted Star Top
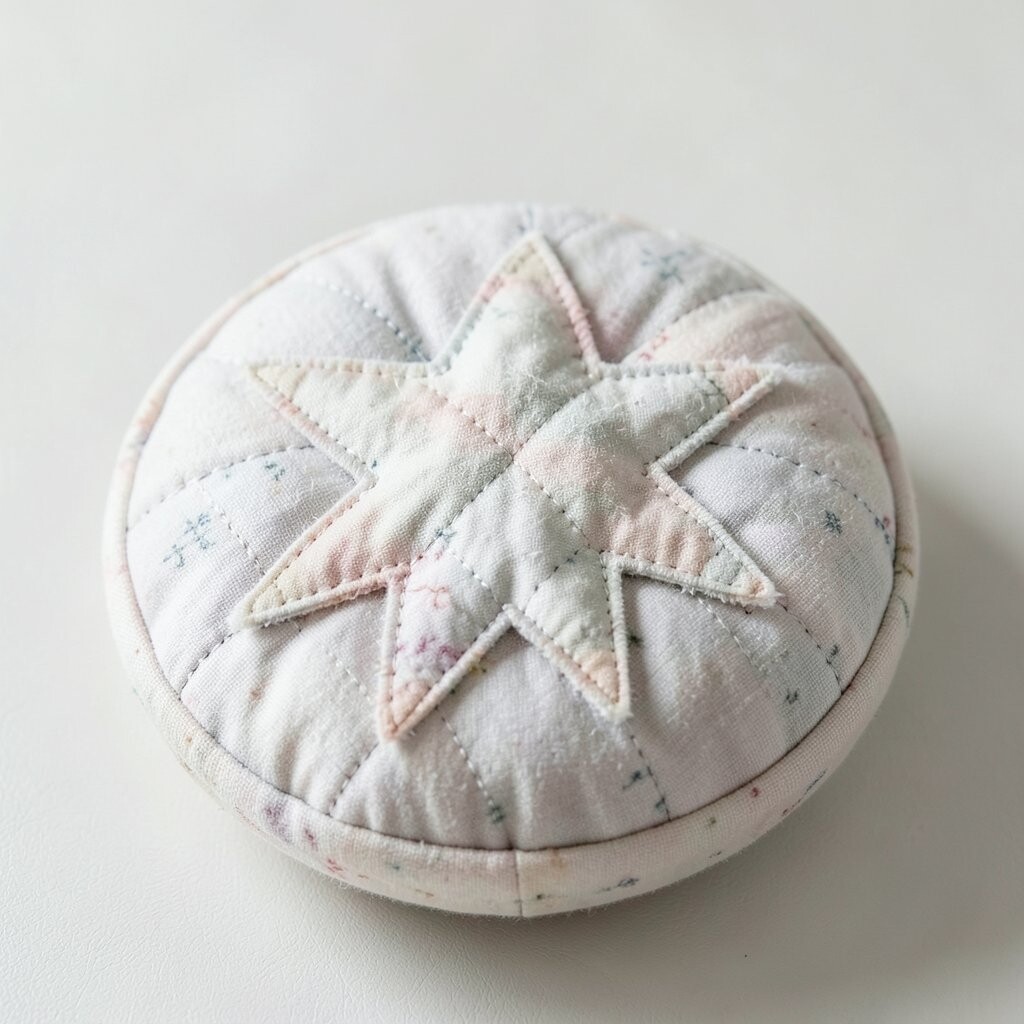
A round pincushion with a star pattern feels classic and a little fancy. It also stays easy to rotate, so you can reach pins from different angles.
Quilt the star shape using a simple template, then layer it over batting to make a sturdy top. Stuff the sides firmly and stitch a smooth closing seam at the bottom. For uniqueness, vary the star fabric colors so it looks modern rather than traditional.
To personalize, match the star colors to your current quilt or garment project. Cost is moderate depending on how much new fabric you buy, but scraps work beautifully here. A current trend is “modern quilt blocks,” and star tops are perfect for that look.
8. Needle Threader-Friendly Pincushion with Side Channel

This design helps you keep pins and tiny sewing tools together without hunting through a drawer. The side channel makes it easier to grab what you need mid-project.
Build a standard pincushion body, then add a slim fabric strip along one side to form a shallow “channel.” Place the channel near the edge so your fingers can slide items in and out. Stuff the channel area a bit less so small tools fit, but keep the center firm for pin stability.
For practical tips, use interfacing on the channel strip so it holds its shape. Choose a contrasting fabric so the channel stands out, even from across the room. You can personalize by adding tiny printed labels like “pins” or “threads,” made from scrap ribbon.
Cost is usually low because it’s mostly fabric and a little interfacing. This also fits a current trend of “organized sewing studios,” where everything has a simple home. If you travel with your sewing kit, this pincushion can replace a separate pin packet.
9. Hanging Cone Pincushion for Cabinets and Travel

A hanging cone pincushion is great when you have limited tabletop space. It dangles neatly and keeps pins ready right where you work.
Make a fabric cone, then line it and stuff it firmly so pins don’t slip. Add a loop at the top for hanging, using ribbon or sturdy tape. The unique feature is how it stays out of the way, which is especially helpful for small rooms or craft tables.
For practical tips, choose a fabric that won’t snag easily, like medium-weight cotton or canvas. If you want it travel-friendly, secure the cone closure with a small button flap so pins stay contained. Personalize the cone with color-blocking or a stitched-on tag that shows what’s inside.
10. Mini Cat or Bird Pincushion with Appliqué Face
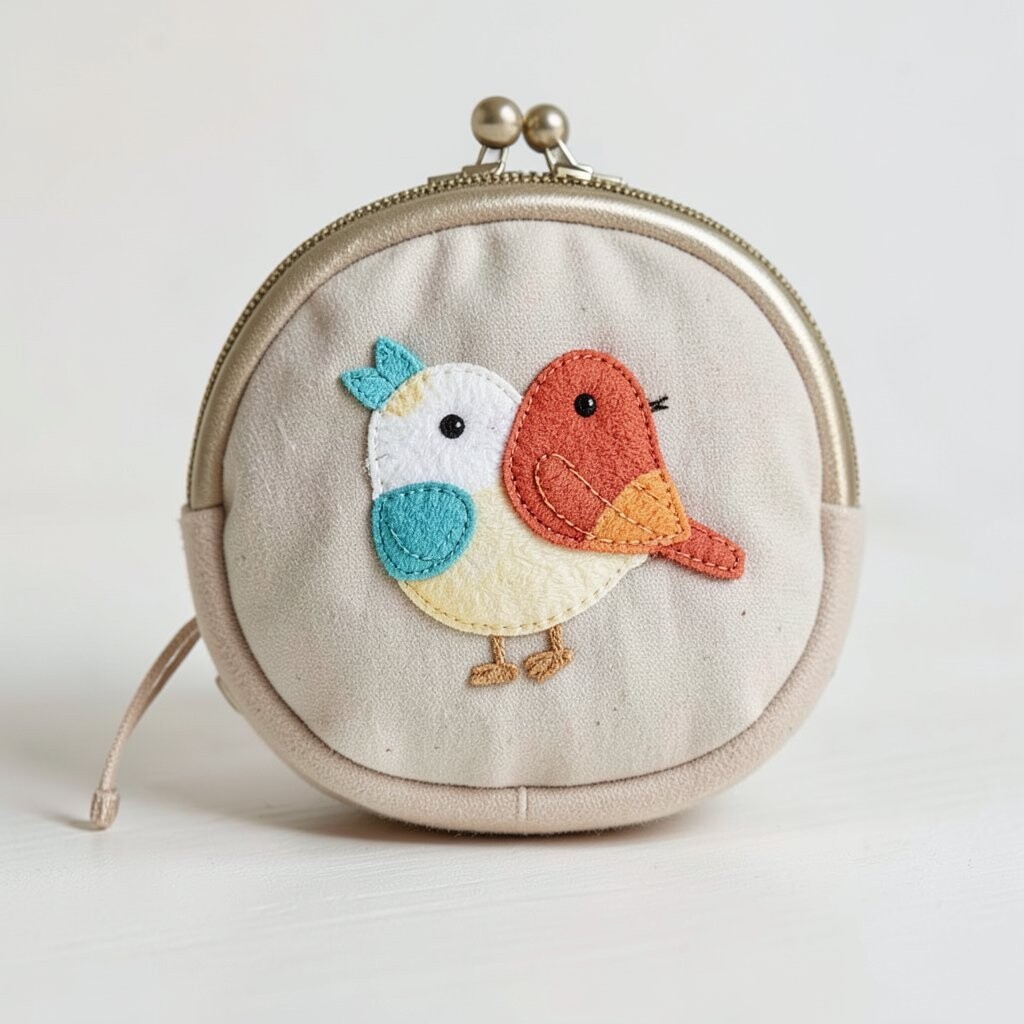
A cat or bird pincushion adds instant whimsy to your sewing routine. It also gives you a fun reminder to slow down and enjoy each step.
Use felt or cotton for the body, then appliqué a simple face with stitched eyes and a tiny nose. Fill it firmly and add a little extra stuffing at the “forehead” so pins press in securely. This style stands out because it’s more playful than traditional pincushions.
To personalize, change the character style—polka-dot cat, sleepy bird, or even a little fox. Cost is low if you use scrap felt, and appliqué pieces are small. A current trend is cute “maker mascots,” and a character pincushion is an easy way to join in.
11. Vintage Button-Up Pincushion from a Shirt Placket

This pincushion idea turns a small part of a thrifted shirt into a charming sewing accessory. The button placket details look so tidy that it feels like a real vintage find.
Cut out the placket section, line it with fabric, and shape it into a cushion body. Stuff it firmly and sew the ends closed so pins don’t poke through. For a practical tip, reinforce stress points near the buttonholes where your hand might press.
Personalize by choosing plackets with different buttons—wood, metal, or even mismatched colors. Cost can be very low if you thrift, but check fabric weight so it holds pins well. This style matches a trend of “slow fashion accessories,” where sewing tools borrow details from real garments.
12. Starburst Pincushion with a Folded Fabric Pinwheel
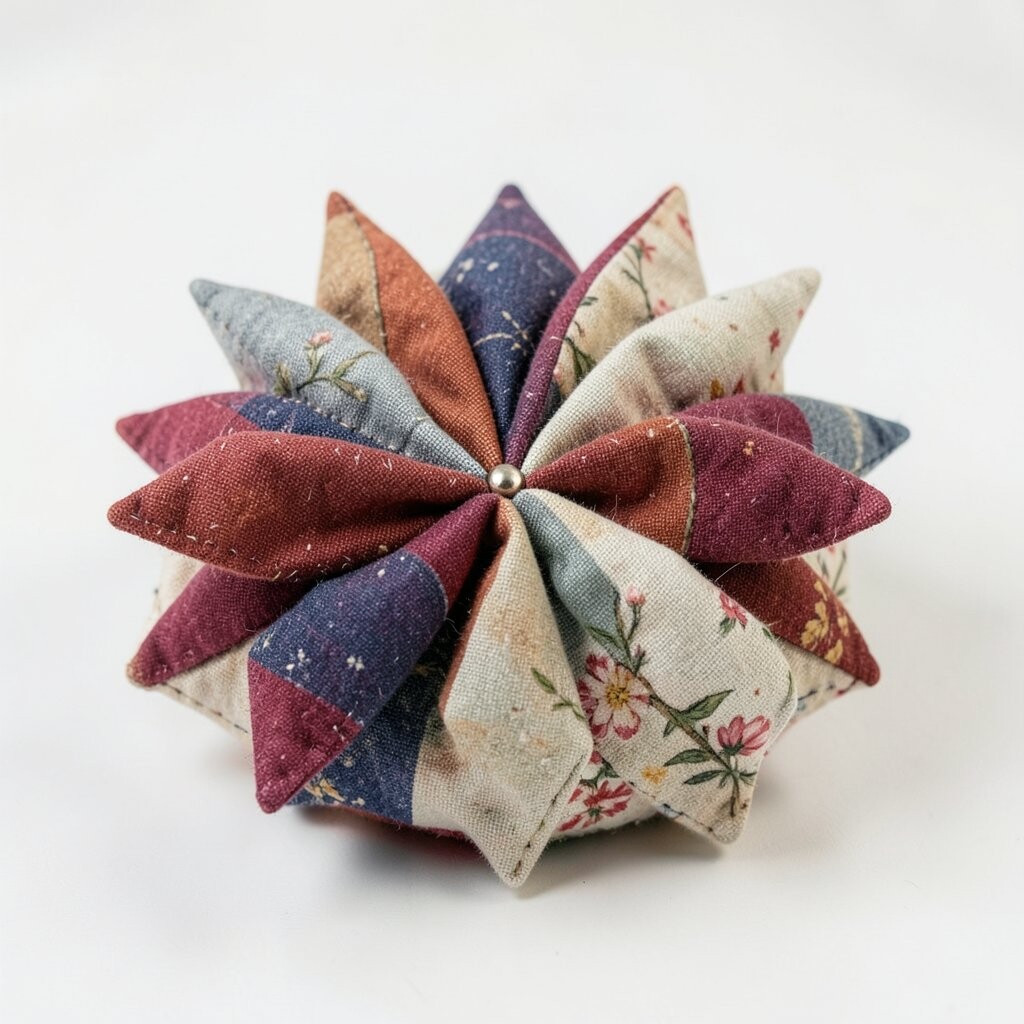
A starburst pincushion looks like a little fabric pinwheel on your sewing table. It feels energetic and bright, especially with contrasting thread colors.
Fold fabric strips into pleated layers, then stitch them together around a circle center. Add stuffing beneath, and secure the whole piece so it stays compact. The uniqueness comes from the folded structure, which gives a dimensional surface for pins.
For practical tips, keep folds tight and use strong thread so edges don’t loosen. Personalize by making the starburst in one color family or mixing bold prints. If you want to control costs, use scrap strips and skip fancy batting by using firm foam or thick fiberfill.
13. Travel Pincushion with Zippered Fabric Case
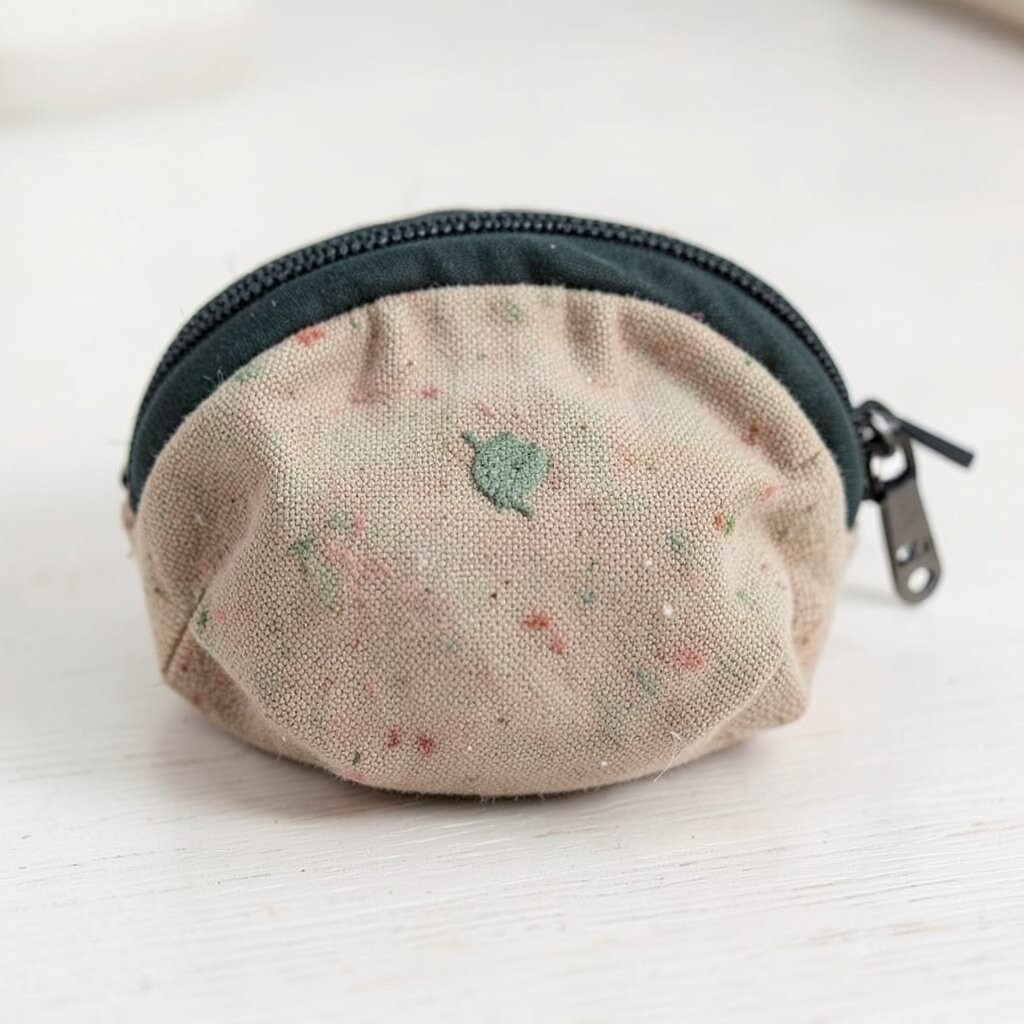
If you like to sew at home and on the go, a zipper case is a lifesaver. It keeps pins contained and protects them from getting bent.
Make a small padded case with a zipper along the top, then attach a pincushion insert inside. Choose a tightly woven outer fabric so the case holds up to daily use. For a unique feel, add a fabric tab or mini carabiner so you can clip it to a bag.
Personalize the lining with a fun print, and add a small elastic loop for extra needles. Cost is moderate because you’ll likely need a zipper, but the safety benefit is worth it. A current trend is “smart craft organization,” and zipper cases fit that perfectly.
Practical tip: use a flat insert rather than a bulky one, so the case closes smoothly. If pins still snag, add a thin barrier layer between the insert and outer fabric.
14. Embroidered Rose Pincushion with Raised Petals
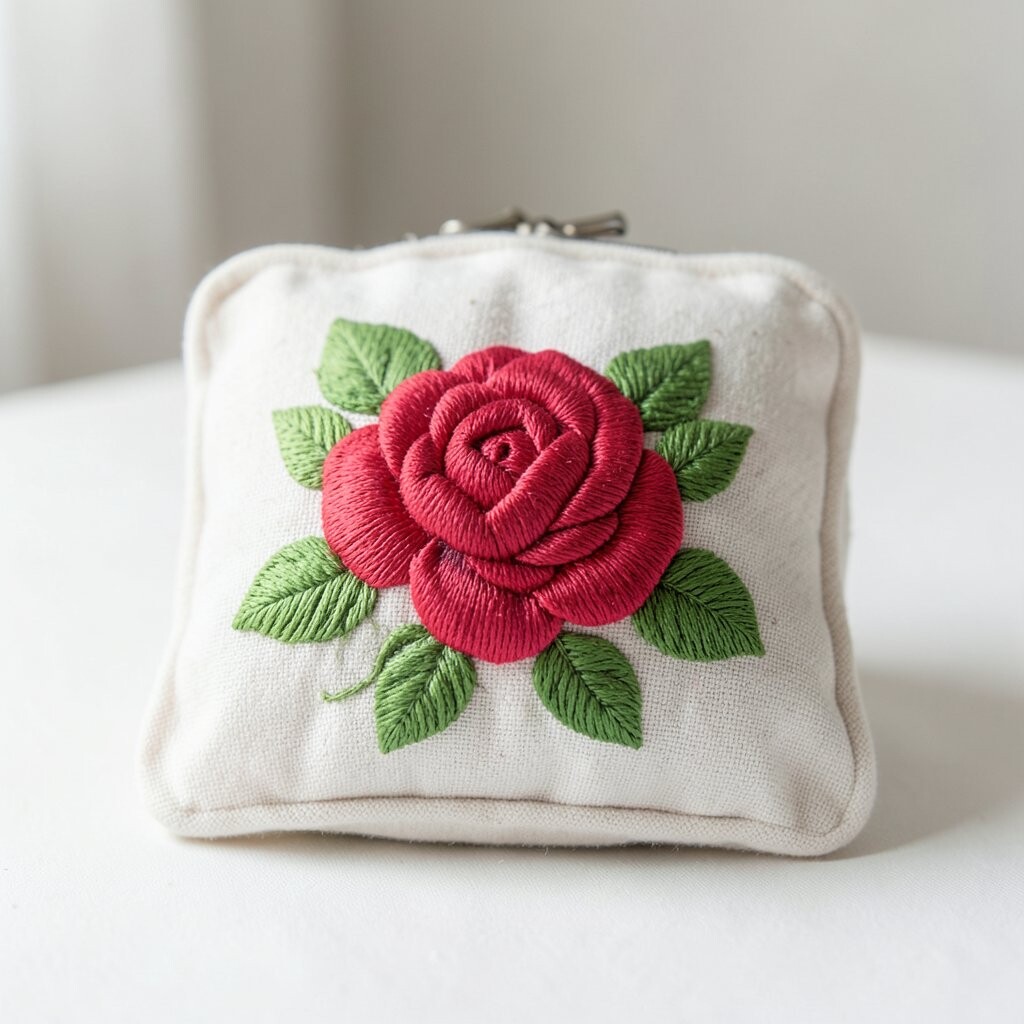
An embroidered rose pincushion feels romantic without being difficult. The raised petal details make it look like real flower petals sitting on your table.
Use applique or embroidery stitches to build petal shapes, then add light stuffing under each petal so they stand out. Create a firm base for the pin area so pins sink in securely. For uniqueness, stitch a simple stem and leaf border to frame the rose.
Personalize by choosing rose colors that match your sewing theme, like vintage creams or deep burgundy. Cost is usually low because embroidery thread and fabric are affordable. A trend right now is “handmade decorative craft pieces,” and this pincushion works as both tool and décor.
15. Paper Template Pincushion with Geometric Panels
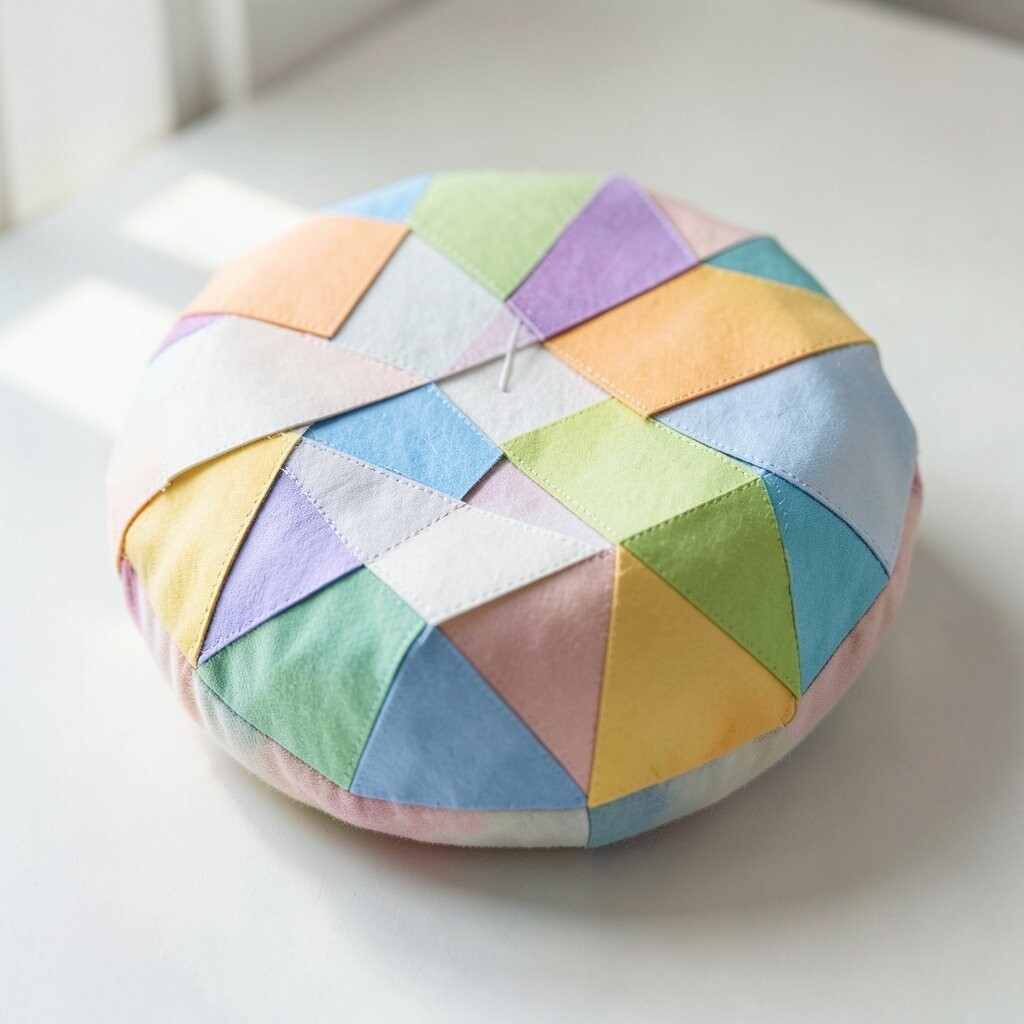
This pincushion uses neat geometric panels for a modern, structured look. It feels like a mini “quilt block” even if you only make one.
Cut triangles or other shapes using paper templates, then sew panels together and line the inside. Stuff firmly and close the shape carefully, keeping seams smooth so pins don’t catch. What makes it unique is the clean, architectural style.
For practical tips, press seams well before assembling and use a tight stitch length for strong joins. Personalize by mixing bold prints for a scrap-burst effect or using solids for a more minimal style. Costs depend on fabric choices, but using scrap geometry can be very budget-friendly.
16. Foam-and-Fabric Pincushion with Seamless Cover
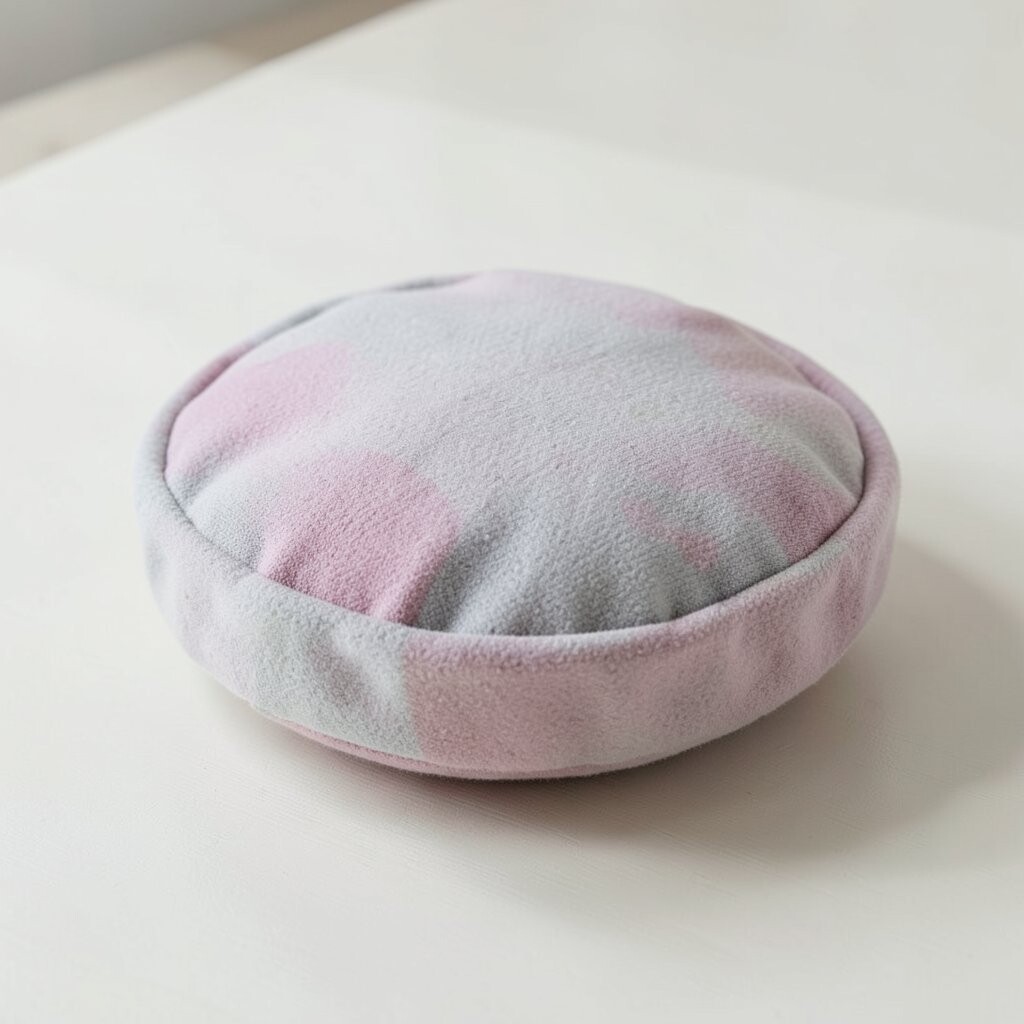
If you want a pincushion that’s quick to make and extra stable, try a foam core. Pins hold well, and the surface stays consistent even after lots of use.
Cut foam to size, then wrap it with a fabric cover that closes neatly, like a drawstring pouch or hidden seam. Use a pin-friendly fabric layer on top so needles sink in smoothly. The unique benefit is the firm, long-lasting center compared to soft stuffing alone.
For practical tips, choose foam that’s not too dense or pins may struggle to penetrate. Personalize by adding a removable cover so you can swap colors for different projects. Cost is moderate if you buy foam, but it lasts a long time and reduces re-stuffing work.
17. Ribbon and Lace Pincushion with Satin Bow
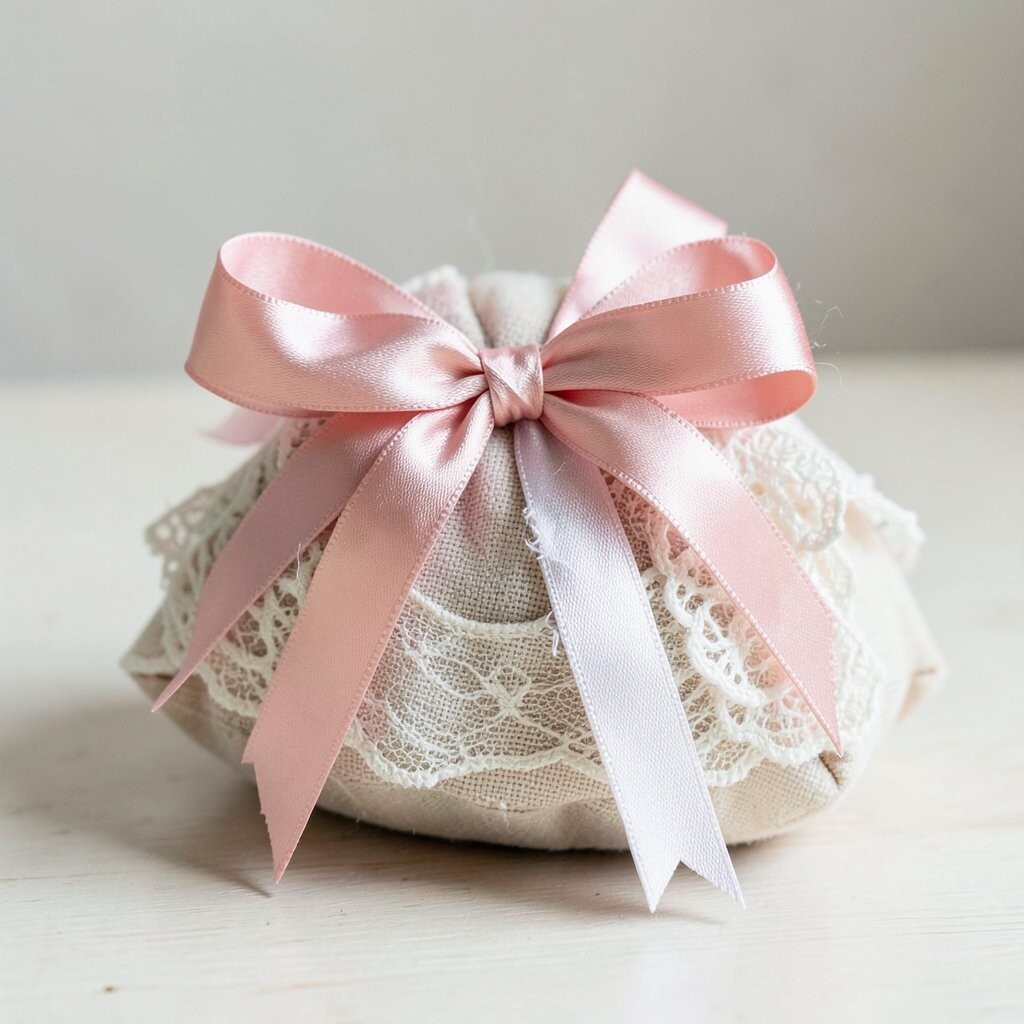
This pincushion brings a fancy touch with ribbon, lace, and a soft satin bow. It looks especially pretty next to gift-wrapping ribbon and holiday sewing supplies.
Layer lace trim around the edges, then add a bow made from ribbon at the top or front. Stuff firmly, but keep the top slightly flatter so the pins sit comfortably. What makes it unique is the “soft styling,” turning a tool into something that feels celebratory.
Personalize by mixing ribbon widths, like thin satin with wider grosgrain for texture. Cost considerations are simple: lace can be pricey, so use small scraps or thrifted trims. A current trend is adding decorative trims to functional items, and this one fits right in.
18. Cork Bottom Pincushion for Strong Pin Grip

A cork-based pincushion offers a satisfying pin-holding feel. It’s also great if you like pins to stay put without sinking too deep.
Cut cork into a small block or disc shape, then cover it with fabric like a sturdy little coaster. Glue the cork carefully and add stitching or a fitted fabric shell on top. The practical benefit is excellent stability, especially for heavier pins used in thicker fabrics.
Personalize by wrapping cork in patterned fabric or adding a stitched border. Cost varies because cork can be a bit pricier than scrap fabric, but small pieces are often affordable. A trend is using natural materials, and cork is a classic option that looks modern in craft spaces.
19. “Thrifted Teacup” Pincushion with a Felt Insert
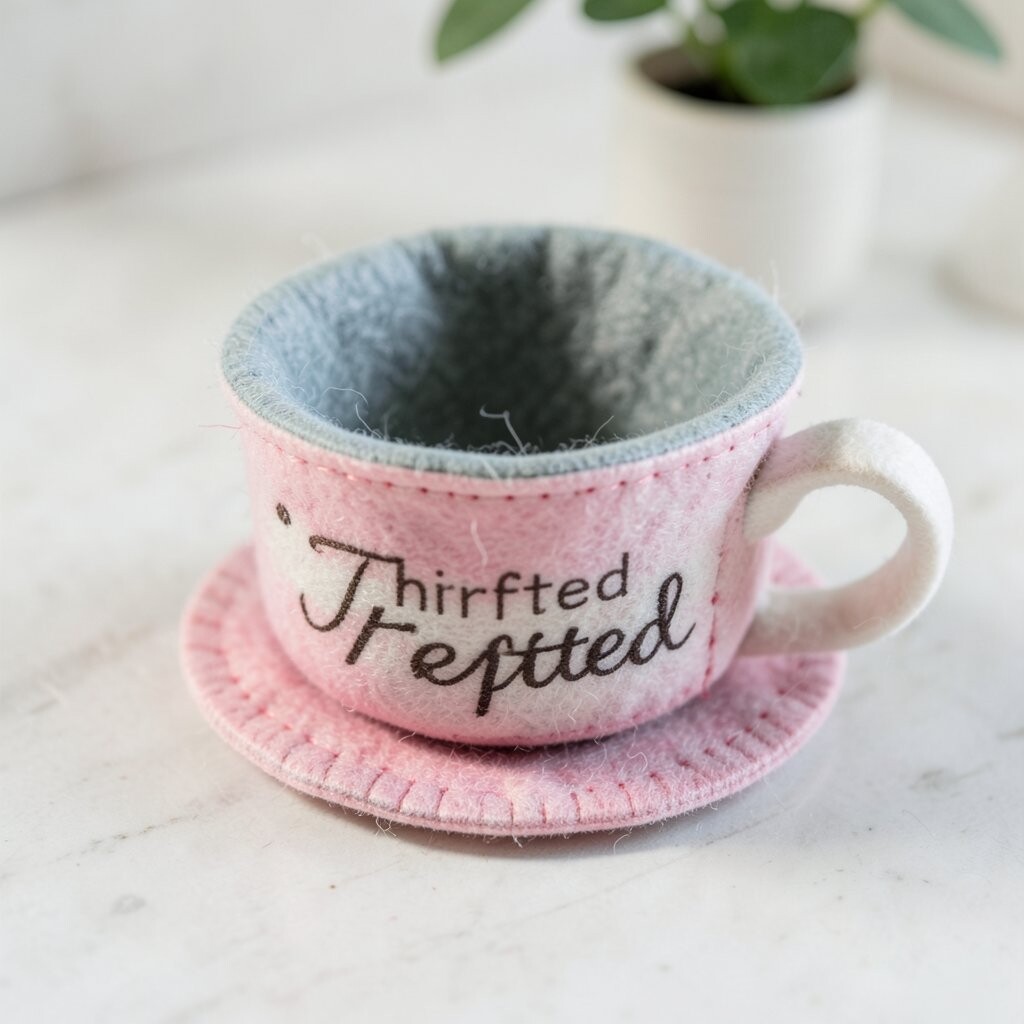
This idea turns an old teacup into a charming pin home. It feels special, like you’re sewing with a bit of history.
Place a felt pincushion insert inside the cup, or line the bottom with thick padding and stitch a fitted top cover. Make sure the insert is stable so it doesn’t shift when you grab pins. For uniqueness, the teacup becomes the decoration, and you get a functional tool in one piece.
To personalize, paint the cup edges or add a stitched fabric “tea cozy” ring around the rim. Cost can be low if you thrift, but be mindful of cup weight and stability. A current trend is upcycling household items into sewing décor, and a teacup pincushion is a standout example.
Practical tip: if the cup is glossy, roughen the surface slightly before using glue to keep the insert secure.
20. Denim Seam Pincushion with Visible Thread Texture
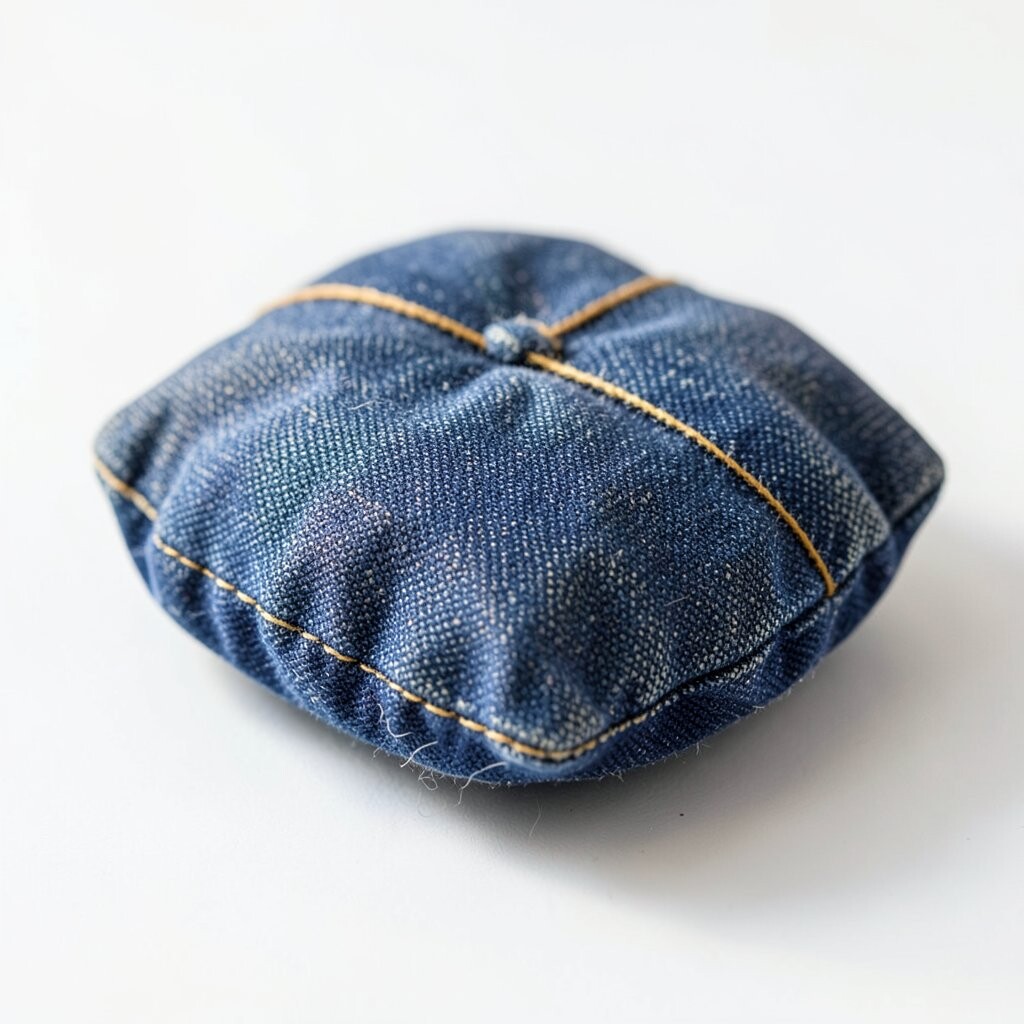
A pincushion made from denim seams highlights texture in a really satisfying way. It looks rugged and handmade, like a mini slice of your favorite jeans.
Cut along denim seam lines so you keep the natural stitch pattern, then assemble into a compact cushion shape. Add backing fabric and stuff firmly, then close with matching thread. The unique feature is the visible thread texture, which gives character even without extra decoration.
Personalize by using different seam orientations, like diagonal for a modern look or straight for a classic feel. Cost is minimal when you recycle denim, and the strong fabric helps pins grip well. This idea also matches a trend of “visible construction,” where the making process is part of the beauty.
21. Color-Blocked “Rainbow Pin Dome” with Soft Padding
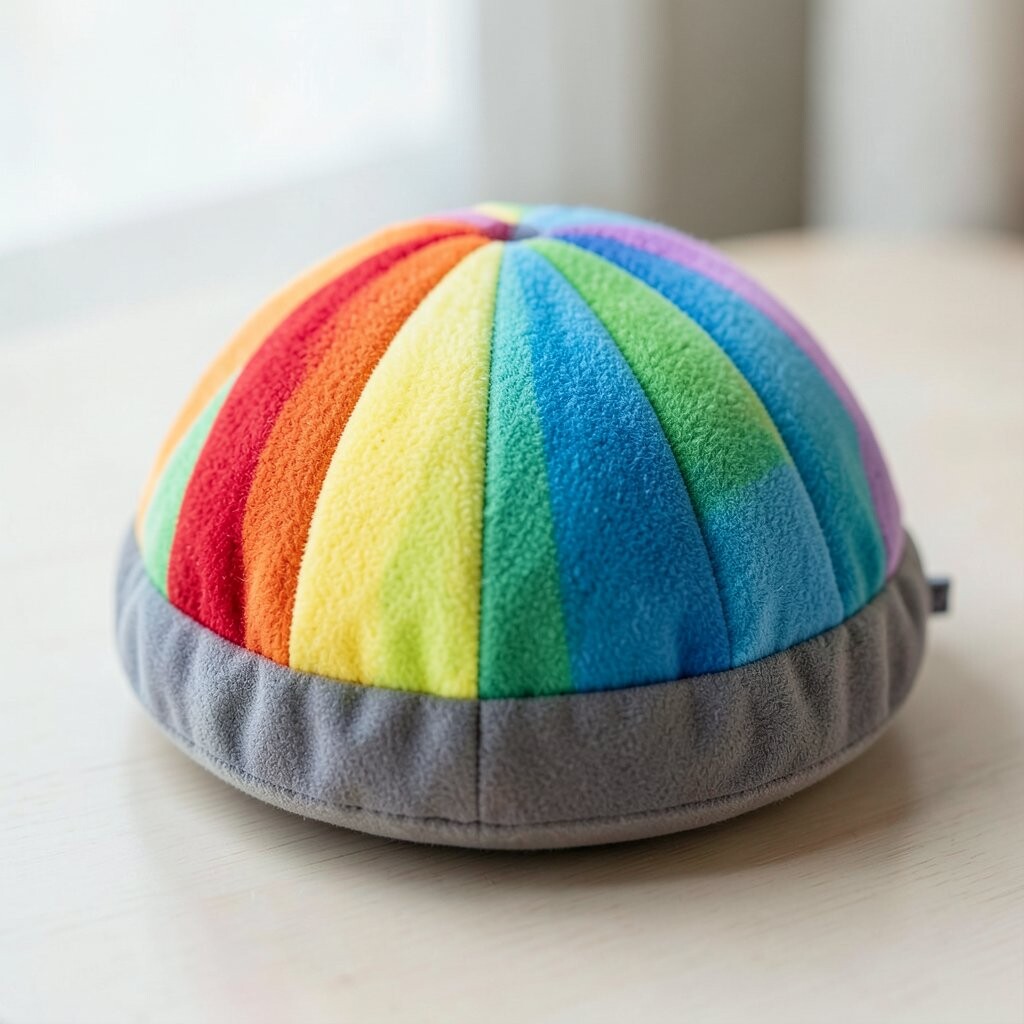
A rainbow pin dome looks playful and makes your sewing station feel cheerful. The rounded shape is also comfortable to use, especially during long projects.
Build the dome from color-blocked fabric panels, then stuff it evenly so it forms a smooth curve. Add a fabric top circle to close it neatly, and reinforce the pin area with extra batting. What makes it unique is the soft color gradient feel created by panel placement.
For practical tips, keep seams aligned so the dome doesn’t twist. Personalize the palette to your thread collection, like matching the colors in your ribbon organizer. Cost is usually low if you use scrap yardage, and the rainbow theme stays on-trend in crafty spaces.
If you want extra usefulness, pair it with a small pincushion tray or pin catcher mat so everything coordinates visually.