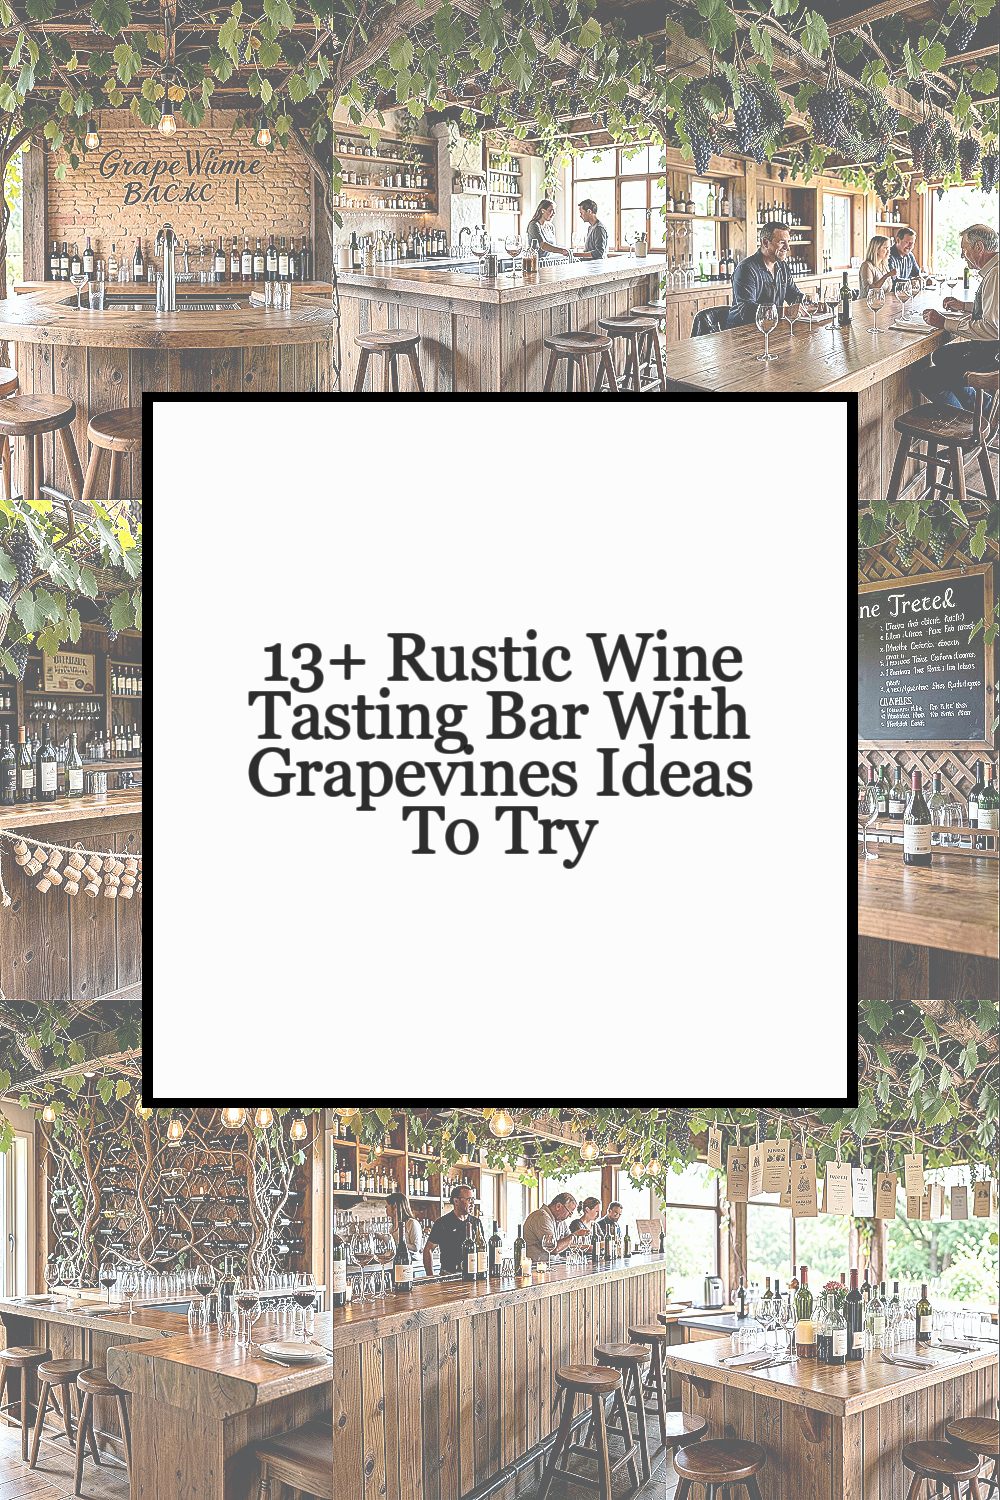
Rustic wine tasting feels like a warm hug for your senses. Grapevines make the whole setup look naturally rich.
1. Grapevine Backdrop Behind the Pour Station

Hang fresh or faux grapevine garlands behind your tasting bar to create a living wall. Keep the vibe rustic by mixing vines with small clusters of dried grapes and earthy twine.
Position the garland so it frames the pour station without blocking your guests’ view of the bottles. Add a wood shelf ledge for tasting notes, then tuck in a few simple candle holders for cozy light. For practical setup, measure your bar width first and buy pre-made lengths so you can assemble quickly on event day.
2. Weathered Wooden Bar With Vine-Covered Posts
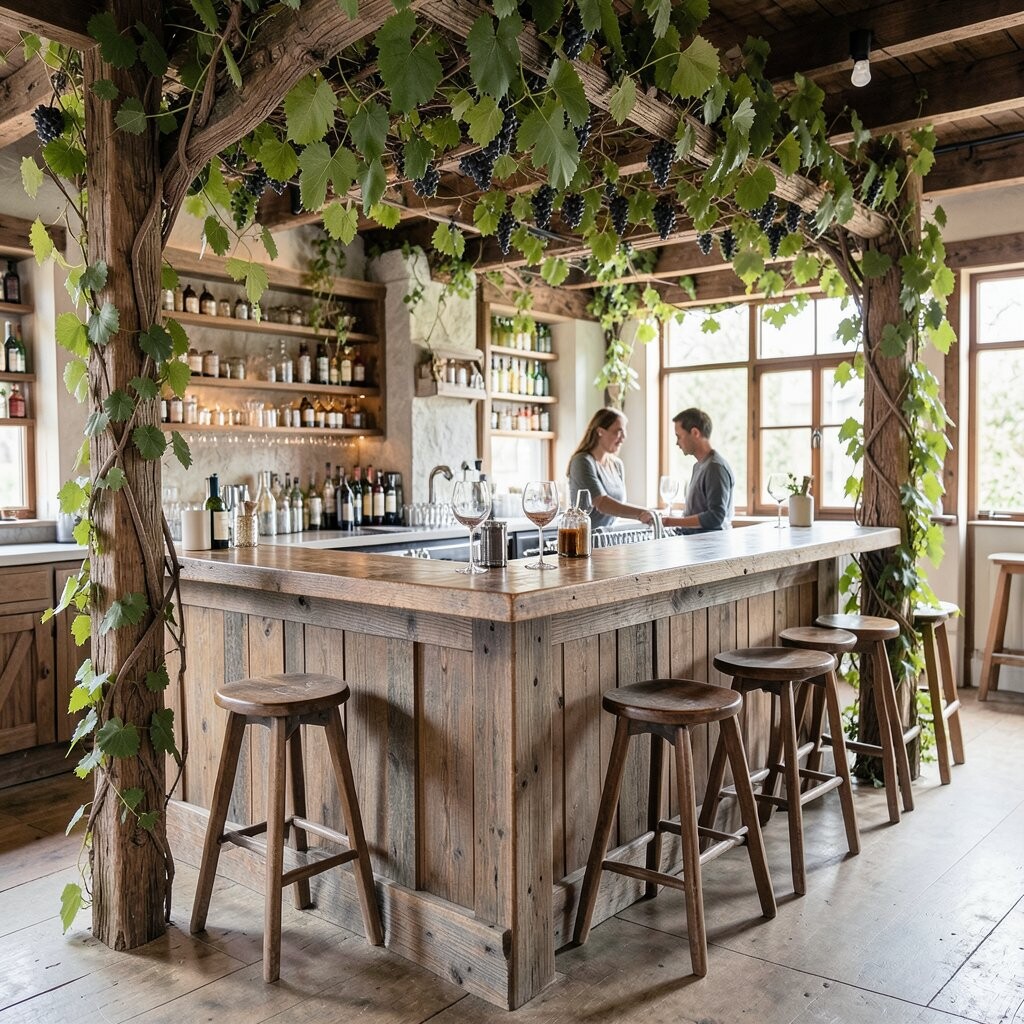
Use a reclaimed wood slab style bar and wrap the vertical posts with grapevine runners. This makes the structure look older, sturdier, and charming from every angle.
Guests love photos here because the vines add texture while the wood adds color. To make it easier, choose lightweight grapevine columns or wire frames that you can attach without special tools. If you’re budgeting, focus on wrapping only the visible front and corners instead of every surface.
For personalization, paint small “taste” icons or seasonal leaves onto a chalkboard sign at the end of the bar. A simple tip: keep vine pieces tied back with jute so they stay neat when people move around.
3. Hanging Grapevine Wreaths Above Each Wine Flight

Create a tasting “ceiling moment” by hanging small wreaths made from grapevines over each flight tray. The overhead detail feels fancy, but it still stays rustic.
Arrange the wreaths in a repeating pattern so the bar looks organized even when it’s busy. Use warm string lights inside or around the wreaths to help guests read labels in dim rooms. For a clean look, hang wreaths on thin hooks and keep them all at the same height.
This setup helps you separate tasting stations without adding visual clutter. If you want to save money, use one larger vine ring and add smaller dried sprigs rather than buying many complete wreaths. Don’t forget to check fire safety if you use lights, and keep cords out of walkways.
To tailor it, match wreath sizes to your pour cups so every guest feels like they have their own mini showcase. This idea also works great for weddings and holiday parties because it looks romantic without trying too hard.
4. Twine and Cork Garland Across the Front Rail

String grapevine cuttings with twine and mix in corks for a playful front-rail garland. It gives a tactile, handmade feel while staying budget-friendly.
Guests can spot the craftsmanship right away, and it makes the bar look custom instead of store-bought. For practical tips, keep the corks spaced so the garland doesn’t sag, and tie secure knots on both ends. If you have extra corks from past bottles, this is a fun way to reuse them and add personal history.
5. Barrel-Style Side Tables With Vine Planters
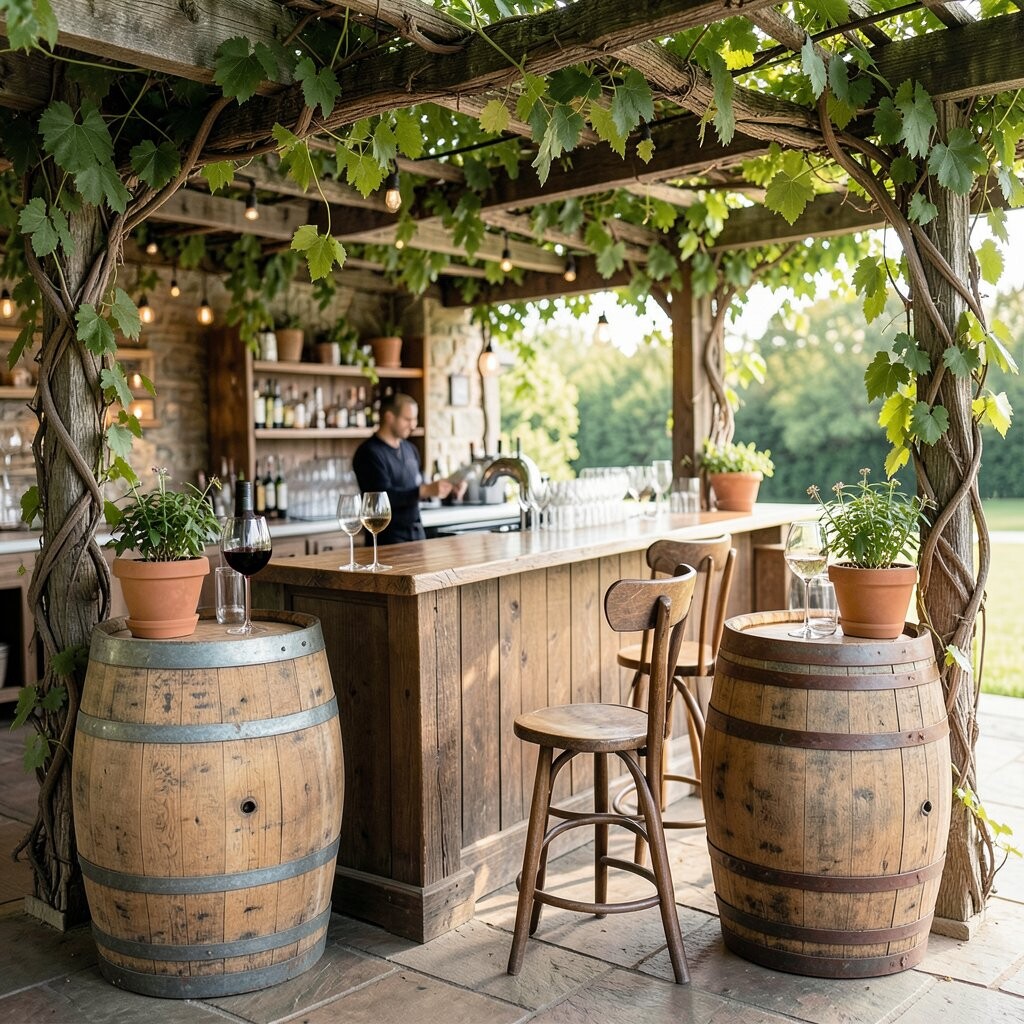
Use mini wine barrels as side tables and place grapevine planters or vine baskets on top. The height difference makes the tasting area feel layered and naturally styled.
This setup is unique because it blends storage, decor, and greenery in one spot. For practicality, choose planters with drainage holes and keep a tray underneath to protect your floors. You can also label each planter with a grape variety name to make the experience feel educational.
When planning cost, look for used mini barrels at craft auctions or thrift shops, then refresh them with a simple stain. Trend-wise, guests love “farm table” styling, so this idea fits right into current rustic entertaining looks. Personalize it by swapping plants by season—herbs in spring, trailing greens in summer, and dried vine pieces in fall.
6. Grapevine Trellis Wall With Chalkboard Menu

Build a small trellis backdrop and weave grapevines through it so the menu area looks like a vineyard corner. Put a chalkboard menu in the center for a classic rustic touch.
This is great because it clearly guides guests while keeping the decor bold and cohesive. Use matte chalk colors like deep green, warm brown, and cream to match the vines. Keep the layout simple: list wines by style, add tasting notes, and include a brief “how to taste” line so guests feel confident.
If you want to control costs, purchase a basic trellis frame and add faux vines first, then upgrade with fresh pieces only where needed. For personalization ideas, write the host’s name or the event date on the chalkboard border using vine-inspired lettering. Also consider adding a small spotlight aimed at the menu so it reads well in evening light.
7. Wine Glass Wall Sconce Made From Vines
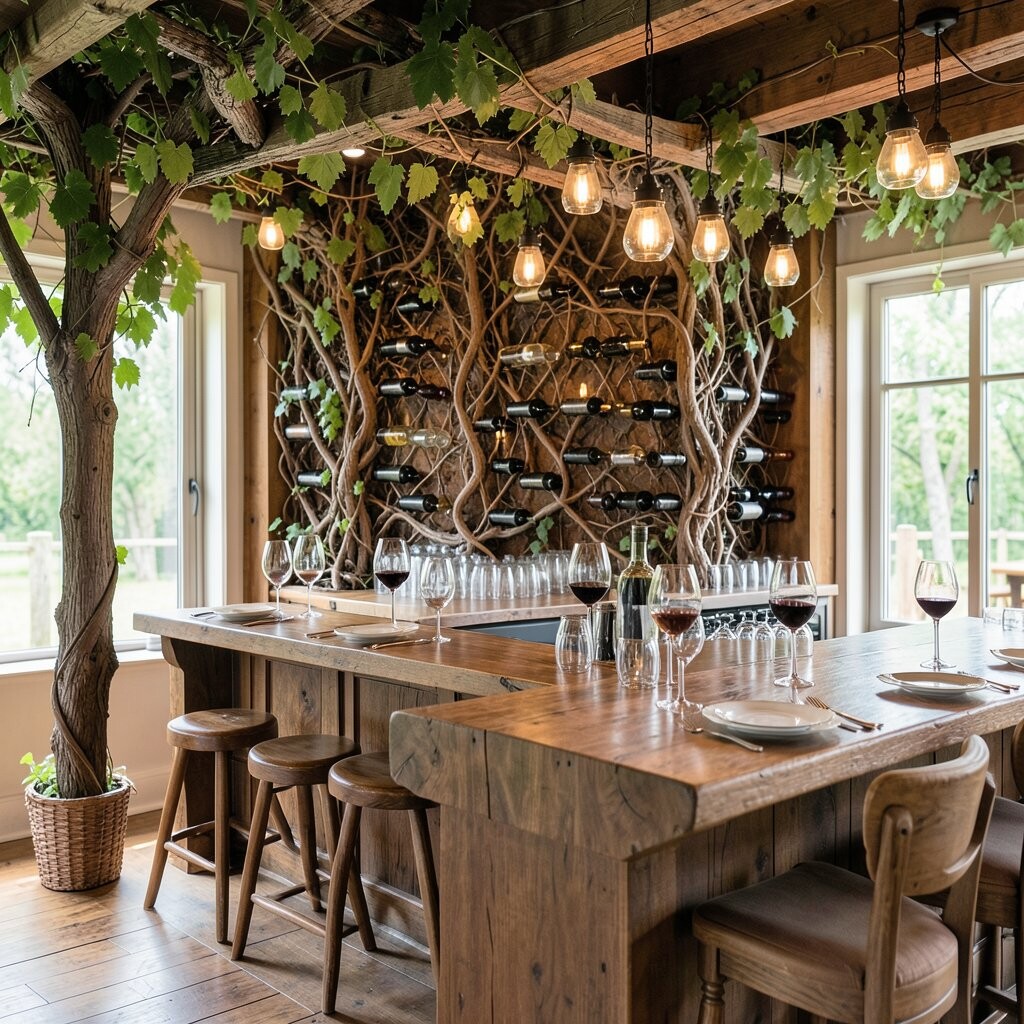
Create a dramatic glass display by wiring a grapevine frame to hold small stemware. Guests get an elegant view, and the bar feels like a curated exhibit.
To make it safer, use sturdy hooks and test stability before guests arrive. This kind of display helps you free up counter space, which is a big practical win during busy tasting hours. If you’re hosting a small group, mount only a few glasses and keep extra options on a side rack.
For personalization, add tiny tags tied to the vine where each glass is labeled by wine. Trend-wise, “statement lighting and displays” are popular, and this one stays rustic while still feeling modern. Budget tip: start with faux vines and use only fresh grape cuttings as a top accent.
Keep the color palette consistent by mixing dark vine tones with neutral metal accents like black or bronze. When everything matches, the space looks intentional instead of crowded.
8. Grapevine Candle Lanes Along the Bar
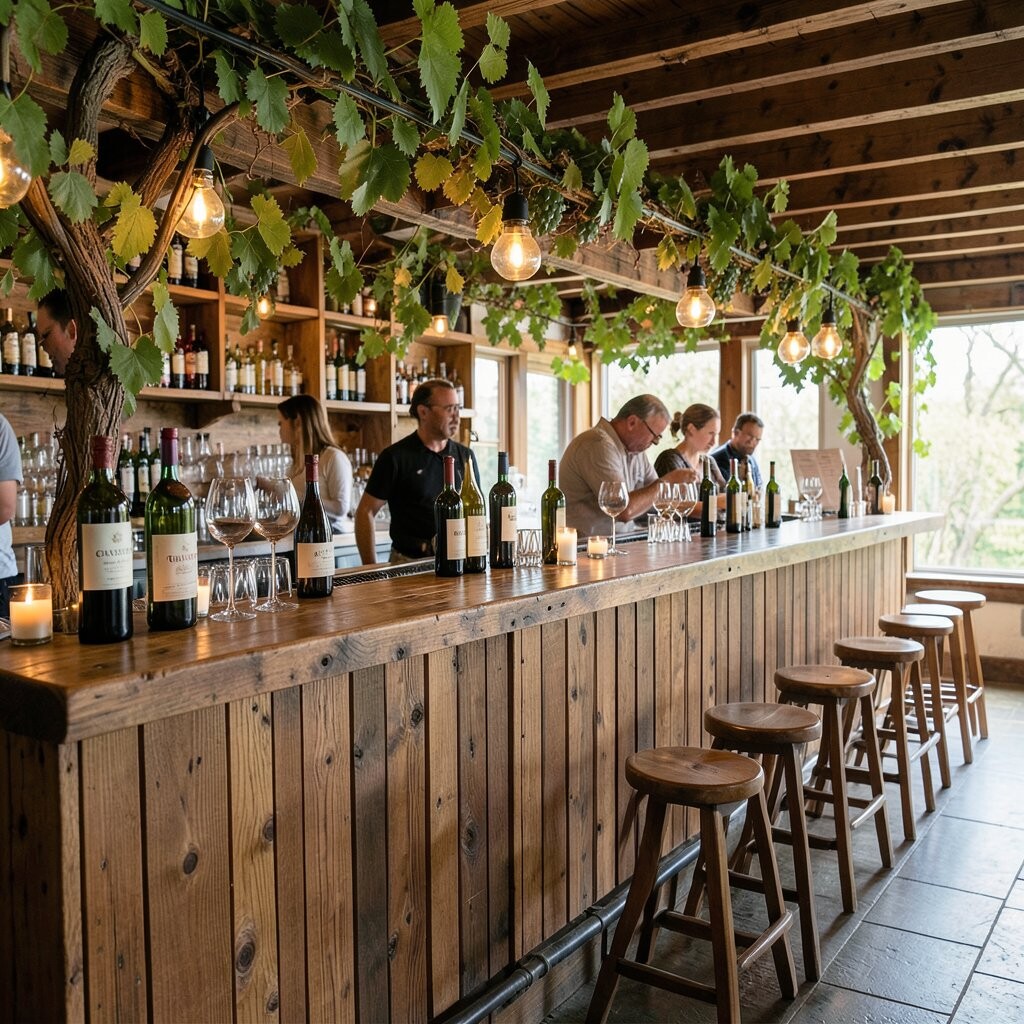
Line the bar with grapevine-wrapped candle holders to create a soft, romantic glow. Even simple tea lights look special when vines frame them.
This benefits you because warm lighting makes wine color look richer, so tastings feel more vivid. For practical tips, place candles in stable holders and avoid putting them too close to glasses or menus. If you’re using real candles, check local safety rules and keep a clear safety margin around the bar.
9. Layered Vine Garland With Hanging Tasting Cards

Build a layered garland that drapes from one end of the bar to the other, then hang tasting cards from short ribbon ties. The vines act like a natural shelf for your story.
This setup is unique because it turns basic labels into decor and makes every flight feel curated. Choose a simple card template, then attach cards at consistent intervals so it looks neat. For personalization, write matching grape notes and pairing ideas in your own voice rather than generic descriptions.
To control cost, use printable cards on thick paper and protect them with clear sleeves. Trend-wise, personalized signage is a big hit because guests like seeing names, dates, and thoughtful wording. Also consider making one card a “host pick” so it feels interactive.
If you’re setting up quickly, pre-tie ribbon loops onto the garland at home. Then on event day you only clip the tasting cards into place.
10. Rustic “Vine Ring” Wine Flight Stand
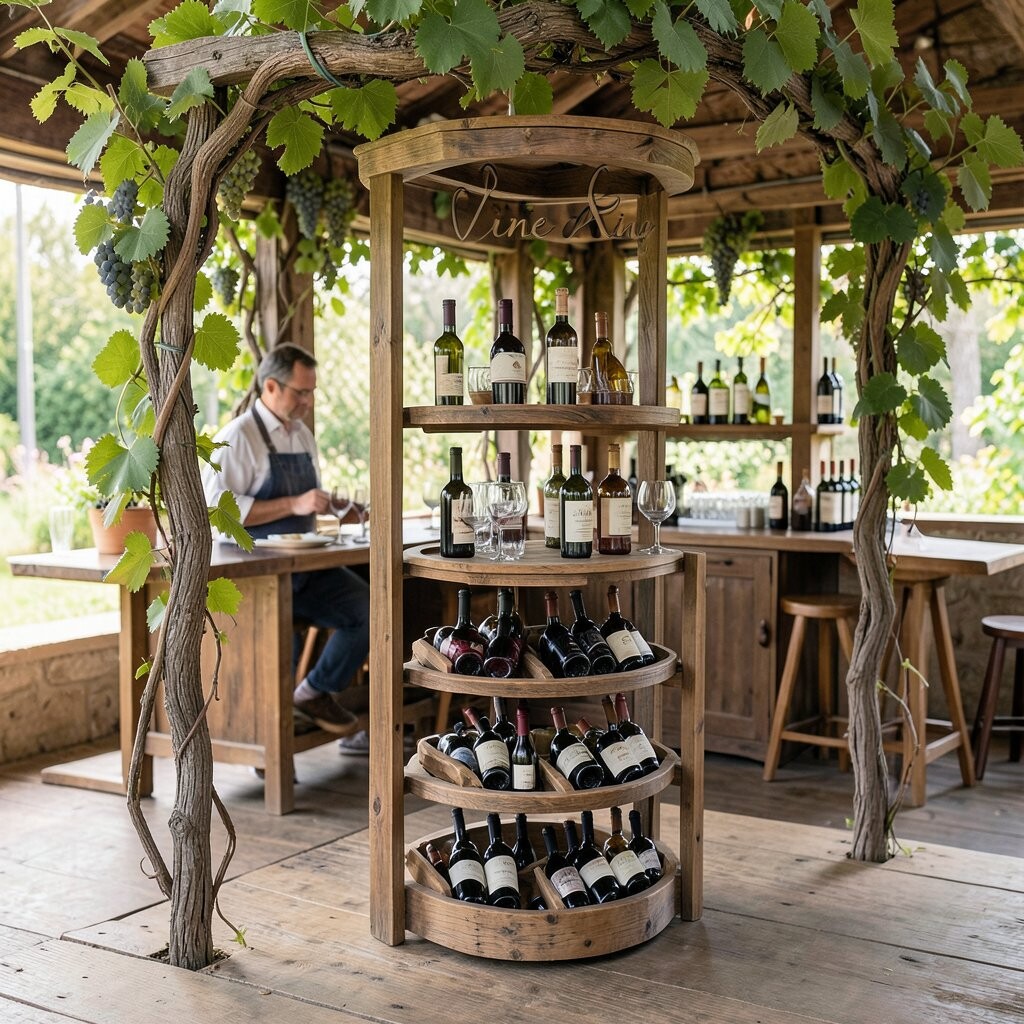
Use a large ring frame made from grapevines as a wine flight stand. Place three or four tasting stems and small tasting cups in the ring so it looks like a wreath crafted for wine.
Guests find this memorable because it’s both functional and photogenic. For practical tips, secure the ring to a weighted base so it won’t wobble when someone reaches in. If you need extra stability, hide a metal stand inside the vine structure.
For cost considerations, consider building a base with foam or wood circles and then wrapping with affordable faux vines. Personalize it by adding the wine names on tiny tags tied around the ring. This also works well for seasonal themes, like adding autumn leaves for fall or tiny green berries for spring.
11. Grapevine and Wooden Crate Display for Bottles
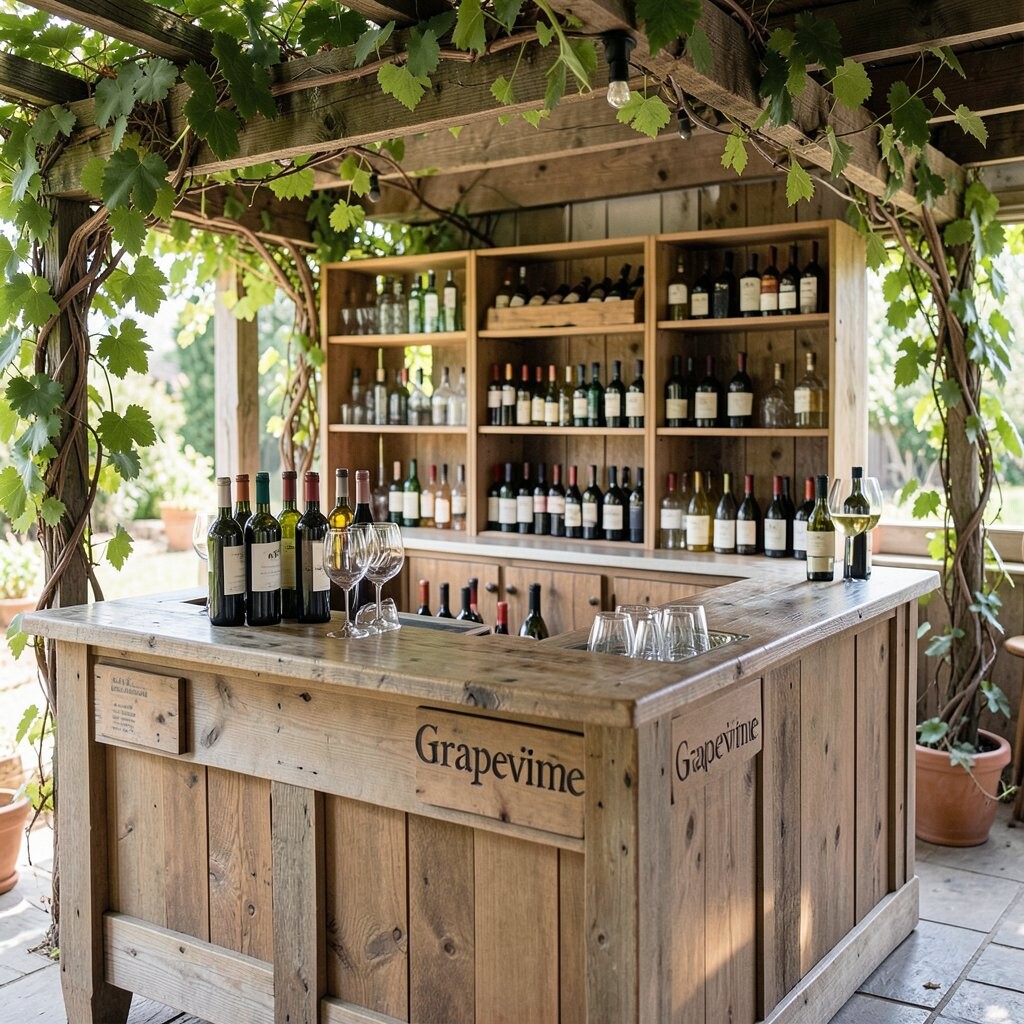
Set up bottle display areas using wooden crates and tuck grapevines between the crates and the bottles. The combination looks rustic and practical at the same time.
This is especially useful because crates keep bottles stable and make restocking easier. Choose crates with sturdy corners, then line the bottom with a soft fabric or burlap to prevent scratches. For personalization, stack a few crates in different heights and add a small sign that tells guests the tasting lineup.
To manage costs, look for crates with character rather than perfectly uniform ones. You can also repurpose produce boxes as long as they’re strong enough to hold bottle weight. A current trend is mixing “market style” textures with greenery, and this setup fits that look naturally.
Keep vines tidy by trimming long ends and tying them with twine. Guests will appreciate the organized look because it feels curated, not chaotic.
12. Vineyard-Style Privacy Screen With Hanging Vines
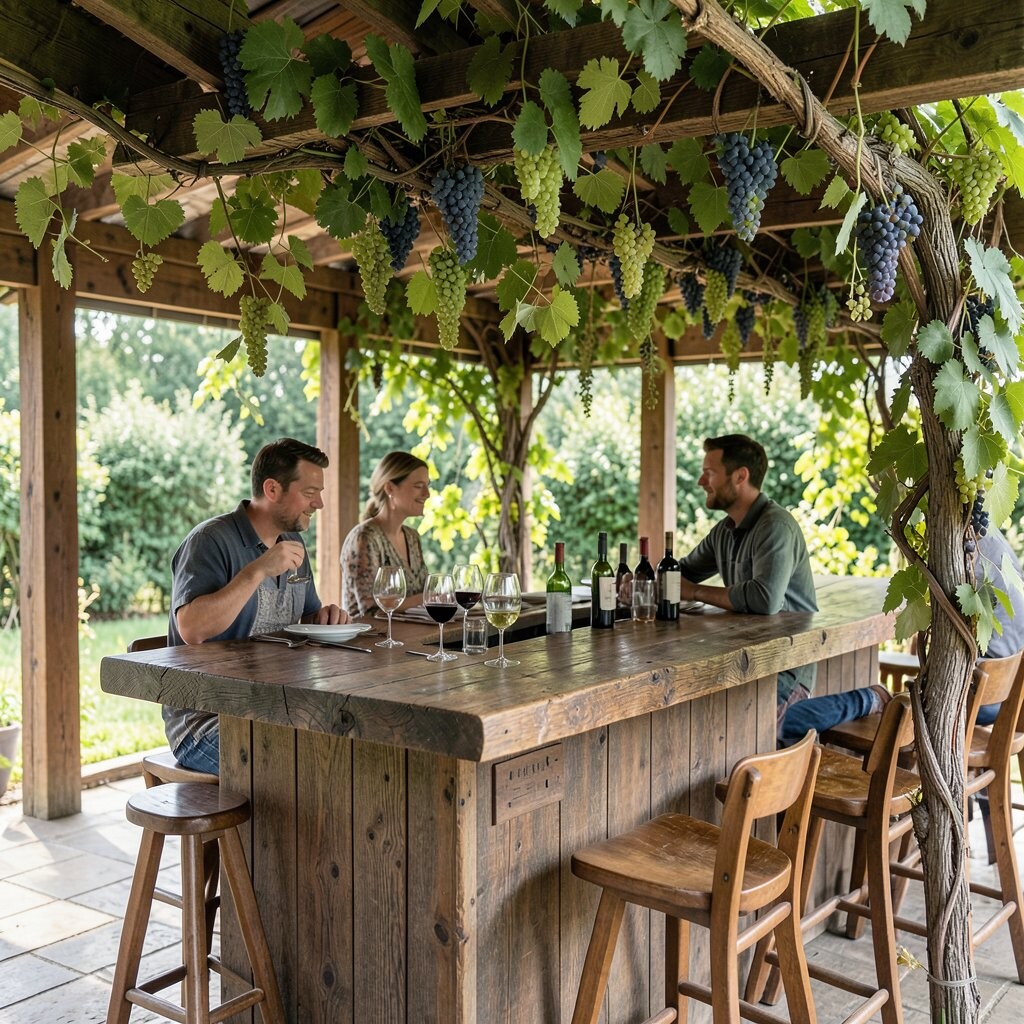
Make a privacy screen behind the tasting area and let grapevines cascade down like a natural curtain. This gives you a cozy background and also helps define the event zone.
The benefit is big: it hides cords, extra bottles, and storage items, so the bar stays “show ready.” For practical setup, use lightweight panels so you can move them easily, then attach vines with removable clips. Keep screen height tall enough that guests see the vines but not so tall that it blocks your lighting or signage.
To personalize, add a simple banner or monogram at the center where the vines frame it. If you want to reduce cost, use a faux vine top section and add real dried grape sprigs only along the edges. This design looks especially stylish for outdoor parties and patio gatherings.
13. Grapevine-Mixed Centerpiece Table Over Tasting Cups
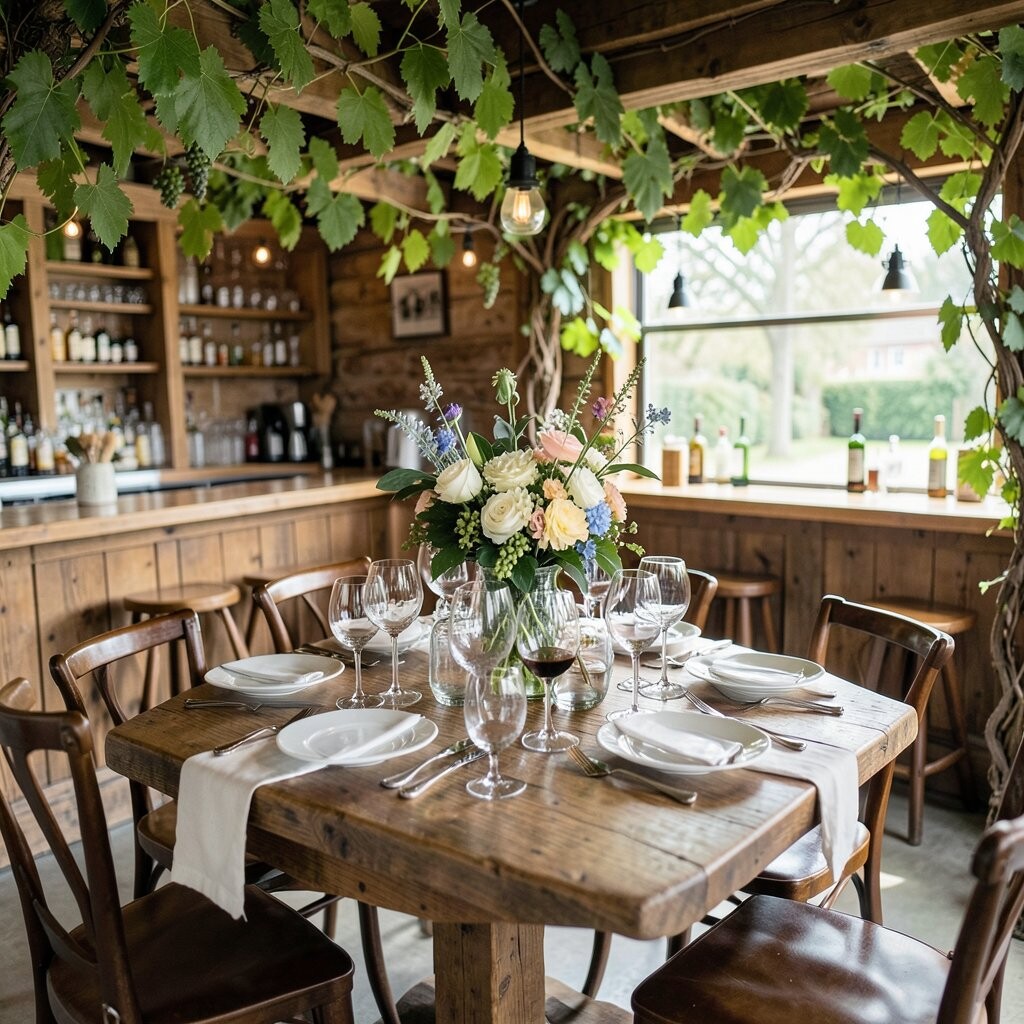
Place a centerpiece on the tasting bar that blends grapevines with greenery and small rustic elements. Use it as a base for extra tasting cups, spoons, or water glasses.
This idea feels unique because it turns the middle of the bar into an everyday “grab and go” helper for guests. For practical tips, keep items within easy reach and avoid overfilling with fragile decor. Use a tray under the centerpiece so spills don’t damage the wood.
When planning costs, choose one strong statement centerpiece instead of many smaller items. Trend-wise, modern rustic styles often favor one hero piece with supporting details, so this approach helps you look intentional. Personalize by adding a small seasonal theme like pinecones, orange slices, or dried berries depending on the time of year.
To keep it feeling fresh, lightly mist real vines before the event and remove any leaves that fall easily. A clean centerpiece makes the entire tasting area look polished.
14. Grapevine Wine Label Holder Wall With Pin Clips
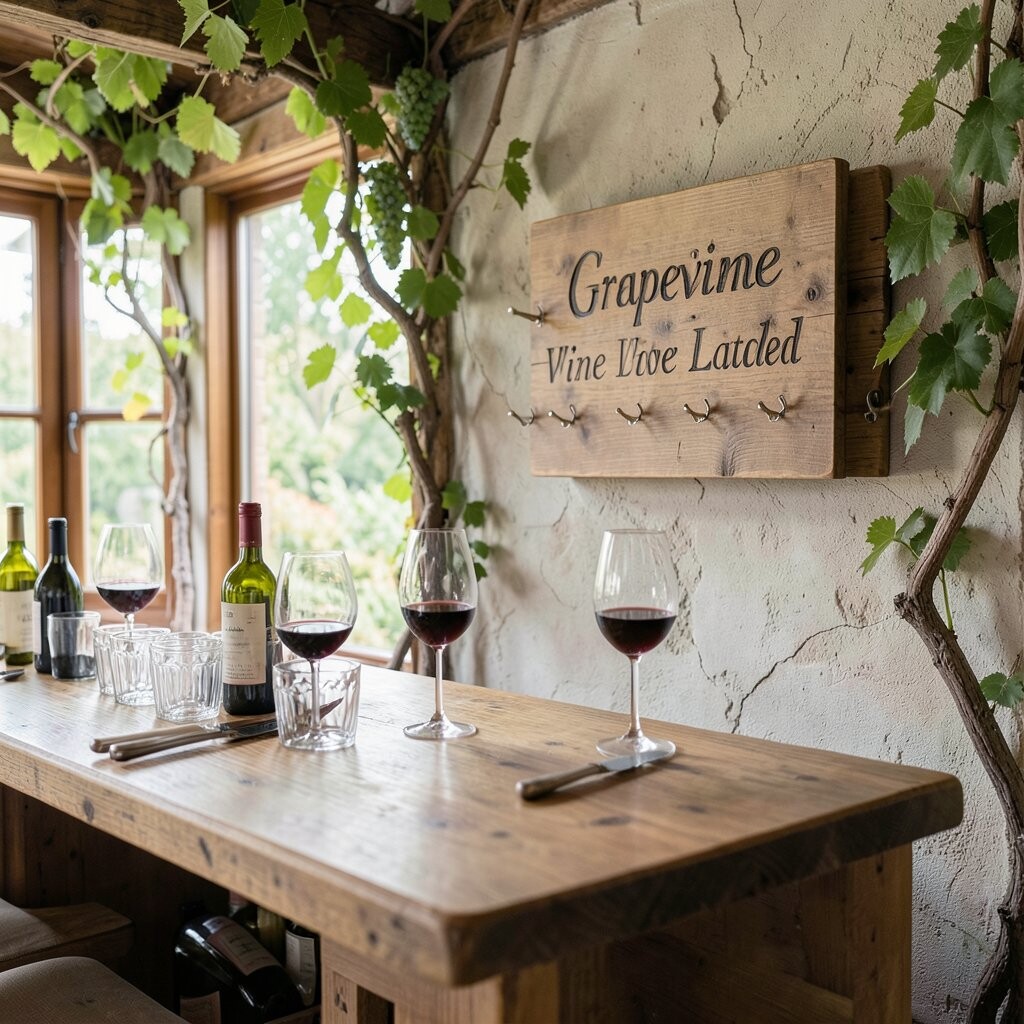
Make a small wall or board where each wine has a label holder made from grapevines and pin clips. Guests can quickly see what’s being served and the display looks artsy right away.
This benefits you because labels stay visible even when people gather at different spots around the bar. For practical tips, use a board with pre-measured spots so clip placement stays consistent. If you want to keep costs down, use a simple wood panel and attach faux vines only around the edges for a framed look.
To personalize, add a short story for each wine using your own words, like where you found it or why you chose it. Current entertaining trends show guests enjoy “interactive signage,” and clip-on labels feel like a mini experience. Keep the text readable by using bold lettering and limiting each label to a few lines.
Finally, test the clip tension before the party so papers don’t fall, especially if there’s wind outdoors. With that small check, the setup stays charming and reliable all night.