Private parties feel extra special when the bar looks inviting and runs smoothly. These ideas help you build a setup guests remember.
1. Welcome “Mocktail & Mix” Station

Set up a bright corner with a sign that says Mocktail & Mix. Guests can grab something tasty while they wait for other drinks.
Choose 2–3 alcohol-free options and 2 “mixable” bases like flavored syrups or citrus concentrates. Add clear labels with simple tasting notes like “Tart & Fresh” or “Sweet & Cozy.” Keep reusable stir sticks, cups, and garnishes right at hand so service is fast.
2. Themed “Bar Caddy” Rollout Table

Use a long table with wheels or a rollout cart so you can place it exactly where the party flows. It also helps you keep the drink area tidy instead of scattered.
Style the surface with a themed runner, like a beach print for summer or a checker pattern for a sports night. Add a small “tools zone” with tongs, bottle openers, and extra ice scoops in a neat row. Guests feel like they’re walking into a real venue when everything matches and looks intentional.
For personalization, match the color of the runner to the party invitations or the birthday theme. Budget-friendly options include rented tablecloths or DIY printed fabric. Current trends lean toward clean, minimal styling with bold color blocks, so pick one strong color and repeat it.
3. Interactive Garnish Bar With “Build Your Own” Tags
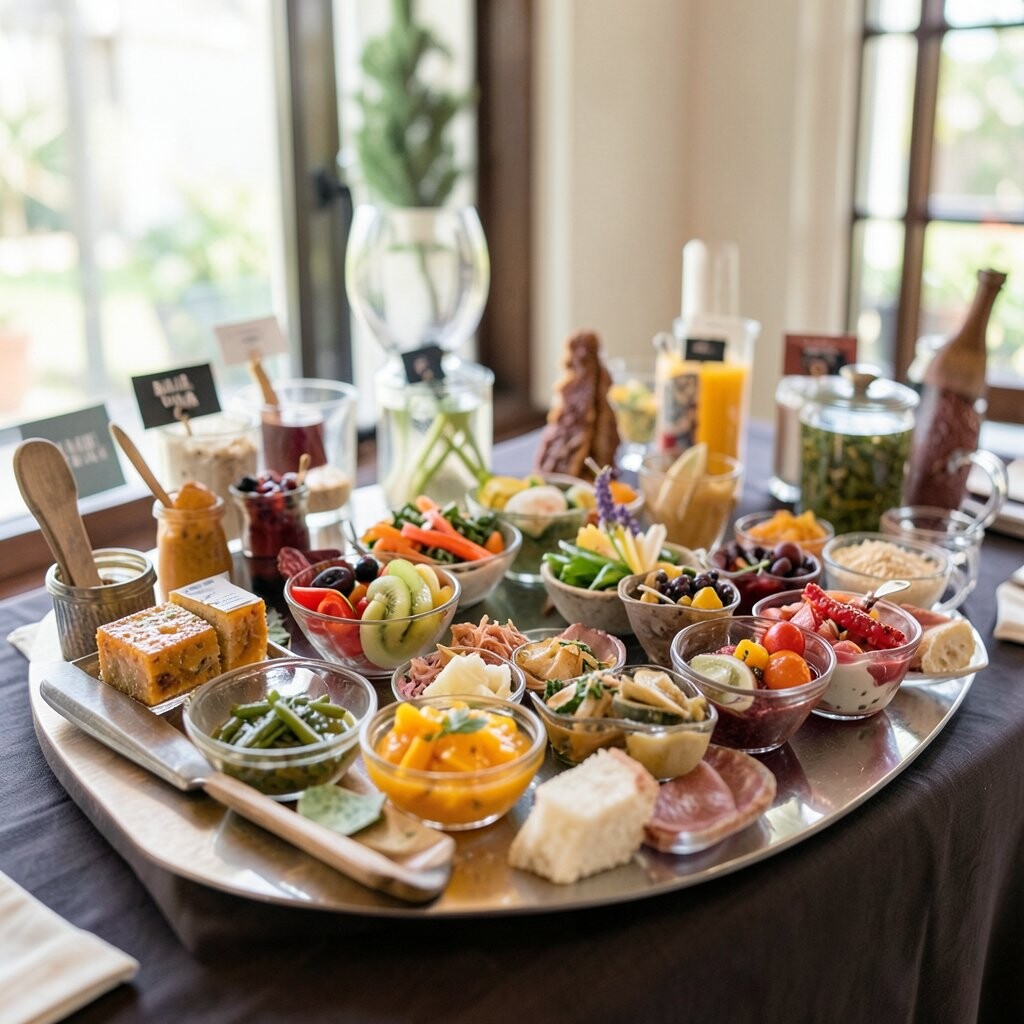
Create a garnish display that looks like an art wall, with little cups in a grid. It turns the bar into a fun activity instead of a back-of-house task.
Offer at least 6 garnishes such as citrus wheels, cherries, herbs, edible flowers, and spice salts. Add mini cards with flavor prompts like “Brighten it” for citrus or “Warm it up” for cinnamon. This helps guests choose without needing a menu explanation.
To keep things practical, use portion cups so you can swap garnishes quickly and reduce mess. Bring a small trash bin and a wipe-down cloth because garnish bars can get sticky. If you’re planning cost, herbs and citrus are usually affordable, while edible flowers can be pricier but look amazing in photos.
Right now, many parties are using “Instagram-ready” garnish towers and labeling that shows textures and aromas. Keep your labels readable from across the table and your garnishes at eye level for the best vibe.
4. Stacked Ice Tub With Color-Coordinated Bottles
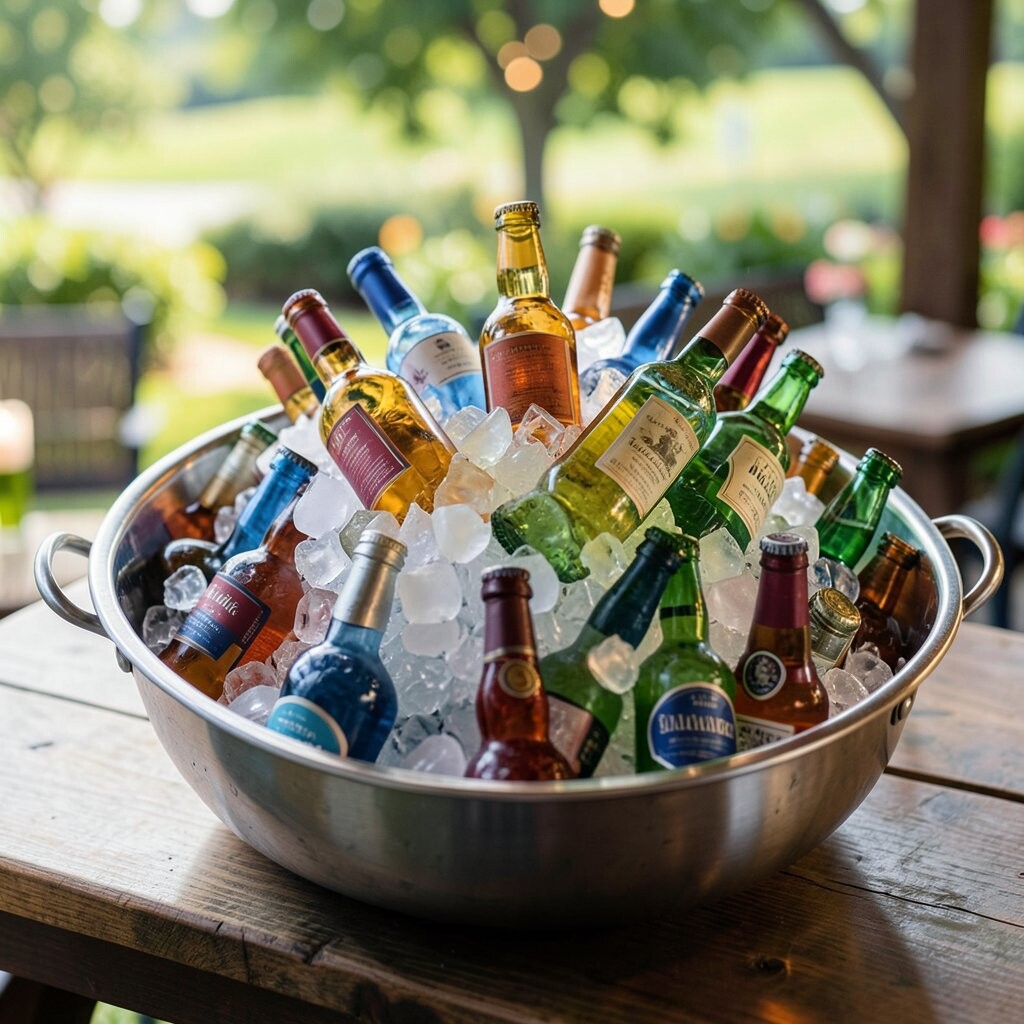
Turn your ice into a design feature by using a large cooler or stacked ice tubs near the bottle display. It looks premium and keeps drinks cold without frantic refilling.
Group bottles by color or style, like clear spirits together and darker bottles together, then add matching acrylic signs. This reduces decision time for guests and makes the bar feel curated. For budget, start with your most popular bottles and add a few “wow” items that fit the theme.
5. Signature Punch Bowl With Heat-Map Labels
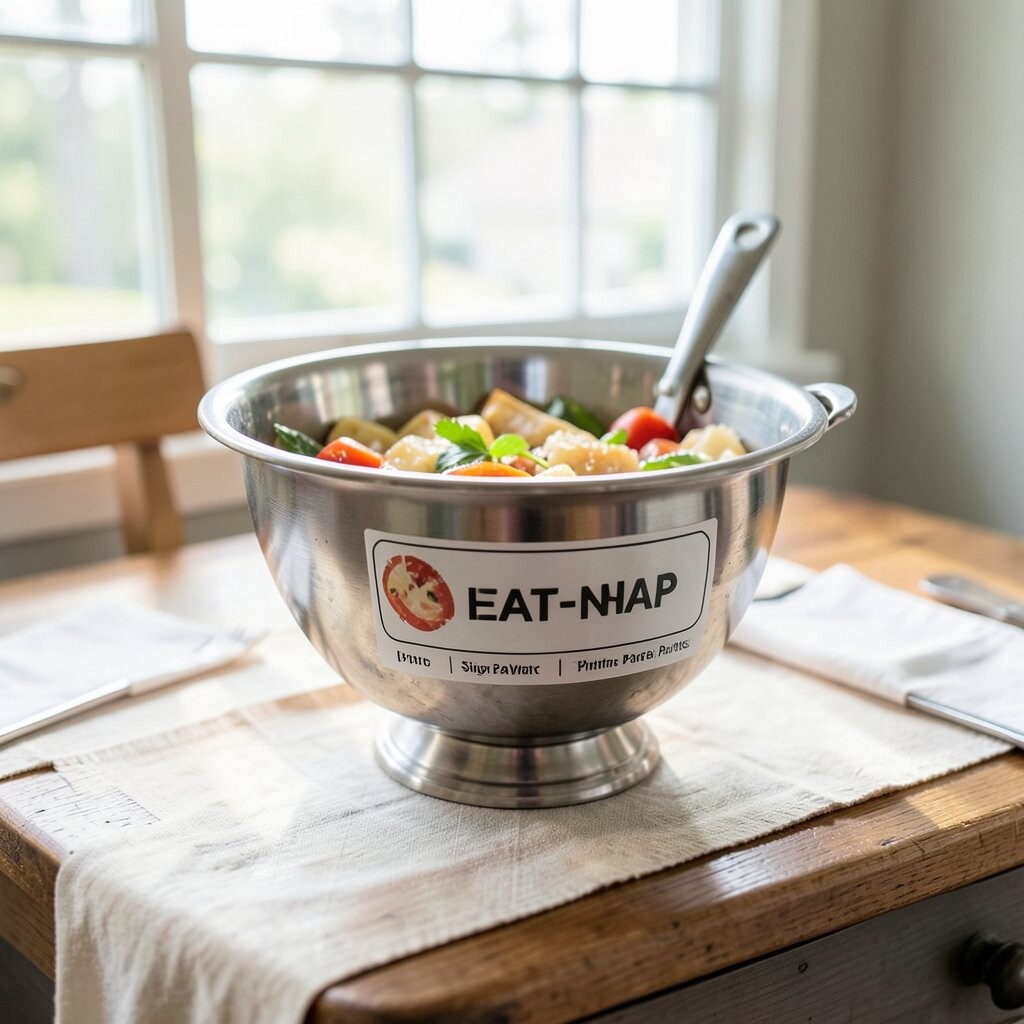
A punch bowl setup feels classic, friendly, and perfect for groups. Choose a bowl style that fits your event, like rustic glass for a backyard party or sleek acrylic for a modern look.
Create a simple flavor guide with labels that show how each punch tastes, such as “Fruity,” “Spicy,” or “Citrus Kick.” Keep a ladle and extra ice beside it so you can top it up quickly. This setup helps you avoid the “What can I get?” rush at the start.
To personalize, add a floating fruit or herb feature that ties to the theme, like rosemary for a fall party or lime for a summer vibe. Cost depends on the base ingredients, but making punch in bulk is often cheaper than serving individual bottles. A current trend is offering one punch that’s crowd-pleasing and one smaller “chef’s special” batch that guests talk about.
6. “Choose Your Spirit” Flight Bar

Set out small tasting pours or mini bottles labeled by spirit so guests can build their own drink. It feels like a guided experience without turning your party into a class.
Pick three spirits that match the theme and keep mixers consistent, like tonic, soda water, and a citrus mixer. Provide two garnishes per spirit choice so each option feels distinct. This also helps you estimate consumption because guests choose from a limited set.
For practical tips, use small cups for sampling and have a water station right next to it for comfort. If you’re keeping costs down, use smaller bottles and focus on high-impact flavors like vanilla, citrus, or ginger. People love flight concepts right now because they’re social and make guests feel like they’re trying something new.
7. Rooftop-Style Hanging Bottle Display

Hang bottles on a vertical rack with clear spacing so the bar looks airy and stylish. This is a great move when your counter space is limited.
Use a metal grid or a sturdy rack and add small tags for drink names or mix suggestions. Include a spotlight or warm string lights around the display to make it glow at night. Guests will notice it immediately when they enter the party space.
For personalization, match the hanging rack’s color to the party palette, like black for a modern vibe or gold for a glamorous look. In terms of cost, a secondhand rack can save money, and you can rent lighting gear for a short period. This kind of vertical bar display is popular because it looks like a venue wall, not a DIY afterthought.
Keep safety in mind by securing the rack firmly and avoiding overcrowding with heavy glass. Place fragile items higher only if they’re stable and won’t shift while people walk by.
8. DIY “Fresh Squeeze” Citrus Station

Set up a squeeze station with citrus halves, a manual juicer, and a clear container for collected juice. The fresh aroma pulls people in fast and makes drinks taste brighter.
Offer at least two citrus types like limes and oranges, plus a simple sweetener option like honey syrup. Provide easy mixing instructions on a card so guests can watch their drink come together. It’s unique because the ingredient feels real and hands-on.
To make it practical, pre-cut backup citrus and keep paper towels and gloves nearby for easy cleanup. Budget-wise, citrus is usually affordable, but you may spend more if you choose specialty fruits. A current trend is leaning into “fresh ingredient” stations that show transparency and reduce the mystery of pre-made mixers.
Personalization is simple: use party-themed garnishes like star-shaped citrus cutters or a custom flavor sticker. When the juice station is near the entrance, it becomes a natural photo spot.
9. Candy-Coated Soda Bar With Premium Toppers

Swap the usual sodas for a soda bar that feels like dessert. Guests can mix sparkling water, flavored syrups, and topping “sprinkles” for a playful drink.
Set out several syrups, like vanilla, berry, and caramel, then add premium toppings such as citrus sugar rims or fizzy candy dust. Keep cups, straws, and napkins stacked neatly so the station stays clean. This idea is unique because it doubles as a sweet treat and a conversation starter.
For practical setup, place a small tray of ice next to the sodas so guests don’t have to hunt for it. If cost matters, buy one or two standout syrups and make the rest with concentrates you already use for mocktails. People love this trend because it feels fun without needing alcohol, so everyone can join in.
To personalize, label each syrup with the guest of honor’s favorite flavors or family sayings. Choose a consistent color theme for cups and labels so the bar looks coordinated in photos.
10. Vintage Cooler “Ice Bar” With Chalk Menus
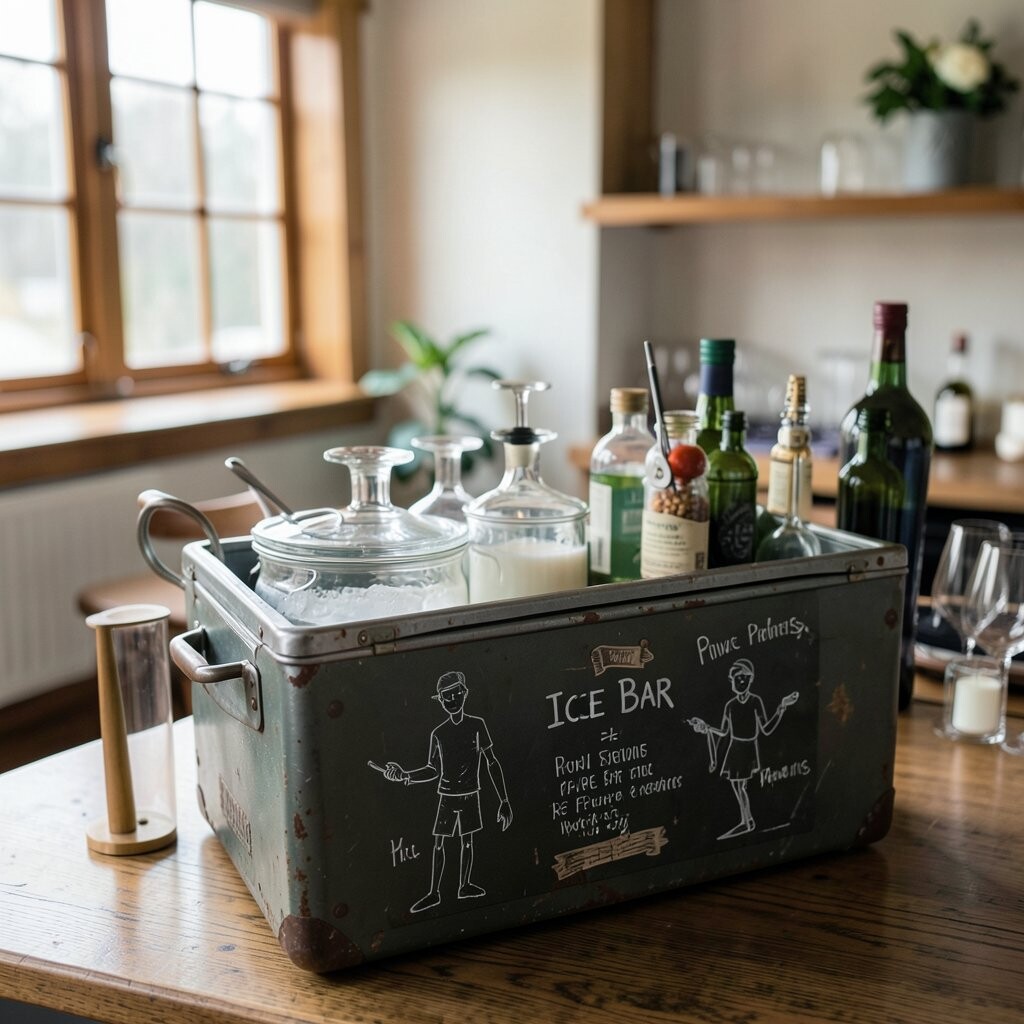
Use a vintage-looking cooler or insulated trunk and frame it with chalkboards for menus and directions. It gives you an instant nostalgic vibe without complicated decor.
Write easy drink options like “Spicy Margarita” or “Rose Lemon Fizz” and list one or two ingredient highlights. Offer a quick guide for strength, such as “Light” and “Bold,” so guests feel confident ordering. For practical tips, keep extra ice and a backup ladle hidden inside so refills are quick and smooth.
Consider cost by using thrifted coolers and focusing your budget on the chalkboards and signage. A current trend is handmade menus and “handwritten” authenticity, which feels warm and personal in private settings. Personalize by adding the party date or initials in a corner of the chalkboard.
11. Candlelight “Low and Cozy” Bar Shelf

Create a cozy bar with a low shelf table where drinks are served from a comfortable standing height. It’s great for smaller parties or for rooms with strong lighting control.
Style the shelf with warm-toned decor, like gold trays, soft linens, and candles that match your color palette. Keep drinkware organized in labeled stacks so guests can grab and go. This setup feels unique because it turns the bar into a calm lounge moment instead of a busy counter.
For safety and practicality, choose LED candles or secure real candles with bases and keep them away from liquid and ice. Cost varies, but thrifted trays and simple linen can keep it budget-friendly. A trend right now is warm, homey lighting over big “neon” displays, especially for intimate celebrations.
Personalization ideas include adding scent details like citrus essential oils in a diffuser near the bar, as long as it’s not overwhelming. If your venue allows it, soft lighting also makes photos look richer.
12. Portable “Beer & Cider Flight” Cooler Wall

Build a cooler wall using multiple bins or a modular cooler setup for beer and cider. Guests can see options quickly and stay focused on chatting instead of waiting.
Use a mix of mainstream favorites and a couple of rotating craft options, then label each with a short vibe, like “Crisp” or “Fruity.” Add a small tap-style feature even if you’re using canned drinks, such as a faux tap sign, to keep the look cohesive. This setup is unique because it blends presentation with real cold storage.
For practical tips, make sure bins are reachable from all angles and keep a refresh route clear for you. Cost considerations include the number of varieties, since flights can get pricey if you include too many brands. A current trend is offering “seasonal picks,” like autumn ciders or summer sours, so guests feel like they’re getting something fresh.
Personalize by using color-coded labels that match the party theme. If you know your guests, choose varieties that match their usual preferences instead of random picks.
13. “Bar Mat” Placement With Drink-Ready Zones

Set down custom drink mats or a patterned runner that clearly marks where glasses go. This reduces clutter and keeps the bar area feeling organized.
Divide the setup into zones, such as “Pour Here,” “Garnish Here,” and “Grab Your Glass.” Each zone should have matching tools and a small visual cue, like color sticky dots or printed labels. Guests will intuitively understand what to do, and you won’t have to keep repeating yourself.
For personalization, print the mat or runner with the guest of honor’s initials or a theme symbol. Cost can stay low by using washable placemats and a printed transfer for the runner. This idea is trendy because it turns the bar into a self-serve flow that still looks styled.
Make sure you keep a clean “escape route” for yourself so you can restock without bumping guests. Keeping the mats in line with your walkway also makes the area feel safe and intentional.
14. Custom Stir Stick “Flavor Code” Set
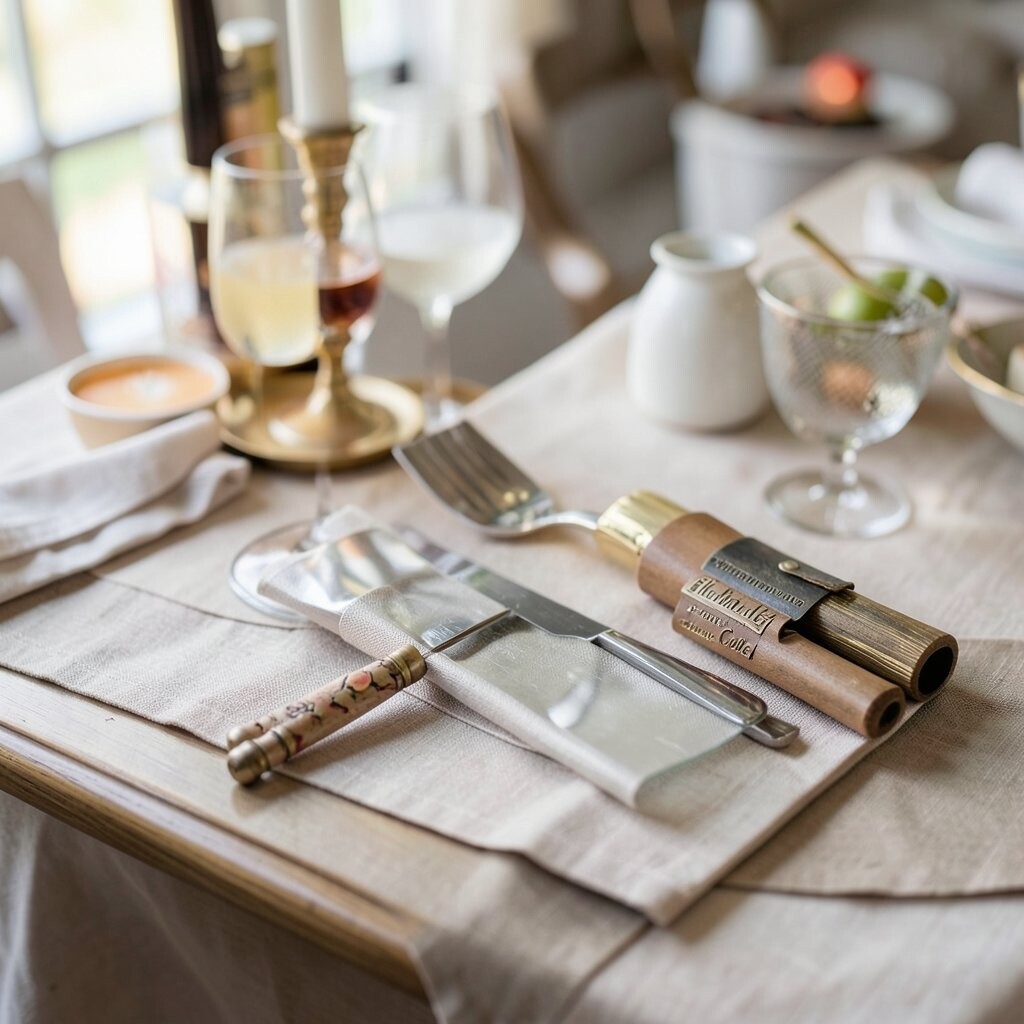
Give each guest a stir stick with a code that matches flavor choices. It’s a small detail, but it makes the bar feel interactive and personalized.
Attach codes like “C” for citrus, “G” for ginger, and “V” for vanilla, then label the syrups or mixers the same way. Guests can mix confidently because the code acts like a simple map. For practicality, store extra sticks in a container near the mixing area and keep napkins close by.
15. Espresso Martini or Coffee Cocktail Bar (Night-Friendly)

If your party goes into the evening, a coffee cocktail bar is a cozy hit. It also feels fancy without requiring a full bar transformation.
Set out espresso, coffee liqueur or instant coffee concentrate, cream or milk alternatives, and cocoa powder. Add pre-measured cups or ingredient scoops so you can move quickly during peak times. This setup is unique because it pairs well with dessert energy and late-night conversation.
For cost considerations, coffee concentrates can be economical compared to brewing many fresh cups. A trend right now is offering one “adult coffee” option and one non-alcohol coffee mocktail so everyone can participate. Personalize by adding flavored syrups like hazelnut or caramel that match the dessert menu.
Keep it practical by placing a water station and providing a soft stir option like a foam whisk only if you have the tools. Even simple cocoa dusting looks elevated when it’s done neatly.
16. Frosted Glass “Color Menu” Beverage Bar

Use frosted or tinted glassware so each drink color looks consistent and photo-ready. This gives your bar a “designed” look even with simple ingredients.
Create a color menu where each beverage category matches a glass color, like pink for fruity sips and green for herb-citrus blends. Guests can grab the right drink faster and you reduce confusion. For personalization, align glass colors with your party palette and theme decor.
Cost can be controlled by using mixed glass styles and focusing on one or two hero colors. If you’re renting, check if glass rentals include the “right” tint. Current trends favor bold color drinks and coordinated glassware because they look great in candid photos.
17. Seasonal Fruit + Herb “Infusion Pitcher” Setup
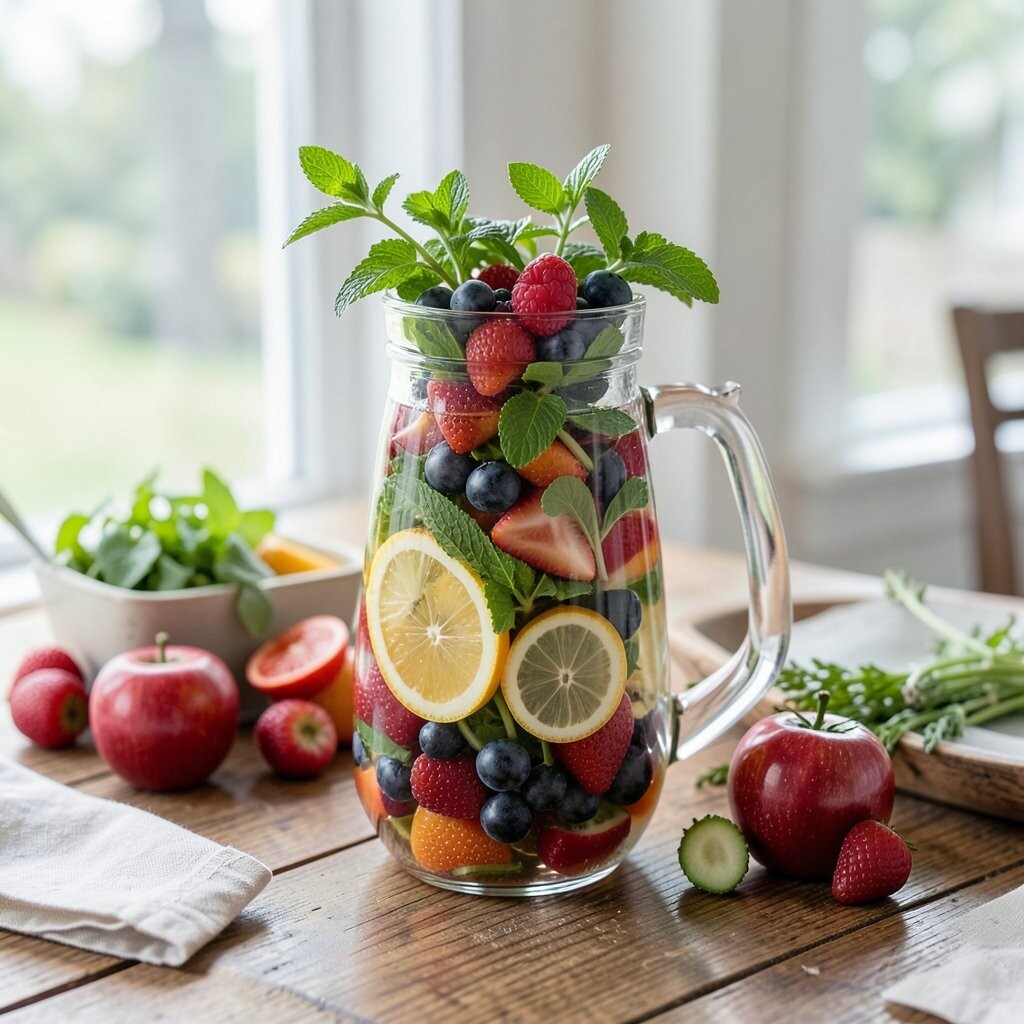
Make infusion pitchers with seasonal fruit and herbs so the bar offers flavors that change throughout the event. It’s refreshing, pretty, and makes water taste like a treat.
Use pitchers filled with cucumber, berries, citrus peels, rosemary, or mint, then let the flavors steep. Label each pitcher with a time note like “First pour: 30 minutes” so the best taste lands at the right moment. This setup is unique because it adds a gentle aroma and visual detail without complicated measuring.
For practical tips, start one batch earlier than your party start and prepare a second batch for later. Cost is usually friendly because fruit and herbs are inexpensive compared to premium mixers, especially if you buy seasonal produce. A current trend is “low-effort luxury,” where simple infusions look elevated through neat presentation.
Personalize by matching infused ingredients to the theme, like peaches for a summer bash or apples for a fall gathering. Keep a pitcher of plain water available too, so guests who prefer simple sips feel included.
18. DIY “Signature Cocktail Menu” on a Photo Backdrop

Build a bar menu that doubles as a photo backdrop behind the bottles or the punch bowl. Guests can take pictures right where the action is.
Use a framed menu board, a tall printed banner, or a clean chalk wall, then design it around your signature drink names and basic ingredients. Include one or two “easy choice” icons like a lemon for bright drinks and a berry for sweet ones. For cost considerations, printed templates and small frames can be affordable, and you can reuse the menu for future parties.
To make it practical, keep the menu readable from a few steps away and avoid tiny fonts that blur in photos. This idea is trending because people want both function and share-worthy visuals in the same spot. Personalize by adding the guest of honor’s initials and a small decorative element tied to your theme.