Picture your guests walking up to a bar that feels like a mini vacation. Then watch them build cocktails with confidence from the very first pour.
1. Repurposed Crate Welcome Bar

A wooden crate front instantly makes the whole room feel handmade. It also sets a cozy tone before anyone even picks up a shaker.
Stack clean crates as shelves for bottles, glassware, and garnish. Label each crate space with masking tape so guests know where to find tools fast. This setup saves counter space and helps you keep everything organized during busy class moments.
2. Chalkboard Menu Wall With Seating Cues
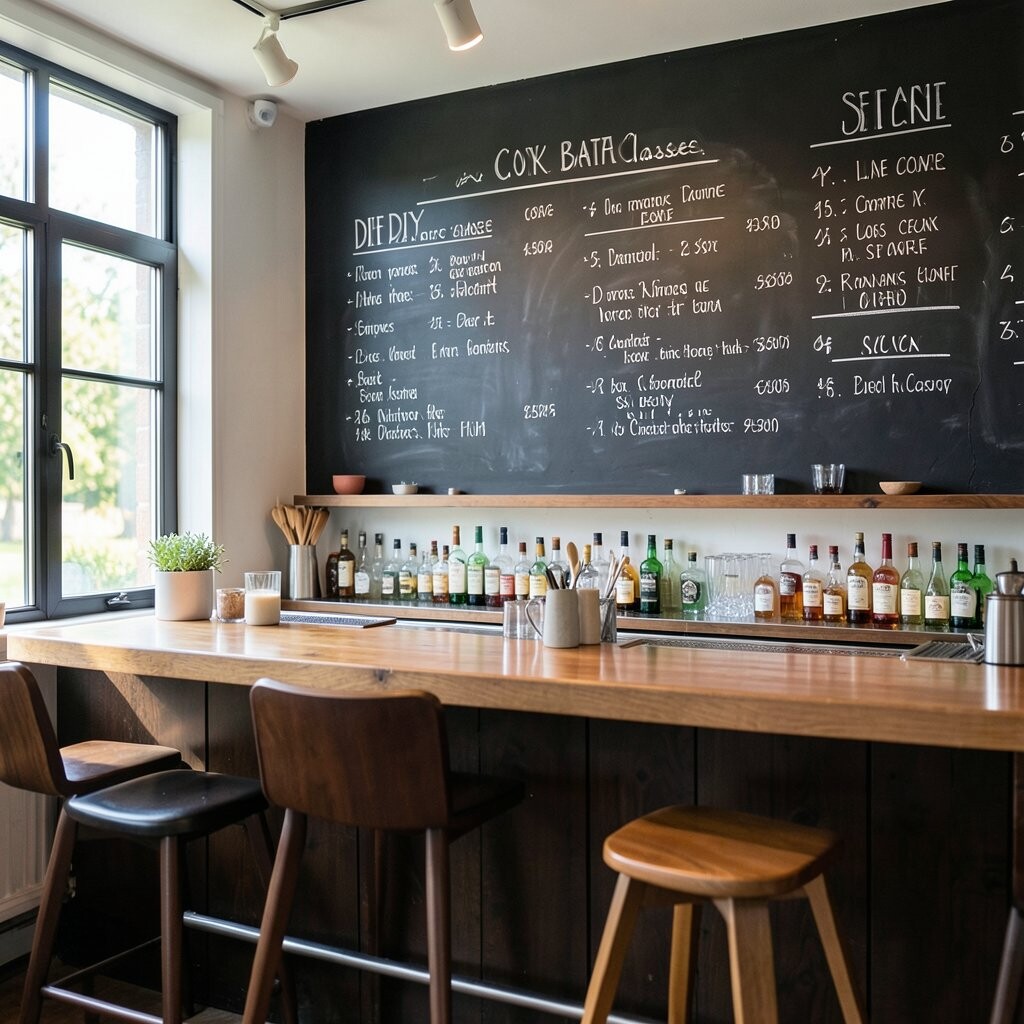
A chalkboard menu turns your bar into a friendly guide. When guests can read the plan, they feel less rushed and more excited.
Write the class cocktail options, plus a simple “start here” arrow for each station. Add a small map for where to sit, which glass to use, and what garnish goes on top. Keep a spare piece of chalk and an eraser nearby so you can adjust quickly if the class timing shifts.
For personalization, draw a different cocktail icon next to each recipe step. Use colored chalk markers to match drink themes like citrus, herbs, or smoky spirits. Budget-wise, chalkboards are inexpensive, and you can reuse the wall for future classes.
3. Under-Shelf LED Bar Glow

Soft lighting makes even simple ingredients look impressive. Guests will think you spent more time and money than you actually did.
Place battery LED strips under shelves so bottle labels glow without harsh glare. Warm white is the easiest choice, but you can do green or amber accents for themed nights. Make sure cords are taped down neatly so nobody trips while mixing.
This unique vibe improves the “photo moment” factor, which helps your class feel special. It also helps students see measurements clearly, especially if your room has dim overhead lights. If you want cost control, pick USB-powered strips and use a timer plug.
For current trends, people love “mood lighting” and cinematic backgrounds. Pair the glow with clear acrylic risers so bottles sit at the same height. That small step makes the bar look curated and modern.
4. Single-Color Bottle Sorting Station

Grouping bottles by color makes your bar look tidy and intentional. It also speeds up ingredient finding when everyone is moving at once.
Choose one color theme like amber, green, or clear and build your shelf around it. Put spirits in the front row and syrups or liqueurs behind them so guests can spot what’s needed. Add a small “grab-and-go” card with the drink each bottle belongs to.
5. Glassware “Flight” Display Rack
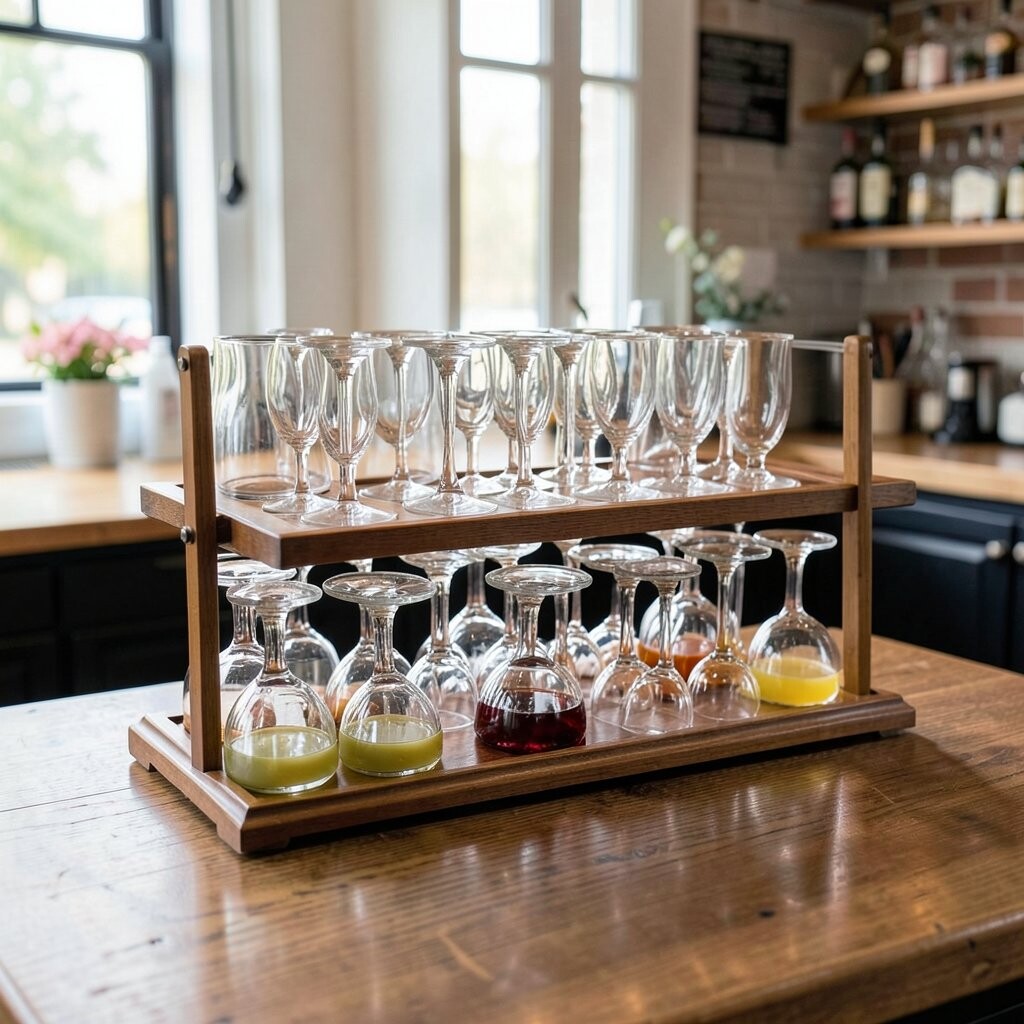
A flight-style display makes glasses feel like collectibles. It’s a fun way to show guests what each drink will serve in.
Use a tiered stand, spice rack, or DIY ladder shelf to present coupe glasses, highballs, rocks glasses, and shot glasses. Label each tier with the drink name so guests grab the right glass without confusion. This reduces wasted time and prevents the wrong glass from showing up at garnish time.
Personalize by matching the rack color to your theme, like black for a modern bar or natural wood for a rustic vibe. For cost, hunt for used display stands at thrift stores or online marketplaces. Keep the rack near the mixing area so students don’t carry fragile glassware across the room.
6. Vintage Suitcase Tool Caddy
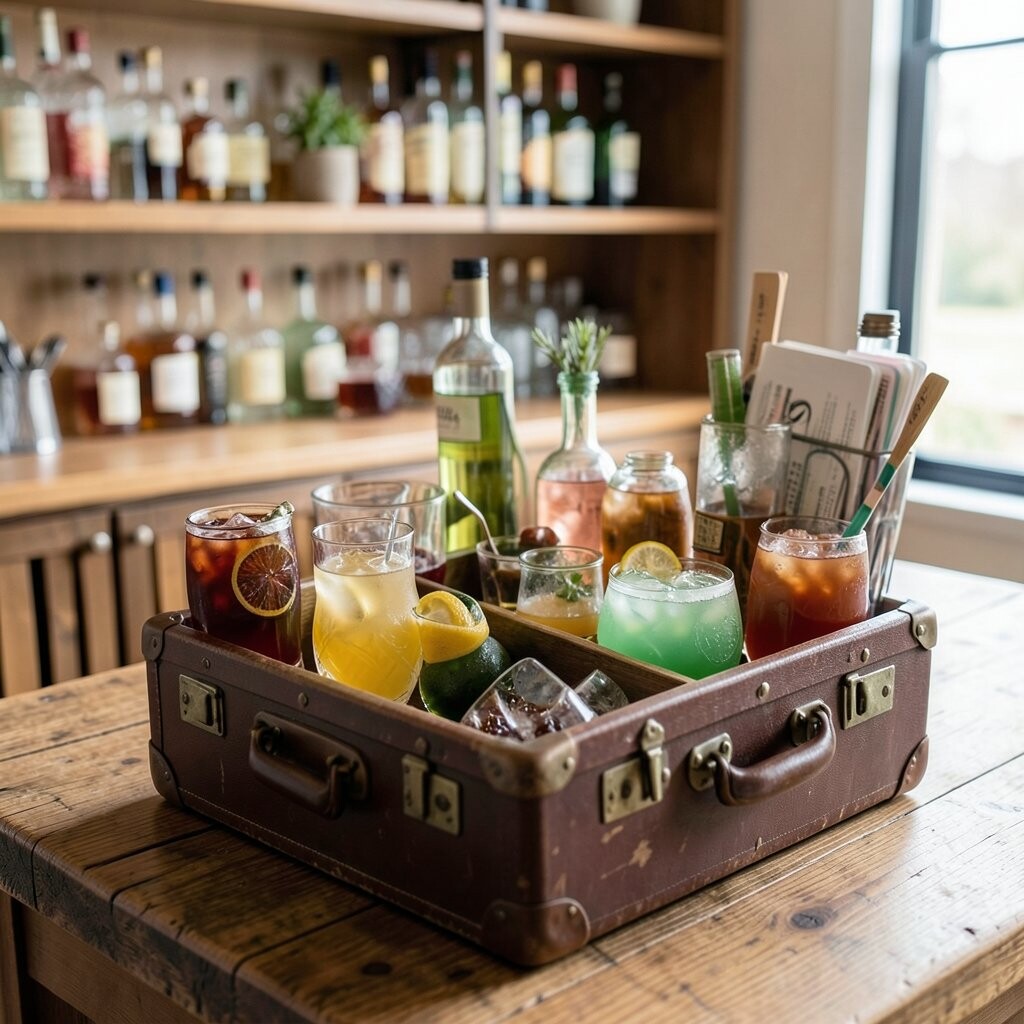
A vintage suitcase instantly adds character to your cocktail class. It also keeps tools together in one easy-to-carry spot.
Fill a suitcase with compartments for jiggers, bar spoons, strainers, and bottle openers. Add small foam or fabric dividers so items don’t clink and scratch. When guests rotate to the next step, they can grab the whole “tools kit” from the suitcase.
What makes it unique is the storytelling feel of travel and nights out. It’s great for theme classes like “Roaming the Riviera” or “Speakeasy Weekend.” If you want to keep costs low, start with one sturdy suitcase and reuse it for every class.
7. Vertical Herb Garden Garnish Bar

A vertical herb wall looks fresh, bright, and alive. Guests love choosing mint, basil, or citrus peel from something that feels real.
Mount a small vertical planter or create a hanging pocket garden with washable liners. Put labels on each herb and keep a tiny spray bottle nearby so leaves stay crisp. Set the herb bar near the garnish station so students can smell and taste while learning.
This setup also supports better outcomes because herbs release aroma right when they’re needed. It keeps garnish organized and reduces the “where is the mint?” moments. Personalize by adding edible flowers in season if your class allows it, and keep allergy notes in your ingredient cards.
8. Marble-Top “Mixing Zone” With Heat-Safe Trays
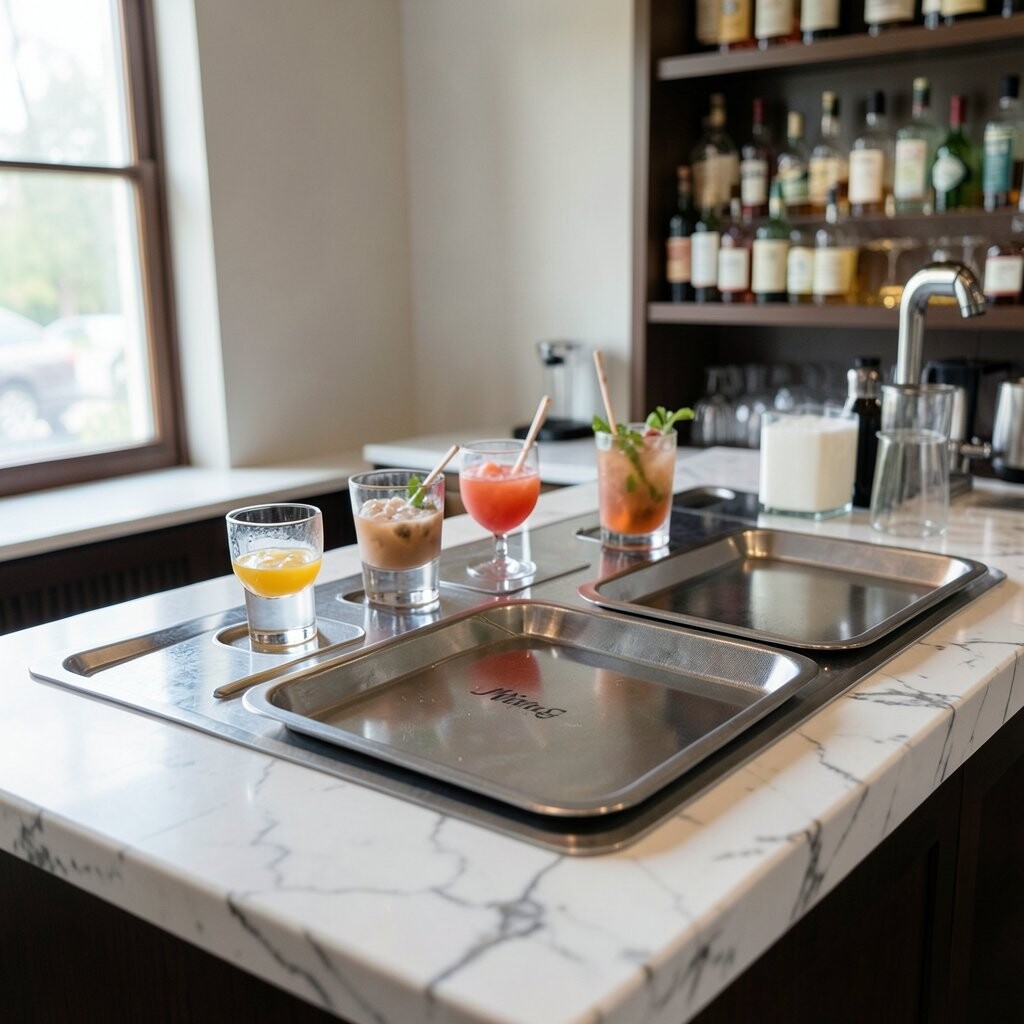
A smooth marble look makes your bar feel upscale. It also helps guests see details like ice texture and syrup consistency.
Cover a table with a marble-pattern contact paper or use a slab-style cutting board for a cleaner mixing surface. Add heat-safe trays for ice, bottles, and tools so spills don’t ruin the main table. This makes cleanup faster, which matters when you run multiple sessions.
Make it unique by adding a “meter line” tape marking where guests should place their shaker. That tiny guide improves consistency in a DIY class. For cost, contact paper is a quick win, and you can replace it when it gets worn.
Current trend energy often leans into sleek surfaces and minimal clutter. Keep your mixing zone simple: one tray for ice, one for tools, and one for garnishes. The less visual noise, the more your bar looks professional.
9. Temperature-Controlled Ice Station Setup

Ice quality can make or break a cocktail. So a dedicated ice station instantly upgrades your class experience.
Use an insulated cooler with a scoop and label it clearly “ICE ONLY.” Place a second smaller bin for crushed ice, if your recipes need it, and keep them separated. Add a quick note about how ice type affects dilution so guests understand the “why,” not just the “how.”
This is practical and unique because you’re teaching skill, not just pouring. Guests can practice smart ice handling like packing the shaker correctly. For personalization, color-code lids or tape labels to match each drink’s color theme.
10. Modular Station With Color-Coded Steps

Modular stations keep your class organized even with lots of questions. Color-coding adds clarity without extra talking.
Create three or four stations around the room: measure, mix, garnish, and serve. Use colored trays, cups, or table runners so each step looks and feels distinct. Put a laminated card at each station showing the exact order for that drink.
What makes it special is how flexible it is for different recipes. If you switch cocktails next month, you can reuse the same station layout. Cost stays low because trays and tape are affordable, and you can build the system slowly over time.
11. Mini Bar Cart “One-Drink Everywhere” Theme
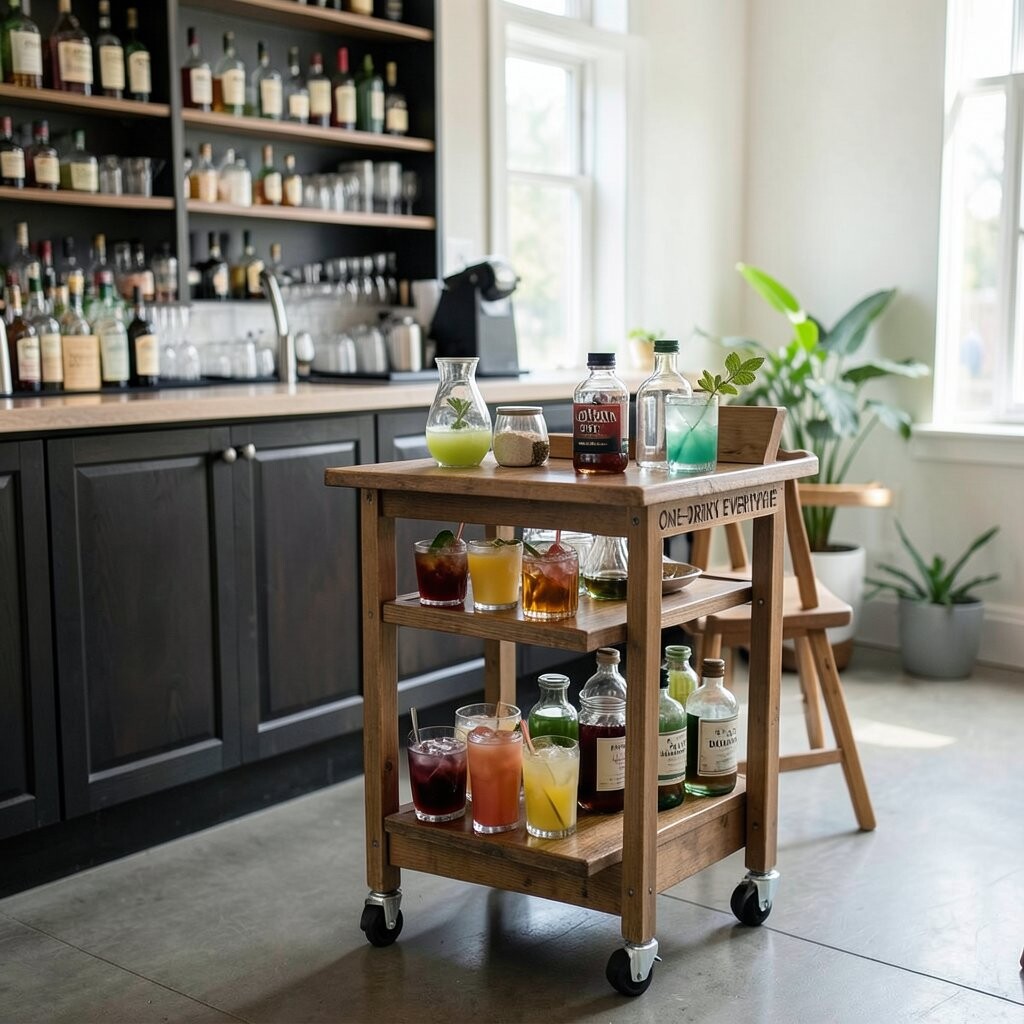
A bar cart makes your setup feel mobile and playful. It also helps you handle class flow without running back and forth.
Choose a sturdy cart and stock it with one complete “drink kit” per recipe: bottles, mixers, garnish, and the specific glass. Keep the cart near the main mixing area so you can demonstrate and then hand tools to students quickly. Add small hooks for towels and an extra pour spout if you use one.
Guests love the idea that everything they need is in one place. It’s unique because it looks like a real bar on wheels. To keep costs reasonable, start with a small cart and add attachments like a tiered bottle shelf as your budget allows.
For trends, many hosts now lean into “service stations” that look stylish and reduce downtime. Use simple signage like “Team Citrus” or “Team Herbal” on the cart. That makes the cart feel like a game, not just storage.
12. Rustic Wooden Paddle Recipe Cards

Wooden recipe cards look warm and charming right on the bar. They also make step-by-step mixing feel more personal.
Cut small wooden paddles or buy lightweight wooden signs and write recipe steps on them with food-safe or permanent markers. Place one paddle at each station so guests can follow along while measuring. Add reminders like “shake 10–12 seconds” and “strain into chilled glass” for quick reference.
13. Transparent Acrylic “Specimen” Bottles Display
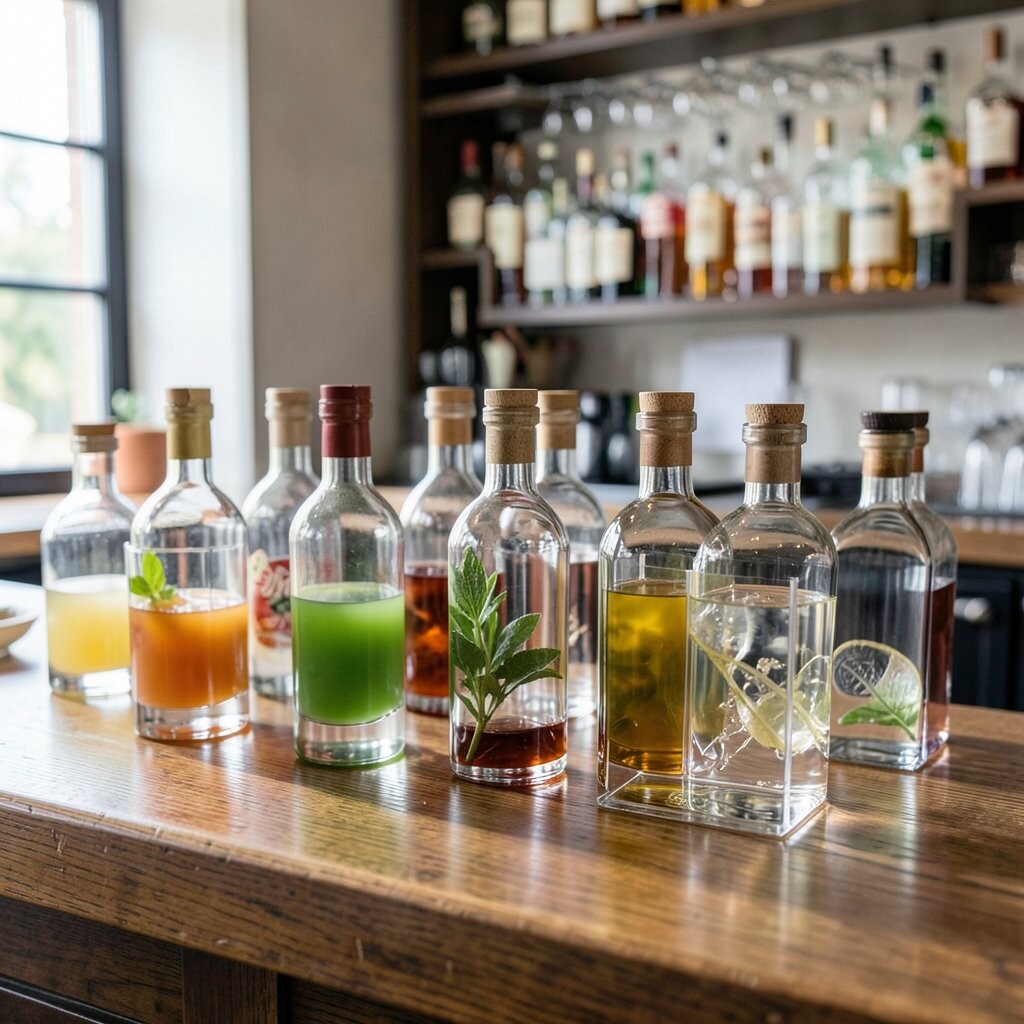
Clear acrylic displays give your bar a modern, lab-like look. It’s a creative way to make ingredients feel important and curated.
Use small acrylic risers or clear containers to present syrups, bitters, and garnishes in separate compartments. Keep labels visible so guests can find flavors instantly. This unique visual helps people remember which ingredients are bold, bright, or aromatic.
Personalize by matching container colors to the cocktails, like gold for vanilla notes or ruby for berry syrups. For cost, look for acrylic craft supplies or discount display items online. Just be sure to keep things stable so containers don’t tip during class handling.
For current trends, “clean shelf styling” and minimal clutter are popular. Use the clear display to reduce visual mess while still looking high-end. When your bar looks organized, guests relax and focus on taste.
14. Sink-Ready Spill Control Back Bar

Spills happen during DIY classes, so plan for them. A spill-control back bar makes the experience smoother for everyone.
Place a waterproof mat or tray system behind the pouring area with towel rolls and a small trash bin. Add a squeeze bottle of cleaner and a backup towel so you can reset fast between steps. When guests see the tools are ready, they feel safer and more confident.
This setup is unique because it’s not just pretty; it’s smart. It protects your floors and prevents tiny messes from turning into big distractions. Consider cost savings by repurposing baking trays, shower mats, or washable table protectors.
15. Citrus Zest and Peel “Art Wall” Station

A citrus art wall adds a playful sensory element to your class. Guests enjoy seeing zest patterns while learning aroma techniques.
Hang a small board with hooks for zesters, peelers, and sample citrus. Provide a tray for zest scrapings and a separate bowl for edible garnishes. Add a sign that shows three garnish styles, like spirals, rounds, or twists.
Personalize by switching the citrus variety seasonally, such as using blood orange in winter and lemons in summer. This is practical because zest handling can get messy, and a dedicated zone keeps it contained. For trends, “aroma-led cocktails” are popular, and garnish artistry supports that idea.
Cost considerations are friendly since citrus is usually affordable. Buy a few extra fruits for practice cuts and keep a simple waste plan. Even with small budgets, this station looks like a premium experience.
16. “Signature Cocktail” Serving Stand With Name Cards
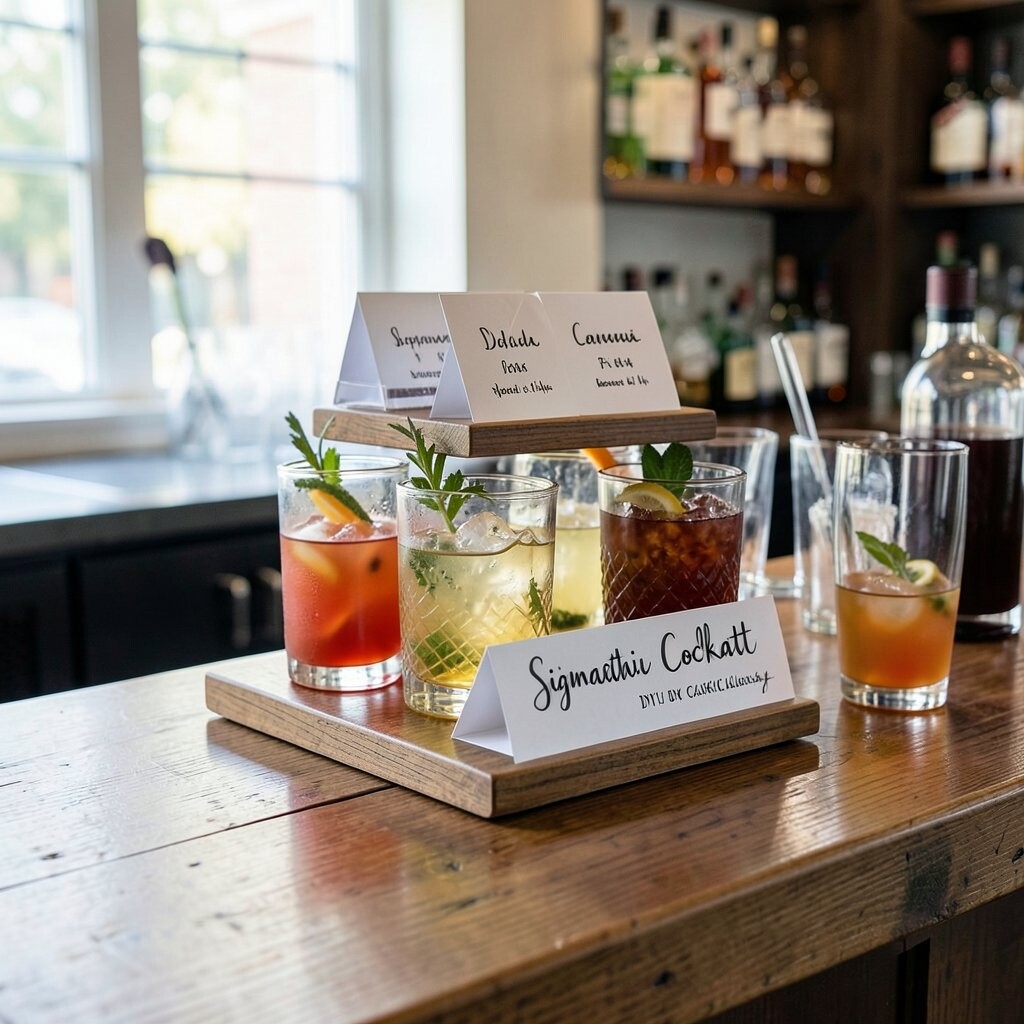
A serving stand makes each drink feel like it has its own spotlight. It also helps guests remember what they made.
Set up a small stand or shelf with name cards and themed placards for each cocktail. After mixing, guests place their glass in the correct spot for a quick “first sip” moment. Add a tasting note card with prompts like “How does it smell?” and “Is it more sweet or more crisp?”
17. Ice Scoop Bar With Clean Pour Targets

Using a scoop instead of random ice bags looks neat and intentional. It also keeps ice consistent for every student.
Create a small “pour target” using a tray marked with simple lines for fill levels. Put a scoop on a hook and include a note about how full to pack the shaker. This unique setup teaches accuracy and reduces guesswork.
For personalization, mark the lines with the drink names, like “Highball Fill” or “Rocks Pack.” Cost stays low because scoops and trays are inexpensive. Right now, people enjoy “precision vibes,” and this gives you that look without fancy equipment.
18. Themed Backdrop With Fabric Drapes and Tags
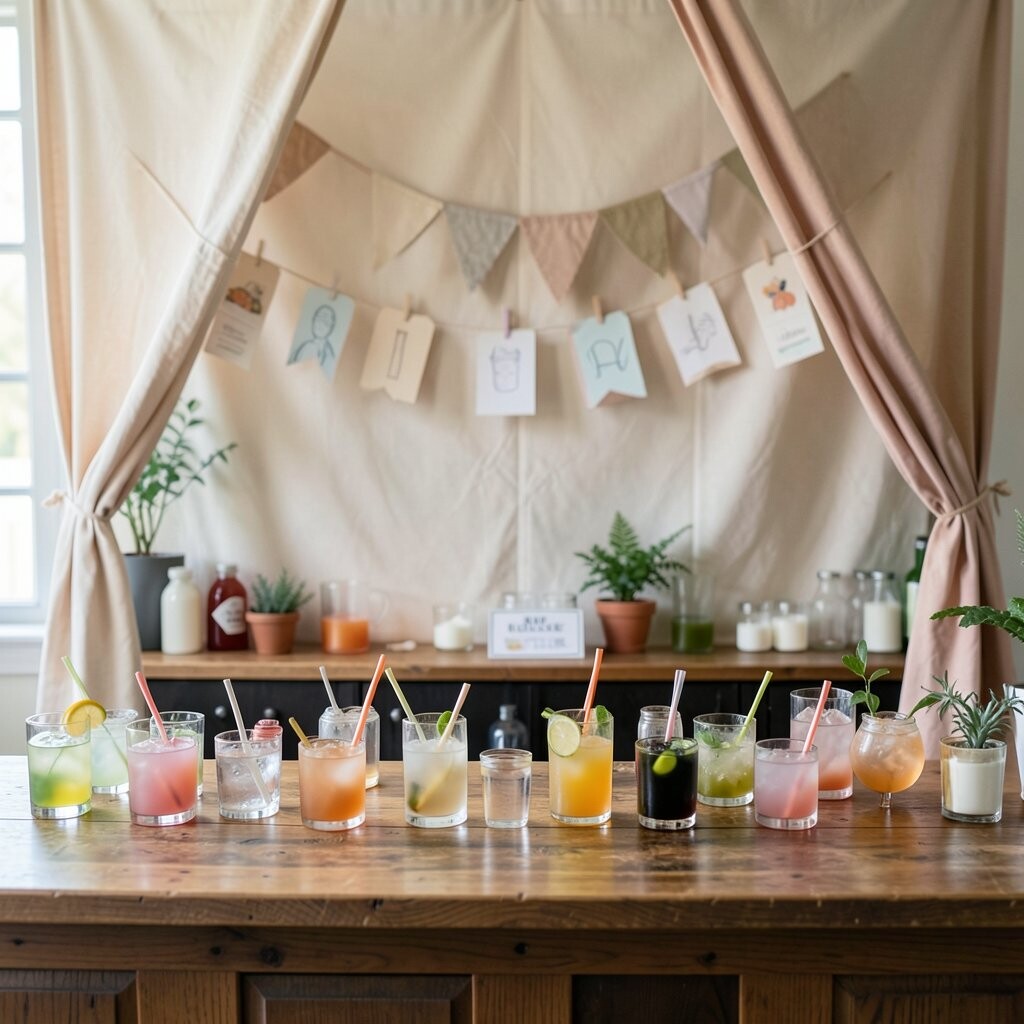
A themed backdrop makes your class feel like an event. Fabric drapes add movement and soften the room’s look.
Hang lightweight fabric behind the bar and secure it with curtain rods or hooks. Tie tags onto the fabric labeling the station types, like “GARNISH” or “MIXING,” so guests instantly understand the flow. Choose colors that match your cocktail theme, such as teal for coastal drinks or burgundy for cozy winter flavors.
This setup is unique because it frames the action like a photo booth, which guests love. It also helps hide clutter behind the bar, keeping your space tidy. For cost, use thrifted linens and rework them with clips, pins, or simple ties.
19. DIY “Botanical Apothecary” Bottle Labels

Apothecary-style labels turn ordinary mixers into special potions. It makes your bar feel creative without buying a bunch of new equipment.
Create custom labels for bitters, syrups, tonics, and herbal ingredients using cardstock and clear tape. Add short flavor notes like “peppery,” “bright,” or “vanilla-sweet” so guests can choose confidently. This unique idea also supports personalization, because you can design labels for each class theme.
To keep costs in check, reuse old bottles and just replace labels between classes. Current trends often lean toward natural, botanical branding, and this fits right in. Make sure labels are readable from across the room and wipe clean easily if you handle spills.