Cabinet lighting can make even a simple kitchen feel welcoming. The right placement turns dark corners into usable space.
1. Under-Cabinet Strip Lights With a Soft Diffuser
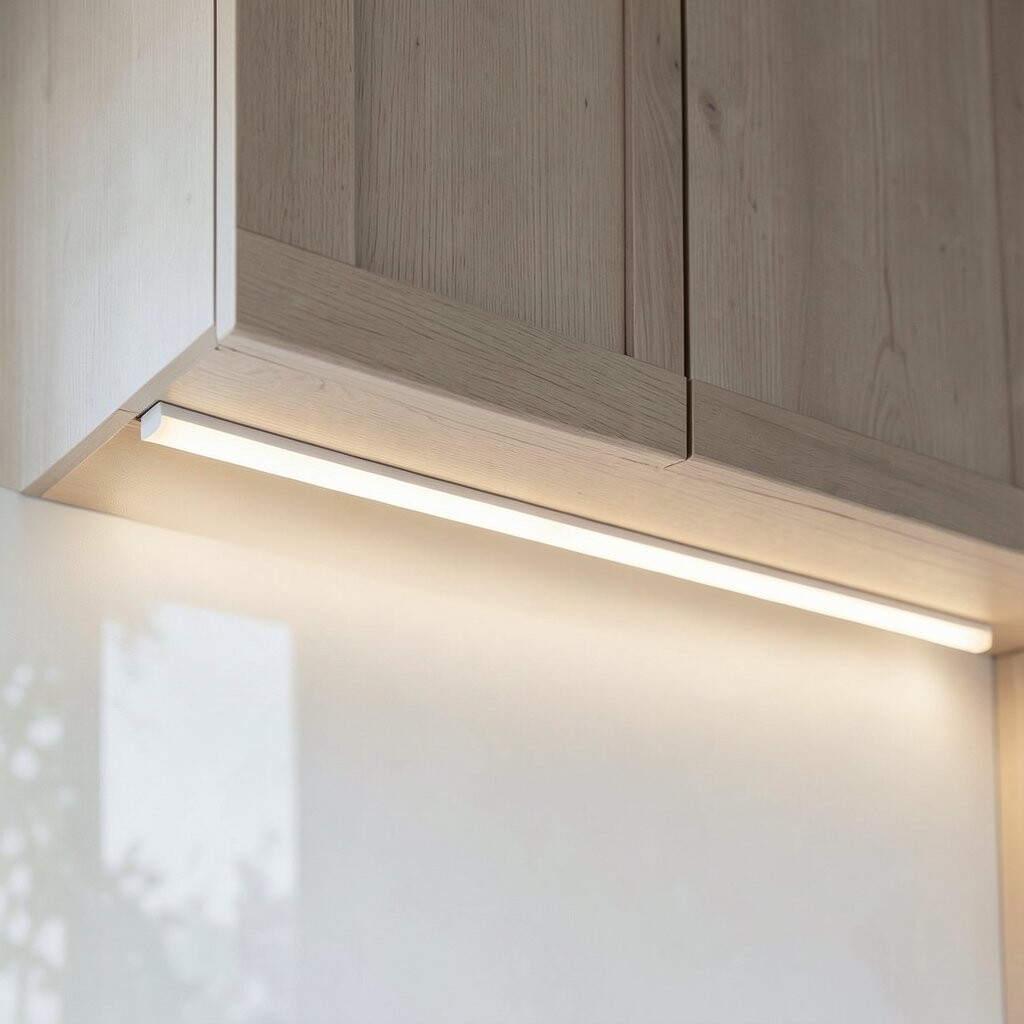
Under-cabinet strip lights instantly brighten countertops and make cooking tasks easier. A diffuser lens softens glare so the light looks smooth across the surface.
Choose a warm white for a cozy look or a neutral white for true-to-life colors. Install the strips about 1 to 2 inches under the cabinet face to avoid shadows from the cabinet lip. Pair the setup with dimming to match daytime energy and evening mood.
2. Recessed Cabinet LED Channels for a Clean Look
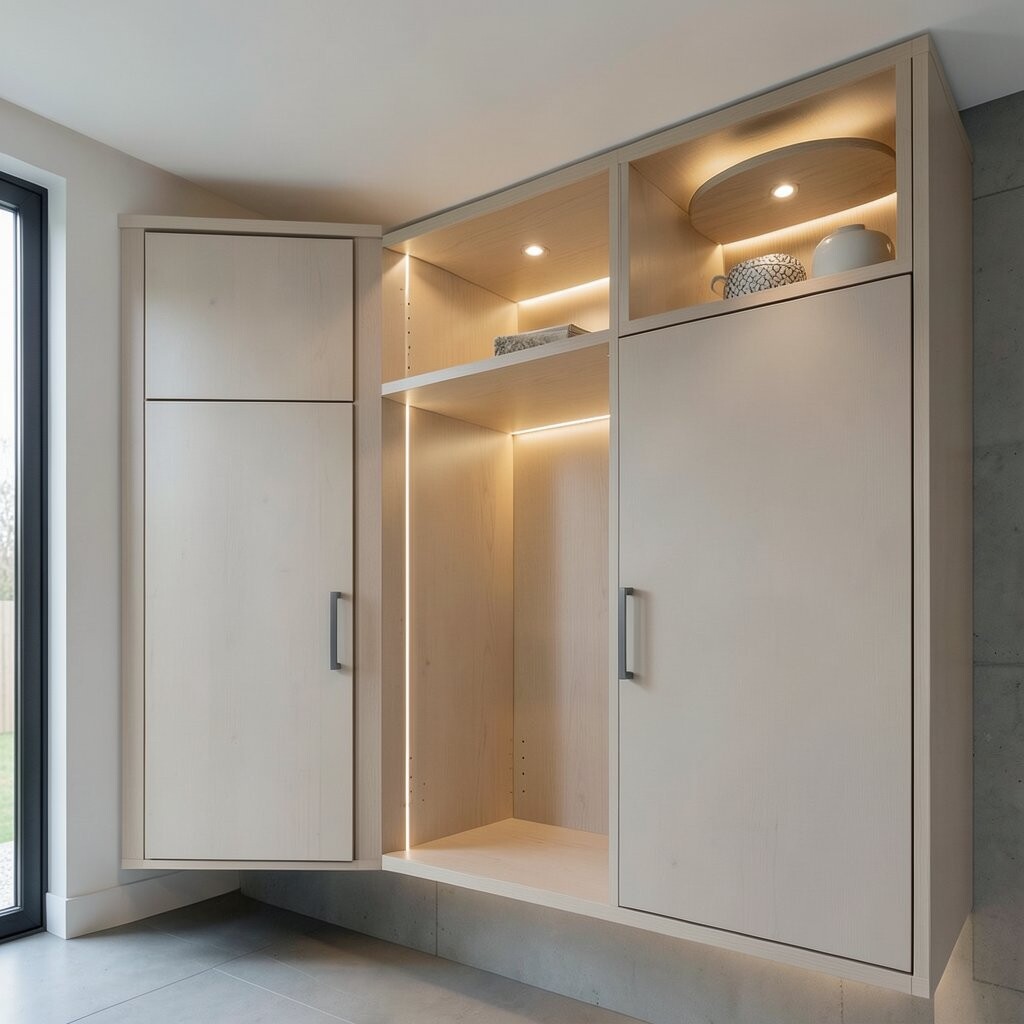
Recessed channels hide the light source so the cabinet underside feels sleek. Instead of seeing bright points, you see an even band of illumination.
To get the best results, measure the channel depth and confirm there is enough clearance inside the cabinet. Use an aluminum channel for better heat control and a longer life. This idea stands out because it looks built-in even when added later.
Budget-wise, channels cost more than basic strips, but the finish often looks more expensive. Choose a plug-in driver if you want an easier installation path. Current trend favorites include slim, dark-finished channels that match modern cabinet hardware.
3. Motion-Sensor Lights for Hands-Free Convenience

Motion sensors make cabinet lighting feel automatic and helpful. You open a door or pass by, and the area comes alive right away.
Place sensors so they catch movement without turning on every time you walk through the kitchen. For practical use, consider where trash, dishes, and pantry items are stored. This setup is unique because it reduces switches and helps you avoid fumbling in the dark.
Many sensors can be adjusted for timeout and sensitivity, so you can dial in the exact behavior. If you want deeper control, choose models that allow separate zones for different cabinets. Plan wiring access early so you can keep the sensor module and power supply hidden.
Costs vary based on whether you choose battery-powered sensors or hardwired systems. Battery options are often simpler and great for renters. Hardwired versions can look more seamless and avoid frequent battery changes.
4. Puck Lights That Highlight Glass Shelving
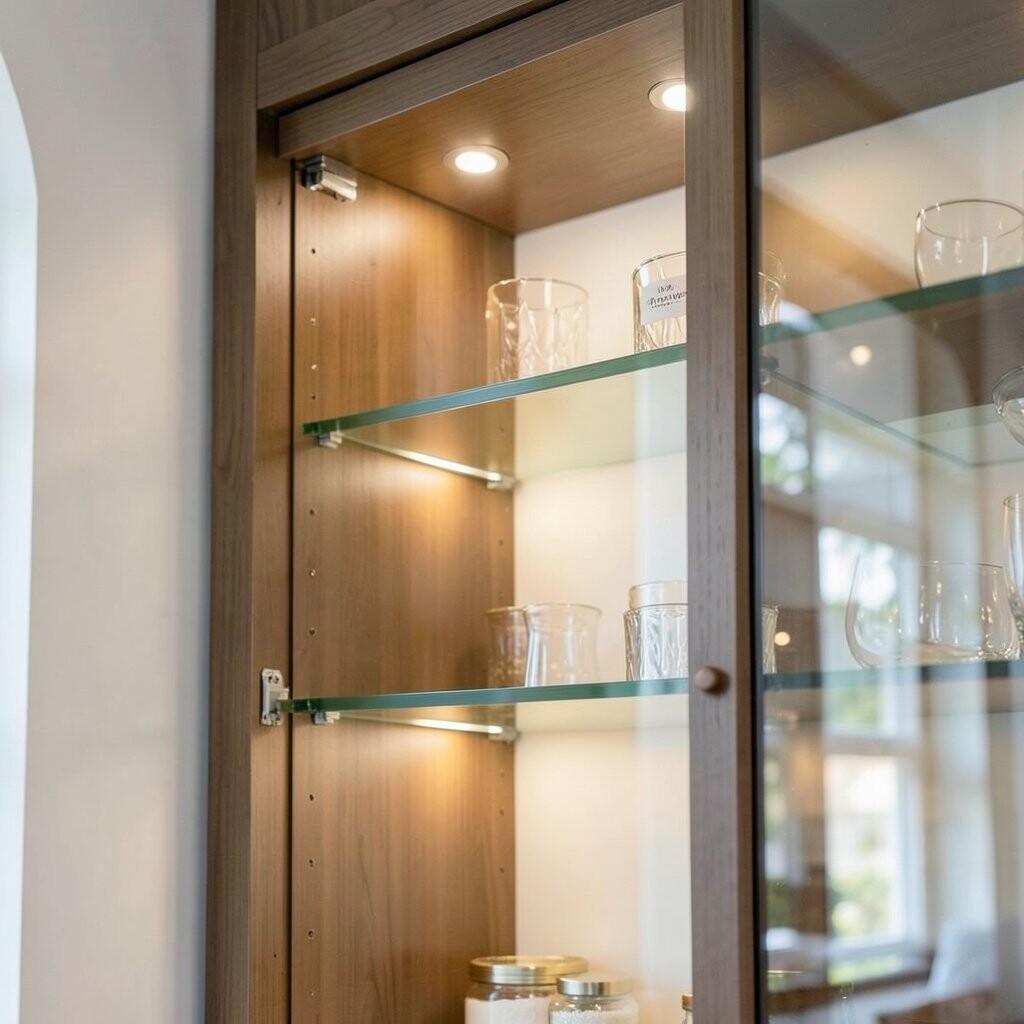
Puck lights are small, round LEDs that work beautifully when you want to show off glass doors. Their focused beam adds sparkle to dishware and makes decorative shelving stand out.
Mount them evenly along the shelf line to prevent uneven “hot spots.” Use a lens cover if you prefer a softer glow on display items. This idea feels special because it turns storage into a mini showcase rather than just task lighting.
5. Inside-Drawer Lighting for Tool-Free Finding
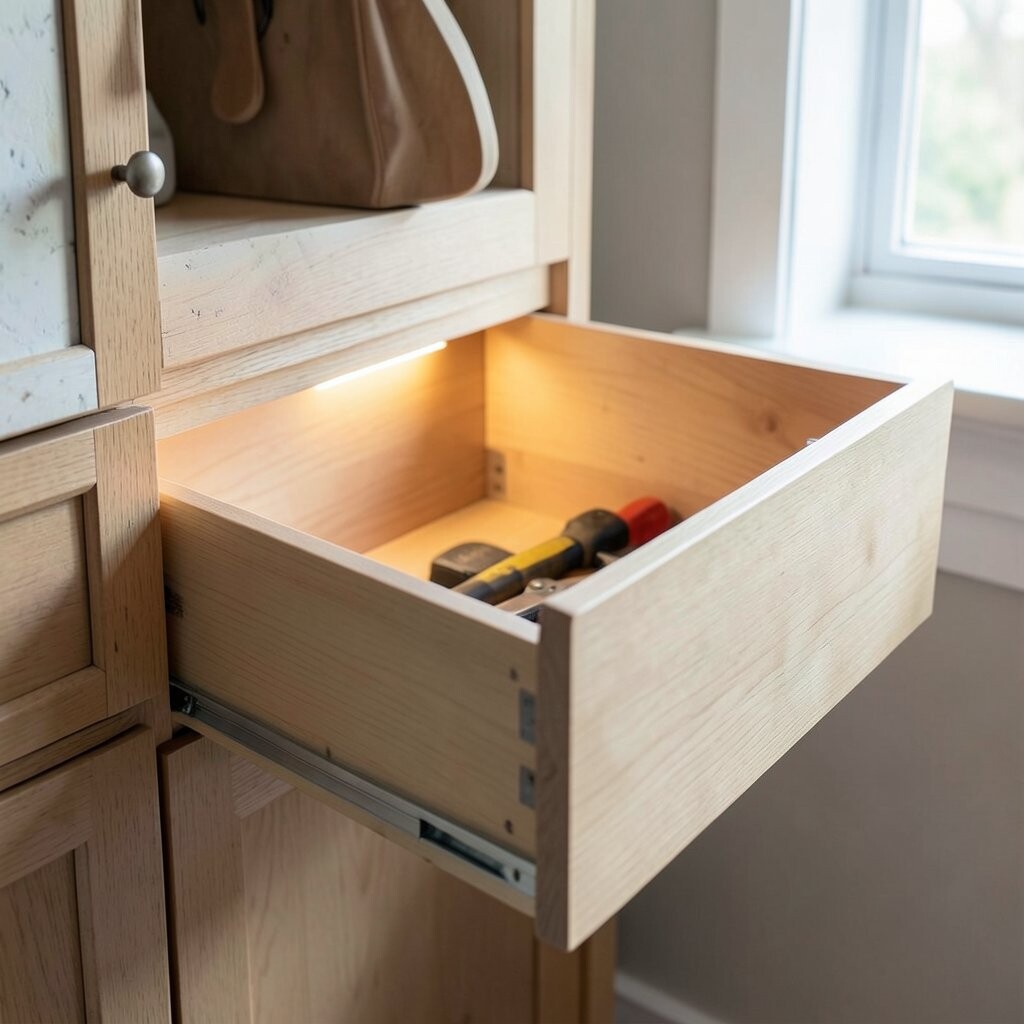
Inside-drawer LEDs help you find utensils and small tools without hunting around. The glow makes it easier to organize everything because you can actually see what you’re grabbing.
Install the light on the drawer wall or rear area so the beam spreads across the drawer depth. Use a flexible strip with a low-profile driver so the drawer still slides smoothly. Consider adding a small switch or sensor for quick on-demand lighting.
If you’re thinking about cost, inside-drawer setups can be moderate because you’re working in multiple locations. Start with the drawers you use most, like silverware or prep tools. A popular current choice is warm-to-neutral color temperatures that look flattering on wood and stainless surfaces.
6. Cabling-Free Battery LED Strips for Quick Upgrades

Battery LED strips are a fast way to brighten cabinets without cutting walls. You can place them exactly where you want light and adjust later if your layout changes.
Look for strips with strong adhesion and simple mounting clips so they stay secure. Choose a model with a remote or under-cabinet switch so you don’t need to press tiny buttons. This idea is unique because it’s almost always renter-friendly and easy to remove.
Costs are usually higher per light than hardwired options, but the convenience often makes it worth it. To avoid disappointing brightness, check lumens and runtime ratings before buying. For personalization, pick a color temperature that matches your room lighting so everything feels cohesive.
7. RGB Accent Lighting for Colorful Holiday Moments

RGB lighting lets you change the mood with different colors. It can make cabinet spaces feel festive during parties or cozy for movie nights.
Use RGB strips carefully so colors don’t clash with your kitchen finish. Many systems include presets like cool daylight or warm sunset tones, which makes everyday use easier. This stands out because it’s more than illumination—it becomes an accent design tool.
Budget consideration matters here because RGB systems often require controllers. Start with one or two zones, like a bar cabinet or entertainment nook. A current trend is pairing RGB with warm white “fallback” modes so the kitchen stays usable even without color.
For practical tips, keep the controller in a reachable spot and test the color output against your backsplash. Some colors look great in the morning but too strong in the evening, so adjust as needed.
8. Dedicated Lighting for Toe-Kick Space
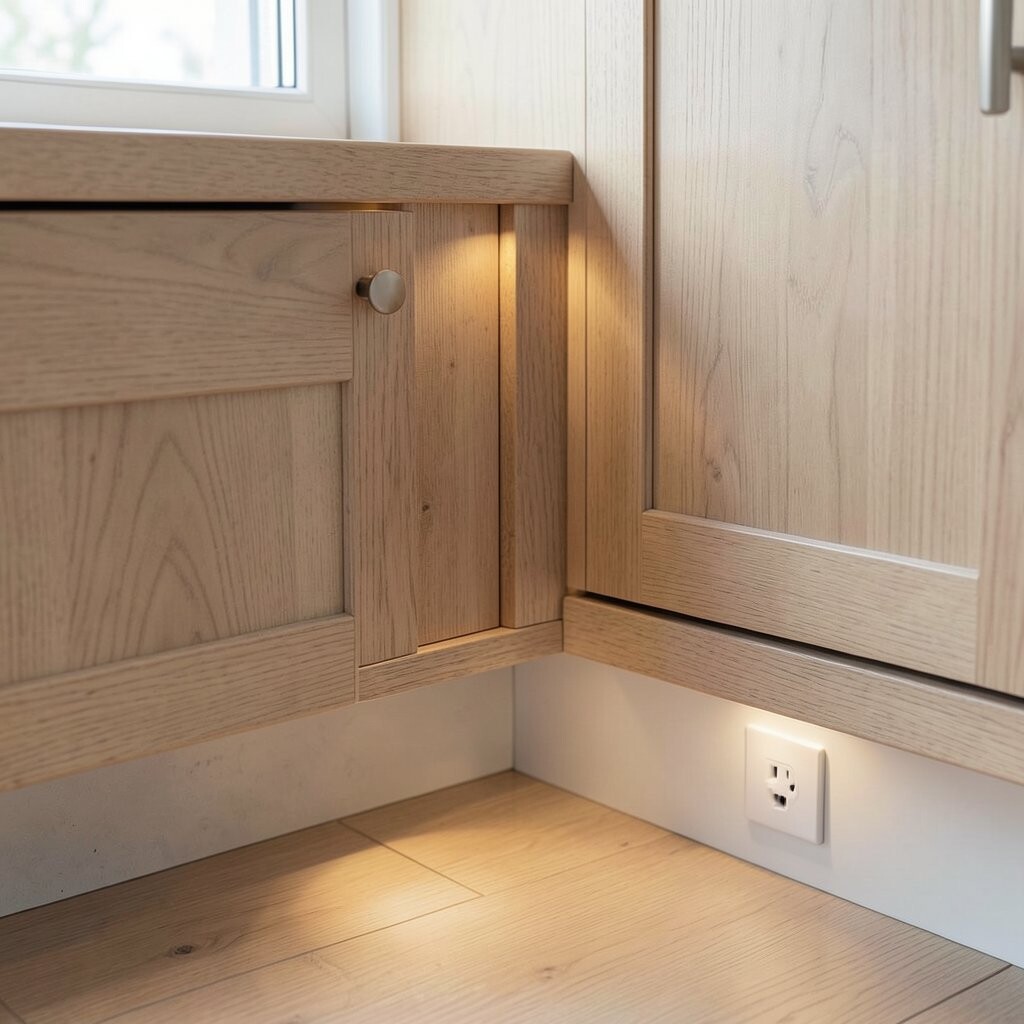
Toe-kick lighting makes your kitchen feel lighter and more guided at night. The low glow reduces harsh shadows around floors and cabinet bases.
Install LED strips along the toe-kick channel for a clean upward wash. Use a diffuser so you don’t see the LED points from standing height. This idea is unique because it focuses on the lower part of the space, improving safety and style.
If you have pets or kids, the subtle guidance can help with late-night movement. Choose motion sensors if you want the lights to wake up only when needed. Cost is often reasonable because toe-kick runs are usually straightforward and close to a power source.
9. Light Bars Above Upper Cabinets for Wider Illumination
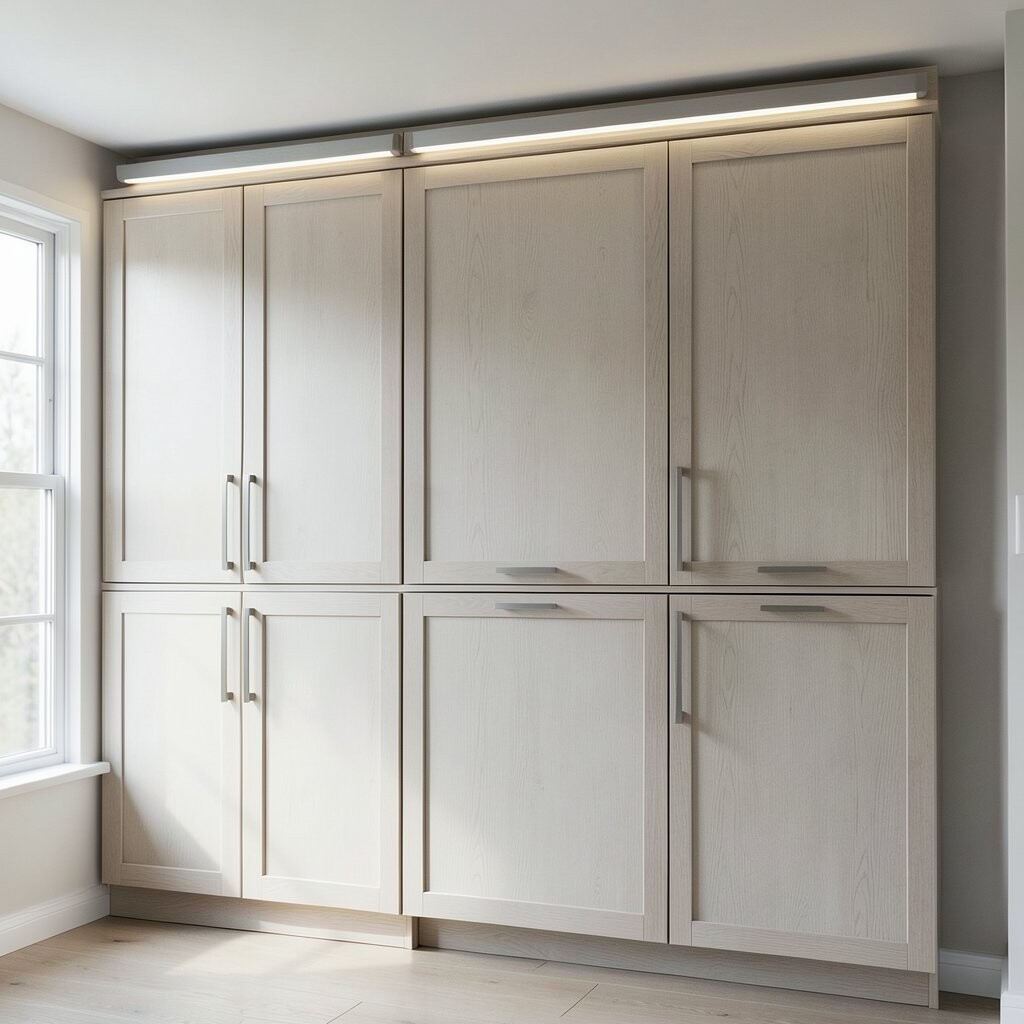
Light bars positioned near the top of upper cabinets can brighten the entire wall area. They create a halo effect that makes the room feel bigger.
To get the look right, angle the light bars slightly so they wash the wall instead of shining straight out. This approach is unique because it doesn’t only light countertops; it enhances the overall ambiance. If you have glass doors or open shelving nearby, the spill of light makes everything blend nicely.
Consider wiring planning early because mounting near cabinet tops may require access. A dimmer can help you shift from bright task lighting to softer evening lighting. Many homeowners choose neutral white for this effect so it stays crisp without feeling icy.
Costs depend on bar length and whether you select integrated drivers. If you want personalization, choose finishes that match the cabinet hardware for a seamless, intentional look.
10. Lighted Cabinet Doors for a Showpiece Moment

Lighted cabinet doors make storage feel like a feature, not a hiding place. When you open the door, the contents glow and look neatly arranged.
Try adding LED strips along the interior frame edges so the light reflects off the back panel. Use glass or acrylic backers if you want a more even glow. This stands out because it offers a built-in “reveal” that feels luxurious.
Power options can affect cost, since you may need wiring that runs through hinges or door frames. Some people choose plug-in interior harnesses to simplify installation. Test brightness before sealing everything up so the glow matches your design goals.
11. Laminated Under-Cabinet Panels for a Bright, Even Wash
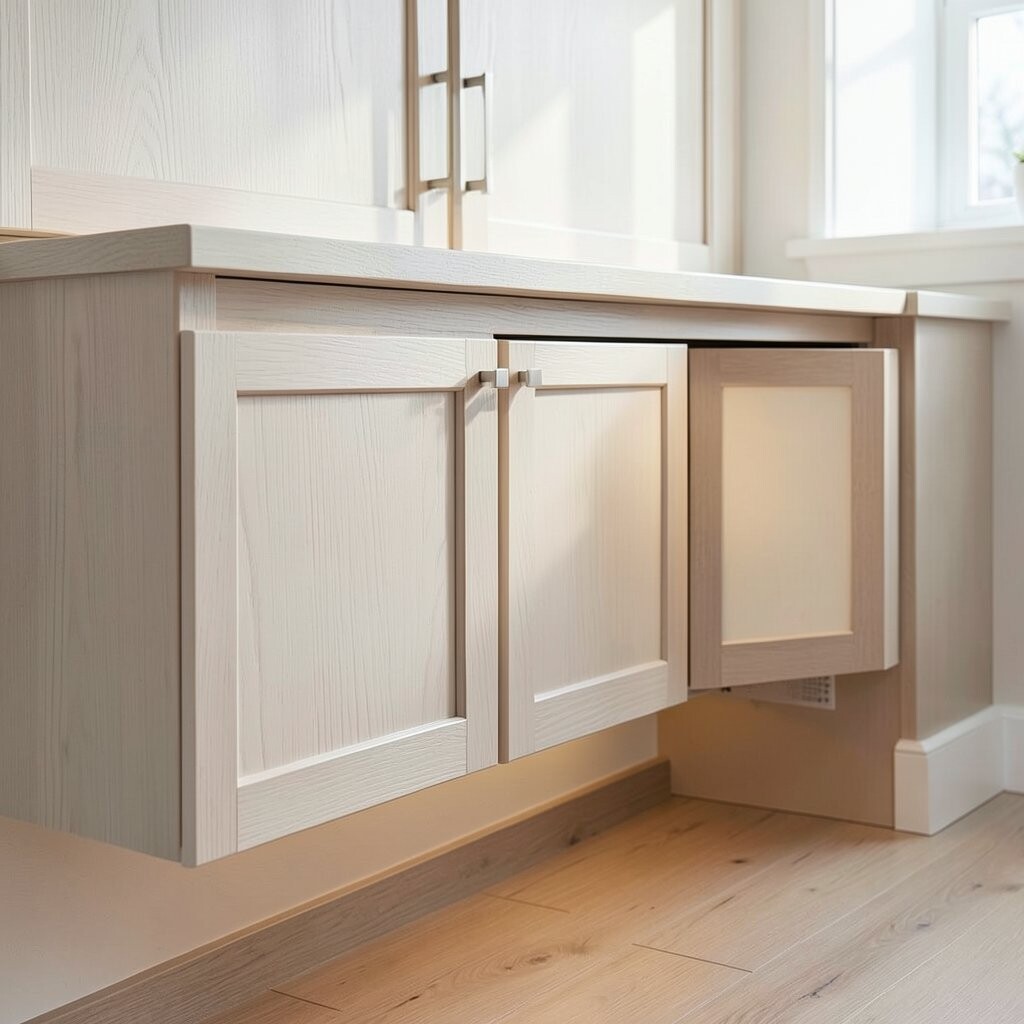
Under-cabinet laminated panels can distribute light very evenly across a countertop. Instead of relying on multiple small points, the surface helps smooth out brightness.
These panels are great when you want fewer visible light sources and a clean look. Choose a panel tint that fits your kitchen style, because it can slightly change how warm the light feels. This idea is unique because it turns lighting into part of the cabinet’s material design.
For practical tips, make sure the panel thickness fits under your cabinet without blocking airflow or trim. Pair with dimming for flexibility during different activities. Cost can be higher than simple strips, but the even result can reduce the need for extra lighting elsewhere.
Current trend energy leans toward minimal, blended surfaces that look architectural. If your cabinets are modern or handle-less, this panel style often matches perfectly.
12. Recessed Shelf Lighting for a Floating-Shelf Look
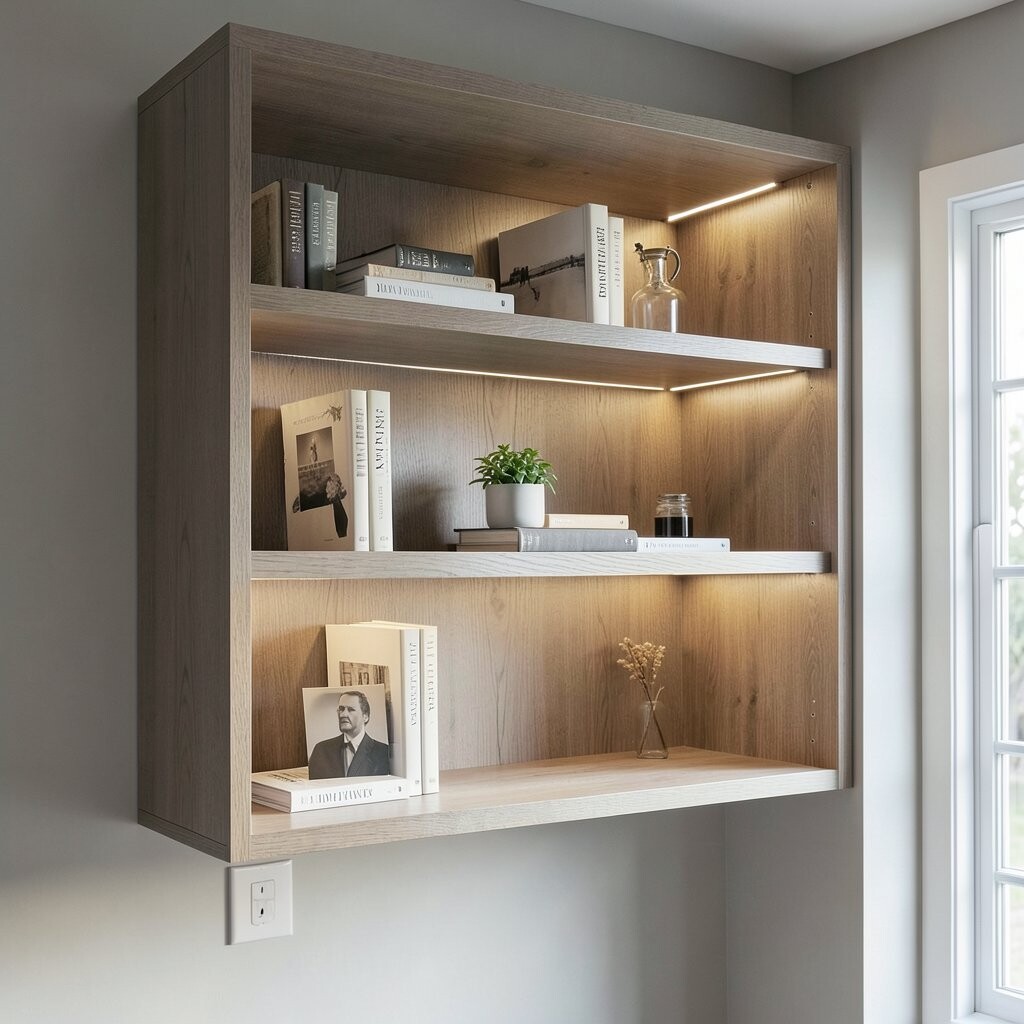
Shelf lighting makes open shelving look crisp and intentional. It highlights books, decor, and everyday items without turning your display into clutter.
Place small LED strips under the shelf lip so the light washes upward slightly. Use a matte finish on the diffuser area to reduce glare on glossy objects. This stands out because it pairs bright lighting with a modern, floating visual.
When planning installation, confirm your shelf thickness and routing paths. If you’re working with DIY shelves, choose an easy driver setup and low-profile connectors. Budget-wise, shelf lighting is often moderate, especially if you keep runs short and focused.
Personalization can be as simple as using warmer light for books and cooler light for glass decor. Many people also mix shelf lighting with cabinet underlighting for a layered glow.
13. Magnetic LED Lights for Flexible, Repositionable Brightness
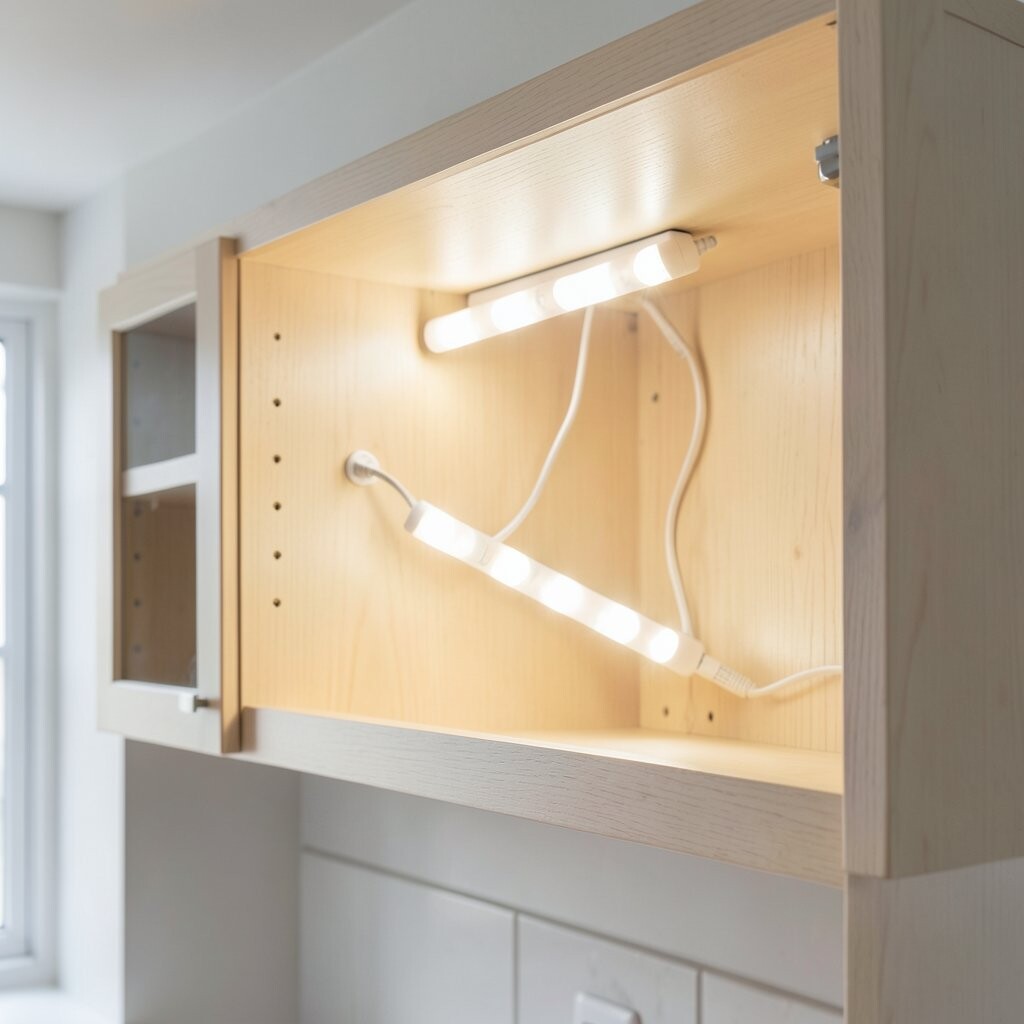
Magnetic LED systems let you move the lights as your storage changes. If you reorganize cabinets often, this is a surprisingly practical solution.
Use magnetic bases mounted inside the cabinet face or side walls, then snap the light units into place. This approach is unique because it supports ongoing customization without rewiring everything. Pick a system with consistent brightness so moving parts don’t create patchy zones.
Cost considerations depend on how many magnetic modules you buy, but you can start with one cabinet section and expand later. For personalization, combine different lengths to match varying shelf depths. This also fits current trends toward modular, adaptable home upgrades.
14. Slim Edge Lighting for Vertical Cabinet Interiors
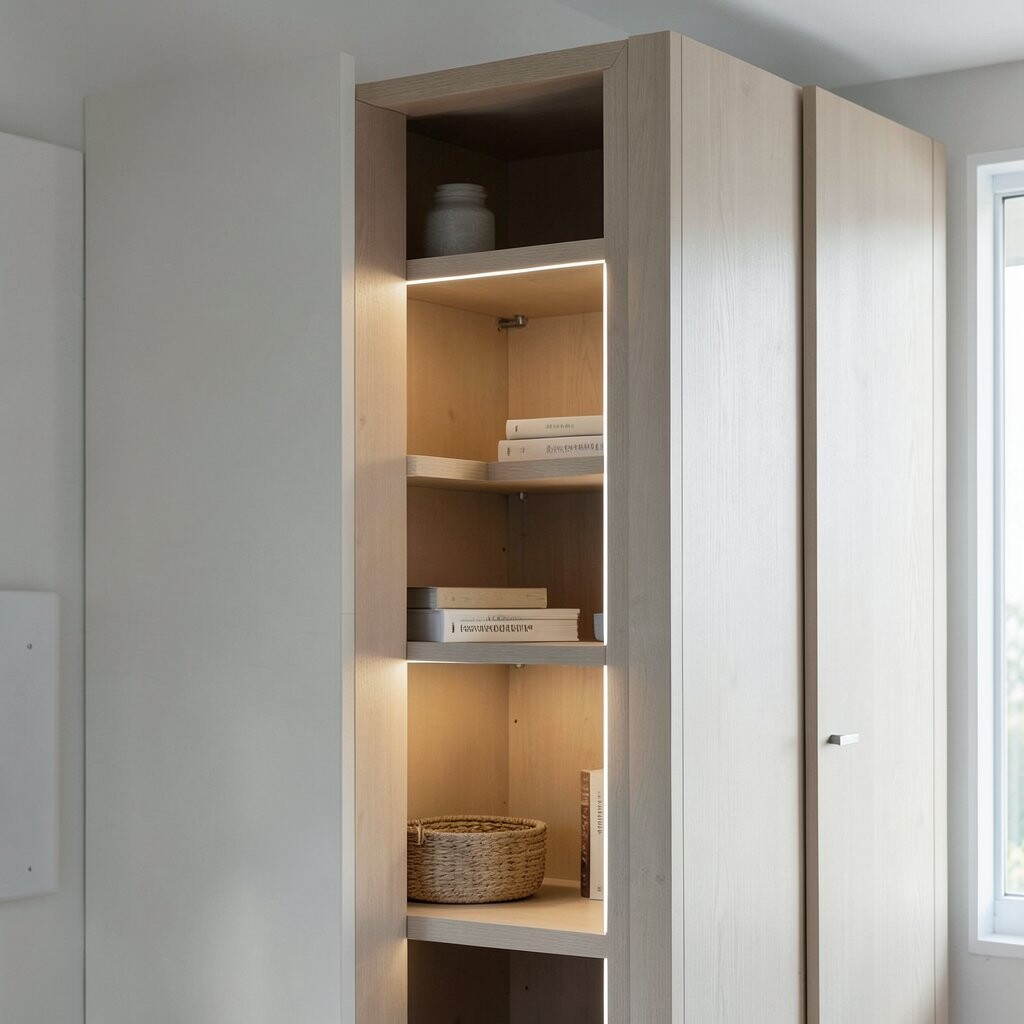
Vertical edge lighting brightens tall cabinets and pantry spaces where shadows usually gather. It creates a gentle curtain of light from top to bottom.
Install the LEDs along the cabinet sides so the beam travels inward and reduces dark corners near the back. Choose a diffuser that softens the light, especially if your cabinet interior is glossy. This idea is unique because it targets height, not just horizontals.
To keep it practical, use a driver sized for your total run length and check voltage compatibility. Many homeowners like adding a dimmer so the interior glow isn’t too intense at night. Costs can be moderate, since vertical runs may be longer and require careful measuring.
Personalization ideas include using warmer tones for pantry comfort and neutral tones for better food visibility. If your kitchen has a lot of wood, warm lighting can make everything look richer.
15. Back Panel Lighting for Uniform Pantry and Closet Glow

A lit back panel makes cabinet contents look evenly illuminated. You won’t get that frustrating bright front and dim back effect.
Consider installing a thin LED strip along the back wall or behind a translucent panel. This idea stands out because the light behaves like a built-in display background rather than a single spotlight. It also helps keep labels and containers easy to read.
For practical tips, use a diffuser layer so food packages and jars don’t show uneven glare. Choose a color temperature that matches your kitchen lighting so the pantry feels consistent with the rest of the home. Costs may increase slightly because you may need extra materials for the back panel, but the uniform result is often worth it.
16. Corner-Focused Lighting for Deep, Shadowy Cabinet Nooks
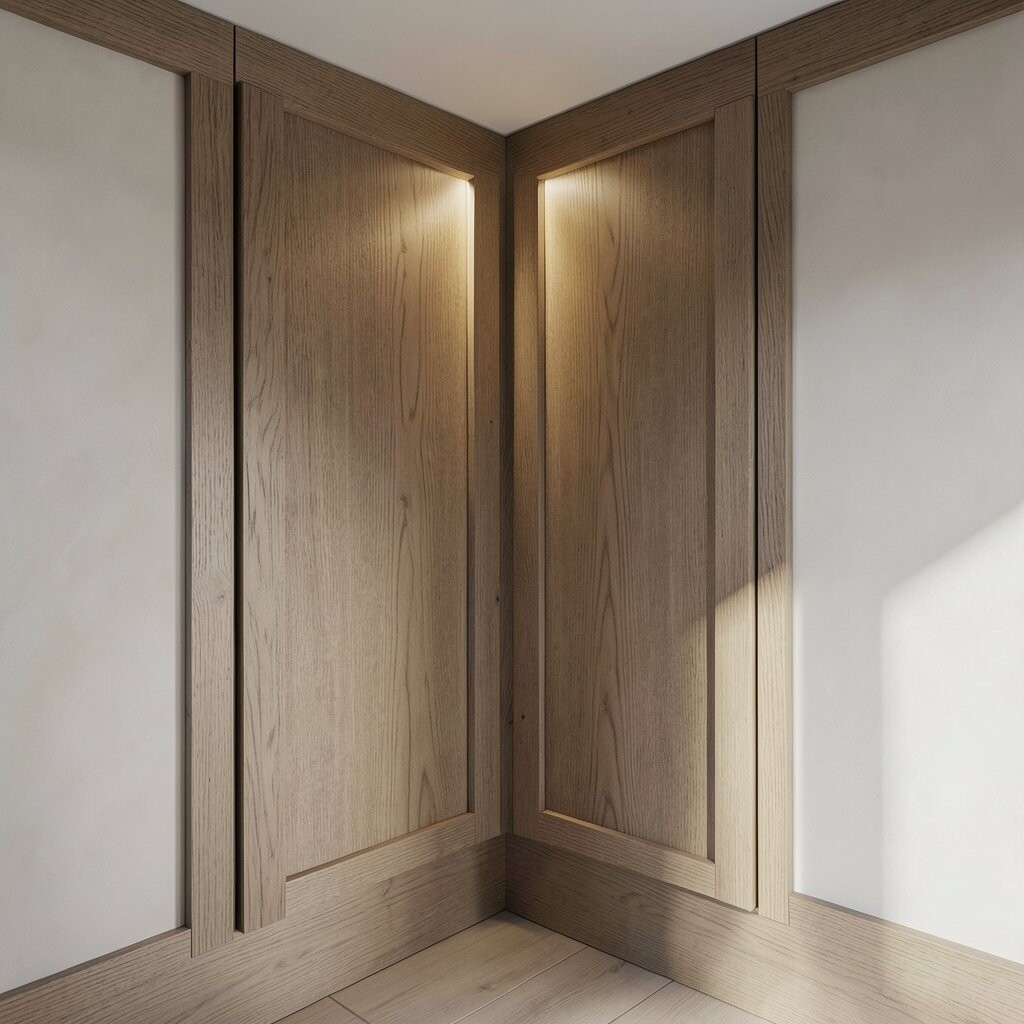
Corner-focused LEDs solve the most common cabinet problem: dead zones. Deep corners can swallow light, but targeting the corners changes everything.
Mount strips or small puck lights so the beam aims diagonally into the corner rather than straight down. Use a diffuser to soften the angle so it doesn’t look like a glaring flashlight. This setup is unique because it treats shadow as the design challenge, not an afterthought.
Plan the placement by testing a flashlight first, then replicate the best beam direction with LEDs. Dimming helps when corners are close to sinks or prep areas. Cost is usually manageable because corner areas often need fewer feet of lighting than full runs.
17. Low-Heat LED Systems for Safe, Long-Term Use
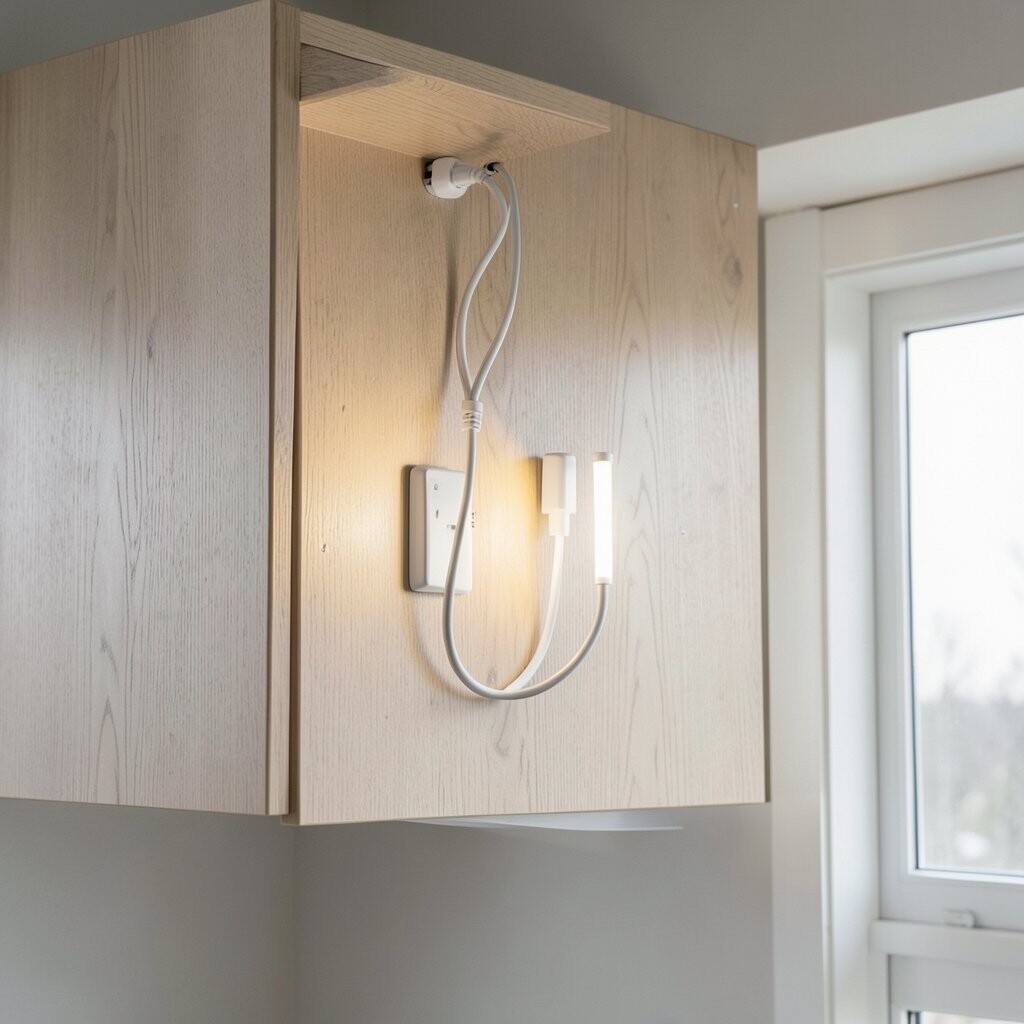
LEDs run cool compared to older lighting, which is a big comfort and safety benefit. Cool operation also supports longer usage without worrying as much about heat buildup.
When choosing lights, look for low-voltage or LED systems designed for enclosed cabinet spaces. This idea is unique because it prioritizes safe performance, not just brightness. If your cabinets are near spices, paper labels, or delicate finishes, the cool factor matters.
Budget-wise, quality LEDs and drivers can cost more initially, but fewer failures can save money over time. Always check the installation rating so the light is meant for the cabinet environment. For personalization, you can still choose warm or neutral tones while keeping the system low-heat.
18. Smart App-Controlled Cabinet Lighting With Schedules
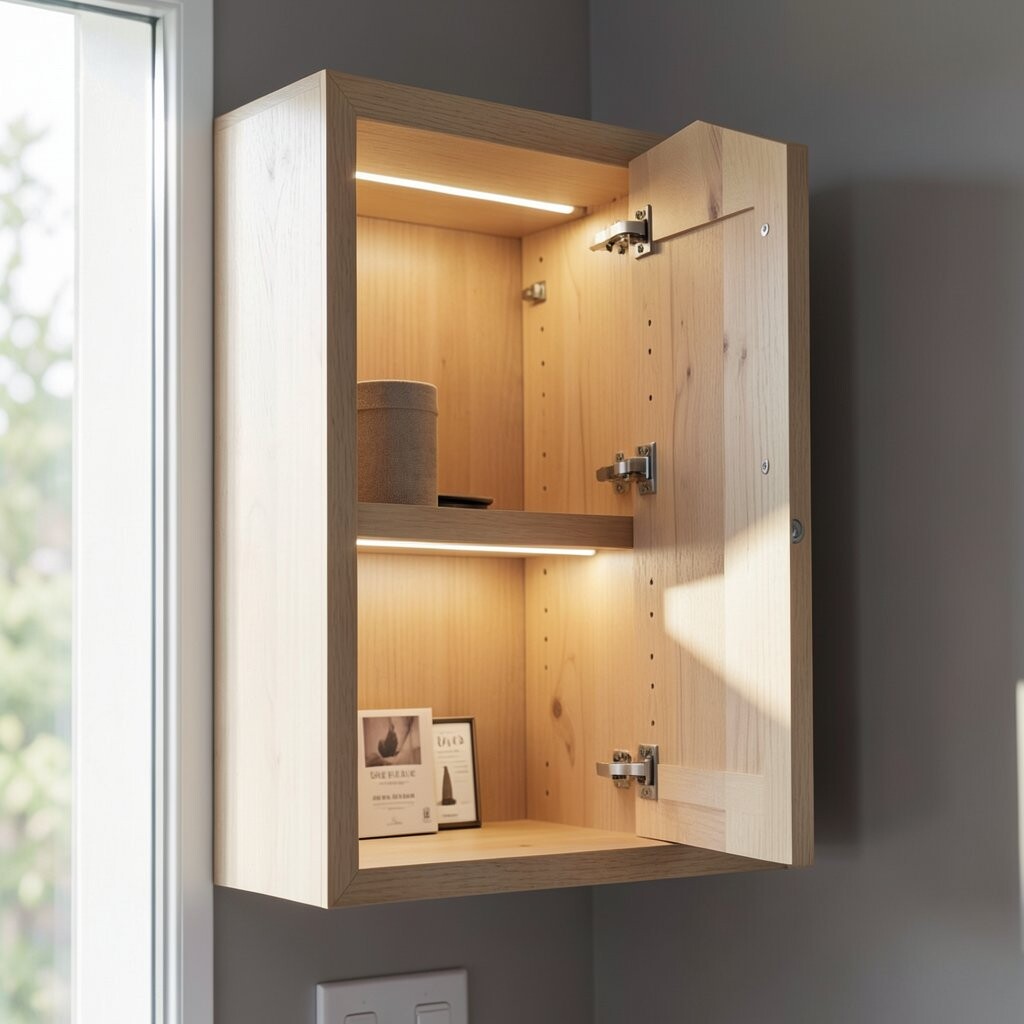
Smart cabinet lighting brings convenience and automation to daily routines. You can schedule lights to turn on when you wake up or when you get home.
Set up small zones like pantry storage or coffee stations so the lights match real habits. This idea stands out because it blends practicality with modern control, using remotes or phone apps. Many systems also sync with voice assistants, which can be handy when your hands are full.
Consider cost before buying, since smart controllers and hubs can add expense. Start with one cabinet area to test the system’s reliability and brightness settings. Current trends favor app control paired with dimming so lighting feels just right, not harsh.
19. Lighted Labels and Back-Lit Organizer Inserts

Back-lit organizer inserts make cabinets look tidy and easy to use. Labels glow gently, helping you spot the right container quickly.
Use LED strips behind clear or translucent organizer panels, then keep the beam centered so the text stays readable. This approach is unique because it merges lighting with organization design. It’s especially helpful in deep pantry cabinets and utility drawers.
Cost can vary based on whether you buy custom inserts or build your own frames. Practical tips include choosing shatter-resistant materials if your kitchen is busy and clutter can be common. For personalization, match label color and brightness to your container style so it all looks intentional.
20. Dimmable LED Lighting for Evening Comfort
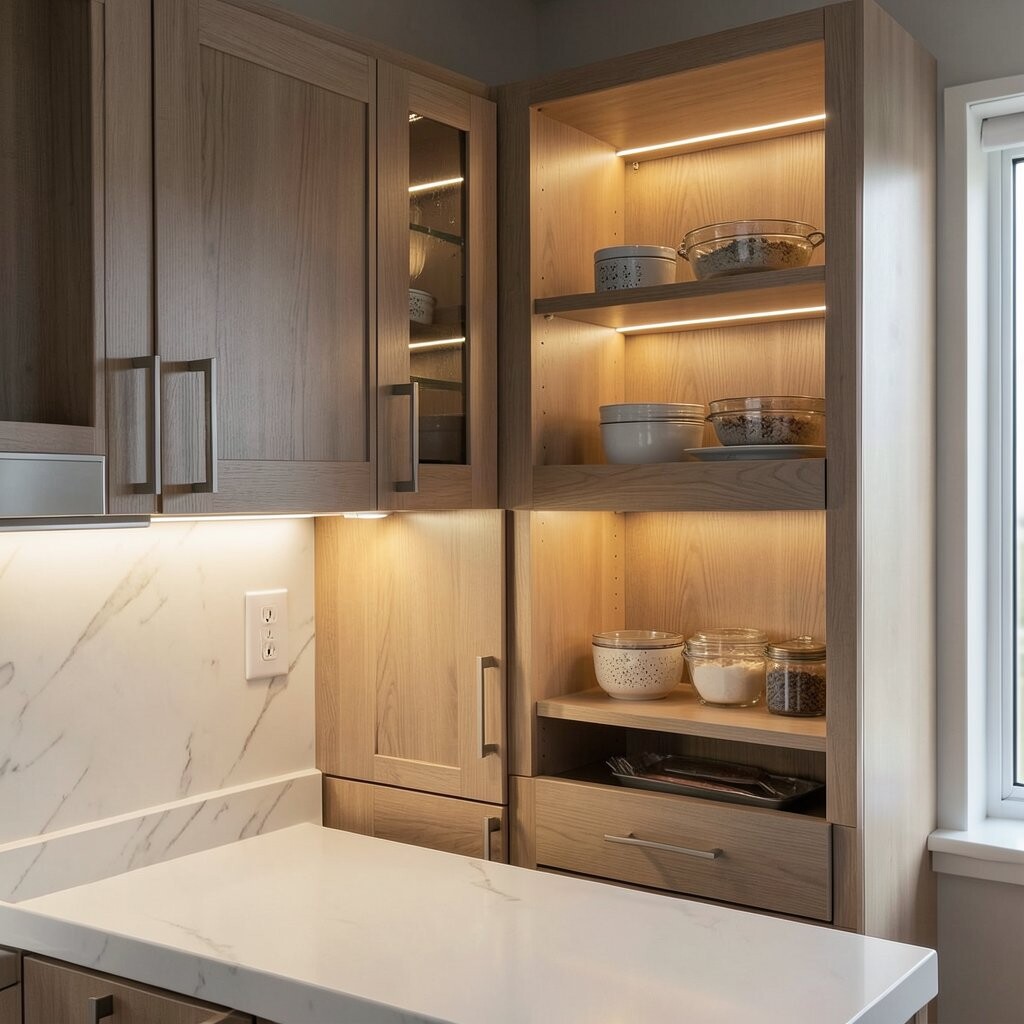
Dimmable cabinet lighting helps your kitchen feel relaxing instead of glaring. Brightness that can fade smoothly is perfect for dinner prep and late-night snacks.
Pick a dimmer compatible with your LED type so you avoid flicker or buzz. Install the dimmer where it’s easy to reach, like near a kitchen switch panel. This idea is unique because it focuses on comfort, not just visibility.
Costs depend on whether your system already includes a compatible dimmer driver. If not, plan for that extra part up front. Many homeowners now choose dimming to support current “layered lighting” trends, which combine task, ambient, and accent sources.
Personalization can be as simple as setting one brightness for food prep and a lower level for entertaining.
21. Warmer “Food-Friendly” Tones for Cozier Kitchens
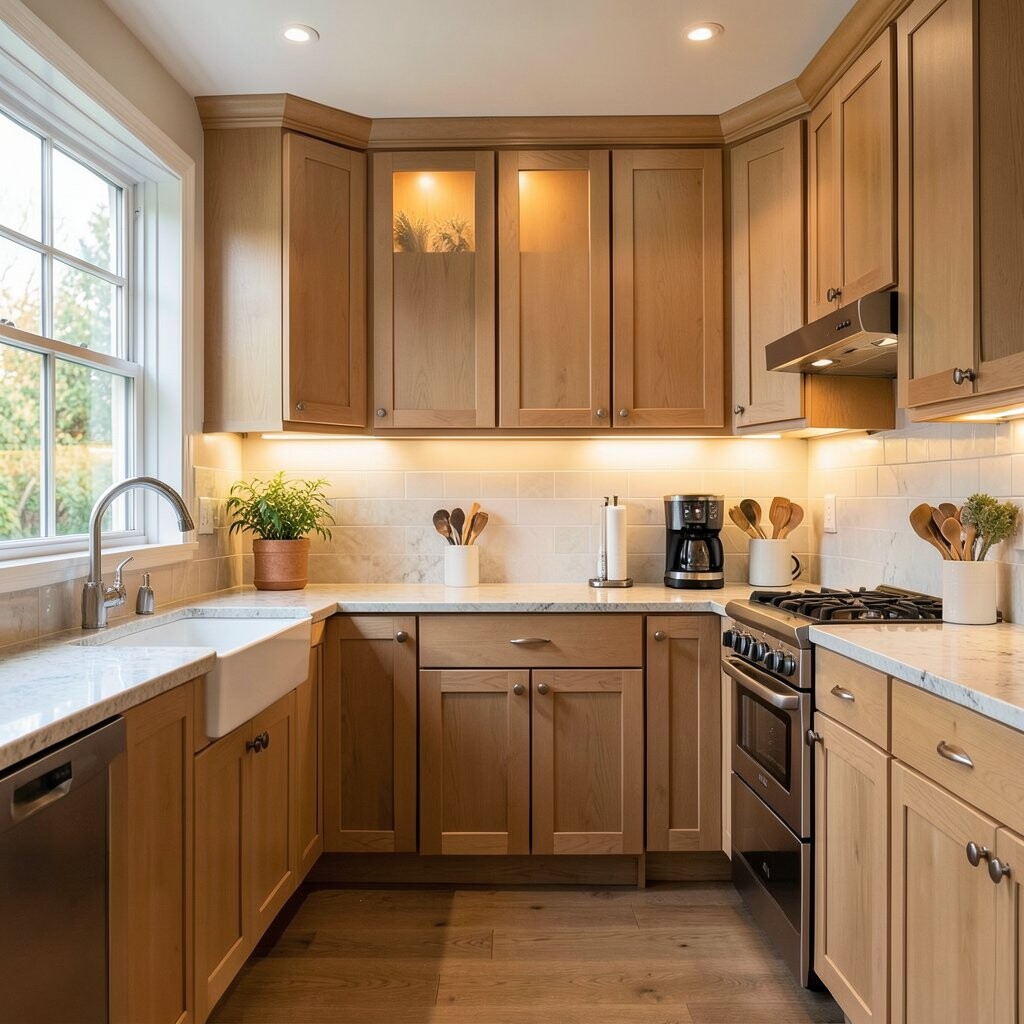
Warm cabinet lighting can make foods and finishes look more inviting. It’s a small change that often feels like a bigger redesign.
Choose a warmer color temperature when your cabinets are wood-toned or when you want a cozy dining atmosphere. This idea stands out because the light color itself becomes part of your interior mood. It also helps many skin tones and countertops look less washed out.
For practical tips, compare warm white LEDs against your backsplash during the day and evening. You may need a warmer option for natural stone and a slightly neutral option for very cool surfaces. Budget considerations are simple here, since warm color temperatures are usually available in the same price range as other LEDs.
22. Layered Lighting With a Mix of Strips, Pucks, and Accent Spots
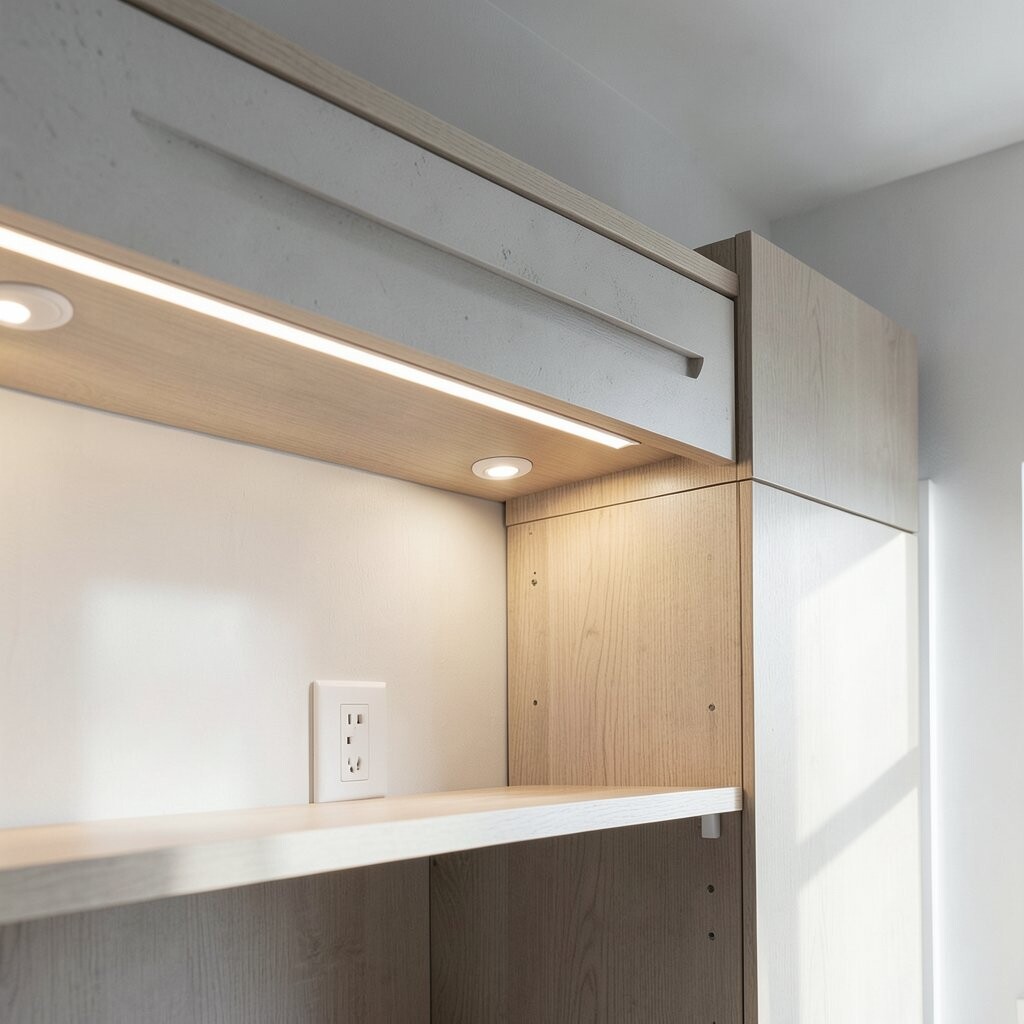
Layered cabinet lighting combines different types of LEDs for a balanced, bright space. Strips can cover tasks, while pucks and spots add definition and sparkle.
This idea is unique because it treats lighting like design, not a single product choice. Start by planning the “job” areas, like countertops and appliance zones, then add accent lighting for display shelves. When everything works together, the kitchen looks evenly lit and more professional.
Cost considerations can be managed by limiting the number of accents and focusing on longer strip runs where brightness matters most. For personalization, vary brightness and color temperature by zone to match how each space is used. Current trends love this layered look because it makes homes feel warm, dimensional, and styled.
Before final installation, test each zone with temporary power so you can adjust angles and placement. Once you see the combined effect, you’ll know exactly where more light is needed and where less is better.