Bright fruit can turn any party table into a little wonderland. The secret is arranging slices, colors, and shapes in playful ways that kids can enjoy right away.
1. Rainbow Fruit Parade

Think of your table as a parade route made of color. Line up fruit from red to violet so kids can “march” with their eyes before they snack.
Use strawberries, raspberries, cherries, watermelon, oranges, mango, kiwi, grapes, and blueberries for a smooth rainbow. Cut fruit into bite-size chunks, and keep similar colors in separate rows so cleanup feels simple. For a unique touch, place a tiny “flag” pick made from a paper banner on the first fruit color, and let it match the party theme.
2. Edible Kite Fruit Sails
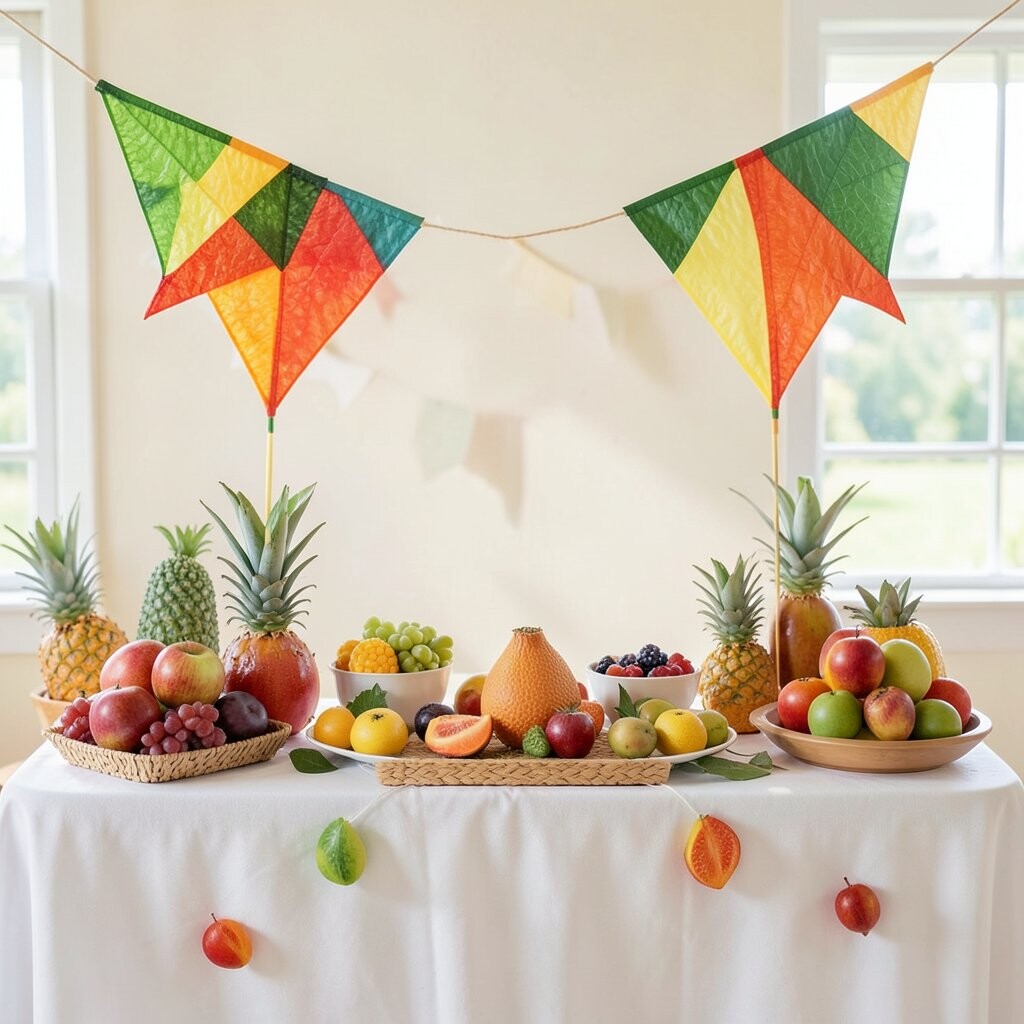
Arrange fruit on skewers like kites floating above the table. Kids love grabbing their own “sail” when it looks light and fun.
Skewer alternating pieces of pineapple, cantaloupe, grapes, and strawberries, then stand them in foam blocks covered with fruit-safe wrap. Make a simple triangle pattern by using three skewers per kite, and give each kite a different “tail” of thin cucumber ribbons or apple slices. For personalization, tie a small ribbon to each kite with the child’s name or a sticker shaped like a star.
Keep costs steady by using whatever seasonal fruit is on sale and cutting the shapes yourself. This display works well for parties because skewers are portable, so kids can snack while moving around. If you’re short on time, use pre-cut pineapple or melon from the grocery store and focus on arranging and labeling.
3. Garden Patch With “Flower” Fruit

Create a garden scene using fruit arranged like flowers. The bright centers and sweet petals make the whole table feel alive.
Slice apples or pears into thin rounds for petals, then fan them out on a plate like layered blossoms. Add a center dot using blueberries, raspberries, or mango dice, and repeat across multiple plates so it looks like a patch. Place a few “leaf” accents made from cucumber sticks or mint leaves around the flowers to add depth without extra fuss.
What makes it unique is how edible it feels, like the kids can pick the garden without disturbing anything. For practical tips, keep the fruit dry and use a paper towel under heavier plates to prevent sliding. If you want a budget-friendly option, use one main fruit for petals and a second fruit for centers so you don’t need lots of varieties.
Try a current trend by mixing fresh fruit with yogurt “dirt” swirls made from thick yogurt and cocoa-free granola. Just keep dairy separate from very juicy fruit, so petals don’t get soggy. Serve with small spoons so kids can dip and build their own tiny bouquet bites.
4. Tropical Fruit Island Boats

Turn a platter into a mini island by building boats that carry fruit. It feels like playtime, but it’s also easy to share.
Use half-melon “boats” or hollowed cucumber bases, then place fruit cubes on top like cargo. Add a sail using a thin pineapple slice or a folded fruit strip, and anchor each boat with a skewer so it stands steady. For a personal touch, theme the boats with colors that match the party invitations, like bright pink for a princess theme or lime and orange for a sports theme.
5. Snackable Fruit Mosaic Tiles

Build a fruit mosaic that looks like colorful artwork. Kids feel proud when they can “choose a square” for their snack.
Cut fruits into small, consistent shapes such as cubes or half-moons, and arrange them on a large tray like tiles. Use a mix of textures: juicy grapes, crunchy apple pieces, smooth mango, and firm melon so every bite feels interesting. For extra uniqueness, overlap colors slightly, so it looks like a modern pixel pattern instead of separate piles.
To keep costs reasonable, pick two “main” fruits for most tiles and use a third fruit as accents. If you want to save time, purchase pre-sliced melons when available and focus on the pattern. Keep the tray presentation crisp by putting down a piece of parchment under the fruit-safe liner so juices don’t soak the base.
6. Sun-Spot Fruit Faces

Make smiley faces using fruit placed like playful features. This display helps kids see fruit as a game, not just a snack.
Arrange orange slices or mango chunks for cheeks, and use blueberries or raisin dots for eyes. Create a grin with strawberry slices or watermelon triangles, then repeat on several plates so multiple kids can “get their own face.” Add tiny nose details with diced kiwi, and place a small banana slice off to the side like a cheeky accessory.
For practical tips, keep the faces on individual plates to avoid messy rearranging. If you’re worried about time, pre-cut fruit the day before and assemble right before serving. Make personalization easy by using different expressions for each plate, like happy, silly, or surprised.
7. Mermaid Cove Citrus Cups

Build ocean vibes using citrus and berries in clear cups. The transparent sides show off colors like a real “cove.”
Use cups filled with layers of orange segments, grapefruit pieces, and berry pops, then top with a small mint leaf “seaweed” or a cucumber ribbon. For a unique twist, freeze grapes into quick “ice bubbles” so the drinks and cups look magical while they stay cool. Keep the cups themed by choosing colors that match your party, like turquoise tones with blueberries and kiwi.
Cost considerations are simple because citrus is often affordable, especially when you buy in season. A big benefit is that cups portion the fruit automatically, which reduces waste and makes cleanup faster. For current trends, add a sprinkle of edible glitter labeled food-safe, but use it sparingly so it stays kid-friendly.
8. Apple Slice Storybook Towers
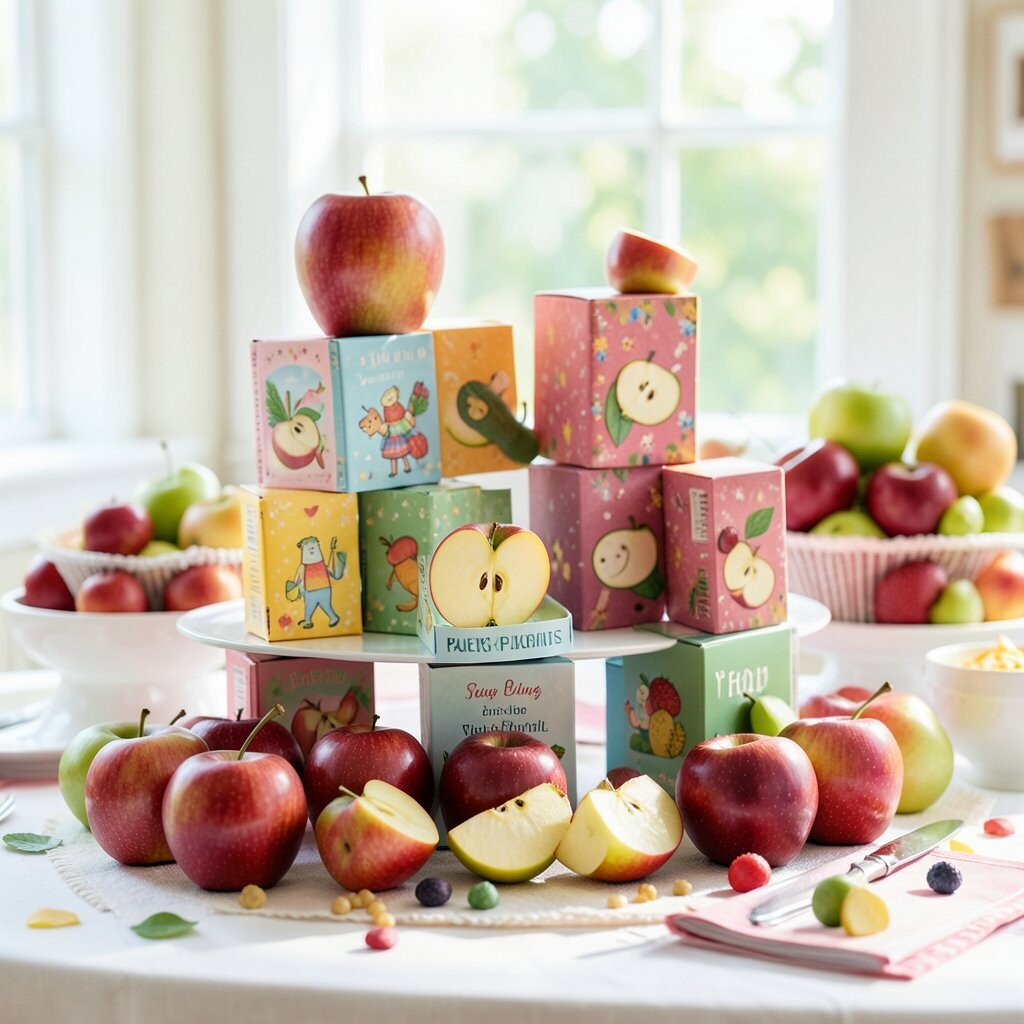
Create a tiny storybook on the table using apple slice towers. Each stack becomes a “page” kids can read with their fingers.
Slice apples into thin rounds, then lightly brush them with lemon juice to slow browning. Stack the slices into columns on parchment-lined plates, and place a “title” layer using a single strawberry slice or mango strip at the top. Add “chapters” by switching colors across towers: pair apple with grapes, then apple with melon, then apple with berries.
What makes it unique is the vertical height, which grabs attention and makes the display feel grand. For practical tips, use a thick base slice so towers don’t tip, and serve soon after assembly for best texture. Personalize by using cookie cutters to create small themed shapes like hearts, stars, or letters before placing the pieces on top.
If you want to keep costs under control, apples do the heavy lifting while you use small amounts of sweeter fruit for accents. This idea also works well for indoor parties because the towers don’t require skewers or lots of extra items. For extra wow, add a small spoon next to each tower for dipping fruit into yogurt or honey.
9. Color-Coded Fruit Rings

Use circular slices and rings to make a tidy, easy-to-grab display. It looks like bright jewelry, and kids can pick a “ring” to snack on.
Arrange fruit in concentric circles on a large board: start with watermelon or dragon fruit for the outer band, then oranges or peaches for the next circle, and finish with grapes or blueberries in the center. Create ring-like patterns by cutting bananas into thick rounds or using kiwi slices like delicate loops. Add a simple label sign at the edge using a thick marker and fruit names so kids can practice choosing flavors.
This concept is practical because the rings naturally guide portioning, which reduces sticky grabbing. For personalization, match the circle colors to your party theme, like red-white-blue for a summer celebration or rainbow for a general kid theme. Keep budget in mind by using one expensive fruit as the center and repeating more affordable fruits around the edges.
10. Dessert-Style Fruit Dip Train
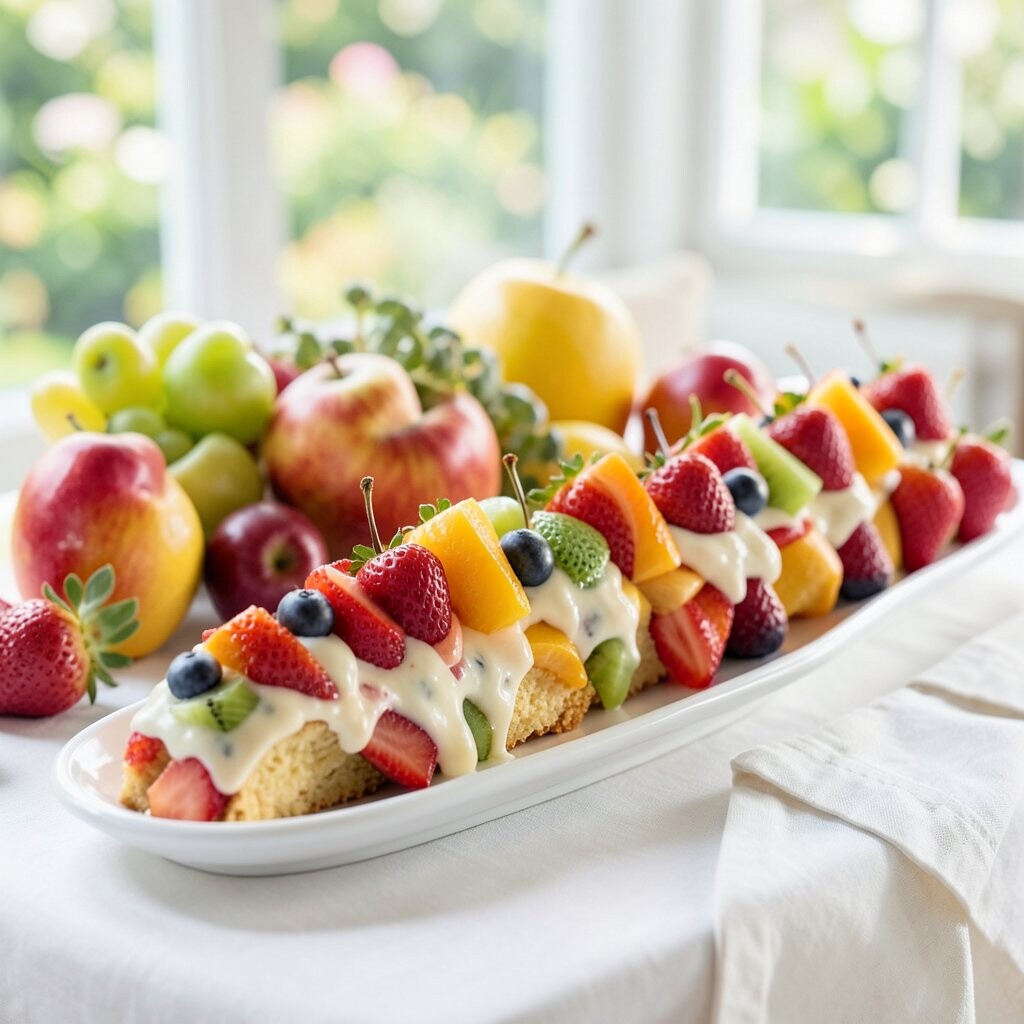
Build a playful “train” where fruit is the cargo and dip is the track. It turns snacking into a small adventure right on the table.
Arrange fruit pieces on a long platter like train cars, and place small cups of yogurt dip at intervals like station stops. Use strawberries, apple chunks, pineapple, and banana coins as the “passengers,” then add cookie-cutter shaped fruit slices for extra fun. For a unique touch, make the dip look like wheels by swirling thicker yogurt and topping with shredded coconut or granola.
11. Mini Fruit Baskets in Party Colors
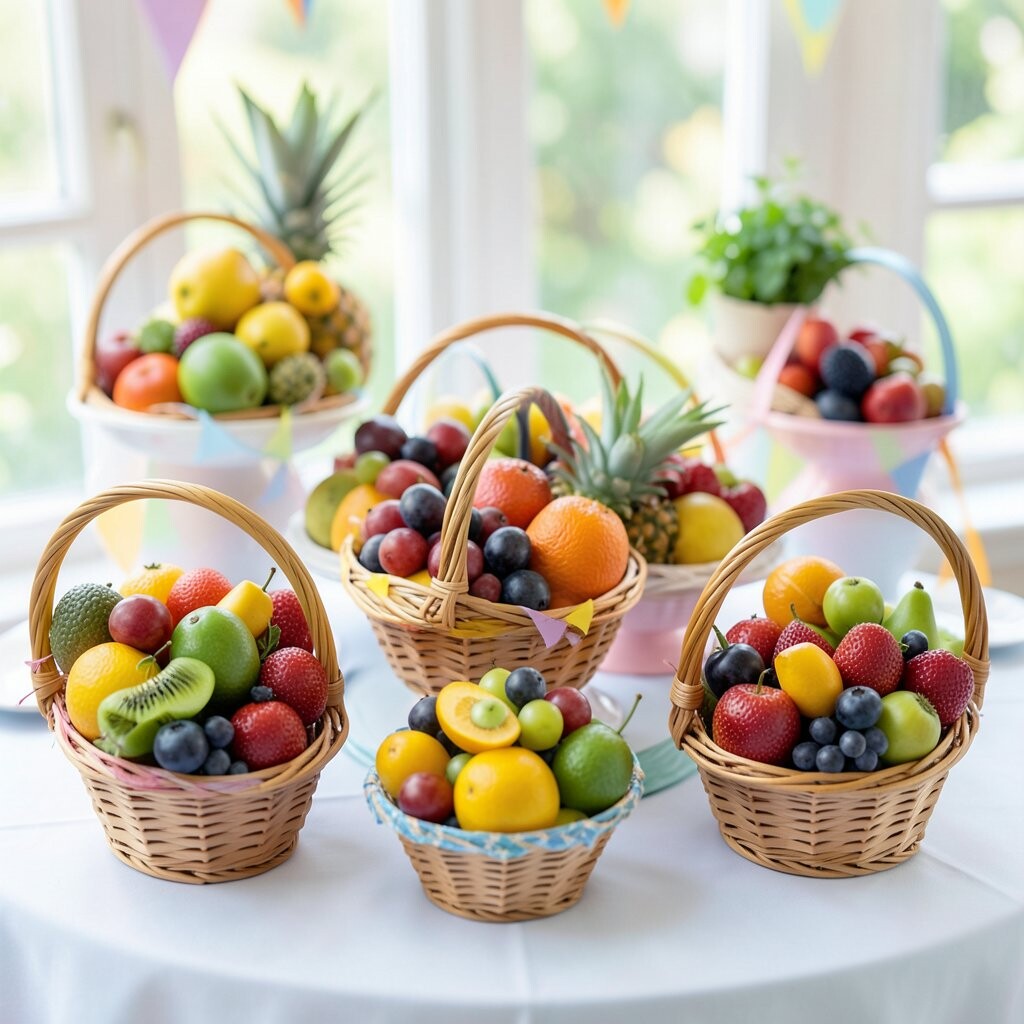
Give each child their own fruit basket so the display feels personal. It’s both whimsical and super practical because portion sizes are built in.
Use small paper or plastic baskets and line them with colorful paper towels, then fill with a mix of fruit cubes and bite-size pieces. Choose two or three colors that match the theme, like pink and white for a unicorn party or green and yellow for a jungle vibe. Add a small edible “handle tag” using a fruit sticker or a thin fruit slice attached with a toothpick to make the baskets look like tiny gifts.
Cost considerations are friendly because you can mix one budget fruit like melon or banana with a more special fruit like berries. This approach also helps kids feel included because each basket looks like theirs. If you’re following a current trend, keep the baskets Instagram-ready by using clear cups for some fruit so the colors pop.
12. Starry Skewer Fruit Constellations
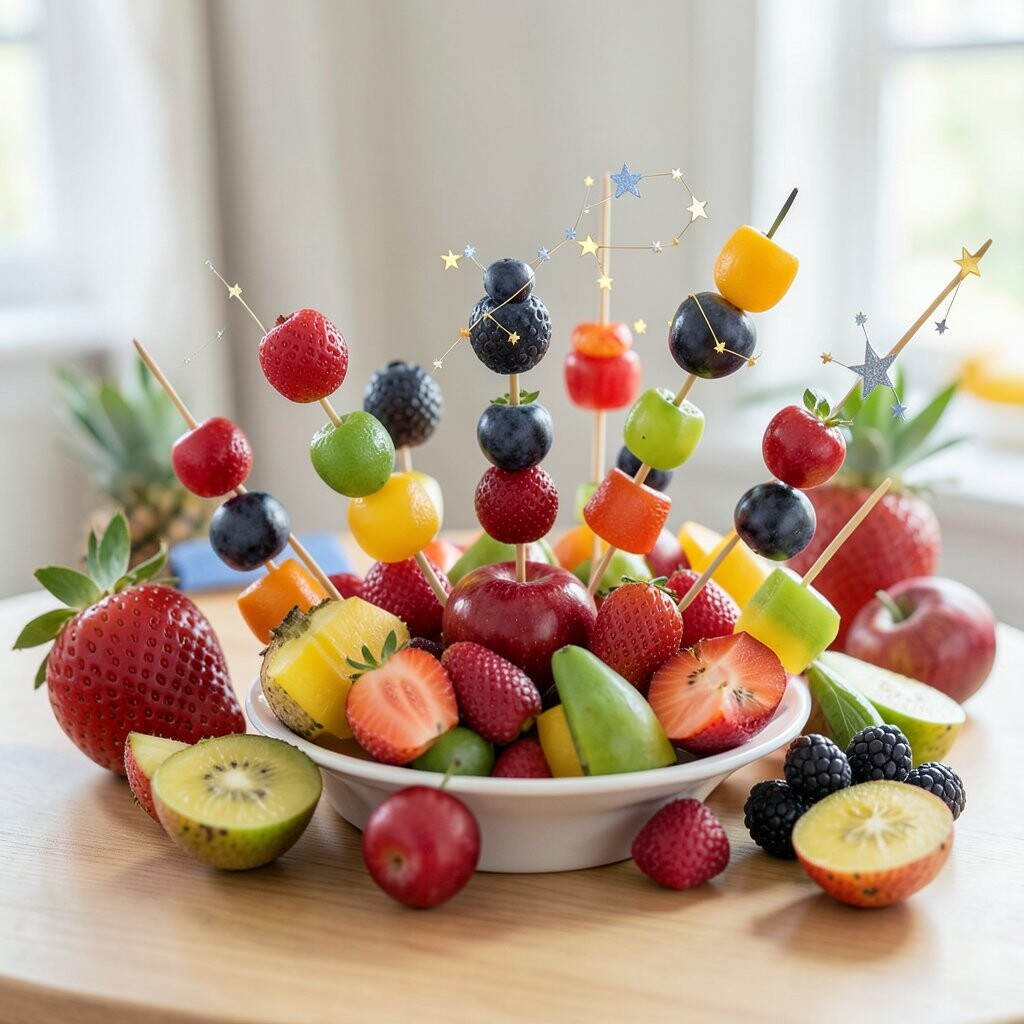
Arrange skewers like constellations across a platter. The star shapes make kids want to follow the “lines” with their fingers.
Cut pineapple, mango, and watermelon into small star shapes using cookie cutters, then thread them onto skewers along with grapes and blueberries. Lay the skewers in a pattern that resembles a big dipper or a friendly galaxy, and place a few “planets” using extra grapes in the corners. For practical tips, keep star cutouts centered on each skewer so they’re easy to grab without sliding.
Personalize by writing initials on small paper labels placed near each cluster, or use star colors that match your theme palette. This display is a great benefit for parties because it encourages sharing while still feeling like each kid can pick a “constellation” to start. If you’re watching your budget, use cookie cutters on one main fruit for stars and fill the gaps with cheaper grapes or melon pieces.