A fresh coat can make your kitchen feel brand new. Even small tweaks to your cabinet finish can change the whole mood of the room.
1. Color-Matched Satin Base

Start with a smooth satin base that matches your current cabinet color. You’ll get a polished look without the drama of a full overhaul.
Sand lightly so the paint grips well, then wipe away dust with a damp cloth and let it dry. Use a bonding primer if your cabinets are glossy or stained. Finish with two thin coats of satin paint, letting each coat cure before the next one.
2. Two-Tone Upper and Lower Contrast

Pick one shade for the uppers and a coordinating shade for the lowers to add instant depth. This style works even in smaller kitchens because it creates clear visual zones.
Paint the uppers first, then label doors and drawers so everything goes back in the right place. Keep the sheen consistent so the color contrast looks intentional, not patchy. For a softer feel, choose a lighter tone for the upper cabinets and a richer tone below.
Budget-wise, two-tone painting can cost about the same as a single-color project because you’re using standard paint and primer. The unique part is how your layout guides the design, and current trends often favor calm contrasts like cream and warm gray. Use touch-up paint after installation to cover any tiny chips around hinges.
3. Chalk Paint With Soft Distress

Chalk paint gives a cozy, slightly matte surface that looks charming and lived-in. With gentle distressing, your cabinets can look timeless instead of brand new.
Seal the chalk paint with a wax or a clear topcoat to protect against daily kitchen wear. Sand just the corners, edges, and handle areas so the worn spots feel natural. Work in small sections and step back often to avoid overdoing it.
You can personalize this look by distressing more around doors that get the most use. The main benefit is that chalk paint can reduce the need for heavy sanding, depending on your starting surface. For cost, chalk paint products can be a bit pricier, but the easier prep can save time and labor.
Right now, matte finishes and vintage-inspired textures are especially popular, and soft distress fits perfectly. Try pairing chalky white cabinets with oil-rubbed bronze hardware for a classic kitchen vibe.
4. High-Gloss “Appliance-Style” Finish
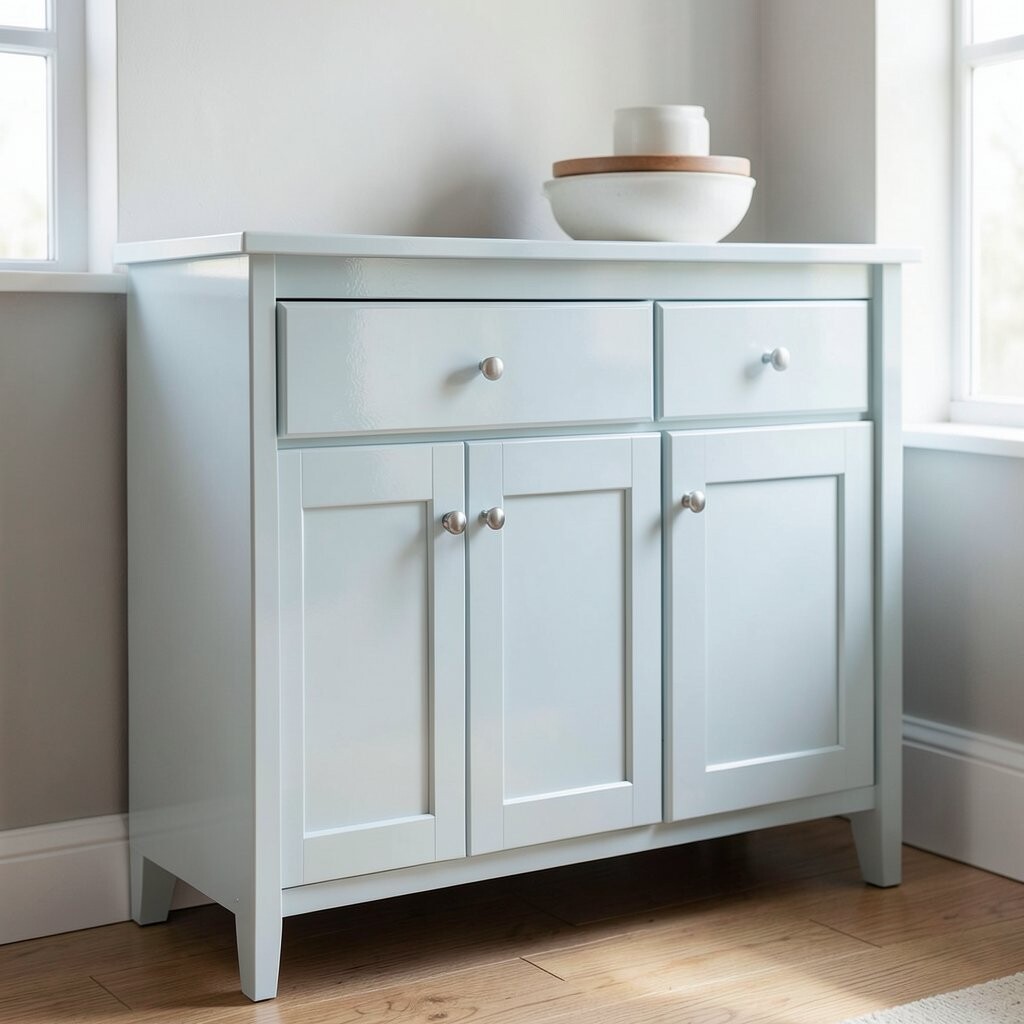
If you want cabinets that look crisp and modern, go for a high-gloss finish. The shine reflects light and can make your kitchen feel brighter and cleaner.
Prime thoroughly, then apply glossy paint in thin coats with careful brush and roller technique. Use a foam roller for flat panels and a quality angled brush for corners. Let the finish cure fully, because gloss is more likely to show tiny imperfections if you rush.
5. Crackle Glaze for Old-World Texture

Crackle glaze creates a webbed texture that looks like aged pottery. It’s a bold visual trick that still feels cozy when used in the right color palette.
Paint a base color, then apply the crackle glaze product and topcoat over it to lock the pattern in. Use slow, steady strokes so the crackle forms evenly rather than becoming streaky. Plan your look by testing on one inside panel first.
This technique is unique because the pattern size and intensity depend on the glaze and the thickness of your layers. It can be more time-consuming, but it often uses the same number of paint steps as other methods. Choose complementary tones, like cream base with a muted teal topcoat, to keep it from looking too loud.
6. Color-Blocked Drawer Fronts
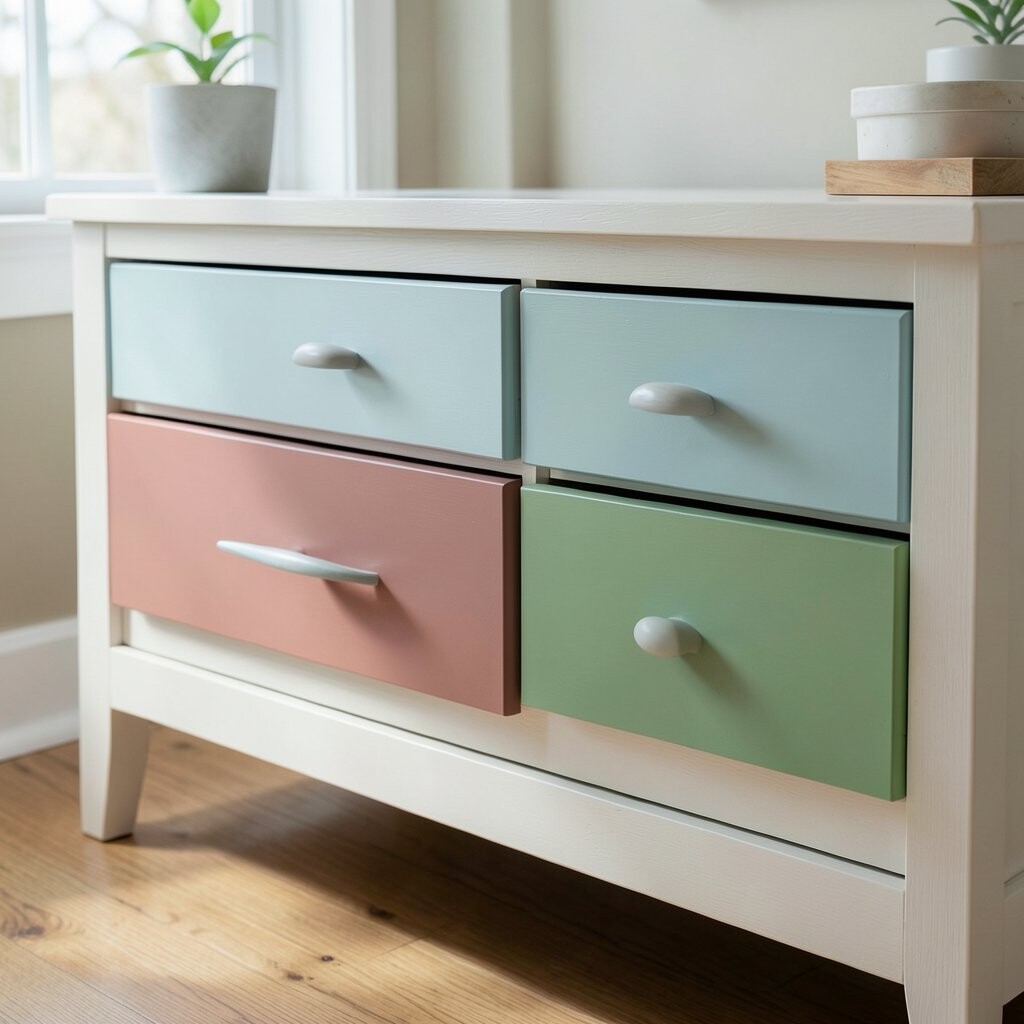
Instead of coloring every surface the same, paint drawer fronts in bold blocks. This technique adds style without needing complicated carpentry or new cabinets.
Measure each drawer face and use painter’s tape to create clean edges, then paint one block color at a time. For best results, remove tape only after the paint is slightly set but not fully hard. Keep the color choices cohesive with your walls, countertops, or backsplash.
You get a fun, personalized look that feels custom even on a DIY budget. It’s also a practical choice because you can repaint just drawers later if you change your mind. For current trends, many kitchens now mix soft neutrals with a pop color like sage or muted navy.
7. Painted Cabinets With V-Groove Panels

V-groove and shaker-style doors look amazing when you highlight the grooves with paint. When you choose the right technique, the door details look sharper and more defined.
Use a brush to work paint into the grooves first, then smooth the flat areas with a small roller or brush. Keep a “wet edge” while painting so the finish levels evenly. A light sanding between coats helps the grooves stay crisp and smooth.
This method is unique because the door design becomes part of the final art, not just the cabinet frame. A benefit is improved visual structure, especially in kitchens that feel flat or overly busy. If you want a refined style, consider a slightly darker color inside the grooves and a lighter color on the flat surfaces.
For cost, you’ll use standard paint and primer, but you may spend a little extra time on detail work. Curving your finish around the groove texture also helps hide minor imperfections in the wood or previous paint.
8. Spray-Like Results With Brush and Roller Technique

You can get a “spray-like” look using the brush-and-roller combination. It’s an easy way to minimize brush marks while keeping your tools simple.
Choose a paint formulated for smooth leveling, then apply it in thin coats. Use a high-density foam roller for large flat surfaces and a brush only for edges and corners. After rolling, lightly “tip off” with a nearly dry brush to even out the finish.
This technique benefits people who want a smoother surface but don’t want to rent a sprayer. The unique part is how much better the final sheen looks when you control thickness and timing. Work in consistent lighting and keep a steady pace so you don’t leave thick ridges that dry too quickly.
9. Stain-Blocking Primer for Dark Cabinets

If your current cabinets are dark, old water stains or tannin bleed can ruin a bright paint job. Stain-blocking primer is the quiet step that saves the whole project.
Seal the surface with an oil-based or shellac-based stain blocker, following the manufacturer’s instructions. Let it dry fully before applying your main color, and plan extra time for curing if recommended. This is especially helpful for knots, raw wood areas, and previously stained doors.
You’ll get better color accuracy and fewer ugly spots that show through later. This technique is unique because it focuses on problem-solving rather than appearance, yet the look is better because the base is sealed. Cost can be slightly higher because stain-blocker primer costs more than basic primer, but it prevents costly repainting.
For personalization, once the stain is blocked, you can choose any trendy shade without fear of discoloration. Warm whites, soft grays, and gentle greens are currently popular because they feel fresh and modern in many kitchens.
10. Geometric Lines With Tape and Patience

Using painter’s tape, you can paint simple geometric lines that look like custom design. It’s perfect if you want something different but still fairly easy.
Sketch a pattern on paper, then map it lightly on the cabinet with a pencil so you can keep the spacing consistent. Apply tape carefully, paint one color, remove tape after the paint is slightly set, and repeat for the next layer. Choose a neutral base and one accent color for a clean, not cluttered, look.
The benefit is that geometry adds energy without changing your kitchen layout. This is unique because the “art” is made by crisp edges and careful alignment. If you want to avoid boldness, keep the pattern subtle, like thin lines or small blocks near the corners.
11. Soft Wash Using Thinned Paint
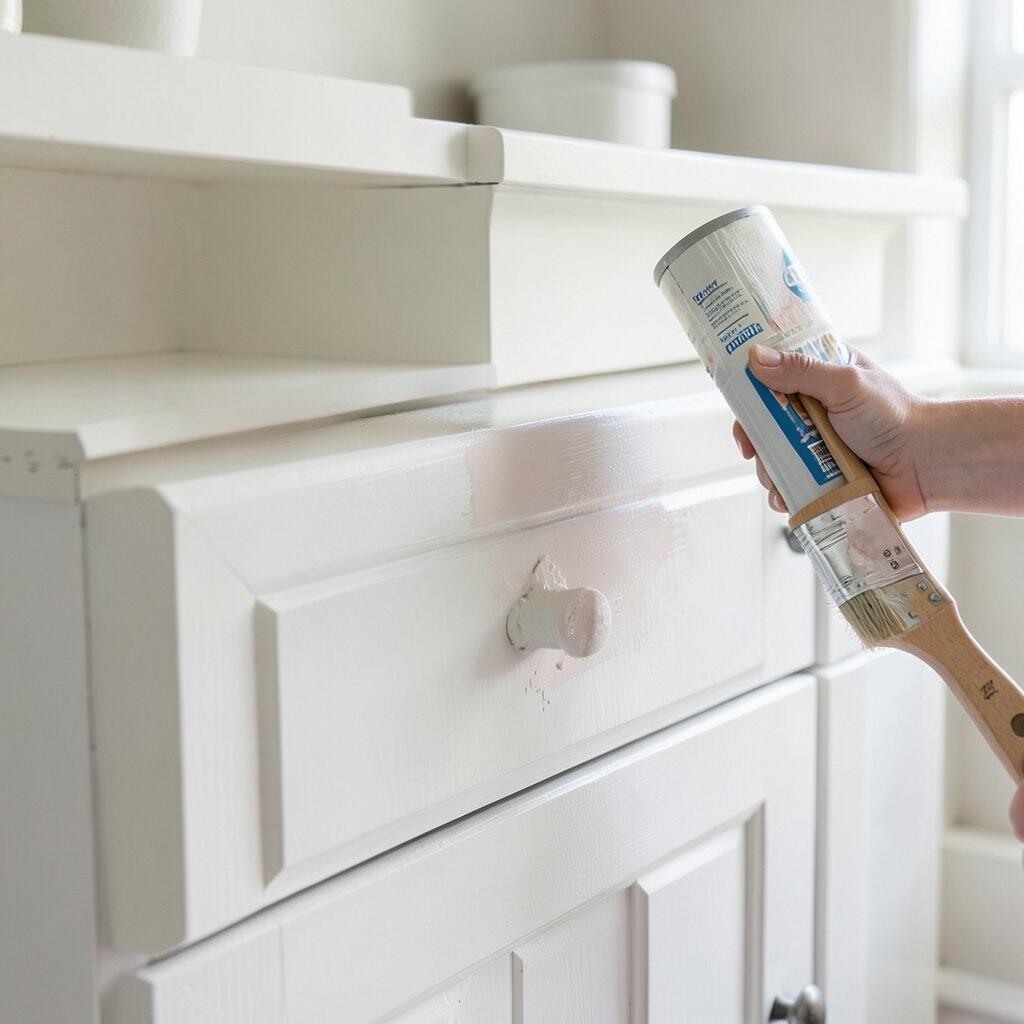
A soft wash uses thinned paint to create a light, airy tone instead of a solid coat. It’s a great way to update cabinets while keeping some warmth from the original wood or texture.
Mix paint with a compatible thinner or water-based medium, then apply it thinly with a rag or brush. Wipe back the paint to control how strong the color becomes, and build up gradually. You’ll get smoother transitions by letting each layer dry completely.
This technique is unique because the cabinet grain and depth show through, giving a gentle, natural look. It’s also budget-friendly since you use less paint per coat. For personalization, try a warm white wash over darker wood for a farmhouse feel, or a light gray wash for a modern coastal vibe.
12. Distinct Hardware Pop With Matching Paint Zones

Instead of focusing only on cabinet color, you can paint around the hardware area for a refined “pop.” This technique guides the eye and makes your cabinet hardware look intentional.
Mask off small zones where knobs and pulls sit, then paint those areas in a contrasting shade. Keep the rest of the door one base color so the accent feels neat rather than busy. Use a steady hand and remove tape carefully to avoid tearing the edges of the finish.
The benefit is that it makes hardware look more stylish, even if you don’t replace everything. This method is unique because it treats hardware like jewelry, adding detail where it matters most. Budget-wise, it can be inexpensive since it uses the same paint, just with a small extra color.
Current trends often include warm metals and subtle contrast, so consider complementing your pulls with a slightly darker or warmer accent paint.
13. Limewash Look for a Fresh, Airy Style
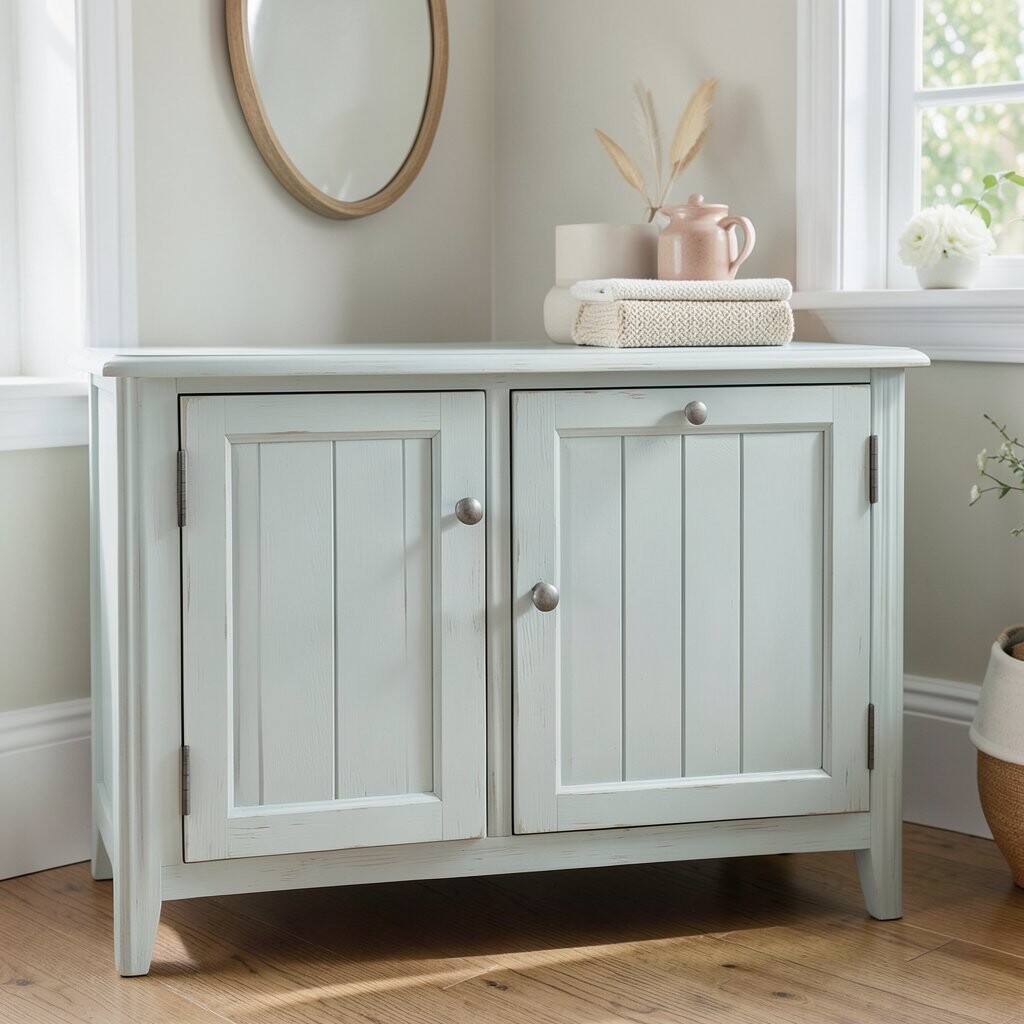
Limewash look finishes bring a soft, breathable texture that feels light and bright. It’s a popular choice for kitchens that want a rustic-modern mix.
Use a limewash product or create a similar effect with a compatible paint mixture, then apply it in thin, uneven layers. Brush in different directions lightly so the texture looks natural instead of streaky. Seal it based on the product instructions, since kitchens need protection from splashes and cleaning.
This technique is unique because the finish changes slightly from day to day under different lighting. It’s a benefit if you want your cabinets to hide minor surface imperfections. Cost considerations depend on the specific product, but the steps are usually similar to standard painting, just with a different finish system.
Personalize by choosing a cool off-white, soft greige, or pale sage for a calming trend-forward kitchen look.
14. Faux Metal Cabinet Finish With Warm Undertones
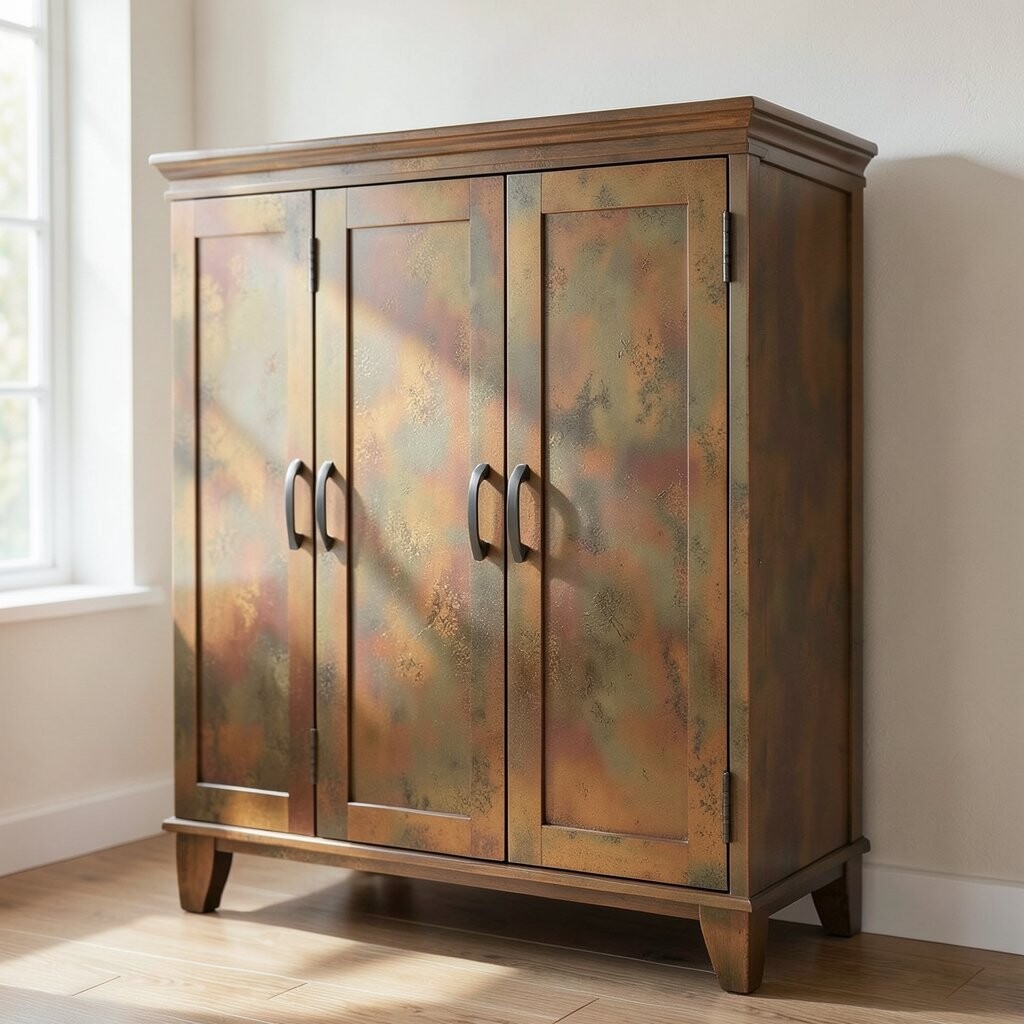
Faux metal finishes can give cabinets a stylish, industrial feel without installing real metal panels. The trick is choosing a paint system that imitates metallic depth.
Start with a base coat in a warm tone, then layer metallic paint with a brush technique that creates subtle variation. Seal with a clear protective topcoat so the surface resists everyday kitchen cleaning. Work slowly and avoid overworking the metal layer, since too much blending can flatten the effect.
This technique is unique because it’s about light reflection and tone, not just color. It can be a bit more expensive if you buy specialty metallic paints, but a little goes a long way. For personalization, pair faux metal cabinets with matte black hardware or warm brass pulls for a balanced look.
15. Classic Two-Stage Primer Plus Finish Coat

Sometimes the easiest “technique” is doing prep and layering the right way. A well-planned two-stage primer setup can make your finish last longer and look more even.
First, apply primer to seal the wood or old paint, then lightly sand, wipe clean, and apply a second primer coat if needed for smoothness. After that, paint your cabinet color in thin finish coats, sanding lightly between coats for a silky result. Keep your coats even so your final sheen looks consistent across every door.
This method is unique because it focuses on durability and smoothness rather than fancy effects. The benefit is fewer drips, fewer visible brush marks, and a better foundation for any color trend you choose. Cost is usually moderate because you’re buying extra primer, but it can prevent repainting and save money over time.