
Your kitchen tools deserve a home that looks as good as they perform. With a few creative systems, you can work faster and keep things neatly in place.
1. Magnetic Herb & Utensil Strip Gallery
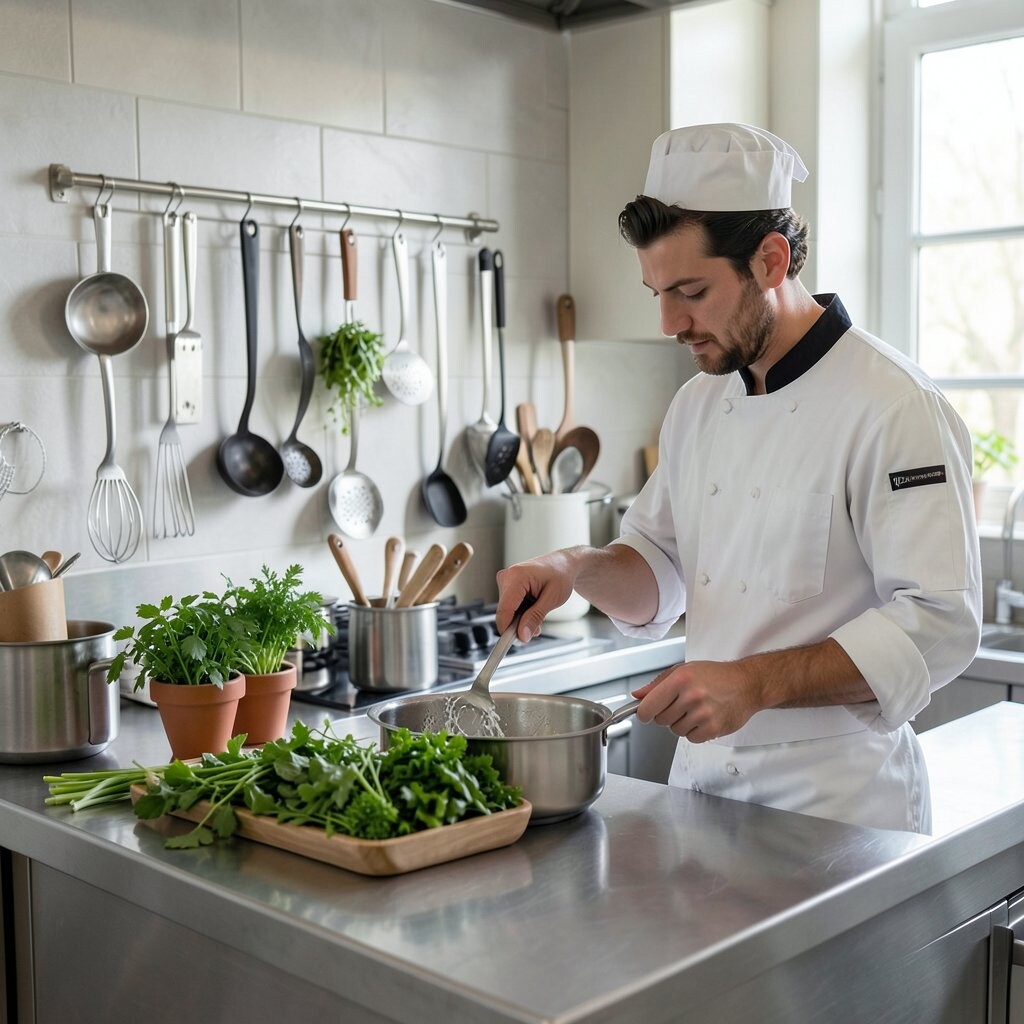
A long magnetic strip mounted on the wall turns daily tools into a clean display. It helps you grab spatulas, tweezers, and small utensils in seconds.
Choose a strip wide enough for hanging sizes, then group items by type so your muscle memory stays strong. Add small labels on discreet tags or using chalk paint so every tool has an obvious spot. For personalization, paint the wall section with a muted color that matches your chef coat or brand palette.
2. Color-Coded Cutting Tools With Artist-Style Frames
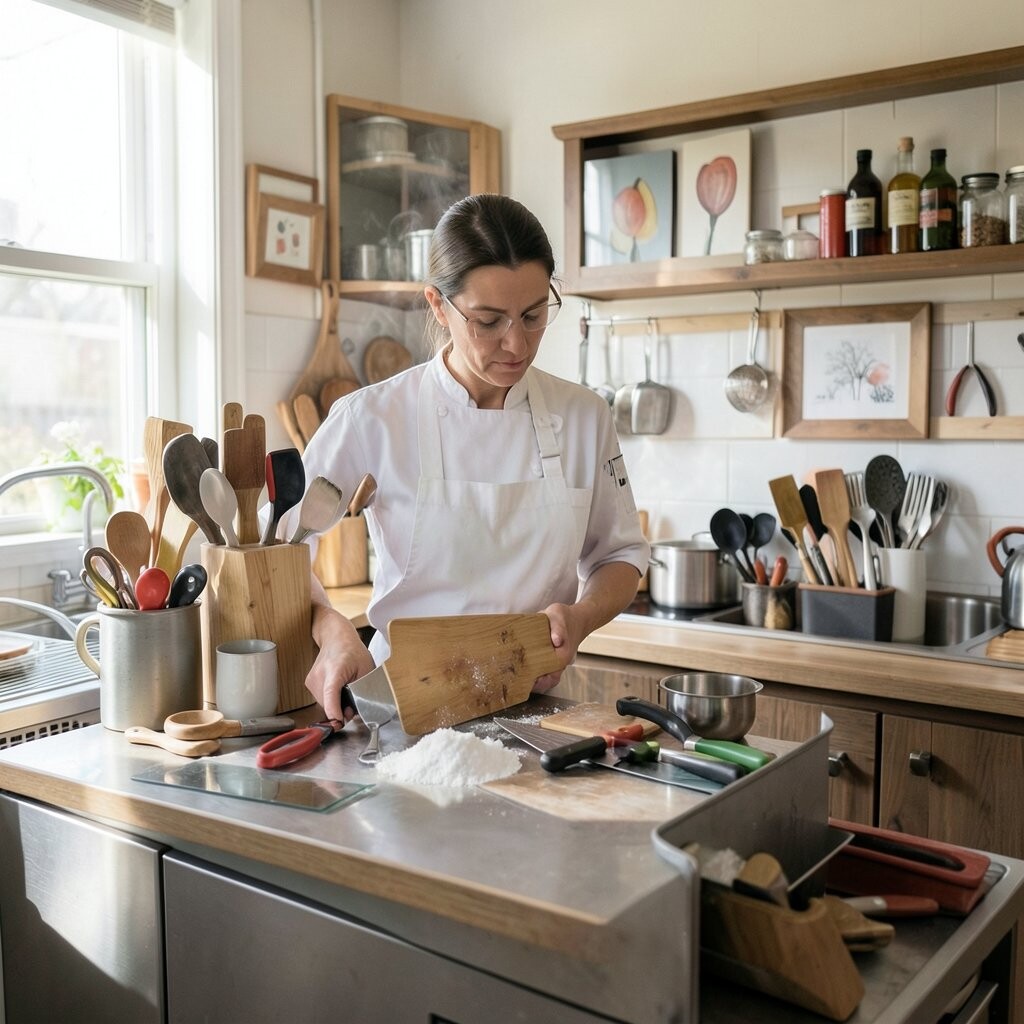
Bright cutting boards and their matching utensils can look like a modern art wall. When colors match the task, setup becomes calmer and more accurate.
Frame each category using simple wood borders or metal rails, then assign colors for prep, proteins, and sauces. Keep sharp tools like peelers and microplanes in labeled bins behind clear acrylic dividers. Budget-friendly options include thrift-store frames and spray paint, while premium kits may use anodized aluminum hardware.
Current trends favor visible organization, so a tidy “visible system” often feels more professional during service. If you cater events, store extra frames in a compact crate so you can set up fast. Just make sure the surfaces are easy to wipe down after busy hours.
3. Chalkboard Tool Wall With Monthly “Specials” Layout
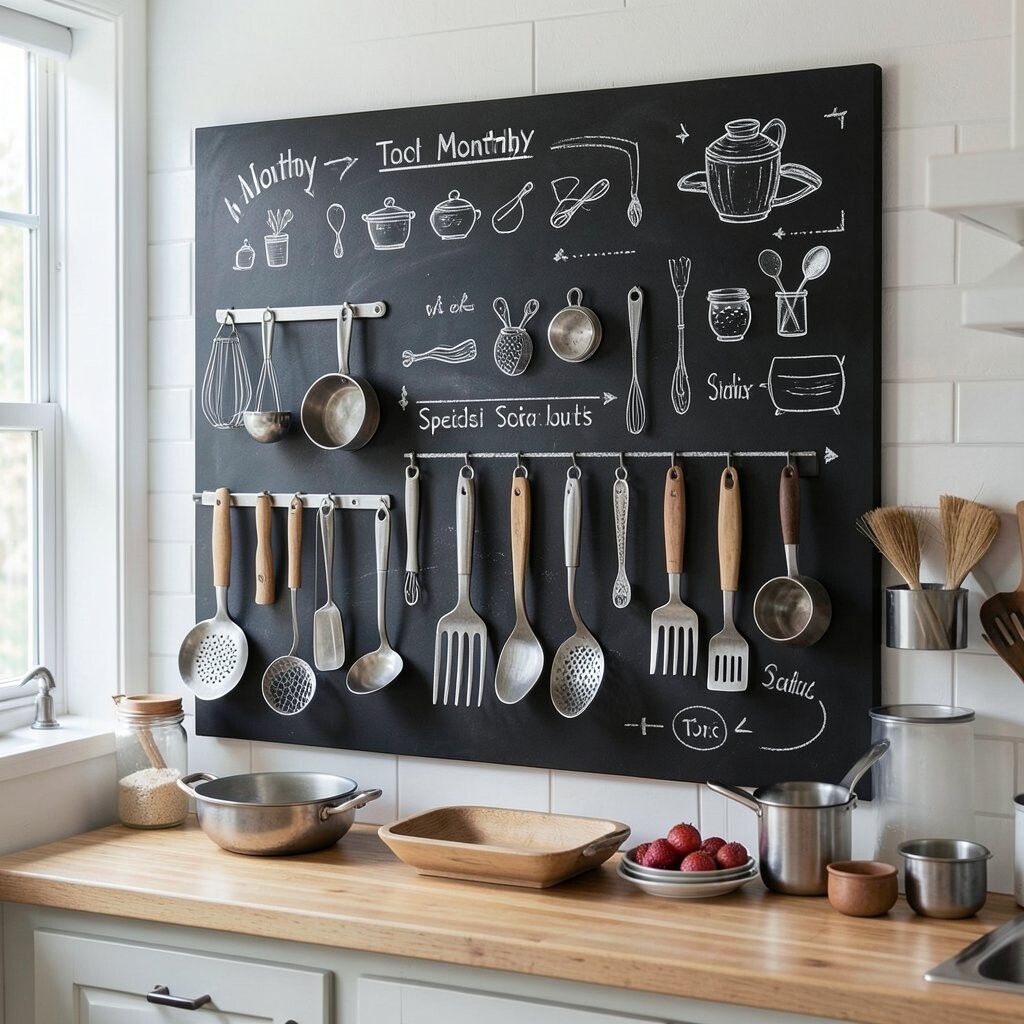
A chalkboard tool wall gives you a creative way to redesign storage without drilling new holes. You can sketch where everything goes and update it as menus change.
Draw outlines around each utensil spot, then number zones for scoops, whisks, and serving tools. During prep weeks, change the chalk plan so staff learns the system by repetition instead of guessing. Use washable chalk markers so the marks stay crisp even when hands are busy.
To make it unique, add seasonal doodles like citrus icons for zest tools or snowflakes for pastry gear in winter. For cost considerations, you can mount a sheet of chalkboard vinyl on a plain backing board. If you hate smudges, cover the chalk with a thin clear laminate and write with chalk pens that remove easily.
Pair it with hooks rated for kitchen weight so heavy ladles do not pull out over time. This setup also supports quick training for new hires because the visual map is always visible.
4. Hanging Steam-Plant Rack for Whisks and Tongs
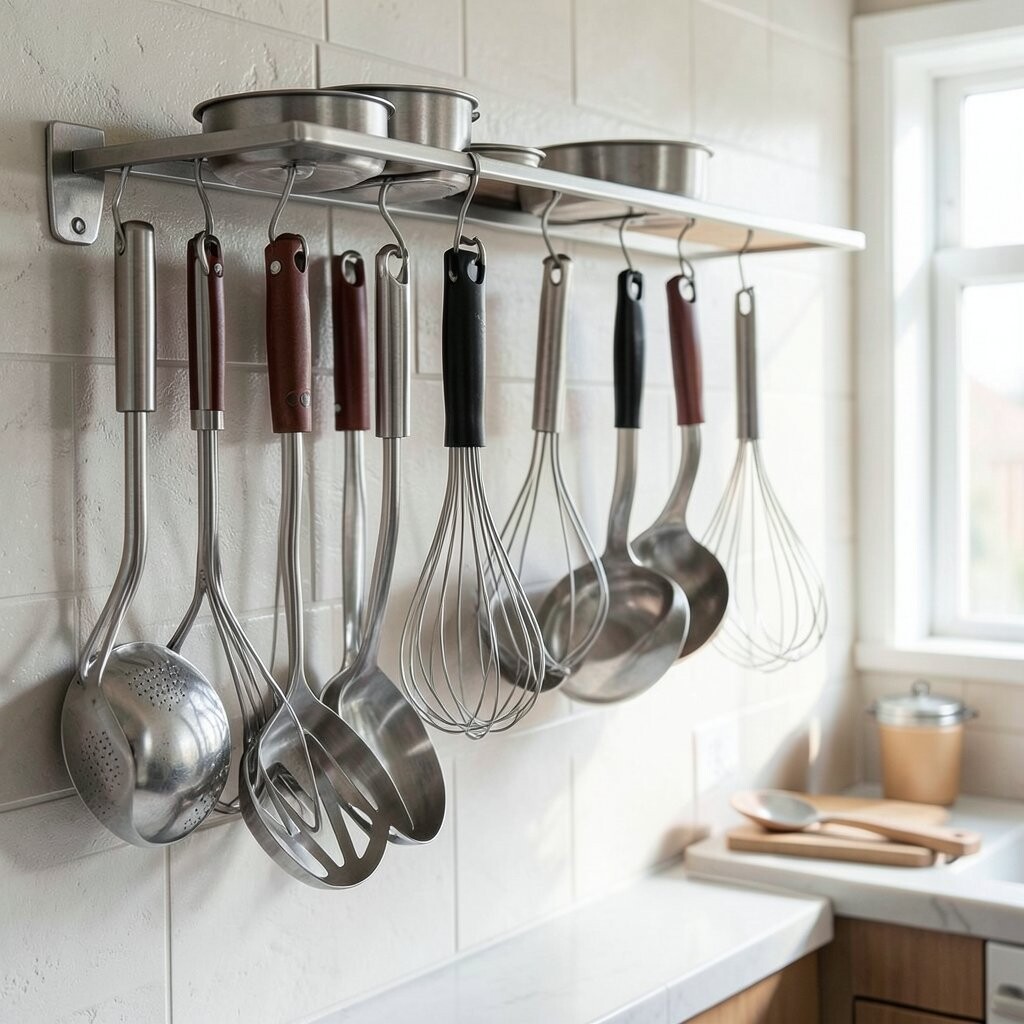
Using a hanging rack with plant-themed shapes adds a playful feel while keeping tools off counters. It also saves space in crowded kitchens where every inch matters.
Choose a rack with multiple hooks, then dedicate each row to one tool family like whisks, tongs, and ladles. Add small removable tags for steam levels or use icons so staff knows what belongs where. A simple mat under the rack catches drips and makes cleanup faster.
5. Tiered “Chef Skyline” Drawer Inserts
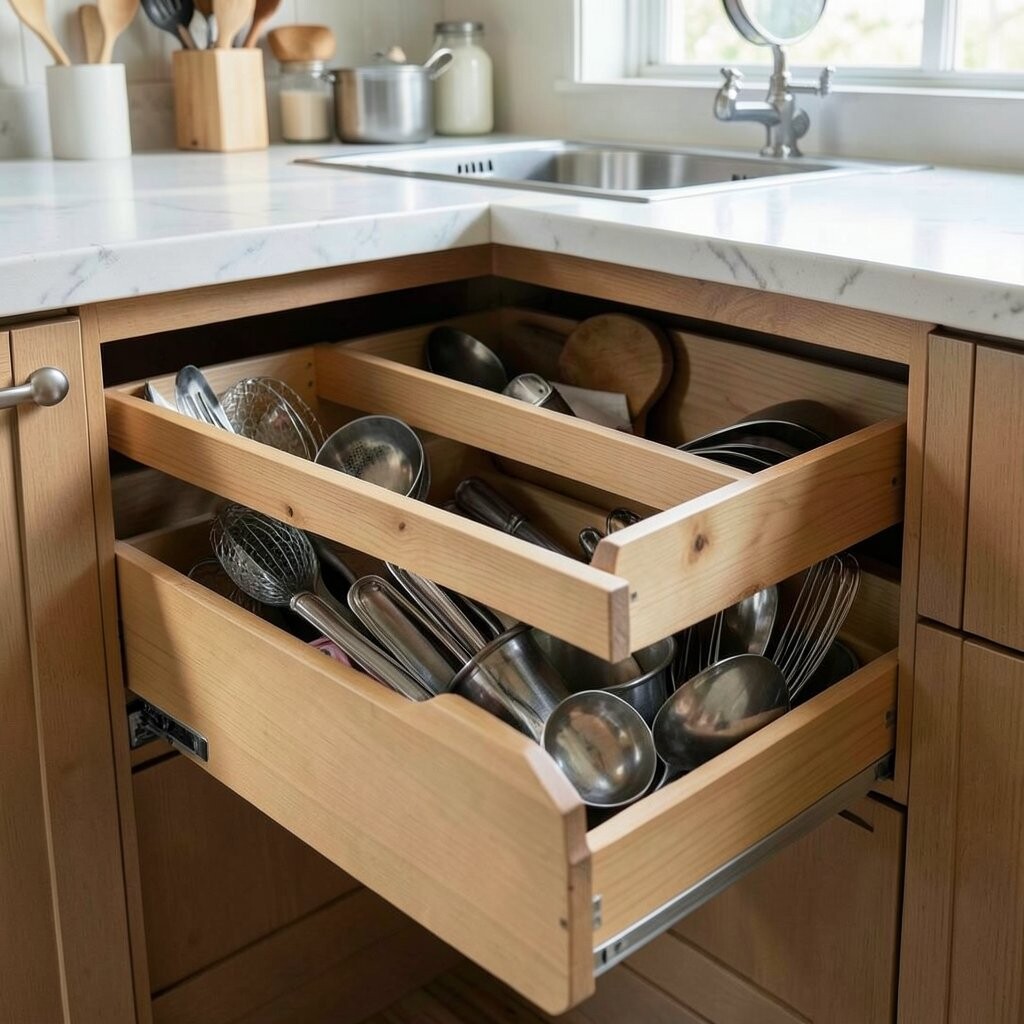
Drawer inserts shaped like small steps create a skyline look for utensils. The tiers keep items visible and reduce rummaging during rush hour.
Use modular organizers, then stack shallow compartments from front to back based on how often you grab each tool. For uniqueness, decorate the divider sides with subtle skyline decals or a gradient paint finish. If you’re cost-conscious, repurpose old drawer organizers and cover them with heat-resistant contact paper.
To personalize, write “grab first” labels on the top tier for daily essentials like bench scrapers, peelers, and offset spatulas. Many kitchens now use clear lids for hygiene tracking, so consider a shallow clear window compartment for frequently sanitized items. Keep utensils nested by size so blades and edges don’t tangle.
6. Repurposed Ceramic Jars as Flavor Tool Stations
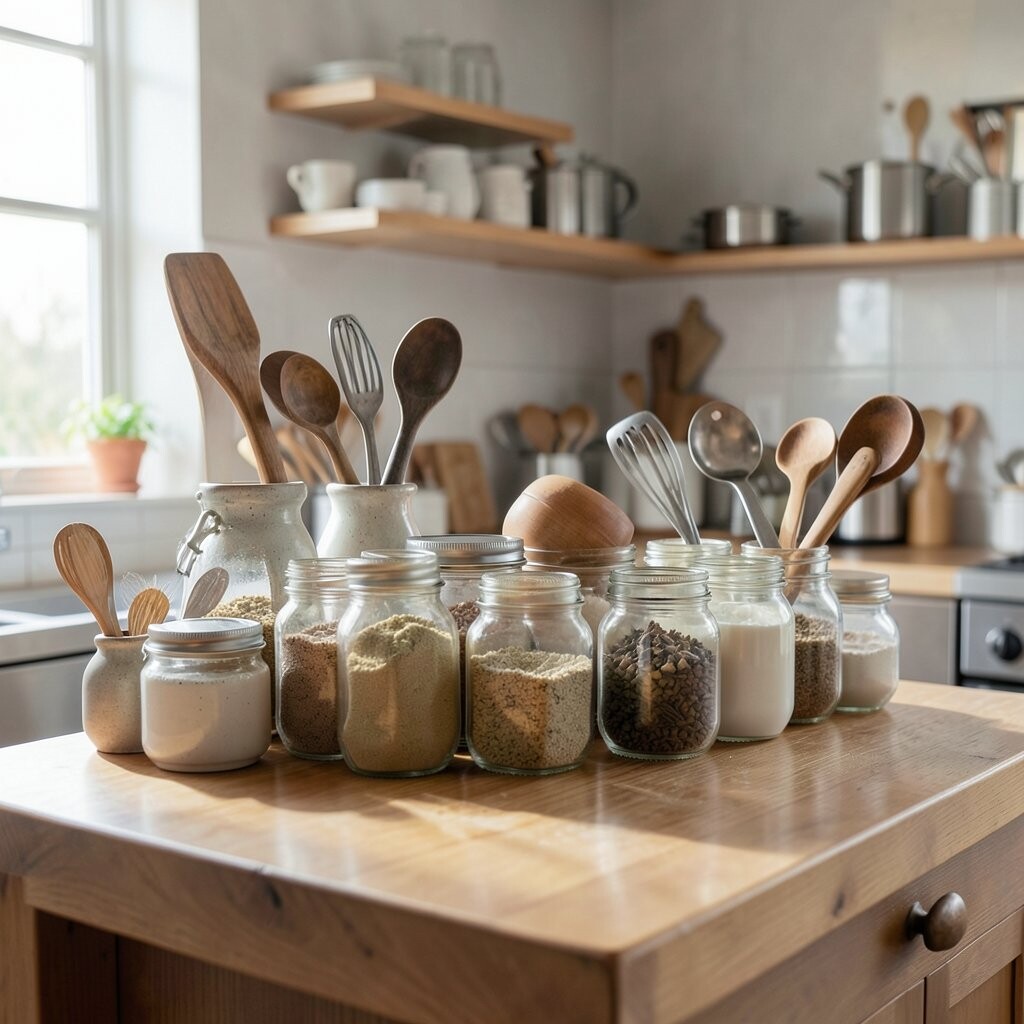
Vintage ceramic jars can hold small tools like measuring spoons, funnels, and micro spatulas. They look charming while keeping frequently used items ready at hand.
Group jars by workflow: baking tools near the mixer, finishing tools near the plating area, and measuring tools close to prep. Use a lid rack or small cloth coaster rings to prevent jars from sticking or sliding. If you want a chef-friendly setup, choose jars with smooth inner walls so residue wipes away easily.
Make it unique by staggering sizes and using matching twine or ceramic paint dots to show each category. For cost, scan thrift stores and yard sales, then clean and sanitize thoroughly before use. A current trend is using matte ceramic finishes that resist fingerprints, which can be great during long service.
7. Pegboard With Custom “Recipe Path” Layout
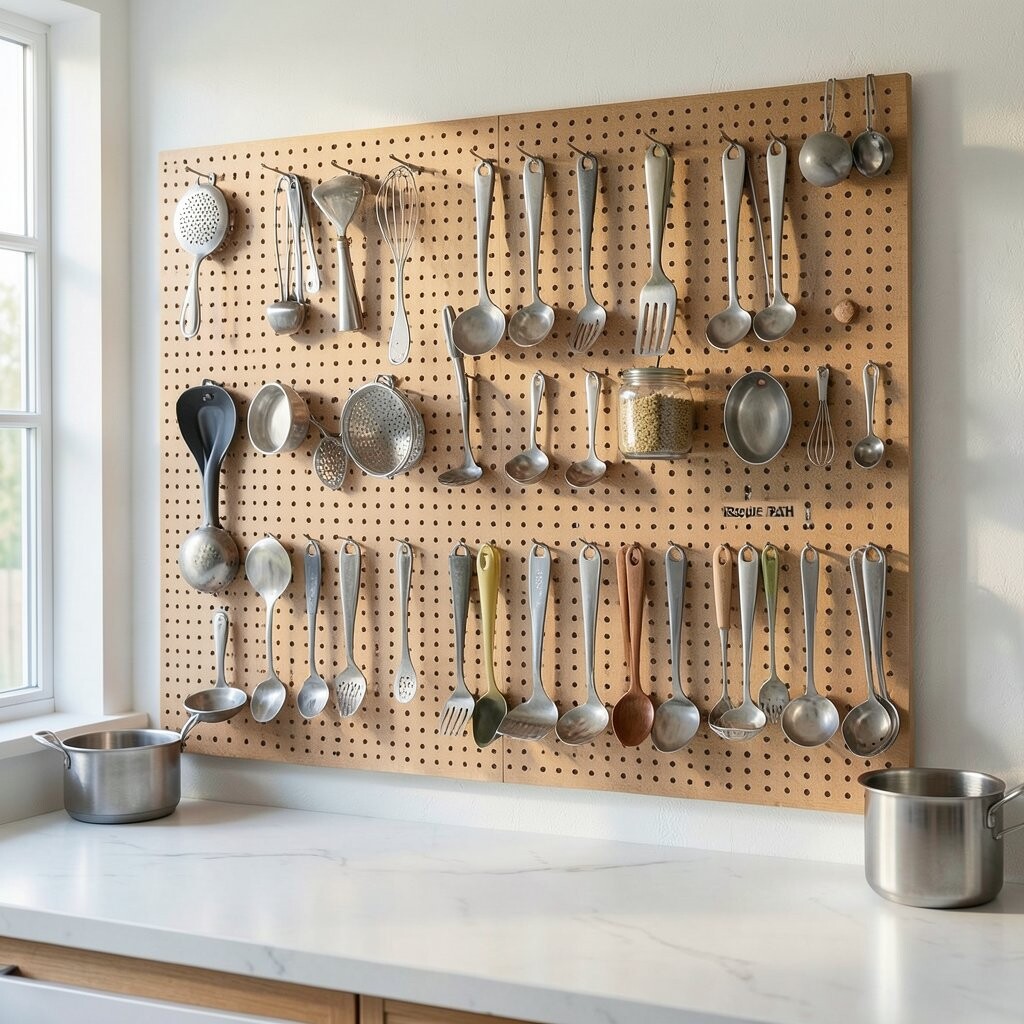
Pegboard storage is practical, and it can still feel artistic when you map tools like a recipe path. Start at the left with prep tools and move right toward plating gear.
Hang tools in the order they’re used, then keep a spare hook space where you plan to add new favorites. Use colored hooks or spray-painted pegs so staff can spot categories instantly. This also reduces clutter because everything has a defined route.
Personalize the look with small printed labels that match your menu design, like “Sauté,” “Blend,” or “Finish.” For affordability, buy pegboard sheets and reuse hooks from past organizing projects. If you want a premium feel, choose stainless hooks and a sealed pegboard surface for easy wiping.
8. Wooden Spoon Wall With Rotating Tool Swatches
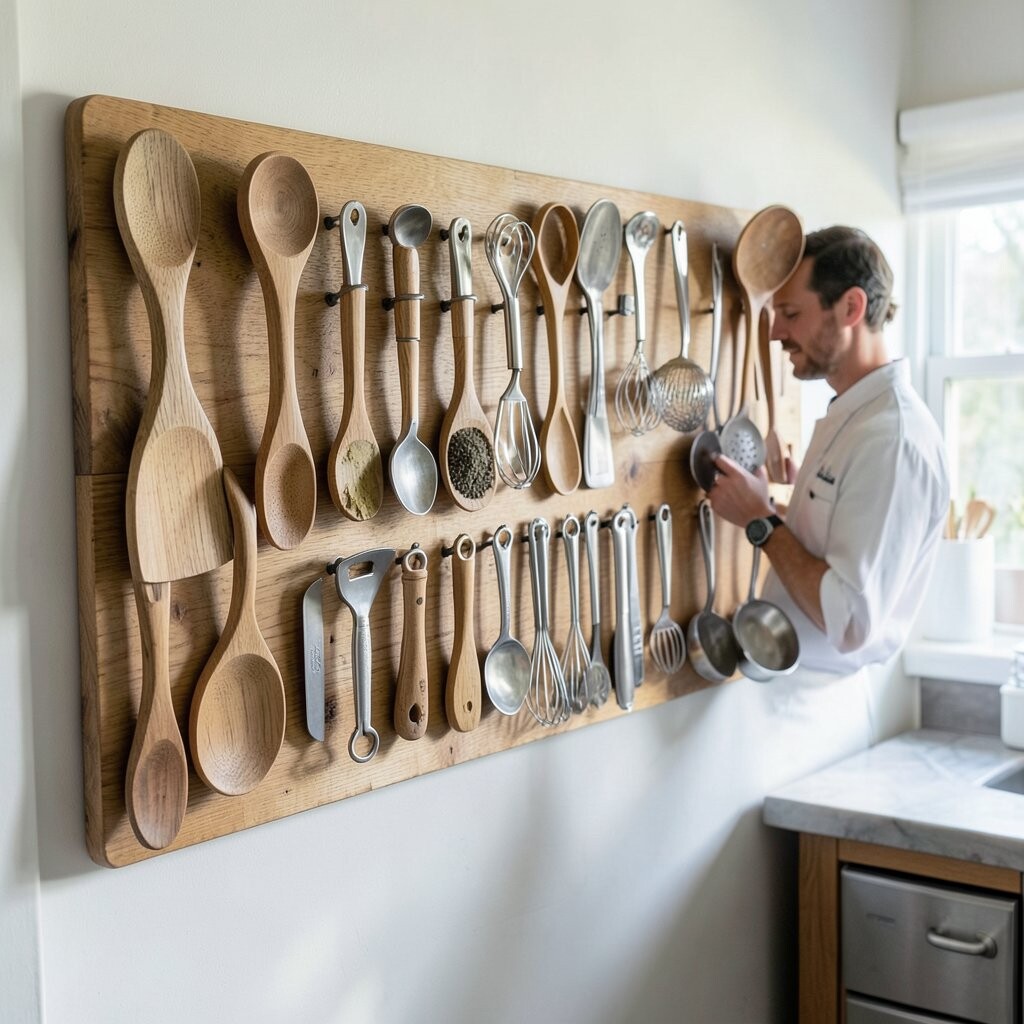
A spoon wall organizer turns a simple storage idea into a warm, chef-like display. It’s especially good for wooden spoons, ladles, and heat-safe spatulas.
Mount a row of small holders or dowels, then rotate tools based on weekly tasks. When new techniques show up, swap in the tool swatch you need and keep the wall fresh. Add a small “rotation note” card so everyone knows why certain tools changed.
What makes this unique is the “gallery” feel, which encourages care because people treat displayed tools more respectfully. For tips, place frequently used spoons at eye level and reserve higher hooks for backups. If you’re thinking about cost, use affordable dowels and paint them in a food-safe finish.
Right now, many kitchens lean into natural textures, so wood organizers look modern with both rustic and minimalist interiors. Just remember to dry wooden tools well before returning them to the wall to avoid lingering moisture.
9. Under-Shelf Lighted Tool Tray With Glass Front
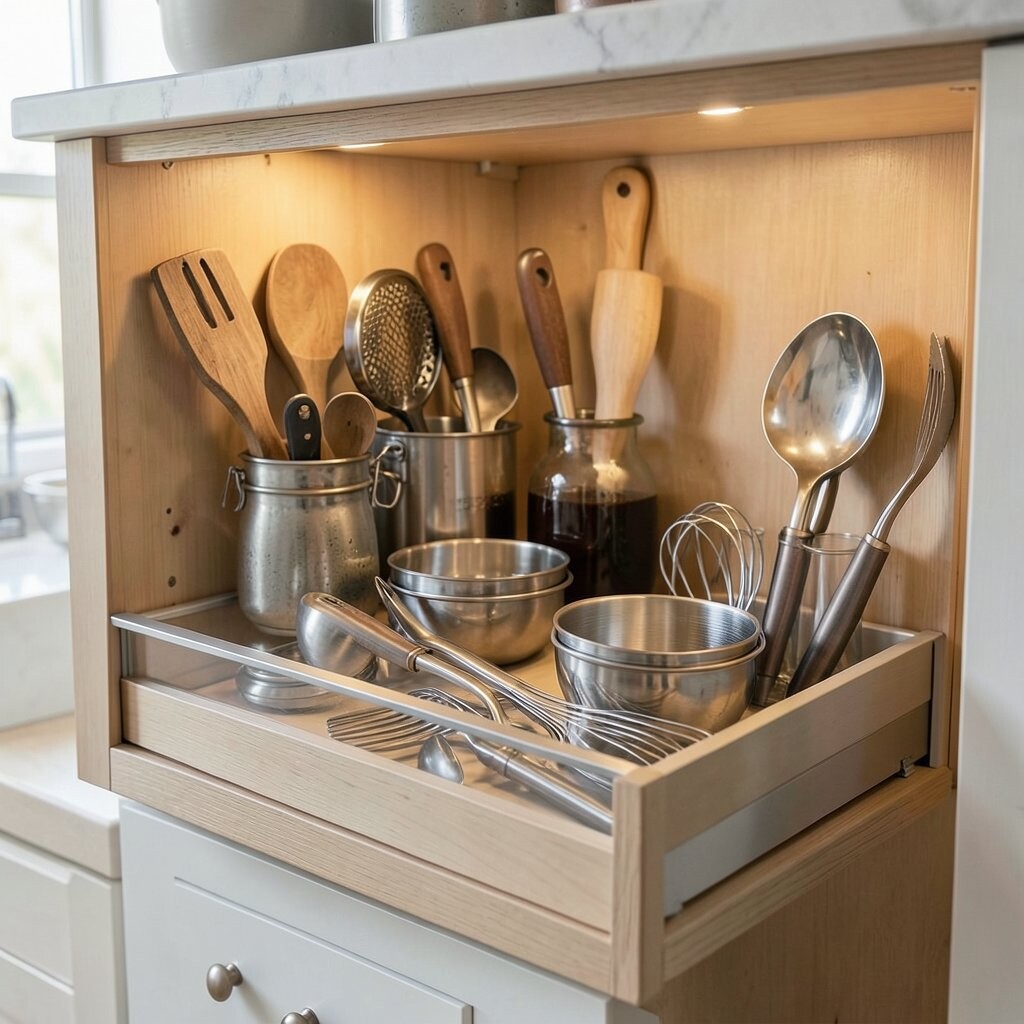
An under-shelf tray with soft lighting makes tools easy to see without opening cabinets. It’s a smart way to keep essentials ready while maintaining a tidy front.
Install a slim LED strip and place a clear-front tray beneath it, then store spatulas, whisks, and small serving utensils inside. Use dividers so pieces don’t slide, and keep a microfiber cloth nearby for quick wipe-downs. This style is unique because it feels like a workstation display rather than a storage closet.
For practicality, measure your shelf depth carefully so the tray fits without blocking airflow. Cost can vary, so consider starting with a simple tray and adding lighting later if needed. A current trend is “hidden-but-lit” organization, where tools remain visible but protected from mess.
If you run a busy station, keep only the tools you use daily in this tray and store backups higher. That keeps the system clean and reduces clutter when things get hectic.
10. Magnetic Knife-Friendly Tool Rack for Non-Knife Utensils
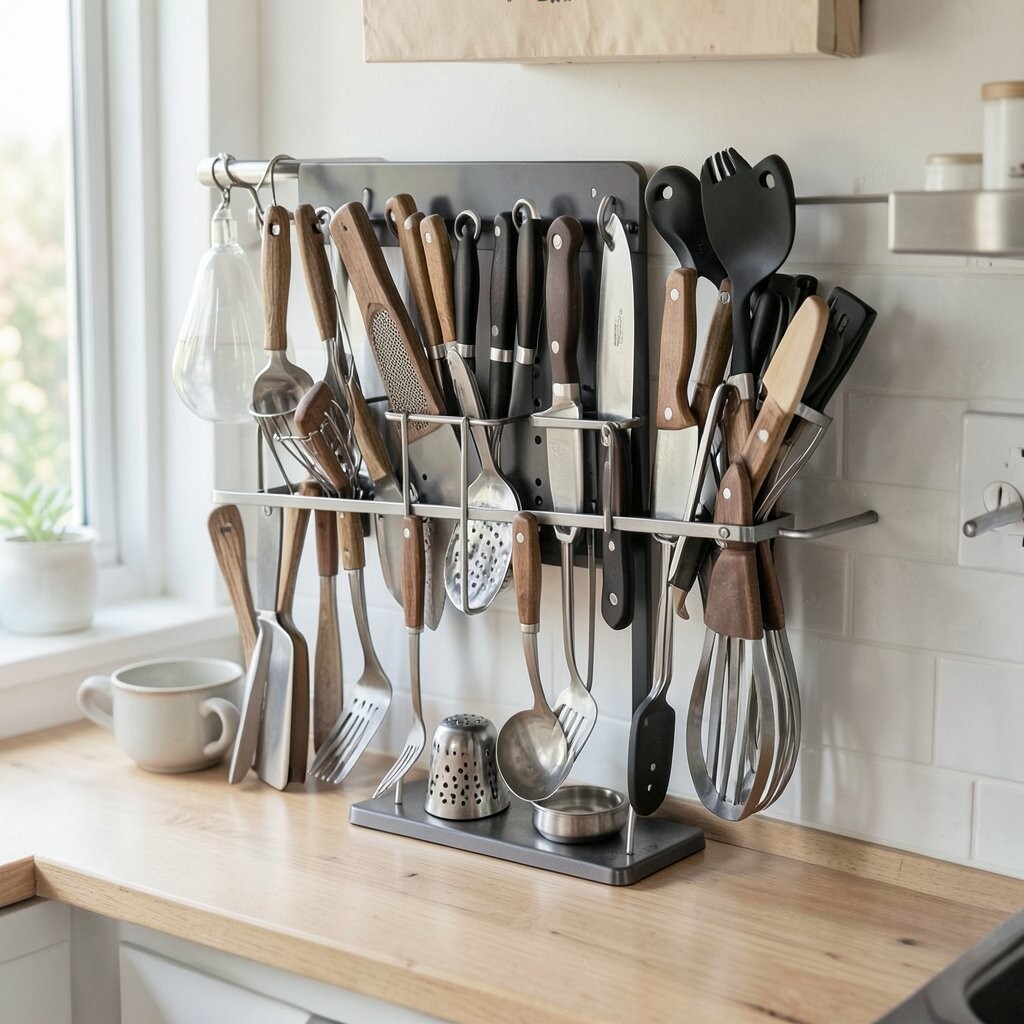
Magnetic bars aren’t just for knives; they work well for non-knife utensils too. When placed at the right height, this idea speeds up grabbing tools during plating and service.
Use a bar system designed for safe tool storage and mount it near the cutting area, then hang tongs, ladles, and metal spatulas with proper spacing. Add a small shelf for accessories like bottle openers or can graters so nothing falls between gaps. This approach is unique because it combines “grab and go” with clean lines.
To personalize, match the bar finish to your hardware, such as brushed steel or matte black. For cost, check for starter magnetic kits and expand as your tool collection grows. Many kitchens now prefer corrosion-resistant surfaces, so look for coatings that handle regular washing and wipe-downs.
11. Drawer “Ingredient Labels” for Tool Pairing
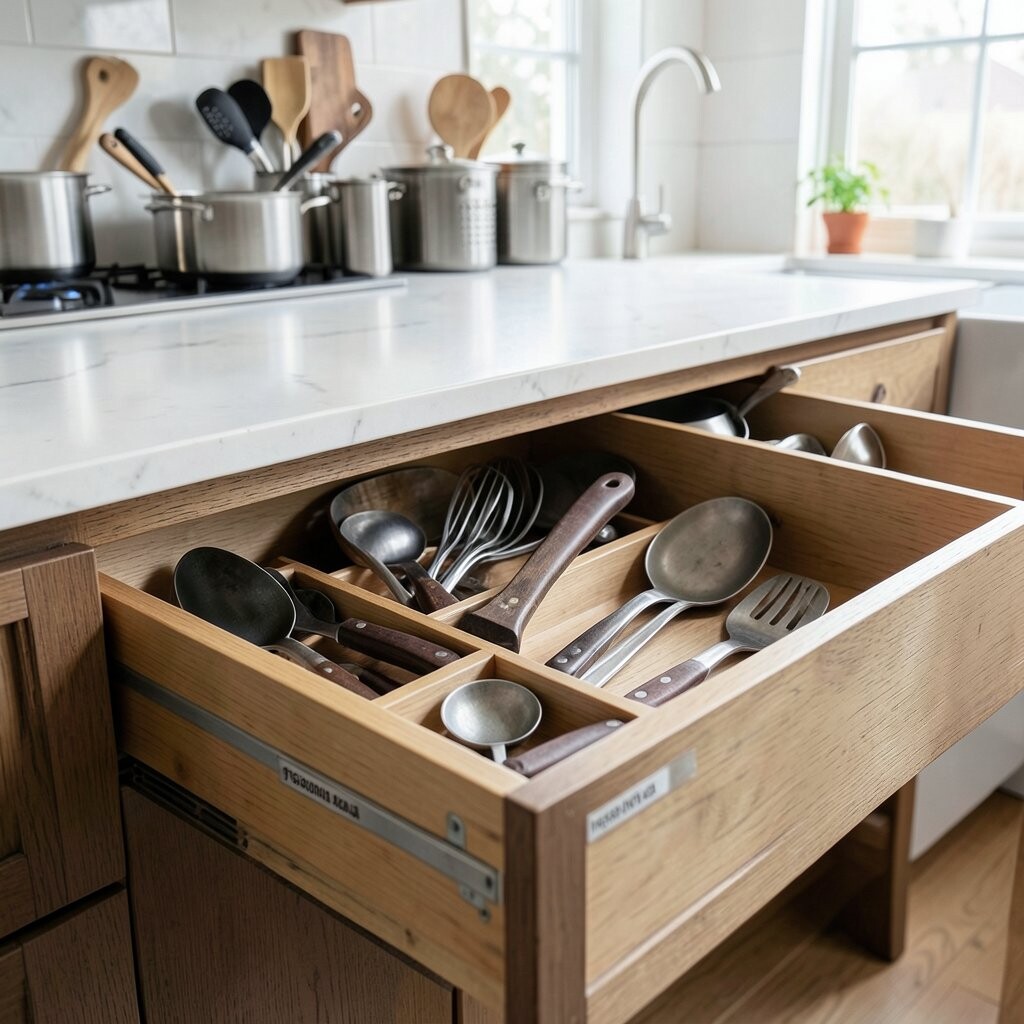
Matching utensil storage to ingredient zones makes workflow easier. When tools are paired with what they support, people waste less time searching.
Create drawer compartments labeled like ingredient stations, such as “Dairy,” “Herbs,” “Sauce,” and “Pastry.” Place utensils accordingly, like whisks in the dairy drawer and squeeze tools in the sauce drawer. For uniqueness, use simple tag holders that look like vintage apothecary labels.
Practical tip: keep a tiny marker on the inside of the drawer so you can update labels when you change menus or seasonal prep. Cost considerations are usually low because you can print labels at home and use basic dividers. If you want a trend-forward look, choose labels in warm neutral colors and use rounded corners for a modern feel.
Personalize by adding a chef’s initials or a small icon for each drawer, which helps teams remember faster. This also supports inventory checks because the label makes missing tools obvious.
12. Rotating Counter Caddy With “Daily Rotation” Slots
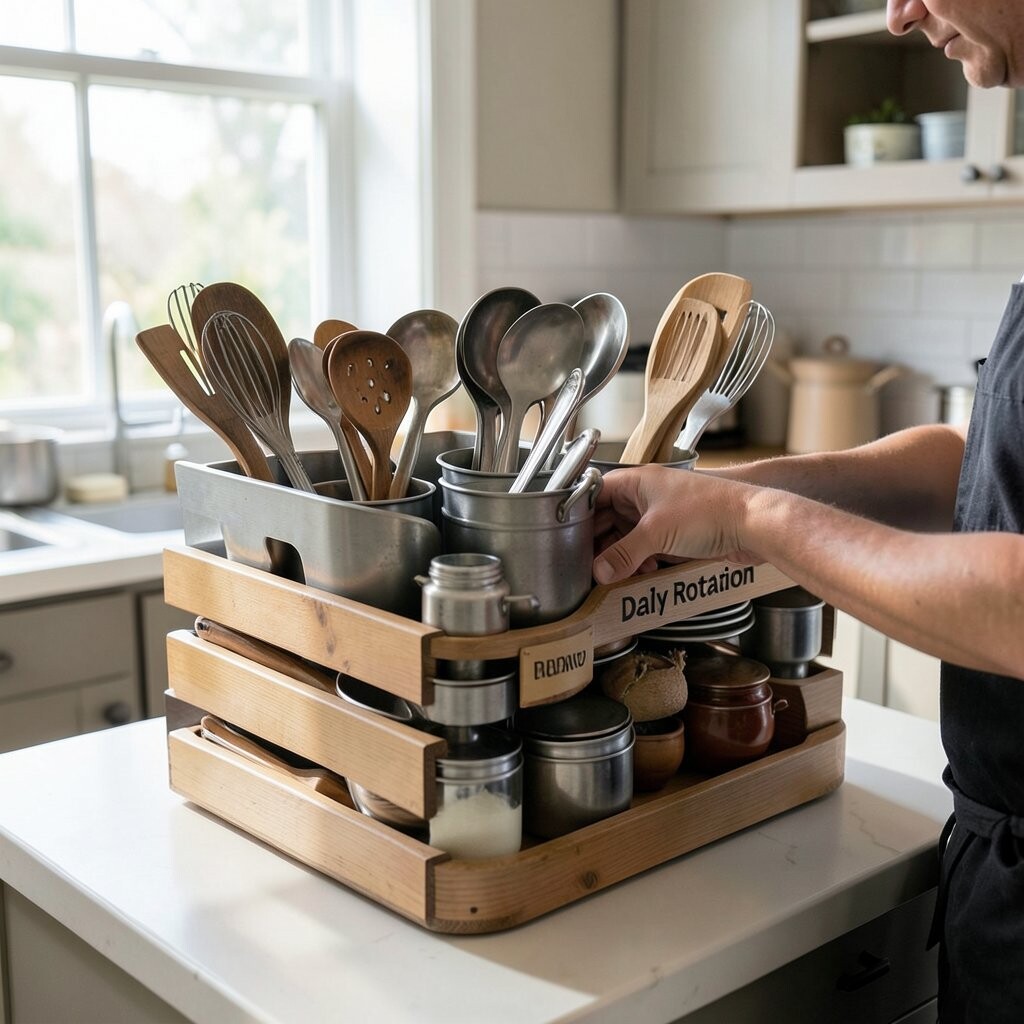
A rotating counter caddy keeps your most-used utensils within arm’s reach. Instead of digging into drawers, you spin the caddy and grab what you need.
Choose a lazy Susan style with compartments, then dedicate sections to high-frequency tools like spoons, spatulas, and measuring scoops. Keep heavier items in sturdier slots and store delicate tools on the lighter side to avoid knocks. To make it unique, decorate the base with a food-safe vinyl graphic that matches your kitchen branding.
For practical tips, clean the rotating base regularly so sauce drips do not build up under it. Cost-wise, you can start with a plastic organizer and later upgrade to stainless or wood. Current trends favor compact counter storage that looks tidy even with the lid off, so keep the caddy filled lightly rather than packed.
13. Wall-Mounted “Recipe Card” Holders for Hand Tools
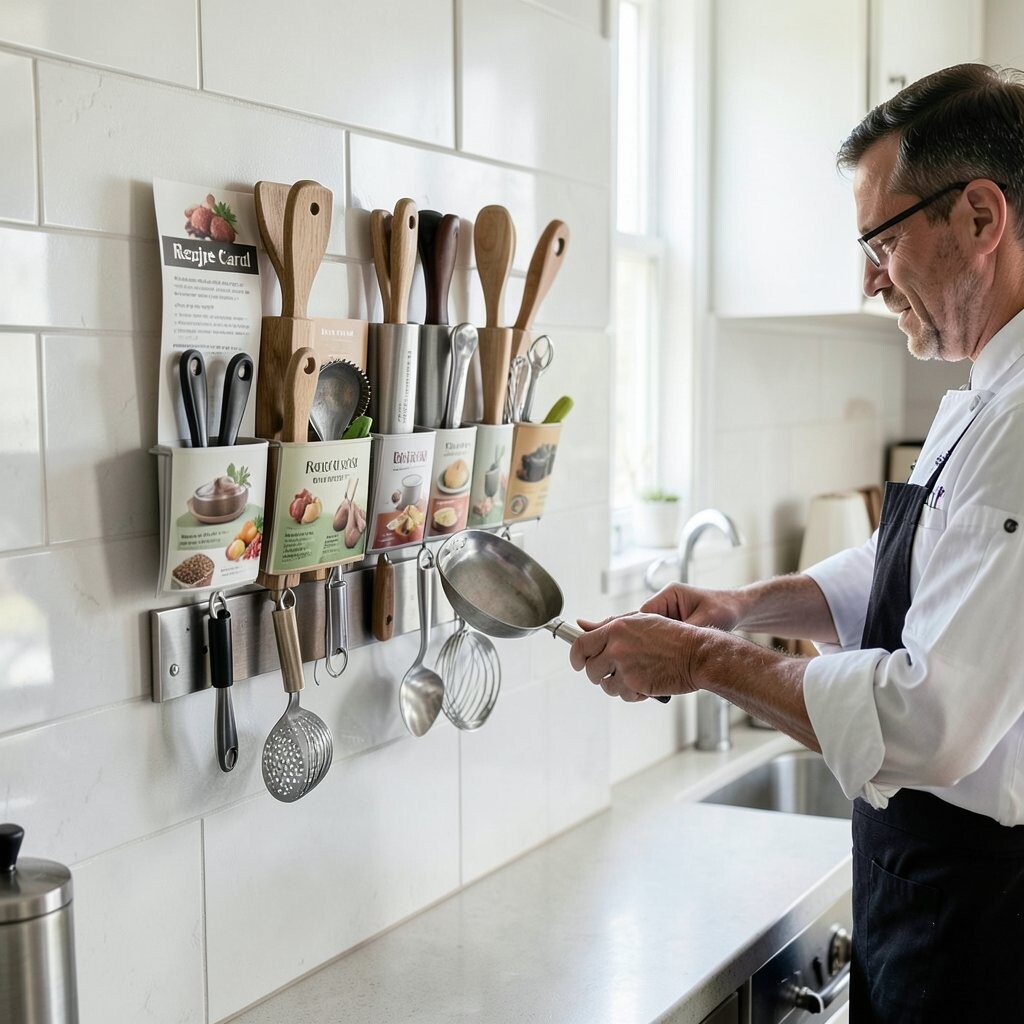
Recipe card holders can double as stylish homes for small hand utensils. When the storage includes a “what it does” note, tools feel more intuitive to use.
Mount card holders on the wall and slide in small inserts like “zest,” “mince,” or “measure,” then place matching tools in nearby brackets. This setup is unique because it blends information with organization, which is great for training and consistency. Add a small hook beneath each card holder for the corresponding tool so it stays visible.
For personalization, use your favorite typography and keep the inserts updated when you change stations. Cost considerations are usually low because card holders are inexpensive, and you can build a simple backing board at home. If you want a modern trend, choose clear acrylic holders for a sleek look that matches stainless equipment.
Practical advice: keep paper inserts sealed or laminated so splashes don’t ruin them during service. This small detail makes the system last longer and stay readable.
14. Heat-Safe Silicone Tool Rings on a Wall Rail
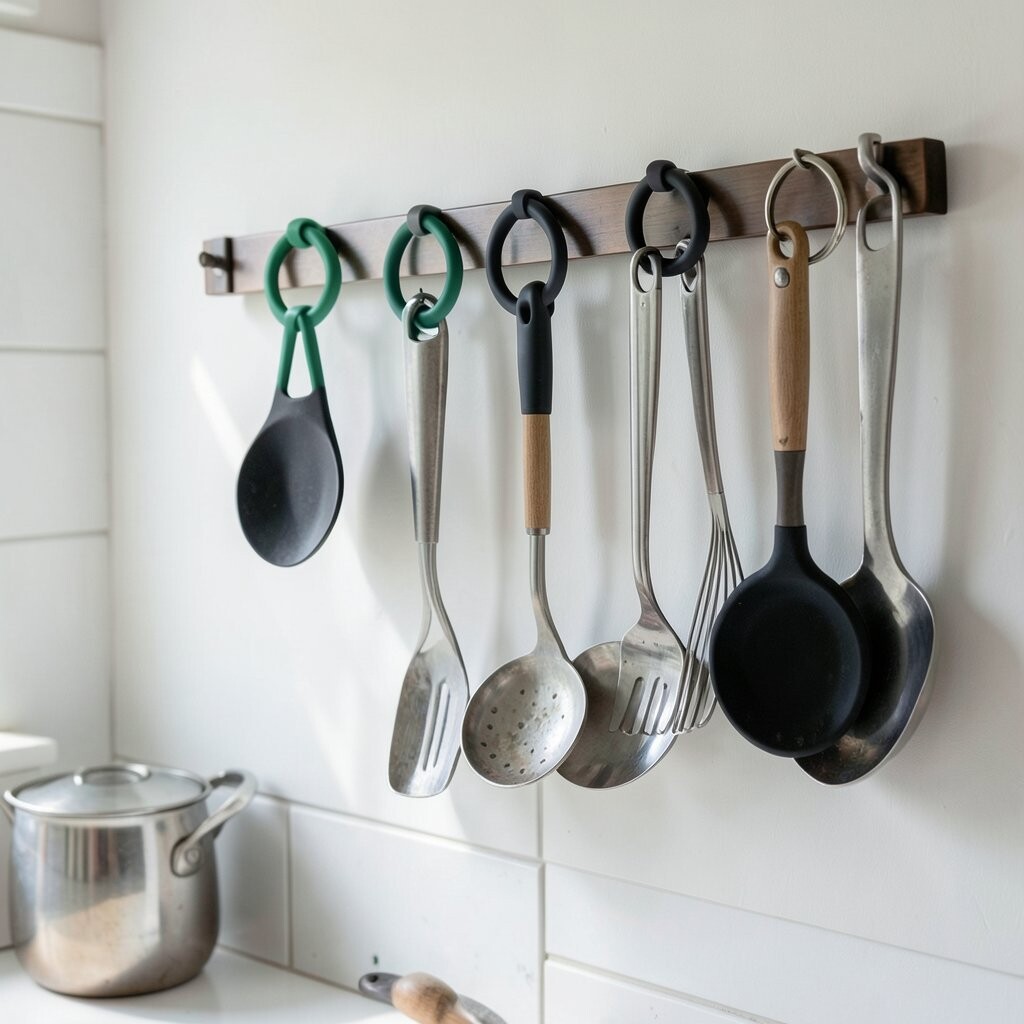
Silicone tool rings mounted on a wall rail keep utensil handles from clattering. They also protect surfaces by reducing metal-on-counter contact.
Place rings in a vertical line so tools hang neatly, then assign each ring to a tool family like pastry tools, tasting spoons, or BBQ-style spatulas. Add color-coded rings if your team works across stations, since quick recognition reduces mistakes. For cost, consider buying a basic rail and a set of rings, then expand when you add new utensils.
15. Mosaic-Tiled Utensil Stations With Colorful “Zones”
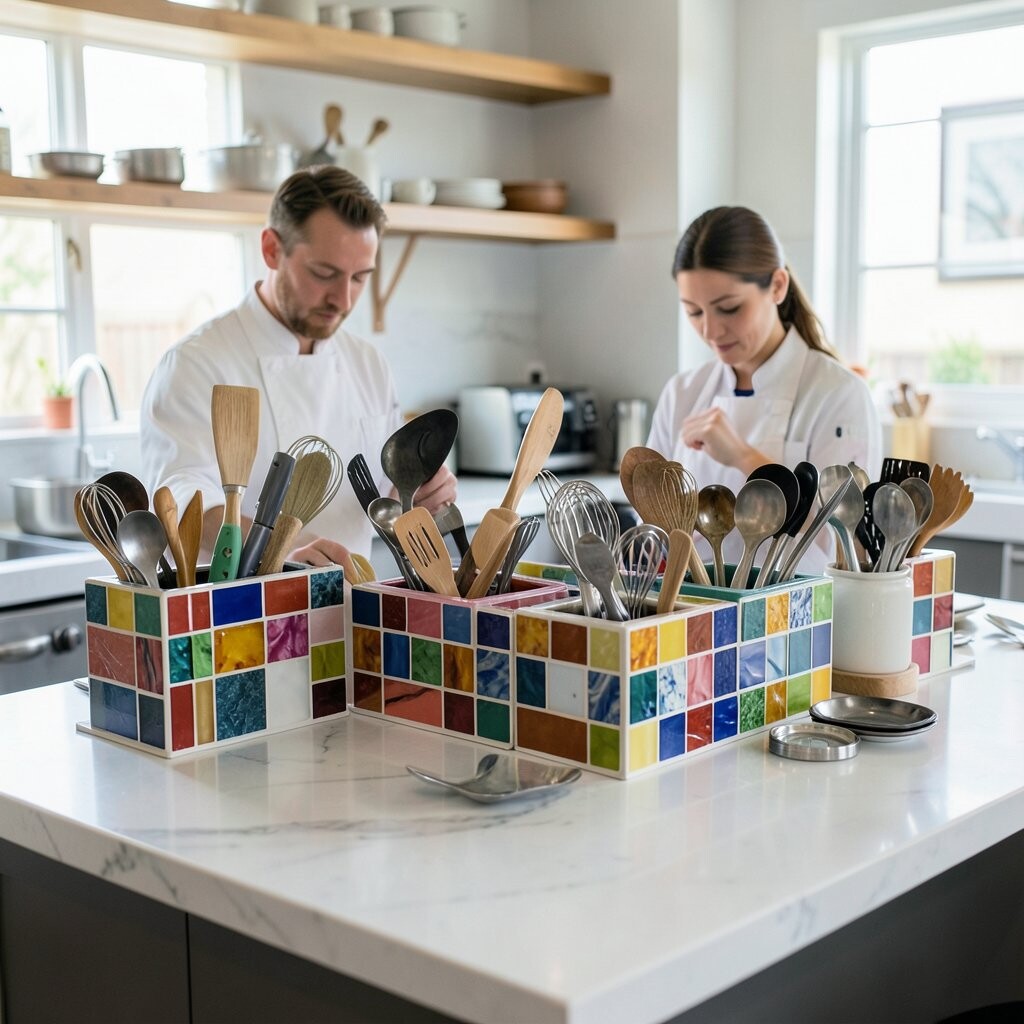
Mosaic-tiled stations look like a small art installation while offering clear storage zones. This is perfect for kitchens that want organization to feel warm, lively, and uniquely yours.
Use tiles or tile-look contact paper on a sturdy backing board, then create zones for whisking, scooping, and serving tools. Keep each zone separate with simple wooden dividers so utensils don’t mingle. To make it personal, choose tile colors that match your backsplash or your chef logo, and label zones with tiny, waterproof markers.
Cost considerations vary depending on tile choice, but peel-and-stick tile is a friendly starting point if you’re renting or want flexibility. Current trends include bold color accents and tactile surfaces, so a mosaic station often becomes a focal point in a clean, modern kitchen. Practical tip: seal the backing board edges and wipe it down after use so grime doesn’t collect in grout-like textures.
1. Magnetic Herb & Utensil Strip Gallery
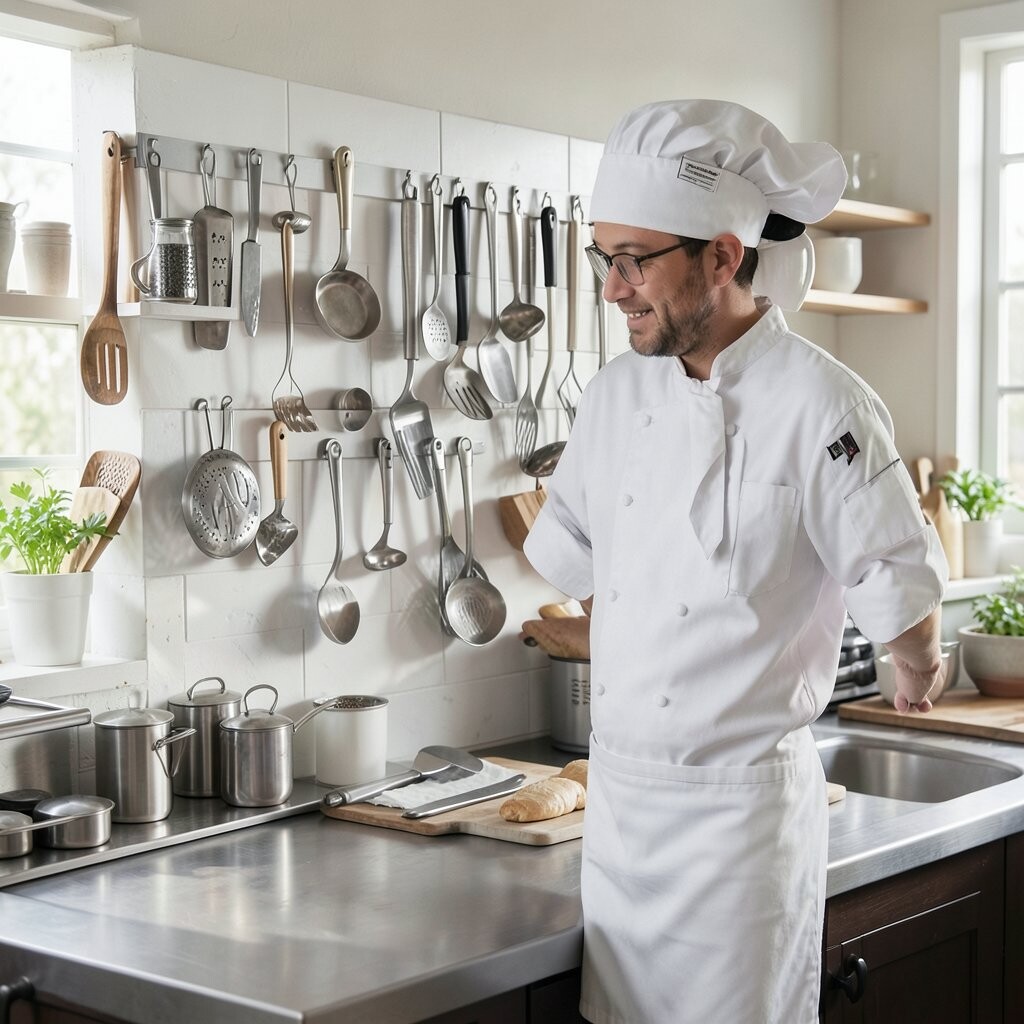
A long magnetic strip mounted on the wall turns daily tools into a clean display. It helps you grab spatulas, tweezers, and small utensils in seconds.
Choose a strip wide enough for hanging sizes, then group items by type so your muscle memory stays strong. Add small labels on discreet tags or using chalk paint so every tool has an obvious spot. For personalization, paint the wall section with a muted color that matches your chef coat or brand palette.
2. Color-Coded Cutting Tools With Artist-Style Frames
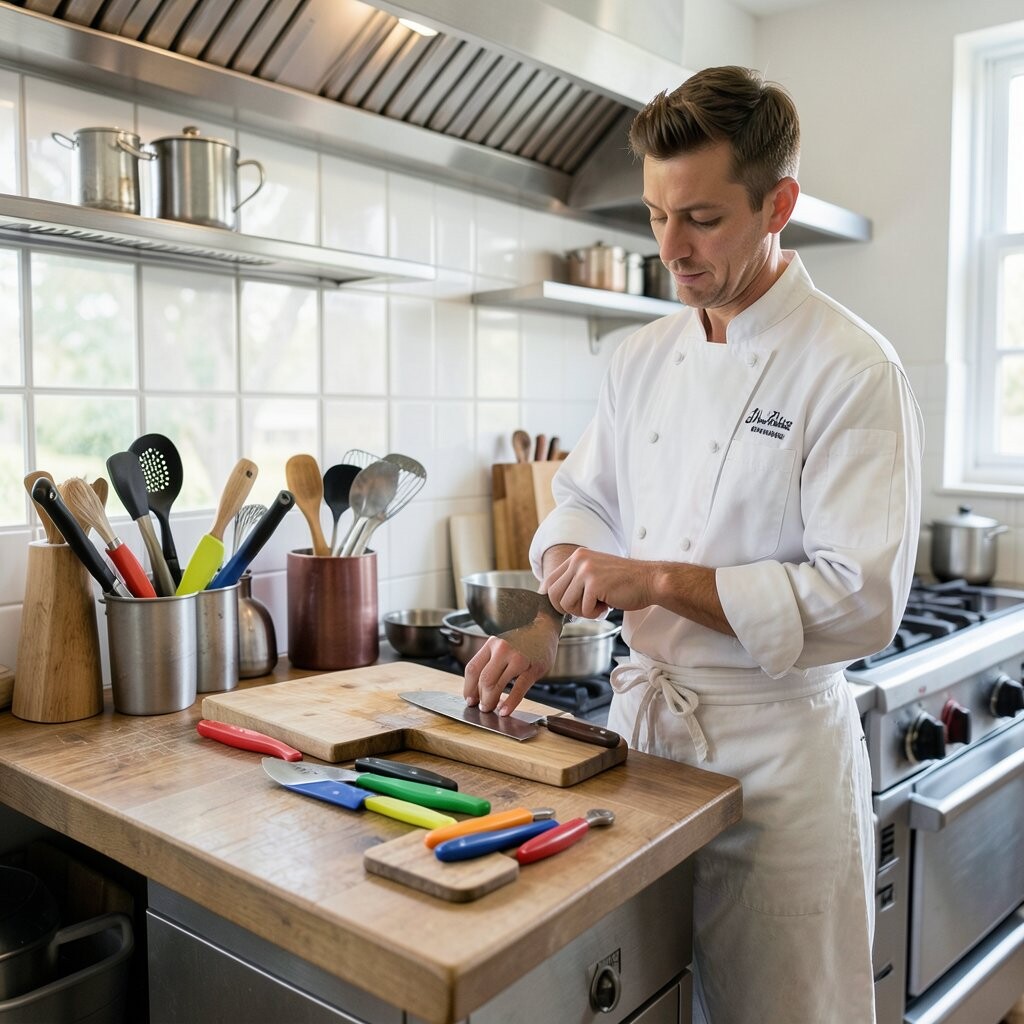
Bright cutting boards and their matching utensils can look like a modern art wall. When colors match the task, setup becomes calmer and more accurate.
Frame each category using simple wood borders or metal rails, then assign colors for prep, proteins, and sauces. Keep sharp tools like peelers and microplanes in labeled bins behind clear acrylic dividers. Budget-friendly options include thrift-store frames and spray paint, while premium kits may use anodized aluminum hardware.
Current trends favor visible organization, so a tidy “visible system” often feels more professional during service. If you cater events, store extra frames in a compact crate so you can set up fast. Just make sure the surfaces are easy to wipe down after busy hours.
3. Chalkboard Tool Wall With Monthly “Specials” Layout
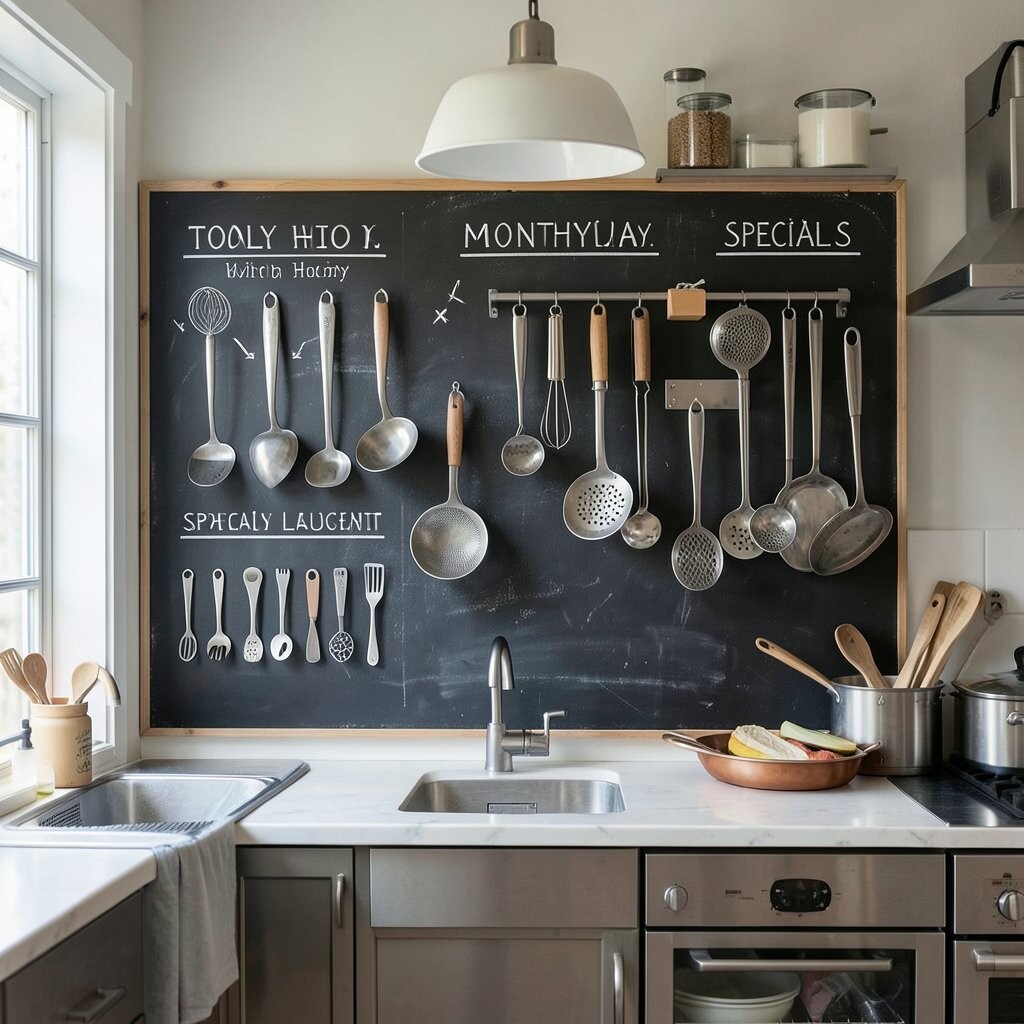
A chalkboard tool wall gives you a creative way to redesign storage without drilling new holes. You can sketch where everything goes and update it as menus change.
Draw outlines around each utensil spot, then number zones for scoops, whisks, and serving tools. During prep weeks, change the chalk plan so staff learns the system by repetition instead of guessing. Use washable chalk markers so the marks stay crisp even when hands are busy.
To make it unique, add seasonal doodles like citrus icons for zest tools or snowflakes for pastry gear in winter. For cost considerations, you can mount a sheet of chalkboard vinyl on a plain backing board. If you hate smudges, cover the chalk with a thin clear laminate and write with chalk pens that remove easily.
Pair it with hooks rated for kitchen weight so heavy ladles do not pull out over time. This setup also supports quick training for new hires because the visual map is always visible.
4. Hanging Steam-Plant Rack for Whisks and Tongs
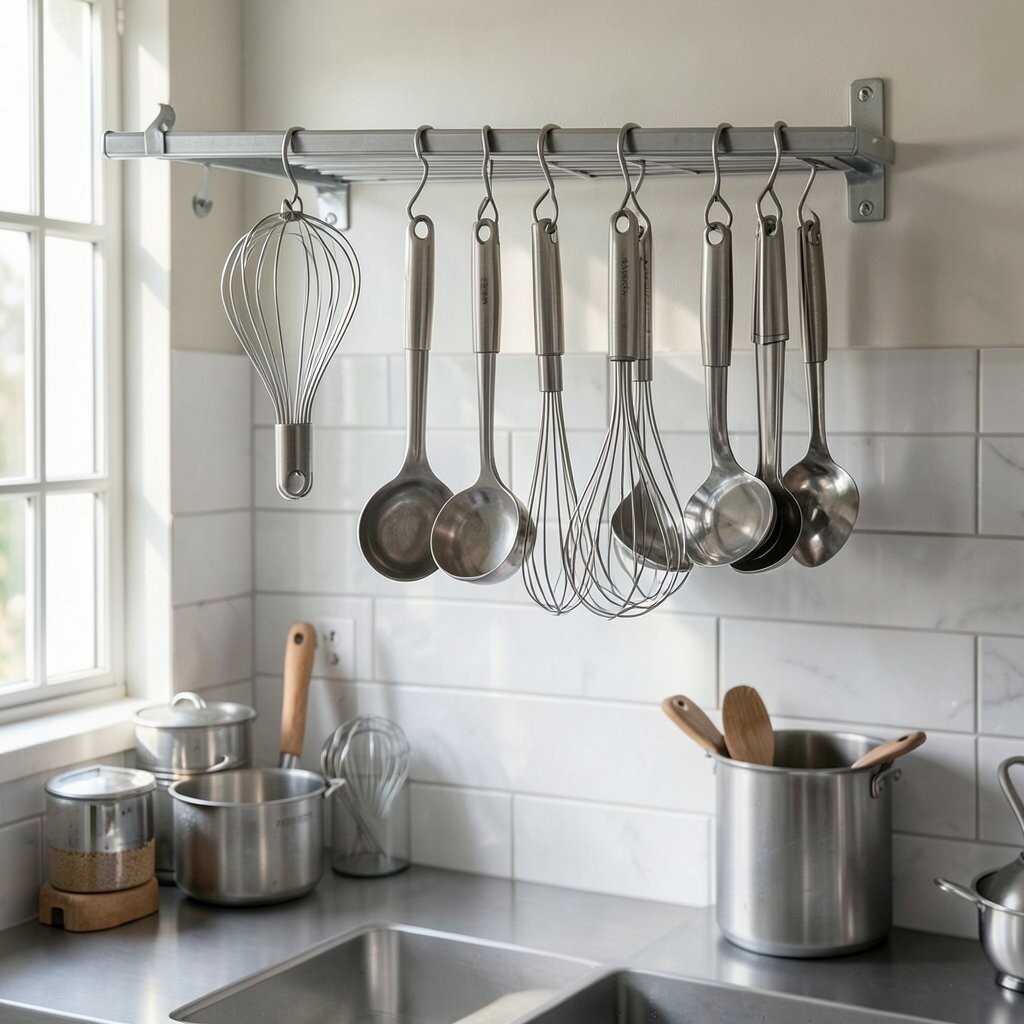
Using a hanging rack with plant-themed shapes adds a playful feel while keeping tools off counters. It also saves space in crowded kitchens where every inch matters.
Choose a rack with multiple hooks, then dedicate each row to one tool family like whisks, tongs, and ladles. Add small removable tags for steam levels or use icons so staff knows what belongs where. A simple mat under the rack catches drips and makes cleanup faster.
5. Tiered “Chef Skyline” Drawer Inserts
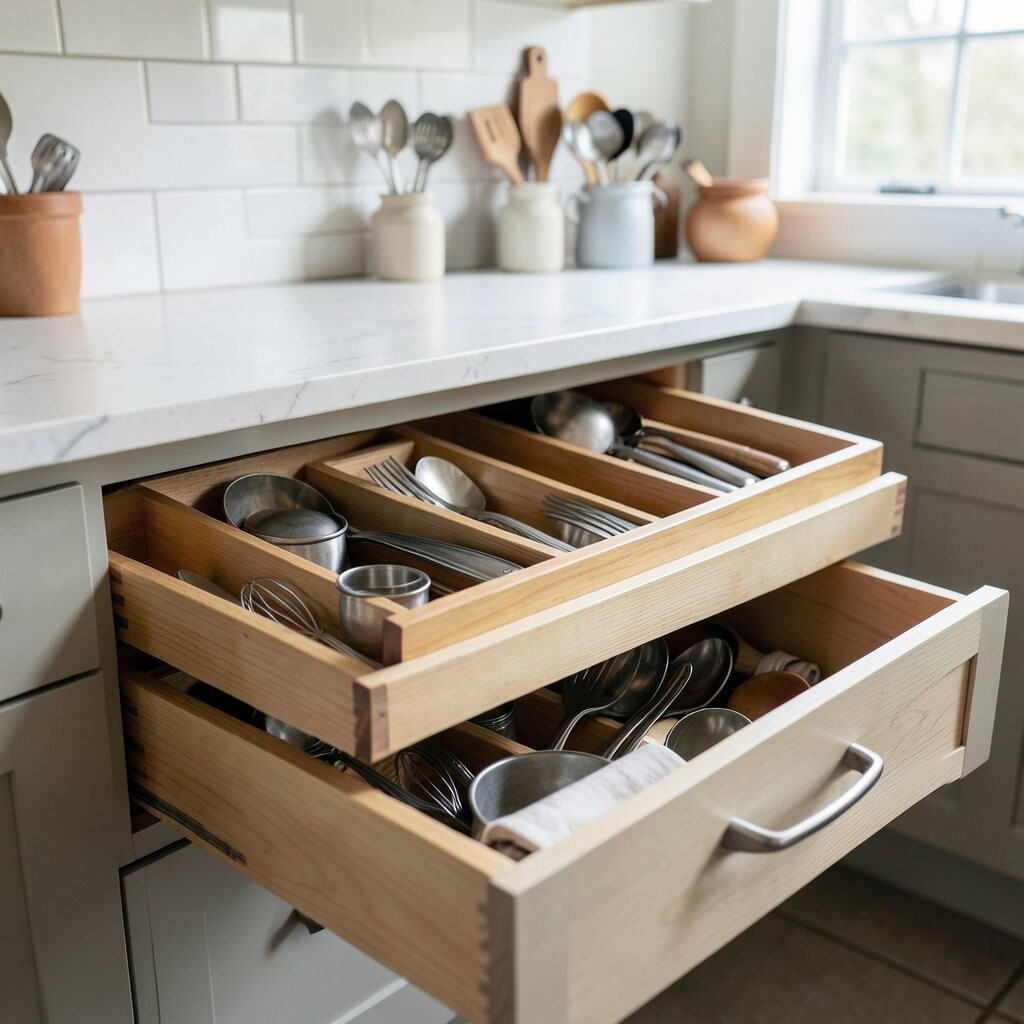
Drawer inserts shaped like small steps create a skyline look for utensils. The tiers keep items visible and reduce rummaging during rush hour.
Use modular organizers, then stack shallow compartments from front to back based on how often you grab each tool. For uniqueness, decorate the divider sides with subtle skyline decals or a gradient paint finish. If you’re cost-conscious, repurpose old drawer organizers and cover them with heat-resistant contact paper.
To personalize, write “grab first” labels on the top tier for daily essentials like bench scrapers, peelers, and offset spatulas. Many kitchens now use clear lids for hygiene tracking, so consider a shallow clear window compartment for frequently sanitized items. Keep utensils nested by size so blades and edges don’t tangle.
6. Repurposed Ceramic Jars as Flavor Tool Stations
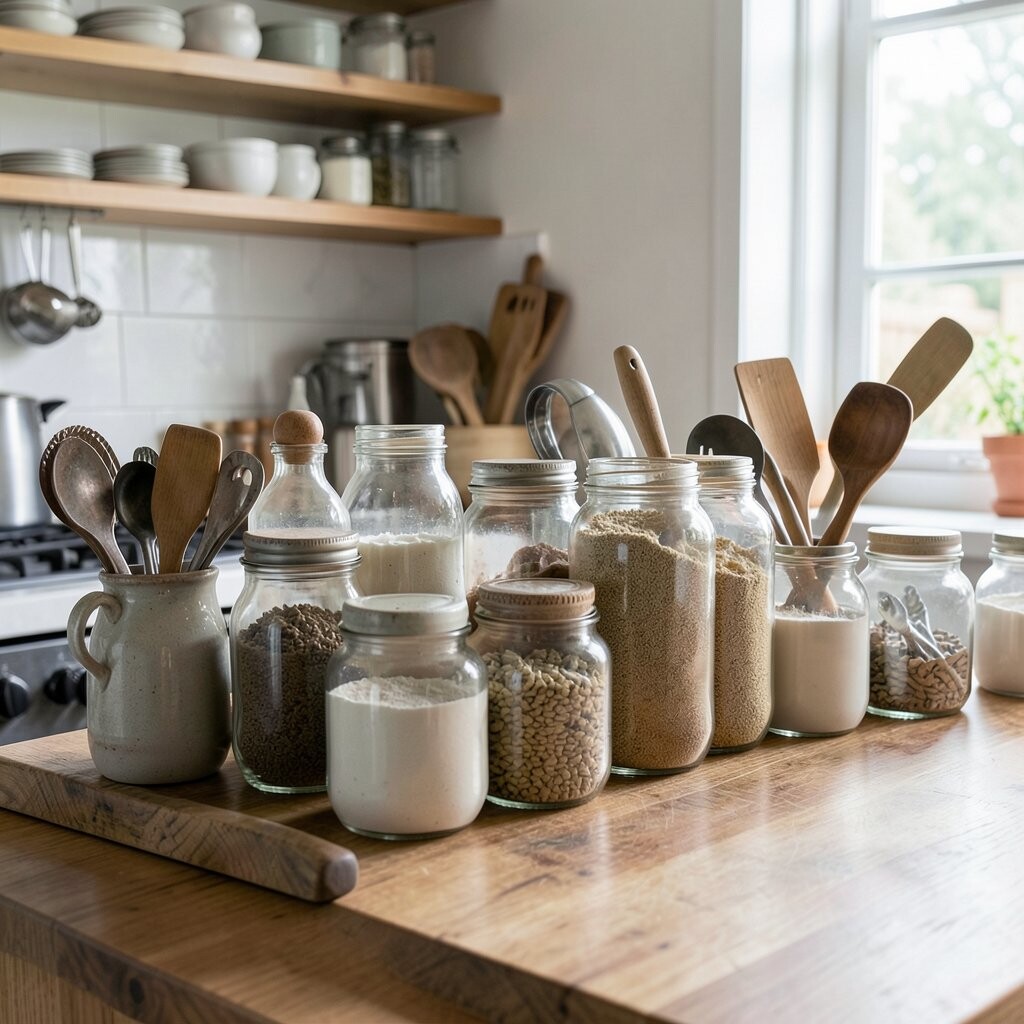
Vintage ceramic jars can hold small tools like measuring spoons, funnels, and micro spatulas. They look charming while keeping frequently used items ready at hand.
Group jars by workflow: baking tools near the mixer, finishing tools near the plating area, and measuring tools close to prep. Use a lid rack or small cloth coaster rings to prevent jars from sticking or sliding. If you want a chef-friendly setup, choose jars with smooth inner walls so residue wipes away easily.
Make it unique by staggering sizes and using matching twine or ceramic paint dots to show each category. For cost, scan thrift stores and yard sales, then clean and sanitize thoroughly before use. A current trend is using matte ceramic finishes that resist fingerprints, which can be great during long service.
7. Pegboard With Custom “Recipe Path” Layout
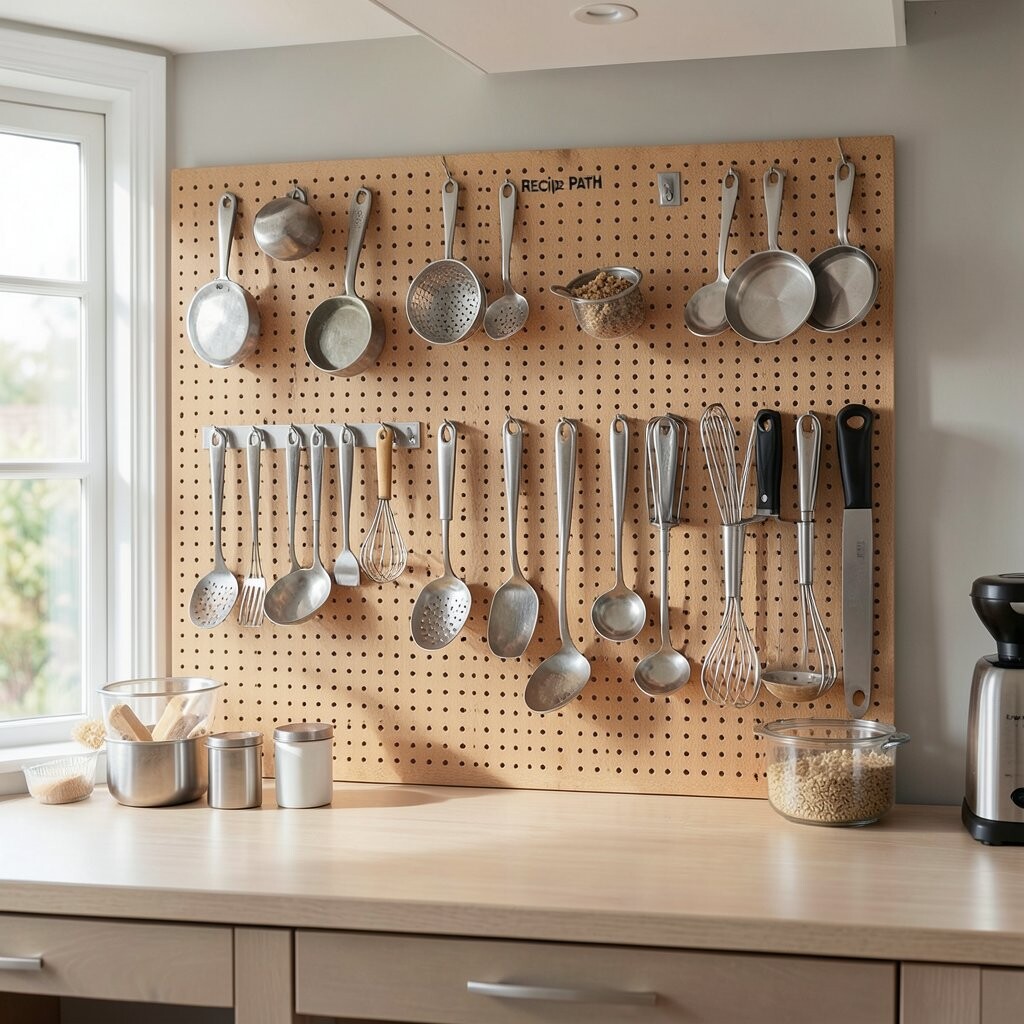
Pegboard storage is practical, and it can still feel artistic when you map tools like a recipe path. Start at the left with prep tools and move right toward plating gear.
Hang tools in the order they’re used, then keep a spare hook space where you plan to add new favorites. Use colored hooks or spray-painted pegs so staff can spot categories instantly. This also reduces clutter because everything has a defined route.
Personalize the look with small printed labels that match your menu design, like “Sauté,” “Blend,” or “Finish.” For affordability, buy pegboard sheets and reuse hooks from past organizing projects. If you want a premium feel, choose stainless hooks and a sealed pegboard surface for easy wiping.
8. Wooden Spoon Wall With Rotating Tool Swatches
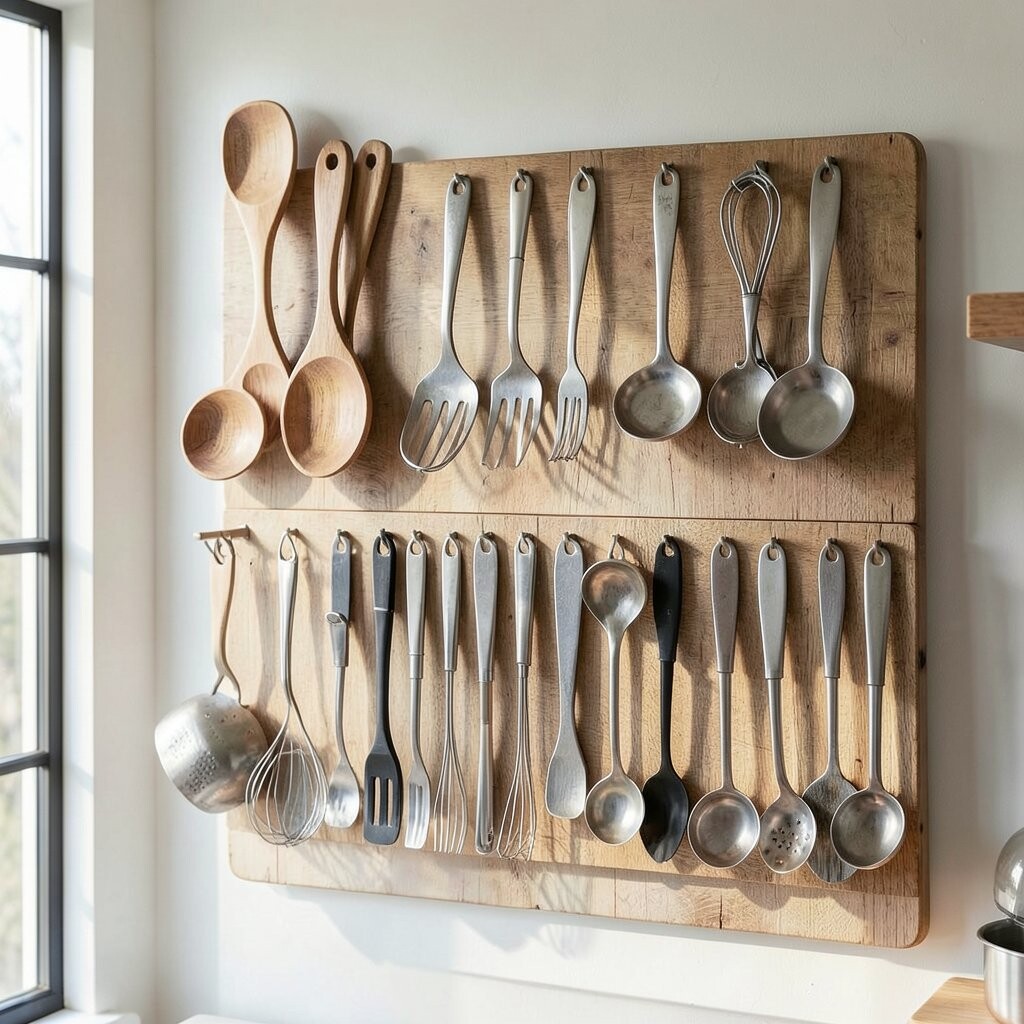
A spoon wall organizer turns a simple storage idea into a warm, chef-like display. It’s especially good for wooden spoons, ladles, and heat-safe spatulas.
Mount a row of small holders or dowels, then rotate tools based on weekly tasks. When new techniques show up, swap in the tool swatch you need and keep the wall fresh. Add a small “rotation note” card so everyone knows why certain tools changed.
What makes this unique is the “gallery” feel, which encourages care because people treat displayed tools more respectfully. For tips, place frequently used spoons at eye level and reserve higher hooks for backups. If you’re thinking about cost, use affordable dowels and paint them in a food-safe finish.
Right now, many kitchens lean into natural textures, so wood organizers look modern with both rustic and minimalist interiors. Just remember to dry wooden tools well before returning them to the wall to avoid lingering moisture.
9. Under-Shelf Lighted Tool Tray With Glass Front
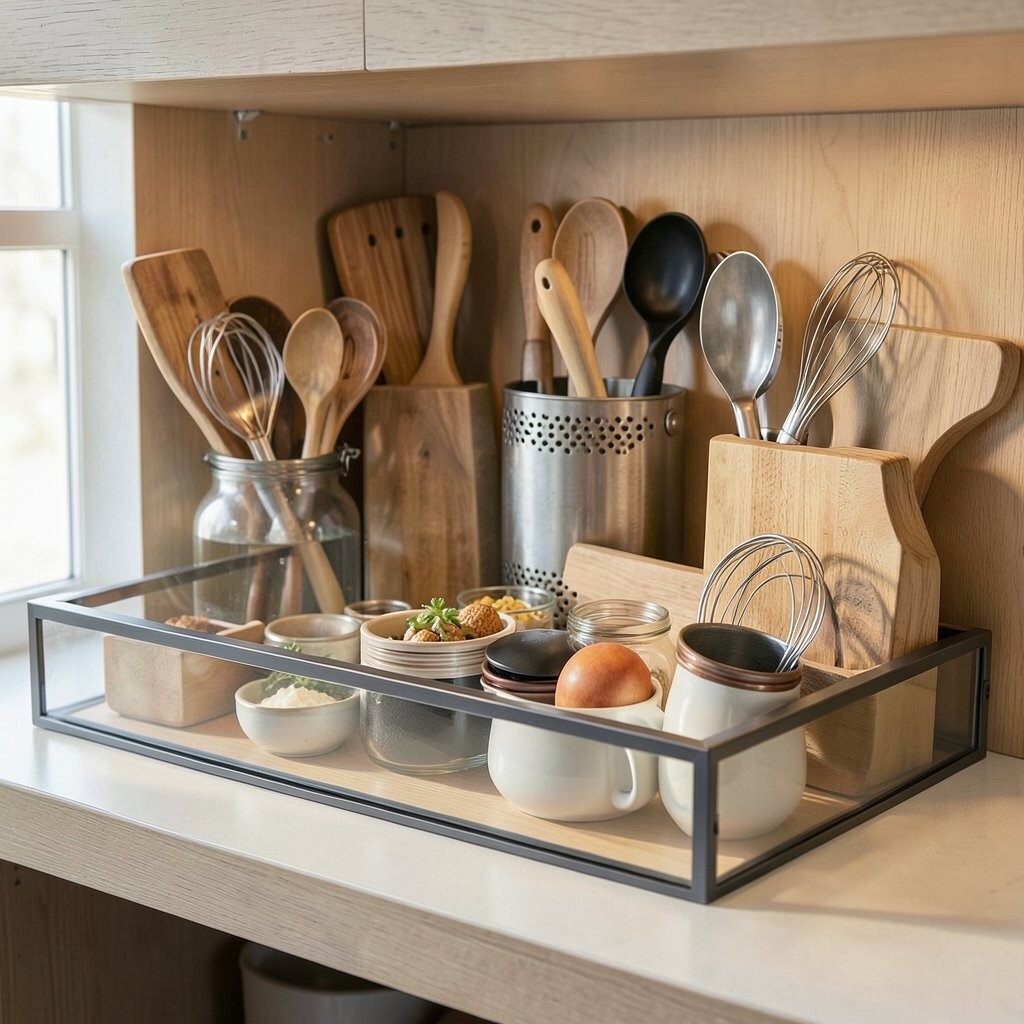
An under-shelf tray with soft lighting makes tools easy to see without opening cabinets. It’s a smart way to keep essentials ready while maintaining a tidy front.
Install a slim LED strip and place a clear-front tray beneath it, then store spatulas, whisks, and small serving utensils inside. Use dividers so pieces don’t slide, and keep a microfiber cloth nearby for quick wipe-downs. This style is unique because it feels like a workstation display rather than a storage closet.
For practicality, measure your shelf depth carefully so the tray fits without blocking airflow. Cost can vary, so consider starting with a simple tray and adding lighting later if needed. A current trend is “hidden-but-lit” organization, where tools remain visible but protected from mess.
If you run a busy station, keep only the tools you use daily in this tray and store backups higher. That keeps the system clean and reduces clutter when things get hectic.
10. Magnetic Knife-Friendly Tool Rack for Non-Knife Utensils
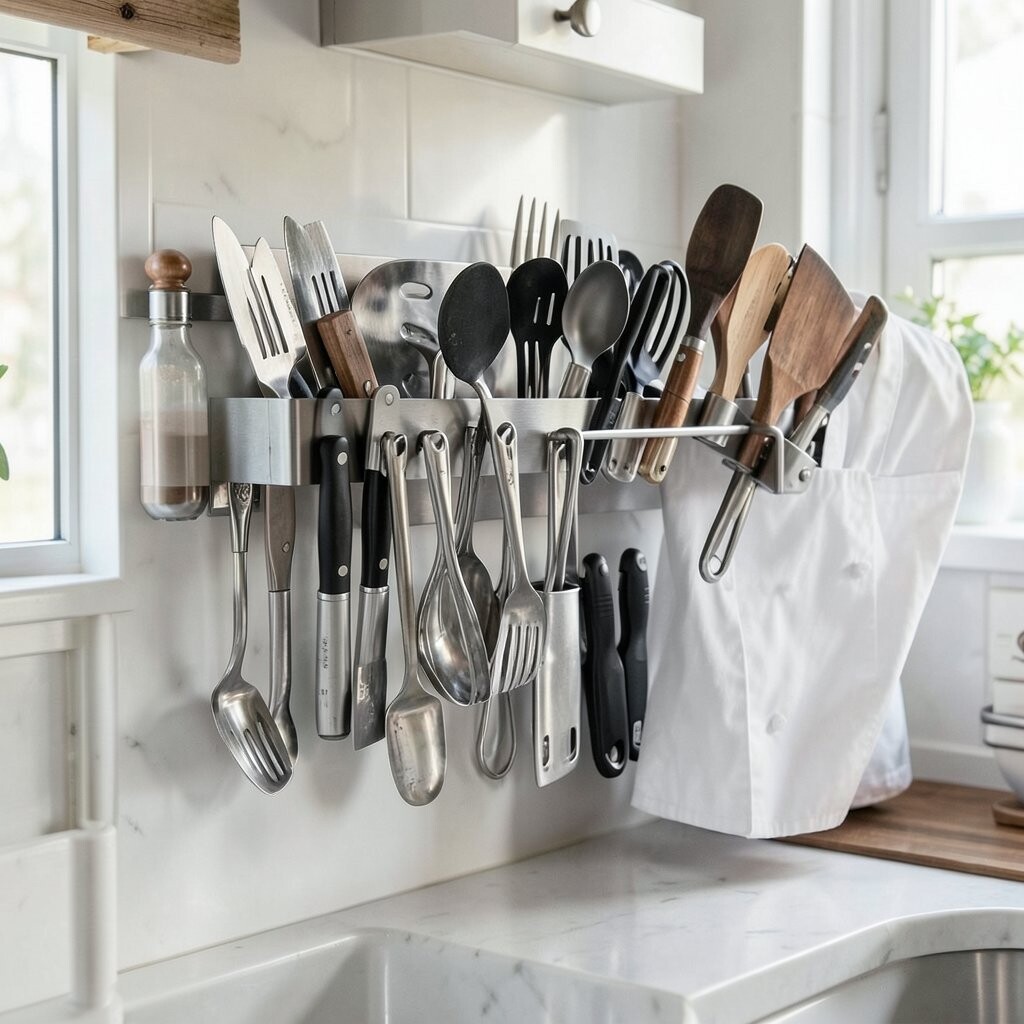
Magnetic bars aren’t just for knives; they work well for non-knife utensils too. When placed at the right height, this idea speeds up grabbing tools during plating and service.
Use a bar system designed for safe tool storage and mount it near the cutting area, then hang tongs, ladles, and metal spatulas with proper spacing. Add a small shelf for accessories like bottle openers or can graters so nothing falls between gaps. This approach is unique because it combines “grab and go” with clean lines.
To personalize, match the bar finish to your hardware, such as brushed steel or matte black. For cost, check for starter magnetic kits and expand as your tool collection grows. Many kitchens now prefer corrosion-resistant surfaces, so look for coatings that handle regular washing and wipe-downs.
11. Drawer “Ingredient Labels” for Tool Pairing
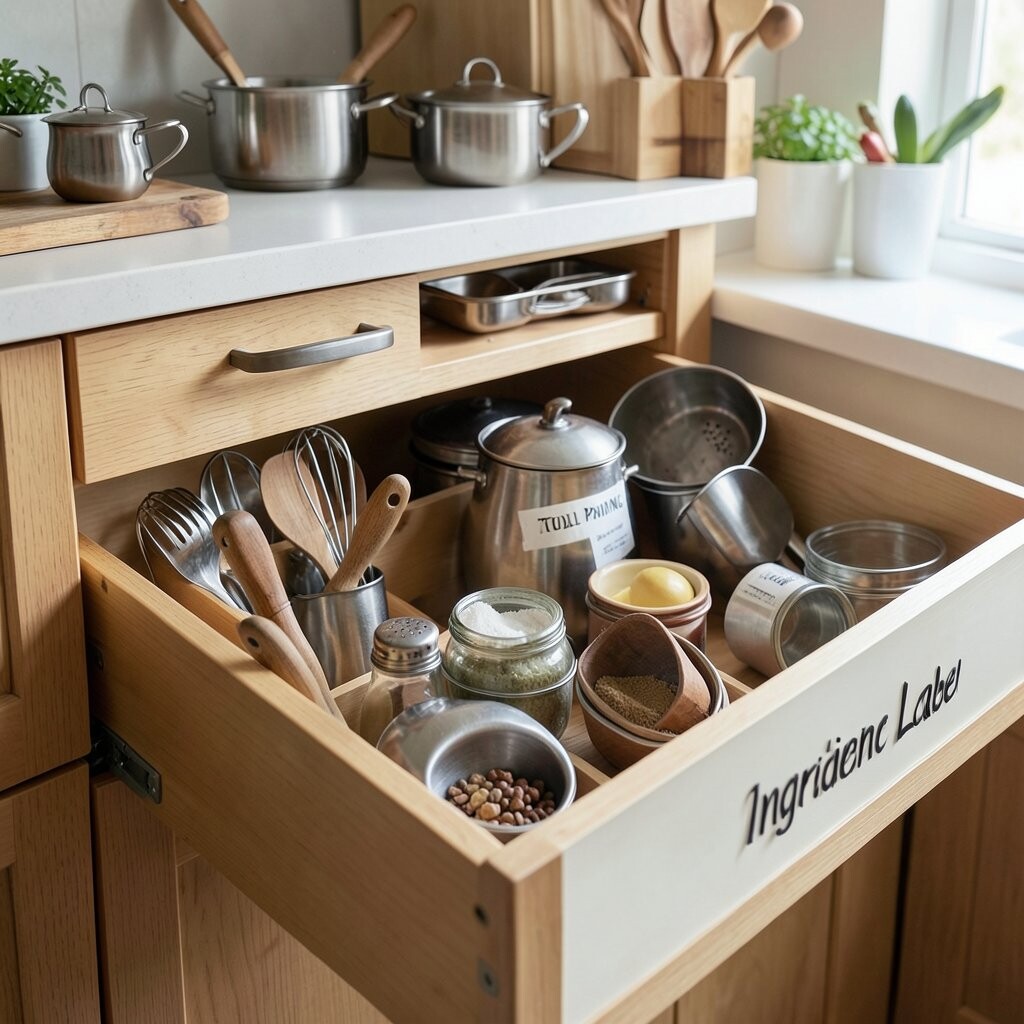
Matching utensil storage to ingredient zones makes workflow easier. When tools are paired with what they support, people waste less time searching.
Create drawer compartments labeled like ingredient stations, such as “Dairy,” “Herbs,” “Sauce,” and “Pastry.” Place utensils accordingly, like whisks in the dairy drawer and squeeze tools in the sauce drawer. For uniqueness, use simple tag holders that look like vintage apothecary labels.
Practical tip: keep a tiny marker on the inside of the drawer so you can update labels when you change menus or seasonal prep. Cost considerations are usually low because you can print labels at home and use basic dividers. If you want a trend-forward look, choose labels in warm neutral colors and use rounded corners for a modern feel.
Personalize by adding a chef’s initials or a small icon for each drawer, which helps teams remember faster. This also supports inventory checks because the label makes missing tools obvious.
12. Rotating Counter Caddy With “Daily Rotation” Slots
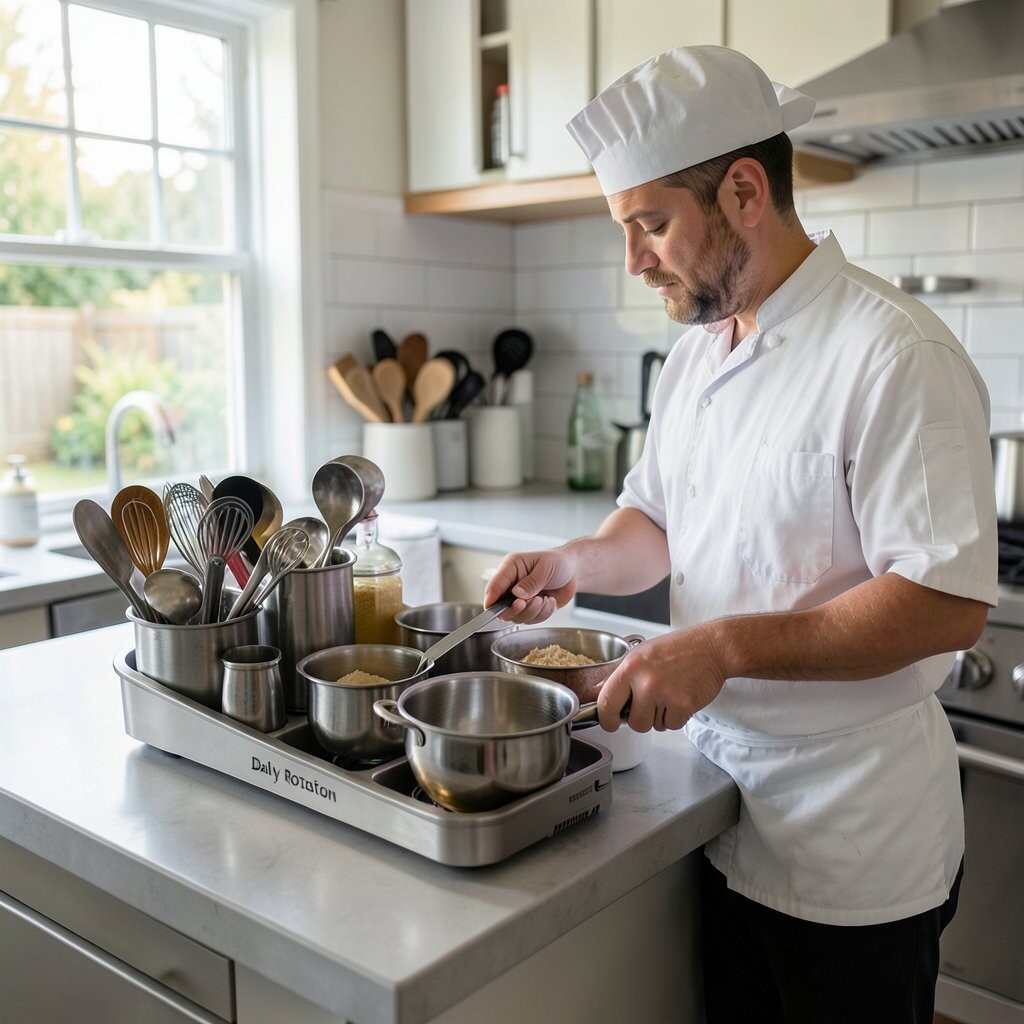
A rotating counter caddy keeps your most-used utensils within arm’s reach. Instead of digging into drawers, you spin the caddy and grab what you need.
Choose a lazy Susan style with compartments, then dedicate sections to high-frequency tools like spoons, spatulas, and measuring scoops. Keep heavier items in sturdier slots and store delicate tools on the lighter side to avoid knocks. To make it unique, decorate the base with a food-safe vinyl graphic that matches your kitchen branding.
For practical tips, clean the rotating base regularly so sauce drips do not build up under it. Cost-wise, you can start with a plastic organizer and later upgrade to stainless or wood. Current trends favor compact counter storage that looks tidy even with the lid off, so keep the caddy filled lightly rather than packed.
13. Wall-Mounted “Recipe Card” Holders for Hand Tools
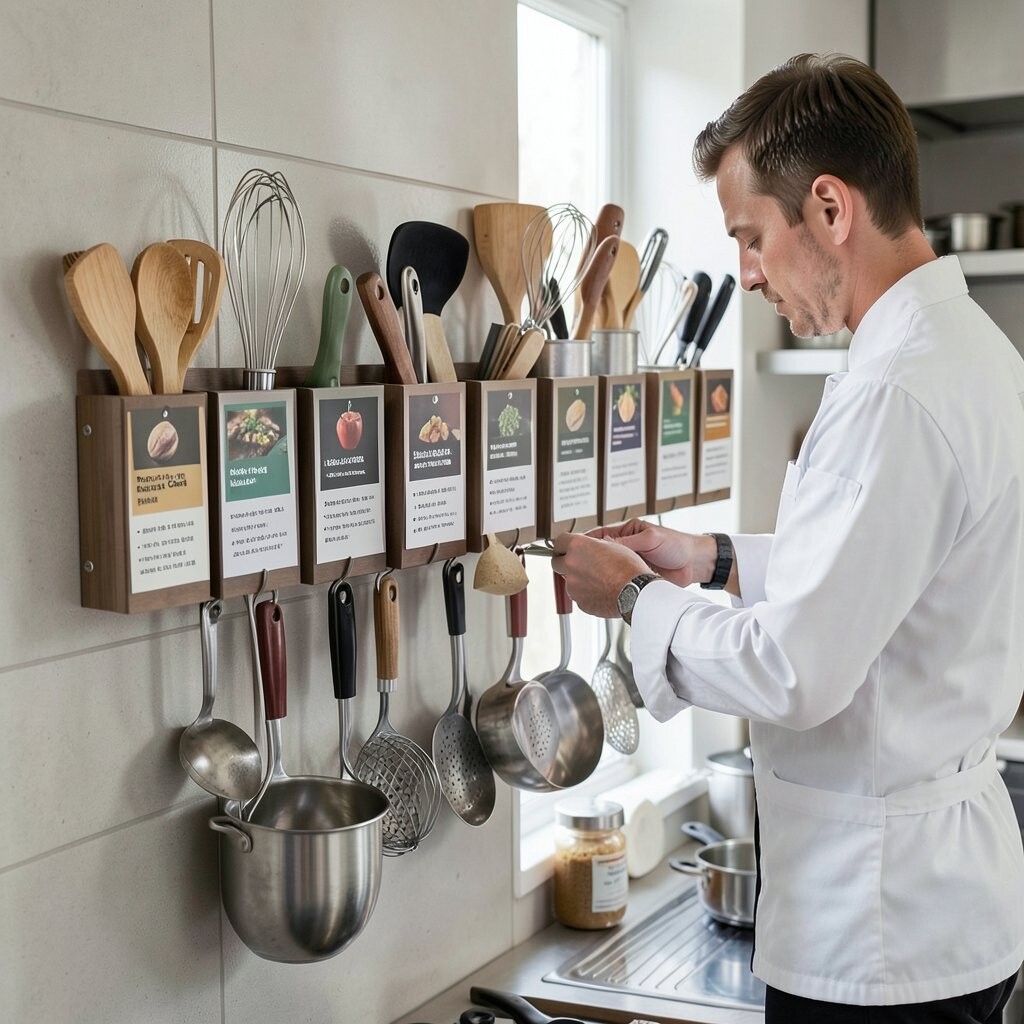
Recipe card holders can double as stylish homes for small hand utensils. When the storage includes a “what it does” note, tools feel more intuitive to use.
Mount card holders on the wall and slide in small inserts like “zest,” “mince,” or “measure,” then place matching tools in nearby brackets. This setup is unique because it blends information with organization, which is great for training and consistency. Add a small hook beneath each card holder for the corresponding tool so it stays visible.
For personalization, use your favorite typography and keep the inserts updated when you change stations. Cost considerations are usually low because card holders are inexpensive, and you can build a simple backing board at home. If you want a modern trend, choose clear acrylic holders for a sleek look that matches stainless equipment.
Practical advice: keep paper inserts sealed or laminated so splashes don’t ruin them during service. This small detail makes the system last longer and stay readable.
14. Heat-Safe Silicone Tool Rings on a Wall Rail
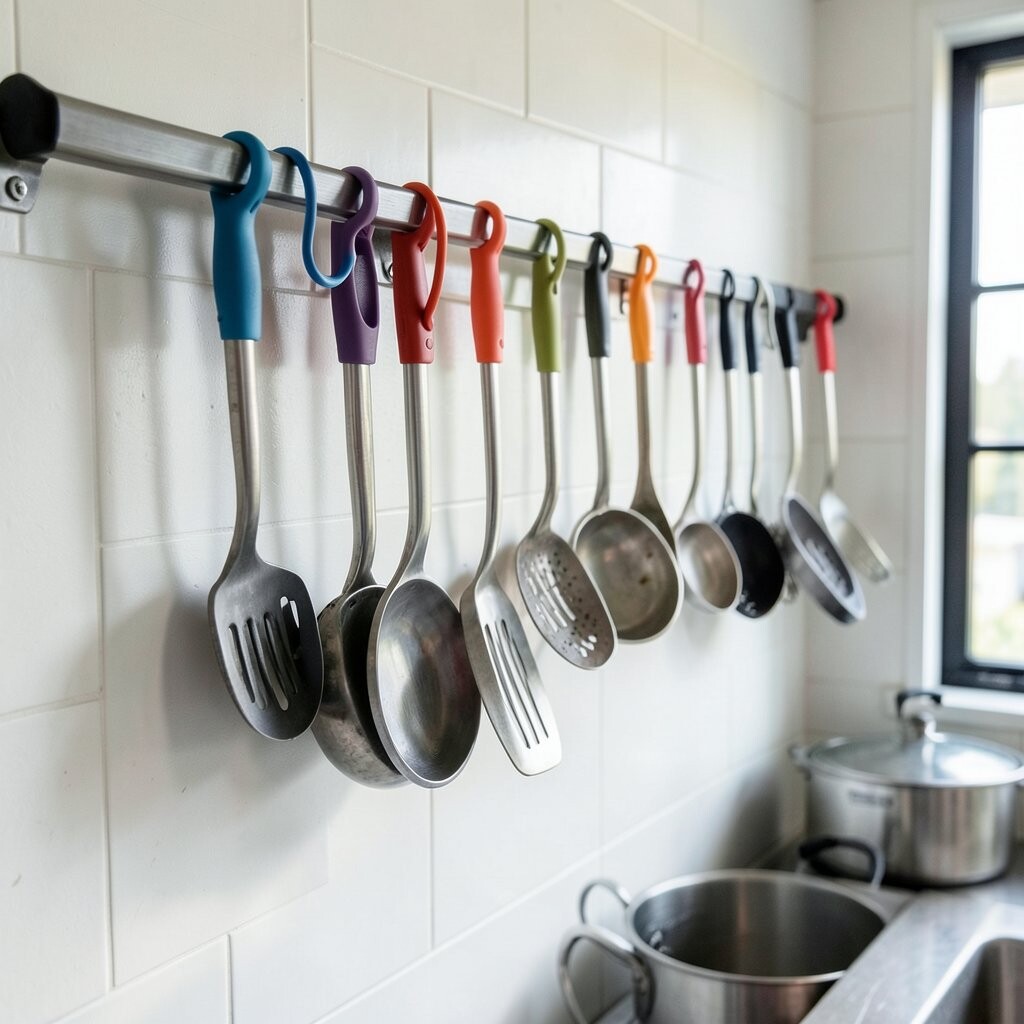
Silicone tool rings mounted on a wall rail keep utensil handles from clattering. They also protect surfaces by reducing metal-on-counter contact.
Place rings in a vertical line so tools hang neatly, then assign each ring to a tool family like pastry tools, tasting spoons, or BBQ-style spatulas. Add color-coded rings if your team works across stations, since quick recognition reduces mistakes. For cost, consider buying a basic rail and a set of rings, then expand when you add new utensils.
15. Mosaic-Tiled Utensil Stations With Colorful “Zones”
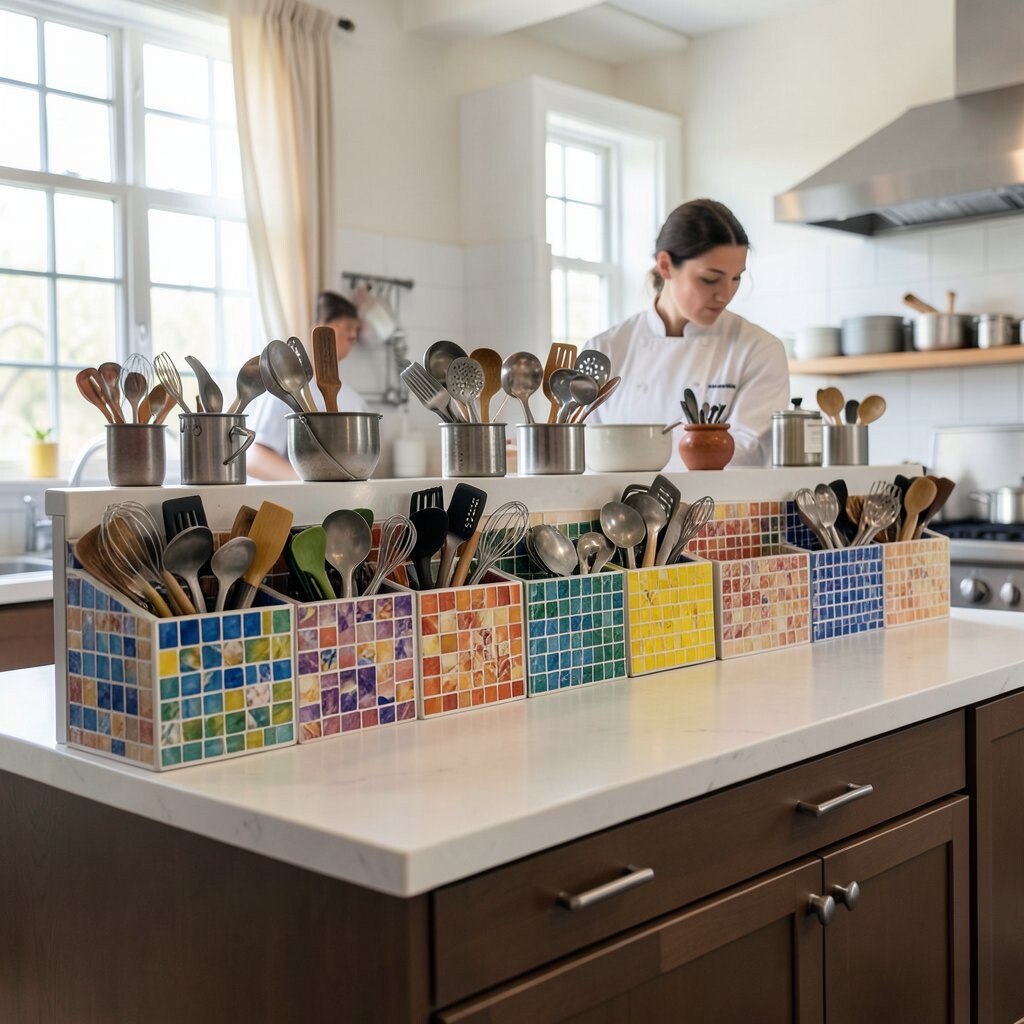
Mosaic-tiled stations look like a small art installation while offering clear storage zones. This is perfect for kitchens that want organization to feel warm, lively, and uniquely yours.
Use tiles or tile-look contact paper on a sturdy backing board, then create zones for whisking, scooping, and serving tools. Keep each zone separate with simple wooden dividers so utensils don’t mingle. To make it personal, choose tile colors that match your backsplash or your chef logo, and label zones with tiny, waterproof markers.
Cost considerations vary depending on tile choice, but peel-and-stick tile is a friendly starting point if you’re renting or want flexibility. Current trends include bold color accents and tactile surfaces, so a mosaic station often becomes a focal point in a clean, modern kitchen. Practical tip: seal the backing board edges and wipe it down after use so grime doesn’t collect in grout-like textures.