
Small mistakes in backsplash work can show up fast. A little planning now helps everything look neat, level, and built to last.
1. Skipping the Wall Prep

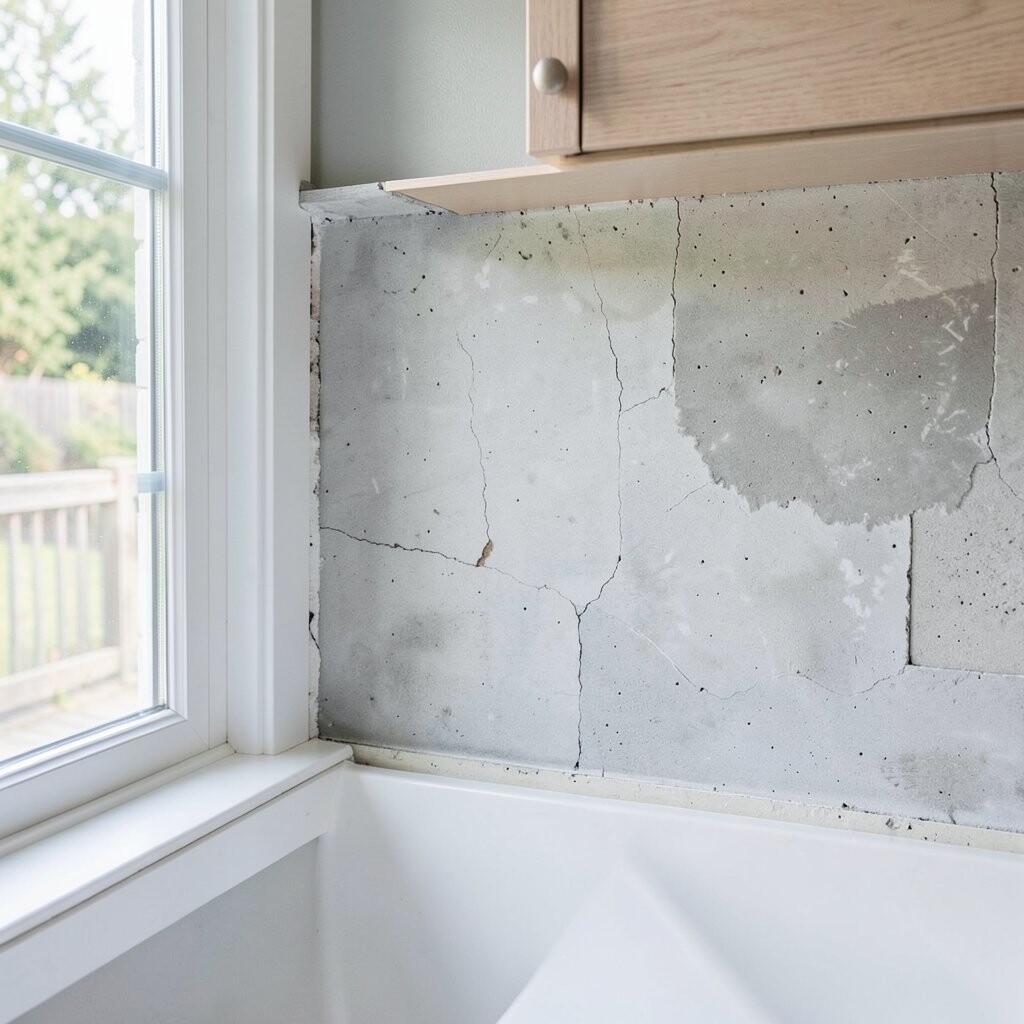
If the wall is dusty, greasy, or uneven, tile thinset won’t grip the way it should. That can lead to loose tiles, grout lines that look messy, and a backsplash that feels hollow when you press it.
Start by washing the wall with a degreaser and letting it fully dry. Scrape off bumps, sand glossy spots, and fill holes with a patching compound, then check flatness with a long straightedge. When the surface is solid and clean, you get a smoother installation and a more professional finish.
2. Measuring Once and Guessing

Backsplashes look best when every cut lines up with outlets, edges, and countertops. When you guess your measurements, the pattern can drift and the final row may look too narrow.
Measure the entire area height and width, then note any obstacles like switch plates, vent hoods, or window trim. Dry-fit a few rows with tiles to see how the layout will land, and adjust your starting point so the most visible edges end up clean. For extra accuracy, measure from fixed reference points, not from cabinets that might not be perfectly level.
Also count spacer size and grout thickness as part of your plan, especially for larger format tiles. Taking a little time here helps you avoid redoing work and wasting materials. It’s one of the simplest ways to control the final look.
3. Not Planning the Focal Layout
A backsplash is like a framed picture for your kitchen, so the center and edges matter. If your layout starts in the wrong place, the design can look off even when the tiles are installed correctly.
Choose where the “hero” area will be, such as aligning a decorative accent row with the cooktop center. With subway tile, decide if you want symmetrical cuts at both ends, or if you prefer a slightly offset rhythm for a more modern feel. For mosaic sheets, plan how the mesh pattern lines up so it doesn’t create odd shapes near corners.
Consider how light falls in the room too, because glossy finishes and stone will reflect differently. A centered layout can make the space feel calm, while an intentional asymmetry can feel more stylish and relaxed.
To make personalization easier, do a quick mock layout on the floor or with painter’s tape on the wall. When you see it first, you avoid the “why does it look strange?” feeling later.
4. Forgetting to Account for Grout Lines and Spacers
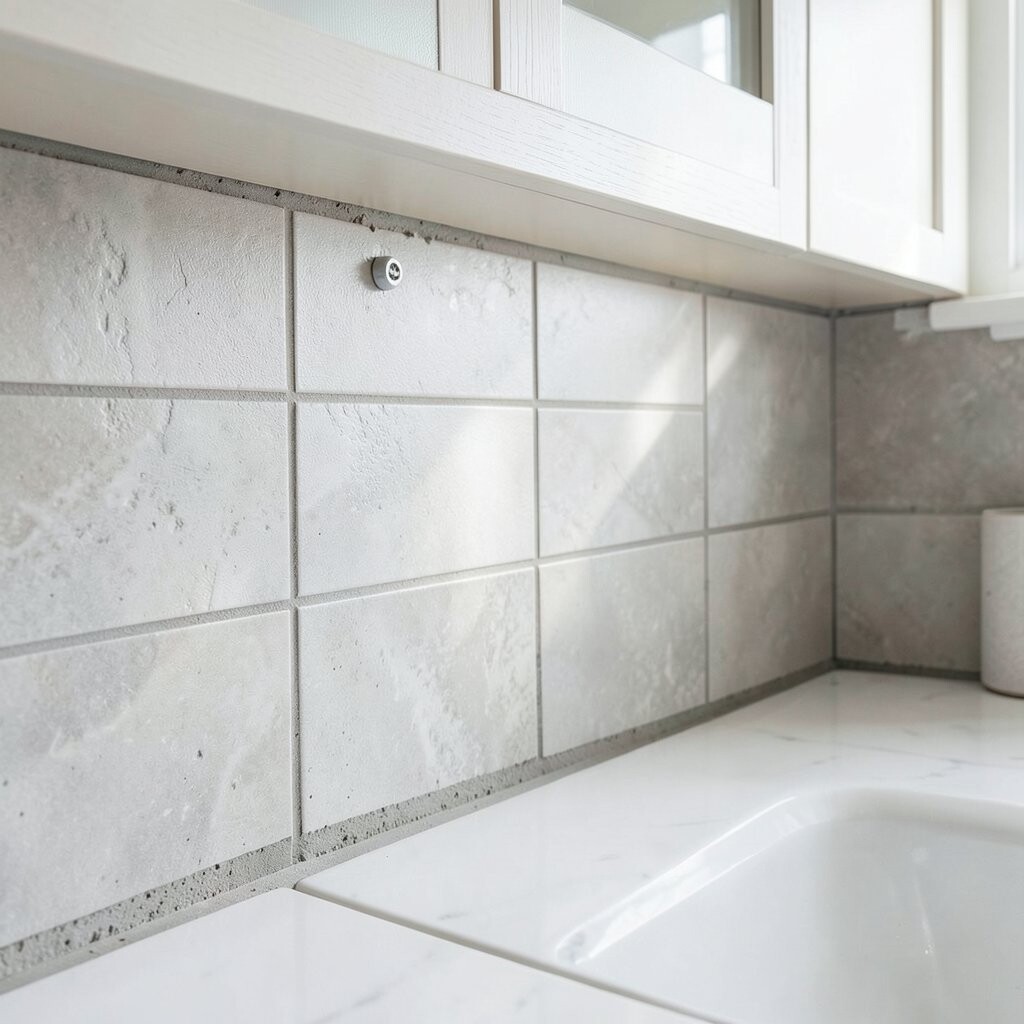
Grout lines are not just filler; they shape the entire grid and affect how clean the backsplash looks. If you use inconsistent spacers or the wrong grout width, tiles can end up slightly uneven to the eye.
Use the spacer size recommended for your tile type and follow the manufacturer’s guidance for grout width. Check the thickness of your thinset layer as well, because too much mortar can shift edges. Consistency makes the finished surface look crisp and intentional.
5. Rushing Thinset Mixing and Spreading

Thinset that’s too thick, too thin, or mixed incorrectly can cause weak bonds and uneven surfaces. When the spread is inconsistent, tiles may float, leaving dips or bumps that show under lighting.
Mix only what you can use within the working time, and stir thoroughly to remove lumps. Use the right notched trowel size for your tile, then spread with steady pressure so ridges form evenly. After setting tiles, press them into the mortar and gently wiggle to ensure full coverage.
Don’t keep adding water to “fix” the mix, because that can weaken the bond. If a small patch dries out too far, scrape it off and start fresh for a better long-term result.
6. Cutting Too Late and Too Roughly

When you wait until the last minute to cut tiles, you’re more likely to rush and make mistakes. Uneven cuts near outlets or corners can look jagged and can create gaps that are hard to hide.
Plan all special cuts early, including edges next to cabinets, corners, and around switch plates. Use a tile cutter for straight cuts and a wet saw for cleaner results on porcelain or stone. For outlets, dry-fit and mark carefully, then account for the cover plate thickness so openings look neat.
If a cut is slightly off, you can often adjust with careful placement, but don’t force it. For best results, test-fit each piece before setting it into thinset.
Sharp, precise cuts also make grout lines more uniform, which gives a polished look.
7. Ignoring Leveling Tools and Reference Lines

A backsplash that slowly slopes down the wall will be noticeable, especially with straight grout lines. Even a small drift can compound as you build higher rows.
Use a level and establish a reference line so your first row stays straight. A ledger board can help if you’re working above a countertop with no perfectly flat edge. Check frequently as you install, not just at the start, because tiles can shift slightly while thinset cures.
For a clean result around corners, use straightedges to confirm both rows and edges line up. The extra checks feel tedious, but they prevent the kind of rework that costs time and money.
8. Skipping Waterproofing in the Right Spots
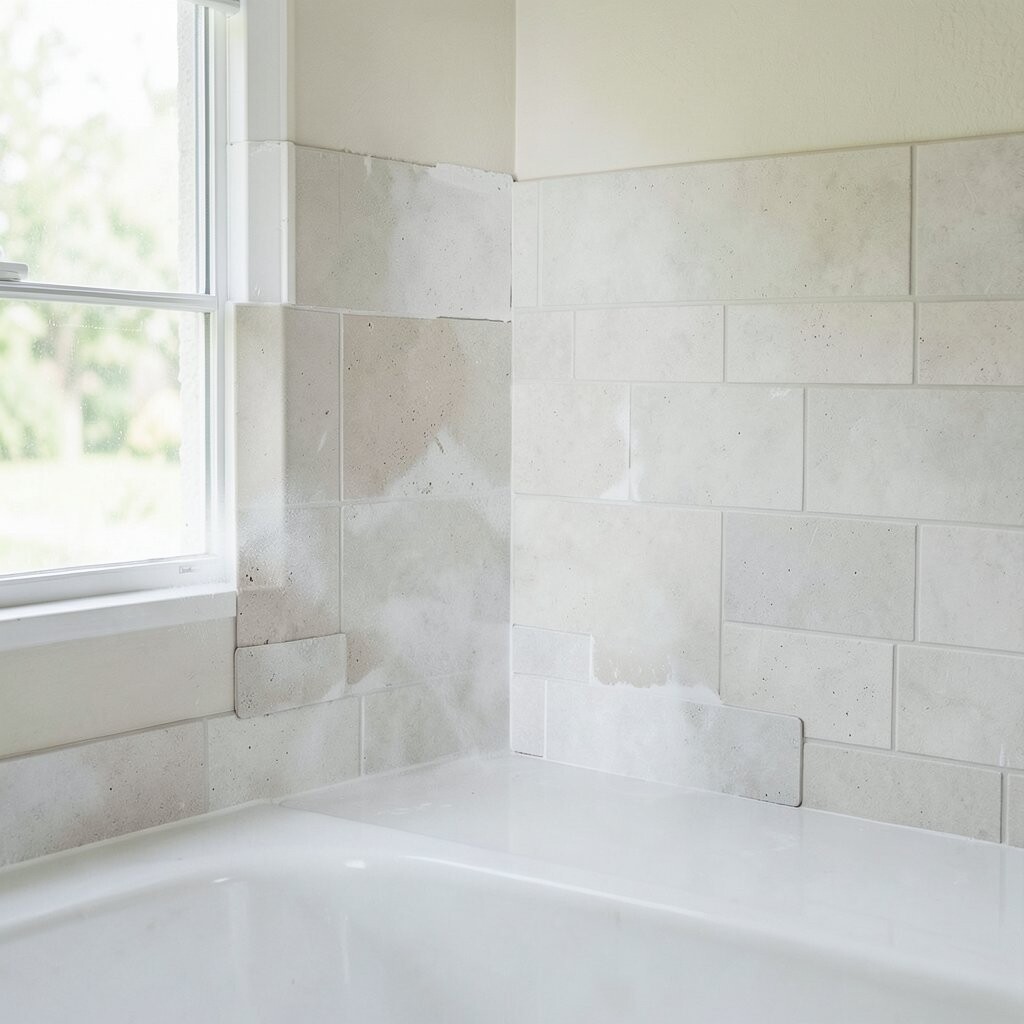
Moisture is one of the fastest ways to damage tile installations, especially near sinks and areas exposed to water. If you skip waterproofing where it’s needed, grout can degrade and tile edges can loosen over time.
In wet-prone zones, use a suitable waterproofing membrane or backer method designed for tile. Follow system instructions closely, including how to overlap seams and seal corners. If you’re tiling over drywall, choose a tile backer or waterproof board made for wet areas instead of regular drywall.
Even if the backsplash is “small,” steam from cooking and splashes from cleaning can add up. Proper waterproofing helps your backsplash stay looking fresh for years.
This is also where current products shine, like modern uncoupling membranes that help prevent cracks. Using the right material can keep your installation stable when the wall slightly moves.
9. Overlooking Expansion Gaps and Edge Details

Tile needs room for movement, and edges need the right finishing to look tidy. If you fill every gap solid with grout, it may crack as temperatures and humidity change.
Use caulk or movement joints where required, especially at transitions to cabinets, countertops, or trim. Leave small gaps at corners or where tile meets a surface that can flex, and then finish with a matching sealant. This makes the installation look intentional while reducing stress that can break grout.
10. Using the Wrong Grout for Your Tile and Lifestyle
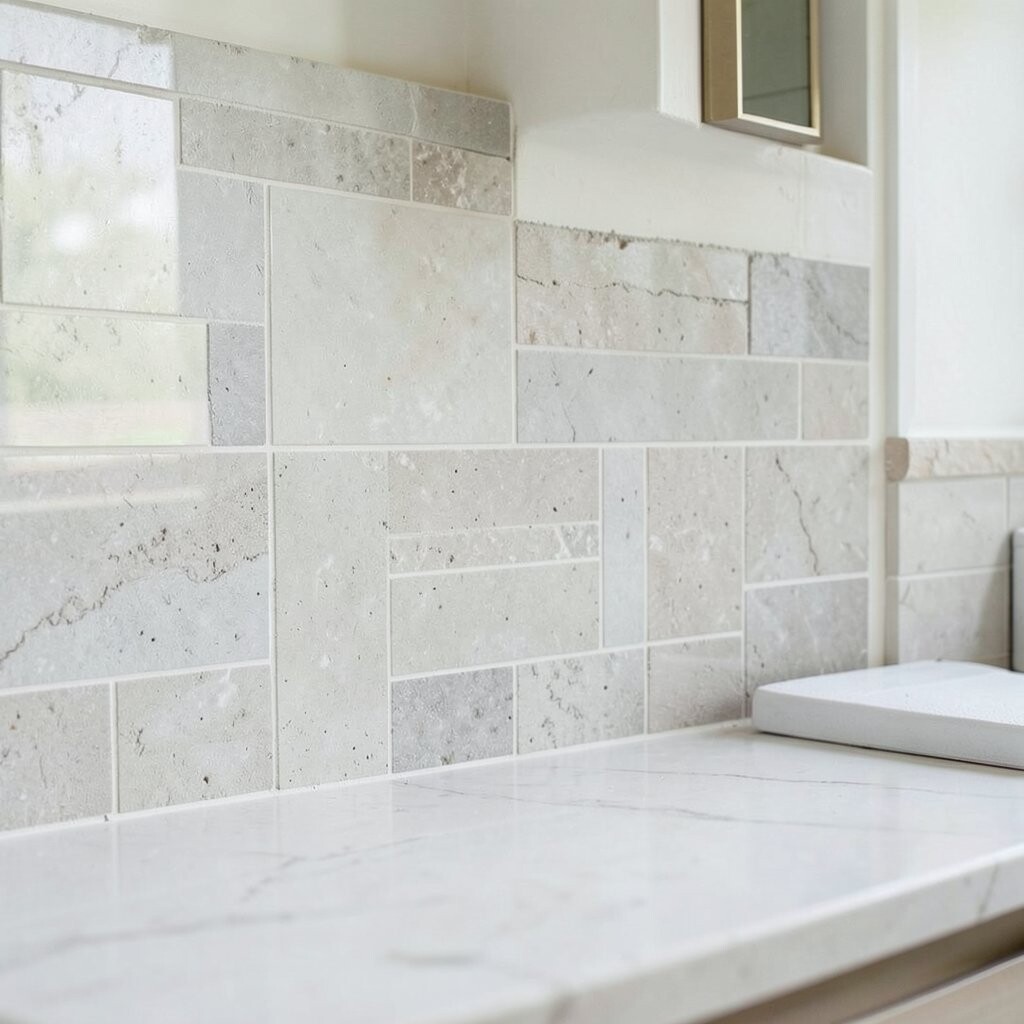
Grout isn’t one-size-fits-all, and the wrong type can stain, crack, or wear faster than you want. If you pick a grout that’s too porous for your cooking habits, your backsplash can lose its crisp look.
Choose a grout type that fits your tile size and the amount of moisture and splatter your kitchen gets. For smaller grout lines, sanded grout might be recommended, while non-sanded grout is often used for narrower spaces. If you want extra stain resistance, consider epoxy or enhanced grout designed for tougher conditions.
Also think about color, because grout can make a pattern pop or blur it together. Trendy looks often use contrasting grout, but matching grout can feel cleaner and more seamless in busy kitchens. Pick what fits your style and your cleaning routine.
11. Under-Cleaning During Grout Setup
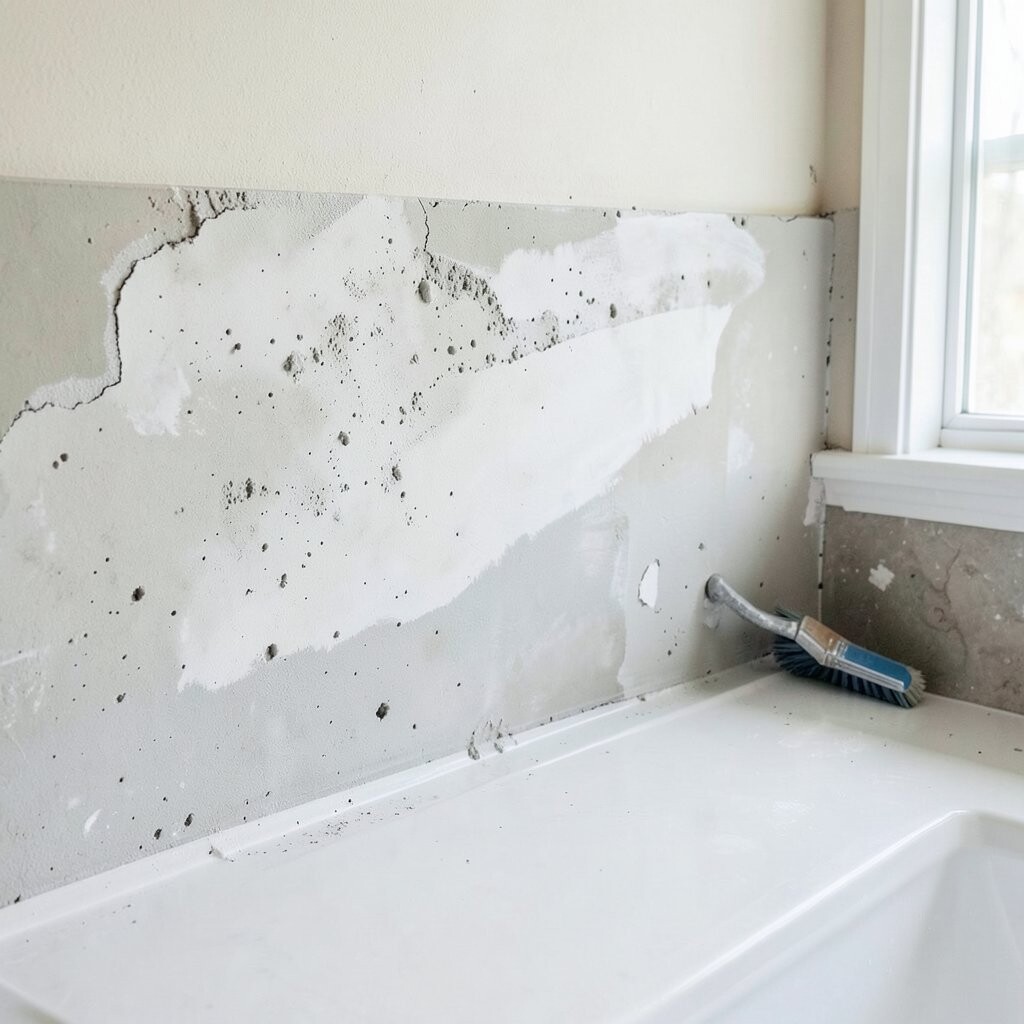
Grout haze can quietly build up and dull the tile surface, especially with glossy finishes or light colors. Scrubbing too late or using the wrong cloth can also scratch or smear grout into tile texture.
Wipe away excess grout consistently and follow the timing guidance on your grout bag. Use the right tools, like a damp sponge for initial cleaning and a soft cloth for final buffing. If you’re working with textured tiles, be extra gentle and clean more often to prevent residue from settling in.
Don’t leave grout to cure in a messy state and then expect it to come off easily. Clean as you go for a sharper, brighter finish.
12. Forgetting Caulk Where It Should Be
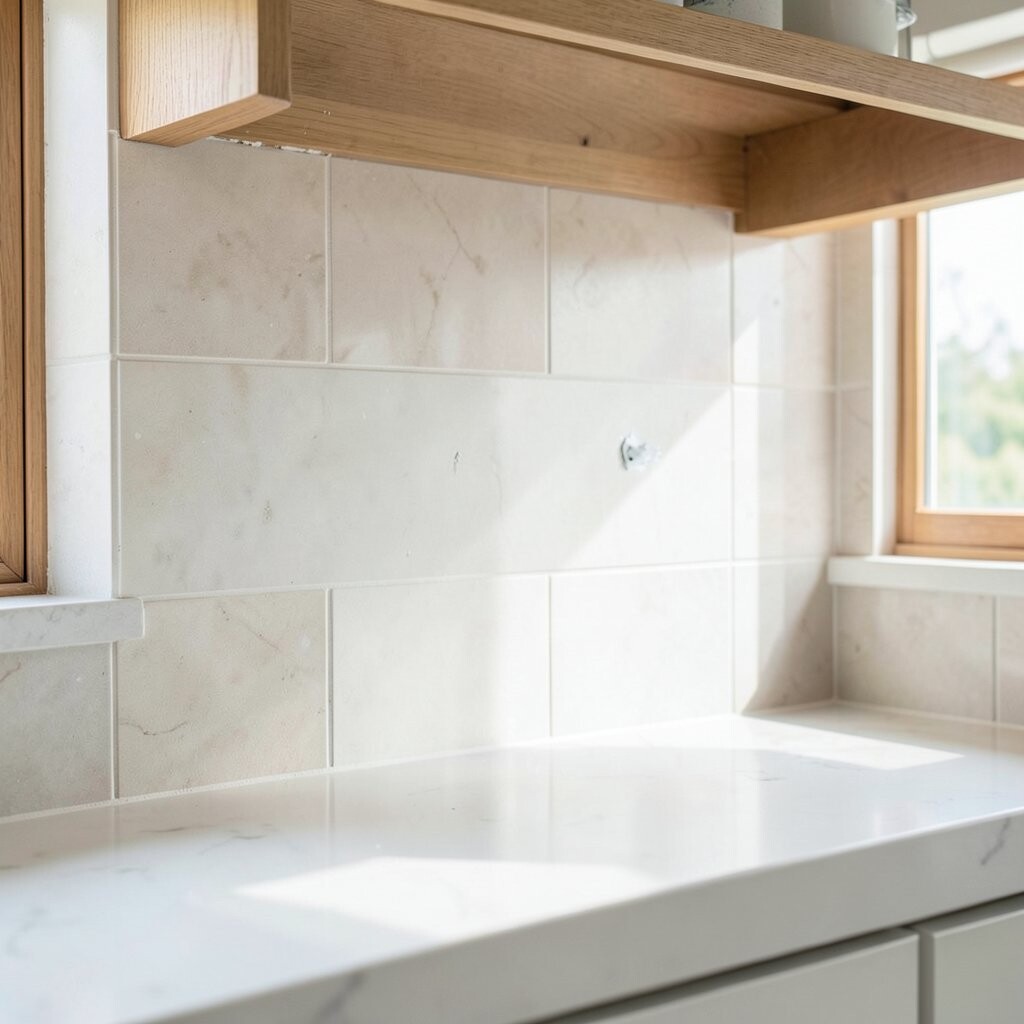
Grout is meant for tile-to-tile joints, but some seams need flexible caulk. When you skip caulk at transitions, you may see cracks or dark gaps that ruin the tidy look.
Use caulk at the countertop edge, around plumbing penetrations, and where tile meets trim or cabinets. Choose a caulk that matches your grout color and is rated for kitchens and bathrooms. Apply neatly, tool it smoothly, and remove excess right away so the line looks clean and consistent.
13. Not Matching the Finish to Your Design and Lighting
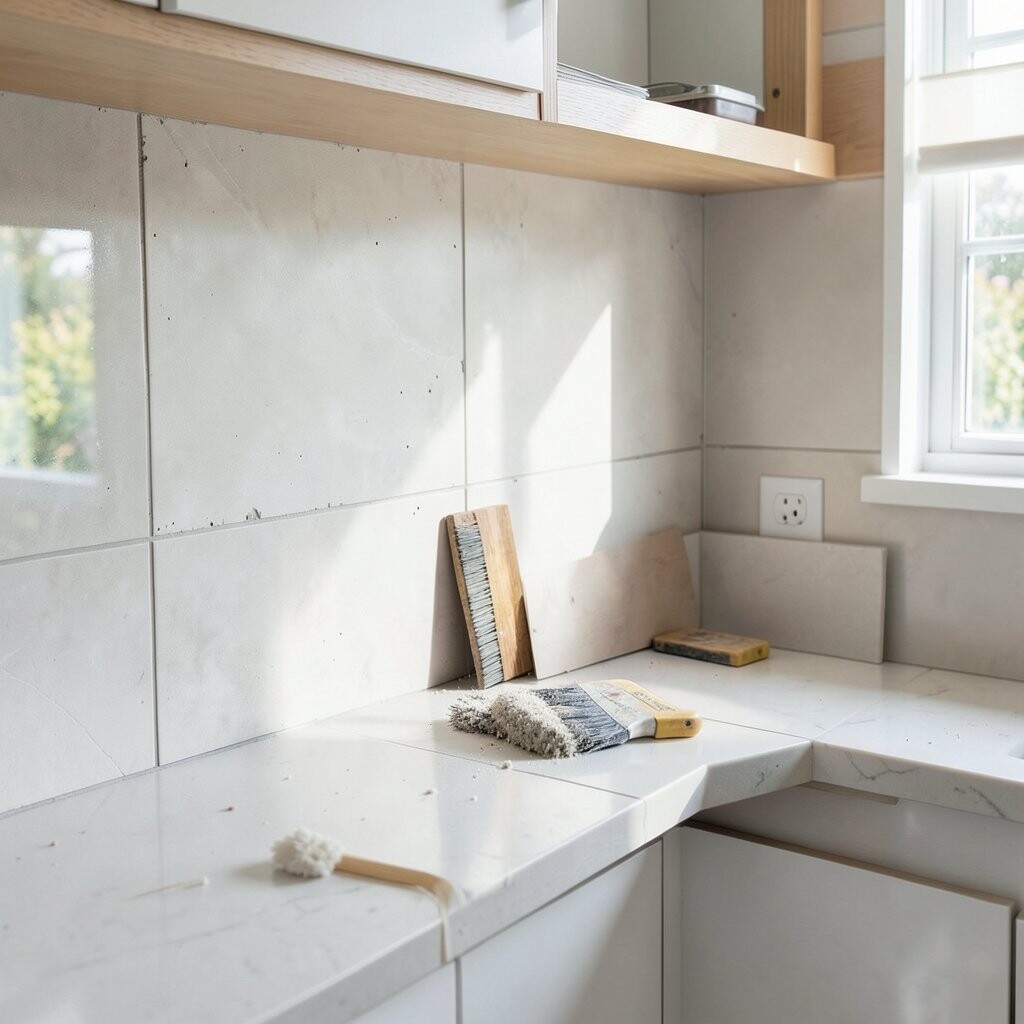
The “perfect look” depends on how the backsplash reflects light and blends with your materials. If the finish doesn’t coordinate, it can look washed out, too shiny, or oddly mismatched even with great installation.
Consider current trends like warm neutrals, matte surfaces, and subtle movement in natural stone. However, trends should serve your space, not overpower it, so match the vibe to your cabinets, hardware, and countertop. Glossy tiles can brighten a dark kitchen, while matte finishes hide smudges and fingerprints better.
Also remember scale: large tiles can make a small kitchen feel more open, while tiny mosaics can add cozy texture and detail. With pattern tiles, plan the orientation so your design stays balanced in relation to the cooktop and window.
14. Skipping the Wall Prep
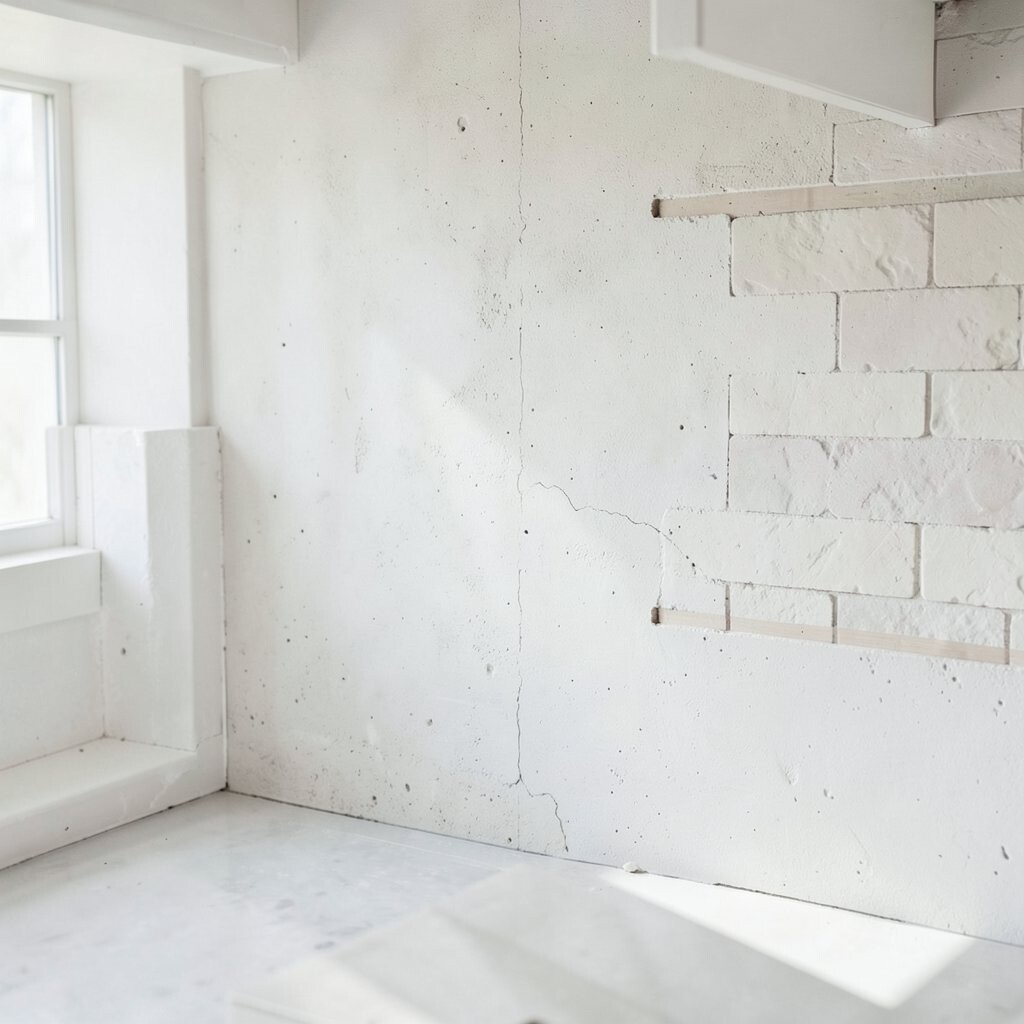
If the wall isn’t ready, the backsplash can look good at first and then fail quietly. Even slight debris or uneven patches can interfere with bonding and alignment.
Clean the surface thoroughly, then check for loose paint and repair any cracks or holes. Sand glossy areas so mortar can grip, and confirm the wall is as flat as possible. This kind of careful groundwork makes later steps easier and improves the final appearance.
15. Measuring Once and Guessing
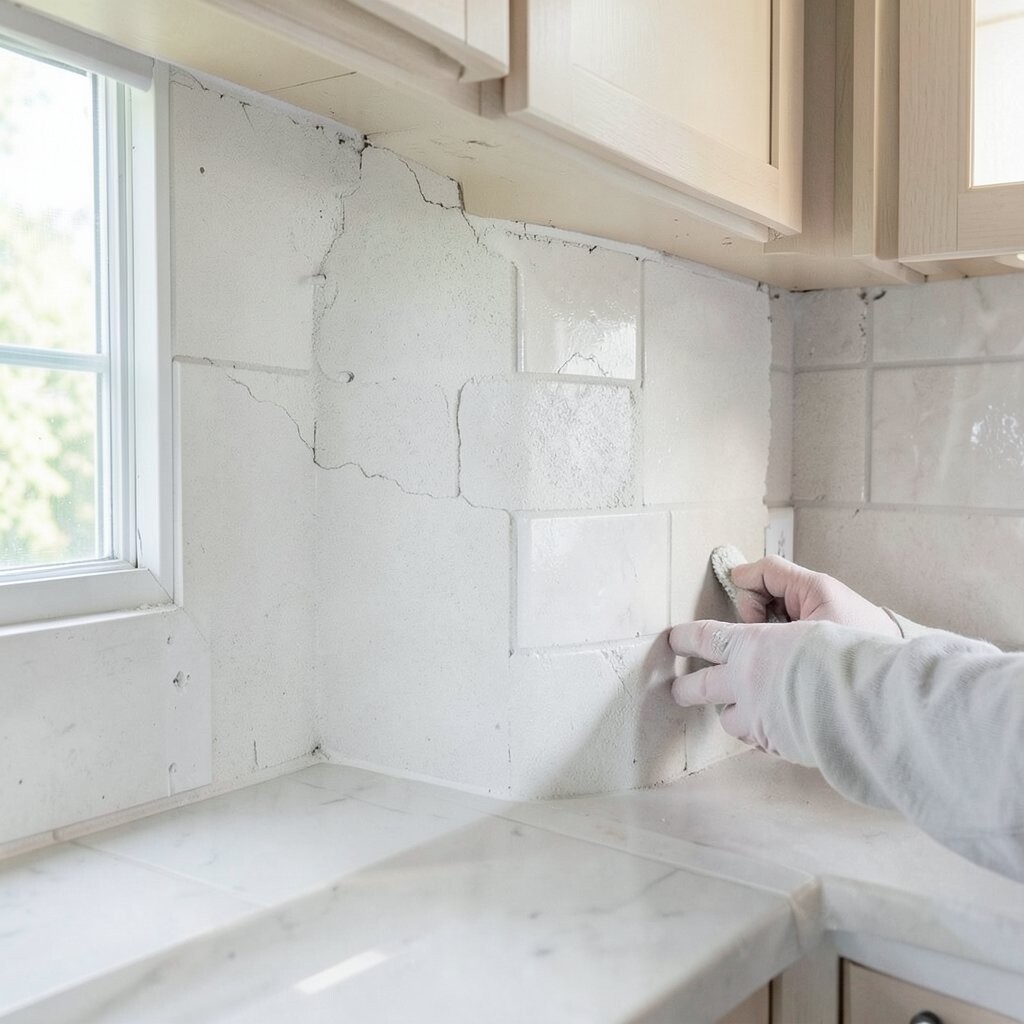
Fast estimates can turn into slow corrections once you’re committed to a layout. A few centimeters off can create awkward borders and misaligned patterns around fixtures.
Measure, calculate, and verify the layout before you mix thinset. Use the same measurement points you’ll use for your final placement, and account for tile thickness, spacers, and grout. If you’re working around outlets, plan clearance so covers sit properly without squeezing tiles.
When you plan carefully, you reduce waste too, because fewer tiles are cut incorrectly. It’s a practical win that also makes the finished result look intentional.
16. Not Planning the Focal Layout

A random layout can feel busy, even if every tile is installed correctly. Your backsplash should guide the eye, not fight for attention.
Think about where the lines start and how they relate to the room’s main features, like a stove, range hood, or sink. For decorative borders, keep them straight and centered so the look feels designed. For mixed materials, such as tile plus trim, map the transition early so it lands where it naturally belongs.
You can personalize with accent tiles, but keep the spacing consistent so the design looks clean. A small custom touch, like a narrow patterned strip, often makes the biggest difference.
If you’re unsure, create a quick paper layout or use painter’s tape to preview the arrangement. Seeing the plan on the wall helps you commit to a layout with confidence.
17. Forgetting to Account for Grout Lines and Spacers

When grout lines vary, the backsplash can look uneven even if tiles are level. Your eye notices the grid, so consistent spacing is key for a tidy finish.
Stick to one spacer type and size, and check periodically that rows are staying aligned. Confirm the grout width you plan to use matches your tile spacing so the final result looks smooth and uniform. This reduces visual noise and keeps the installation looking crisp.
18. Rushing Thinset Mixing and Spreading

Thinset problems show up as tile that looks slightly “off” or won’t hold long-term. When you rush mixing or spreading, you risk weak spots and uneven surfaces.
Measure water carefully, mix to the correct consistency, and keep a steady pace so you don’t use partially dried mortar. Spread the thinset in controlled sections and use the proper trowel so ridges are uniform. If you find mortar skin forming, remove it and reapply fresh thinset.
Full coverage is especially important for heavier tiles, like stone. Press tiles in firmly and lift-check occasionally to confirm the coverage looks right.
19. Cutting Too Late and Too Roughly
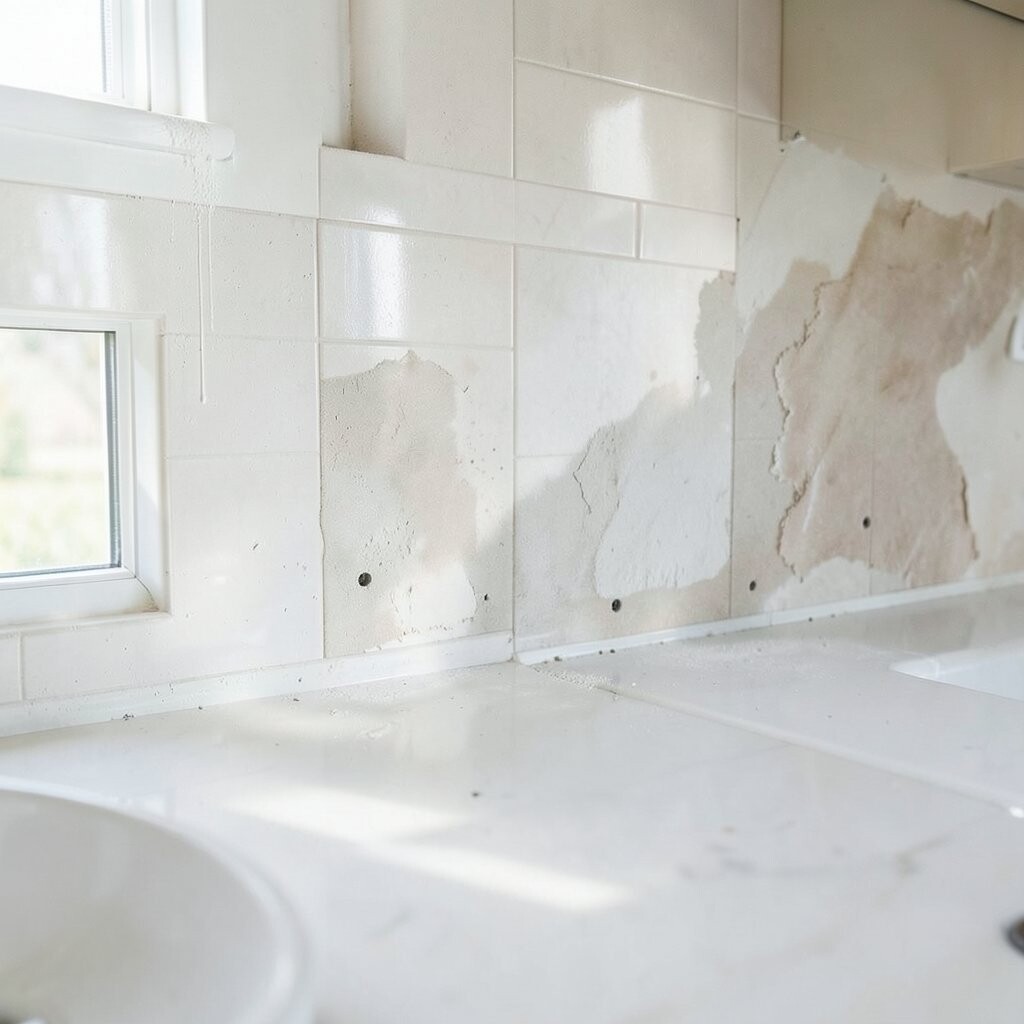
When cuts are rough or rushed, the backsplash loses that clean, finished feel. Small gaps near outlets or edges can stand out a lot once grout is in place.
Measure twice and cut once, then test-fit each piece against the wall before installing. Use suitable tools for the tile you chose, and take your time with straight and notch cuts. For edges that won’t be covered by trim, aim for the smoothest cut quality possible.
If a piece needs adjustment, handle it before thinset goes on. This keeps the work precise and reduces the chance of breaking tile during installation.
A neat cut also helps grout lines stay consistent, which makes the whole backsplash look more polished.
20. Ignoring Leveling Tools and Reference Lines
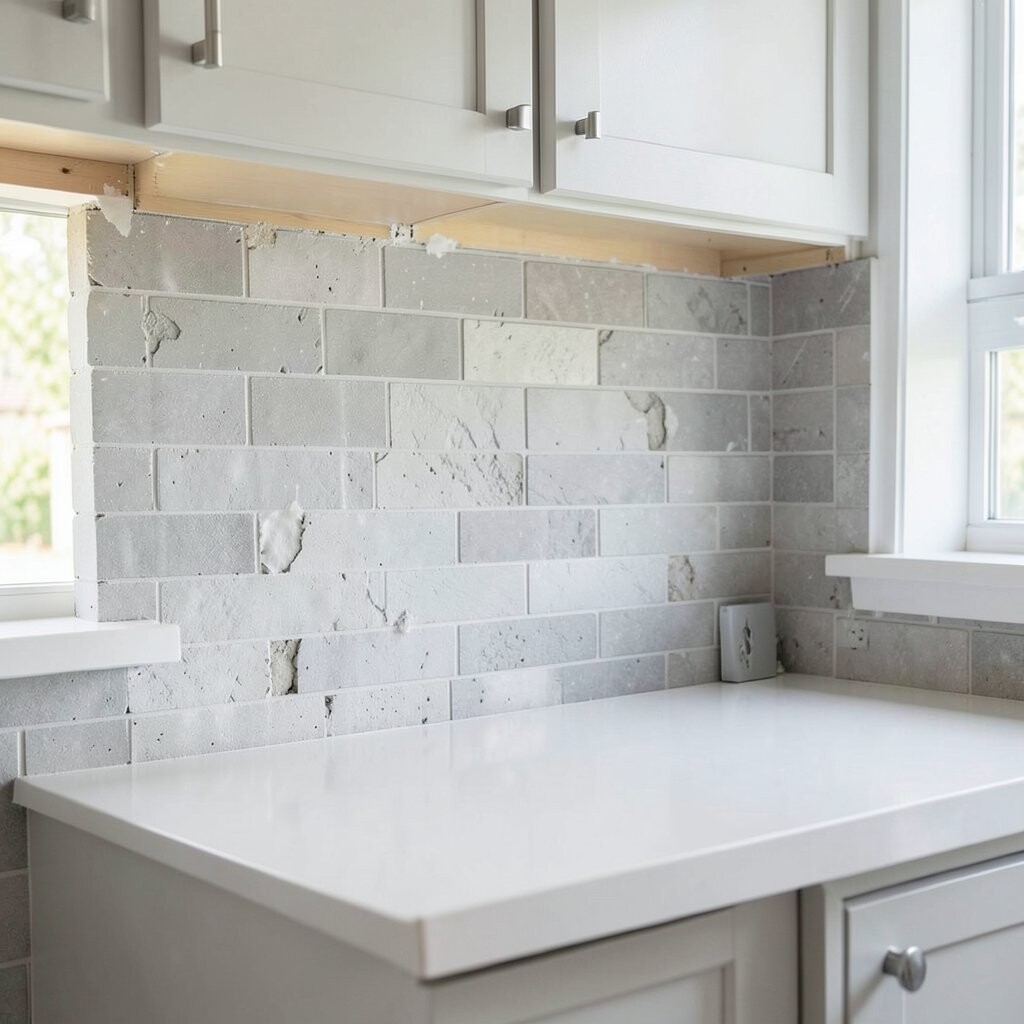
Without reference lines, the backsplash can gradually drift out of alignment. That drift becomes visible as grout lines build up and catch the eye under overhead lighting.
Use a level to mark a straight starting line and check often as you go. Maintain alignment around corners, and confirm that the top edge matches how you plan to finish it. Small corrections early prevent bigger corrections later, saving both time and materials.
When you use proper tools, the final surface looks smoother and more even. It also makes grout cleanup easier because tile edges are positioned consistently.
21. Skipping Waterproofing in the Right Spots

Moisture doesn’t always announce itself, but it can damage grout and tile edges over time. Kitchens see constant splashes, steam, and cleaning water, so protection matters.
Apply waterproofing where your backsplash is likely to get wet, especially near sinks, dishwashing zones, and around countertops. Use the correct membrane or backer system for tile and follow all installation steps. Proper sealing at corners and seams helps stop water from sneaking behind the tile.
Taking this step can also support better long-term stability if your wall has minor movement. It’s a smart way to protect the investment you’re making in your kitchen.
Modern waterproofing systems are designed to be simpler than older methods, so check current product options. Choosing the right system makes the work safer and more durable.
22. Overlooking Expansion Gaps and Edge Details

Even if tiles are installed perfectly, the wrong edge treatment can cause cracks later. Expansion and movement gaps help the system handle normal household changes.
Use caulk or movement joints at transitions like countertop edges and where tile meets trim. Leave gaps where required, and never force grout into spots that need flexibility. Clean, even sealant lines also keep the finished look sharp.
23. Using the Wrong Grout for Your Tile and Lifestyle

Grout selection affects how your backsplash ages and how easy it is to keep clean. A grout that doesn’t fit your tile and kitchen habits can look stained or worn quickly.
Pick grout based on tile size, grout width, and how much moisture and cooking splatter you deal with. If you want low-maintenance performance, consider enhanced or epoxy-based options. Choose a color that matches your design goal, whether that’s a dramatic contrast or a calm, seamless blend.
When grout matches the overall look, the backsplash feels more intentional and higher-end. You’ll also spend less time scrubbing if the grout is suited to your everyday routine.
24. Under-Cleaning During Grout Setup

If you let grout haze linger too long, the tile can lose its shine. Cleaning technique matters because some tiles show residue more easily than others.
Wipe grout while it’s still workable and rinse your sponge frequently. Use the recommended cleaning method for your tile finish so you don’t leave streaks or scratch the surface. Take your time with final buffing to bring back the tile’s natural look.
Good cleanup makes every detail look cleaner, from edges to tiny tile textures. It’s one of those steps that quietly boosts the overall quality.
25. Forgetting Caulk Where It Should Be

Caulk lines give the finishing touch at movement points where grout should not be used. When those areas are skipped, you can get cracks or gaps that collect grime.
Apply caulk at the countertop boundary, around pipes, and where tile meets cabinets or trim. Use a color that blends with your grout, and tool it smoothly for a crisp line. This helps your backsplash look neat and keeps moisture where it belongs.
26. Not Matching the Finish to Your Design and Lighting

A beautiful backsplash can still look “off” if the tile finish clashes with the room’s lighting and materials. Gloss, matte, and texture all change how colors appear.
Match tile sheen to your lifestyle and design goals, balancing brightness with practicality. In darker kitchens, lighter or slightly reflective tiles can help the space feel airy. In busy homes, matte finishes often hide fingerprints and water spots better.
For personalization, choose accents that echo cabinet hardware or countertop tones. When the finish harmonizes with everything around it, the backsplash reads as cohesive instead of random.