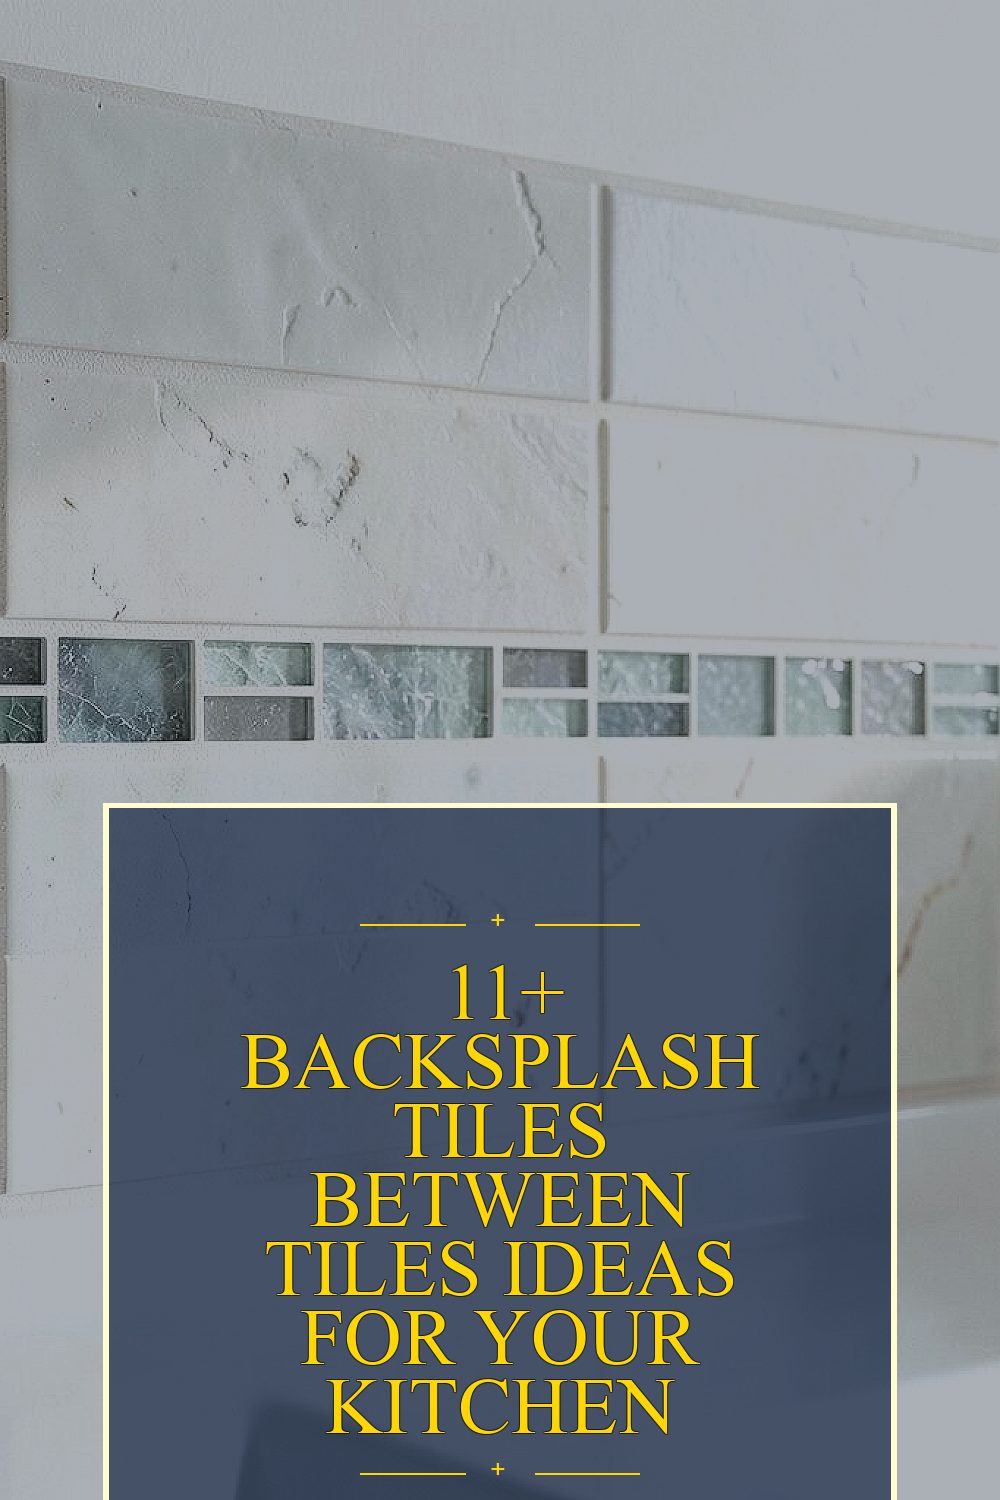
Your kitchen backsplash can look busy or calm depending on the tiny details. The tiles between tiles are where style and practicality quietly meet.
1. Glass Mosaic Inserts Between Grout Lines

Picture a soft sparkle where grout lines meet. Glass mosaic inserts catch light and make everyday meals feel a little more special.
This is a great way to add shine without covering your whole wall in bold patterns. They also help the surface feel cleaner because glass reflects light, making smudges easier to notice and wipe sooner. For installation, keep spacing consistent so the inserts sit evenly along the grout lines, and consider a clear or frosted option if you want a more relaxed look.
2. Micro-Metal Spacers in Slim Strips
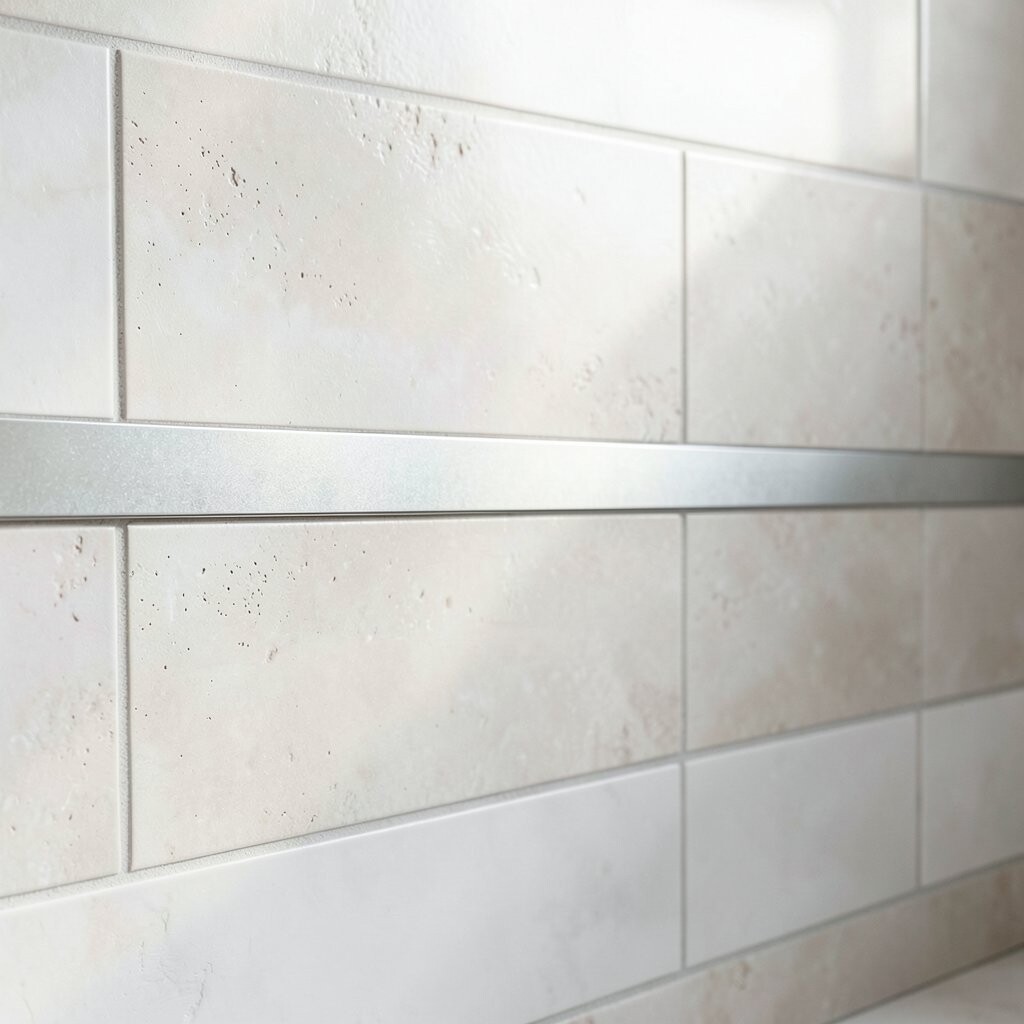
Thin metal strips placed between tile rows create a crisp, modern “framed” effect. The contrast looks sharp even in kitchens with simple cabinets.
Stainless or brass-toned spacers can add warmth or coolness depending on your hardware, so it’s easy to match. They also bring durability because metal resists moisture and holds up well near sinks and cooktops. To keep things tidy, choose a spacer width that complements your tile scale, and use a high-quality grout sealant around the edges.
If you want a more personalized feel, try mixing metals: stainless spacers with warm brass accents can look upscale and intentional. Budget-wise, metal details can cost more than plain grout enhancements, but the impact is high even with a small amount used.
3. Ceramic Bead Tiles as Tiny Filler Accents
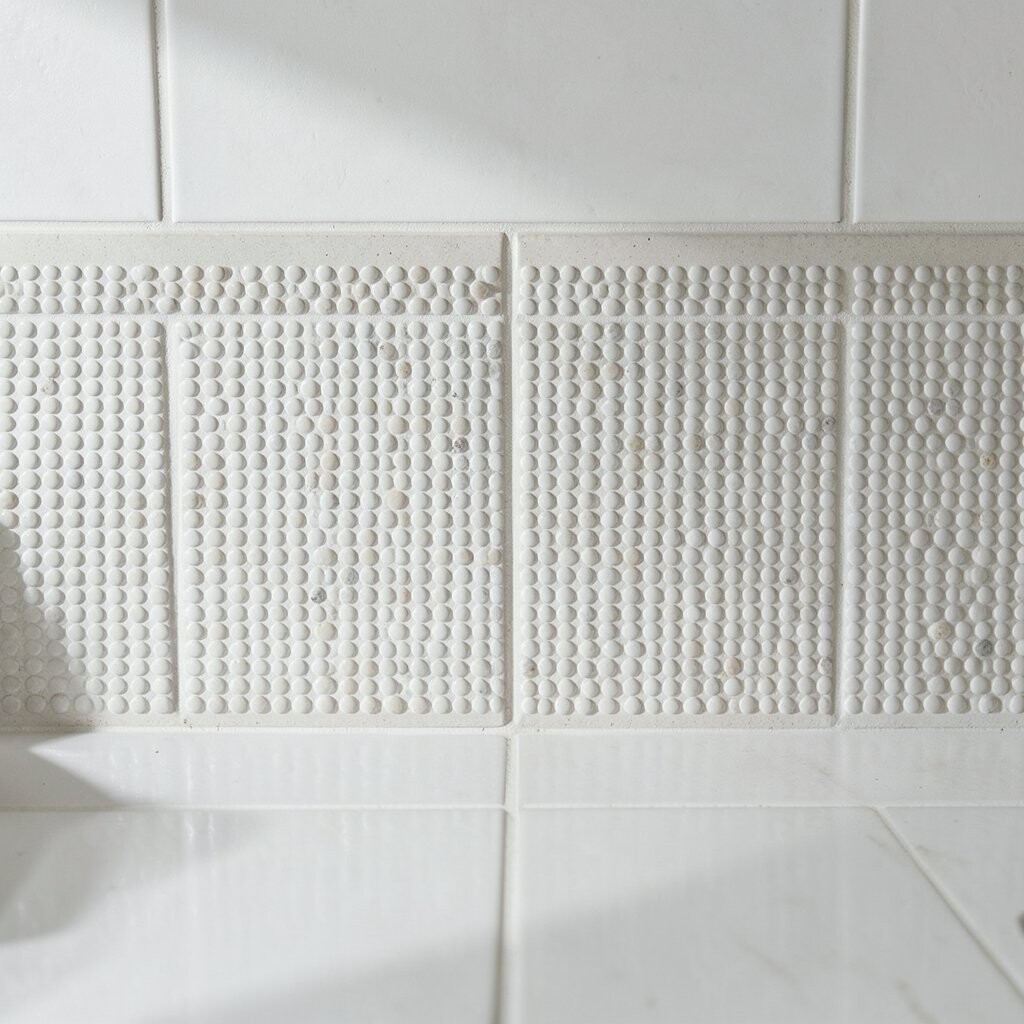
Small bead-like ceramic tiles slipped between tile edges look playful and handcrafted. They soften sharp lines and add texture without taking over the design.
This approach works especially well with subway tiles, as the beads make the wall feel richer. They’re also practical because ceramic is non-porous enough for typical kitchen backsplash use when sealed properly. When planning, measure your grout line width and pick bead sizes that fit neatly so the pattern feels balanced.
Consider a glossy glaze for a bright, easy-to-clean surface, or a matte finish for a more vintage mood. For cost, ceramic beads can be mid-range, but you’ll likely need fewer special pieces than you would with a full tile feature wall. A good trend right now is mixing matte field tiles with shiny micro accents, so this idea fits right in.
4. Color-Blocked Grout Lines with Two-Tone Contrast

Sometimes the best “between-the-tiles” style is color. A two-tone grout scheme can make the wall look custom even when you use standard tiles.
Choose one grout color for the main lines and a contrasting tint for accent stripes, depending on the layout of your backsplash. This helps hide minor wall imperfections and can visually straighten the design. For practical results, use grout that’s made for kitchens, seal it well, and test colors on a small sample area before committing.
5. Stone Inlay Scraps Turned into Narrow Striped Details

Using small pieces of natural stone between tile rows gives your backsplash a calm, earthy rhythm. Think of it like a subtle “vein” running through the wall.
Stone inlays add uniqueness because no two pieces match perfectly, so your backsplash will never look exactly like someone else’s. They also create depth, which can make even plain tiles feel elevated. When you’re planning, decide whether you want the inlay to be continuous or to appear in repeating bursts, and keep the stone thickness consistent so the tiles sit flat.
Cost depends on the stone type, but man-made stone or thin veneer strips are often more budget-friendly than full slabs. A current look is pairing light stone inlays with warm white or soft greige tiles for a bright, natural feel.
6. Porcelain Dot Inserts for a Clean, Graphic Pattern
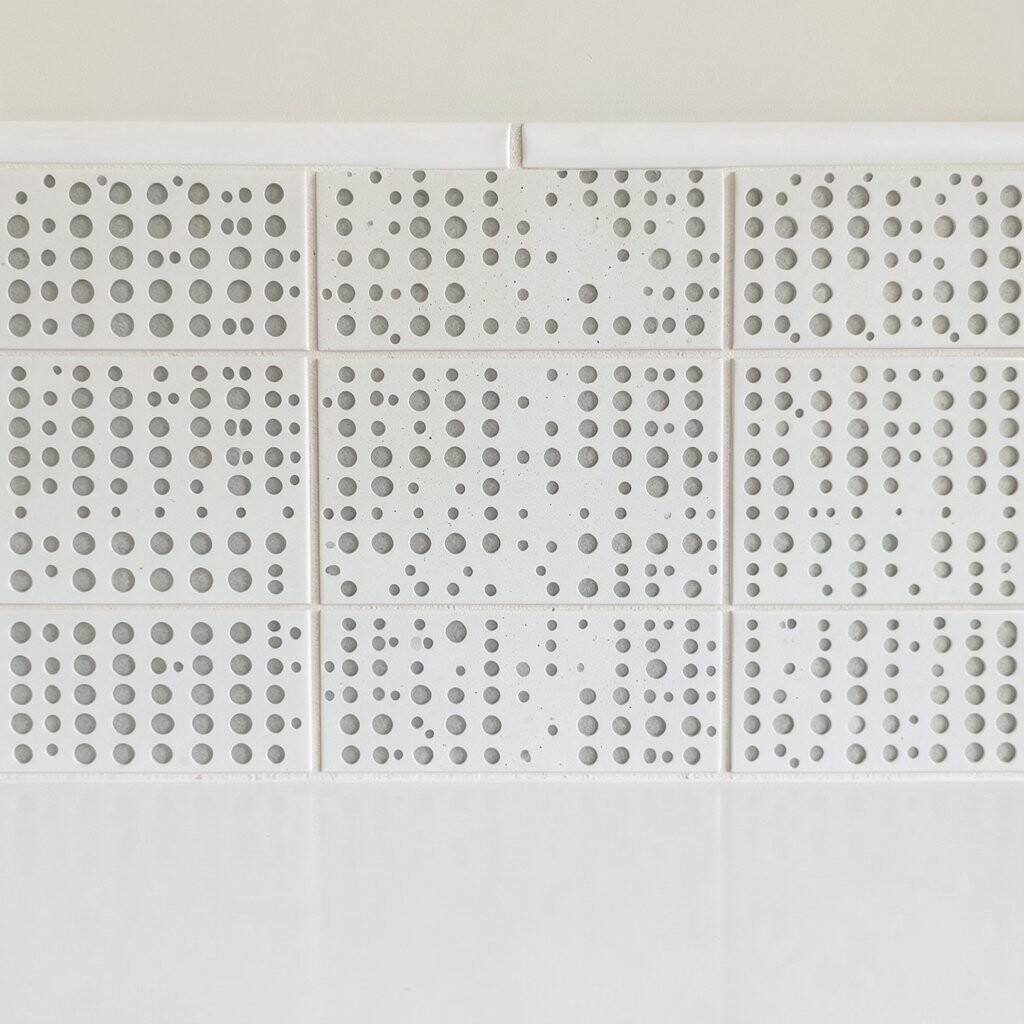
Dot inserts between tiles bring a tidy, graphic look that feels modern. Even a small grid of dots can add movement without becoming loud.
This option is popular because porcelain is strong, stain-resistant, and suited for busy kitchens. The dots can also help break up large surfaces, which prevents the backsplash from looking flat. For best results, align your dot spacing with the tile layout so the pattern reads clearly from a distance.
Personalize by choosing dot colors that mirror your countertop or cabinet tone, like charcoal dots with warm white tiles. In terms of cost, porcelain inserts usually land around mid-range, and you can control the price by using dots only on certain rows. Pair this with a light grout color to keep the design crisp and airy.
Don’t forget sealing if you use grout that needs it, and wipe the surface right after installation so residue doesn’t dull the dots.
7. Hexagon “Between-Tile” Rings for Honeycomb Charm

Hexagon rings placed between tile sections create a honeycomb feel that’s both cute and structured. The shape adds dimension, especially when paired with rectangular tiles.
This idea stands out because it uses the “in-between” space to create a repeating motif. It can also help you hide subtle layout issues because the rings visually guide the eye along the wall. If you’re working near outlets, plan your ring placement around them so the pattern stays consistent and centered.
For a practical tip, choose a ring size that fits your grout spacing so the edges don’t look cramped. Costs vary, but the hex shapes often require careful cutting, so hiring a skilled installer can reduce waste. A trending combo is warm beige hex accents between cool white tiles for a balanced, welcoming look.
8. Textured Relief Tiles to Create Shadow Lines
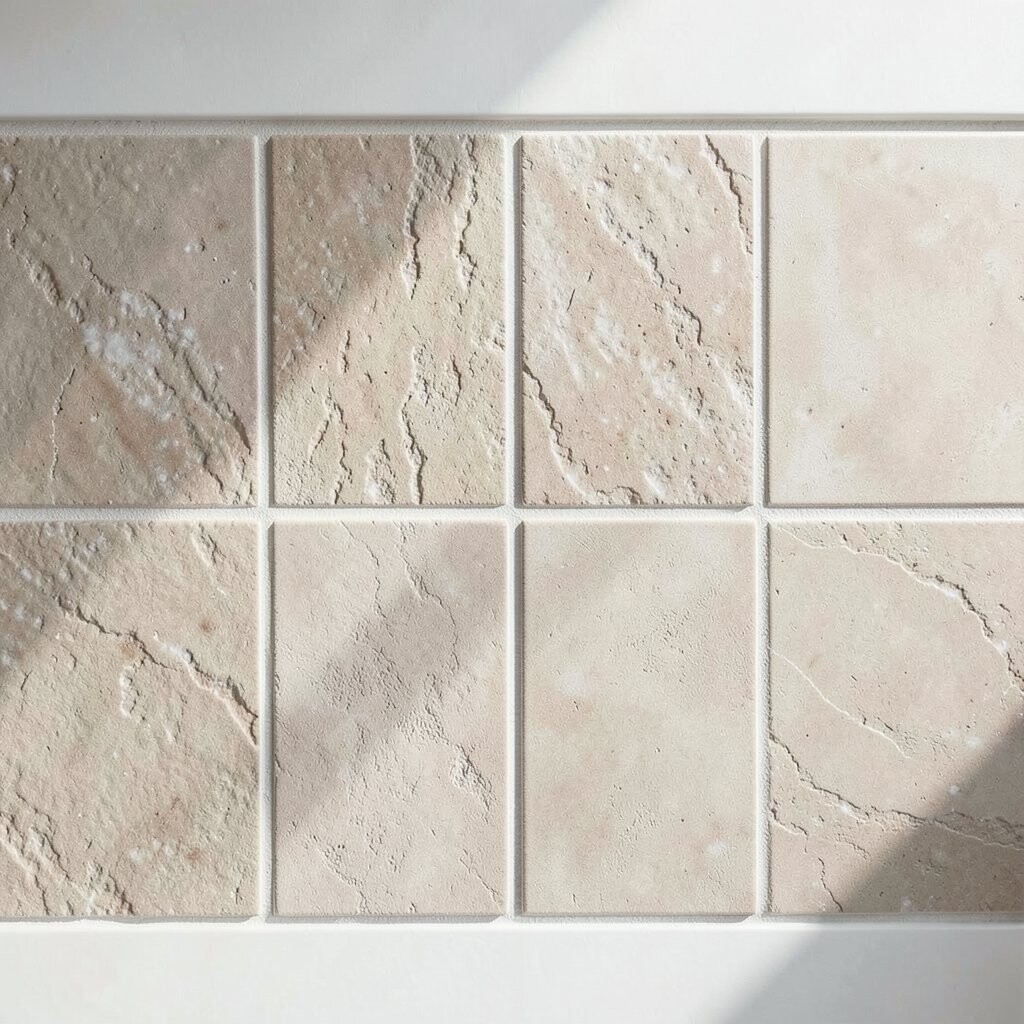
Relief tiles placed between flat tiles can form gentle shadow lines. That soft texture makes your backsplash look more expensive and handcrafted.
Unique designs like linen-style ridges or subtle wave relief add depth even when the color stays simple. This is a nice benefit if you want calm aesthetics but still crave visual interest. When selecting pieces, check how high the relief is, since too much texture can catch grime and make cleaning harder.
To personalize, match the texture style to your kitchen theme, like gentle waves for coastal kitchens or stacked ridges for modern minimal spaces. Budget-wise, embossed inserts may cost more than plain grout, but the look can replace the need for a bold countertop backsplash. Keep maintenance in mind by choosing a tile glaze that wipes clean and stays smooth.
After installation, seal the grout and do a test clean with your regular cleaner to confirm the surface stays fresh.
9. Matte Tile Strips with a Satin Finish Accent
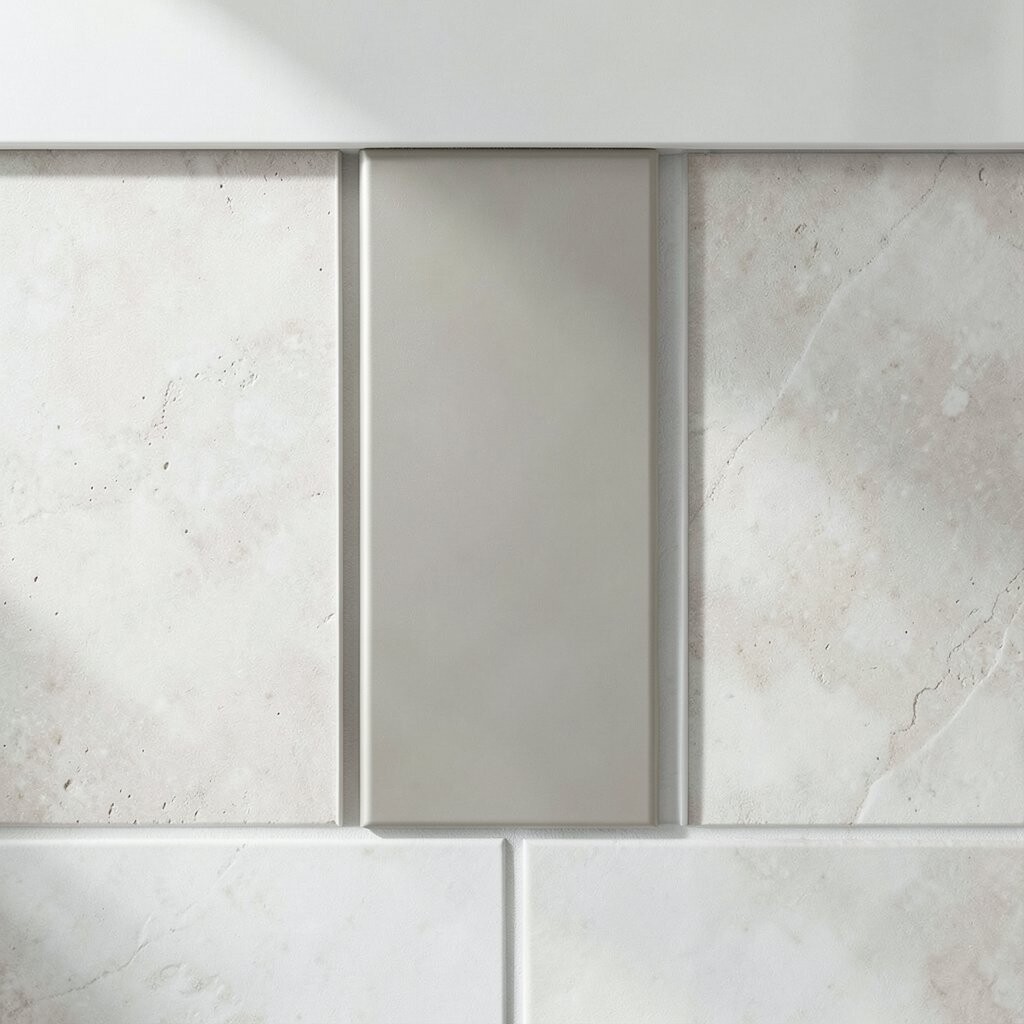
Matte strips inserted between tiles create a smooth, understated accent. They add structure without shininess, which many people love for a modern, calm kitchen.
This approach is unique because it relies on finish contrast, not just color. The benefit is that satin-finish accents can hide minor scuffs better than glossy surfaces, which matters in real-life cooking. For practical planning, keep the strip thickness and width consistent so the design looks intentional across the entire wall.
If your cabinets are glossy, the matte strips can balance the look, and if your cabinets are matte, the satin accent can add a subtle lift. Costs are usually manageable because you’re not covering large areas, just adding narrow lines. A current trend is mixing matte whites with soft metallic or satin gray “break lines,” and this fits that style well.
When you grout, use a color that blends with the main tile so the strips feel like design elements, not random patches.
10. Handmade Terracotta Mini Tiles Between Rows
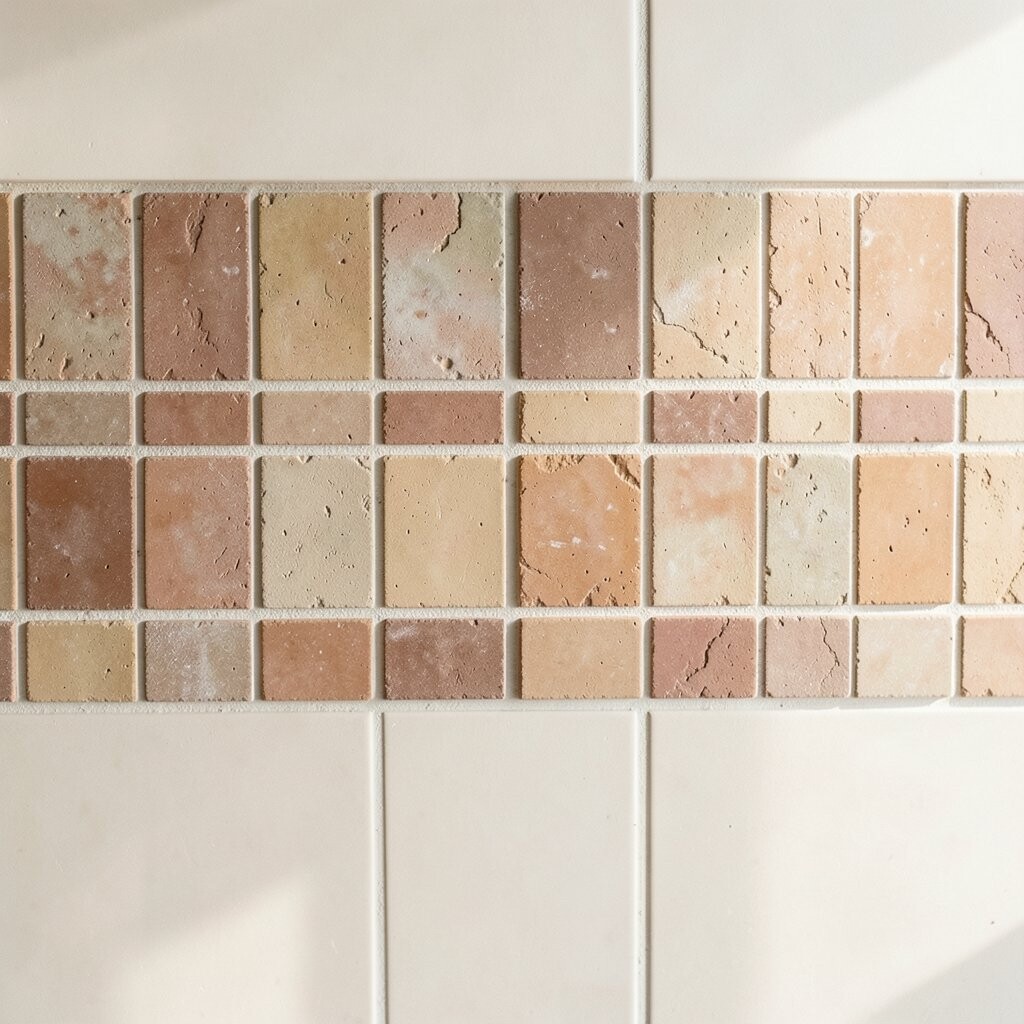
Terracotta mini tiles between rows bring warmth and a handmade vibe. The earthy tones can make a neutral kitchen feel cozy fast.
This is a unique choice because terracotta often varies slightly in color, so your backsplash looks naturally one-of-a-kind. The benefit is visual warmth, especially in kitchens with wood cabinets or warm lighting. For practical tips, seal terracotta tiles and grout thoroughly, since terracotta is more porous than many porcelain options.
To personalize, choose a terracotta shade that complements your flooring or countertops, and consider a simple repeating pattern so the wall stays balanced. Cost can be higher if you’re buying small artisan pieces, but you may only need them in key rows to get the effect. A trend in many kitchens is adding tactile, organic materials to counteract sleek, modern finishes.
11. Recessed Channel Inserts for a Built-In Look

Recessed channel inserts between tiles create a built-in look like a hidden detail. They make the backsplash feel engineered, clean, and precise.
This is unique because it adds a groove or channel rather than a raised accent, so the design reads as intentional separation. The benefits include strong protection of edges and a neat visual border around each tile section. For practical installation, confirm your wall is flat before committing, since channels need good alignment to look straight.
Personalization is easy by choosing the channel color or finishing, like matching it to your faucet or drawer pulls. Cost considerations vary because specialized trim pieces can be pricier, but the result can feel like a custom renovation. If you want a modern trend feel, pair channel inserts with large-format tiles and minimal grout lines.
Use proper waterproofing and sealing because recessed areas can trap moisture if not sealed correctly.
12. Mirror-Backed Accent Tiles for a Bright Boost

Mirror-backed tiles tucked between grout lines can make the kitchen look brighter instantly. They bounce light around the room and add a luxe sparkle without needing a full mirrored wall.
This unique idea works well for small kitchens or darker areas where you want more visual space. The benefit is that reflections help the backsplash feel crisp and clean, especially under cabinet lighting. For practical tips, choose a mirror-backed tile made for wet, high-heat kitchen zones and keep grout lines neat so the reflective surface stays clear.
Cost is often higher than standard tile details, but you’ll use fewer pieces than a full backsplash upgrade. A current trend is combining mirror accents with matte tile fields, creating a tasteful contrast that feels both modern and timeless.