
Wood counters can look tired in a single season. With the right before-and-after plan, they can look warm, clean, and new again.
1. Sand-Back to a Fresh Surface
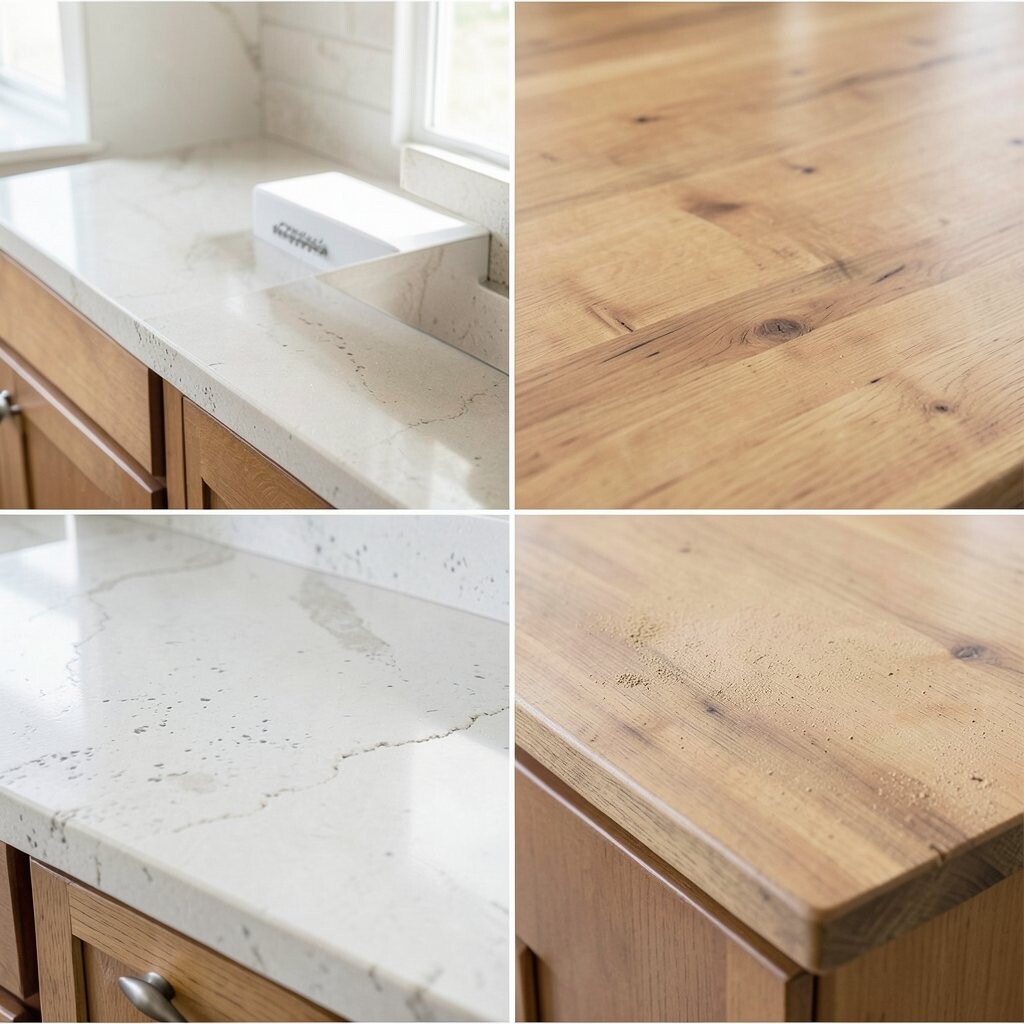
Start by sanding until the top looks even again. After that, the wood grain suddenly looks clearer and brighter.
This is one of the most satisfying refurbishing journeys because the “before” roughness disappears. You will usually notice fewer dull patches and a more uniform color. For practical tips, use progressively finer sandpaper, wipe away dust often, and finish the surface the same day to avoid fresh grime.
2. Stain for a Richer, Deeper Color
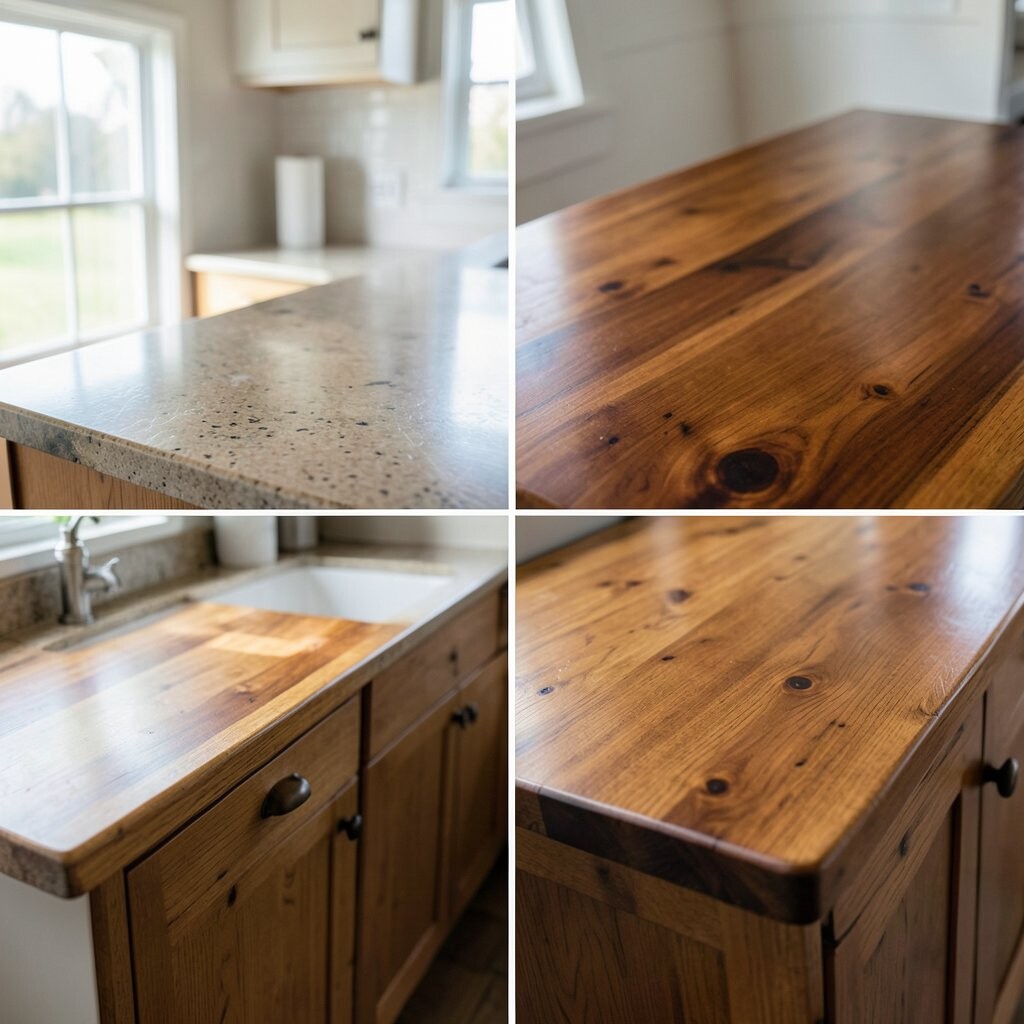
Choose a stain shade that matches your kitchen mood. After staining, the wood can shift from flat to luxurious.
Staining helps hide minor spots and evens out color differences from years of use. For a unique look, test the stain on a spare scrap or a hidden corner first. Consider water-based stains for easier cleanup and smoother control, then seal with a food-safe finish.
If you are balancing budget and impact, staining plus a topcoat is often cheaper than replacing counters. Current trends lean toward medium-to-warm tones that pair with matte hardware and natural stone. Personalize by adjusting the stain darkness with multiple light coats instead of one heavy layer.
3. Oil and Wax for a Soft, Classic Glow
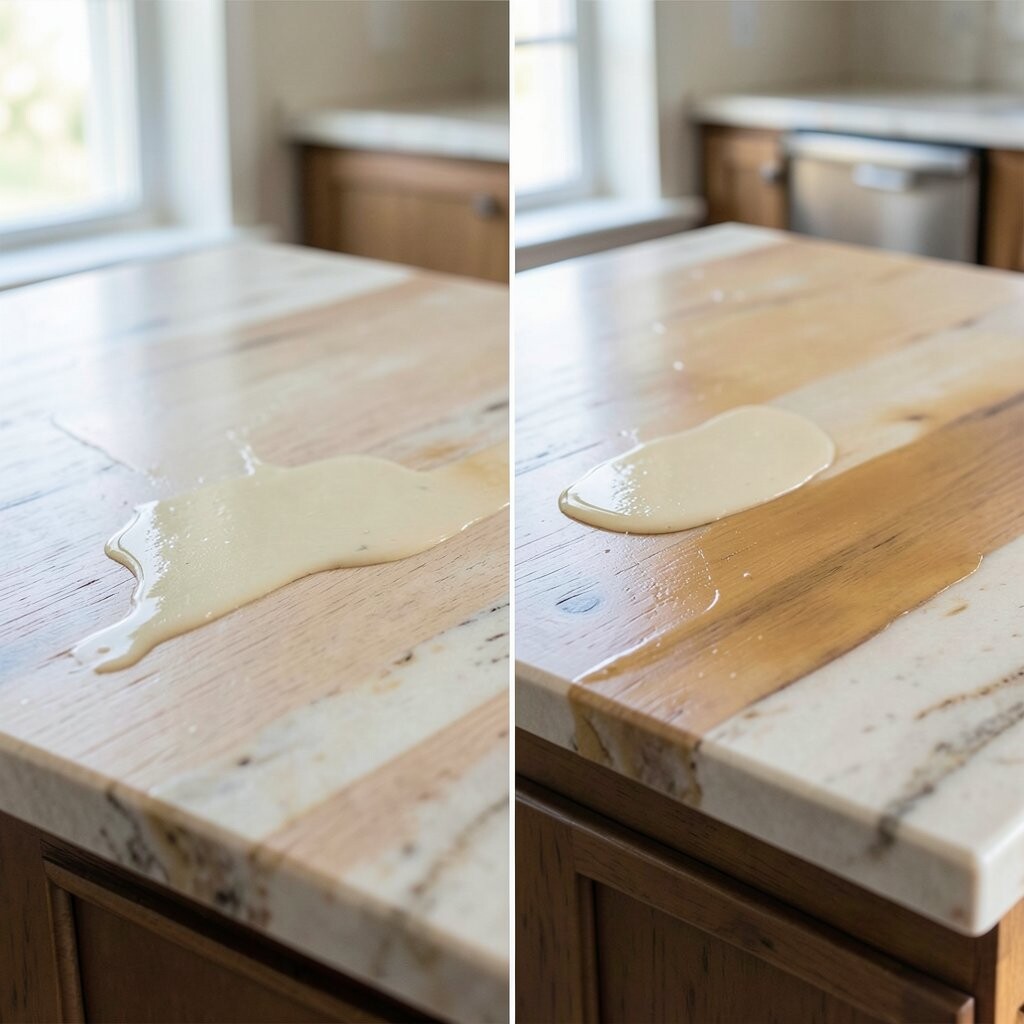
Oiling creates a calm, natural shine that feels inviting. After re-oiling, the surface looks less dry and more “alive.”
This approach is unique because it restores moisture without making the top look painted or plastic. The benefit is that many oils help seal the pores while keeping the grain visible. For practical steps, clean thoroughly, let the wood dry fully, then apply a thin coat and buff once it has absorbed.
To keep it looking great, plan for regular maintenance instead of one-time perfection. Reapply oil on a schedule that matches your household use and seasonal dryness. A cost consideration is that oils can be an ongoing purchase, but they usually cost less than major refinishing projects.
For personalization ideas, you can layer a wax finish for extra water beading. This style fits current trends toward natural, low-sheen surfaces and warm wood tones.
4. Address Edge Chips with Careful Repair
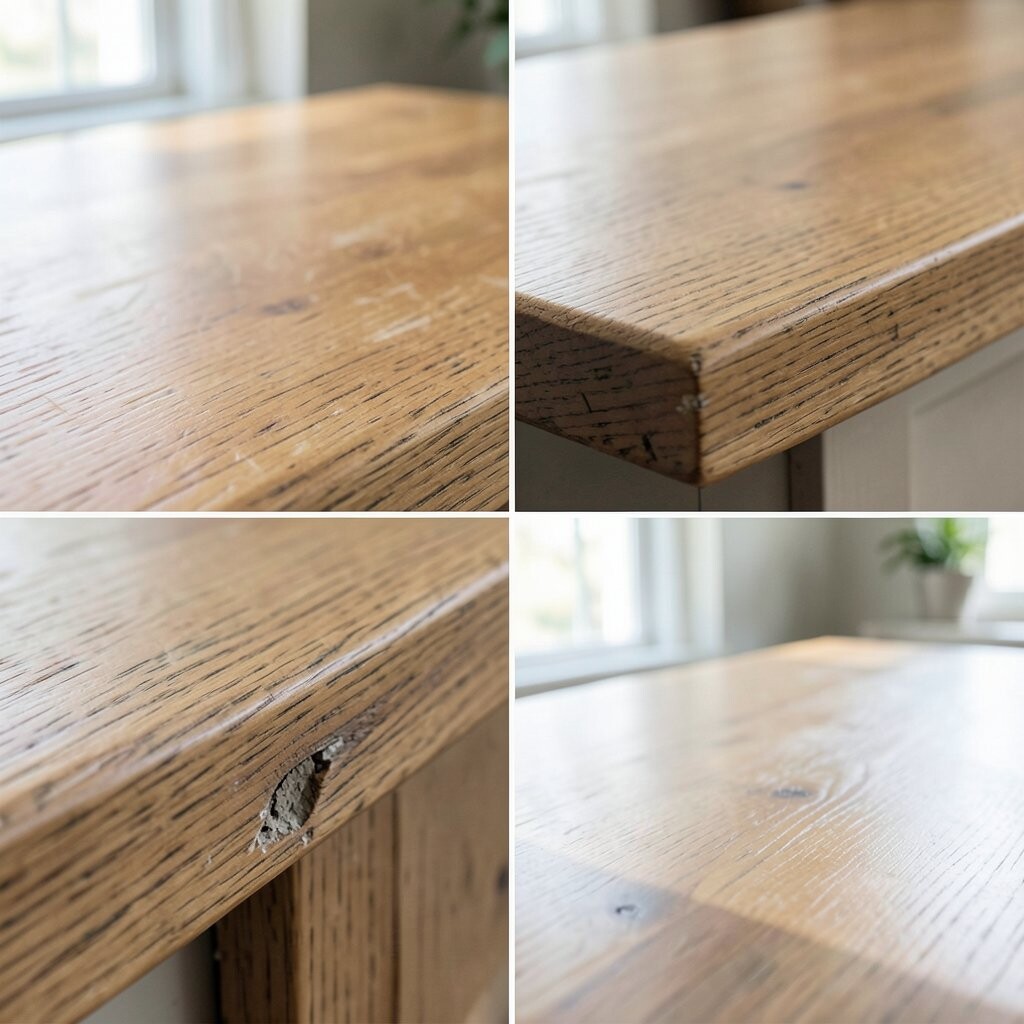
Counter edges take the most daily hits from knocks and accidental impacts. After repairing chips, the whole countertop looks instantly more cared for.
When you fix small damage first, the later sanding and sealing look smoother and more professional. Use wood filler or a matching repair paste, then sand flush so the edge feels crisp again. A helpful tip is to check the repair after the first coat of finish, because some areas soak differently and need a second spot treatment.
5. Seal with a Food-Safe Topcoat for Daily Protection

A good topcoat acts like a clear shield for spills and splashes. After sealing, your wood stops feeling sticky and starts feeling resilient.
This method is unique because it balances beauty with real-world durability, especially if your kitchen is busy. The benefit is easier cleaning and less worry about stains setting into the grain. For practical tips, choose a finish labeled food-safe and follow cure times exactly before using the counters.
Cost considerations depend on the brand and how many coats you need, but a quality seal often prevents repeated sanding later. Current trends show more matte clear finishes, which keep wood looking natural rather than glassy. Personalize by deciding whether you want a low sheen or a slightly richer glow.
6. Heat and Water Stain Removal with Gentle Cleaning
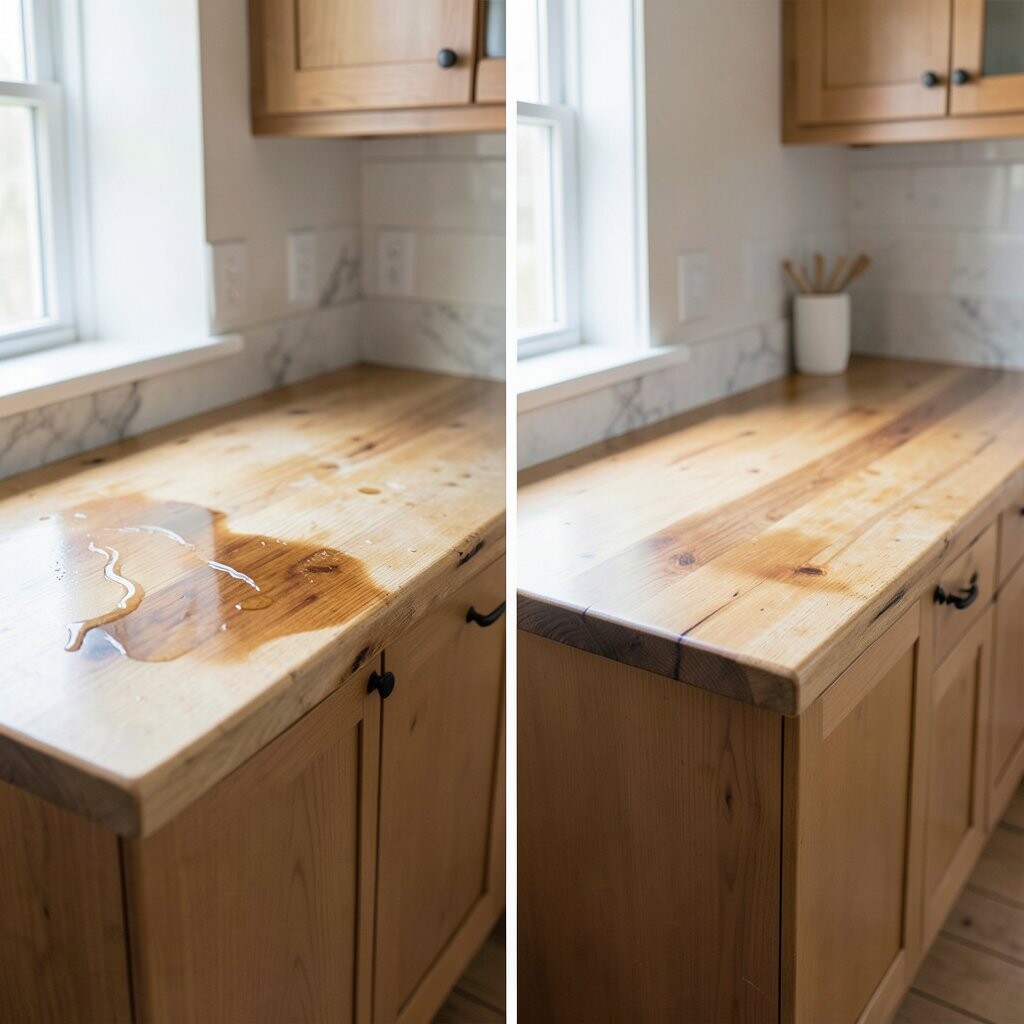
Before you refinish, remove surface stains so you aren’t sealing in the problem. After stain lifting, the wood tone looks more even and calm.
This is unique because you may improve the “before” look without heavy sanding. Many mild stain removers and gentle abrasives work when you stay patient and careful. For practical tips, start with the least aggressive method, keep the area dampened evenly, and wipe away residue completely.
7. Two-Tone Counter Styling for a Designer Feel
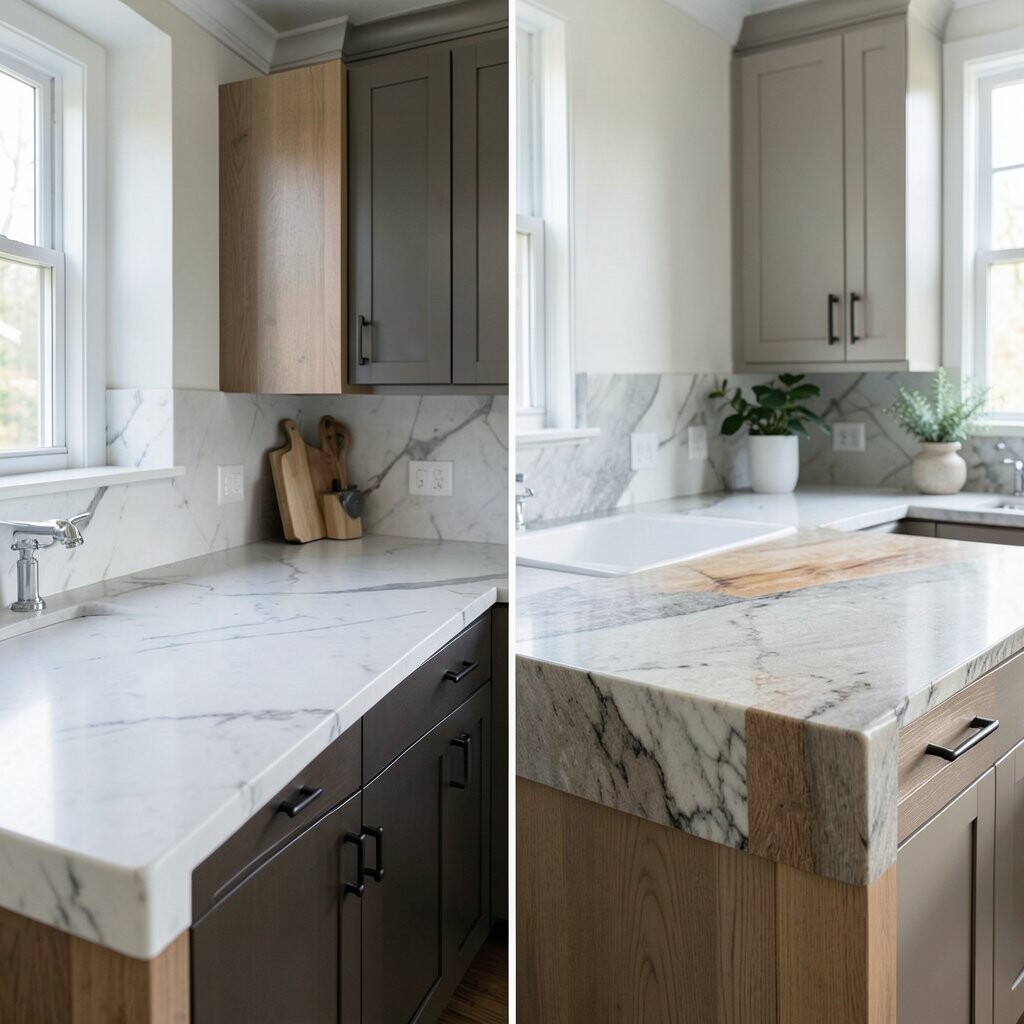
Two-tone styling can make plain counters look like a custom showroom. After the contrast is done well, your kitchen gets instant character.
This technique is unique because it breaks up the surface visually, often highlighting the center area or front rail. A practical approach is to mask sections carefully, apply stain in steps, and remove tape only after the finish reaches a tacky stage. Benefits include hiding small unevenness in one area while emphasizing the best parts of the grain.
For cost considerations, masking supplies and extra stain can add a little, but the result feels high-end without replacement. Current trends love warm naturals with contrast edges. Personalize by choosing a lighter tone for the main surface and a darker tone for edges and borders.
8. Refurbish with a New Finish Schedule (Not Just a One-Time Job)
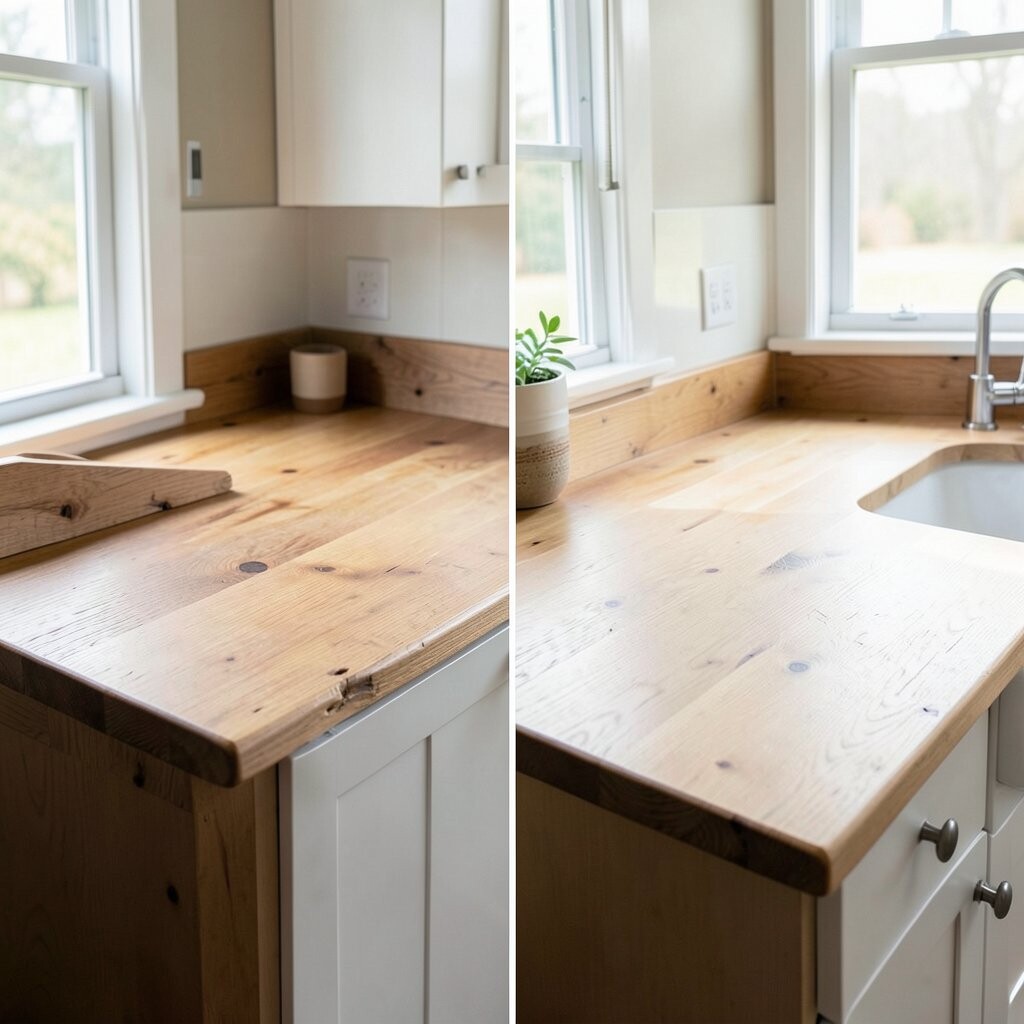
Instead of doing everything at once, you can build a finish schedule that fits your life. After each step, the counters look better and calmer.
This is unique because the “before and after” improvement happens in stages, which reduces mistakes from rushing. The benefit is better adhesion and fewer bubbles or uneven spots. Practical tips include planning dry time, ventilating the room, and keeping pets and dust away while finishes cure.
When you break the job into phases, you can control cost by buying only what you need for each step. This also lets you pause if you notice the wood reacting differently than expected. Personalize the schedule around your household routines, like finishing on days when you can keep the area free.
For a trend connection, many homeowners now prefer low-odor products and short recoat windows so the kitchen stays usable sooner.
9. Restore with a Warm Salt-and-Pepper Look
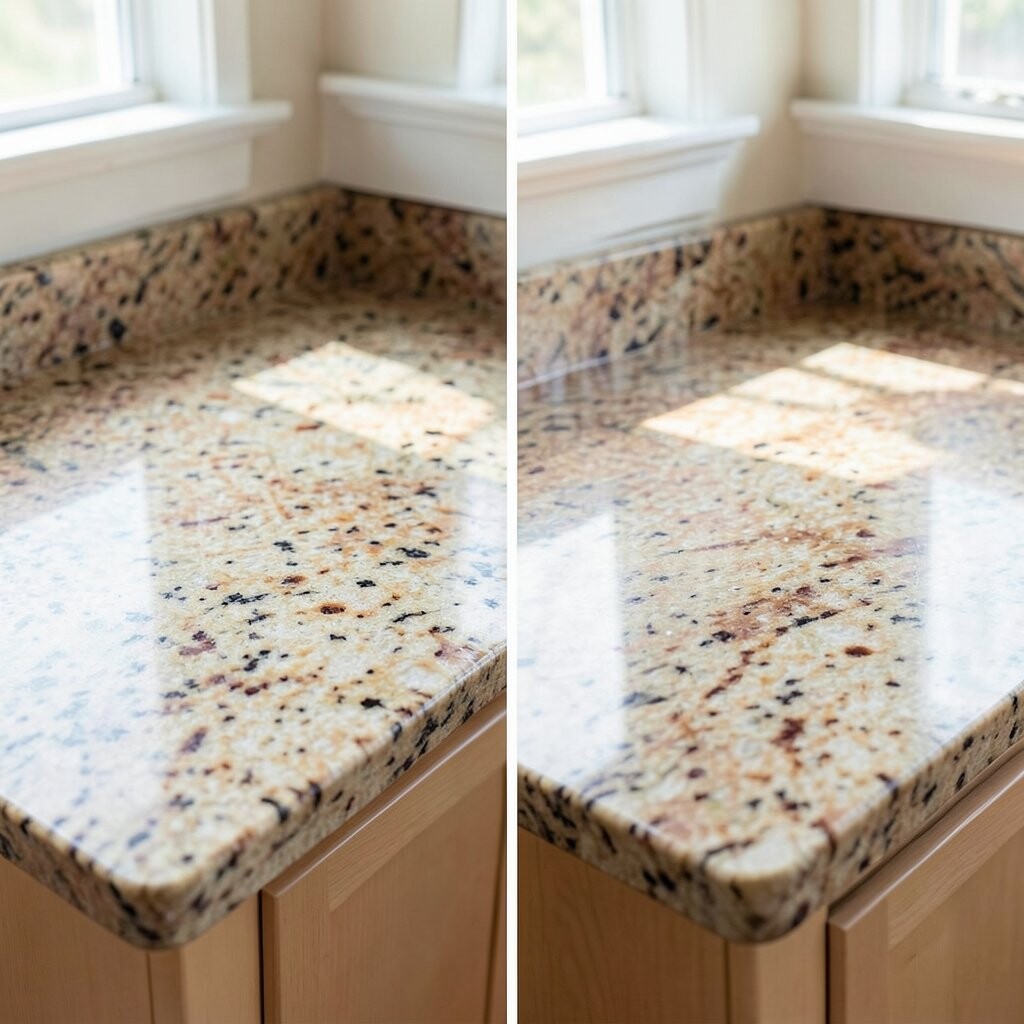
A salt-and-pepper finish creates soft variation that feels modern and cozy. After treatment, the surface looks textured but still smooth to the touch.
This style is unique because it celebrates natural grain movement instead of trying to eliminate everything. The benefit is that small imperfections become part of the design rather than a distraction. For practical tips, use a light stain or lime-wash style product, then seal lightly to keep the speckled feel.
Cost considerations are usually moderate since you are using specialty staining or wash techniques rather than full replacement. Current trends favor lived-in looks that blend with light cabinets and brushed metals. Personalize by adjusting how visible the contrast is—more variation for a bolder style, less for subtle warmth.
Be sure to clean and dry the counters well before any wash, or the “before” grime can show through.
10. Refinish to Match Fresh Cabinets and Hardware
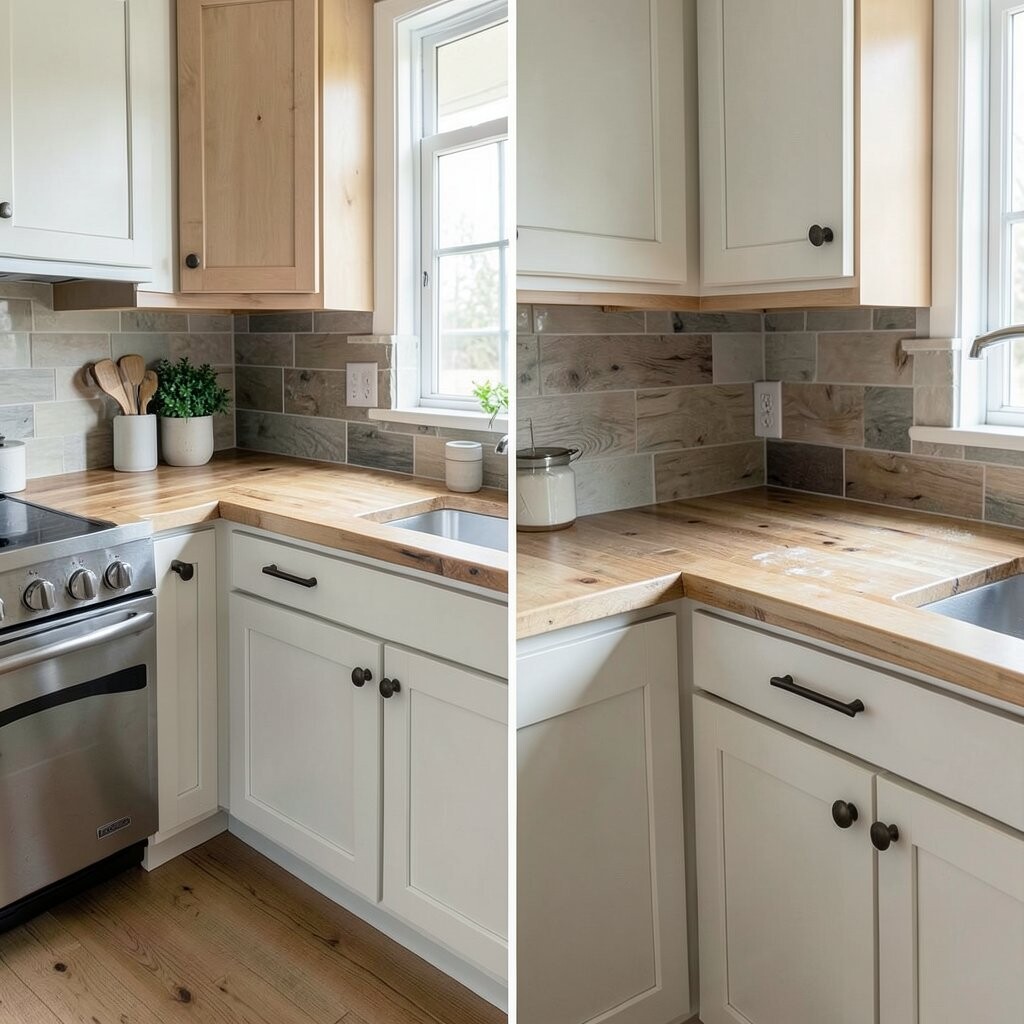
If your cabinets or faucet changed, your counters can look out of sync. After refinishing, the wood tone harmonizes with the rest of the room.
This is unique because the goal isn’t just repair—it’s overall kitchen balance. The benefit is visual unity, which makes the whole space look intentional. Practical tips include taking a photo in daylight, comparing counter color to cabinet samples, and choosing a finish that blends the undertones.
11. Use a Straightforward Water-Based Finish for Low Odor
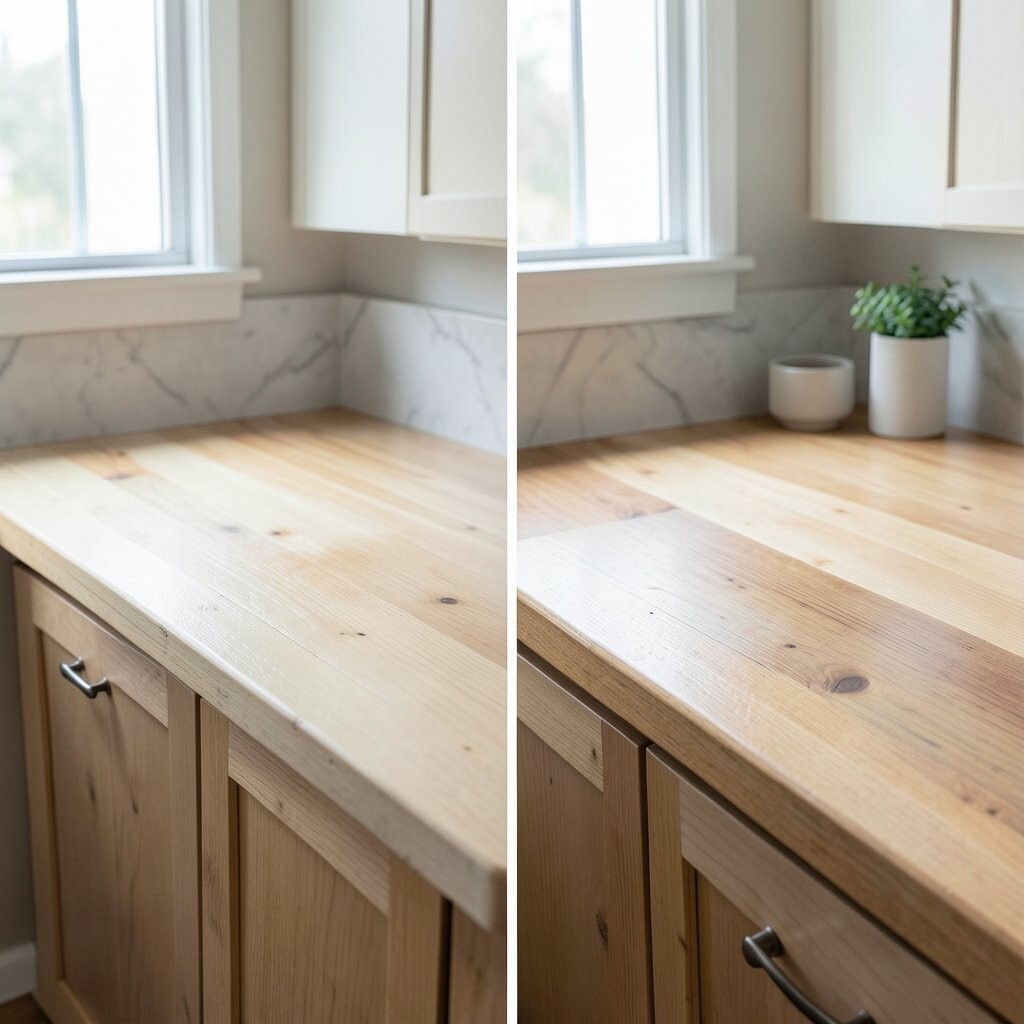
Water-based finishes are popular because they tend to smell less. After applying and curing them, the wood looks clean and protected.
This method is unique because it can be a friendlier option for homes where ventilation is limited. The benefit is easier cleanup of tools and a more user-friendly process. Practical tips include stirring gently, applying thin coats, and giving each layer enough time to dry before the next.
Cost considerations often depend on brand, but many people find water-based products to be a reasonable middle ground. Current trends include finishes that support a “natural wood” look rather than heavy amber coloring. Personalize the final look by selecting a sheen level that matches your lighting and cabinet style.
12. Replace Only the Damaged Sections (Patchwork That Works)
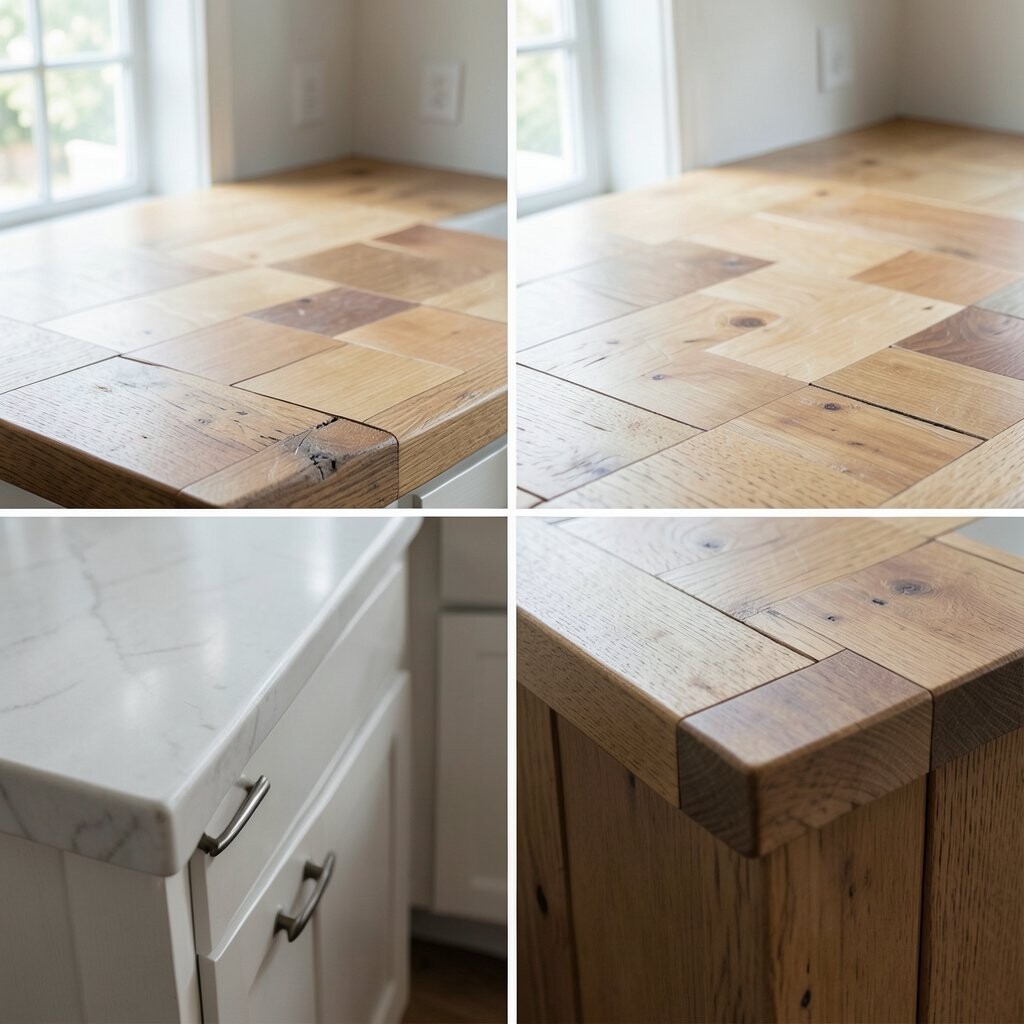
Sometimes the best fix is targeted instead of starting from zero everywhere. After patching, the countertop can look whole again without a full overhaul.
This approach is unique because it respects the best parts of your counters while rebuilding the weak spots. The benefit is cost savings and less sanding across the entire surface. Practical tips include cutting out damaged areas cleanly, using matching wood where possible, and letting new pieces acclimate before sealing.
13. Improve Function with a Routed Channel or Safer Sinks Area
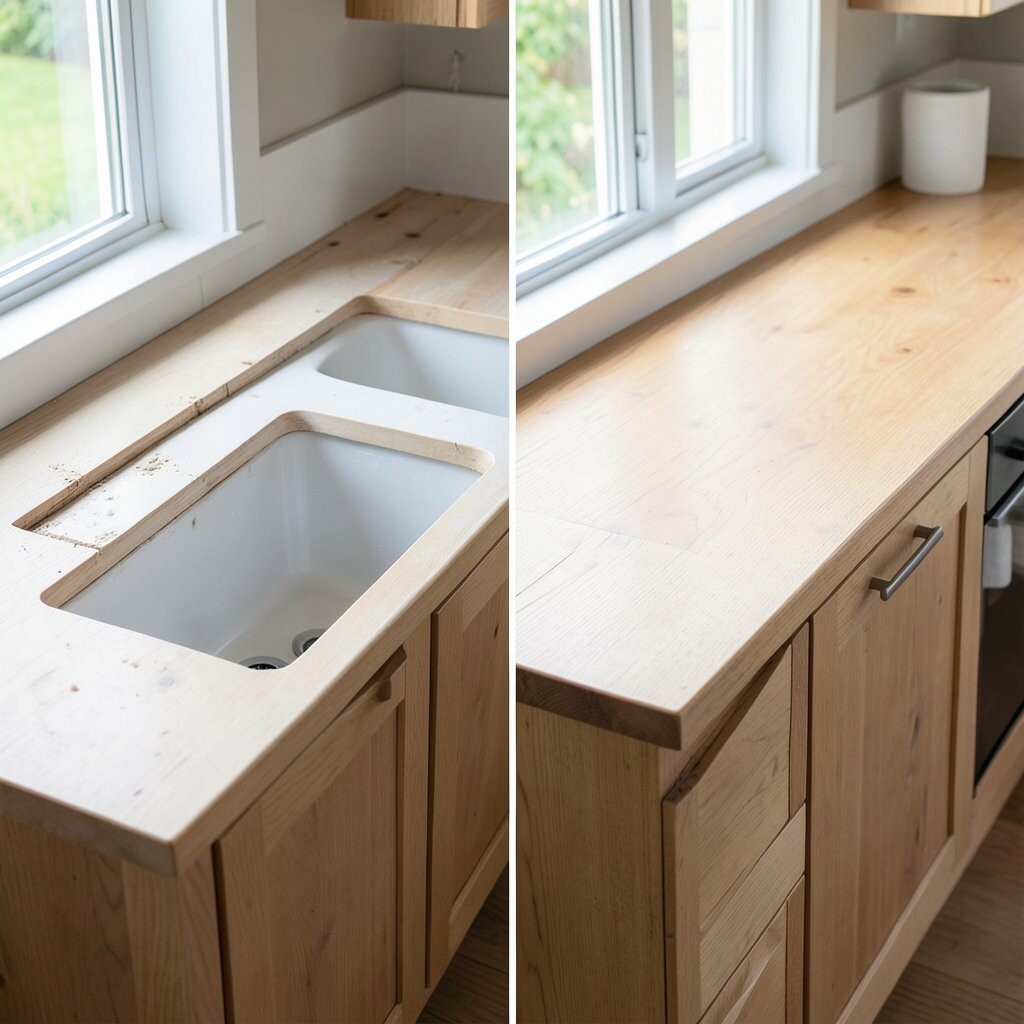
You can refurbish and upgrade function at the same time. After small routing changes, the countertop feels more practical for daily use.
This is unique because it combines aesthetics with better flow around the sink, drying zone, or edge. The benefit is fewer puddles and less water trapped in seams over time. Practical tips include measuring carefully, sealing cut edges well, and using food-safe caulk only where recommended by your finish instructions.
Cost considerations vary because routing tools or a small professional help may be needed. Current trends favor user-friendly layouts and spaces that handle cooking messes smoothly. Personalize by deciding which zone needs the most help—front edge for spills, sink area for splash control, or a serving section for prep.
This idea works best when the wood is structurally sound, so assess for soft spots first.
14. Add a Protective Cutting Board Strip for High-Use Zones
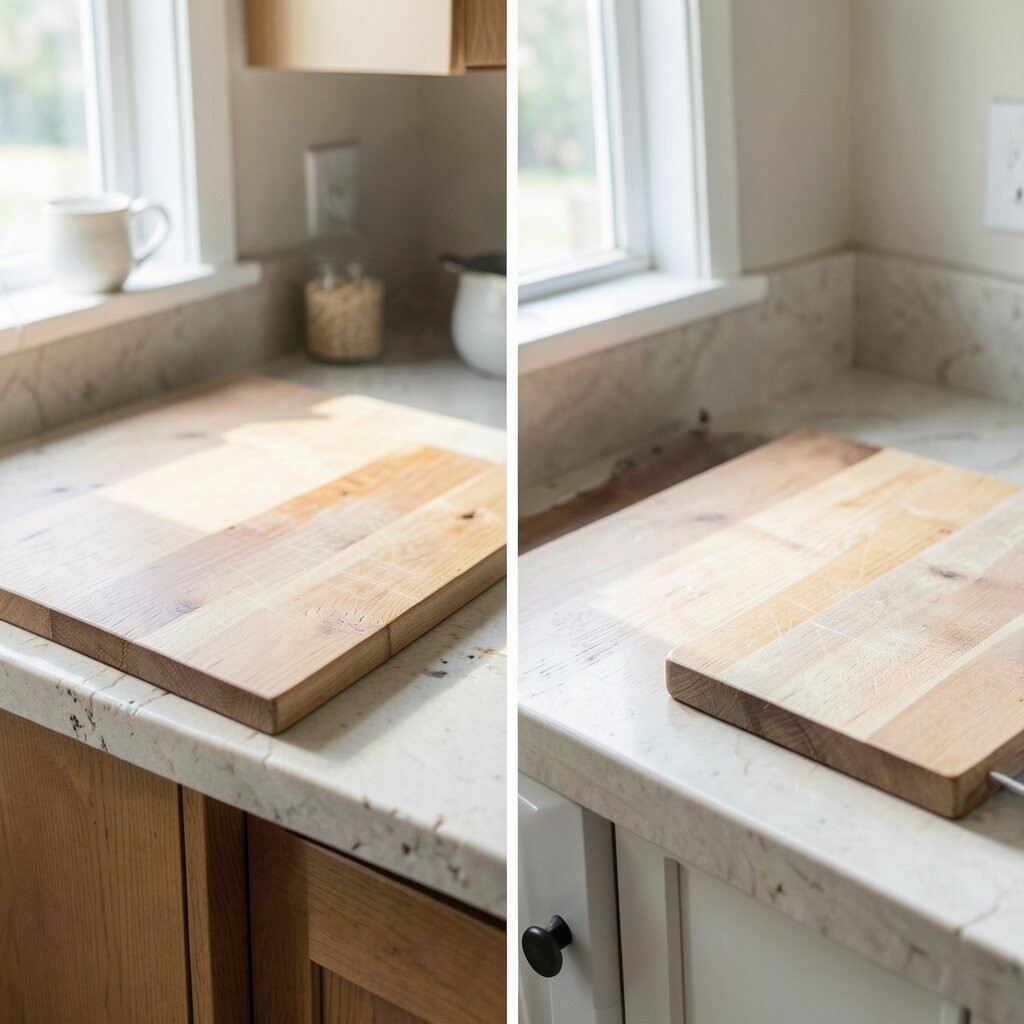
A removable cutting strip can save your wood where you work hardest. After installation, your counters stay beautiful while the strip takes the damage.
This technique is unique because it provides a protective “sacrificial” surface without changing the main counter look. The benefit is fewer deep grooves and easier maintenance. Practical tips include choosing a compatible wood strip, sealing its edges, and leaving room for expansion so it doesn’t warp.
15. Deep Condition the Wood Before Any Finish Layer
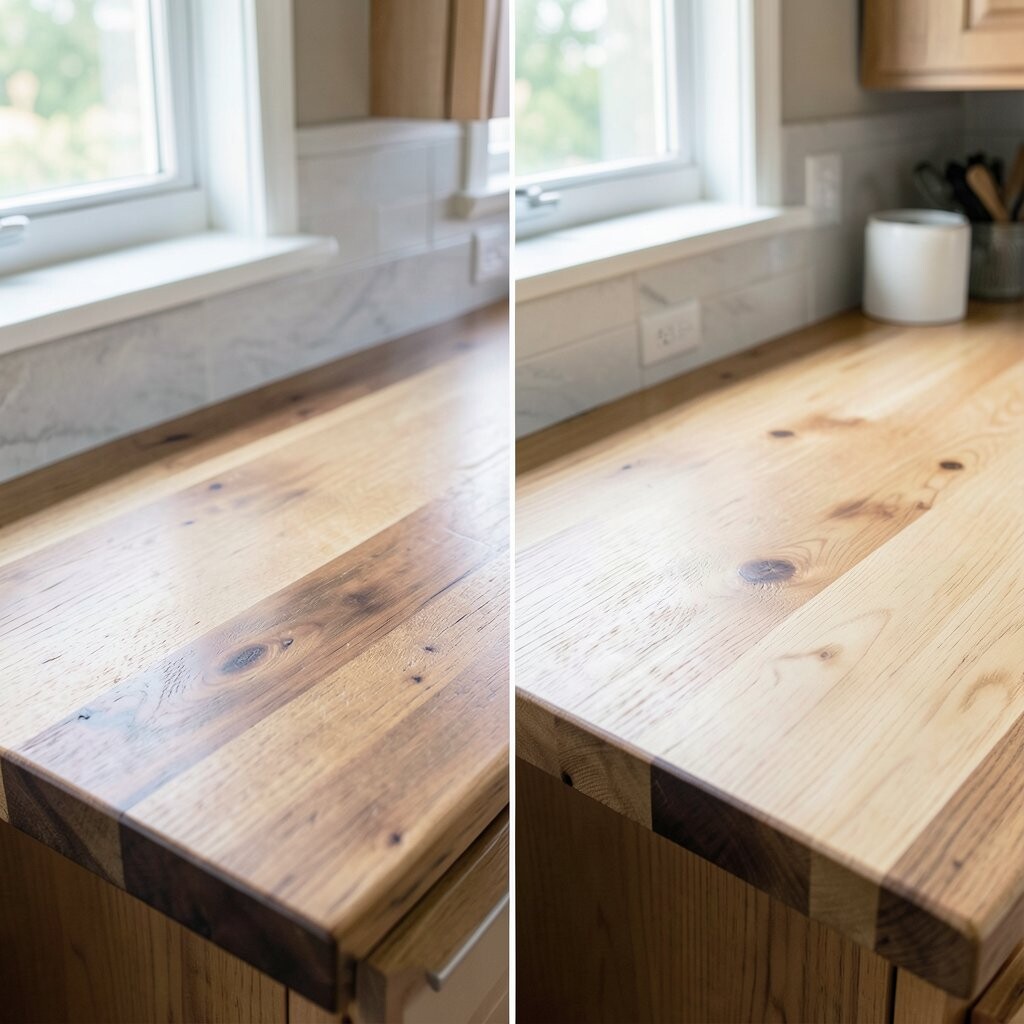
Deep conditioning prepares the wood so stains and finishes absorb more evenly. After conditioning, the final color looks more consistent across the whole top.
This method is unique because it focuses on the wood’s inner balance, not just the surface appearance. The benefit is reduced blotchiness and fewer “before” problem spots that reappear after sealing. Practical tips include following the product’s timing, wiping off excess, and allowing full drying before the next step.
Cost considerations can be slightly higher due to extra products, but it can prevent costly redo work. Current trends favor finishes that look even and natural rather than patchy or overly glossy. Personalize by testing conditioning on different grain areas so you can predict how your specific wood will respond.
16. Finish with a Matte Glow and Care Routine
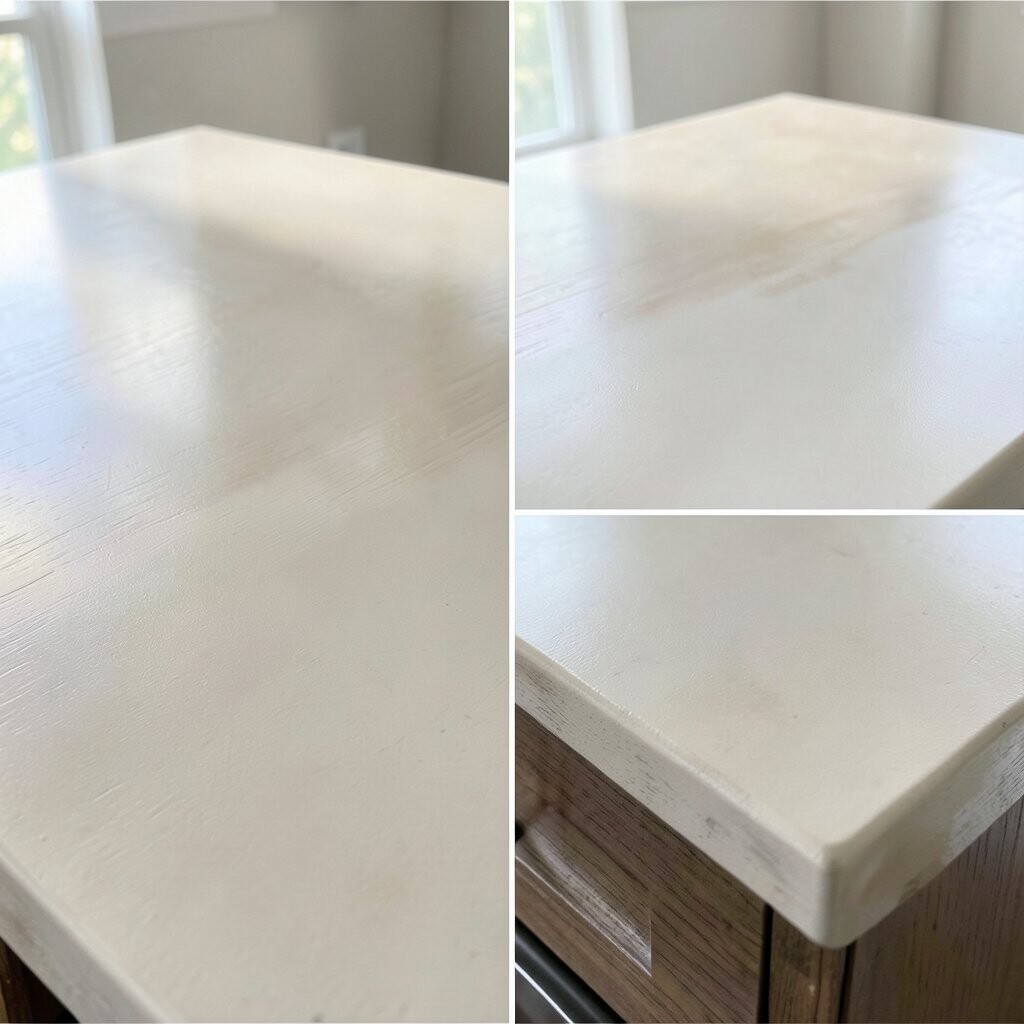
A matte finish can make wood look calm and classy in any lighting. After your new sheen is set, fingerprints are less noticeable and the surface feels silky.
This is unique because it pairs the finish choice with a realistic care routine. The benefit is long-lasting beauty with fewer maintenance surprises. Practical tips include wiping spills quickly, using gentle cleaners, avoiding soaking, and reapplying finish on a small schedule rather than waiting for heavy wear.
Cost considerations are usually manageable because your routine reduces the need for frequent sanding. Current trends include low-gloss, natural texture finishes that match modern hardware and neutral backsplashes. Personalize by choosing how often you refresh—light touch monthly for busy kitchens, or seasonal touch-ups for slower use.