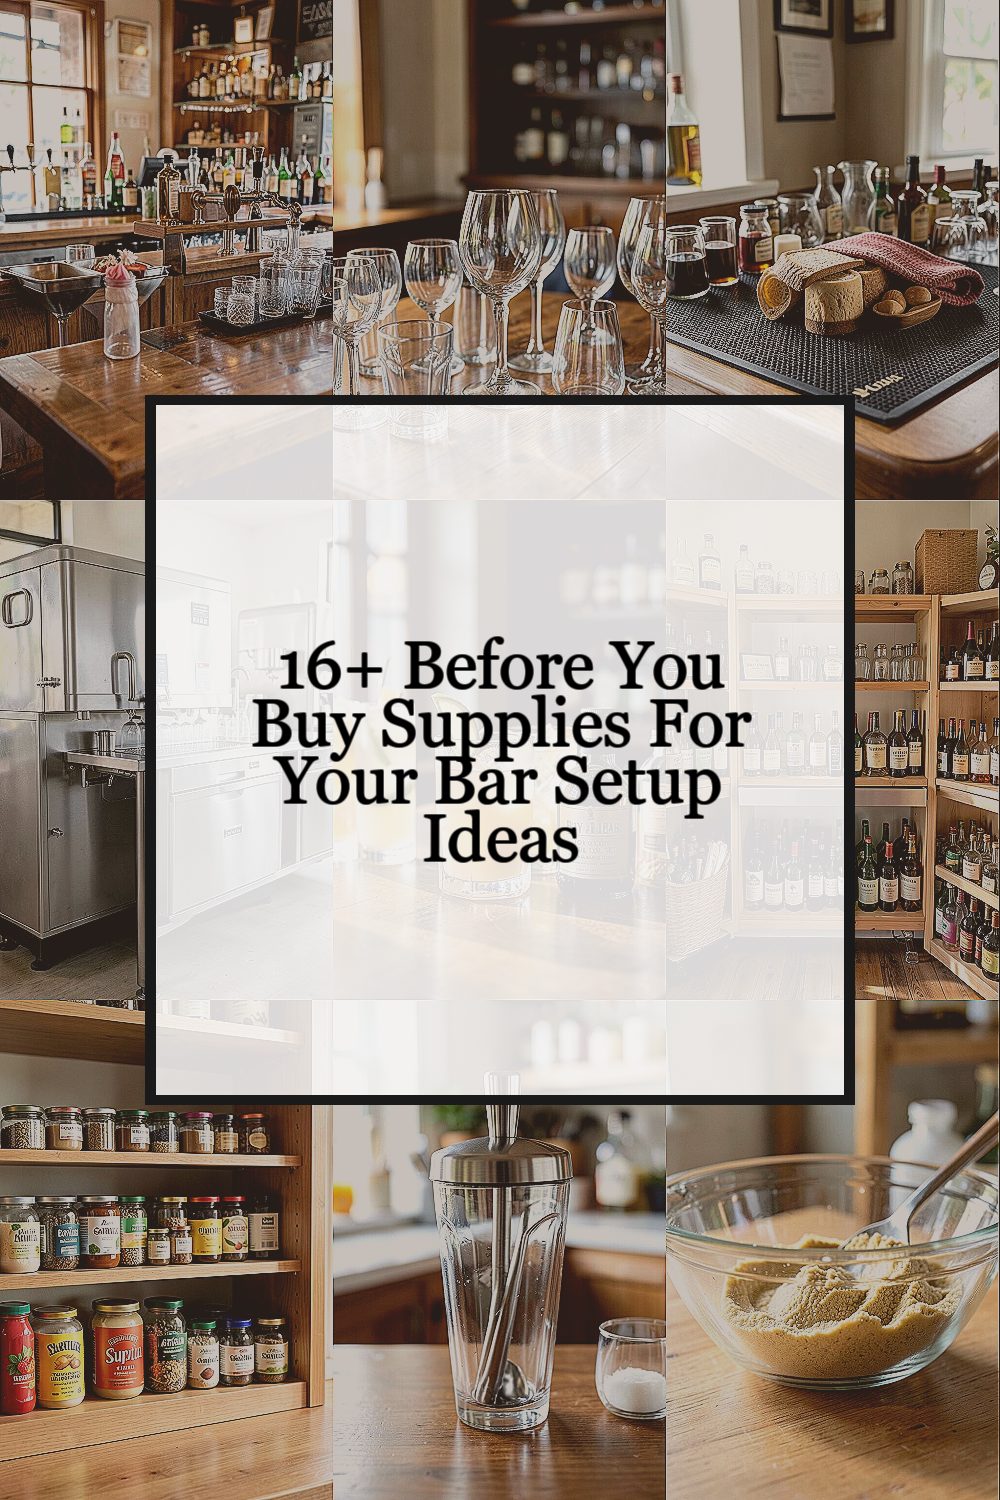
Setting up a bar feels exciting, but smart choices save money. Before you buy, check the details that make service smoother.
1. Map Your Space and Work Flow First
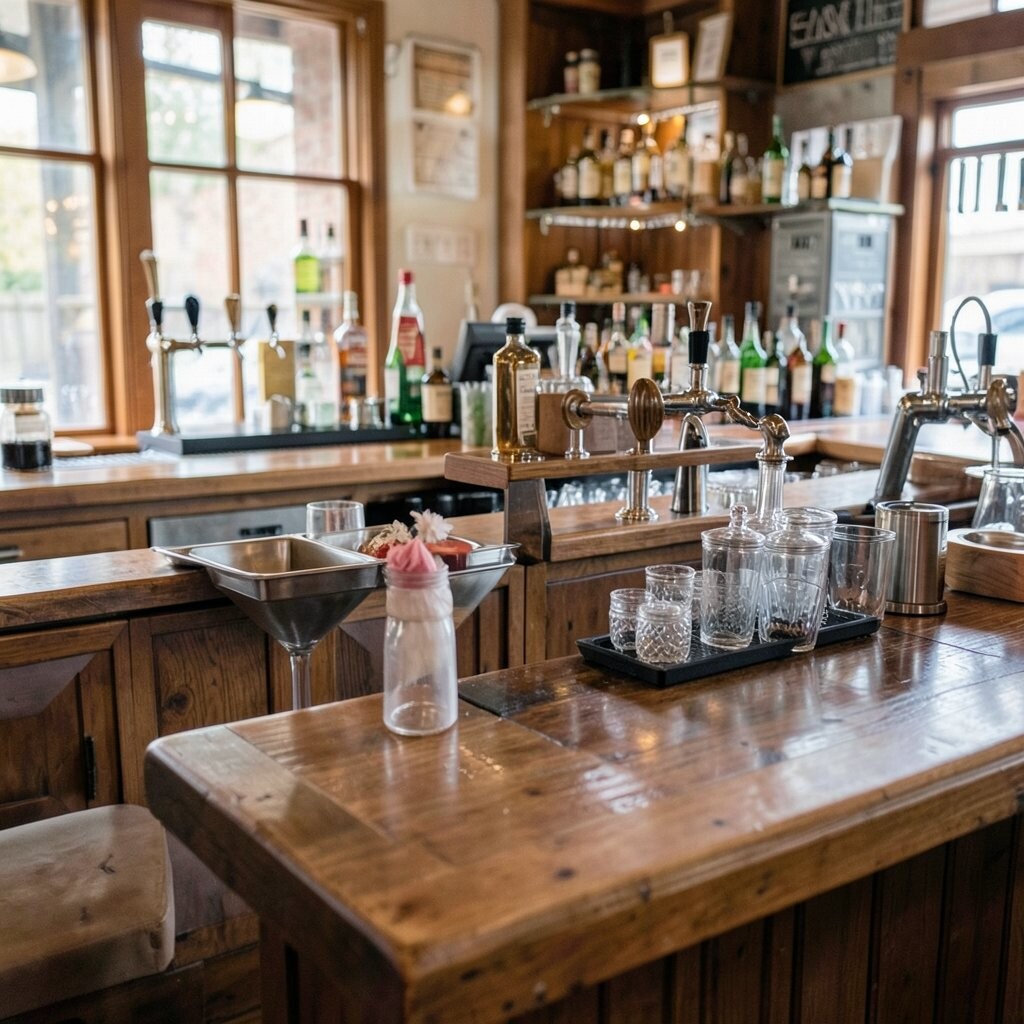
Before you touch a single bottle, look at your room like a bartender would. Walk through where guests stand, where you stand, and where you store everything.
Plan for clear paths so you aren’t stepping around boxes mid-rush. Measure counter depth and keep space for a jigger, shaker, glassware, and a small trash bin. When the layout works, even simple drinks feel effortless.
2. Start with the Right Glassware Mix
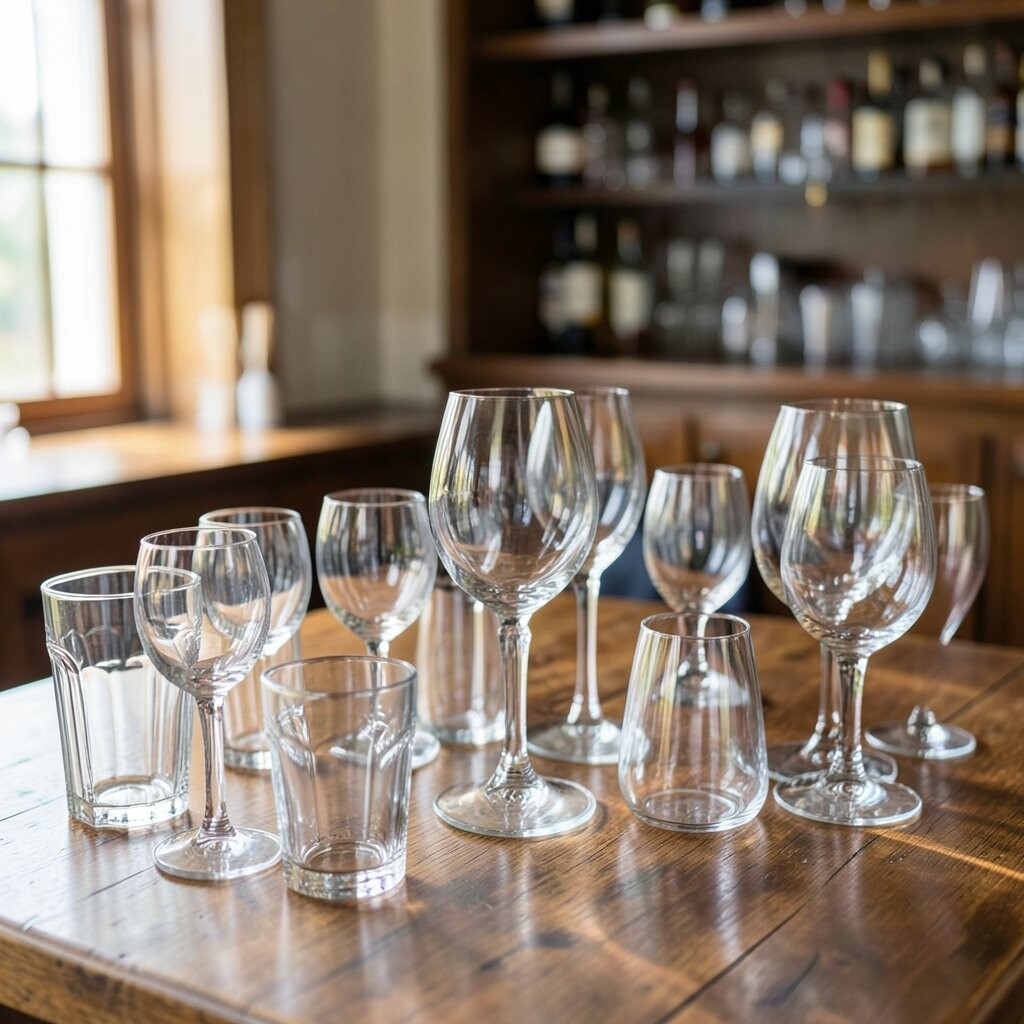
Glassware is the face of your bar, and guests notice it fast. Choose shapes that match common drinks you’ll actually serve.
Include a few high-use styles like rocks glasses for whiskey and soda, coupe or martini glasses for classics, and a tall option for spritzes and mixed highballs. Keep a “do I need this?” mindset so you don’t buy a closet full of one-time novelty cups.
It’s unique when your glasses have a consistent look, like matching clear or lightly tinted styles. Consider low-friction materials too; durable glass can handle busy nights with fewer replacements.
3. Get a Bar Mat That Protects and Performs

A good bar mat keeps spills from turning into slip hazards. It also protects your counter from sticky drips and water rings.
Look for a non-slip surface and a design that supports easy cleanup. Mats with raised edges help catch liquid around your station. That small barrier can save your counter during a chaotic service moment.
Uniqueness comes from the vibe: a black mat feels classic, and a subtle pattern can make your setup look designed rather than random. If you can, pick one that matches your glassware and coaster style for a pulled-together look.
Cost-wise, a solid mat is usually less than replacing a damaged surface. Current trends also lean toward “clean and minimal” stations, where mats keep everything neat and intentional.
4. Choose a Reliable Ice System
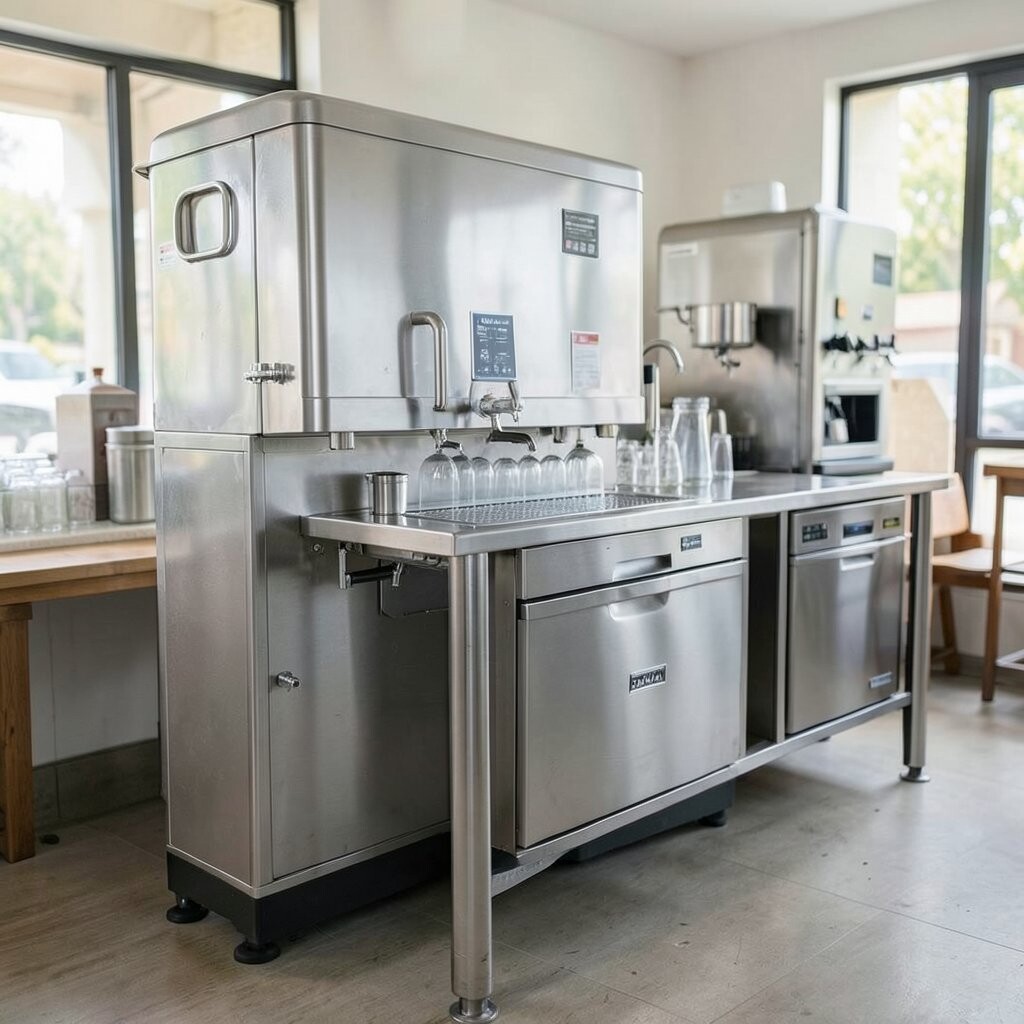
Ice can make or break a drink, especially in the first minute after mixing. Clear ice looks sharp, melts slower, and helps flavors stay cleaner.
For practical tips, buy an ice maker if volume is high, or use a trusted supplier if you’re starting small. If you do it by hand, invest in a simple scoop and storage container that keeps ice from absorbing fridge odors.
5. Buy a Bar Tool Set That Matches Your Drinks

Tools are where you either speed up service or slow down every order. Start with what fits your menu, not every gadget you’ve seen online.
A basic set usually includes a jigger, bar spoon, strainer, muddler, and a shaker. Add tongs for building cocktails and a peeler for garnishes if you plan to do citrus-forward drinks. These choices keep your workflow smooth and repeatable.
What makes this unique is consistency: if your tools are the same style and size, your process becomes automatic. For cost considerations, focus on quality for the items you use every time, like a good jigger and reliable strainer.
6. Decide on a Bottle Storage Plan
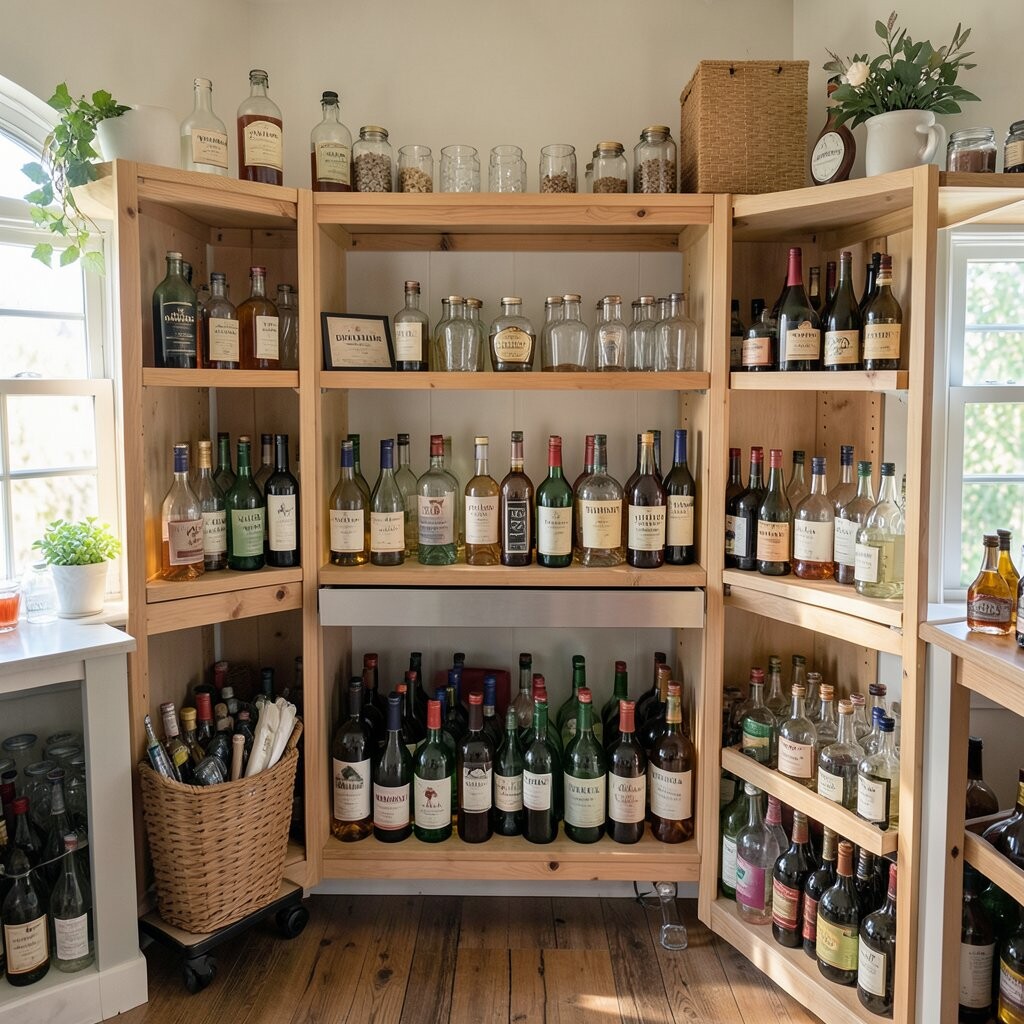
Nothing kills a good vibe like bottles tumbling behind the bar. Storage also helps you rotate stock and find ingredients without digging.
Use shelves, a bar cart, or a mounted rack, depending on your space. For a practical setup, keep top-shelf items at eye level and reserve lower areas for backups and low-turn spirits. When you can locate everything quickly, you reduce mistakes and waste.
Personalization shows up in the details, like labeling bottles with neat tags or choosing a matching finish for your shelves. Trends often favor open shelving, but you can still keep it tidy with uniform bottle labels and clear staging rules.
7. Plan Garnish Supplies Like a Mini Pantry

Garnishes bring color, aroma, and that “wow” moment for photos. But they also require space, freshness, and a steady restock rhythm.
Pick ingredients you’ll use often, such as citrus, cherries, herbs like mint, and simple staples like bitters-friendly options. Keep them in clear containers and set a routine for checking freshness before service starts.
What makes it unique is a signature garnish style, like always using thin citrus wheels or a consistent herb technique. Budget-wise, buying small batches can be cheaper than storing ingredients that wilt or go stale.
8. Select Your Shaker and Stir Options

Shaking and stirring change texture, dilution, and the way a drink tastes. If you only pick one method, you’ll limit what you can do.
For flexibility, use a shaker that seals tight and feels comfortable in your hand. Add a bar spoon and a mixing glass if you plan to stir classics like martinis. The practical tip is to test your tools with water first so you understand how they fit together.
Uniqueness can come from a signature finish, like consistently chilled stirring or perfectly frosty shake results. Current trends also show a mix of classic technique with modern plating, so having both options helps you keep up.
Cost considerations are straightforward: spend more on the shaker you’ll use most, and keep backups only if your volume justifies it.
9. Choose a Straining Method for Clean Texture

Straining makes your cocktails look smoother and taste more polished. Without it, pulp, ice chips, and herb bits can wreck the experience.
Pick a strainer that works with your shaker and mixing glass, and keep a reliable mesh version for fine cocktails. If you muddle herbs or use thick syrups, a second filter can help keep drinks consistent. This is a practical upgrade that often gets overlooked.
What makes it unique is how it changes guest perception; drinks that look clean feel premium. Also, staying current means many home bars now treat texture like flavor, so a good straining setup is a modern must-have.
For costs, it can be cheaper than replacing glasses stained by messy garnishes and drips. Store your strainers where they dry fully, so they don’t develop odors.
10. Don’t Skip the Pouring System

Speed comes from smart pouring, not rushed measuring. A good pouring setup helps you stay accurate without slowing down.
Decide if you need built-in pourers, a measuring approach, or a consistent bottle-then-pour routine. If you go with bottle pour spouts, make sure they’re easy to clean and don’t clog with residue.
Personalization comes from how tidy your bottles look during service. Cost considerations include replacement gaskets or filters, so check what’s included before buying. Trends also lean toward cleaner, labeled bottles that make a bar feel organized at a glance.
11. Build a Citrus-Care Routine

Citrus is one of the most used ingredients in a home bar, and it deserves real care. The right prep gear helps you cut faster and waste less.
Keep a sharp knife, a sturdy cutting board, and a small tray for peels and slices. Use a simple squeezer for juice and consider a strainer to catch seeds. When you standardize your cuts, your drinks look consistent every time.
What makes it unique is your garnish style, like consistently thin twists or neatly stacked citrus rounds. Budget-wise, buying whole citrus in bulk can lower cost if your schedule includes regular prep.
Current trends show more “fresh-forward” drinks, so having citrus tools ready keeps you aligned with what people love right now.
12. Add Coasters and a Cleanup Plan Together

Coasters protect surfaces and make a bar look intentional. A cleanup plan keeps the station neat between orders.
Choose coasters that match your glassware aesthetic, then place them where you’ll naturally reach. Keep a small towel or microfiber cloth nearby for quick wipe-downs. This practical setup reduces the time you spend hunting for supplies.
Uniqueness comes from design: textured coasters, subtle branding, or color-matched materials can make your bar feel like a destination. For cost considerations, buy enough coasters to handle busy rounds so you don’t run out mid-evening.
13. Pick the Right Thermometer or Temperature Helpers
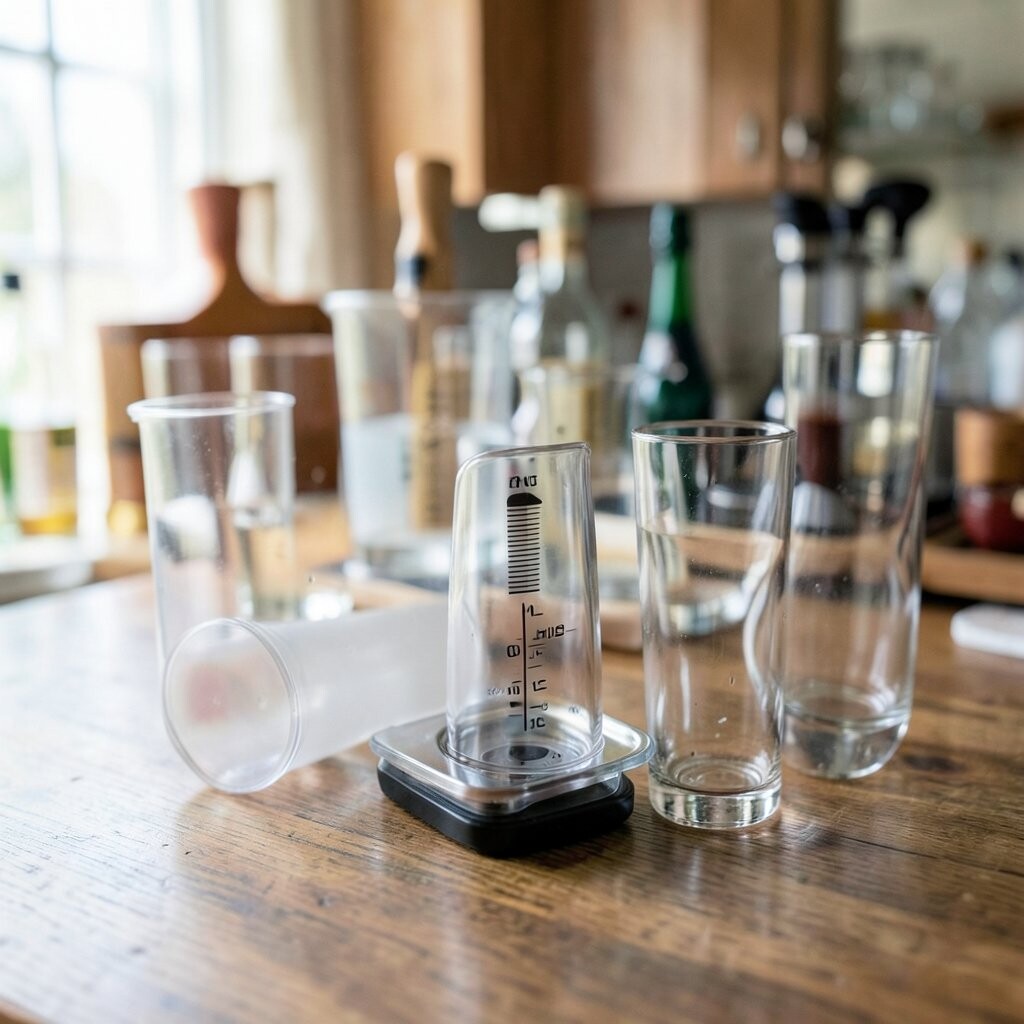
Cold drinks taste better when you control temperature instead of guessing. Even a small temperature tool can improve consistency.
If you serve cocktails with chilling steps, consider an ice thermometer or a simple way to track how cold ingredients are. For practical tips, keep syrups at a stable temperature and chill glasses if your menu relies on crisp, cold flavors.
What makes it unique is the precision feeling; guests often notice the “clean” taste of a well-chilled cocktail. Budget-wise, you can start simple and upgrade later once you know your busiest drink types.
14. Plan Syrups, Sweeteners, and Mixers Storage

Sweeteners and mixers can look messy if you buy everything in random bottles. A tidy system keeps your bar from turning into a cluttered shelf.
Use clear bottles or labeled containers for syrups, honey blends, and simple mixers like tonic or soda alternatives. Make it easy to measure by keeping a consistent pouring method. This is practical because it speeds up repeating recipes without mental math.
Personalization ideas include creating a house syrup lineup with matching labels and serving notes. Cost considerations depend on how often you make syrups, but small batches typically reduce waste. Current trends often favor flavored syrups and bitters-based sweetness, so plan storage with that flexibility in mind.
15. Use Bottled Water and a Proper Rinse Setup
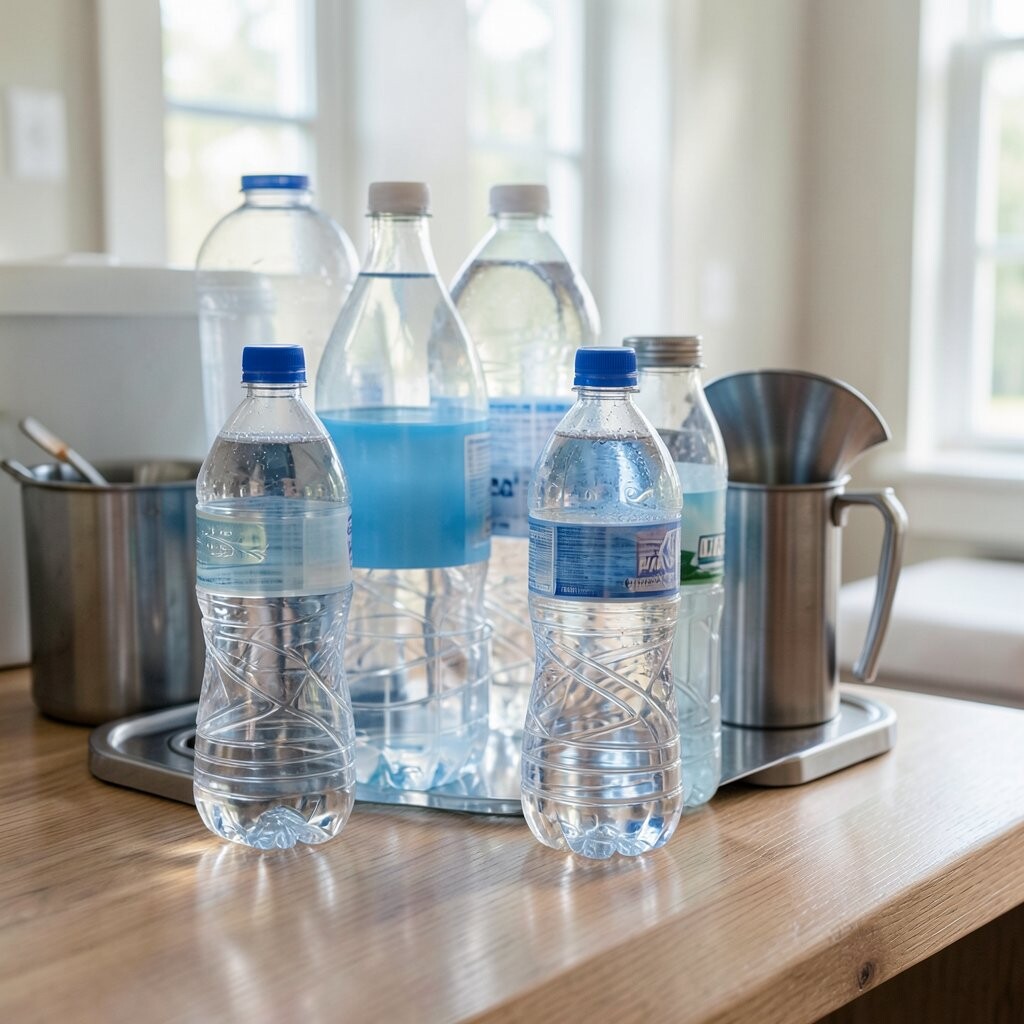
Rinsing tools and keeping water quality matters more than you think. A rinse step prevents leftover flavors from mixing into your next drink.
Set up a simple rinse station with clean water access and a place to dry tools quickly. If you’re using a cooler or water source, keep it consistent so ice and mixers taste right. This practical tip improves flavor clarity and keeps your bar trustworthy.
What makes it unique is how it supports a “quality routine,” even if you’re serving casual drinks. Budget-wise, a rinse setup is usually cheaper than replacing tools or dealing with off-tasting cocktails.
16. Include Extras for Busy Nights

Even a small bar needs backups when a party gets going. Extras stop small problems from becoming service delays.
Stock extra straws or stirrers, spare lids for shakers, and a few replacement glassware pieces. Keep a backup pour approach and extra garnishes ready in small containers. This practical move keeps drinks flowing and reduces stress.
Personalization can be as simple as your favorite garnish style stored in a “grab and go” tray. Cost considerations are best handled by planning only the items you use most, so your backup kit stays sensible and not overly expensive.
17. Match Your Bar Tools to Your Brand Style

A bar setup looks best when tools and textures share a consistent vibe. That doesn’t mean you need to buy expensive items, just cohesive ones.
Pick a color palette, like matte black with clear glass, warm wood with copper accents, or bright modern metals for a clean look. Keep your labels, coasters, and bottle presentation in the same style so everything feels “designed.” This makes your setup unique in a way guests can recognize instantly.
For cost considerations, shop for a few statement pieces first, then fill in with functional basics. Current trends lean into personality, so a bar cart layout or a themed garnish kit can make your space feel current without going over budget.