Bright ideas can turn a blank page into something alive. Pick one small prompt and let it lead you.
1. Sunlit Collage Window

Choose a sunny window photo or imagine one on your wall. Cut colorful paper strips and layer them to “frame” the light you want to see.
Use magazine pictures, fabric scraps, or patterned wrapping paper, then tear edges for a softer look. Add a thin line of black ink to suggest window bars or shadows. For a personal touch, include one “memory color” like a favorite sweater hue or a place you love.
2. Bubble-Talk Typography on Canvas

Write a short phrase that fits your mood, like “fresh start” or “gentle focus.” Turn each word into bubbly letters with thick outlines.
Paint the letters in contrasting colors, then add speech-bubble tails pointing in different directions. Use a white gel pen or opaque paint to make highlights that feel playful. Keep one word as the “hero” by making it larger and brighter, and the rest as supporting characters.
For cost, use poster paint plus one fine brush or a cheap paint pen. A current trend is “maximal lettering,” where typography becomes a joyful visual pattern rather than only words. Try stenciling for consistency, especially if your hand tends to waver.
3. Ocean Map With Hidden Creatures

Draw a simplified coastline and oceans filled with swirls. Make it look like a treasure map, with gentle waves and dotted paths.
Then hide tiny sea creatures inside the patterns, like a starfish in a corner bubble or a fish formed by repeating triangles. Shade areas with watercolor washes so the “map” feels old and dreamy. Add compass rose details using a ruler for clean lines.
To personalize, include symbols from your life: a small house icon, a favorite plant, or a date mark. Keep costs low by using paper or canvas panels and diluted acrylic paint. A popular style right now is “whimsical cartography,” where playful shapes mix with sketchy map lines.
When you’re done, circle one path with a bright marker to show where your imaginary journey leads.
4. Color-Block Mood Portrait

Pick three to five colors that match how you feel today. Sketch a simple face shape, then fill features using bold color blocks.
Make eyes with one strong contrast shade, cheeks with a softer tone, and hair with layered rectangles. Add small texture dots using a dry brush for a lively finish. Personalize it by using your favorite palette combinations, not what “should” be realistic.
5. Minimal Skyline With One Loud Element

Draw a calm skyline using thin lines and limited colors. Keep buildings mostly simple so the scene stays airy.
Now choose exactly one loud element, like a hot pink moon, a teal train, or a bright green window glow. Add it with thicker paint or a slightly metallic finish to make it pop. Use a small sponge to soften edges around that one highlight.
To keep it practical, use a limited number of brushes and let layers dry before adding details. This idea fits modern “clean composition” trends, where one accent draws attention. Personalize by making the loud element match a goal you’re chasing this week.
6. Fabric-Texture Paint Study

Start by pressing fabric onto paint to create texture shapes. Use denim, lace, or a knit scrap to leave distinct patterns on the canvas.
Build a background first, then layer another fabric print on top to form a new pattern landscape. Seal details with a thin layer of medium or glue mixed with paint so the texture feels intentional. Personalize by choosing a fabric that reminds you of a time, like a hoodie lining or a curtain you love.
If you’re watching cost, raid your closet for safe scraps and use craft acrylics. A current trend is mixed-media textures, where the canvas becomes tactile, not just visual. Try stamping the same fabric in different directions to see how the pattern changes.
7. Fantasy Garden With Ink + Wash

Draw plant shapes with black ink, then add a light watercolor wash behind them. Make petals, leaves, and vines slightly uneven for charm.
Keep some areas white so the painting breathes, and let ink lines create crisp edges where colors end. Add tiny “garden labels” like small tags or arrows pointing to flowers you invent. For personalization, name each plant after a friend, a hobby, or a dream.
Use a cheap watercolor set and a brush you don’t mind rinsing often. This style matches a growing trend of loose botanical art that feels like a personal journal page. If you want variety, make one flower bold and the others softer so your eye knows where to rest.
8. Night Sky With Constellation Stories

Paint a deep night background, then sprinkle star dots across it. Connect a few dots into constellations that you design.
Write a short “story line” on the side as if you’re mapping myths for your own universe. Use white paint for stars and a thin line for connecting shapes so it stays readable. Add one unusual star cluster shaped like a heart, key, or crescent moon to make it uniquely yours.
For practical tips, work in layers: background first, stars second, then lines last. Keep costs low with a simple set of white acrylics or even a fine-tip paint marker. A trend you’ll see online is “story constellations,” where art becomes a mini narrative you can revisit.
After it dries, gently smudge one constellation line to create a “fog” effect, like the sky is shifting.
9. Geometric Lanterns on a Wall of Squares

Draw a grid of squares across your canvas and choose a warm color palette. Inside some squares, paint small lantern shapes with rounded tops and glowing centers.
Shade each lantern so it looks like it’s lit from within, and let shadows spill into nearby squares. Keep the rest of the grid mostly simple, so the lanterns feel like the only moving lights. Personalize it by choosing symbols for each lantern, like initials, tiny stars, or a short doodle.
To stay practical, use a ruler or tape to create straight borders and paint one lantern style repeatedly. This idea matches current design trends in “patterned blocks,” where repeating shapes create calm energy. Cost is manageable with acrylics and a couple of small brushes for details.
10. Collage City Made From Packaging

Collect colorful packaging like cereal boxes, snack bags, and product wrappers. Tear them into shapes and arrange them like buildings and roads.
Use glue to layer pieces until your city feels dimensional, and then add thin black marker lines for streets and boundaries. Add highlights with leftover paper or foil to make windows shine. Personalize it by including one recognizable element, like a small logo shape from a brand you love or a favorite label color.
Cost wise, this is almost free if you save wrappers over time. A modern trend is “upcycled urban collage,” where sustainability and style meet. If you want extra polish, press the collage under a heavy book after it dries.
When you step back, check that your roads lead somewhere, even if it’s just to a bright “park” area.
11. Sea Glass Still Life With Soft Highlights
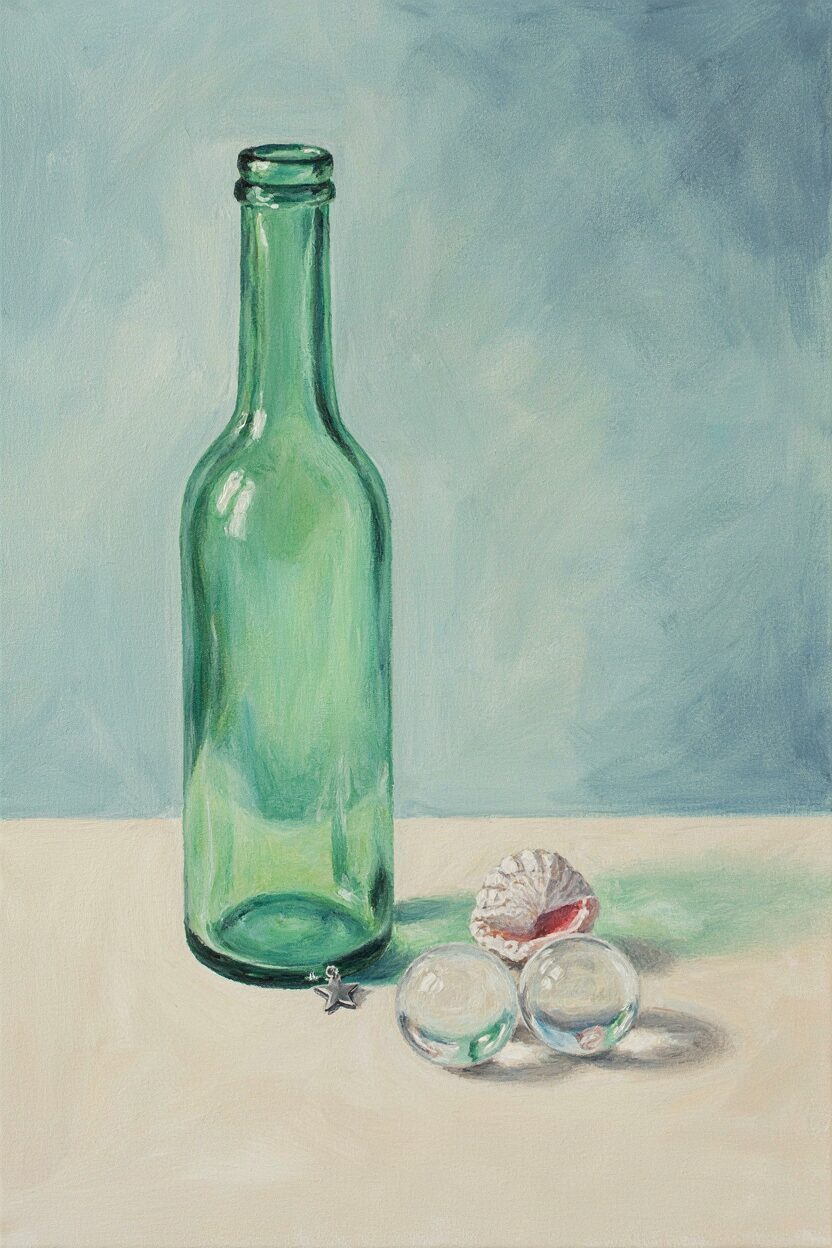
Arrange a few items that resemble sea glass, like green bottles or clear marbles. Sketch their outlines, then paint with gentle, translucent layers.
Use lighter colors near the brightest edges and darker shades under curves to suggest depth. Add a simple background wash that makes the “glass” feel cool and airy. For personalization, include one object that holds meaning, like a tiny charm or a shell you kept.
To keep it doable, start with basic acrylics and a small round brush for highlights. Current art trends often focus on calm “still life mood,” which is perfect for stress-free sessions. If you lack props, draw sea glass from imagination and let color do the work.
12. Motion Painting Using Music Tempo
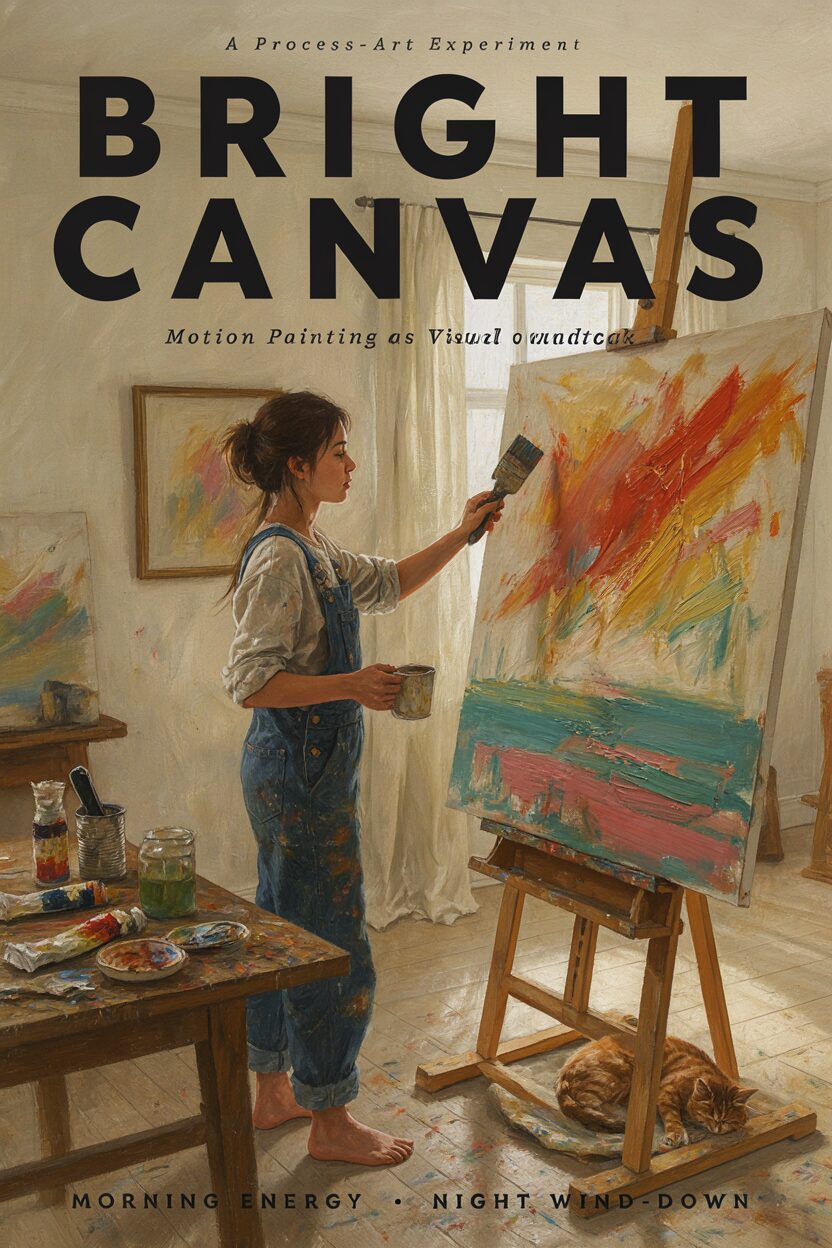
Pick a song with a clear beat and set a timer for ten minutes. Paint quick strokes that match the tempo, like fast lines for fast beats.
After one timer run, pause and add calmer shapes for the quieter parts of the song. Change colors when the melody shifts, so your canvas becomes a visual soundtrack. Personalize it by choosing songs that represent different parts of your day, like “morning energy” and “night wind-down.”
For cost considerations, you can use inexpensive acrylics or even washable paint. This matches a common trend in “process art,” where movement matters more than perfection. Try recording the song and doing the painting in one continuous session for a stronger outcome.
13. Botanical Pattern Border Around the Edge

Draw a simple border frame around your canvas using vines and leaves. Choose one plant style, then repeat it with small variations.
Leave the center mostly open or paint a plain wash so the border feels like a decorative window frame. Add tiny berries or seed shapes to connect the pattern from corner to corner. Personalize it by using plants from your region, your garden memories, or a herb you cook with.
To keep it practical, use a light pencil sketch first and paint in small sections. Costs stay low because repeating patterns don’t require many colors, just a consistent brush. A current trend is “ornamental framing,” where art has a clear edge motif that makes it look finished.
14. Portrait Silhouette With Pattern Inside

Pick a person you feel connected to, or draw a profile silhouette from a photo. Paint the silhouette in one solid dark color so it stands out clearly.
Then fill the inside of the silhouette with repeating patterns like dots, stripes, or doodle shapes. Use colors that match their personality, like blues for calm, warm reds for energy, or soft greens for comfort. Personalize it by adding tiny signature items, such as a favorite hat brim shape or a small music note.
For cost, you can use one base color plus a few pattern colors. This idea fits a trend called “pattern portrait,” where identity becomes a texture story. If you want crisp edges, use painter’s tape to separate background and silhouette areas.
15. The “Wish List” Doorway Scene
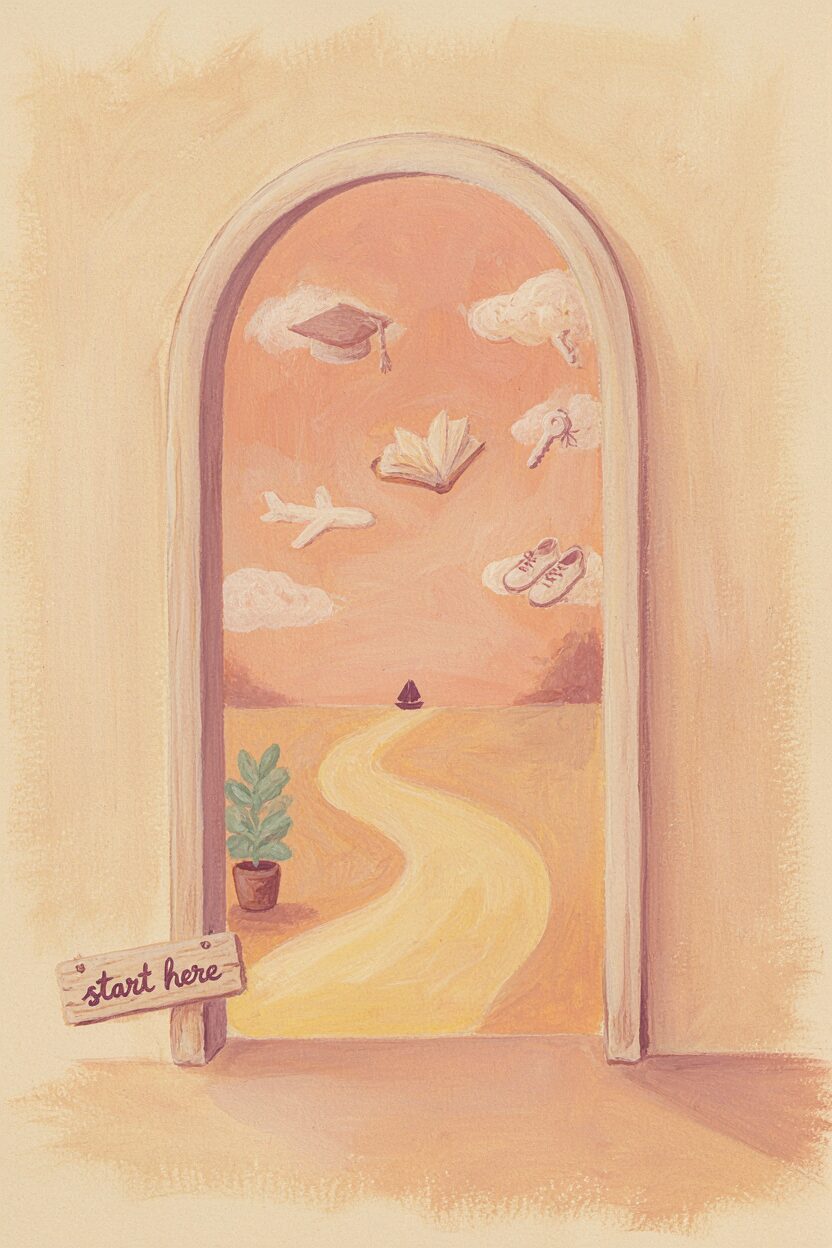
Draw a doorway or arch at the center of your canvas. Instead of painting a wall, paint a space that feels like an open invitation.
Inside the doorway, create visual clues about what you want, like a glowing path, a floating object, or warm clouds with shapes that resemble your goals. Add a small sign at the bottom with simple text, such as “start here” or “next step.” Personalize it by turning each visual clue into a specific wish you can work on this month.
Keep it practical by using a limited palette and letting gradients do the hard work. Costs can be low with acrylics and a sponge for smooth transitions. This style matches current “vision board art” trends, where drawings feel like a doorway to future plans.