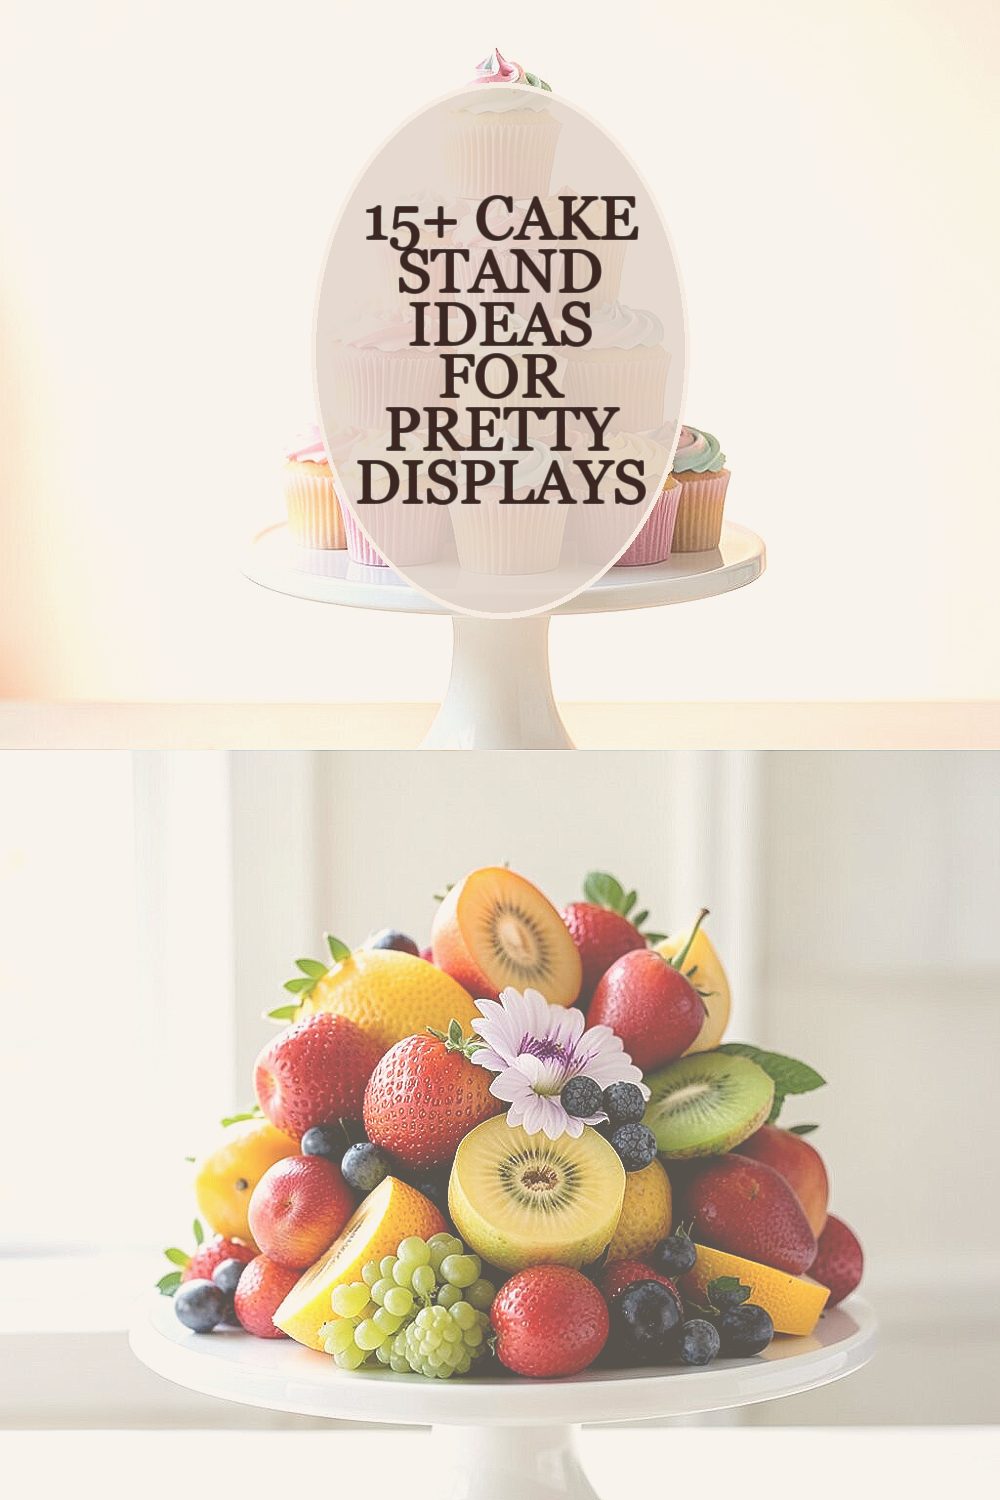
These cake stands do more than hold desserts. With a few smart touches, they can make everyday items look styled and special.
1. Pastel Cupcake Tower With a Soft-Glow Backdrop

Build a gentle height difference by stacking cupcakes on staggered tiers of the stand. Finish it with a satin ribbon and a light-colored background so the display feels airy.
Choose pastel liners like blush pink, mint, and pale lavender to match the stand. Add tiny sprinkles or edible pearls for sparkle without making it too busy. For practicality, place a small tray under the cupcakes to catch crumbs, and swap toppers by season.
2. Fruit and Flower Stand for Morning Color

Arrange ripe berries, citrus slices, and sliced peaches in a calm ring around the center. Top it with a few fresh blooms so the stand looks like a mini garden.
Use berries that are firm and not too wet to avoid smearing juices on the stand. Set taller stems near the back so they don’t block the fruit. To personalize, change the flower type to match your table decor, and keep a small pitcher of water off to the side for quick refreshes.
If you’re cost-conscious, use what you already have: a bag of mixed berries plus one affordable flower bunch goes a long way. A simple trend to try is adding “edible garnish” like mint leaves or pansies if they’re safe for eating. For best results, dry the fruit surface before placing it, and wipe the stand between uses.
3. Modern Minimal Stand With Black-and-White Styling

Go for clean lines by filling the stand with two or three items in a tight palette. Think matte candles, a sleek bottle, and a single striking flower.
Stick to shapes that repeat, like rounded candle holders and a smooth vase, to keep it looking intentional. Use a neutral table runner or a solid placemat as your backdrop so the stand pops. If you want extra polish, add a thin layer of decorative sand or faux pebbles for an even base.
For personalization, swap one element each month—like a different candle scent or a new monochrome print card. Keep costs down by choosing items from your existing home decor stash first. This style fits the current trend of “quiet luxury,” where fewer items look better when they’re well-chosen.
When you set it up, wipe the stand carefully, then place items slowly so spacing stays balanced. A quick photo check in natural light helps you spot uneven placement right away.
4. Holiday Cookie Display With Stack-and-Label

Create a festive spread by stacking cookies in small groups, each with its own spot on the stand. Add short labels so guests know what they’re grabbing.
Use parchment liners or cupcake liners underneath cookies to keep the plate clean. For tips, keep cookies in similar textures together, like soft cookies on one level and crisp cookies on another. If you’re budget-friendly, bake one “fancy” cookie variety and round it out with store-bought options arranged thoughtfully.
5. Tea-Time Stand With Mini Scones and Jam Jars

Set out tiny scones, mini sandwiches, or bite-size pastries to turn your stand into a tea station. Add small jam jars or honey pots for a cozy, friendly look.
Choose matching jar lids and add a paper tag for a handmade feel. Keep the items close to the edges first, then fill the center last so nothing looks crowded. For personalization, use a themed spoon or stirrer, like a floral one, to make the stand feel custom.
Cost-wise, mini treats are often easier than baking large items, and they portion well. A current trend is using “small-batch” display items, even if you buy one or two extras to round out the spread. To stay practical, set a napkin under the jars and keep a small spoon available so drips are easier to wipe.
6. Coastal Stand With Shells, Linen, and a Sea-Glass Center

Place a linen runner on the stand like a soft shoreline, then scatter shells lightly across it. Finish with a sea-glass piece or a small bottle filled with sand for a focal point.
Choose shells with similar tones so the display looks curated instead of scattered. For practical tips, keep shells in a shallow tray so they’re stable and easy to rearrange. Personalize by adding a tiny driftwood piece or a charm tied to the bottle neck with twine.
7. Farmhouse Tool-Caddy Stand for Snacks and Treats

Mix rustic charm with function by pairing the stand with small baskets, mini crates, and cloth napkins. Use it to hold snacks like pretzels, roasted nuts, or wrapped candies.
Look for materials that feel “matched,” such as jute twine, kraft paper tags, and earthy colors. Keep the stand from looking cluttered by limiting it to three main categories of items. To personalize, add a chalkboard tag with your favorite blend name or seasonal snack label.
If you want to keep costs low, reuse old baskets and clean them well before placing them on the stand. This idea fits the current trend of mixing “useful decor” with everyday organization, especially in kitchens that feel lived-in. For best results, wipe the stand surface often because oils from snacks can leave marks.
8. Glam Stand With Gold Accents and Candlelight
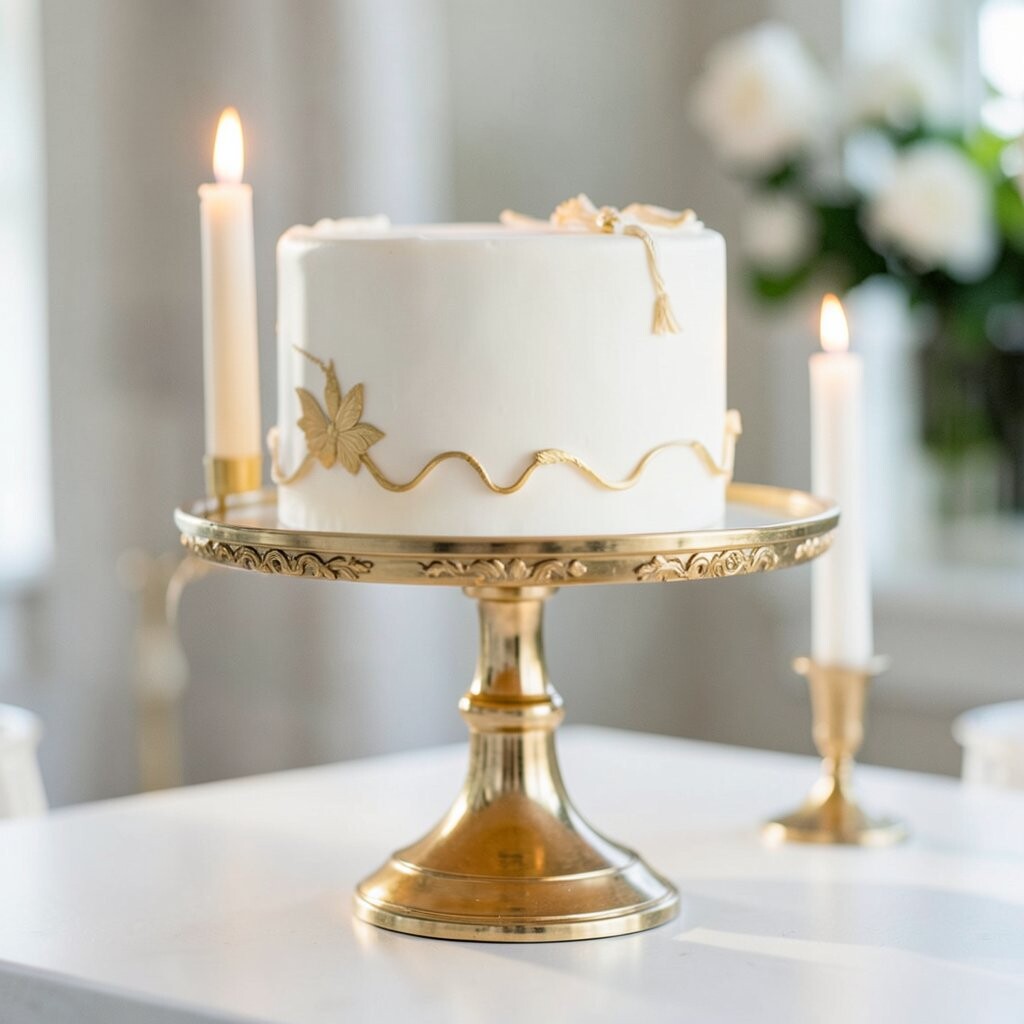
Make your display feel instantly fancy by adding gold-toned elements to the stand. Try a thin gold ribbon, metallic cake picks, and a candle set in the center.
Use unscented candles if you’re serving food nearby, and place them slightly behind the main items for safety. Keep it unique by choosing one statement centerpiece, like a jeweled cake pick or a shiny ornament. For practical tips, use a stable base plate under anything that could tip.
Cost considerations are simple here: you can keep it classy without buying expensive decor. Look for affordable gold spray paint touches on plain items you already own, or choose one statement candle holder and surround it with softer pieces. This style matches current “party-ready” table decor trends, where even small gatherings feel curated.
When styling, think in layers: bottom texture, middle color, top sparkle. A quick test in the evening lighting will show how the gold glows.
9. Kids’ Birthday Stand With Color-Coded Treat Zones

Create a fun layout by dividing the stand into clear zones for different treats. Use bright cups or small boxes so kids can see what belongs where.
Pick colors that match the party theme and stick to those shades across the stand. Add a small topper with their name or age for personalization. For practical tips, choose items that won’t crumble easily and keep napkins close for sticky fingers.
If you’re trying to stay on budget, combine a few homemade items with simple packaged treats, then make the presentation the “wow” part. A trend you’ll notice at many parties is themed labeling, like matching color dots or simple icons. To keep cleanup easier, line the base with a disposable cover or wax paper.
10. Elegant Cheese Stand for Charcuterie Nights

Turn a cake stand into a cheese moment by stacking cheeses, grapes, and crackers in neat sections. Add a small knife set so guests can serve themselves.
Choose cheeses with different textures and colors, such as creamy, firm, and marbled options. Keep it unique by adding one “special” item like fig jam or honey, then build the rest around it. For practical tips, place wetter items like grapes in a shallow bowl so they don’t make the stand sticky.
Cost considerations matter for charcuterie, so buy a small variety and focus on good presentation. This matches a common trend of “small boards” where you serve fewer items well. Personalize by matching your cheese labels to the color theme of your table linens.
11. Botanical Stand With Herb Sprigs and Seed Packets
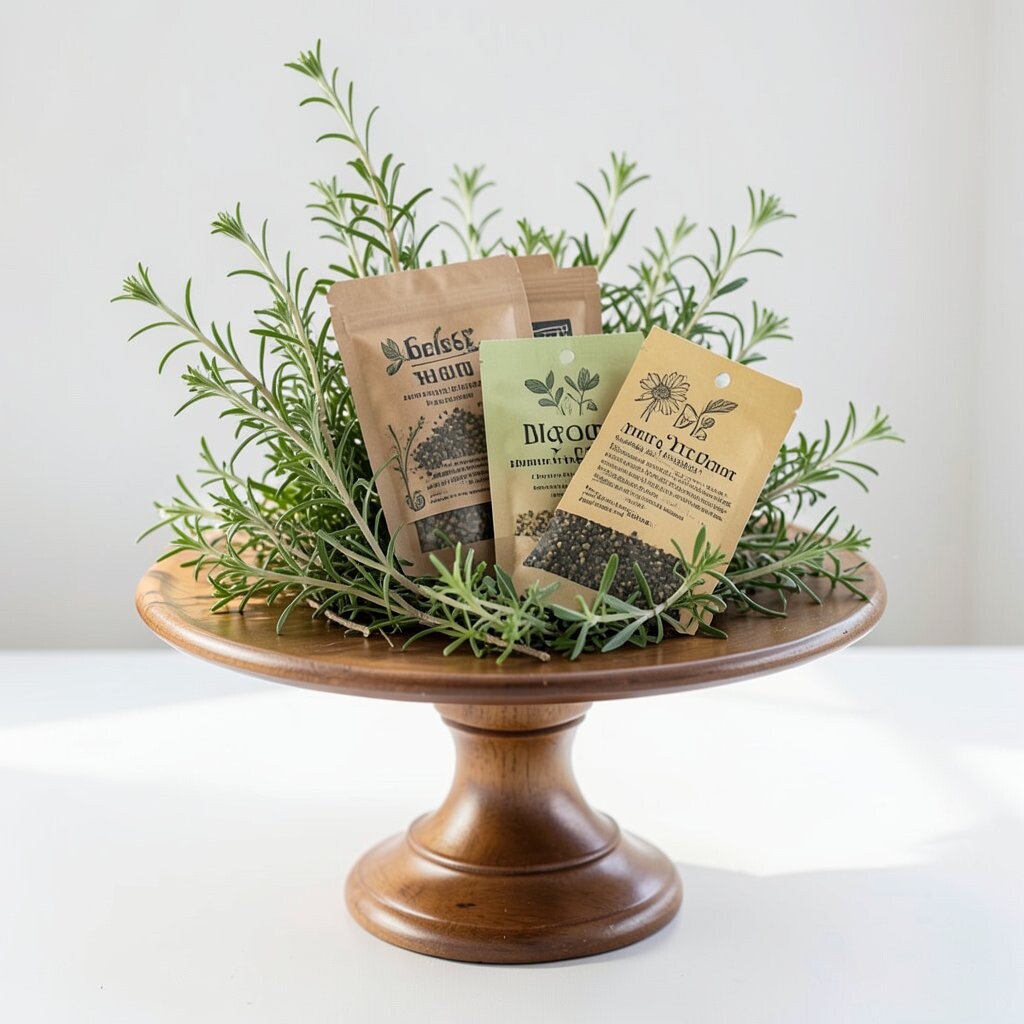
Use the stand as a mini greenhouse display by placing fresh herbs like rosemary and thyme on the plate. Add small seed packets or twine-wrapped tags for a charming garden feel.
Choose herbs with different leaf shapes so it looks naturally arranged. For practical tips, trim stems so they sit securely and don’t droop over the edge. Personalize by adding a label tied to each herb, like “baking thyme” or “chicken rosemary.”
If you’re keeping costs low, herbs are often cheaper than flowers and can be reused in cooking. A current trend is using “plant-forward” decor that doubles as kitchen flavor. When you’re done styling, rinse and store herbs properly so they last beyond the display.
To make it feel intentional, wipe the plate and keep the twine and tags in one color family.
12. Vintage Photo Stand With Memories and Trinkets

Make the stand sentimental by layering framed photos, small keepsakes, and a tiny hourglass or jewelry dish. Choose a color-coordinated set so it looks like one story.
Use photo sizes that vary slightly for a natural look, but keep the arrangement balanced. For practical tips, secure items with removable museum putty so you can change them easily. Personalize by adding a handwritten card behind the photos to share a date or short memory.
13. Seasonal Spice Stand for a Warm Kitchen Vibe

Fill the stand with spice jars, cinnamon sticks, and dried citrus slices for a kitchen that smells as good as it looks. Add a small card that says what you’re cooking this week.
Choose jars with matching labels or unify them by wrapping them in kraft paper bands. For practical tips, keep lids facing the same direction so the display stays tidy. Personalize by swapping the scent elements each season, like ginger and cloves in cooler months.
Cost considerations are friendly because spices are useful, not just decorative. A trend you might like is “everyday decor,” where functional items are styled as if they were art. To avoid clutter, use only the stand, not every jar in your cabinet, and refill the display as you finish items.
14. Candy-Color Stand for Movie Nights

Make movie night feel like a treat by arranging colorful candies and popcorn around the stand. Use clear mini cups so everything looks bright and easy to grab.
Pick candy colors that contrast with your stand, like jewel tones on a white plate or pastel shades on a darker base. For practical tips, place the most popular candy near the front edge for quick access. Personalize by adding themed labels like “sour,” “sweet,” and “crunchy” in fun handwriting.
If you want to control costs, buy one “splurge” candy and mix it with budget-friendly staples. This kind of playful styling fits the current trend of snack boards that feel like party tables. Keep the stand tidy by using small liners under cups and wiping sugar dust after guests leave.
15. Dessert-Free Display With Decorative Candles and Books

Who says a cake stand needs food? Create a calm, stylish scene with candles, a small book stack, and a tasteful tray of matches.
Choose books with complementary colors and use them like risers to build height. For practical tips, keep the heaviest items on the plate’s center so it stays stable. Personalize by rotating covers, then swap candle colors to match holidays or room accents.
Cost considerations can be gentle because you can use items you already have and add only one or two new pieces. A trend that keeps showing up is “styled clutter,” where small everyday objects look curated instead of hidden. If you’re using scented candles, let the fragrance be subtle so it doesn’t overwhelm the room.
16. Monogrammed Anniversary Stand With Personal Touches

Celebrate with a stand that feels truly yours by centering it on a monogram topper or a custom sign. Add matching ribbons and a small arrangement of flowers or berries around the base.
Choose a font style that matches your vibe, then echo those colors in candles, napkins, or small labels. For practical tips, keep items from touching directly to avoid smudges on the stand surface. Personalize by tying a short note bundle with dates or a “why I love you” message inside.