
Small upgrades can make your kitchen feel warmer in minutes. A homemade cookie jar is a sweet way to save money and show personality.
1. Painted Mason Jar With Nameplate
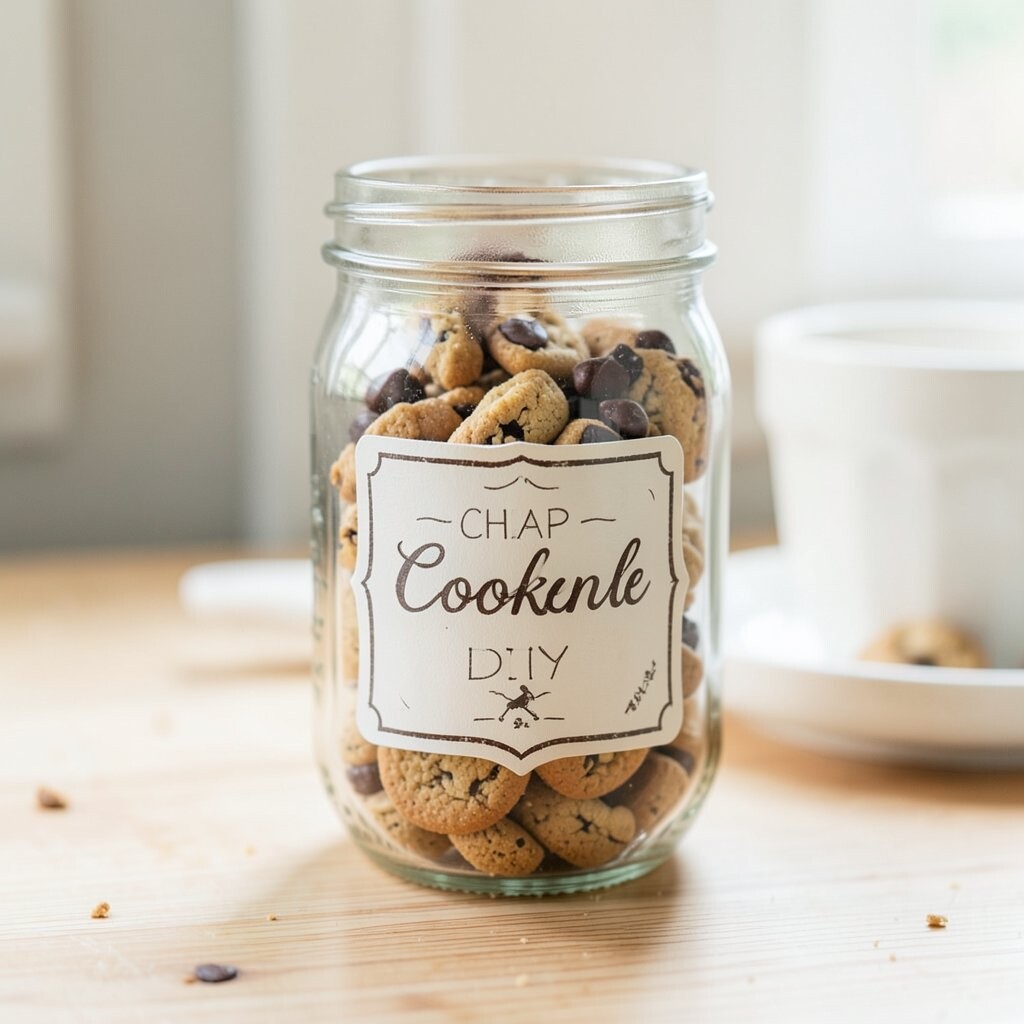
Start with a clean mason jar and remove any stickers. Then paint it in a color that matches your dishes. Add a simple nameplate using craft vinyl or a paper label sealed with clear tape.
This idea looks tidy on open shelves and feels instantly personal. Use a light hand with paint so the lid still screws on smoothly. For the best results, let it cure fully before storing cookies, and wipe the jar down with a dry cloth after.
2. Fabric-Wrapped Cookie Canister

Grab a basic metal or plastic canister and wrap it with cotton fabric. Choose a pattern you already have, like gingham, florals, or simple stripes.
Glue the fabric with fabric glue or Mod Podge, then trim the edges cleanly near the lid. Tie a ribbon around the neck for a farmhouse touch. This keeps the jar from looking plain while hiding small dents or scratches.
If you want easy cleaning, seal the fabric with a thin top coat of Mod Podge. For personalization, stitch on a small patch that says “Cookies” or add a tiny button for extra charm. Consider cost by using thrifted fabric scraps and a jar you already own.
3. Upcycled Tin With Chalkboard Front
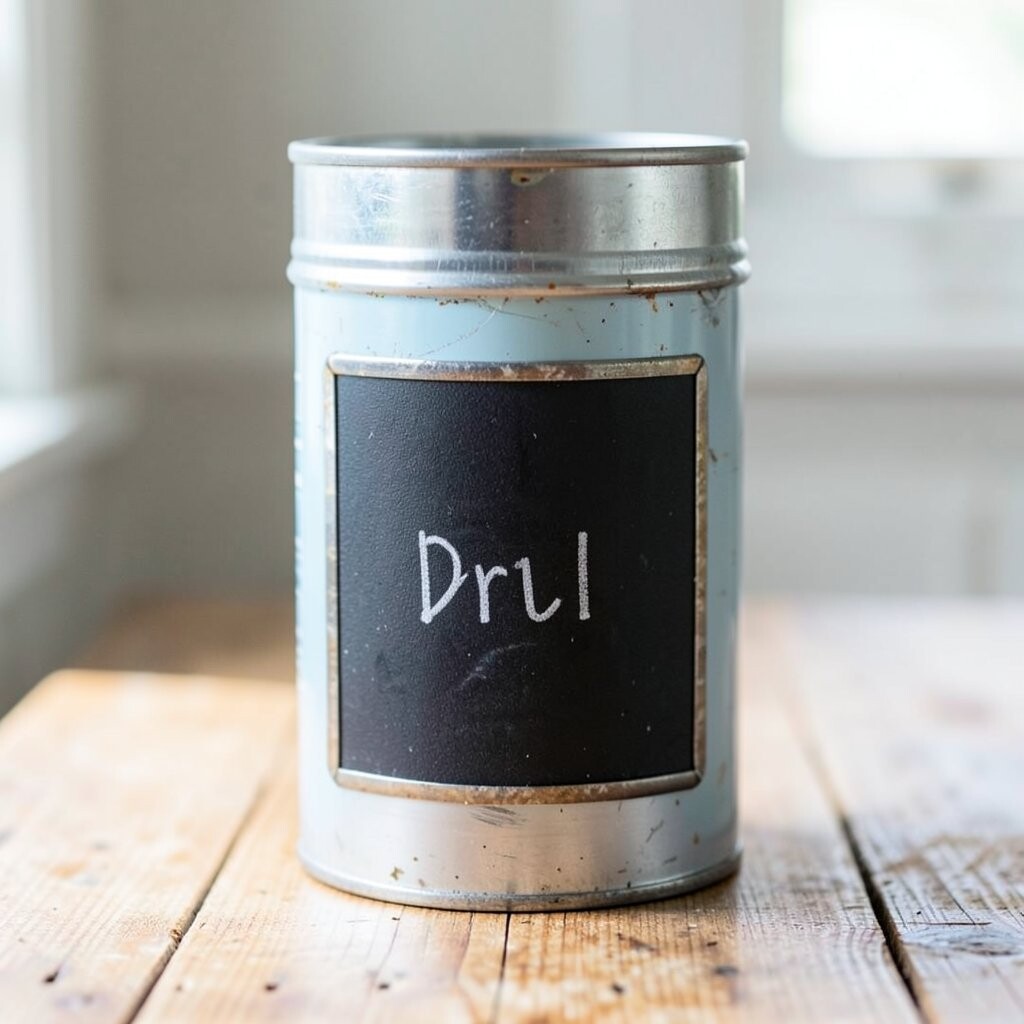
Use an old coffee tin or cookie tin and clean it until it shines. Paint the front with chalkboard paint so you can write what’s inside.
When the chalkboard dries, add a border with metallic paint or washi tape for a pop of contrast. This is unique because you can change the label daily, like “Oatmeal” or “Chocolate Chip.” Keep a small piece of chalk clipped to the side so it’s always ready.
To personalize, add a tiny cookie icon using a stencil. For practical tips, avoid thick paint layers that can chip near the rim. If you’re watching cost, chalkboard paint can be used on multiple items, so a little goes a long way.
Current trends love functional decor, and this fits right in with the everyday “write-it-yourself” style.
4. Decoupage Scrapbook Paper Jar
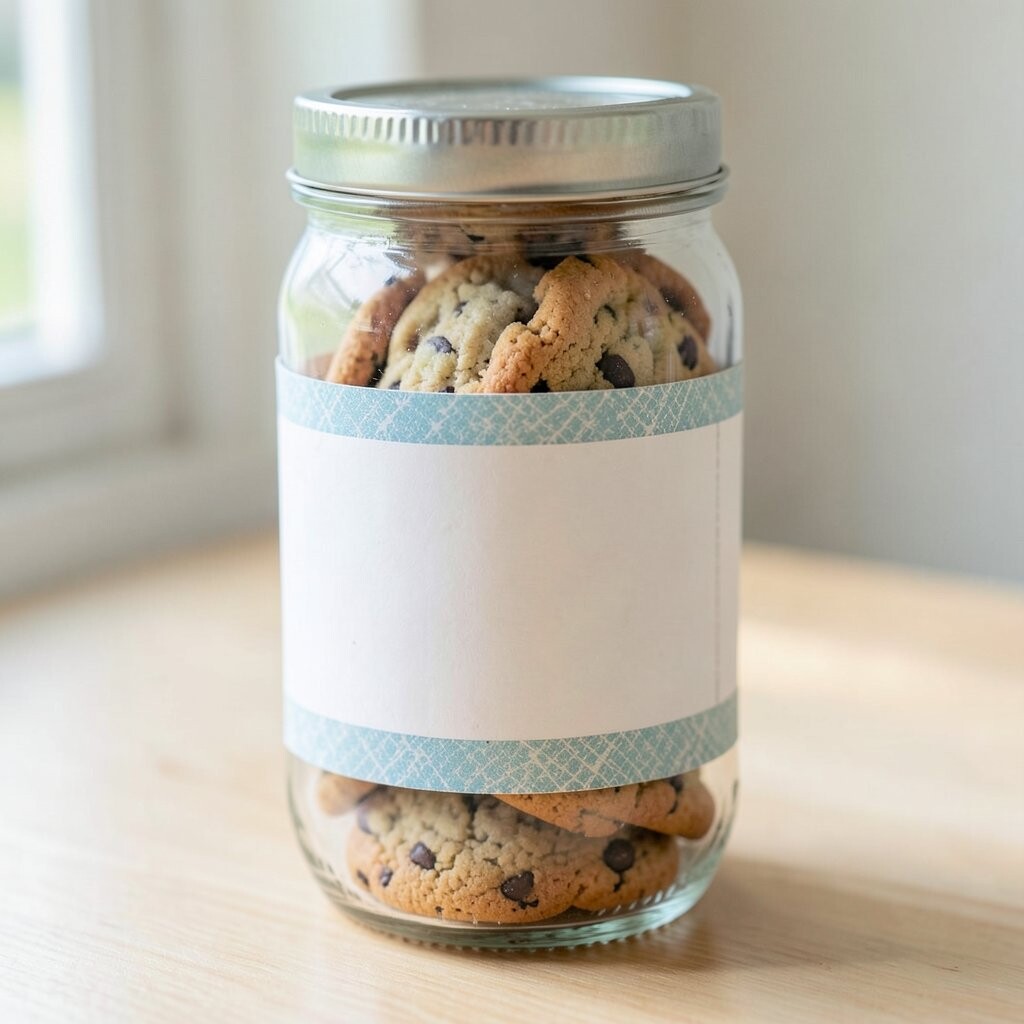
Choose a jar with a smooth surface and gather leftover scrapbook paper. Cut small shapes like stars, hearts, or tiny cookie motifs and decoupage them onto the jar.
Seal everything with multiple thin coats of Mod Podge so the paper stays glossy and protected. This looks like a custom gift even when it costs almost nothing. For tips, wipe the jar first and press out bubbles with your fingers.
5. Hot Glue Cookie Cutter Lid Topper

Start with a plain jar or canister and focus on the lid. Hot glue a cookie cutter shape to the top and spray-paint it to match your kitchen theme.
This is unique because the lid becomes a mini decoration that never takes up counter space. Add a smaller layer, like a second cutter inverted for dimension, if you want a bolder look. Keep the glue bead neat so you don’t scrape it when opening the jar.
For personalization, pick cookie cutter styles you love, such as flowers or hearts, then coordinate the paint color with your pantry labels. Consider cost by using inexpensive plastic cutters from craft stores or secondhand shops. Let it dry overnight so the paint cures before you handle it often.
6. Terracotta Mini Planter “Cookie Jar” Style
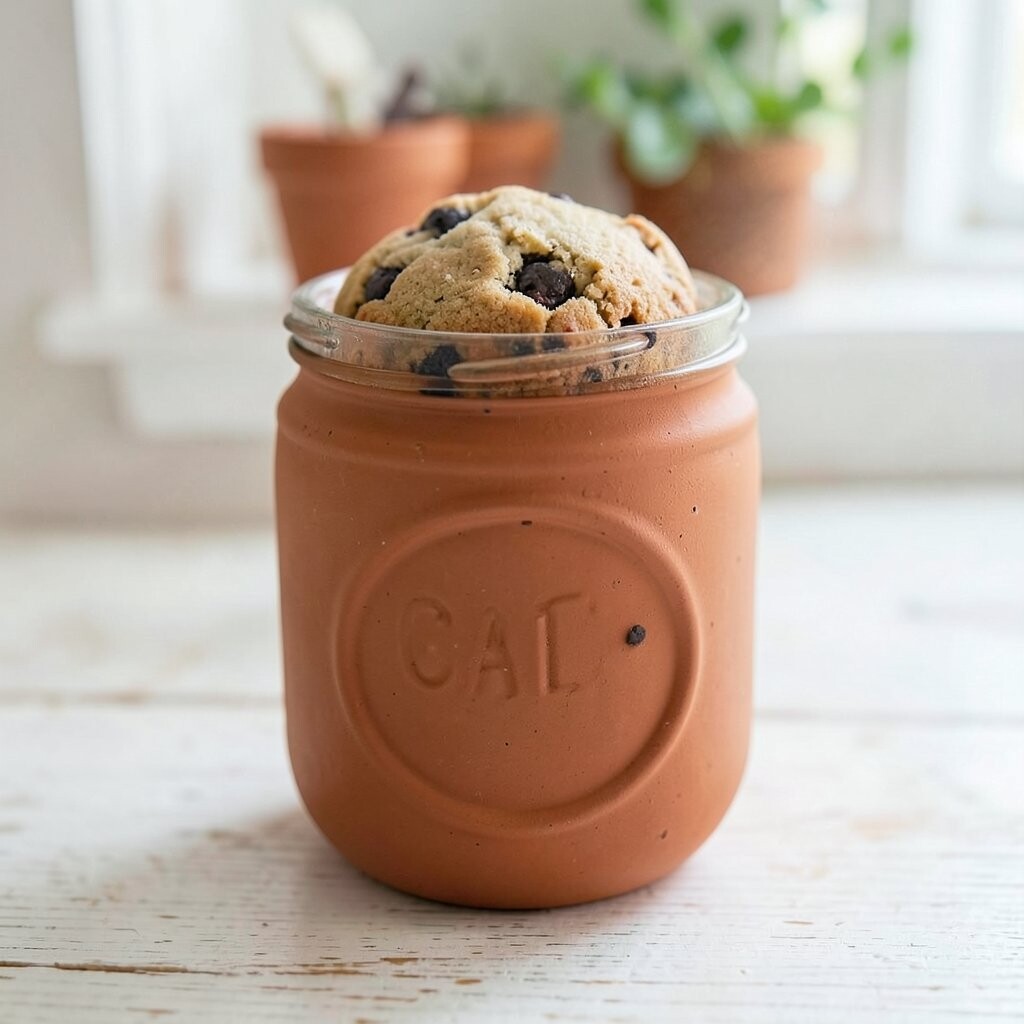
Turn a terracotta container into a cookie jar vibe by pairing it with a lid. Choose a matching pot and lid from craft sections or thrift furniture accessories.
Paint the outside with a weathered finish and add a small label tile that reads “Cookies” or “Treats.” This looks trendy because terracotta and earthy tones are everywhere right now. Line the inside with a food-safe liner so crumbs don’t cling to rough surfaces.
To make it practical, use a silicone mat or parchment disc on the bottom for easy wiping. Personalize with tiny stamps or stenciled dots. For cost, use one pot and one lid and focus your spending on sealant for the best finish.
Serve cookies from it on the table and it instantly becomes part of the decor.
7. Bamboo Skewer Cloche Jar

Use a glass jar and cover the top with a simple cloche frame. Build the frame from bamboo skewers tied together with twine, then place it over a lid.
This feels unique because it looks like a mini display stand for your snacks. Add a ribbon bow and a tag that says “Fresh Bakes,” and you’ll get that cozy bakery feeling. For practicality, keep the frame lightweight so you can lift it easily.
If you want cleaner edges, wrap the skewer ends with thin craft tape. Personalize by painting the twine or adding small faux greenery. Cost stays low when you use skewers from your kitchen drawer and tie everything with twine you already have.
8. Braided Rope Jar With Label Sticker
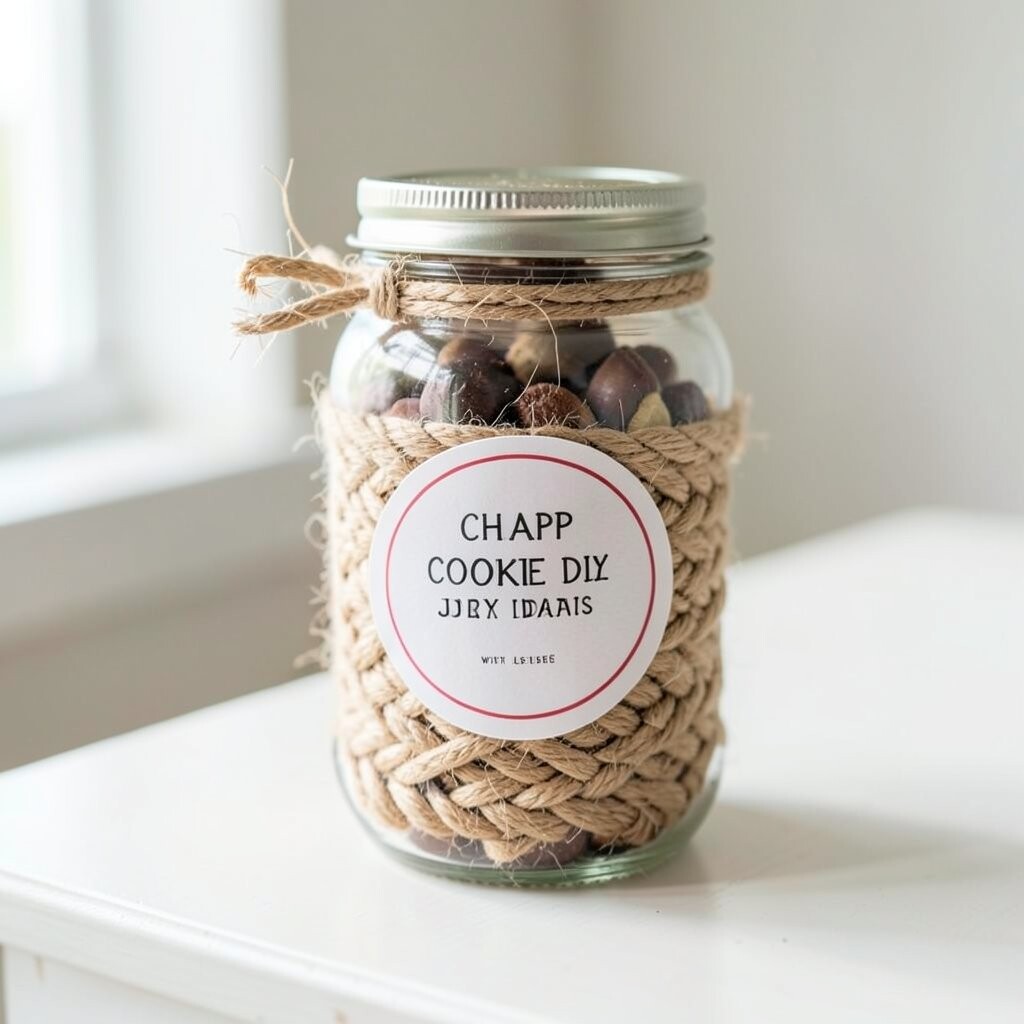
Coil thick jute or cotton rope around a jar using hot glue, starting from the bottom. Press the rope close together so you don’t see gaps.
Once it’s fully covered, add a label sticker or handmade card under a clear tape “window.” This is a great option if you love rustic decor and want something that looks expensive. The rope also gives grip, so it’s easier to handle when your hands are a little floury.
For practical tips, glue in small sections so the rope doesn’t slide while cooling. Personalize with a stamped initial or a small charm tied to the label string. Keep costs down by using rope from discount stores or leftover crafting supplies.
To protect it, apply a thin clear sealant so crumbs and moisture wipe off easier.
9. Rainbow Washi Tape Lined Jar

Pick a clear jar and create color bands with washi tape. Use a few widths for a striped look, then add a “Cookies” tape label on the front.
This unique approach is fast, cheap, and forgiving if you make a mistake. Washi tape is popular right now because it’s easy to swap, so your cookie jar can match the season. If you want a cleaner style, measure the spacing and wrap tape around lightly, smoothing as you go.
For personalization, mix colors you already own and add tiny doodles with a black marker. Consider cost by buying one roll at a time and using it for other crafts too. Keep the lid area tape-free so it doesn’t peel where you open the jar often.
10. Ceramic Tile “Cookies” Lid Accent
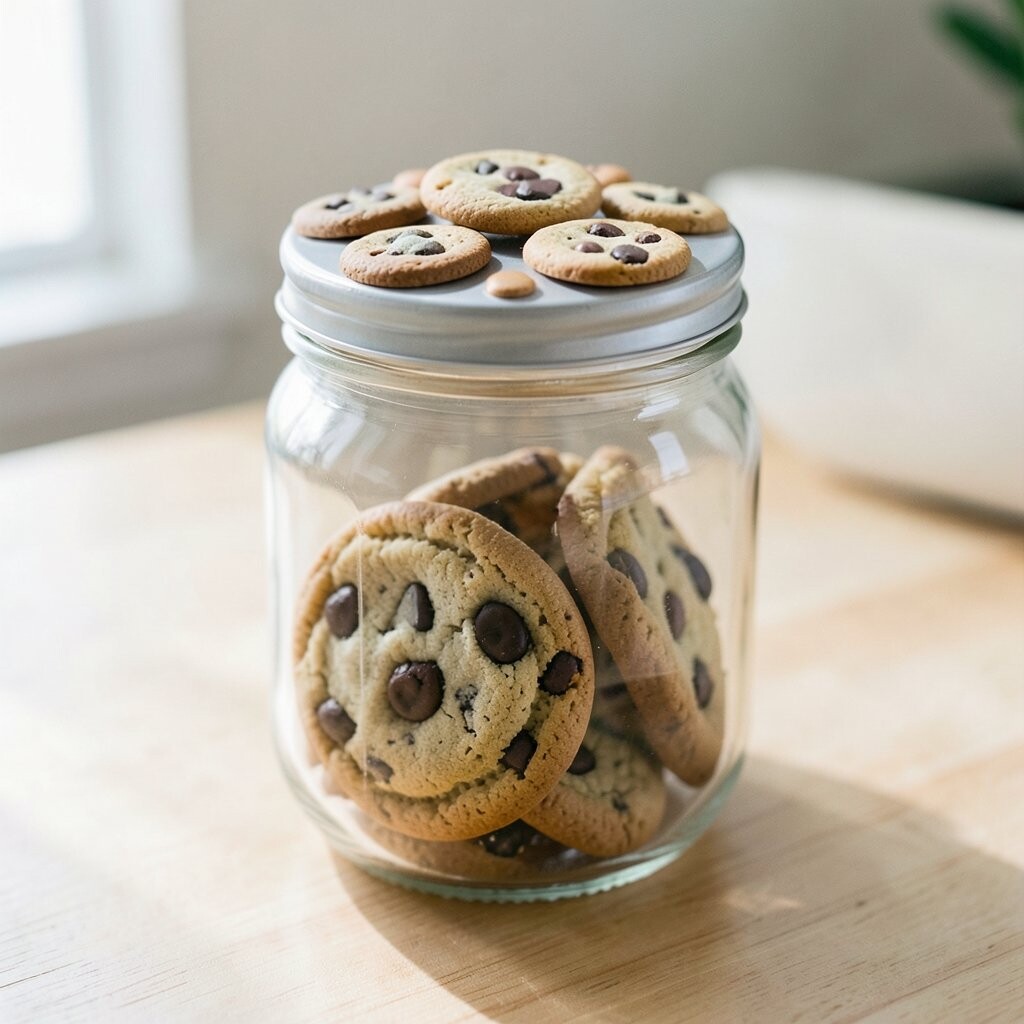
Choose a plain jar with a flat lid, then attach small mosaic tile pieces to the top. Use strong craft glue made for ceramics and clean the surface before sticking anything.
This is unique because the lid becomes a little art piece that looks like you paid a designer. Add grout-style paint between tile pieces if you want a more finished look, but keep it thin. For practical tips, let the glue cure long enough before you store heavy cookie batches.
Personalize with a color theme, like navy and white for a nautical vibe. Cost considerations are simple: check clearance craft tiles and use only a small set. Finish the edges carefully so you don’t get sharp spots.
11. Paper Bag Wrapper Jar Hack
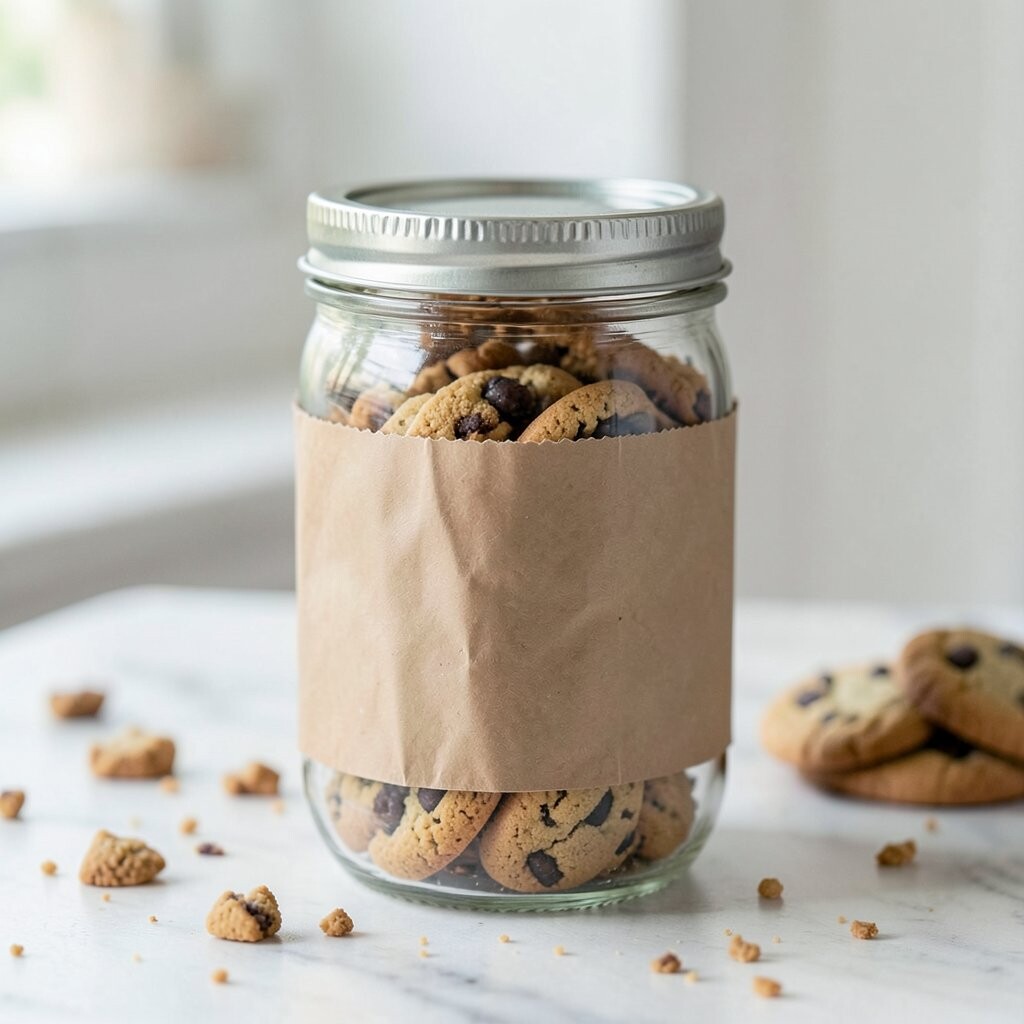
Use a sturdy jar and wrap a brown paper bag around it like a custom sleeve. Trim the top so it sits just under the lid line and crease the paper to follow the jar shape.
Seal the paper with a brush-on layer of Mod Podge so it stays smooth and doesn’t sag. Add a painted cookie graphic or a stamped word like “Treats” for a warm handmade feel. This style is unique because it looks like rustic bakery packaging.
To personalize, write the cookie type in neat handwriting and add a date. For practical tips, use a clear tape “hinge” near the lid so you can remove the label easily. Keep cost low by using grocery paper bags and saving stamps or markers you already have.
This is also great for seasonal swaps, like writing “Pumpkin Spice” in fall.
12. LEGO-Style Brick Jar Accents

If you have leftover plastic bricks, use them to decorate the lid or front. Glue brick-like pieces around the jar using a craft adhesive that dries clear.
This idea feels unique because it adds a playful, modern vibe without rebuilding a whole set. Choose one color family, like pastel bricks or classic primary colors, so the jar looks intentional. For practical tips, avoid blocking the lid screws and keep bricks away from places where you wipe crumbs.
Personalize by adding a tiny “cookie” tile made from a printed paper sticker under clear tape. Cost is often low if you use what you already have, and thrift stores can be a smart place to find spare bricks. Seal the decorations lightly so dust doesn’t stick as easily.
13. Bamboo Chopstick Frame With Twine

Create a vertical frame around a jar using chopsticks or thin wooden sticks. Tie the sticks together with twine at the top and bottom so it forms a neat little cage.
This style is unique because the jar looks airy, and it lets the cookie colors show through if you use clear glass. Add a small burlap tag that says “Cookies,” and you get that cozy market feel. For practical tips, use chopsticks cut to the same height so the frame doesn’t wobble.
Personalize by painting just the twine ends or adding a small charm to the tag. For cost considerations, chopsticks are usually cheap, and using repurposed sticks helps even more. Make sure the frame stays stable so kids can’t pull it off easily.
14. Acrylic Paint Drip “Cookie Pour” Jar

Paint your jar base color first, then add drippy details on top like a candy pour. You can use acrylic paint and a small brush to pull lines downward.
This looks fun and modern, and it fits current “bold color” home decor trends. Choose drip colors like chocolate brown, caramel, or strawberry pink for a cookie-inspired palette. For practical tips, use a thinner paint consistency so drips look smooth instead of chunky.
Personalize with little sprinkle dots using a cotton swab dipped in white paint. Cost is budget-friendly because acrylic paint is inexpensive and you can use leftover cups. Seal with a clear varnish so the jar stays wipeable when crumbs happen.
15. Vintage Book Page Roll-Up Jar Label

Use a jar and decorate it with a label made from vintage-looking book pages. Roll the paper slightly, then secure it with a small strip of tape or glue behind the front.
This unique look feels like a storybook pantry, especially when you add a short line like “Sweet Chapters” or “Cookie Classics.” Keep it practical by sealing the label so it doesn’t curl from moisture. For tips, cut the paper cleanly and smooth it flat before sealing.
Personalize by writing the cookie flavor name with a fine-tip marker. Cost considerations are easy since you can use old books or scrap paper from craft bins. If the jar is clear, the label will be easy to see when you reach for treats.
16. Reclaimed Wood Sign Jar Dock
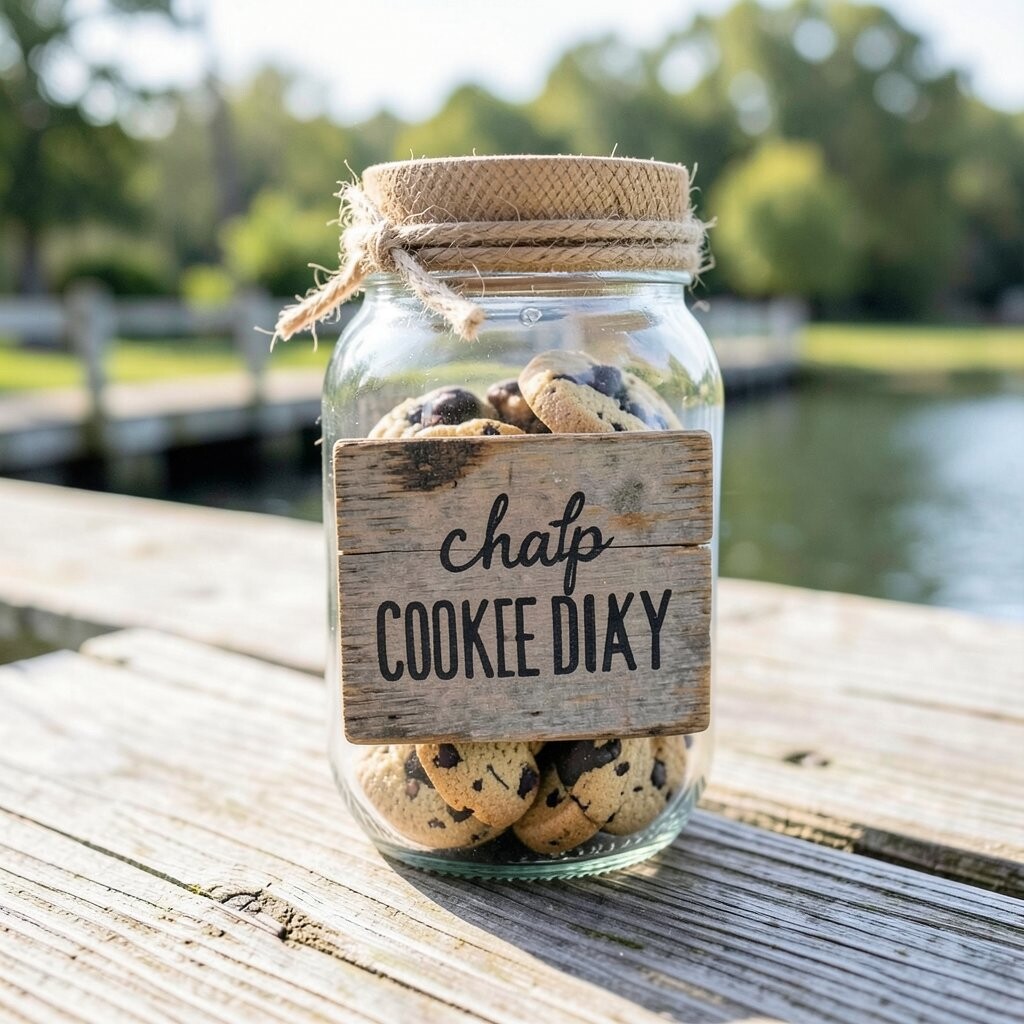
Make a small wooden sign and attach it to the front of a simple jar stand or directly onto a jar. Use scrap wood, sand it smooth, and paint or stain the surface.
This is unique because it’s less about decorating the jar itself and more about building a “dock” for the jar. Add a hook or a small ledge so the sign frames the container and looks like a custom piece. For practical tips, seal the wood well so it can handle kitchen humidity.
Personalize the sign with a stencil, like a cookie outline or a monogram. Keep costs low by using scrap lumber and working with basic stains. Trends often favor natural wood + simple labels, and this fits right in.
17. Nested Bottle Cap Mosaic Cookie Jar

Build a mosaic on the jar lid using bottle caps and a strong adhesive. Choose matching colors, like gold and black, or mix fun patterns for a playful look.
This idea feels unique because bottle caps catch light and create little shiny dots across the top. For practical tips, let the adhesive fully set before you handle the lid often. Use a sealant to protect the edges and keep crumbs from getting stuck in tiny gaps.
Personalize by arranging caps into a simple cookie shape, like a circle for a cookie and smaller caps for “sprinkles.” Cost considerations depend on how you source caps, but collecting from friends or recycling bins is usually free. Keep the jar clean by wiping the mosaic gently with a soft cloth.