
Small changes can make your pantry feel bigger. Your next meal can be easier to cook than ever.
1. Label Everything Like a Pro
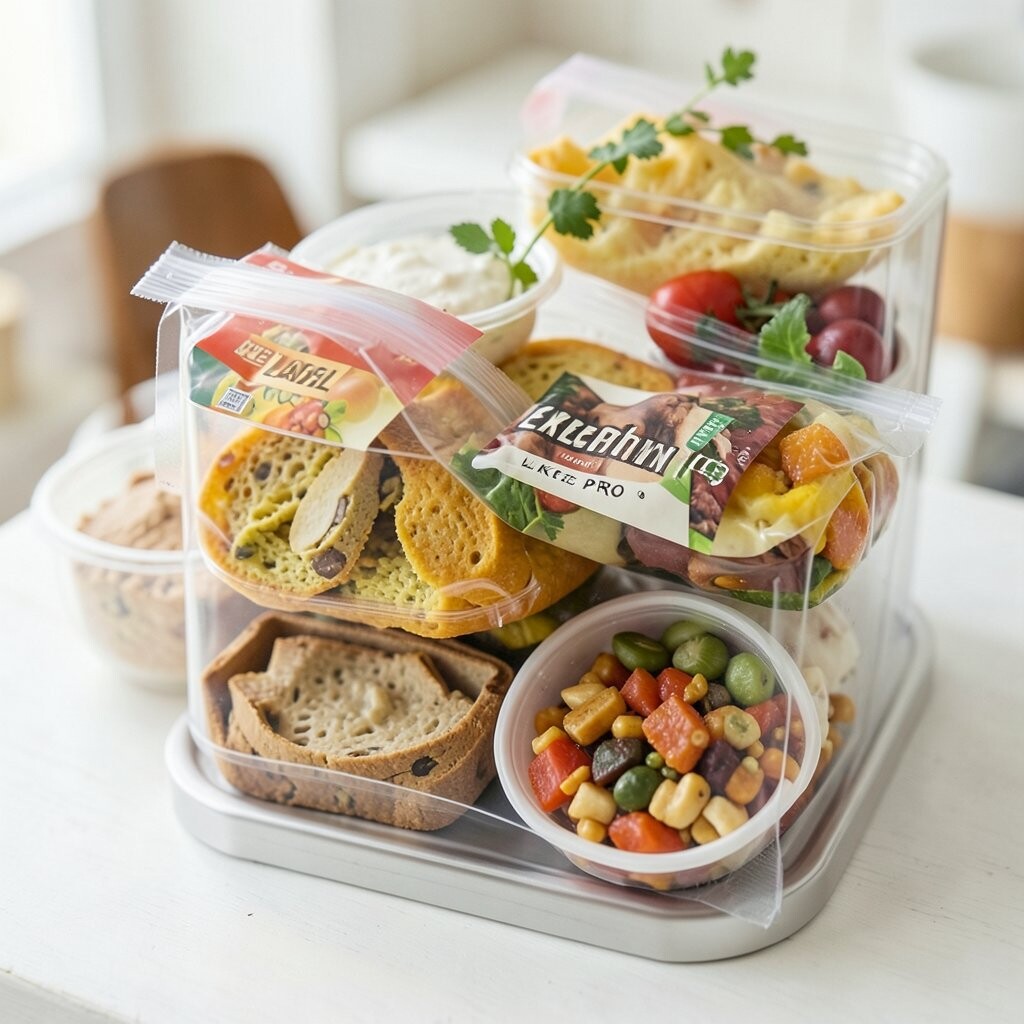
Labels remove guesswork in seconds. When you can spot items fast, you use them before they go stale.
Use a label maker for a neat look, or use painter’s tape for a budget-friendly start. Stick labels on the front of bins, lids, and shelves so nothing disappears behind other items. For personalization, make color labels for categories like baking, snacks, and breakfast.
2. Build a “Most-Used First” Shelf

Put your daily items at eye level. That way you reach them without moving a dozen containers.
Choose one shelf for what you grab every week, like coffee, pasta, cereal, and go-to sauces. Keep back stock higher up or deeper in, so it doesn’t crowd what you use now. Rotate items monthly so older packages move forward.
To keep it compact, use shallow bins for quick picks and keep each bin focused on one use. Trend-wise, many kitchens are switching from large decorative canisters to simpler, stackable containers because they save space.
3. Use Stackable Containers for Dry Goods

Stacking saves your shelves for future ingredients. You also avoid the “pour and guess” mess that leads to waste.
Pick containers that are the same size so they stack neatly and don’t slide around. Clear sides help you see what’s inside without opening lids. Add a removable label to each container so swapping items is quick.
If you want a personal touch, use different lid colors for different family members or meal types. For cost, start with your top three dry staples and expand slowly once you feel the space win.
Also think about airflow; if something needs to stay dry and sealed, choose containers with tight gaskets.
4. Group by Meal, Not by Grocery Aisle

Organizing by meal makes cooking feel smoother. Instead of searching, you pull one group and start.
Create zones for breakfast items, taco night, stir-fry, and baking days. Keep ingredients in the same area even if they came from different stores. This method reduces clutter because you don’t keep duplicate “maybe” items in random spots.
5. Add a Door-Mounted Snack Station

Your cabinet door can hold snacks without taking shelf space. It also keeps small wrappers from turning into countertop clutter.
Use a few clear hooks, a small rack, or an over-door organizer to store granola bars, single-serve packs, and tea bags. Keep items front-facing so you can spot them quickly. If space is tight, use one slim bin and restock as it empties.
For personalization, set up a “kid grab” level or a “work lunch” area with portable foods. This is a popular trend in small apartments because it uses vertical space that usually goes unused.
6. Create a “Pantry Release” Zone for New Stock

When new groceries arrive, they can spill into your pantry chaos. A dedicated spot keeps everything from merging together.
Choose one small drawer or corner shelf for unopened items waiting to be put away. After a short time, you transfer them into the right containers. This helps you track what you have, which can cut food waste.
7. Store Spices in a Rotation-Friendly System

Spices are tiny, but they multiply fast. A rotation system keeps them from turning into dusty “mystery jars.”
Use a compact rack that holds jars upright and is easy to pull out. Put the newest jars at the back and move older ones forward each time you restock. Add a simple label with the purchase date so you feel confident about freshness.
For cost, you can reuse jars and just buy a basic organizer tray. Many kitchens are trending toward uniform spice bottles because they look tidy and stack-friendly while still being easy to read.
8. Freeze Portions in Flat, Labeled Bundles
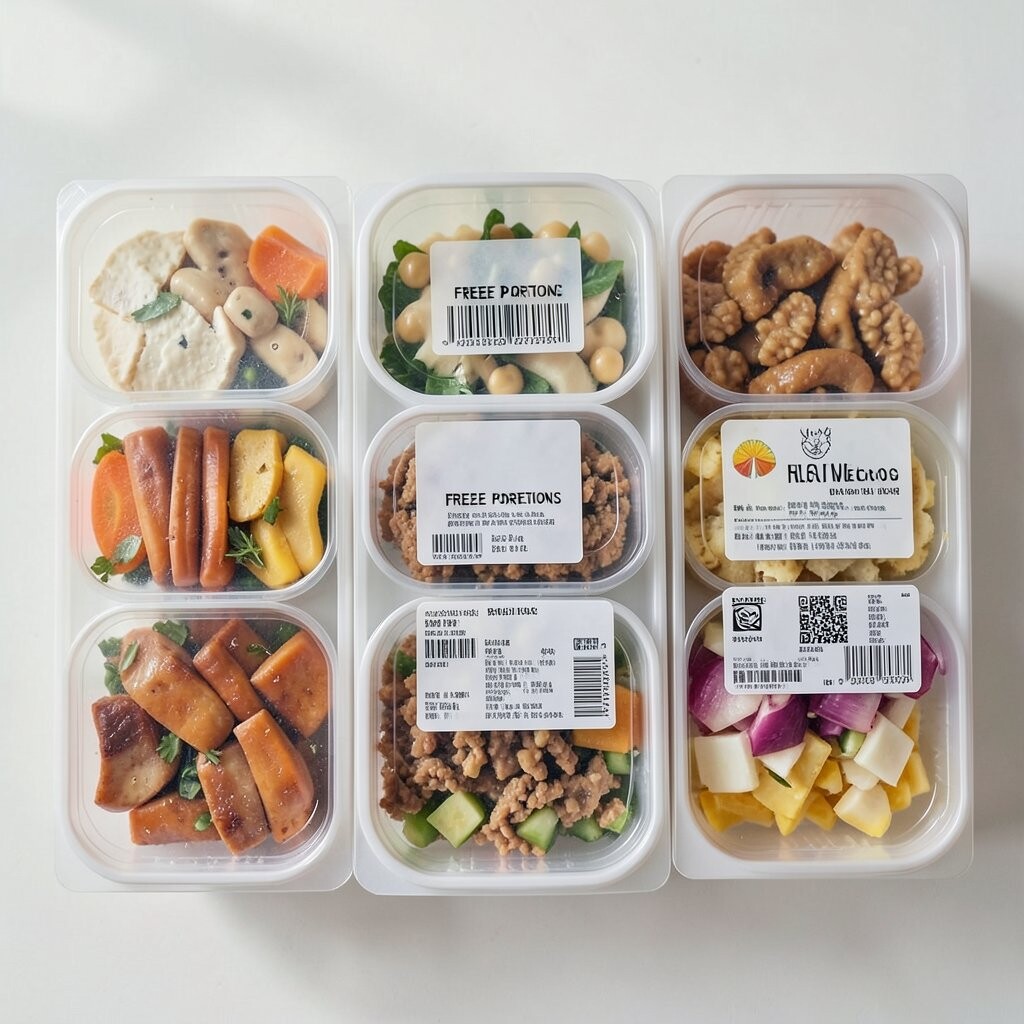
Freezing doesn’t have to mean bulky bags everywhere. Flat portions stack better and thaw faster.
Freeze soups, sauces, and leftovers in flat freezer bags laid flat on a tray. Once frozen, stack them upright in a bin so your freezer stays neat. Label each bag with the dish name and date using a marker made for freezer use.
To personalize, color-code labels by meal type, like red for dinner mains and blue for breakfast items. If you want to save money, portion “almost gone” ingredients into meals so nothing gets thrown out.
This approach also helps you plan ahead without turning your kitchen into a storage museum.
9. Keep One Basket for “Loose Odds and Ends”
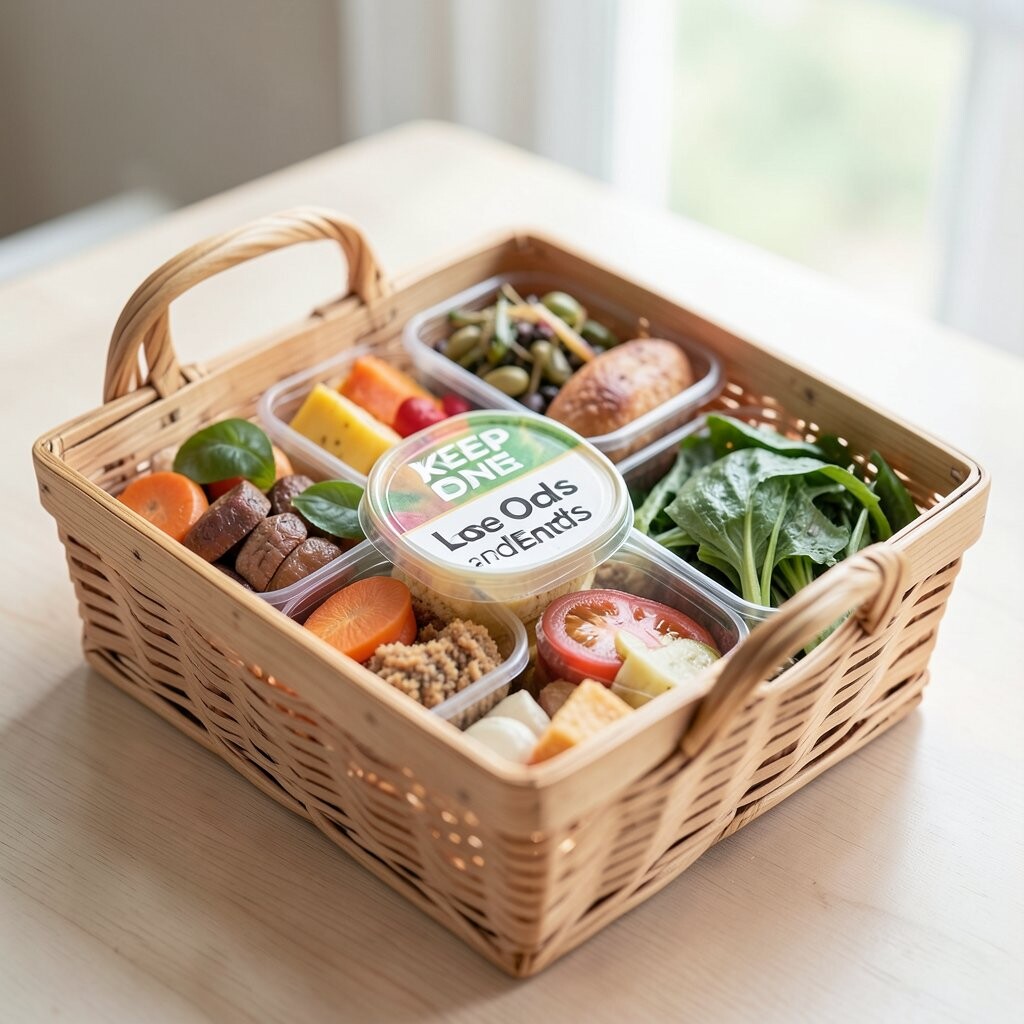
Loose items can quietly take over every surface. One basket stops the chaos at the source.
Use a small lidded basket for things like baking tools, extra liners, twist ties, and small packets. When you finish cooking, toss items back in right away so your counters stay clear. Choose a size that fits your cabinet opening so the basket returns easily.
10. Use Clear Storage for “See It, Use It” Items
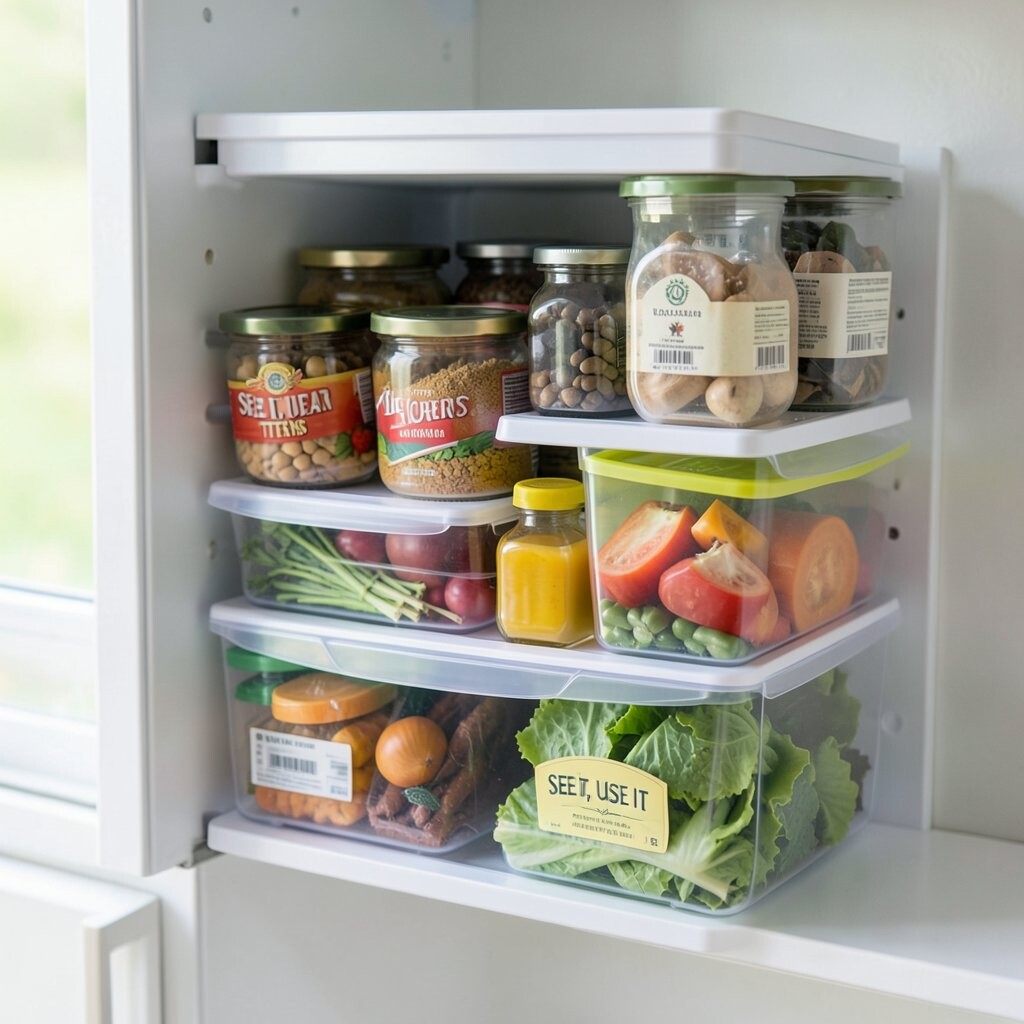
Clear containers make your pantry feel organized even before you cook. You can make choices quickly when you can actually see the options.
Store items you reach for daily—like cereal, oats, crackers, or snack mixes—in transparent bins. Put items in simple categories so you don’t open three containers to find one ingredient. Add a small shelf tag for quick reference.
For cost considerations, choose clear containers only for your most-used shelf. For the rest, use opaque bins with strong labels to save money while keeping the overall look tidy.
11. Install a Rail for Foils and Wraps

Wraps and foils love to sprawl across drawers. A rail keeps them standing and ready.
Use a small mount or wall rail inside a cabinet to hold aluminum foil, plastic wrap, and parchment. Keep the cutters or tear-off spots facing the same direction so grabbing is fast. This also reduces friction when you’re cooking, because the rolls don’t tangle.
To personalize, place the rail near your cutting board area so prep feels like one smooth step. This is a current trend because rail systems are easy to install and they free up drawer space for utensils.
If you dislike drilling, look for adhesive mounts that support the weight you’ll load.
12. Make a Baking Zone with Measured Staples

Baking feels less stressful when ingredients are ready. A dedicated zone also helps you avoid duplicate purchases.
Set up one area for flour, sugar, baking powder, chocolate chips, and baking basics. Keep measuring cups nearby, and store them in the same drawer so you don’t hunt while your oven warms up. Use small containers for baking powder and soda because they take up less room and stay fresh.
For personalization, set aside a “special treats” mini bin for seasonal add-ins like sprinkles or holiday chips. This helps you keep your pantry calm even during busy seasons.
13. Use a Tiered Organizer for Cans and Bottles

Cans stack, but bottles tumble unless they’re managed. Tiered organizers solve both problems with a compact footprint.
Choose a tiered rack that fits your cabinet depth and lets bottles stand upright. Put taller items in the back or top tier, and keep shorter items in front for easy access. Rotate labels forward so older items get used first.
14. Store Oils and Vinegars by Height and Use

Oils and vinegars are the small bottles that cause big clutter. Organizing them by height keeps your cabinet from feeling tangled.
Use a slim tray or a drawer organizer with separate sections for olive oil, vegetable oil, vinegar types, and specialty oils. Group by frequency of use, so everyday oils sit closest to the front. Add labels with a simple “for cooking” or “for finishing” note.
15. Put Bagged Produce in One Washable Bin

Produce bags can spill into corners and disappear. A bin brings them together and makes restocking simpler.
Use a washable bin for onions, potatoes, garlic, and other produce that benefits from being kept together. For items like carrots or apples, use separate breathable options if needed, but keep the storage method consistent so you don’t mix incompatible items. Keep the bin in a cool cabinet or the closest appropriate spot to avoid repeated trips.
Cost-wise, a basic plastic or silicone bin works fine, and labels help you track what needs to be used first. Many people are leaning into reusable storage because it cuts down on single-use bag waste.
16. Keep a “Kitchen Quick Swap” Bin for Tools

Sometimes organization fails because tools don’t have a home. A quick swap bin fixes that with a single landing spot.
Store the small tools you grab often, like zip-top bags, extra parchment sheets, and measuring spoons, in one compact bin near where you prep. When you finish, return everything there before you move on. This makes your system more realistic for busy days.
To personalize, add a small divider system inside the bin so it stays neat even after frequent use. If you’re on a budget, repurpose a sturdy shoebox or cut-down storage container and label it clearly.
17. Practice “One In, One Out” for Pantry Size
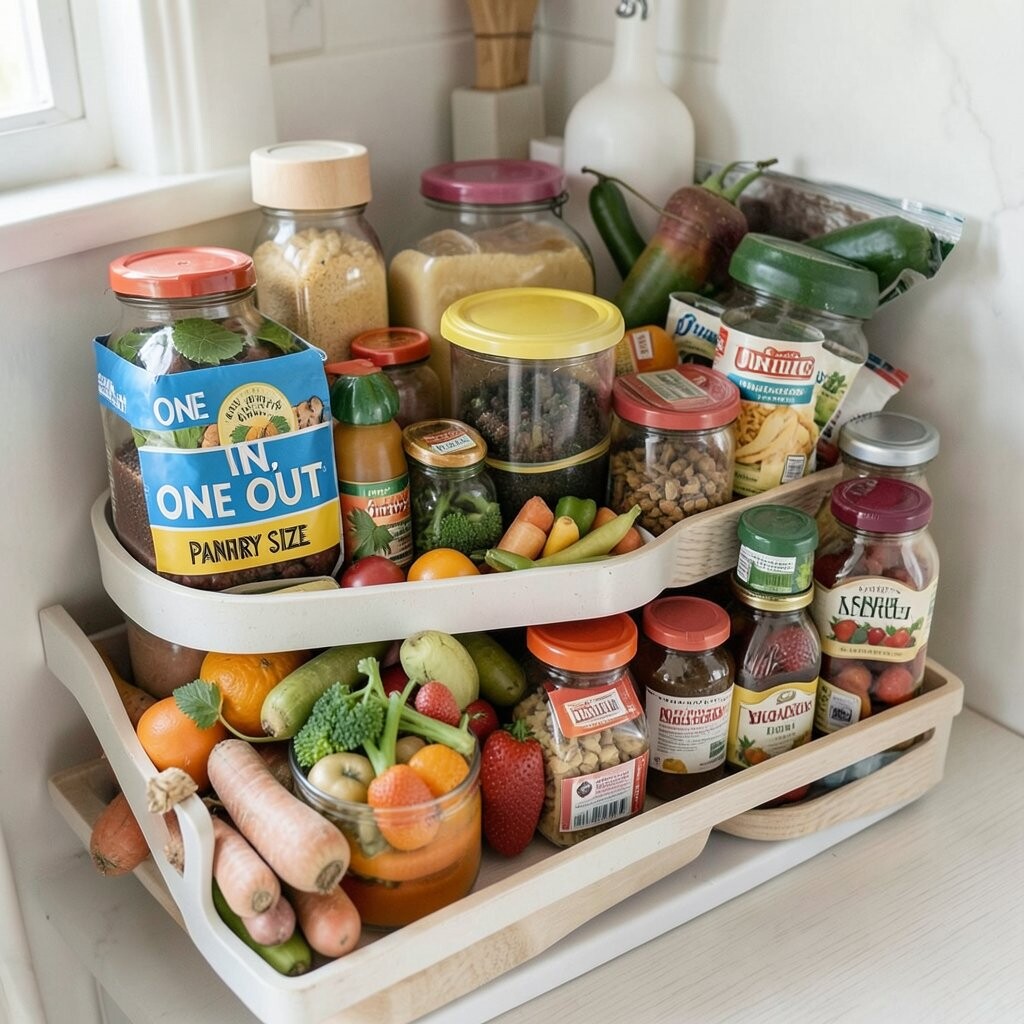
Compact kitchens stay compact with a simple rule. One In, One Out helps you avoid slow overflow.
When you bring in a new item—like a fancy pasta sauce—remove an old one you won’t use soon. Keep a small donation or discard area so the rule is easy to follow at checkout time. Use the labels you already added to help you decide quickly.
This approach is popular because it reduces clutter and encourages mindful buying. Over time, your pantry becomes a curated space that supports your cooking habits instead of fighting them.