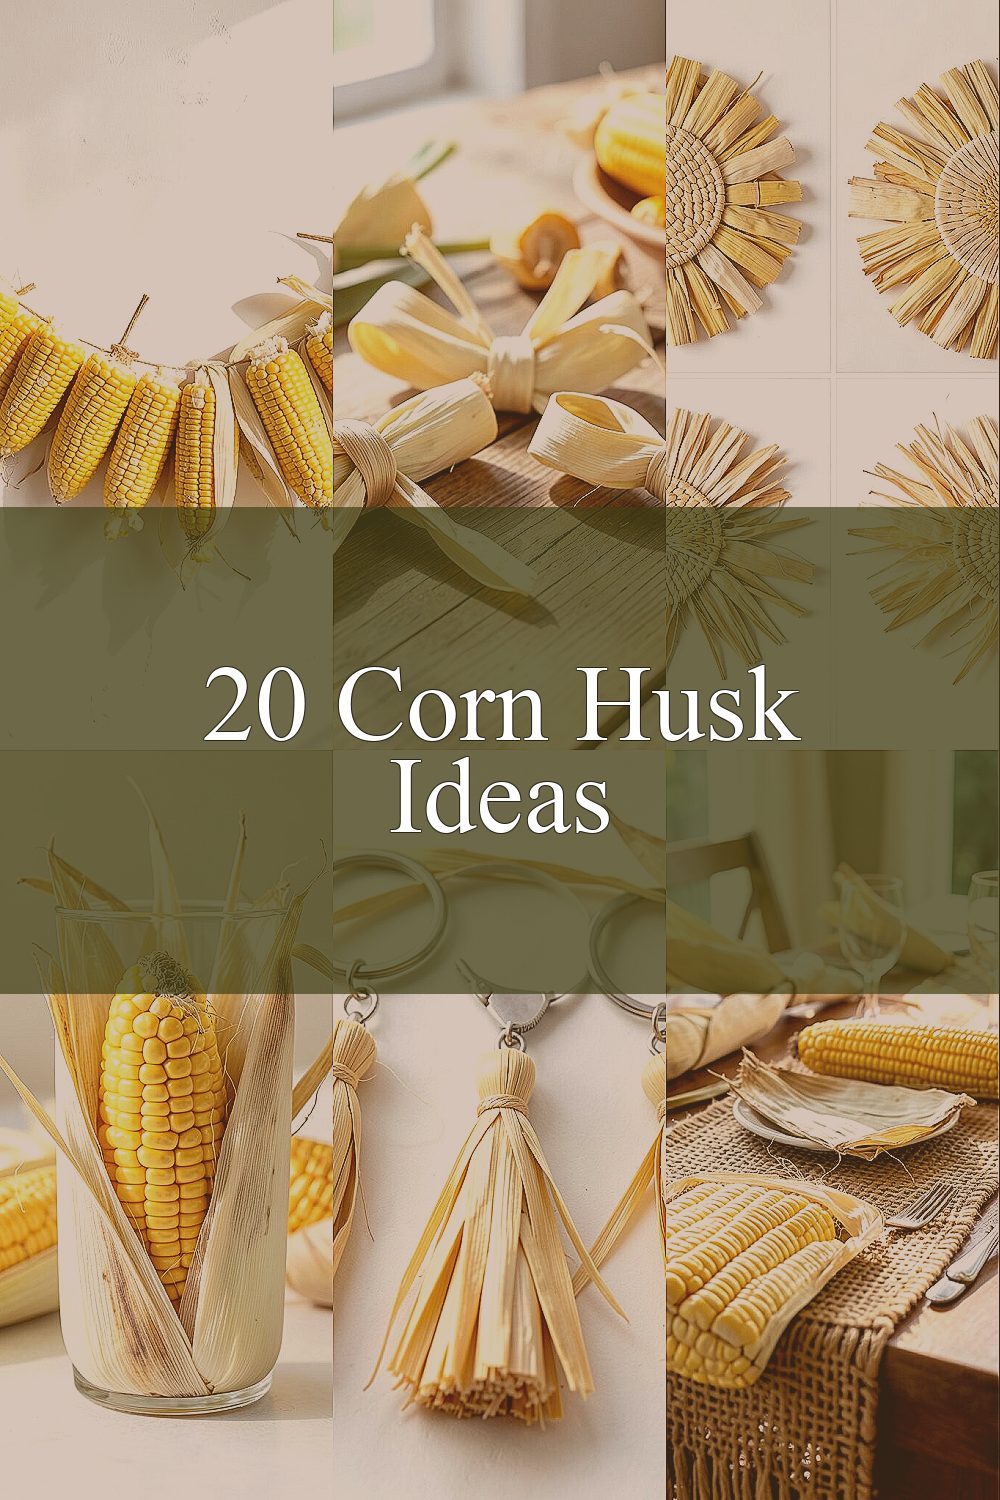
These thin, papery wraps have a quiet magic. They turn everyday cobs into beautiful projects you can make with your own hands.
From simple keepsakes to party-ready decor, corn husks bring a warm, natural look that feels cozy right away. Plus, they’re budget-friendly and full of texture, which makes your crafts look extra special.
1. Corn Husk “Popcorn” Garland

Rip corn husks into small pieces and roll them into tiny “kernels.” Then shape them like popcorn and string them on twine for a soft, rustic banner.
This craft looks cute in a kitchen, playroom, or reading nook. It’s easy to make in batches, so you can decorate for birthdays or fall parties without spending much.
To personalize, try mixing natural husk color with a little cinnamon-brown dye or light green paint. Keep the rolls tight, and use a dab of glue at the seam so the “kernels” don’t loosen. For cost, you only need husks, twine, and a small amount of glue.
2. Mini Corn Husk Bows for Gifts
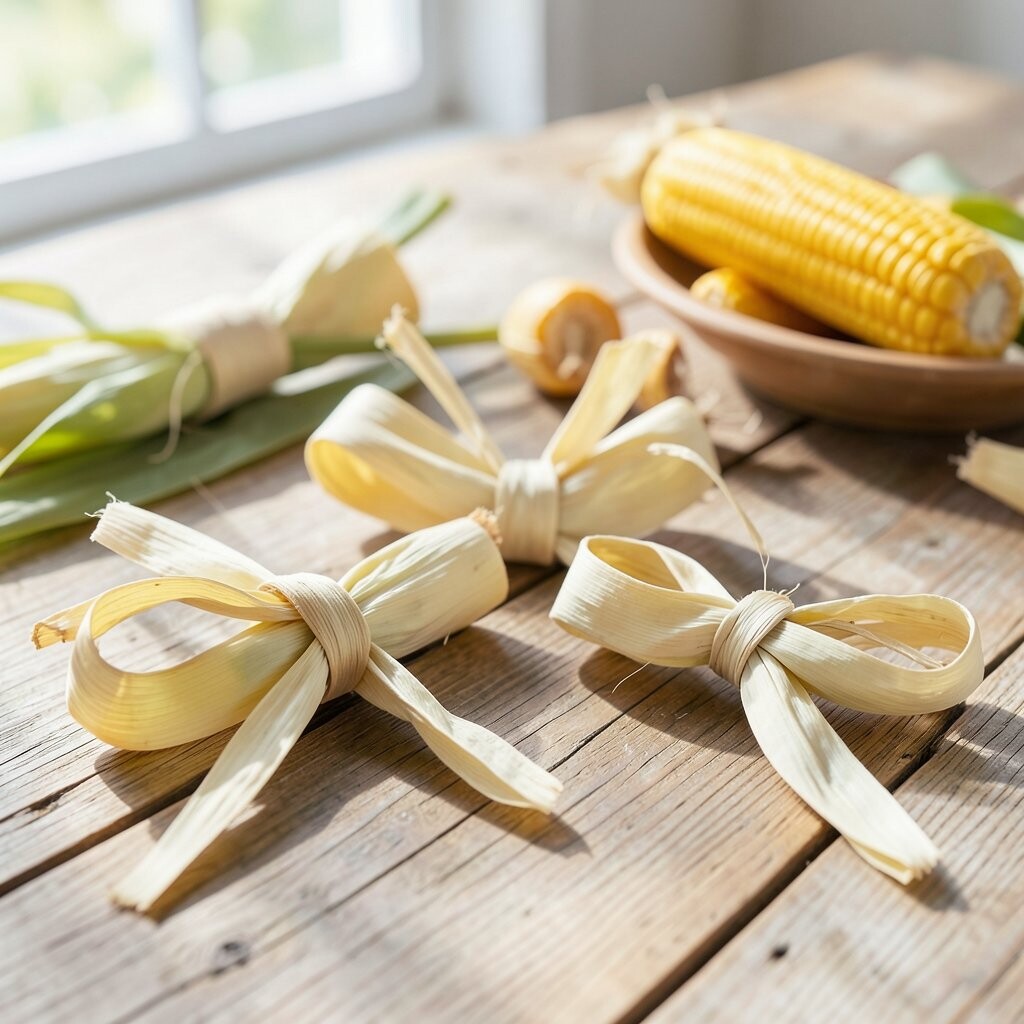
Cut husks into wide strips and fold them like ribbon. Pinch the center, then tie or glue a thread loop in the back.
Your finished bow will look delicate, with a layered, crinkly texture that feels handmade. It’s a great alternative to store-bought ribbon and it gives gifts a warm, natural style.
Use a thin twine loop to attach to a gift tag, or glue it onto a plain kraft card. For personalization, add a tiny button in the center or paint the tips a soft gold. Budget-wise, you can make many bows from one handful of husks, and it fits current “rustic chic” trends.
3. Corn Husk Sun Catcher Panels
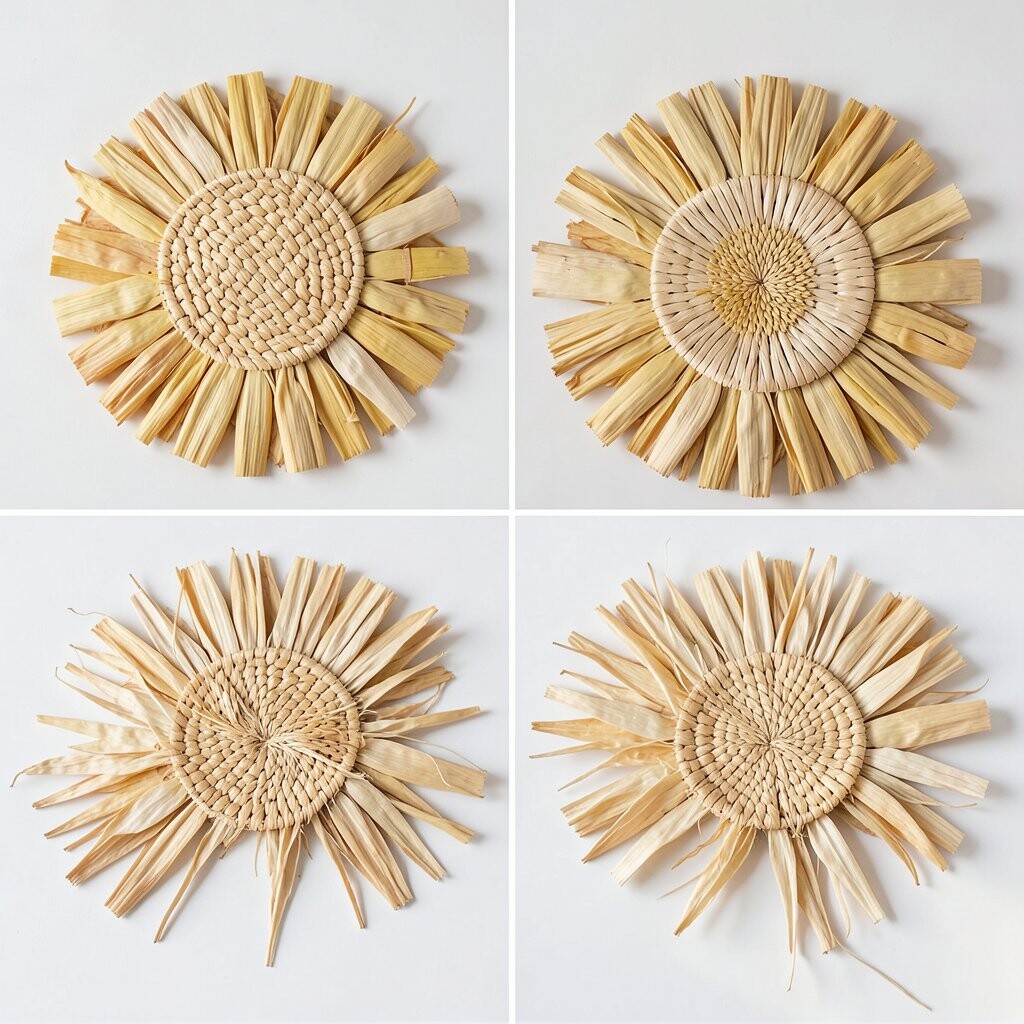
Lay husk strips in a loose fan pattern and press them onto a clear plastic sheet. Outline the shape with glue, then fill the inside with more strips for a stained-glass look.
Place the panel near a window so sunlight makes the husks look honey-colored and glowing. This project feels calming because you’re working slowly with natural texture.
Try adding small bits of translucent tissue paper behind the husks for extra shine. You can personalize the panel with a name, star shape, or simple heart. For cost, you’ll mainly use husks, a clear sheet, and a little glue, which is usually affordable.
This idea also matches the current love for light, earthy home decor and warm seasonal accents.
4. Corn Husk “Candle Sleeve” Holder
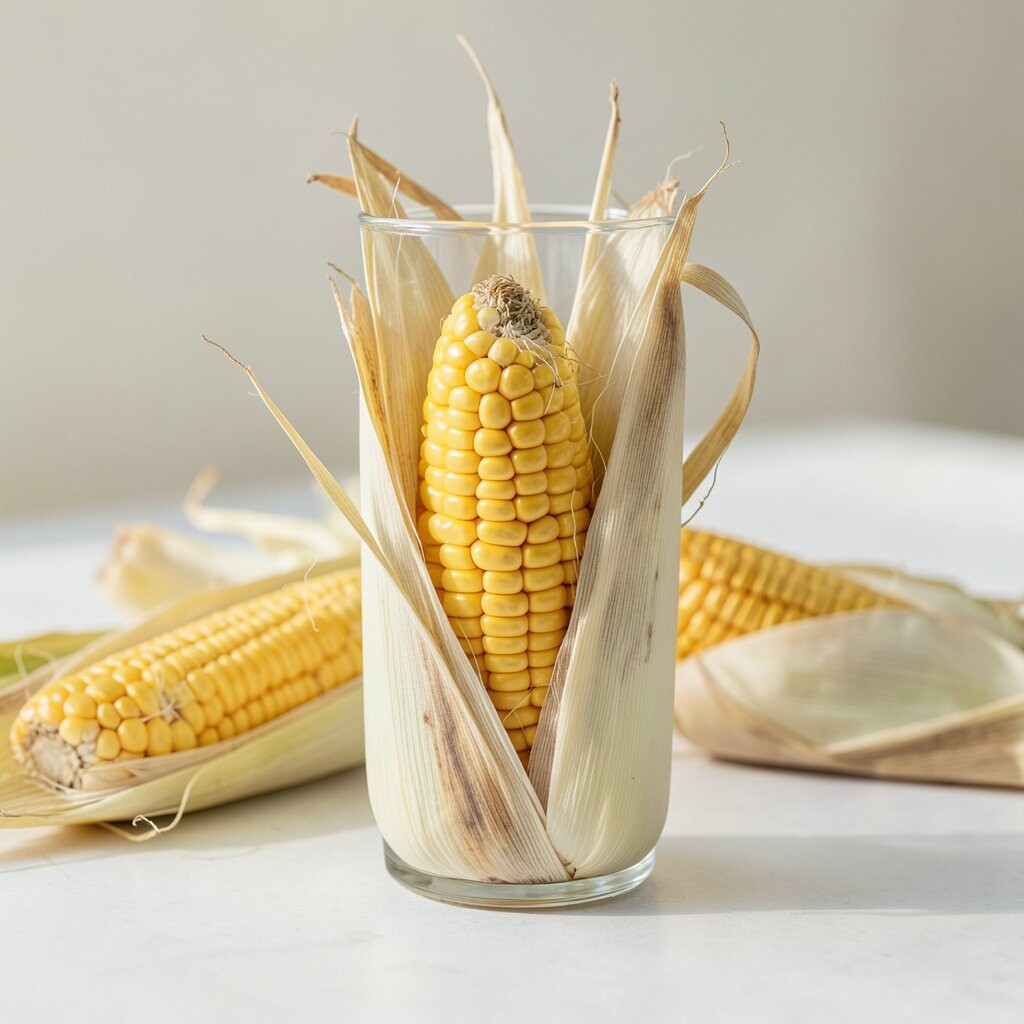
Wrap a strip of corn husk around a jar candle and secure it with twine or a small elastic band. Add a band of leaf-like husk at the top to make it look like a neat collar.
The visual effect is cozy and rustic, like a farmhouse candle display. A sleeve can help protect the jar from smudges and makes plain candles look special.
Personalize by tying on a tiny dried flower, cinnamon stick, or small ribbon knot. For safety, keep the husk away from the flame by using a covered jar candle or LED candle. This stays budget-friendly because you’re using something free or low-cost instead of store decor.
5. Corn Husk “Tassel” Keychains
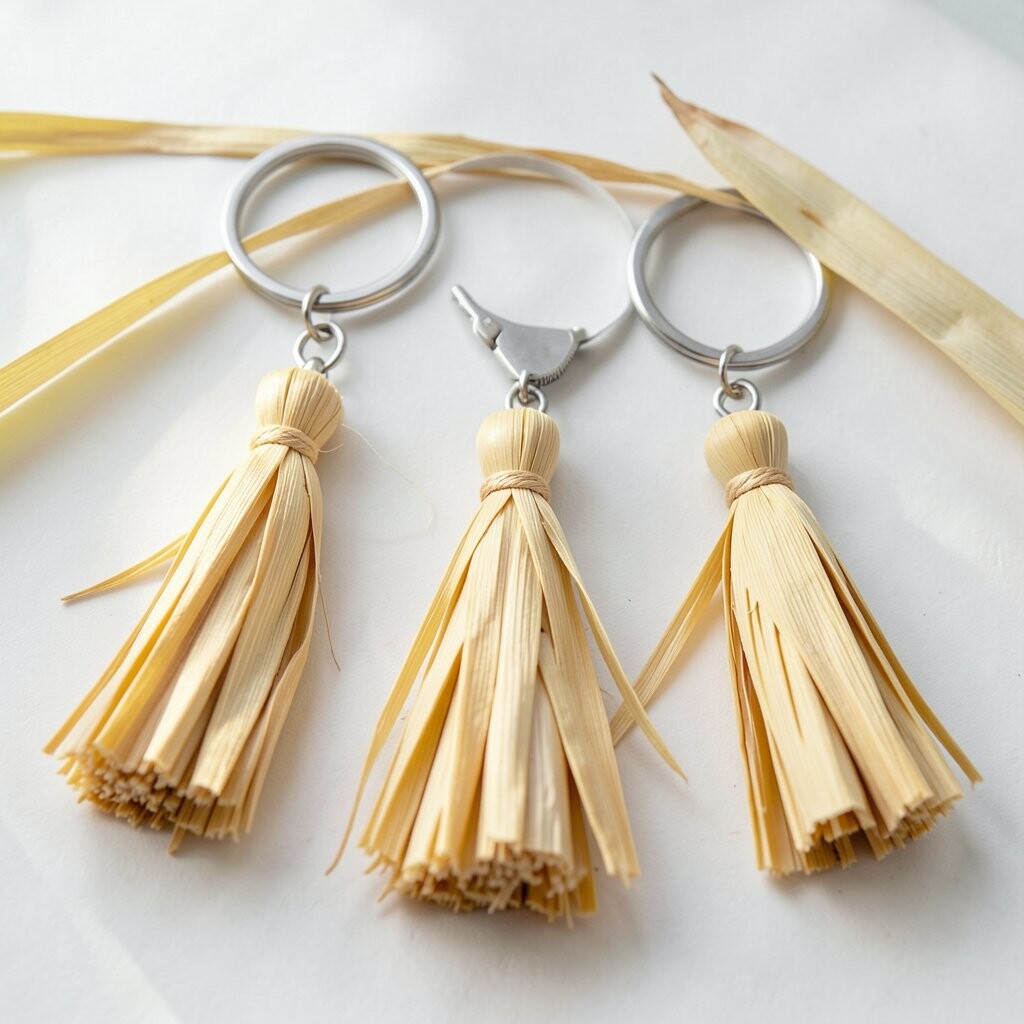
Fold husk strips together and tie them near the top with thread. Trim the bottom into a soft fringe and add a small key ring for an easy finish.
When you hold it up, the strands sway and catch light, which makes the keychain feel lively. It’s a fun way to use scraps while making something you’ll actually use every day.
To personalize, add colored thread wraps in one or two spots, or glue a tiny bead at the tie. Keep the tassel light so it doesn’t stretch out. Costs are low since the husks and thread do most of the work.
6. Corn Husk Table Runner Squares
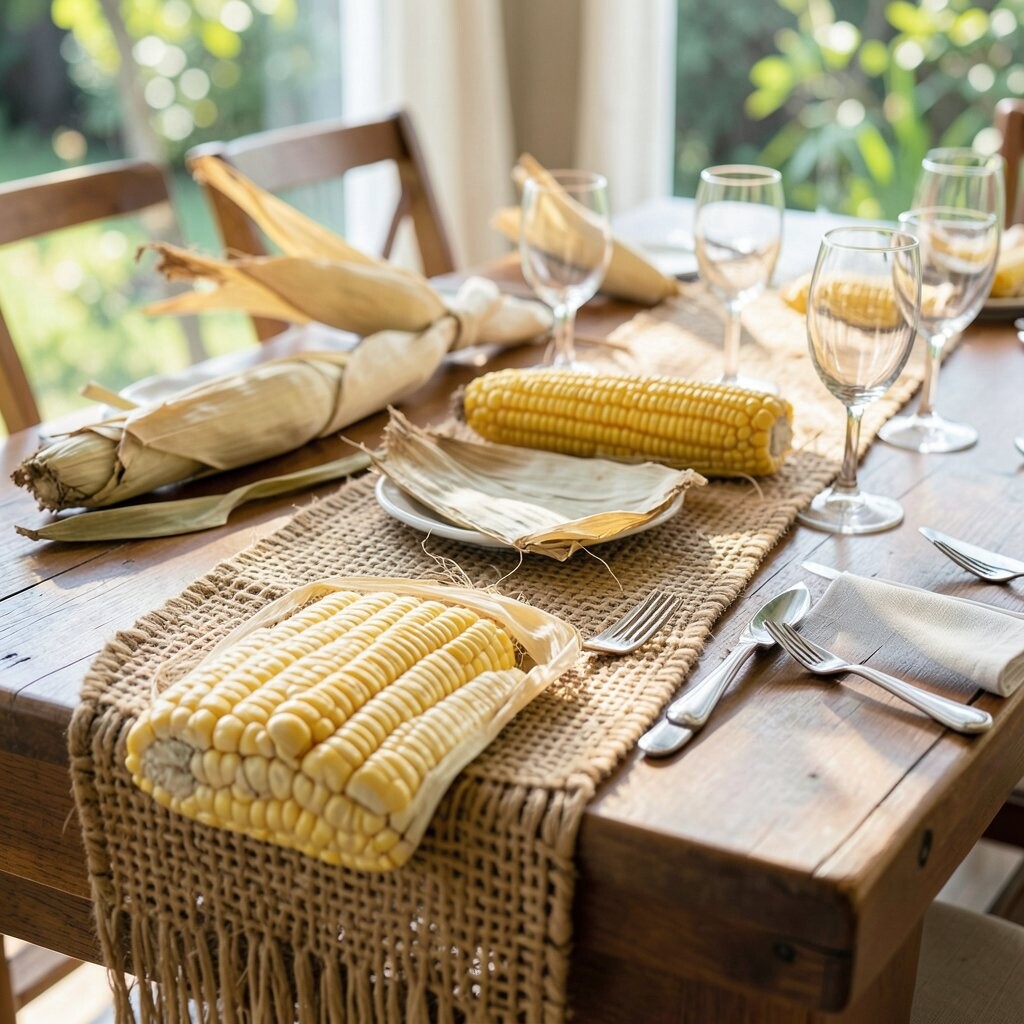
Cut husks into flat pieces and weave them into small squares. Stitch them to a simple backing fabric or paper strip to build a larger runner.
Each square will show a lattice pattern that looks detailed and calm. This craft makes your table feel “season-ready” without buying expensive decor.
Personalize with different husk shades by blending fresh and dried strips. You can also add a thin border with burlap for a modern rustic look. For cost, this is a great bargain because husks are the main material and fabric scraps can be free from your stash.
7. Corn Husk Name Tags for Parties
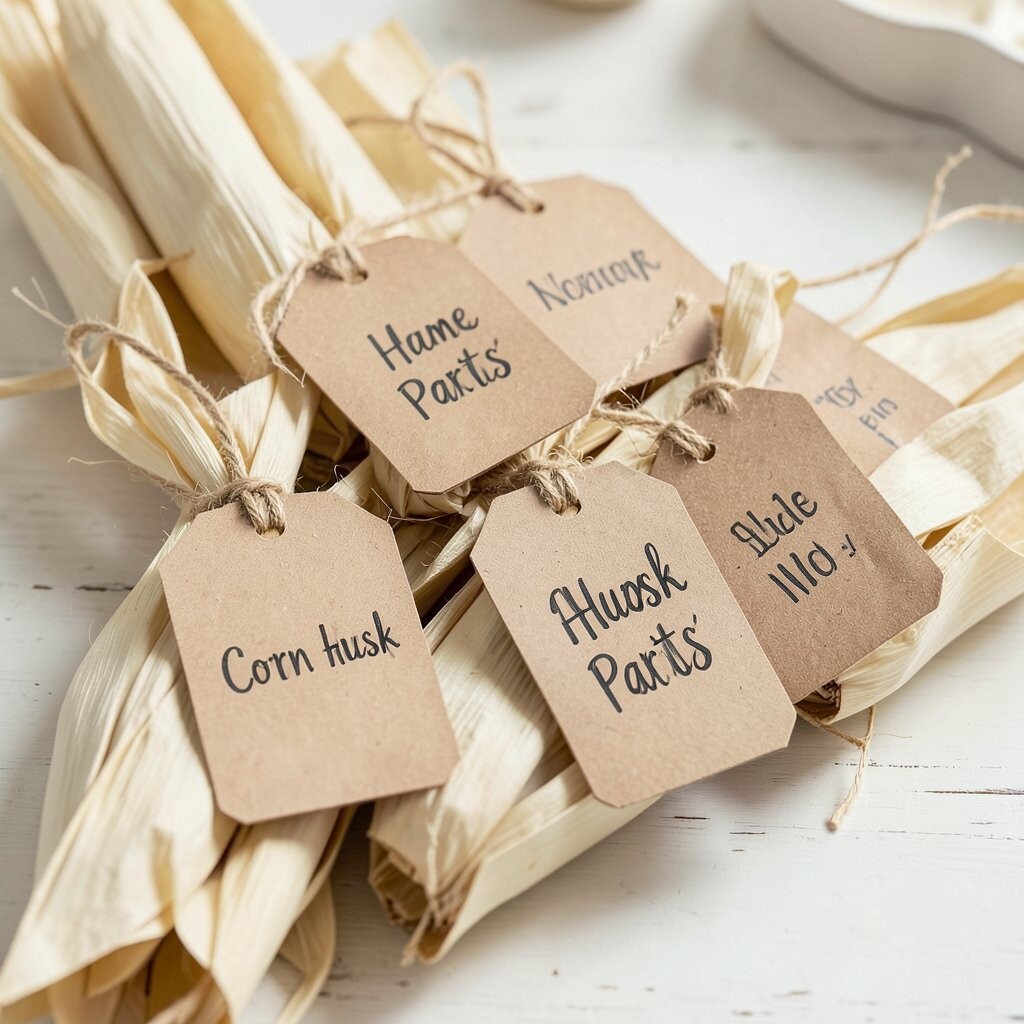
Cut a husk strip, fold it into a small pocket shape, and glue the edges. Write each guest’s name on a card and slip it inside the pocket.
The tag will look airy and textured, like a tiny autumn banner. Guests love seeing their name displayed in a handmade way.
To make it easier, pre-cut several pockets at once and add names later. Personalize for themes by adding tiny stickers or a dot of paint at the pocket end. This can fit current party styling trends that focus on natural textures and handmade details, and it stays budget-friendly.
8. Corn Husk “Feather” Wall Hanging
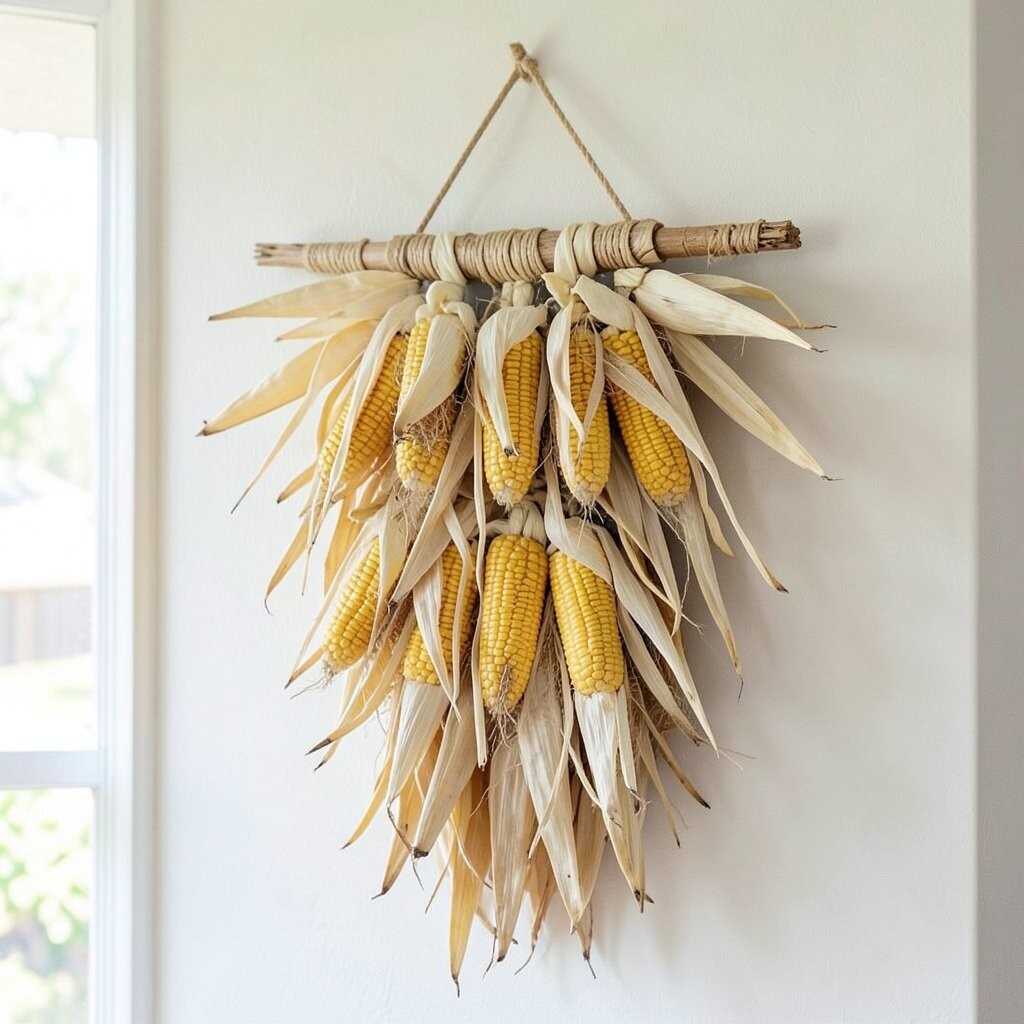
Shape husks into long feather forms by layering strips around a center stem. Secure the center with glue so the “feathers” hold their curve.
Hang them on a branch or dowel and let them fan out like a soft display. The wall looks artsy right away, even if you keep it simple.
Personalize by painting the tips in muted colors like sage, tan, or dusty blue. You can also add a few beads along the stem for gentle sparkle. Costs stay low, and the look matches the current trend toward nature-inspired wall decor.
Tip: Dry husks flat under a book for a day so they shape neatly.
9. Corn Husk “Botanical” Bookmark
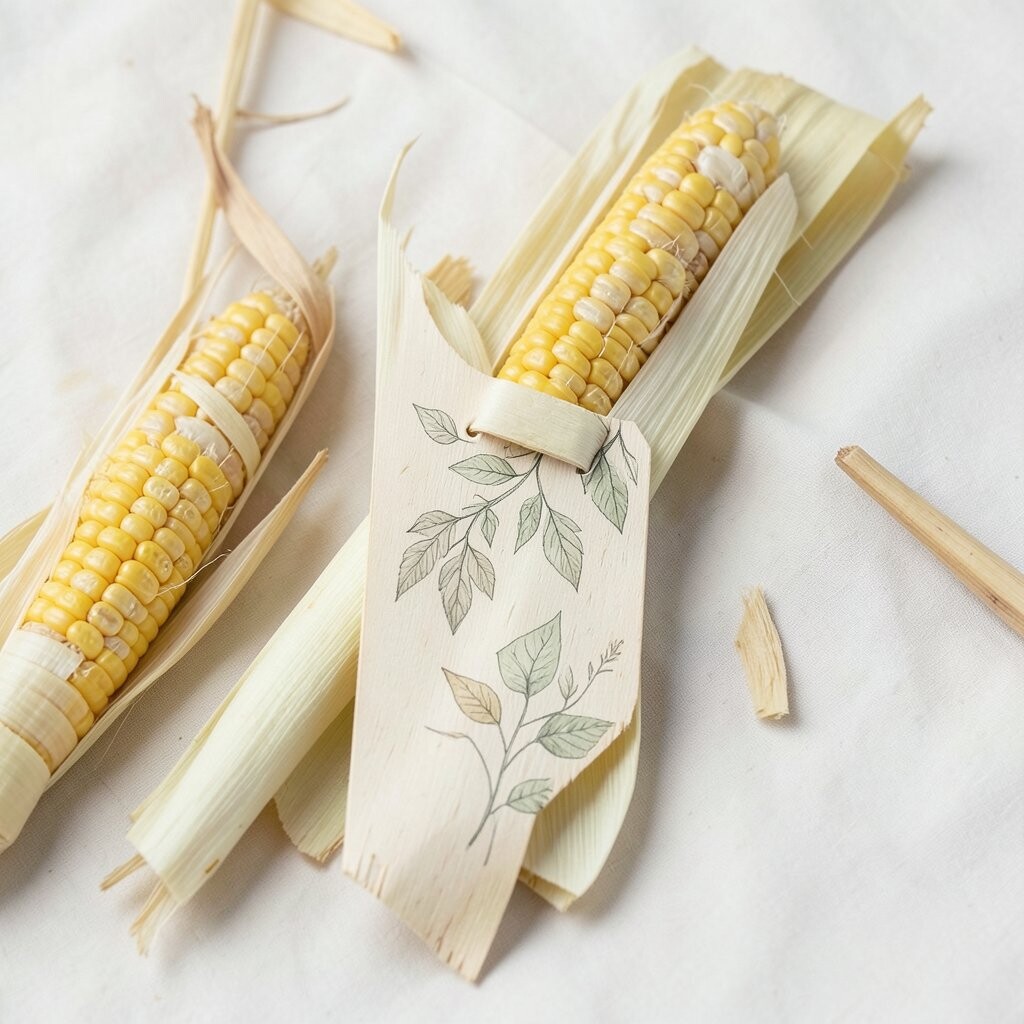
Cut a narrow strip of husk, fold it over a piece of cardstock, and glue the edges. Add pressed leaves or small paper shapes on the front for a botanical feel.
This gives you a bookmark that feels sturdy and special, not flimsy. It also helps your reading area look organized and creative.
For personalization, try different lengths for each family member or each book genre. You can also stamp tiny icons like stars, hearts, or corn leaves. The cost is very small because most supplies are husks and a bit of cardstock.
10. Corn Husk Picture Frames
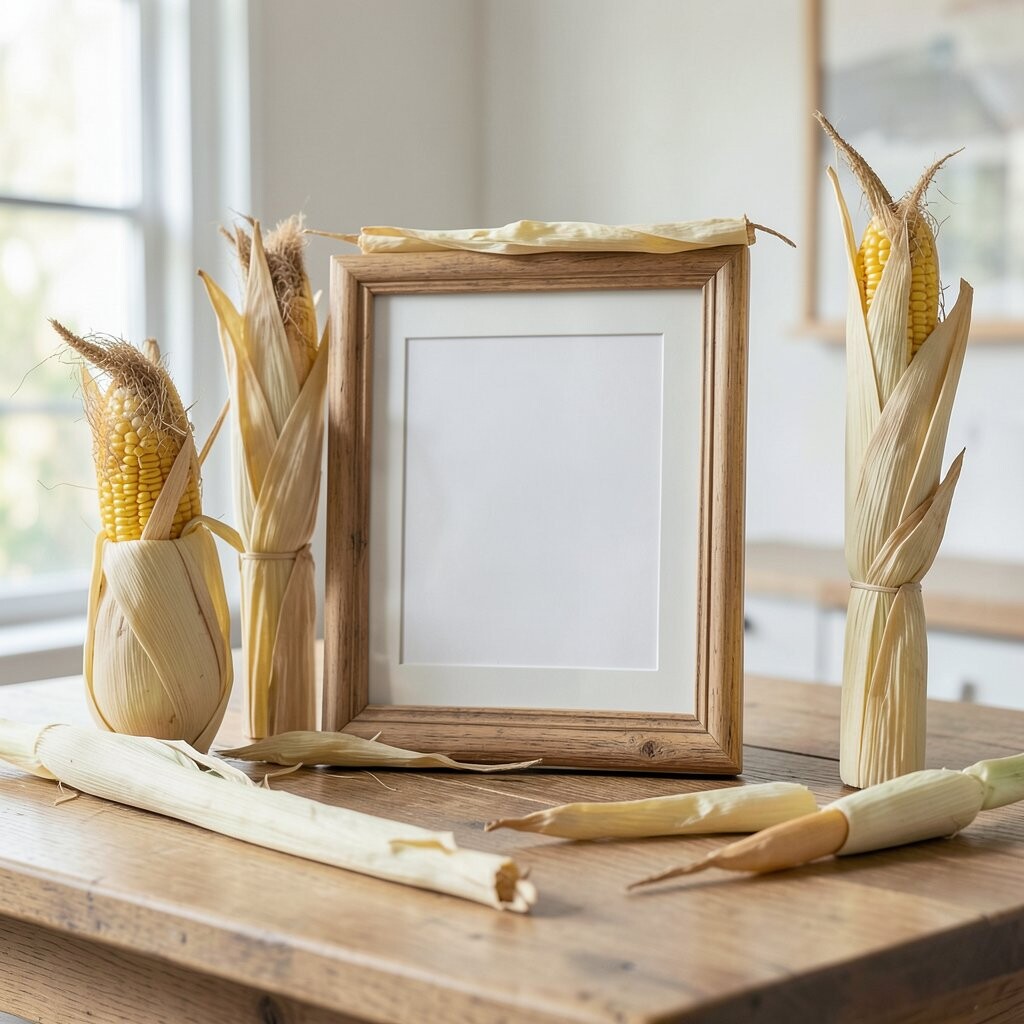
Wrap husk strips around a cardboard rectangle to form a frame. Layer the strips like shingles so there are no big gaps.
The textured border adds depth, and the natural color makes photos look warm. It’s a sweet way to display school pictures or travel snapshots.
Personalize by leaving one inner edge smoother for a “window” look, or by adding a small bow at the corner. Tip: Use a thin foam sheet behind the picture so it sits snugly. This craft is budget-friendly because frames start as cheap cardboard or recycled packaging.
11. Corn Husk “Dream Catcher” Mini Hoop

Wrap a small hoop with twine, then weave husk strands in a loose web pattern. Tie down the ends so the strands look like a soft net.
Hang mini tassels at the bottom using trimmed husk strips. The final piece has a gentle, handmade vibe that looks great in bedrooms or nurseries.
To personalize, add a simple painted dot pattern on the hoop wrap or include a small bead cluster. For cost, this is a smart option because hoops can be reused, and husks do most of the decorating. It also fits the current trend of cozy wall art and kids’ craft decor.
12. Corn Husk “Flower” Napkin Rings

Roll husk strips into layered rings and glue the ends so they hold shape. Create small “petals” by folding extra strips and tucking them around the ring.
Your table will look special with each place setting getting a tiny natural bloom. These rings also save you from needing fancy napkin holders.
Personalize by dyeing a few strips in light colors, or by adding a button “center.” Tip: Make a few ring sizes so they fit different napkins. Cost stays low because you’re using husks plus simple thread or glue, and this matches current table styling trends that favor natural textures.
13. Corn Husk “Rope” Coasters
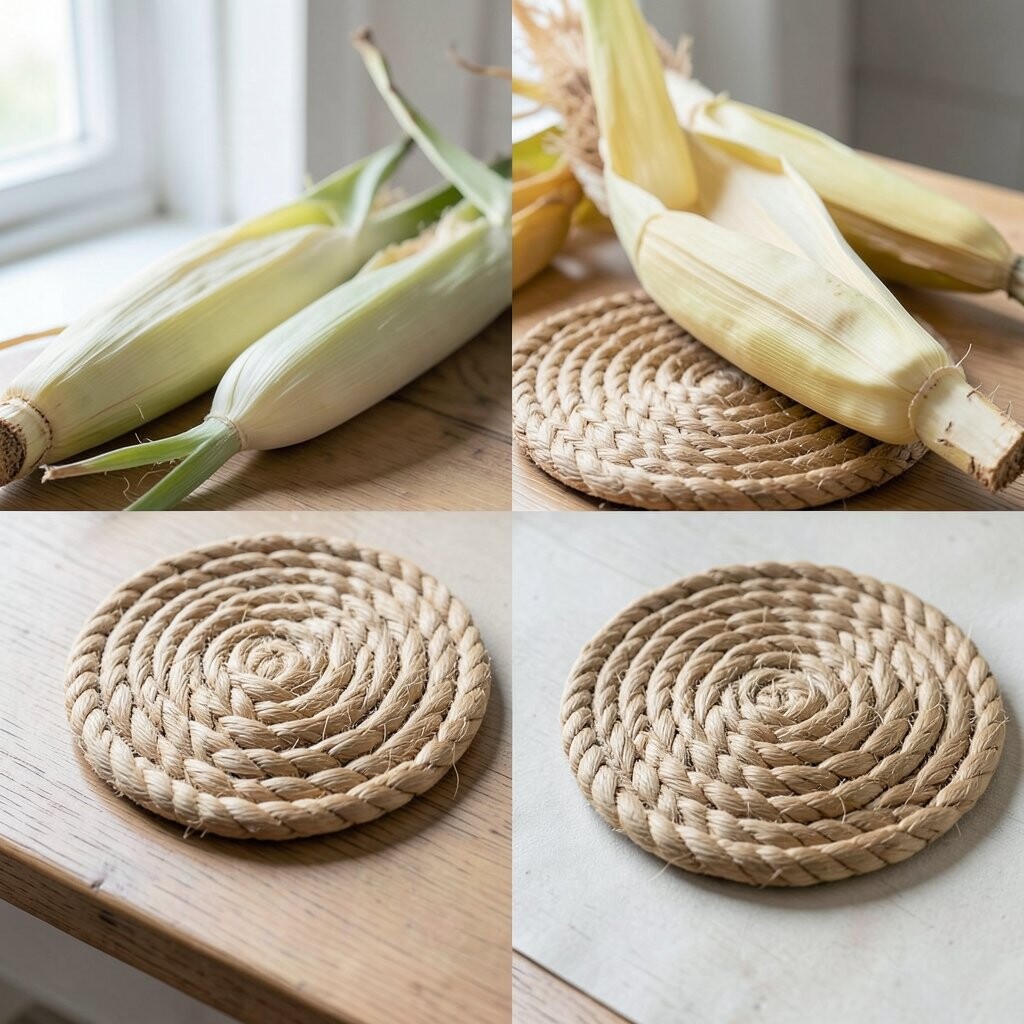
Twist dried husk strips into a rope-like bundle and glue the coil flat. Continue coiling until you get a coaster size that fits your cup.
The woven surface looks earthy and textured, with a handmade look you’ll want to show off. It also helps protect table tops from small heat and water marks.
Personalize by making different shapes like circles, ovals, or squares. For extra protection, seal the top with a thin layer of clear craft sealer. Budget-wise, husks are the main material, and you can make several coasters from a small stash.
Tip: Let each coaster dry flat under a book so it stays smooth.
14. Corn Husk “Mini Houses” for Play
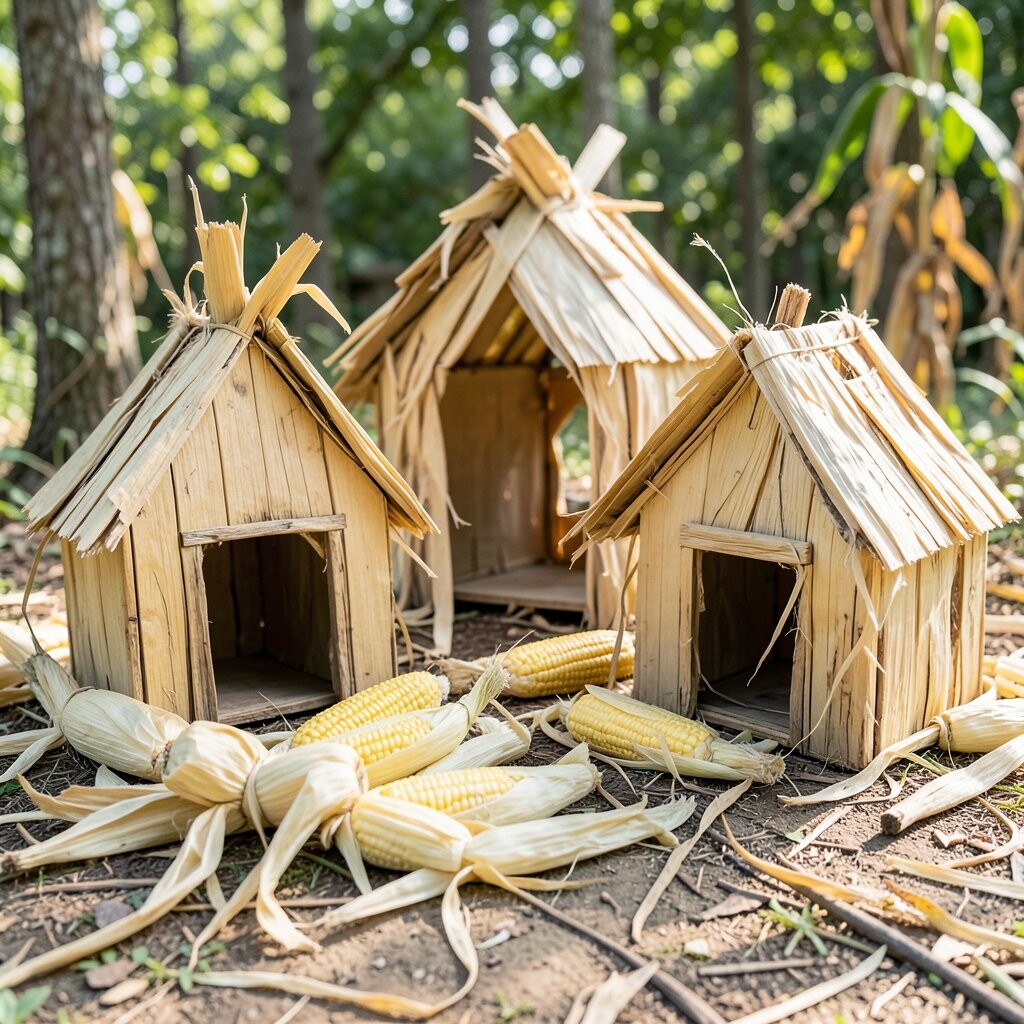
Cut husks into small panels and shape them into tiny house walls. Glue together a simple rectangle base and add a triangular roof made from folded husk strips.
The tiny homes look charming and rustic, with realistic texture. They’re great for pretend play, classroom centers, or cozy shelf decorations.
To personalize, paint window squares, add a door flap, or glue on miniature “yard” pieces made from dried grass. Costs are low because you can build many houses from scraps. This project also feels current because nature crafts are popular in kids’ learning and maker activities.
15. Corn Husk “Seed Pod” Ornaments
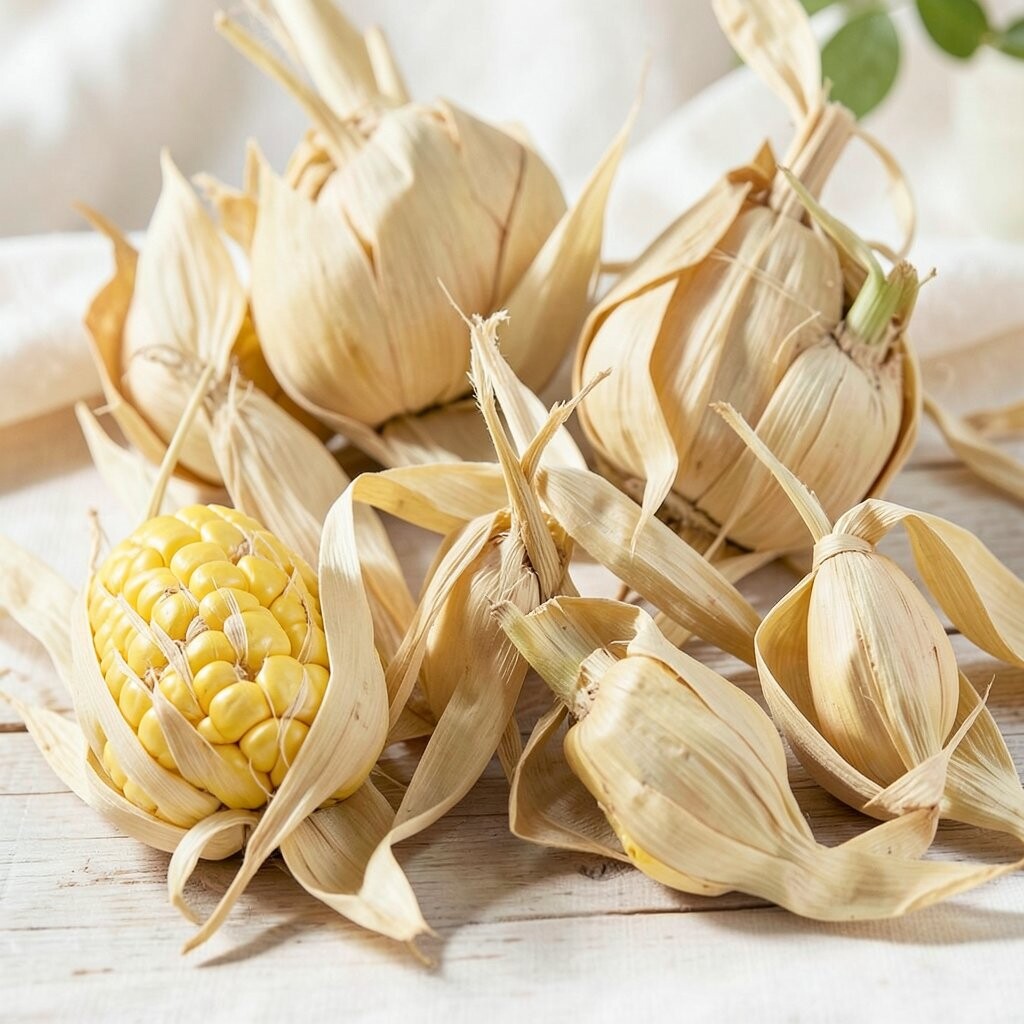
Roll husk strips into small cone shapes and tie the top with thread. Add a tiny knot at the bottom so the cone looks like a seed pod.
Hang them on a tree or on a string across a window so they sway gently. They look elegant in a group, even if each one is slightly different.
Personalize by adding faux “seeds” using tiny beads or painted pebbles inside a small cut-out. Tip: Make a hole at the top before gluing so you can easily thread ribbon through. Cost stays low, and you can create a whole set without buying ornament packs.
16. Corn Husk “Braided” Baskets
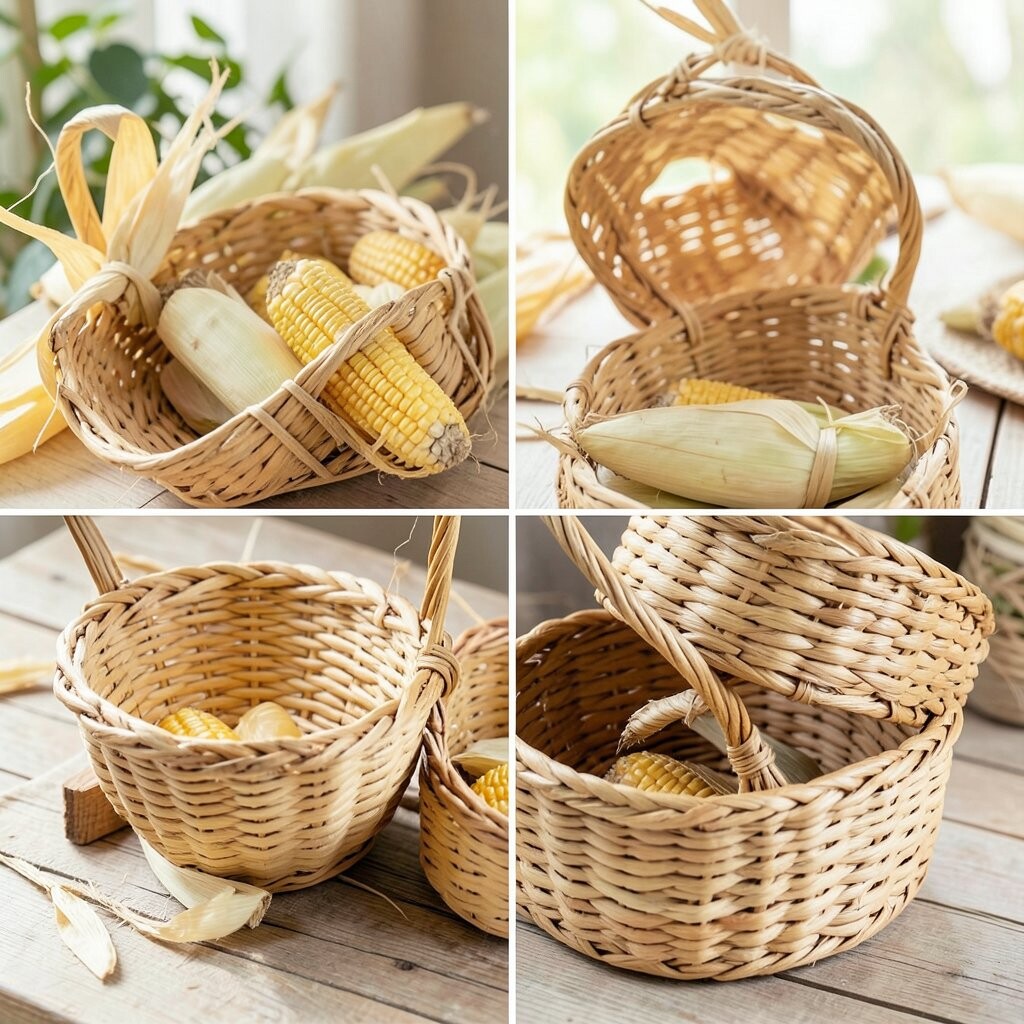
Soak husks in warm water to soften, then braid long strands into a flat base. Fold the braid up the sides and keep weaving to build a small basket.
When it’s finished, the basket looks like it belongs in a market shop. It’s strong enough for small items like keys, bracelets, or craft supplies.
Personalize by making a striped look with alternating darker and lighter husk strips. For a handle, leave extra braided strands and weave them into a loop at the top. Cost considerations are great here: you mainly use husks, plus a bit of twine and glue for finishing.
17. Corn Husk “Envelope” Gift Holder
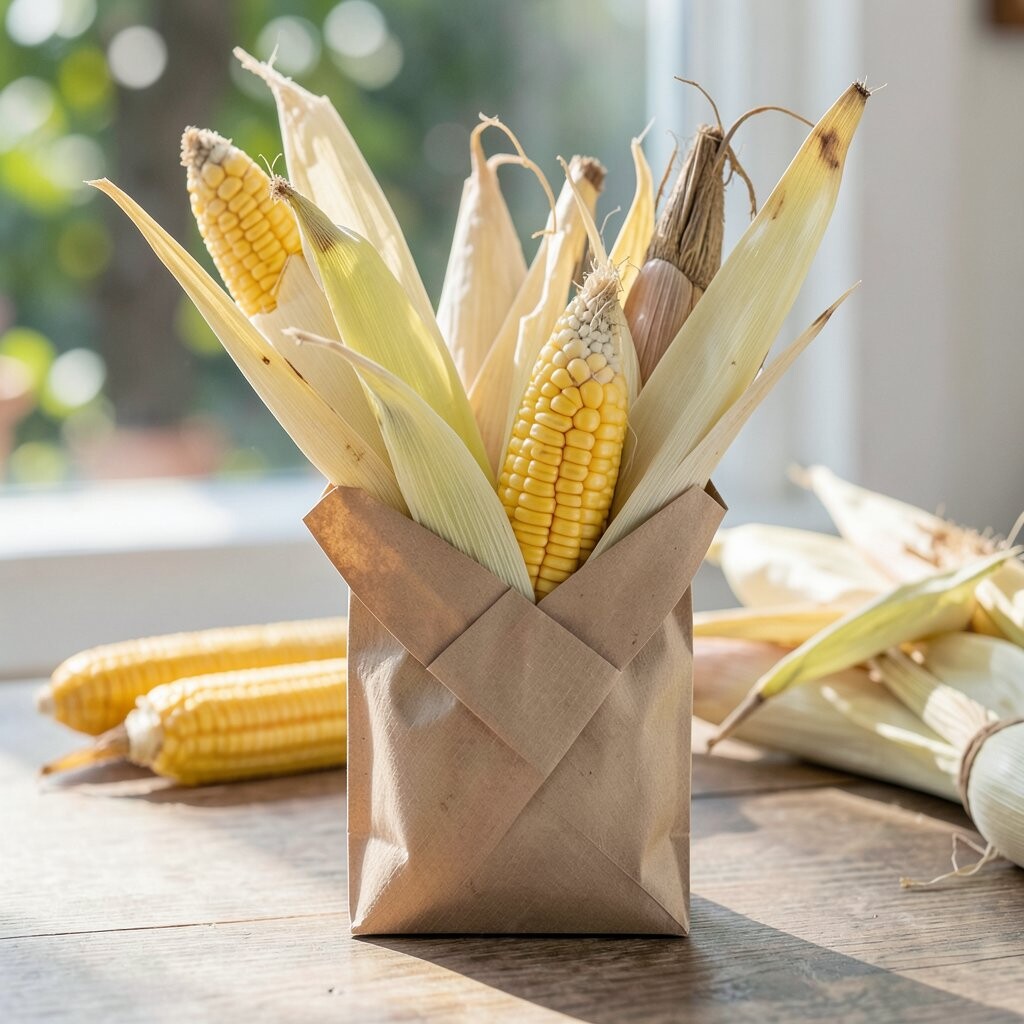
Fold husks around a small card or gift card and glue the edges like a pocket. Add a closure strip by wrapping a thin husk band around the front.
The holder looks natural and thoughtful, like a handmade note pouch. It’s perfect for small thank-you gifts and holiday messages.
To personalize, stamp a tiny corn leaf icon or add a painted dot pattern near the closure. Tip: Use a slightly thicker backing paper so the pocket stays firm. This fits the current love for small, meaningful gift packaging and it stays budget-friendly compared to store envelopes.
18. Corn Husk “Feast” Place Setting Labels
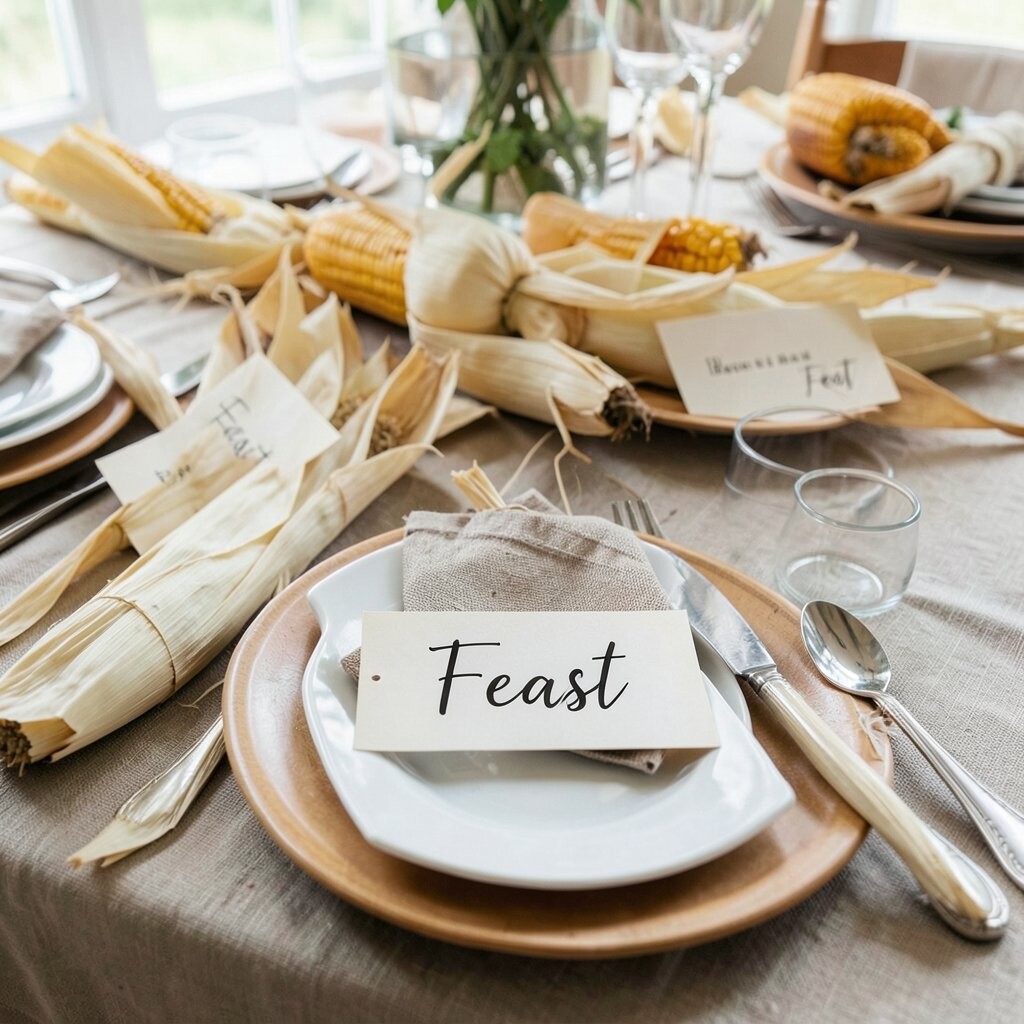
Cut husk strips into small rectangles and wrap them into tiny label flags. Glue a cardstock “tab” at the back so the label stands up on a plate.
These labels look festive because they match the natural theme of a meal. They also help guests remember what each dish is called.
Personalize by writing fun, friendly names like “Sweet Corn,” “Roasted Veggies,” or “Grown-Up Treats” on the card. You can also add small doodles to make it playful. Costs are low because labels use husks and cardstock scraps, and this idea matches current hosting trends that focus on handmade touches.
Tip: Make extra labels for leftovers so the next meal feels organized and cared for.
19. Corn Husk “Cozy” Shelf Liner Art
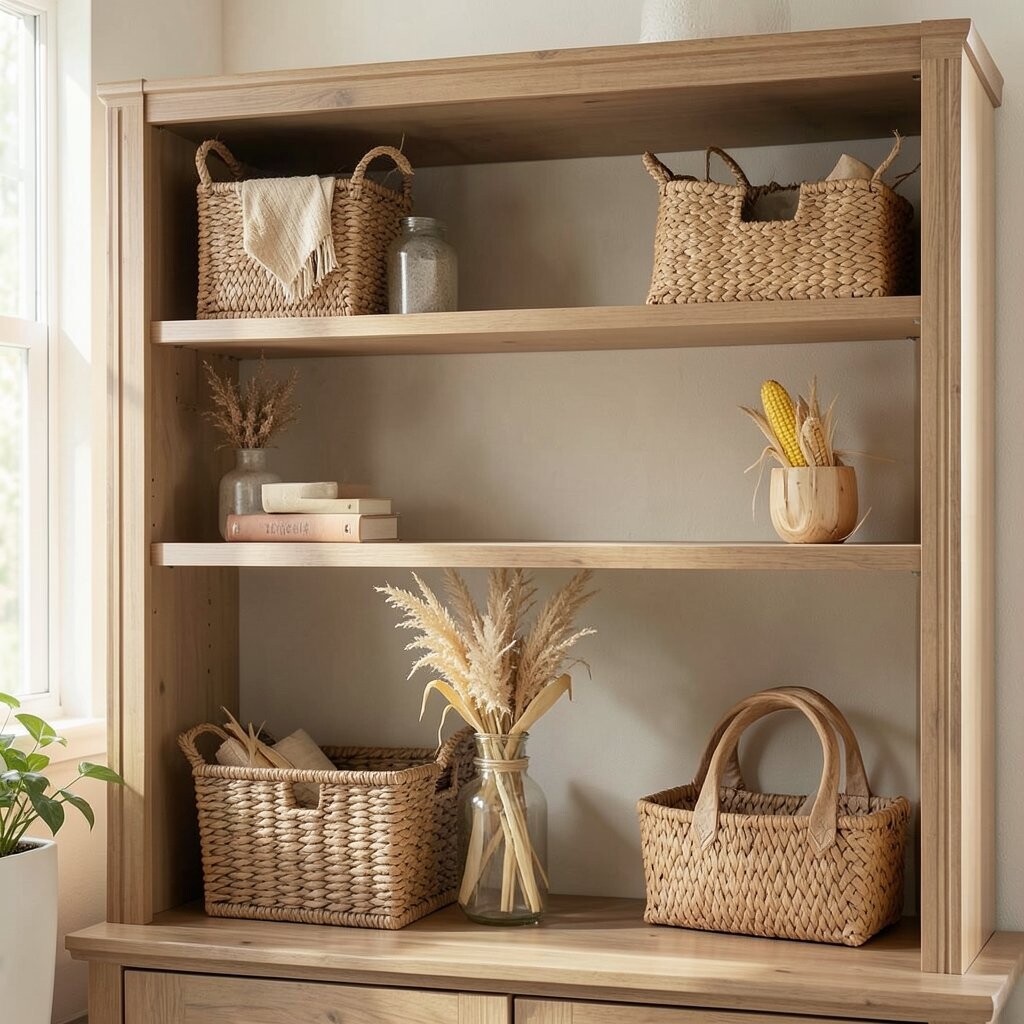
Brush a thin layer of glue on shelf paper or foam board, then press husks onto the surface in a pattern. Leave some gaps so the background still shows through.
The result is a textured art sheet that can be tucked under jars or used as a decorative backing. It instantly warms up a shelf display without needing paint.
Personalize by arranging husks like waves, tiny spirals, or geometric lines. For cost, you can use leftover cardboard or shelf liner and just pay for glue and optional sealer. This fits trends toward “maker style” home touches and natural texture decor.
20. Corn Husk “Story” Journal Cover
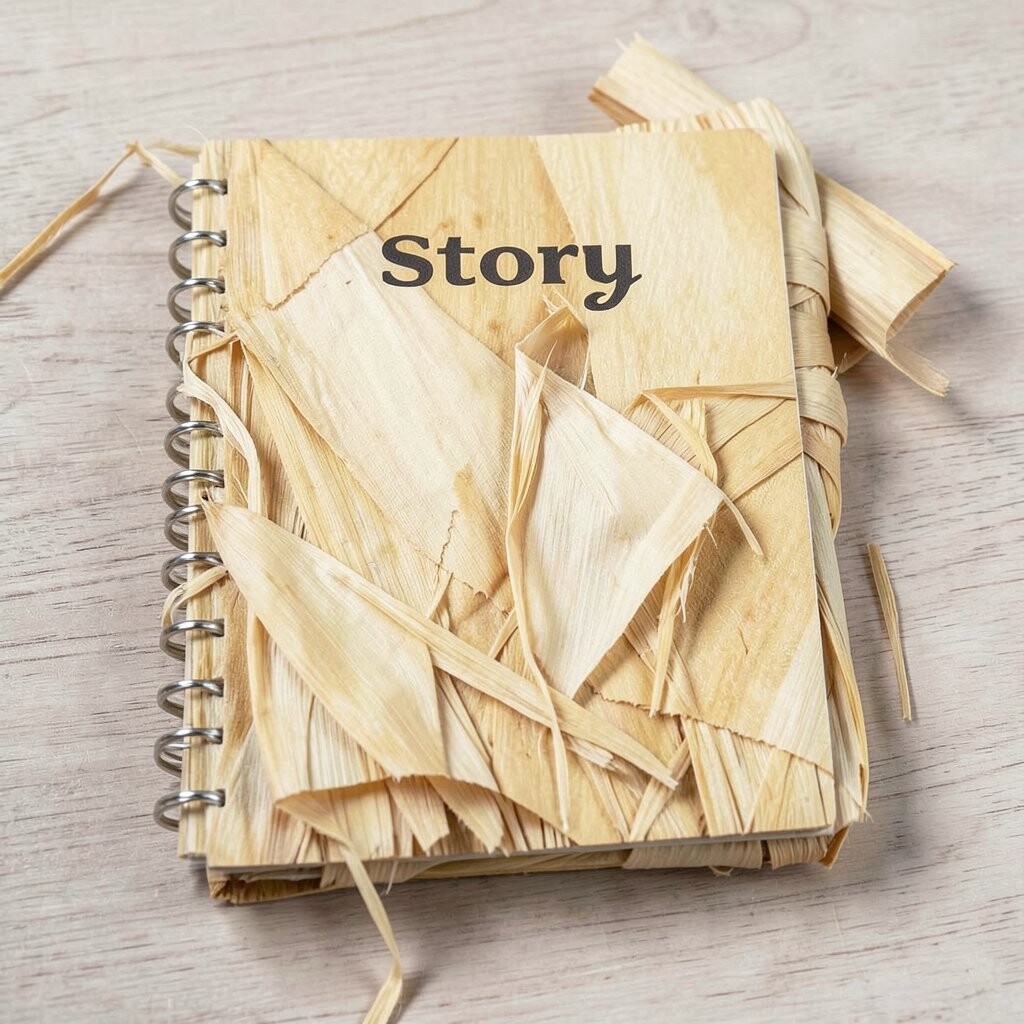
Wrap husk strips around a plain notebook cover and glue them down in layers. Use a neat border at the edges so it looks clean and finished.
Add a simple closure with twine or a ribbon loop so your journal feels special every time you open it. The cover will show warm color and crinkly detail that makes writing feel more fun.
Personalize by painting a title like “My Garden Notes” or “Family Recipes” on a small cardstock patch. Tip: Seal the surface lightly so the husks stay in place, especially if you carry the journal often. Cost considerations are friendly since the notebook can be simple and the husks provide most of the decoration.