
A spotless grill area makes cooking feel easier. It also helps your grill last longer and work better.
1. Sweep and Clear Before You Light It

Start with the basics: sweep up crumbs, ash, and stray bits of food. A clean surface under your grill keeps small messes from turning into big odors later.
Use a stiff brush for rough spots and a shop-style dustpan for quick pickup. Pay attention to the area around the propane tank or power cord so nothing blocks access. If you spill something sticky, wipe it first so you don’t bake it onto the ground.
2. Cover Grills When They’re Not in Use
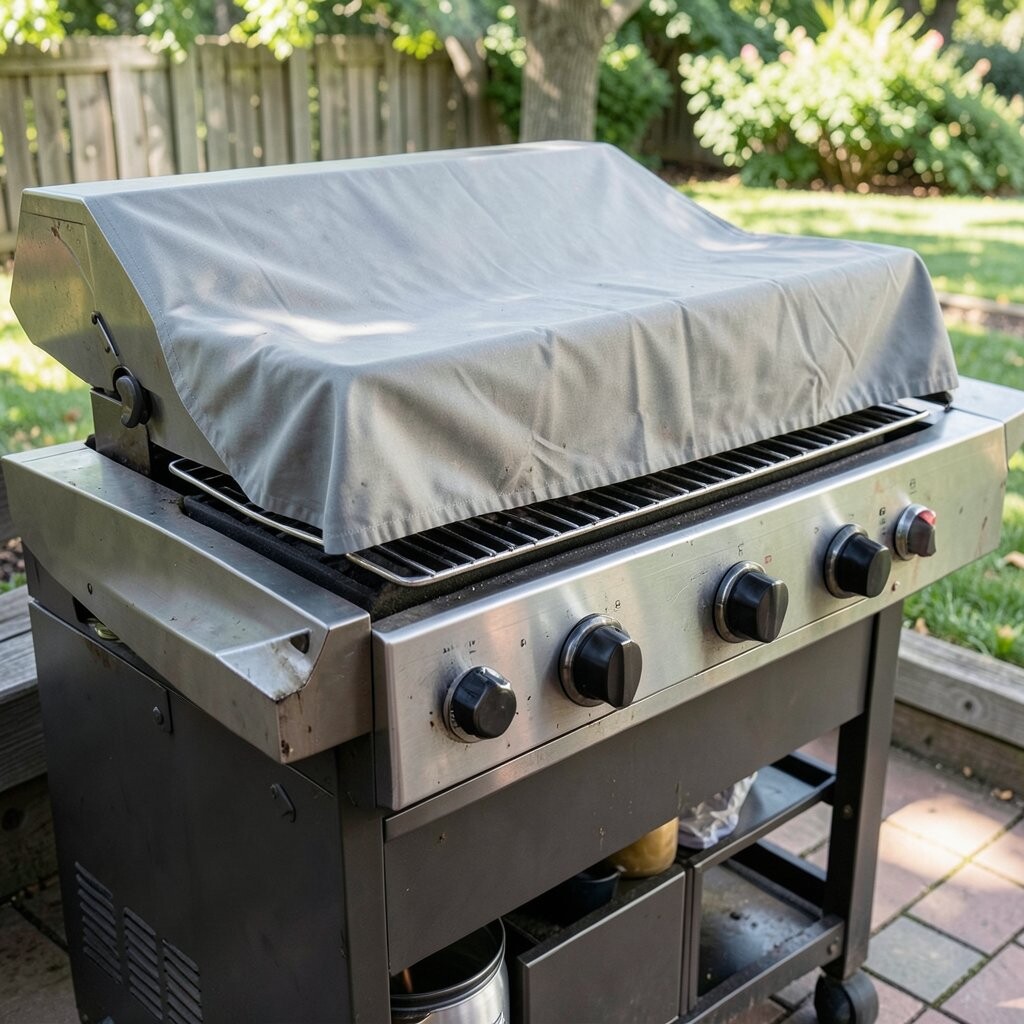
A grill cover is like a weather jacket for your cooking zone. It helps guard against dust, pollen, rain spots, and bugs that love warm corners.
Choose a cover that fits snugly so wind doesn’t flap it and wear it out fast. If you use a grill mat or drip tray, keep them clean too so moisture stays controlled. During the off-season, check the cover occasionally and remove any standing water.
This step is unique because it reduces cleaning work later instead of adding it. Many homeowners also add a breathable liner to stop trapped moisture from causing rust. Over time, you’ll spend less on replacements and deep clean sessions.
3. Clean Grease Trays and Drip Pans on a Schedule

Grease trays are where mess becomes a smell. When they overflow, you can get flare-ups and that lingering “burnt” scent.
Pull the tray, scrape off residue, and wash with warm soapy water. Let it dry completely before putting it back so it doesn’t create a damp, sticky surface. If your tray is disposable, replace it before it gets fully clogged.
For personalization, set a simple reminder based on how often you grill. Heavy weekend grilling may need weekly checks, while occasional cooks can do biweekly. Keeping trays tidy is one of the most practical ways to protect both taste and performance.
This tip also fits current habits like using reusable liners for easier upkeep. They can cut down on waste and make cleanup feel less like a chore. It’s a small cost now that can prevent bigger problems later.
4. Brush the Grates After Each Use

A quick grate brush right after cooking helps remove food before it hardens. That alone can cut your next cleaning time in half.
While the grill is still warm, scrub the grates with a grill brush and remove residue. For tough buildup, soak a sectioned brush head in warm water and try again. Keep a dedicated brush for the grill so you don’t cross-use it with anything else.
5. Target the Burners and Vent Holes

When burners get clogged, heat can turn uneven. You might notice hot spots, slower cooking, or sudden flare-ups that weren’t there before.
Inspect burner tubes and wipe away grease, then check vent holes for blockages. Use a small brush or compressed air carefully to clear dust, especially if you live near trees or busy roads. If you see cracks or heavy corrosion, replace the parts instead of fighting the symptoms.
This is unique because it’s not just about looks—it’s about control. Better airflow means more consistent temperatures and cleaner flavor. A careful burner check usually costs only time, but it can save you from expensive replacements.
6. Degrease the Grill Interior With a Safe Routine

Over time, splatters collect inside the hood and under the cooking area. A proper degrease routine prevents that grime from smoking during future meals.
Let the grill cool, then remove grates and wipe down accessible surfaces. Use an approved degreaser and follow label directions, especially around food-contact areas. Rinse and dry thoroughly so you’re not leaving behind residue that transfers into your next cook.
For personalization, match the cleaner to your grill type and finish. Stainless-steel surfaces usually handle gentle cleaners well, while painted parts need extra care. Many people now choose enzyme-based cleaners because they can be effective with less harsh smell.
7. Wipe Down the Exterior and Control Panel

The outside gathers fingerprints, splashes, and dusty film. Keeping it clean makes your grill area look cared for every day.
Use a damp cloth for quick wipe-downs, then dry with a soft towel to prevent streaks. For stubborn spots, use a mild cleaner and avoid scrubbing too hard on shiny coatings. Check knobs and the control panel for greasy buildup, then wipe around seams where grime hides.
If your grill has a thermometer or ignition button, be gentle and keep liquid out of sensitive spots. This tip feels different because it focuses on “touch areas,” which are often overlooked. A clean control panel also helps you notice changes in performance faster.
8. Keep Side Tables and Tool Hooks Spot-Free

Side tables are where you set marinades, seasonings, and utensils. If they’re sticky or grimy, food can pick up flavors you didn’t intend.
Wipe tables after prep, then rinse or sanitize when you used raw meat. If your grill has tool hooks, check them too since sauces and drips can cling there. Add a small tray on the table to catch drips and keep cleanup easy.
9. Clean Hoses, Regulator Areas, and Storage Zones
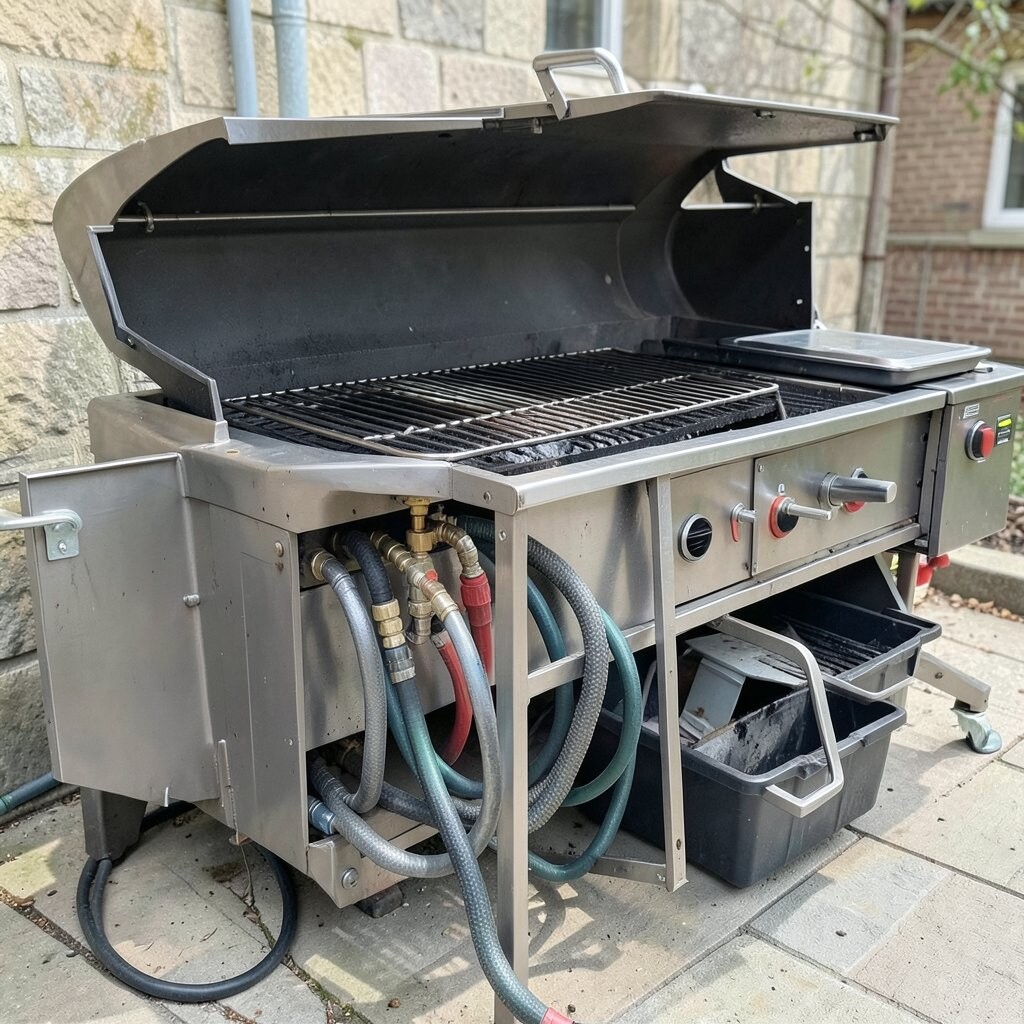
Even if you can’t “see” dirt in the hose area, dust and oil can collect near the regulator. Keeping that space tidy helps you spot wear and prevents hidden grime from becoming a problem.
Before cooking, check connections for residue and wipe them with a clean, dry cloth. Store hoses neatly so they don’t kink or drag across dirty ground. If you notice cracking, fraying, or unusual smells, stop and replace parts right away.
This tip is unique because it combines cleanliness with safety checks. You get a cleaner setup and also better awareness of how the system is doing. It usually costs little beyond a cloth and maybe a replacement wipe kit for routine maintenance.
For trends, many grillers now use structured storage racks to keep hoses off the floor. A small rack can reduce wear, keep things visible, and make the whole grill area feel more organized.
10. Tackle Stains on Concrete, Pavers, or Decking

Grease stains can soak into surfaces and look worse each time you cook. Cleaning them helps protect your outdoor area and keeps the space welcoming.
Use a grill-safe degreaser and a brush suited to your surface type. For concrete or pavers, scrub and rinse well so residue doesn’t remain. If you have decking, be extra careful with runoff and use minimal water to avoid damage.
11. Manage Ash and Char Safely and Cleanly

If you use charcoal, ash cleanup is part of the experience. But messy ash can spread around and make your area look tired fast.
Wait until coals are fully cool, then remove ash with a metal scoop into a proper container. Wipe the area around the grill so ash doesn’t scatter onto the floor. Keep a small ash brush handy for quick touch-ups between deeper cleans.
Char mess is unique because it behaves like a powder that travels. A simple tarp under the grill (when appropriate) can catch stray bits and make sweeping faster. This can cost a little at first, but it often saves time every single cookout.
12. Use Drip Mats and Liners to Reduce Mess

A drip mat creates a clean “buffer zone” where grease lands. That means fewer stains and less scrubbing after you finish grilling.
Choose a heat-resistant mat that matches your grill footprint and placement. Replace or shake out the liner when it’s dirty enough, and wash it if the material allows. For easier personalization, place the mat slightly wider than the drip path so it catches splatter during flare-ups.
13. Establish a Simple Weekly and Monthly Routine

Cleaning feels less overwhelming when it follows a rhythm. A weekly check keeps small messes controlled, and monthly care resets the whole space.
Once a week, sweep, wipe surfaces, and check trays or drip pans. Once a month, do a deeper clean of grates, burners, and the interior surfaces you can safely access. If you want a personalization idea, tie the monthly clean to a calendar event like “the first weekend” so you don’t forget.
This tip stands out because it organizes time, not just dirt. It also helps you buy supplies in advance because you’ll know what you use most. In terms of cost, routine cleaning often prevents expensive breakdowns and replacements later.
Current trends lean toward “maintenance mode” routines instead of waiting for buildup. People are also using ready-to-use grill wipes and spray-on degreasers to speed up weekly tasks without sacrificing cleanliness.
14. Upgrade Your Tools and Keep a Cleaning Kit Ready

A good cleaning kit turns maintenance into a quick habit. When everything is nearby, you’re more likely to clean at the right time.
Set up a small caddy with a grill brush, non-scratch scrub pad, cloths, degreaser, and gloves. Store it under cover so products don’t get ruined by rain or heat. Consider adding a scraper for heavy buildup and a catch tray for small parts so nothing falls back on the ground.
This is unique because it focuses on behavior and convenience. The more streamlined the setup, the less likely grime spreads. The cost depends on what you already have, but even a modest kit usually pays off by reducing repeated purchases and labor.
Many homeowners now choose multitask tools like brush-and-scraper combos and pre-measured cleaning concentrates. That keeps your routine consistent and helps you use the right amount every time.