Old packaging can look brand-new on your kitchen walls. You just need a few simple ideas and some recycled treasures.
1. Bottle-Cap Color Wall

Collect bottle caps and sort them by color so they look like a mini rainbow. This makes a fun, bright focal point that never gets boring.
Glue caps onto a scrap board using strong craft glue or a hot glue gun. Add a border from cardboard strips to make it feel finished. Want it more personal? Use your family’s favorite colors or match your kitchen theme.
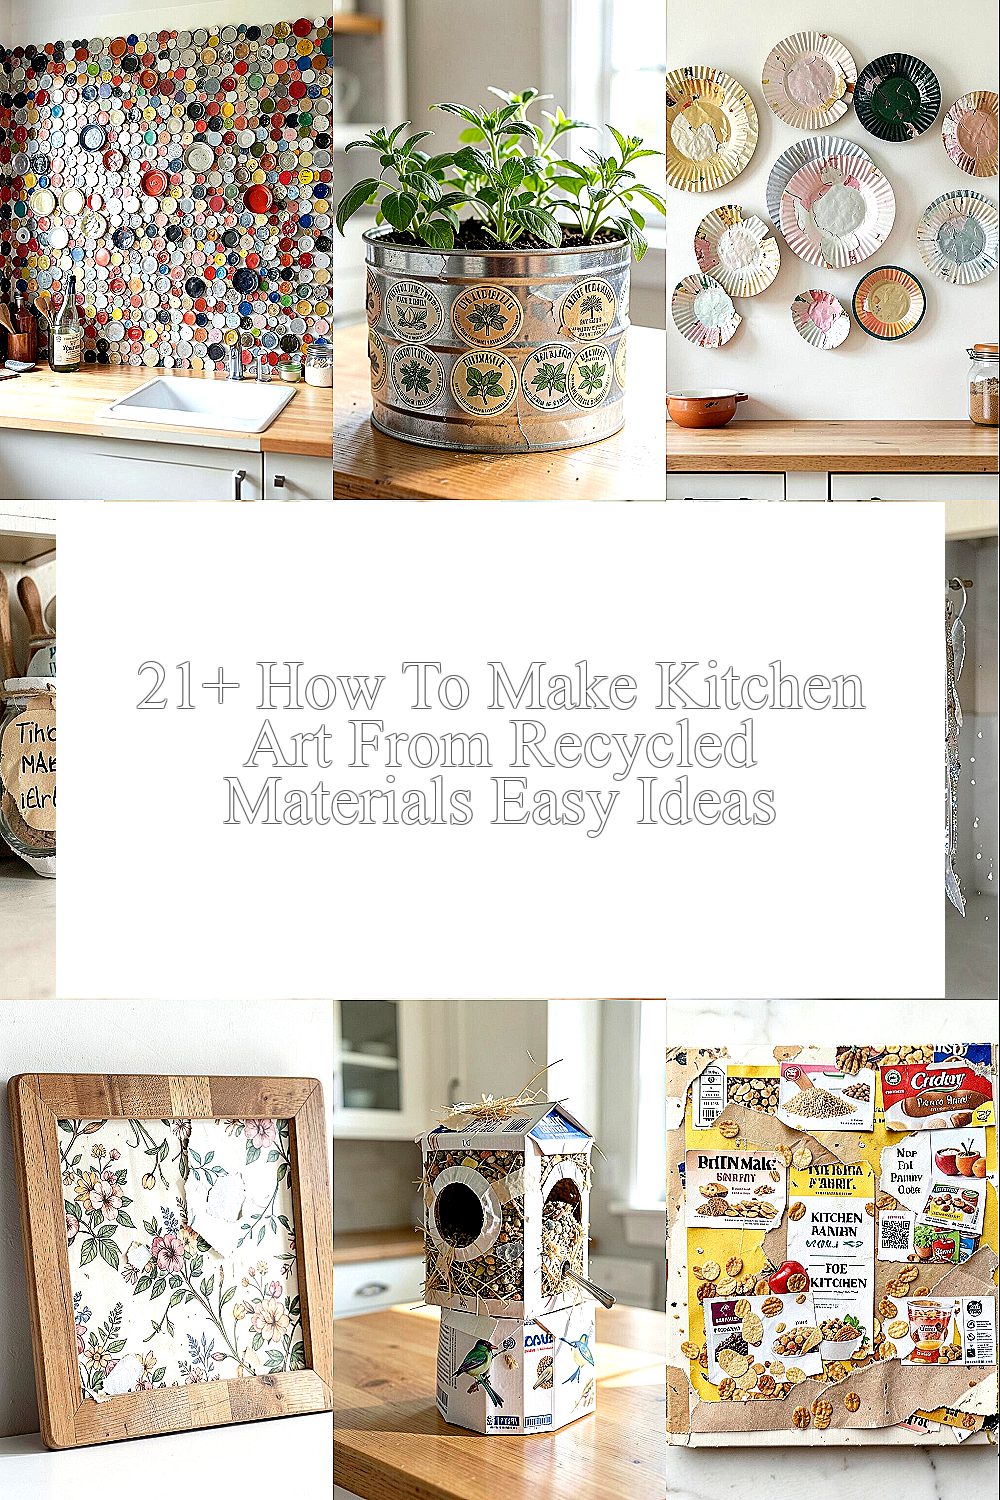
2. Tin-Can Herb Labels and Planter Art
Turn clean tin cans into matching herb labels or tiny planters with a rustic look. It’s a practical art project because it also helps your counter stay organized.
Wash the cans, remove labels, then paint or wrap them with scrap fabric or brown paper. Use marker or paint pens to write names like “mint,” “basil,” or “tea.” You can also punch a small hole and tie a string for hanging tags.
For uniqueness, add pressed leaf shapes using craft glue and a light dusting of paint. Keep cost low by using what you already have, like old acrylic paint. A popular trend right now is “kitchen garden” décor, even indoors, so this fits perfectly.
3. Recycled Paper Plate Wall Flowers

Cut old paper plates into flower shapes for easy, cheerful wall art. The raised texture makes the petals look like they’re really blooming.
Paint the plate pieces with leftover poster paint, then layer petals with glue. Use a button or bottle-cap circle in the center for extra shine. If you want a softer look, use torn craft paper instead of paint for a collage style.
This craft is great because you can make a whole bunch in one sitting. It also helps reduce waste since paper plates are often thrown away after one meal. Personalize by adding different petal sizes and making a “bouquet” around a corner shelf.
Cost stays near zero when you use recycled materials plus small amounts of glue. Many people are leaning toward nature-inspired décor, so these flowers will feel right at home in today’s kitchens.
4. Spice Jar Lid Message Signs

Save lids from spice jars and turn them into tiny message signs for shelves. They make everyday kitchen tasks feel a little more fun and hopeful.
Write short phrases with paint pens, like “taste,” “sip,” or “cook slow,” then seal with a clear coat if you have one. Arrange them in a pattern on a scrap wood rectangle or a sturdy piece of cardboard. You can swap messages anytime, which is a neat way to keep your décor fresh.
5. Cardboard Tile Recipe Art

Cut cardboard into tiles and paint them like little recipe pages. It’s a clever way to display favorite cooking ideas without buying new décor.
Write a short recipe or ingredient list on each tile, then frame them with strips of cardboard. Use stencils from old cereal boxes for clean letters if your handwriting needs help. To make it unique, add small icons like a pepper, spoon, or measuring cup.
This project benefits organization, because you can place the tiles near where you cook. It also recycles packaging that would otherwise end up in the trash. A modern trend is “gallery wall” styling, and these tiles can mix with photos for that look.
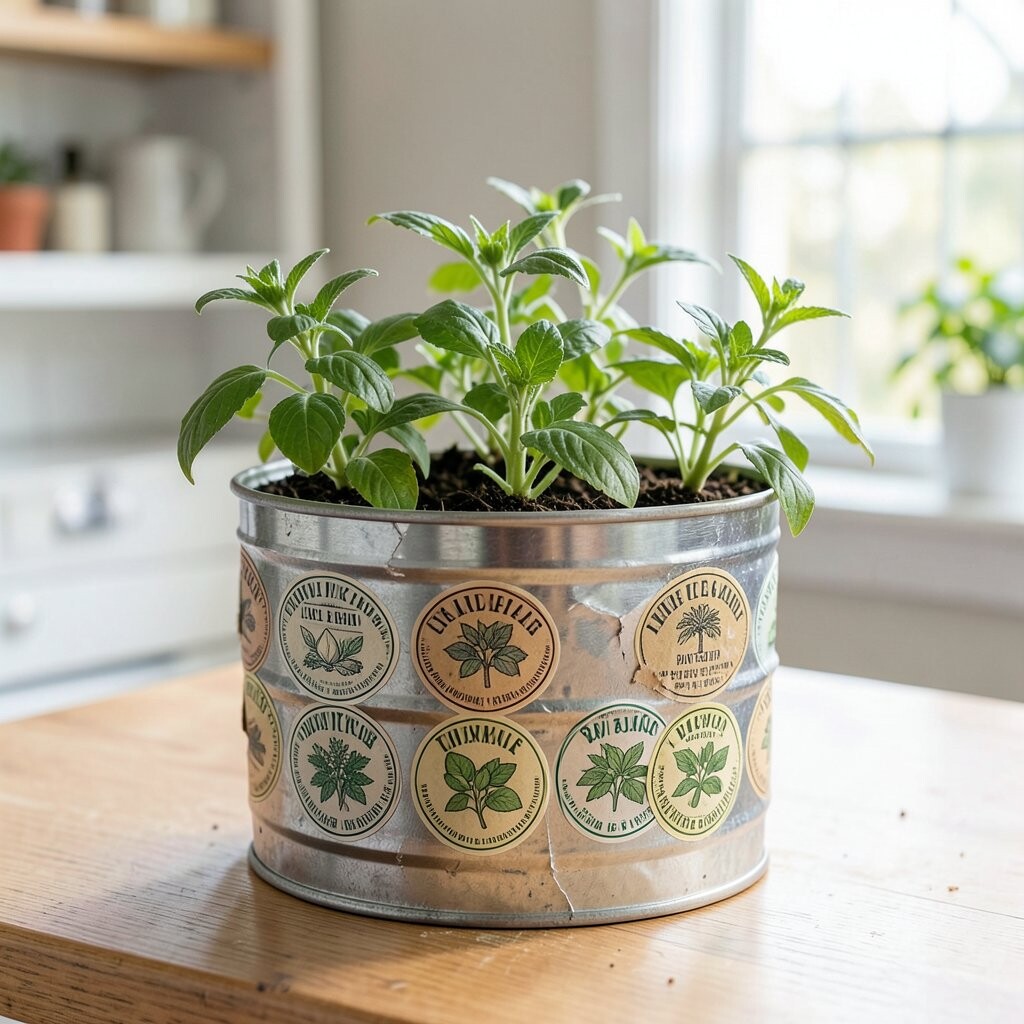
6. Broken Spoon Shimmer Curtain Holder
Use mismatched spoons as a decorative curtain holder for a whimsical kitchen feel. The curved metal creates sparkle when light hits it.
Clean the spoons and bend the handles carefully into a hook shape if needed. Attach spoons to a scrap wood strip or a sturdy cardboard backing with strong glue or wire. Space them in a gentle arc so the design feels playful rather than messy.
Add a coat of spray paint in silver, gold, or copper if you want an even color story. Cost is low because spoons often get lost or bent and can be reused. This fits the trend of mixing “found objects” into everyday décor.
7. Wallpaper Scrap Cutting Board Frame

Turn wallpaper scraps or old gift wrap into a frame for a small cutting board. It looks like boutique kitchen décor, but it uses materials you already have.
Wrap wallpaper around a thin piece of scrap wood or cardboard, then glue down the edges neatly. Add your cutting board by attaching it behind the frame so it looks like part of the artwork. You can also print or trace a simple kitchen line drawing on the wallpaper for extra charm.
For practical tips, keep the design flat so it won’t snag when you wipe the board. Personalize by matching colors to your dishware or backsplash. This idea feels current because many kitchens now use “textured wall” accents and patterned frames.
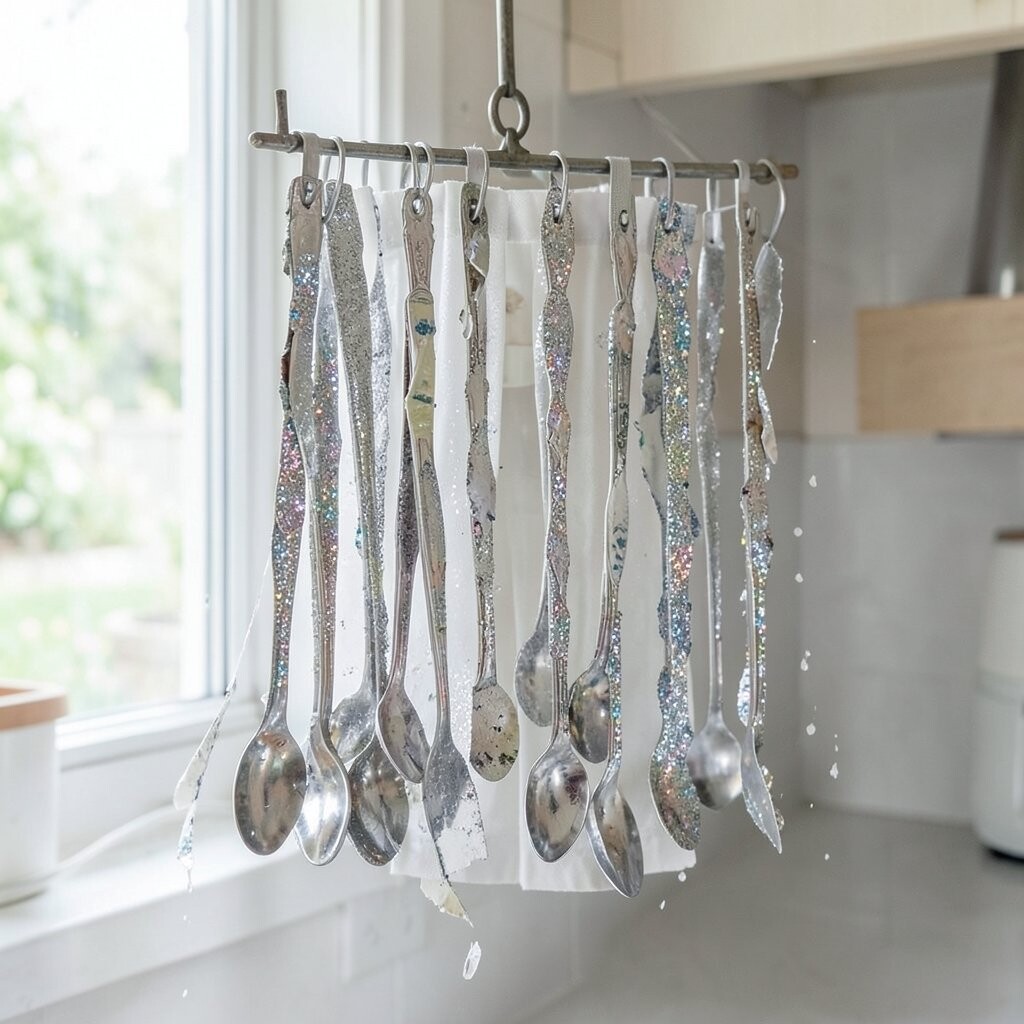
8. Milk Carton Bird Feeder Centerpiece
Build a small bird feeder from a clean milk carton and place it as a countertop or window art piece. It’s cute, useful, and adds life near the kitchen.
Paint the carton with leftover colors, or wrap it with paper so it looks cozy. Cut openings for feeding, then string in twine for a hanging look. Add a simple label on the side like “snacks for visitors.”
This project stands out because it’s both décor and a gentle nature helper. It also encourages breaks outside your cooking routine, which can be a nice mental reset. If you want personalization, decorate with tiny heart shapes or swirl patterns using marker.
Cost considerations are easy since cartons are free and you may only need a bit of twine and glue. The trend of “garden windows” is strong right now, and this matches that style.
9. Cereal Box Pantry Label Collage
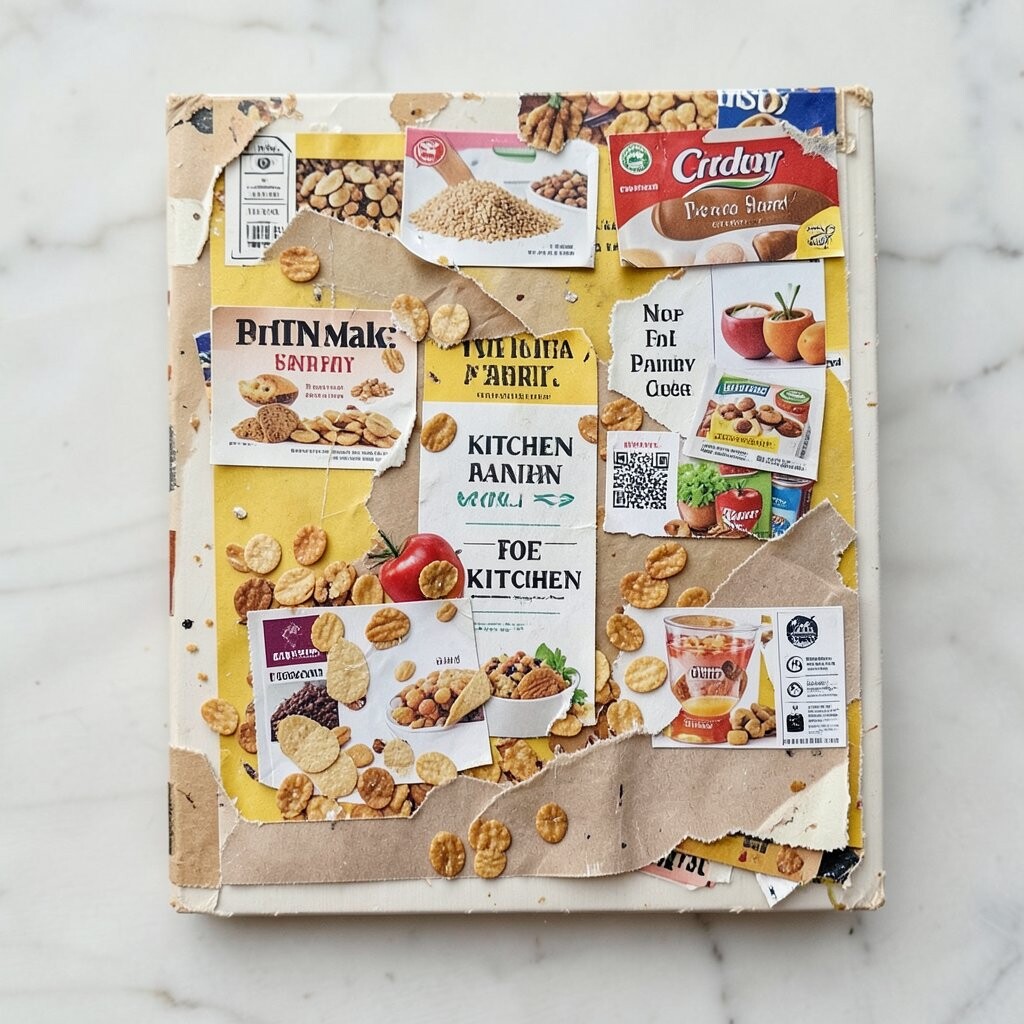
Cut letters and pictures from cereal boxes and layer them into pantry label collages. The bright packaging makes the labels feel energetic and handmade.
Use a sturdy backing like cardboard and glue your collage pieces with decoupage glue. Add clear tape or a thin seal layer so it handles kitchen humidity. Write simple words underneath, like “snacks,” “pasta,” or “flour,” for practical use.
To make it unique, combine different brand styles and create a “patchwork” look. Cost stays low because the main materials come from packaging. This kind of collage décor is popular today because it adds color without needing expensive art prints.
10. Tin Foil Stamped Place Mat Art

Make artful kitchen place mats by stamping patterns into tin foil. It gives you a shiny surface that catches light when guests sit down.
Lay foil over a cardboard base, then press bottle caps, forks, or textured scraps to create shapes. Outline the edges with paint or marker for a clean look. You can also glue the foil onto thicker cardboard so it holds its shape.
Personalize with seasonal themes like stars for holidays or leaf patterns for fall. This is beneficial because it turns plain packaging metal into functional décor. For current trends, metallic accents and “table styling” are very popular, and this keeps it budget-friendly.
11. Puzzle Piece Chalkboard Recipe Panels

Reclaim broken puzzle pieces and turn them into a tiny chalkboard recipe panel. Each piece feels like a little “prompt” for what you’ll cook next.
Paint the pieces with chalkboard paint if you have it, or use matte black paint and test chalk first. Arrange them in a cluster on a board, then secure with glue. Write ingredients or mini steps with chalk that you can erase and update.
This craft is unique because it blends memory-like shapes with real cooking usefulness. It also helps you practice visual organization when you keep notes within reach. If you want personalization, sort puzzle pieces by color and create a pattern that matches your kitchen mood.
Costs are usually minimal, especially if you already own black or matte paint. This aligns with the trend of interactive décor, where art changes as often as your routine.
12. Jar Lid Coaster Constellations

Use jar lids to make coaster “constellations” for a calm, starry kitchen vibe. It’s a small project with a big effect when everything sits neatly on the table.
Paint lids dark blue or black, then add star dots using white paint or a marker. Seal with clear varnish so the designs last. Mix sizes by using both jar and bottle caps for extra depth.
Add names for constellations like “stars for tea” or “midnight cocoa” to make it personal. This benefits daily life by protecting surfaces while adding artwork. The star-themed look is trending in many home styles, and this is a budget way to try it.
13. Recycled Glass Jar Lanterns for Warm Corners
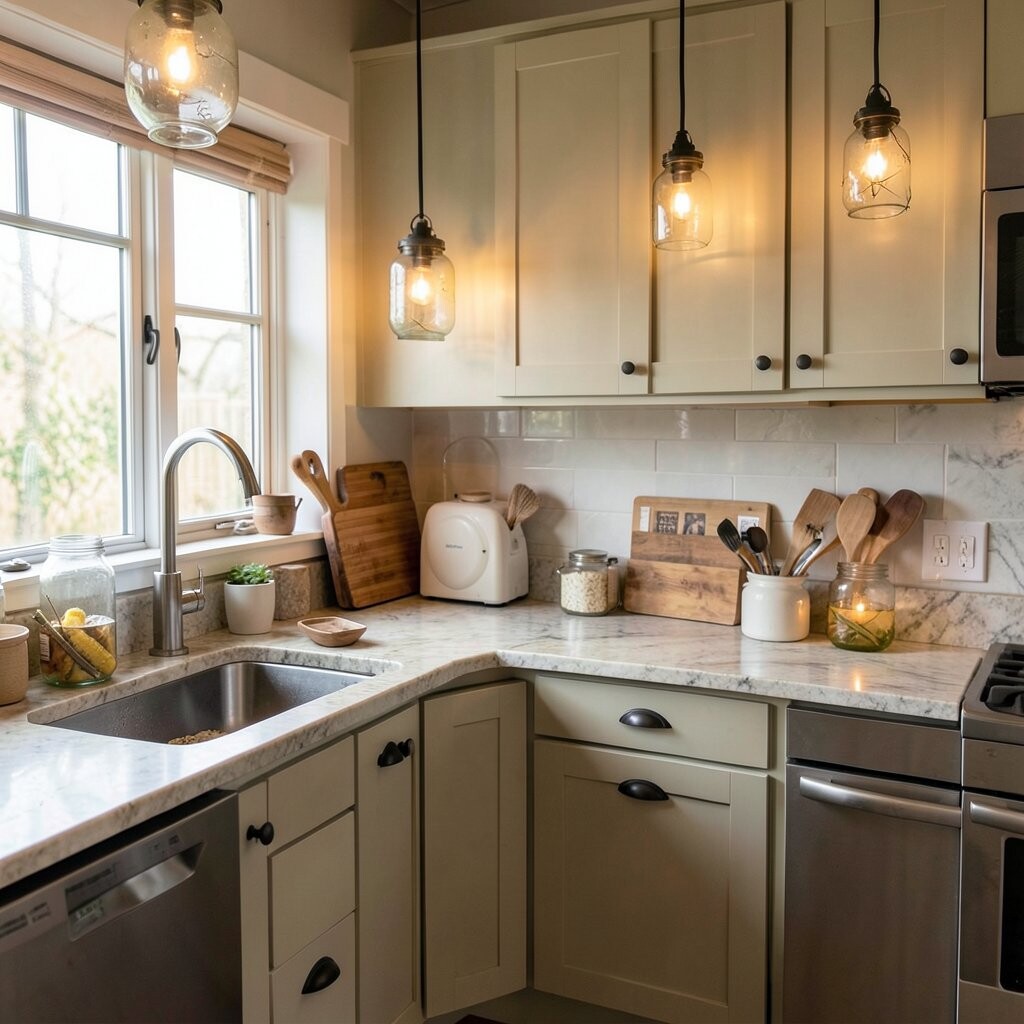
Turn empty glass jars into lanterns that make the kitchen feel cozy at night. The soft light makes even simple corners look special.
Clean the jars, then wrap them with lace, twine, or strips of recycled paper. Place a battery LED candle inside for safety. You can also add small cut-out shapes from old cardboard for a “shadow” pattern.
This is unique because it combines recycled materials with gentle lighting. It’s helpful for hosting, since it sets a calm mood without extra décor shopping. Personalize by painting the jar edges in your favorite color palette.
Cost considerations are simple since LED candles are usually inexpensive. This matches current trends toward warm, ambient lighting and “cozy kitchen” aesthetics.
14. Magazines to Mosaic Trivet
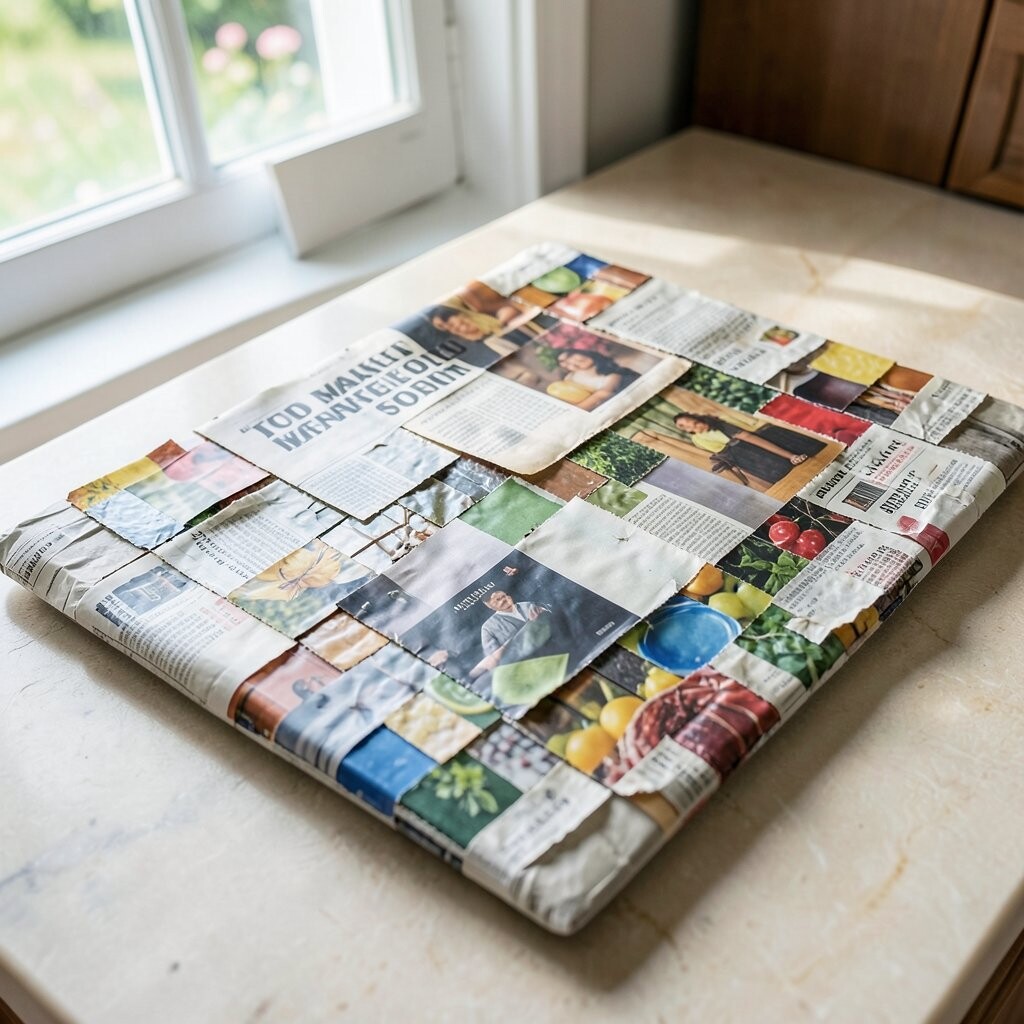
Cut images from old magazines and turn them into a mosaic trivet. The patterns look like mini art tiles you can use every day.
Cut small squares, then glue them to a sturdy base like a thick cardboard circle. Cover with a protective layer of clear adhesive or sealant so it can handle heat lightly. For practical tips, let everything dry fully before using it.
Personalize by choosing colors from your kitchen, like reds for a bold look or blues for a calm feel. This benefits sustainability by keeping paper waste out of landfills. Mosaic décor is always in style, and it feels extra trendy when done in bright, modern colors.
15. Paper Bag Garlands with Kitchen Sayings
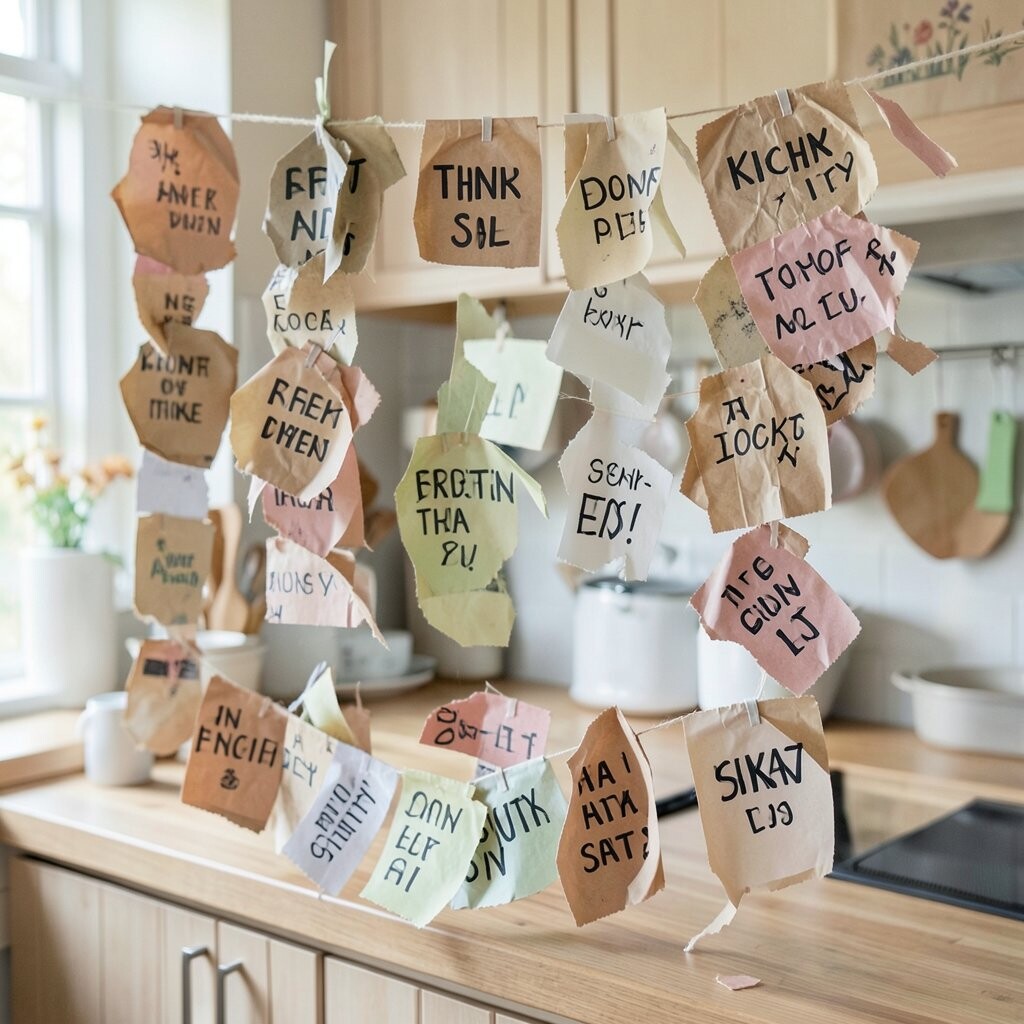
Fold and decorate recycled paper bags into a hanging garland with kitchen sayings. It’s quick, playful, and perfect for brightening a dining area.
Cut the bags into equal sections, then fold to create pennant shapes. Add letters with marker and decorate with simple icons like spoons, lemons, or garlic. Connect pieces with twine so the garland hangs evenly.
What makes this unique is how easy it is to swap messages for seasons. You can switch from “summer snacks” to “winter baking” in minutes. Cost stays low because paper bags are usually free and writing tools are basic.
16. Can Tab Hanging Key and Utensil Organizer

Use pull tabs from aluminum cans to build a hanging organizer for small tools. It’s quirky, shiny, and surprisingly sturdy when built well.
Flatten tabs slightly, then arrange them into rows on a scrap backing board. Use wire or strong glue to attach them securely. Add hooks at the top so you can hang it near your cooking space.
Personalize by sorting tabs by color from different cans for a striped look. This benefits your kitchen by keeping utensils off the counter and within reach. It also follows a current trend of “upcycled metal” décor that looks artistic instead of wasteful.
17. Scraps-into-Menu Board on a Reclaimed Door Hinge

Make a menu board by attaching a small board to a reclaimed hinge. It gives you a flip-up display for dinners, guest snacks, or weekly reminders.
Decorate the board with paint or fabric scraps, then add a clear pocket from scrap plastic if you want printed notes. Use chalk, dry-erase, or magnet sheets depending on what you prefer. Mount the hinge to a scrap frame so it’s stable and easy to open.
This craft is unique because it uses hardware you might otherwise throw away. It’s also practical since you get a functional board plus stylish hardware detail. Personalize with a border made from bottle caps or small collage bits.
Costs depend on paint and markers, but you can often use leftovers. The “notice board” look is popular right now, especially in kitchens that blend work and art.
18. Cardboard Tube Rolling Pin Cover Art
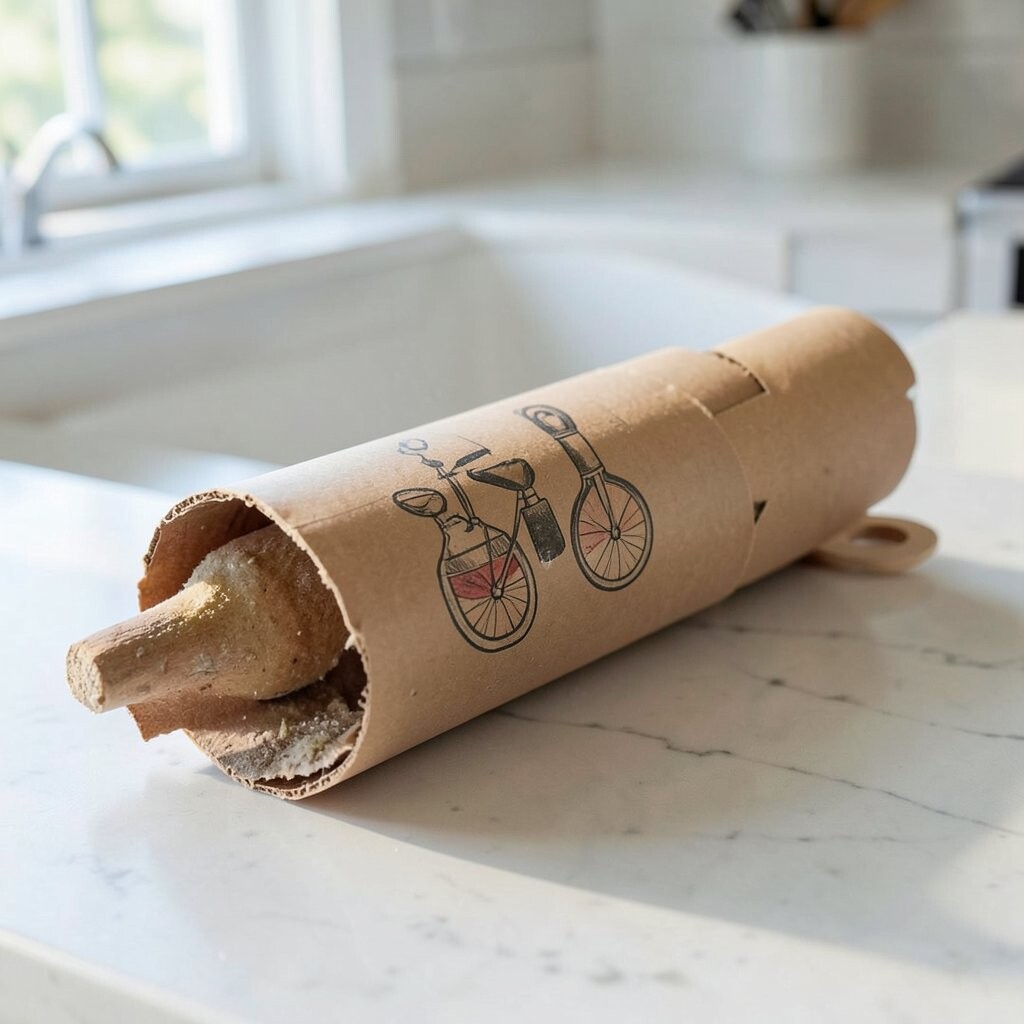
Turn cardboard tubes into decorative covers for rolling pins or small utensils. It’s like adding a sleeve of artwork that also protects items from dust.
Wrap the tube with recycled paper or fabric, then secure with glue. Add painted shapes like circles or stripes, or cut simple window patterns from old packaging. If you want a cleaner finish, tuck edges inside the tube opening.
This stands out because it’s décor you can handle daily without it looking fragile. It also reduces the clutter feeling by keeping tools visually coordinated. Personalize by matching colors to your pantry labels or dish towels.
19. Plastic Bottle Flower Vases for Counter Art

Cut plastic bottles into flower shapes and use them as small vases. They bring bold color to your counter and reuse materials that are hard to recycle.
Trim petals carefully and smooth edges with gentle heat from an adult-supervised source if needed. Paint with acrylic or spray paint and let it cure fully. Place a small glass jar inside if you want an easier way to hold water.
Make it unique by mixing bottle sizes to create different flower heights. This benefits you by adding a long-lasting décor piece that still serves a purpose. Current trends favor “daring color” and upcycled crafts, so this will look fresh.
Cost considerations are low because bottles are free and paint is optional if you’re okay with natural tones. If you do paint, use leftover paints to save money.
20. Reclaimed Wood Spoon Rest Nameplate
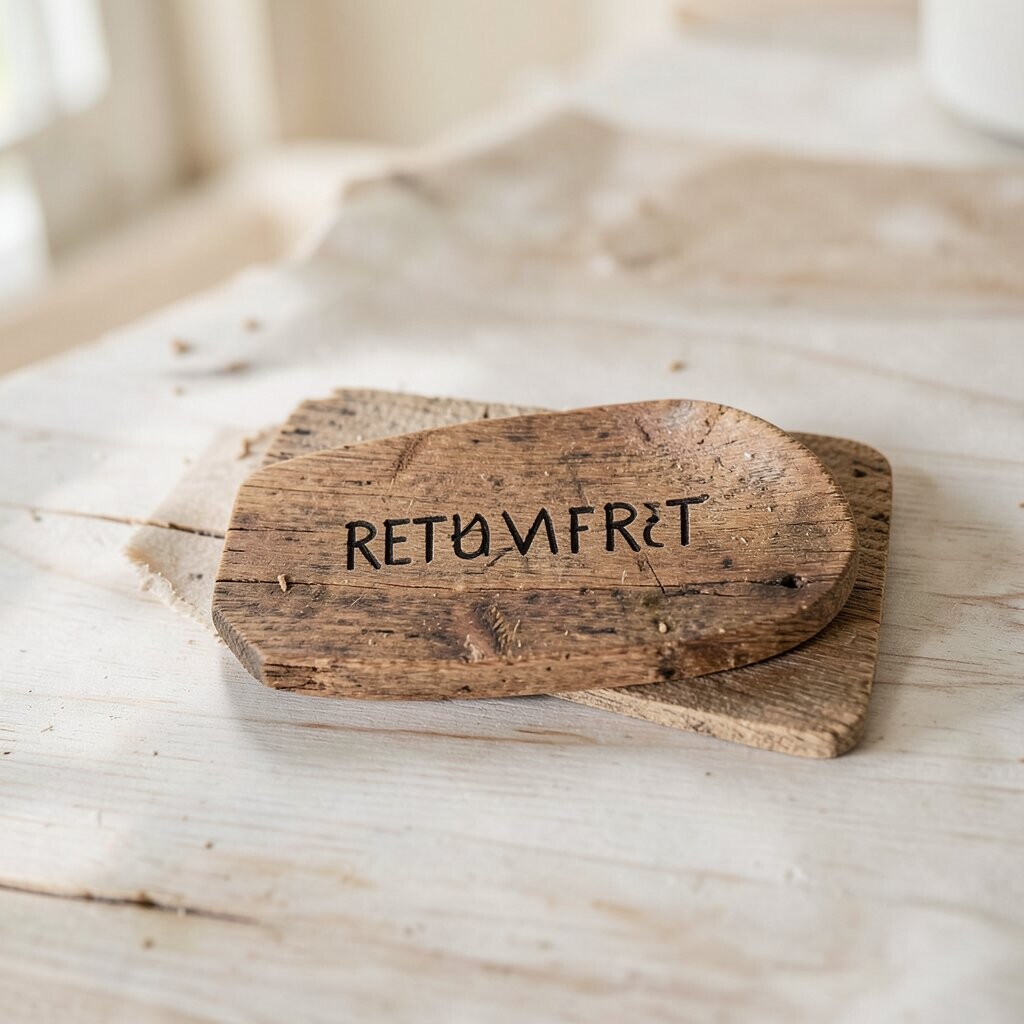
Use reclaimed wood scraps to create a spoon rest nameplate that matches your kitchen style. It’s small, practical, and looks polished when placed near the stove.
Sand scraps lightly, then glue or nail them into a simple base shape. Add a painted or burned-in word like “cook” or your family name. Seal with clear varnish if you plan to use it often.
Personalize by cutting a small notch for resting spoons, or by adding a tiny painted border. This project is unique because it turns discarded wood into daily utility art. Costs are usually minimal since you can use spare wood, sandpaper, and leftover paint.
21. Egg Carton Mini Succulent Planters

Turn egg cartons into mini succulent planters that look adorable on windowsills. This is a kitchen art idea that feels alive and fresh.
Cut out sections, poke drainage holes, and fill with soil. Plant small succulents or seeds and decorate the outside with paint or glued-on paper shapes. If you want a neat look, make a matching set of three or five planters.
The benefits are both visual and useful since you’re growing living décor. It also keeps cardboard waste out of the trash. Personalize with tiny labels written in marker, like “sage” or “breathe.”
22. Upcycled Canister Labeling Collage Set

Create a full set of art labels for your canisters using recycled paper, fabric, and packaging. The set makes your whole kitchen feel coordinated without spending much.
Cut label shapes from boxes, wrap them around canisters, and secure with tape or glue. Add a small border from fabric strips, then include a simple ingredient name. For uniqueness, mix textures by combining glossy box fronts with matte scrap paper.
This idea stands out because it’s a “system” you can keep improving over time. The cost is low since you’re using scraps, and the results can look like a designer set. Current trends lean toward warm, mixed textures, and collage labels fit right in.