
Wood beams can look tired even when the structure is still strong. A fresh paint job makes them look crisp, clean, and intentional.
1. Read Your Beams Like a Map

Start by walking around the room and noticing the beam’s color, sheen, and condition. Check for knots, cracks, peeling areas, and spots where dust gathers.
Take a close look at how light hits the surface at different times of day. Note whether the wood is smooth or rough, and whether it feels sticky or chalky. This quick survey tells you which prep steps matter most before you buy supplies.
2. Choose a Finish That Matches Your Style

Paint can change more than color; it changes how the beam “acts” visually. A matte finish hides small bumps, while a semi-gloss finish bounces light and looks a bit more lively.
Think about the room’s vibe: calm and airy often pairs well with matte or eggshell. High-traffic spaces like kitchens usually benefit from a tougher, easier-to-clean sheen.
If you want the beams to feel cozy, go slightly warmer with whites or creams. If you want a modern contrast, consider crisp whites or soft grays.
3. Gather Tools Before You Start

Plan your supplies so you don’t pause mid-project. You’ll typically need painter’s tape, a drop cloth, sanding tools, tack cloth, and high-quality brushes.
Use a roller for large flat sections and angled brushes for edges. A small angled sash brush helps you control paint around corners and where the beam meets the ceiling.
Have a paint stir stick, gloves, and paper towels ready too. If the beams are tall or overhead, consider an extension pole for steadier coverage.
When you’re fully stocked, you spend less time juggling items and more time making smooth, even strokes.
4. Clean First, Then Let It Dry Completely
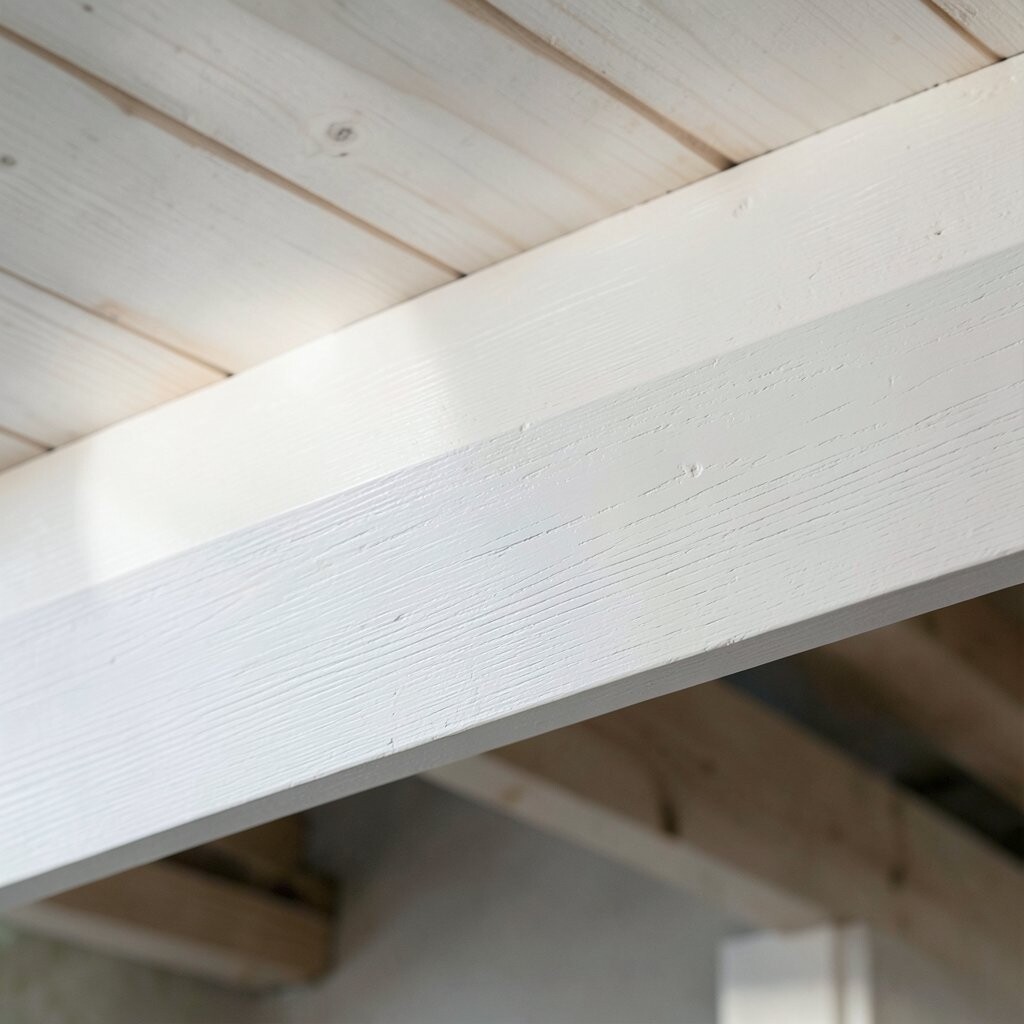
Before sanding, wipe the beams well so paint sticks properly. Use a gentle degreaser for greasy areas, and a damp cloth for general dust.
Let everything dry fully before moving on. If you paint over lingering moisture, the finish can bubble or peel later.
5. Sand to Create a Surface Paint Can Hold

Sandlightly to remove shine and roughen the surface for bonding. For older beams with glossy finish, this step is extra important.
Use medium-grit sandpaper for uneven spots, then switch to finer grit for a smoother feel. Don’t try to strip everything down unless the peeling is severe.
After sanding, vacuum the dust and wipe with a tack cloth. Clean surfaces make it easier to get a uniform color with fewer coats.
6. Fill Knots and Cracks for a Smoother Look
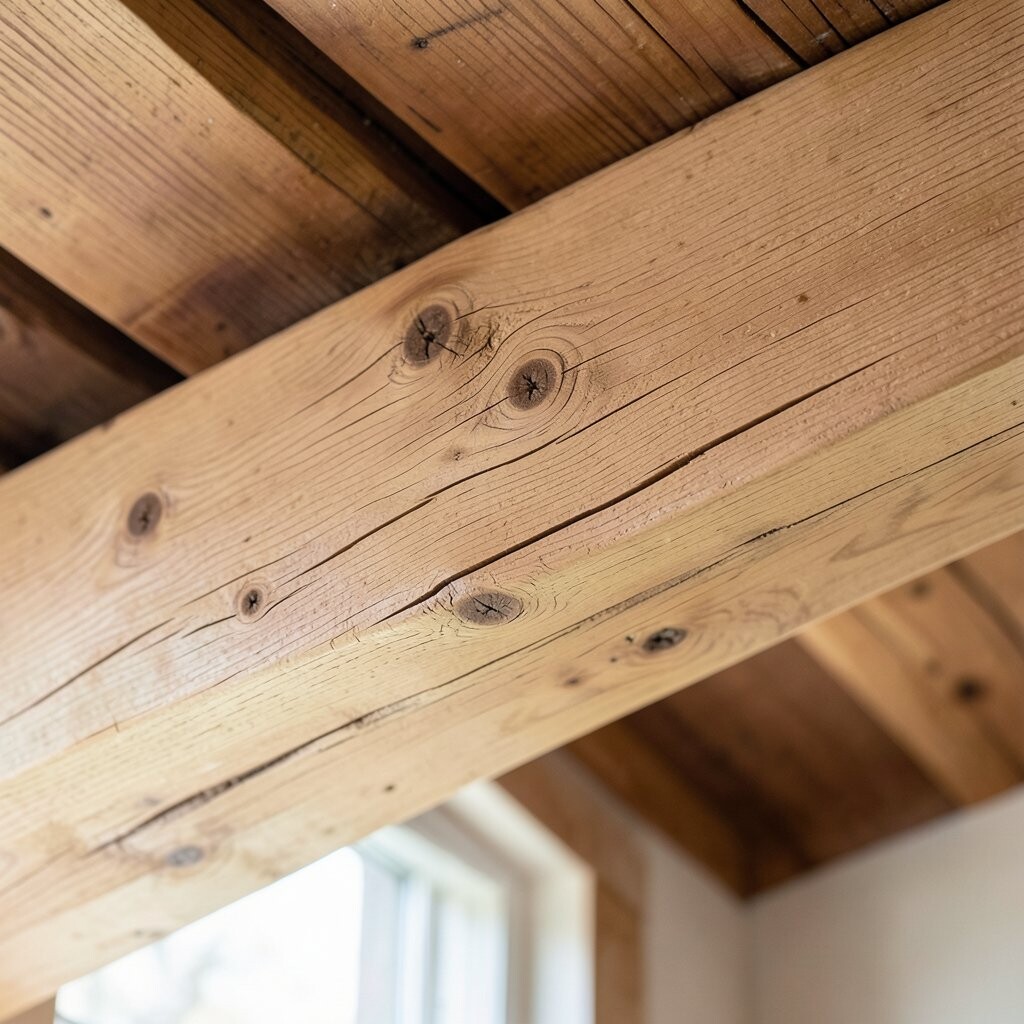
Knots and small cracks can bleed through if you don’t prep them well. Spot-fill with wood filler or a suitable patch compound to even out the texture.
Once it dries, sand the filled areas until they’re flush with the rest of the beam. This helps the paint look smooth instead of patchy.
Choose a filler that’s compatible with paint and dries solid. Taking time here prevents “ghosting” where dark lines show through the topcoats.
7. Prime Like You Mean It

Primer is the secret weapon for lasting results, especially on stained or uneven wood. It seals the surface so your top paint looks true to color.
If the wood is tannin-rich, or you see any dark marks that might bleed, pick a stain-blocking primer. For beams that have been previously painted, a bonding primer can help prevent peeling.
Apply primer in thin, even coats and follow the label’s dry time. When the primer cures properly, the final coat goes on smoother and more consistently.
It can feel like extra work, but it’s the step that protects your investment.
8. Protect Edges and Ceiling Lines With Tape

Tape keeps lines sharp and saves you from scraping paint off the ceiling. Press the tape down firmly along the edges so it seals.
Work in small sections to keep your control strong and your lines clean. Remove the tape while the paint is still slightly workable if the product instructions allow it.
9. Plan Your Color Strategy Before the First Brushstroke

Decide whether you want beams to blend in or stand out. Matching the ceiling for a seamless look creates a calm, open feel.
For more drama, pick a contrasting color that frames the architecture. A warm white beam against a darker ceiling can look especially stylish and high-end.
Another option is to keep the beam white but paint the surrounding trim a different tone. That small twist adds depth without making the space feel too busy.
Think about your existing walls, floors, and furniture colors so everything ties together.
10. Use the Right Brush Technique for Smooth Coats

Dip less than you think you need, then tap off excess so paint doesn’t sag. A light touch helps you avoid thick ridges.
Follow the wood grain when possible, especially on long beams. For flat sides, use steady strokes that overlap slightly to fill in gaps.
11. Roll Large Areas for Speed, Brush the Edges
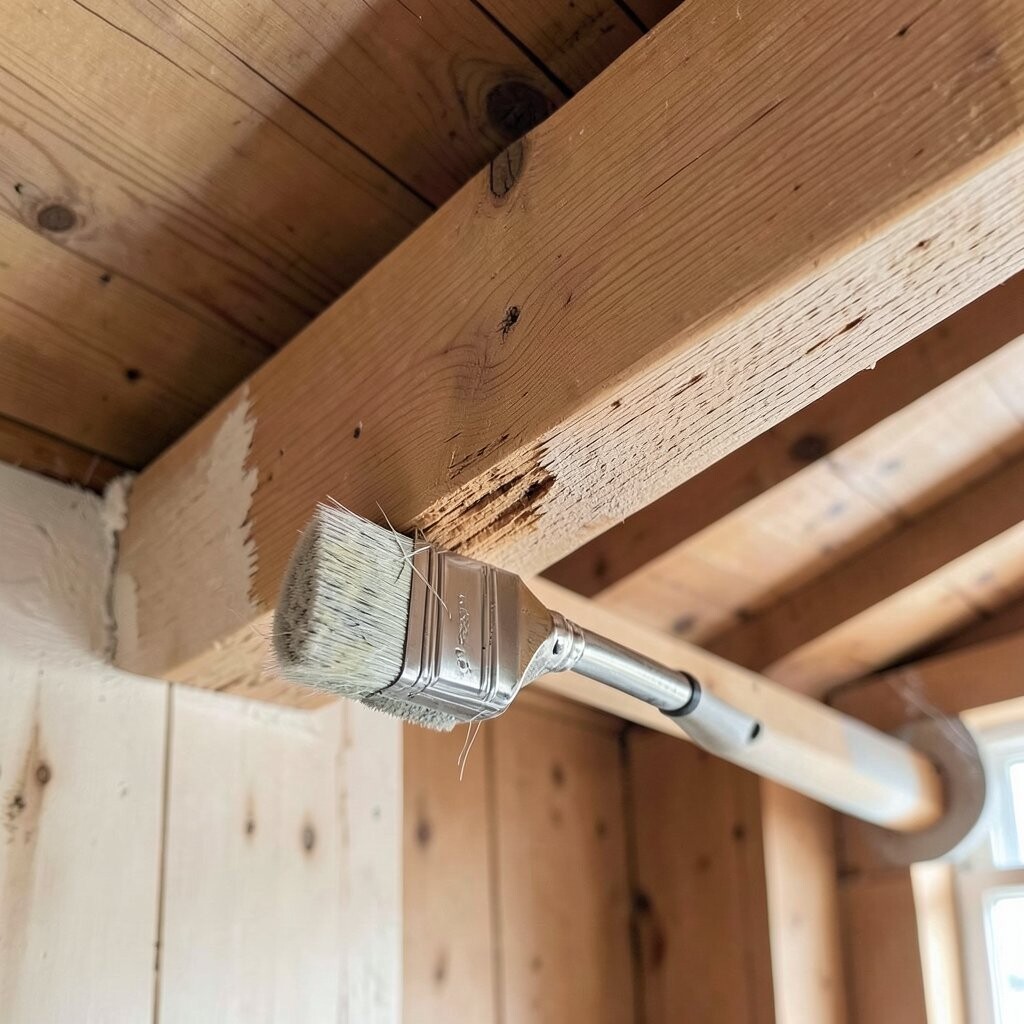
Rolling covers wide sections faster, which can reduce visible brush marks. Use a roller with the right nap for smooth wood so you don’t create a textured finish.
After rolling, go back with a brush to tidy edges and corners. This hybrid approach helps you get both speed and precision.
Watch for “holidays,” which are thin spots where the old color still shows. Catching them early means fewer corrective coats later.
12. Apply Multiple Thin Coats Instead of One Thick Coat
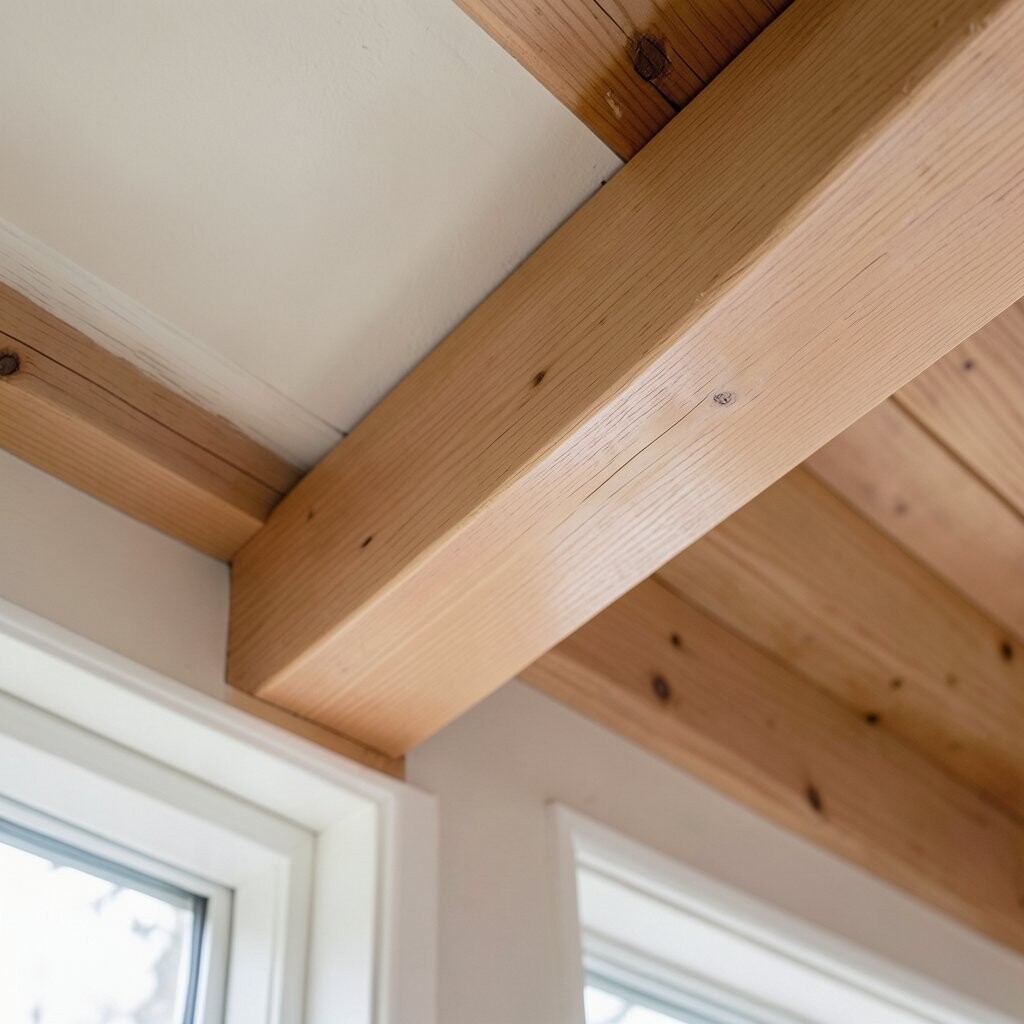
Thick paint can look uneven and may take longer to dry. Thin coats dry faster and level out into a smoother finish.
Let each coat dry and cure according to the label before adding the next. Lightly inspect under strong light to see whether the coverage is even.
13. Manage Drips and Runs With Careful Positioning
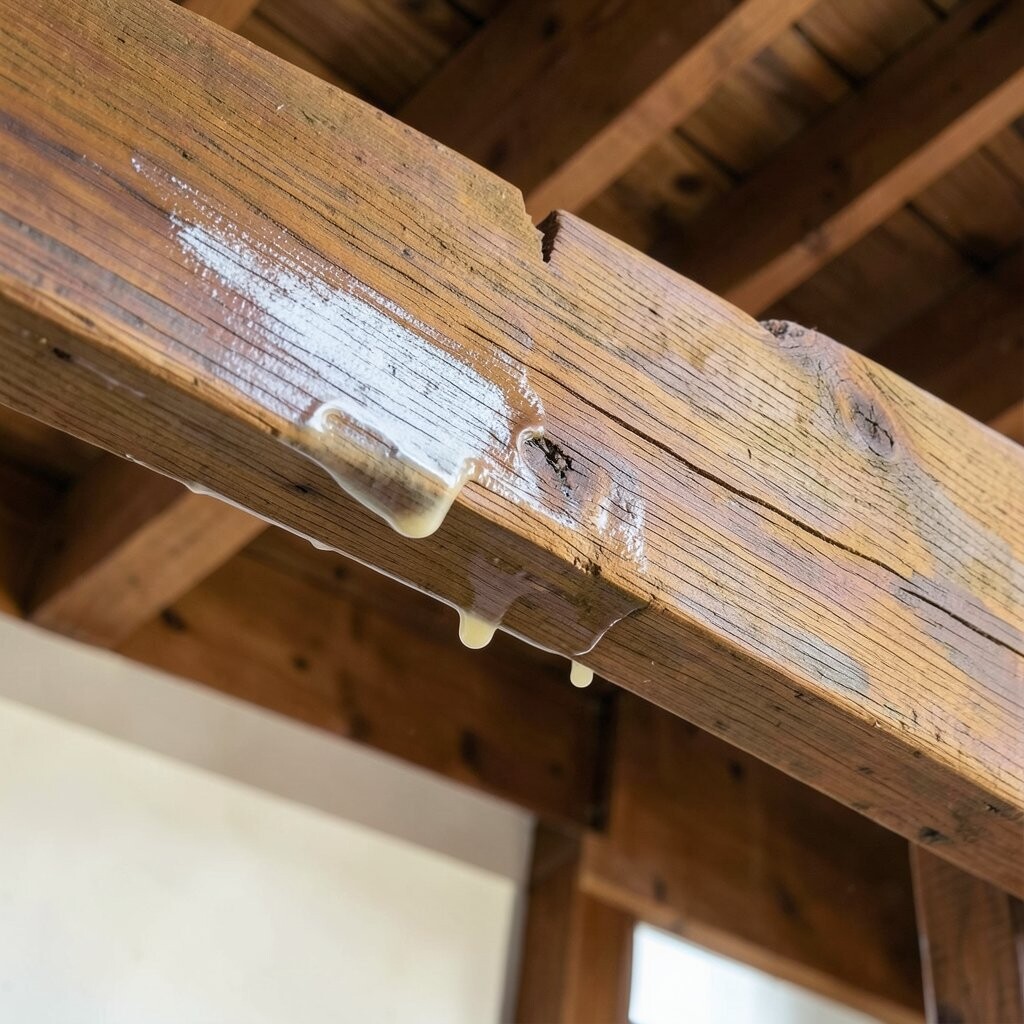
Paint loves to drip when you’re working overhead or at a tricky angle. Keep a steady pace and avoid overloading your brush.
If you spot a drip, catch it before it sets. Carefully smooth the area with a lightly loaded brush or use gentle sanding after it fully dries.
For vertical faces that get gravity-heavy, consider brushing upward in controlled strokes. Taking a moment to adjust your posture can make a surprising difference in the final look.
Always protect the floor and nearby surfaces with a drop cloth and shields.
14. Add a Glaze or Tint for Depth Without Heavy Color Change

If you like the idea of keeping some warmth in the wood look, consider a glaze. A tinted glaze can add depth and make beams feel richer.
You can use glaze to soften harsh contrast, especially if the new paint feels too bright. Apply it lightly, then wipe back so the effect looks natural.
15. Create a Two-Tone Look With a Color Pop
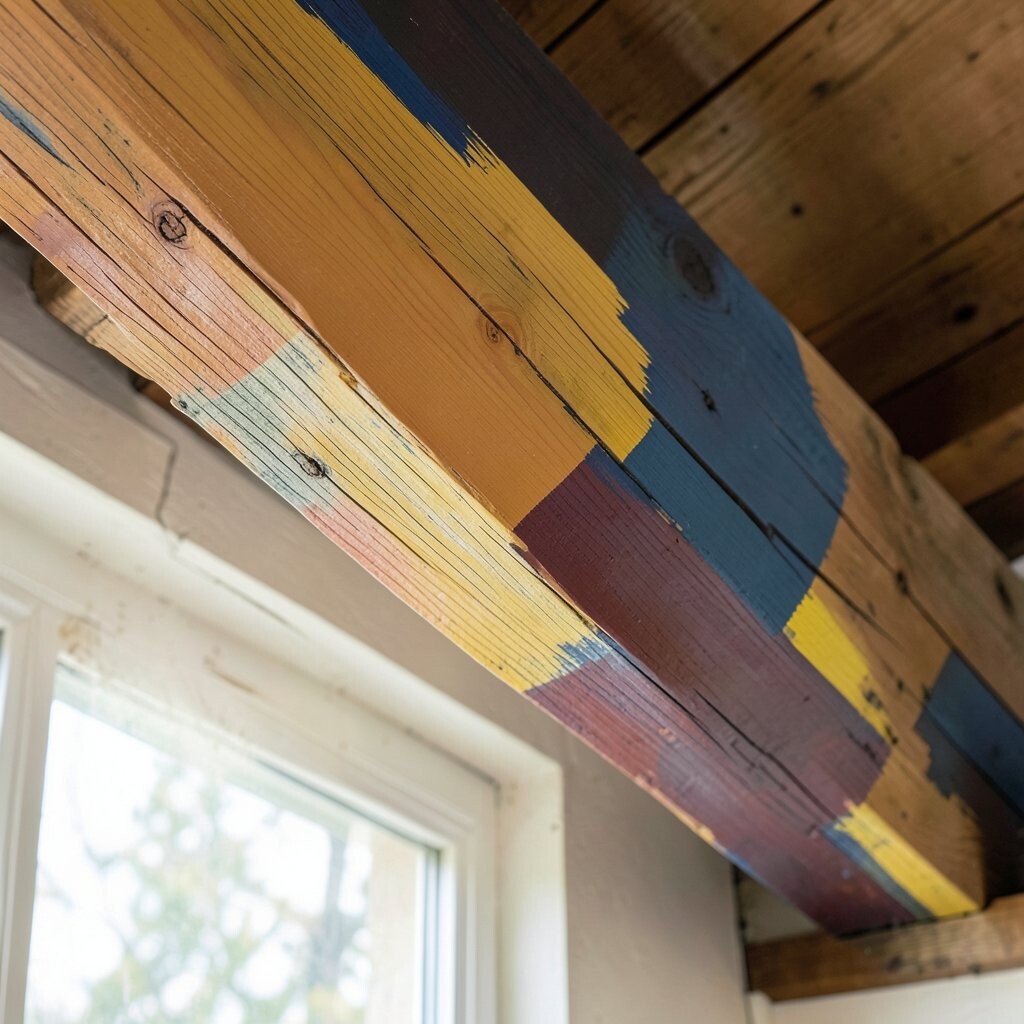
Two-tone beams look polished and can make a room feel designed. Try painting the main beam body one color, then the trim or inner edge another.
Use painter’s tape or careful brush control to keep lines clean. Choose colors that work together, like a soft white paired with a muted charcoal or warm taupe.
This style looks great in modern living rooms, dining rooms, and entryways. It also helps highlight the beam shape even if the architecture isn’t perfectly symmetrical.
16. Match the Ceiling for a Clean, Architectural Blend
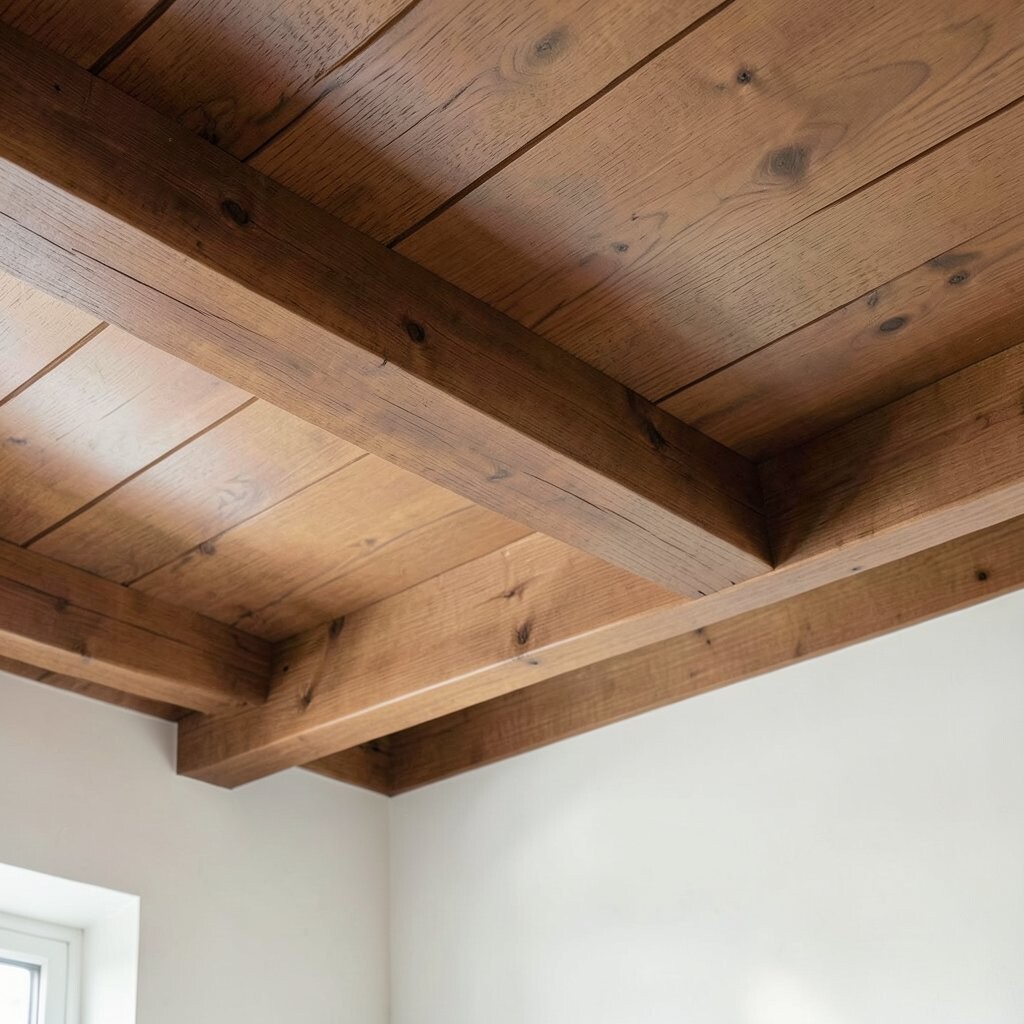
Painting beams the same color as the ceiling can visually stretch a room. It creates a calm backdrop that lets furniture and decor take center stage.
For this look, keep your finish consistent across surfaces. Using the same sheen type on ceiling and beams helps avoid noticeable differences when light changes.
If the ceiling already has texture, choose a beam finish that visually cooperates with that texture. A matte ceiling with semi-gloss beams can draw attention in a way you may not want.
17. Budget Smart: Estimate Paint, Primer, and Time
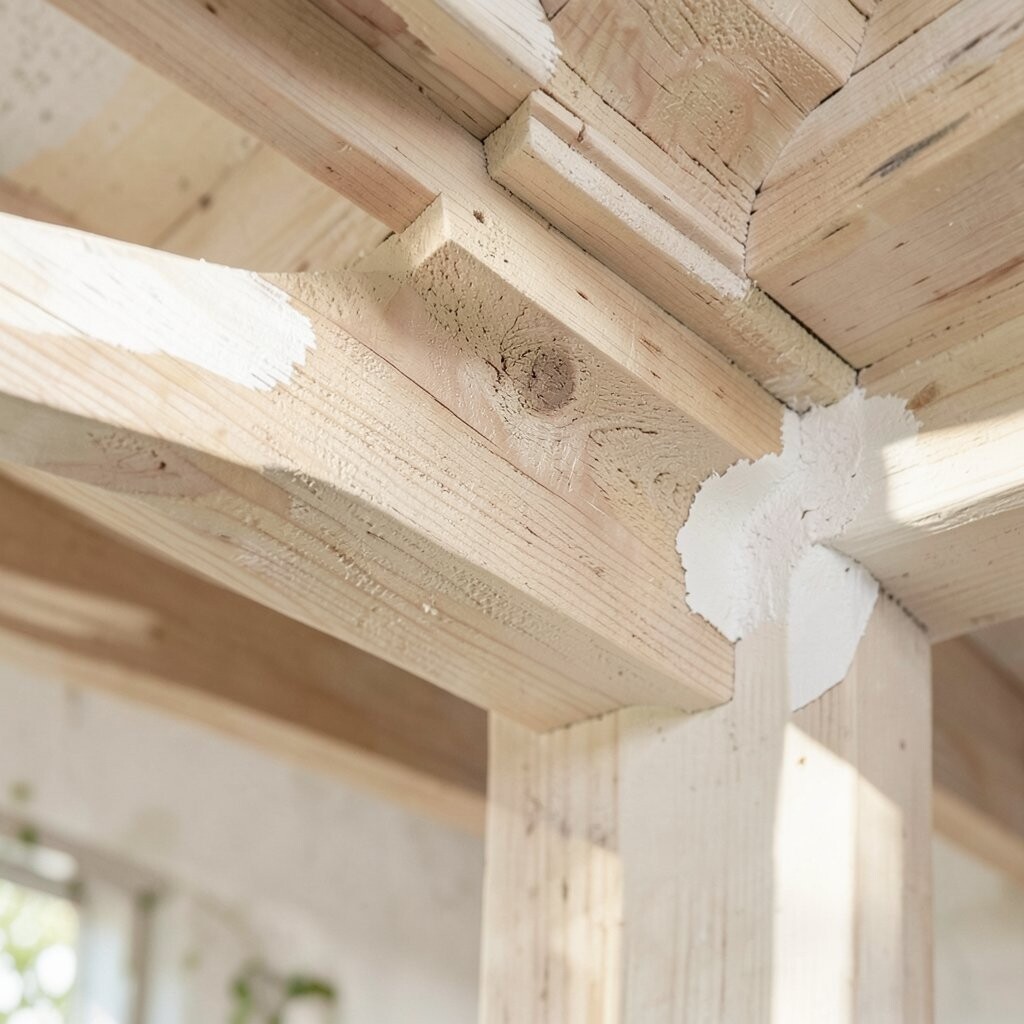
Cost depends on beam size, number of coats, and whether you need stain-blocking primer. Measure the linear footage and estimate surface area so you don’t buy too little.
Plan for at least two top coats, and potentially a third if coverage needs it. Quality brushes can cost more, but they often reduce waste and improve the finish, which saves money over time.
Factor in prep supplies too, like sandpaper, filler, tape, and drop cloths. Even small items add up, so setting a realistic budget early helps the project stay smooth.
18. Keep Up With Current Trends: Warm Whites and Subtle Contrast
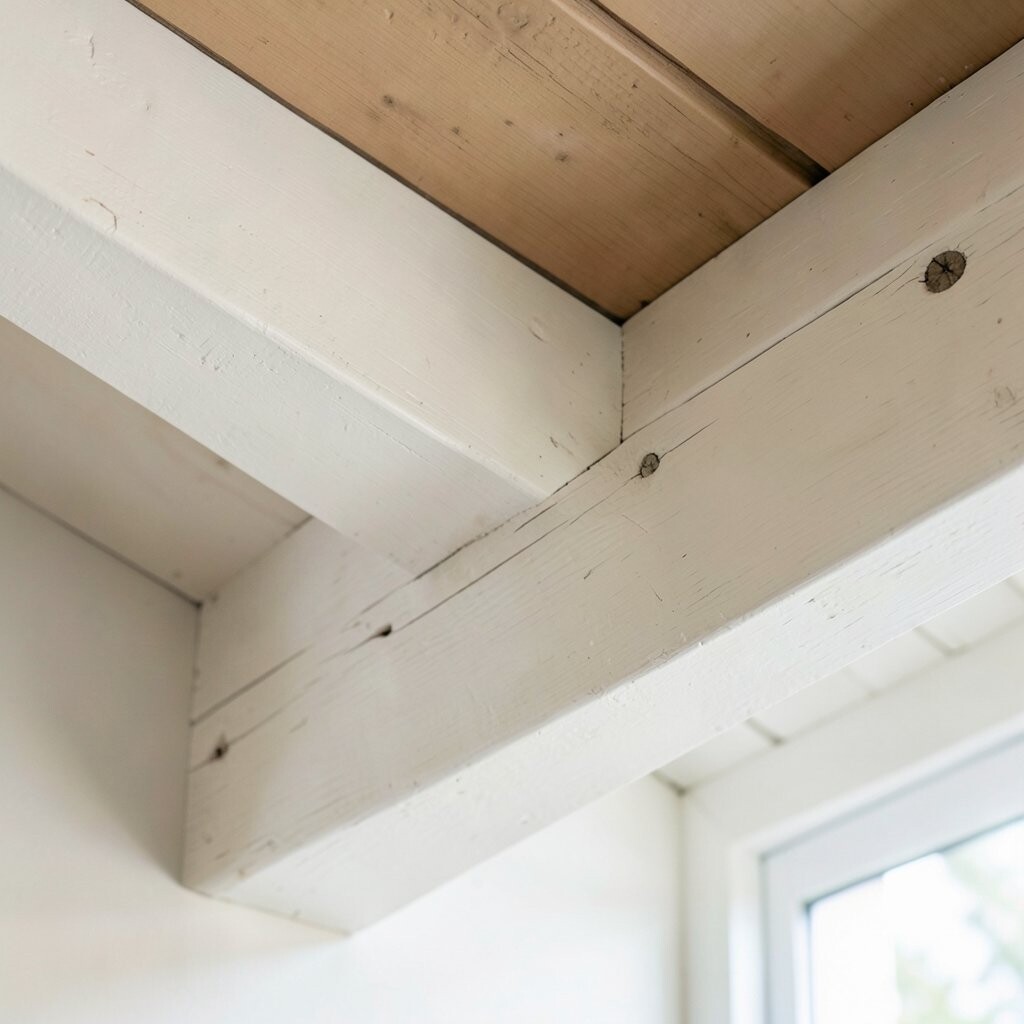
Many people are moving away from stark, blue-white paints and toward warm whites. Warm tones feel inviting and work well with natural wood elements and modern finishes.
Subtle contrast is also trending, such as painting beams a slightly deeper neutral than the ceiling. This keeps the room bright while still emphasizing the architectural lines.
If you want something fresh without risking too much, test sample pots on a small beam section. Live with the sample for a day or two so you see how it looks under morning and evening lighting.
19. Personalize With Hardware-Friendly Updates and Staging

After painting, think about how your beams interact with lighting and decor. Pendant lights, track systems, and wall sconces all look better against a clean, freshly finished beam.
If the room has exposed brackets or hanging elements, repaint those hardware-friendly parts to match or contrast. This small coordination makes the project feel intentional, not temporary.
You can also style the space to show off the beams, like adding plants, textured rugs, or simple wall art that pulls attention upward. When the beams match your lifestyle, the fresh look lasts longer than the paint job itself.
Even a final check with a flashlight can reveal thin spots before you call it done.