A neat pin holder can make classroom tools feel instantly more organized. The right design helps pins stay visible, safe, and ready to use.
1. Fold-Up Wall Organizer With Magnetic Pin Strips
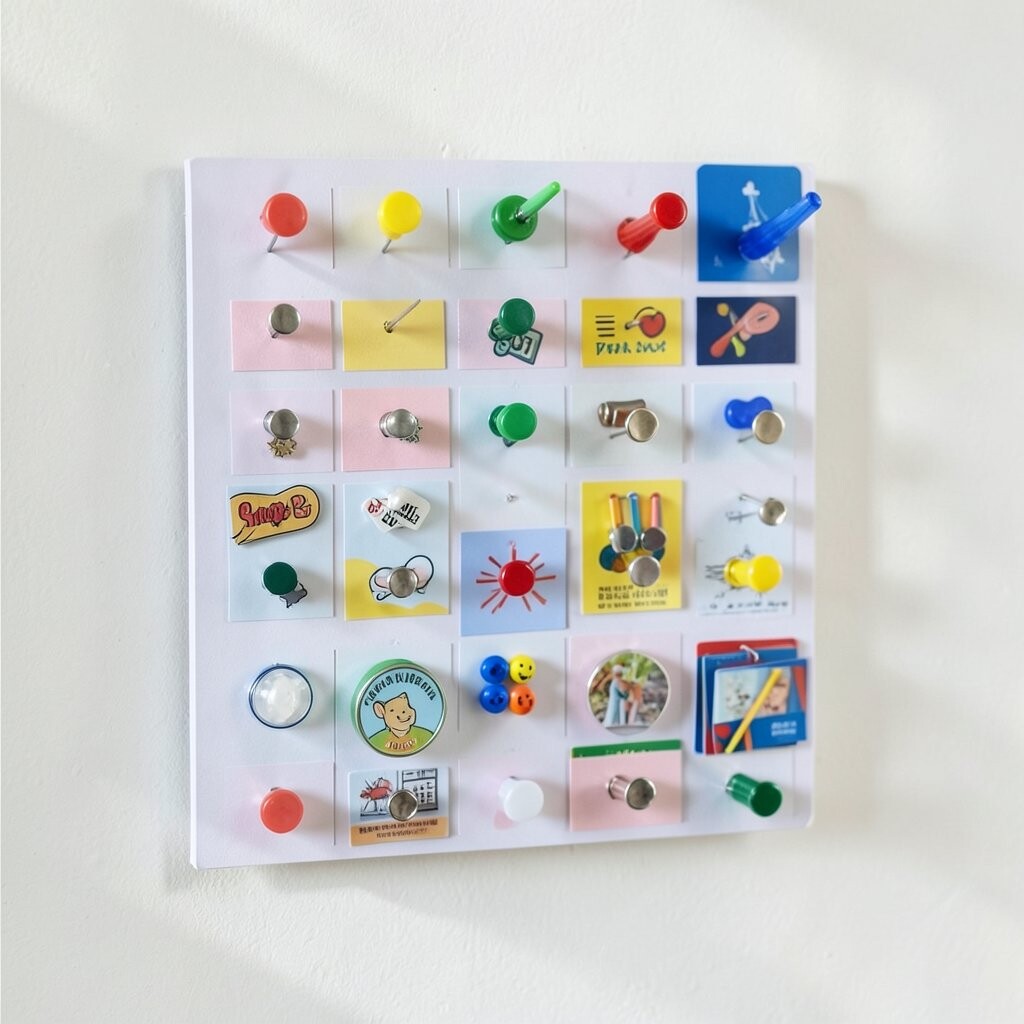
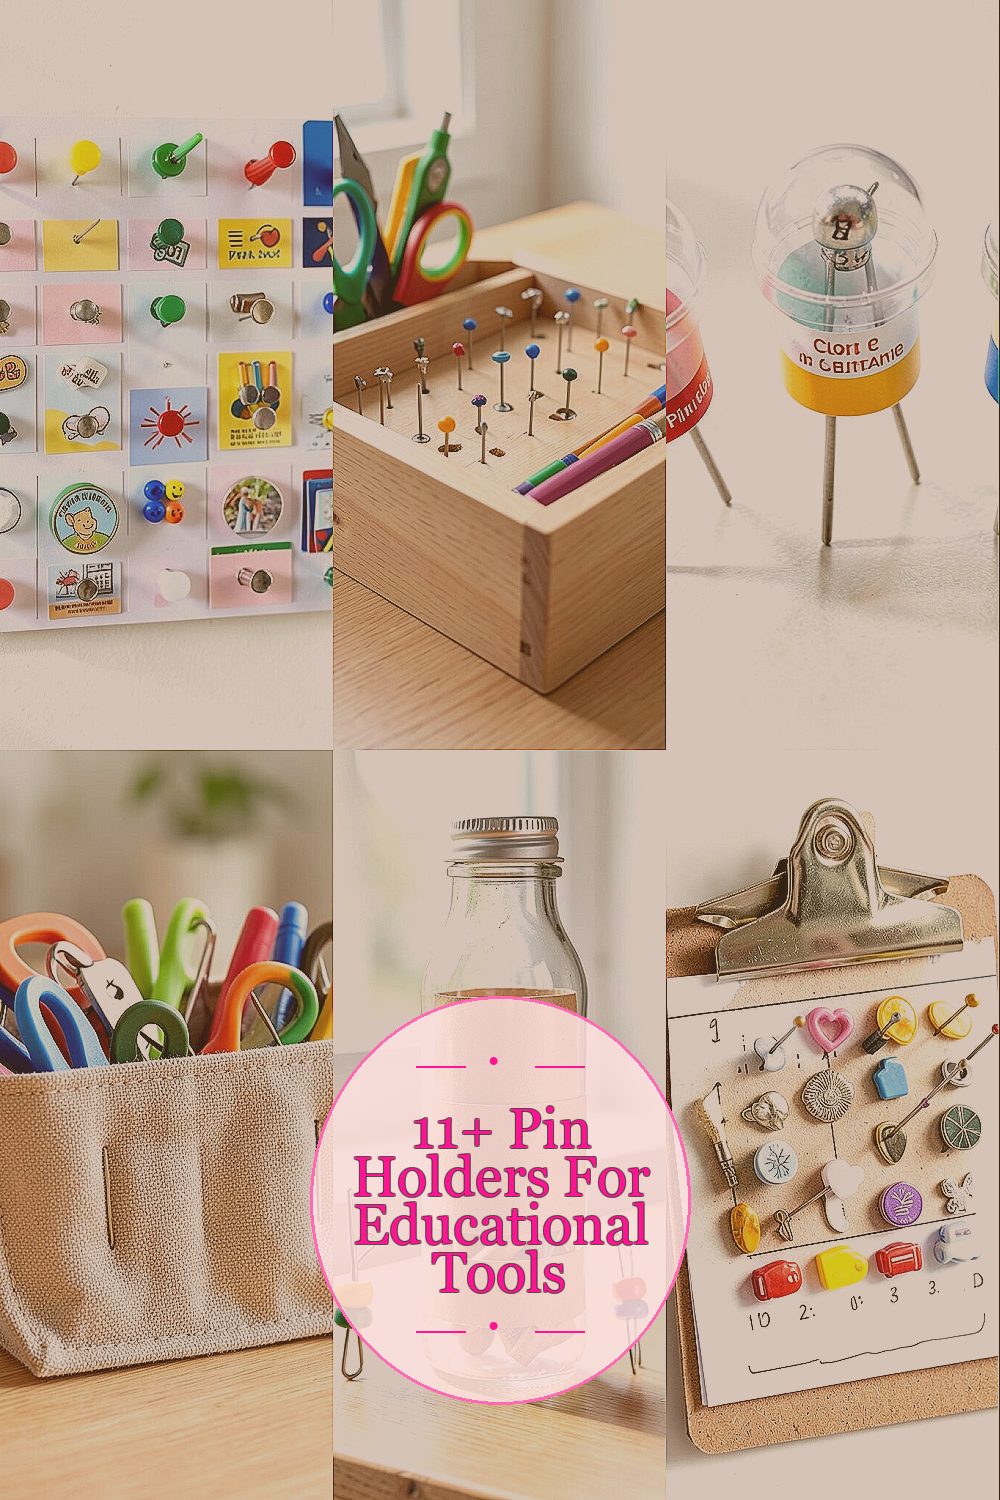
Picture a flat organizer that hangs on a classroom wall like a poster. Pins snap onto slim magnetic strips, so students can grab them without rummaging.
This setup is great for visual management, because you can see when a tool is missing. Use different colored strips for different categories, like “craft pins,” “map pins,” and “label pins,” so tasks stay smooth. For practical use, add a simple label pocket at the top for your lesson name cards and a small marker holder underneath so refills happen fast.
2. Mini Desk Drawer Insert With Pin Slots

Imagine opening a desk drawer and finding a tidy insert with exact pin-shaped grooves. Each slot holds a single pin style so items don’t tangle together.
This design is unique because it fits inside everyday storage, turning “random clutter” into a predictable system. It helps students practice careful tool handling because they learn exactly where each pin belongs. For personalization, print tiny icons on the insert’s rim, like stars for learning stations or numbers for activity sets. When it’s time to restock, keep a small spare tray under the insert so you don’t interrupt the lesson. If you want cost control, use a low-cost foam or recycled plastic sheet and cut slots with a craft knife under adult supervision.
To match current trends, consider making the insert modular so you can swap compartments for new units, like a geometry month or a science lab theme. A simple photo guide taped to the inside of the drawer helps new classes learn the layout quickly.
3. Clear Acetate Pin Dome With Color-Coded Labels

Think of a clear dome that protects pins like a museum display. Students can see every pin at a glance, while the cover keeps them contained.
What makes this feel special is the combination of visibility and safety. You can place each pin style in a small ring under the dome, then label the rings with bright sticky tabs for fast sorting. For practical tips, use washable labels so updates for new activities are easy.
This holder also supports hands-on learning because it encourages students to retrieve tools carefully, one at a time. Try personalization by using themed color labels, such as green for plant units or blue for ocean studies. If you’re thinking about costs, acetates are often inexpensive, and you can reuse domes from storage organizers.
As trends move toward “clean and clear classroom systems,” transparent organization helps learners trust what they see. You can also add a small hinge or snap lid so the dome opens smoothly during busy lessons.
4. Cloth Pouch With Sewn Pin Channels
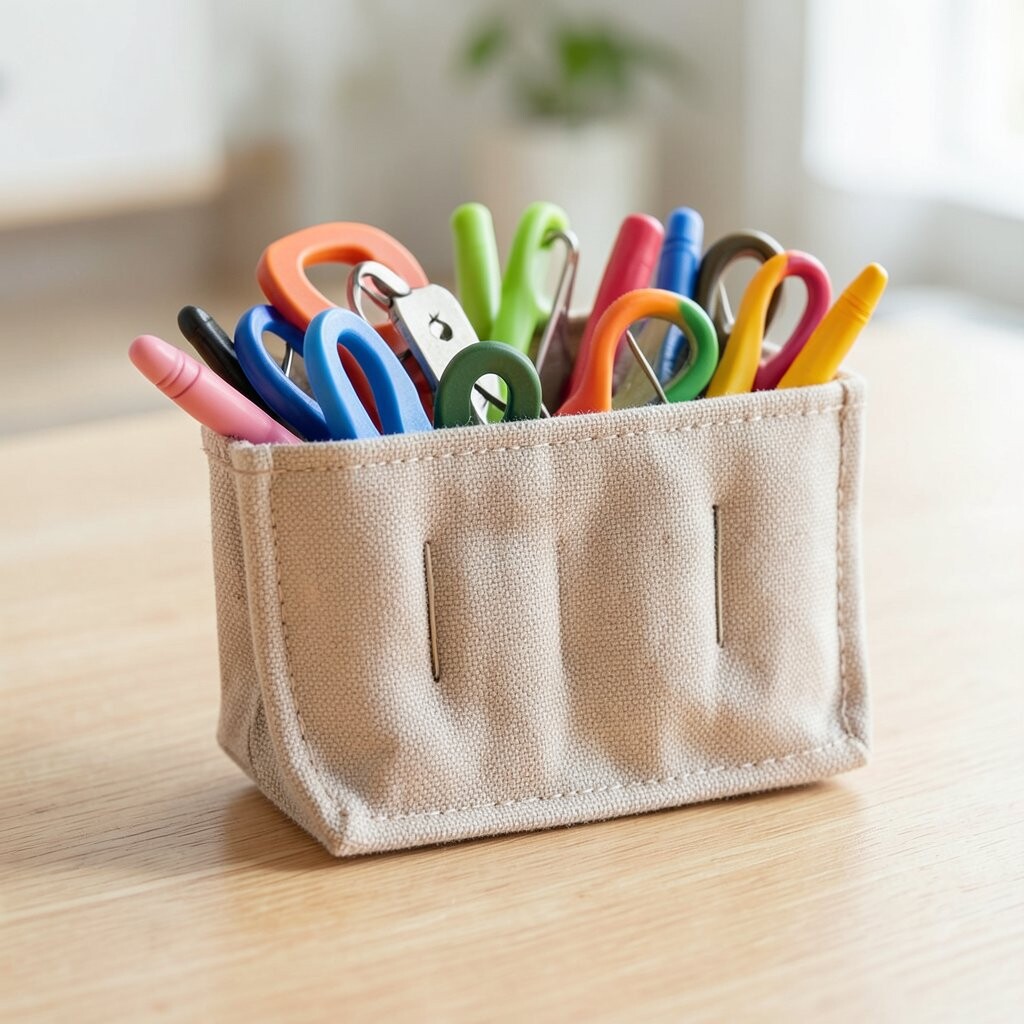
Picture a soft cloth pouch that closes like a pencil case. Inside, sewn channels hold pins in neat rows instead of letting them spill.
This design is unique because it feels friendly and reduces the “clink and scatter” sound that happens with hard containers. Use it for fieldwork, art classes, or science kits where tools move from room to room. For practical tips, place the most-used pin types near the top and add a small divider seam for quick sorting.
5. Repurposed Bottle “Pin Tower” With Washi-Tape Sections
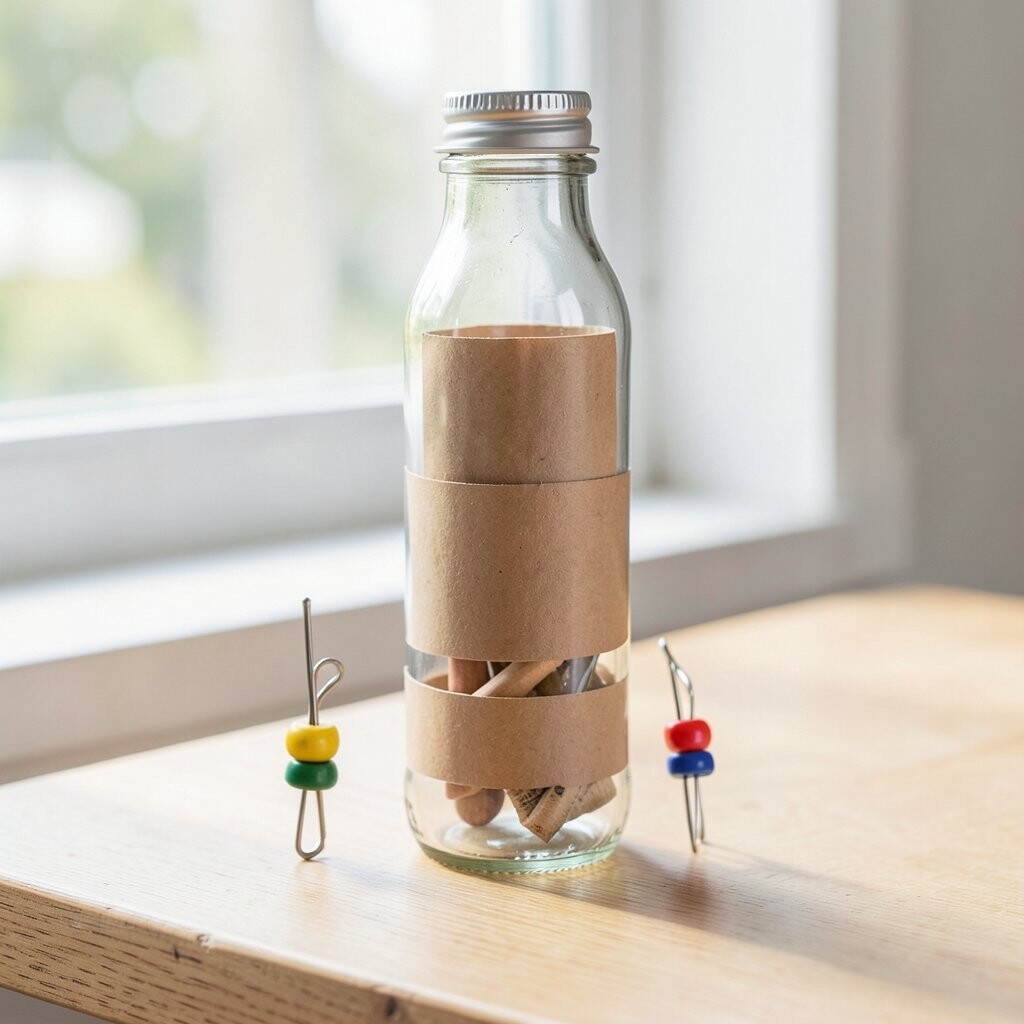
Imagine a tall bottle standing on a desk, divided into colorful zones with washi tape. Each zone holds a different pin length or purpose, like “short labels” and “long graph pins.”
This holder stands out because it turns a common item into a learning tool for organization habits. Add a foam strip inside the bottle neck to keep pins upright, and decorate the outside so students remember how to sort. For personalization, let students choose tape colors that match their class rules or lab groups.
If cost is a concern, repurposing is budget-friendly and teaches sustainability. For trends, many classrooms now use “maker-friendly” upcycling ideas, and this one looks fun while staying practical. Keep a small checklist card taped to the side of the bottle so students can confirm they stored everything correctly.
6. Clip-On Clipboard Holder With Built-In Pin Tray
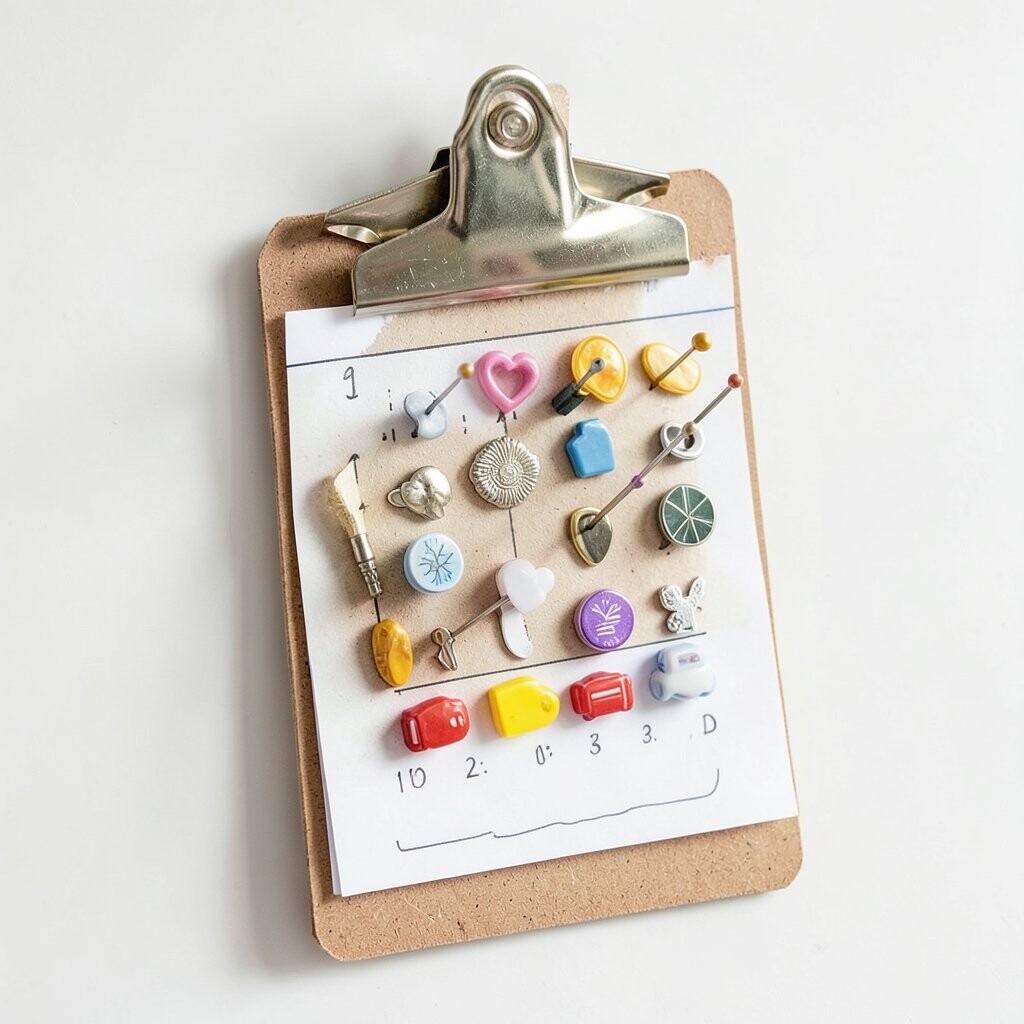
Picture a clipboard with a small tray built into the side. Pins sit securely in the tray while the clipboard holds worksheets or activity instructions.
This setup is unique because it merges planning and pin tools in one grab-and-go item. It’s especially useful for teachers who circulate during stations, because students can keep instructions visible without losing pins. For practical tips, line the tray with felt to protect table surfaces and reduce noise.
Personalize the clipboard by adding removable color tabs that match station themes, like “writing,” “science,” or “math.” Cost considerations are usually low if you buy a basic clipboard and customize with glue-on foam or a pre-made tray insert. As current trends favor mobility and station-based learning, this kind of combined tool reduces time lost to fetching materials.
7. Pegboard Pin Rack With Adjustable Hook Rows

Imagine a classroom pegboard with hook rows that move up and down. Pins can hang on small holders, and the whole layout can change with each unit.
This design is unique because it grows with your curriculum instead of staying fixed. You can shift hooks to new positions for different pin sizes, and you can even store other small tools like clips and label tags alongside pins. A practical tip is to mark the pegboard with simple tape lines so students can return items to the correct height.
For personalization, add unit-themed signs printed by students, turning the rack into a living classroom display. Cost can stay moderate because pegboard panels and hooks are widely available, and you can start with only a small section. Looking at current trends, flexible maker spaces often use modular peg systems to make reorganization quick and engaging.
8. Magnetic Foam “Pin Patch” for Student Laptops and Trays
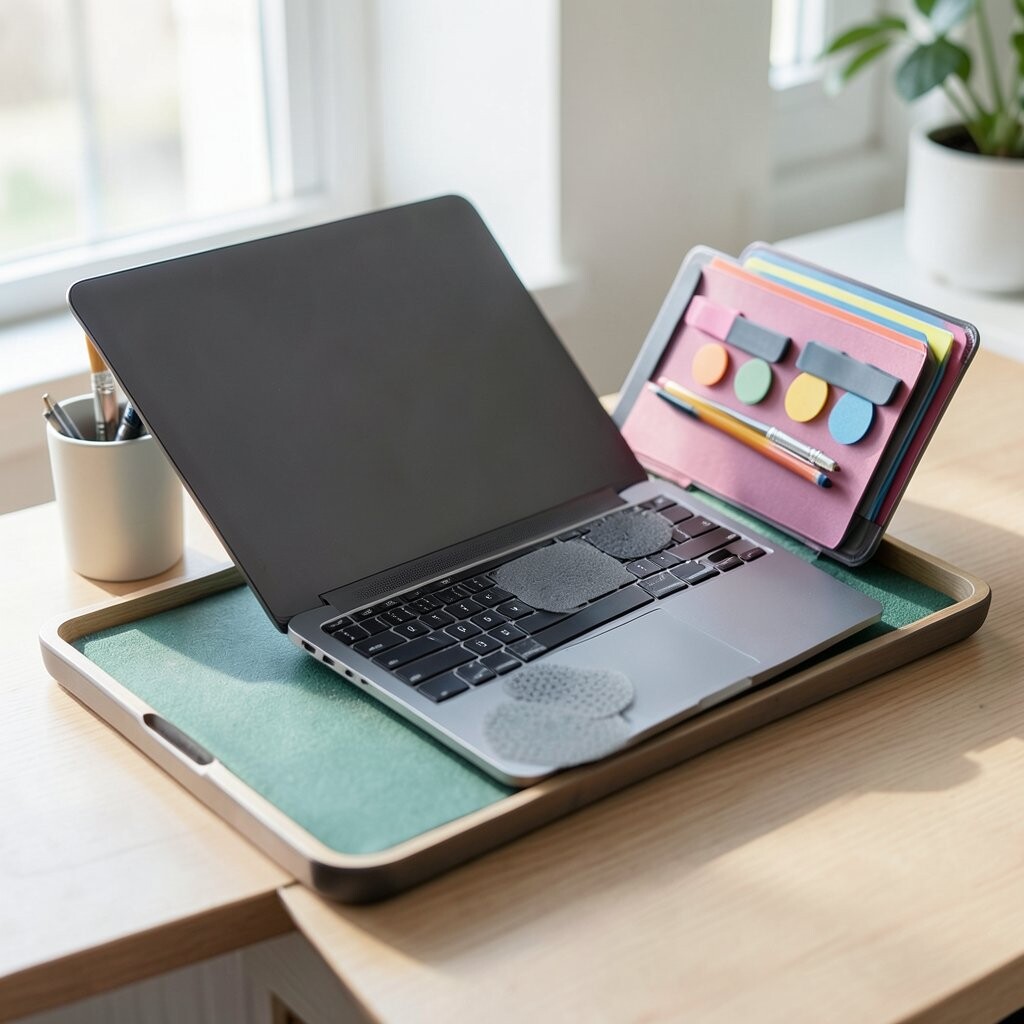
Picture a thin foam patch with magnets on the back that sticks to a metal tray or part of a cart. Pins hold into the foam, and the patch can be moved to where students work.
This is unique because it supports workspace portability without sacrificing order. It also helps students feel responsible for their tools, since each group can take their patch to their station. For practical tips, choose foam that holds pins firmly but still allows easy removal so students don’t have to yank.
Personalization ideas include printing group names on the patch backing or adding small icons for different pin types. If you’re cost-conscious, start with one patch per station and reuse the same materials across activities. A modern classroom trend is “station personalization,” and this holder supports that by making each area feel like a distinct workspace.
When you manage inventory, keep a supply pouch near the station and do quick checks during transitions so pins don’t quietly disappear over the week.
9. Wooden Thread Spool Pin Holder With Rotating Compartments
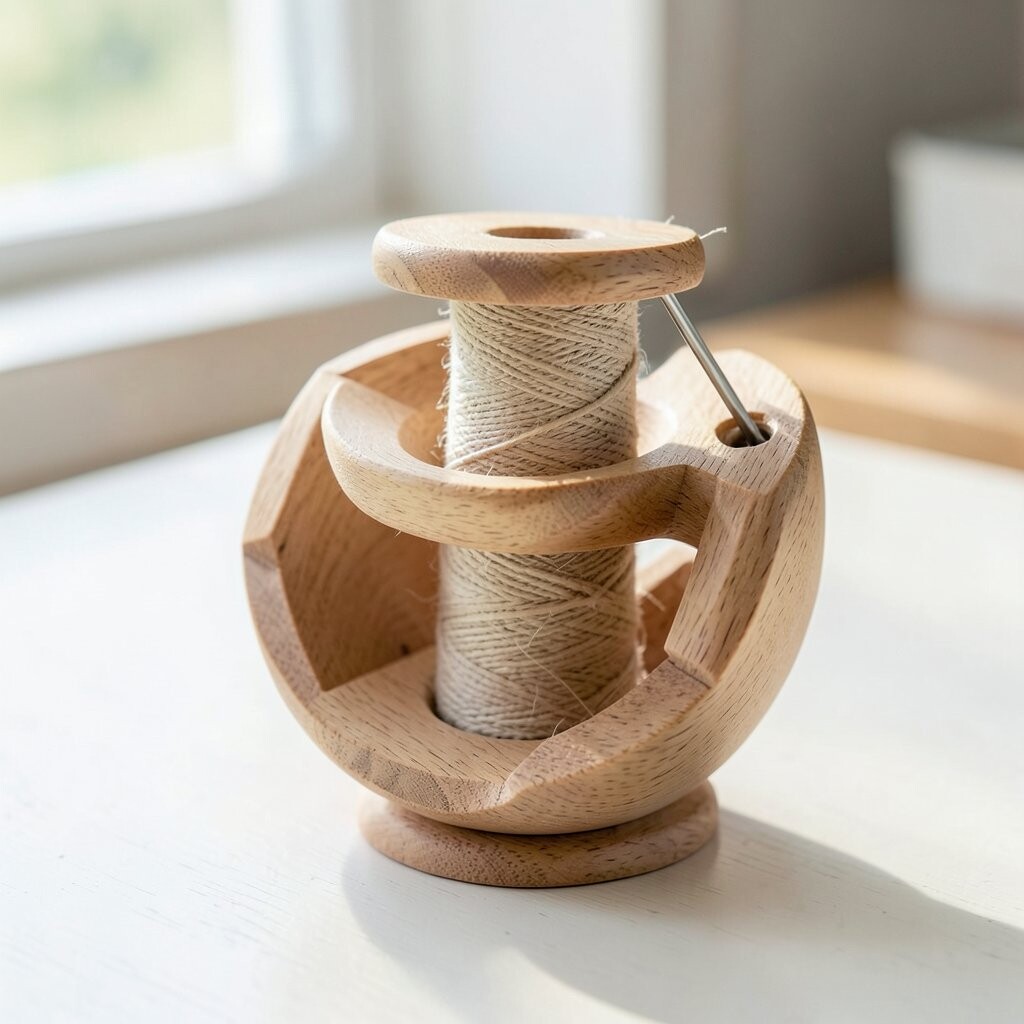
Imagine a wooden spool-shaped holder that spins smoothly. Inside, compartments hold pins like a tiny carousel for different categories.
This design feels unique because it turns a familiar craft tool form into a classroom organizer. Students can rotate the holder to find the right pin type, which adds a light game-like element to practical tasks. For practical tips, make the compartments shallow enough that pins stay visible and easy to grasp.
Personalize it by sanding and varnishing in classroom colors or painting small labels on the top ring. For cost considerations, you can use a simple wooden craft spool and build compartments from inexpensive foam discs or cardboard inserts. This also fits current trends toward hands-on makerspaces, where tools are both functional and visually appealing.
To keep it safe, add a base with felt feet and store it on stable surfaces so it doesn’t slide during busy work periods.
10. Silicone Grid Pin Mat With Sectioned Holders
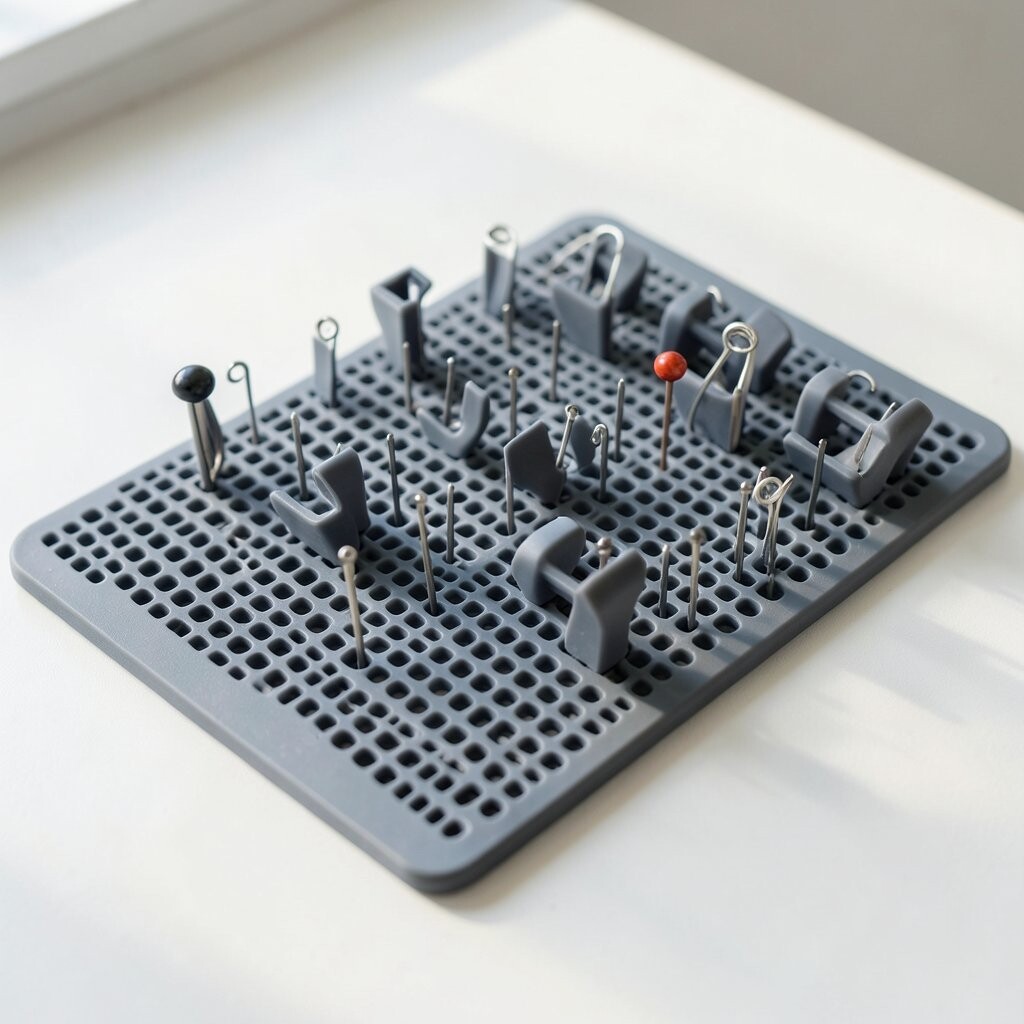
Picture a silicone mat on a desk with a grid of small pin-friendly wells. Pins press in snugly, and the mat keeps them separated by section.
This holder is unique because silicone is flexible and durable, which means it can handle everyday classroom bumps. It’s also easy to clean if you wipe it after messy activities. For practical tips, mark the grid sections with subtle color dots so students know exactly where each pin type goes.
Personalization ideas include using permanent marker to label sections by subject, like “maps,” “charts,” or “science diagrams.” Cost can vary, but simple craft mats can be budget-friendly, and you can start small and expand later. As a current trend, silicone tool organizers are popular because they’re hygienic and often dishwasher-safe.
If pins ever slide out, adjust the firmness by adding a thin backing layer or replacing the mat if it becomes too worn.
11. Adjustable Ring Binder Insert With Pin Pegs
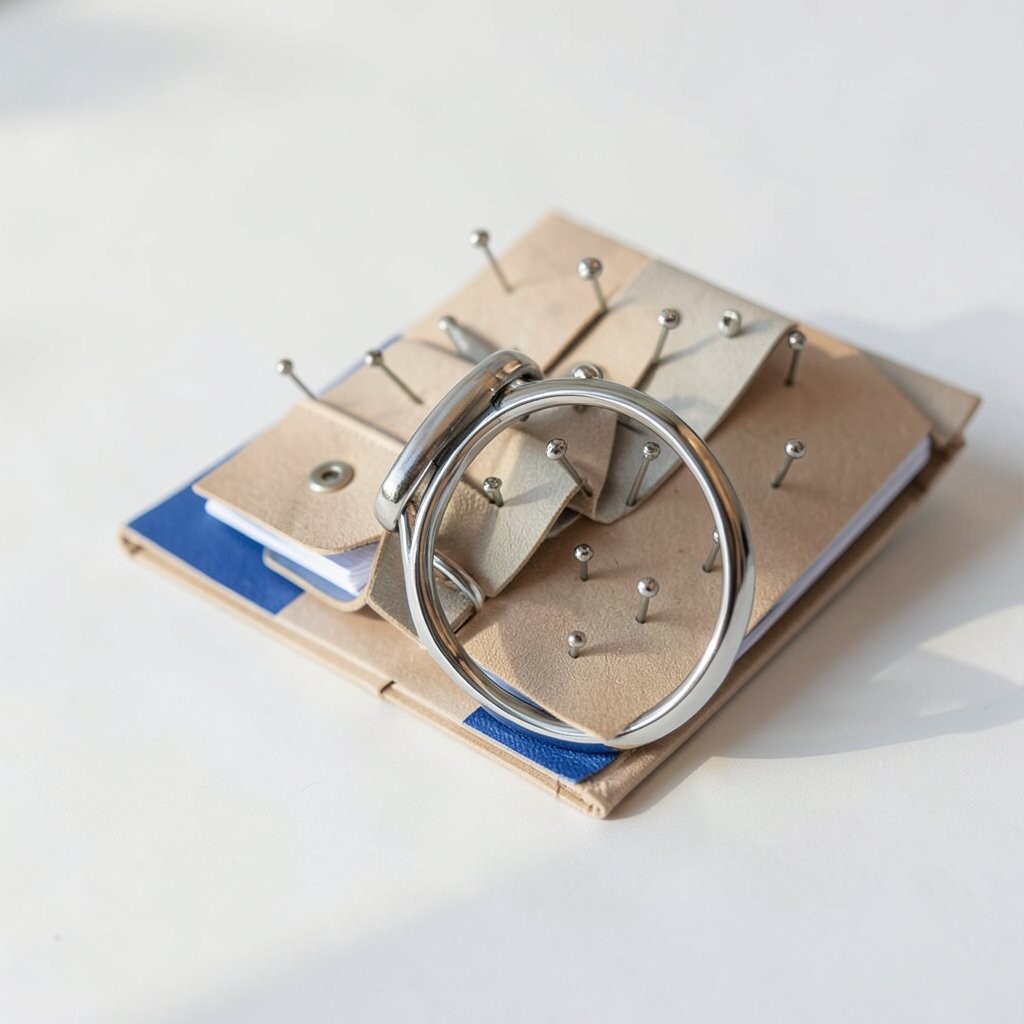
Imagine an insert that slides into a ring binder, with small pegs for holding pins. The binder also carries instruction sheets, so the pin tool and the lesson are together.
This design stands out because it uses a common school supply to create a customized station. It helps students stay organized during independent practice because everything sits in one portable binder. For practical tips, place pegs along the edges so pins don’t block important writing space.
Personalize it by printing a “pin guide” page with pictures of each pin type. Cost considerations are usually reasonable since binder hardware is inexpensive, and peg inserts can be made from craft foam or small dowels. In line with current trends toward digital-and-paper blended learning kits, this binder insert makes it easy to pair pin activities with printed worksheets or QR-based steps.
12. Modular “Catch-and-Release” Pin Catcher Tray System
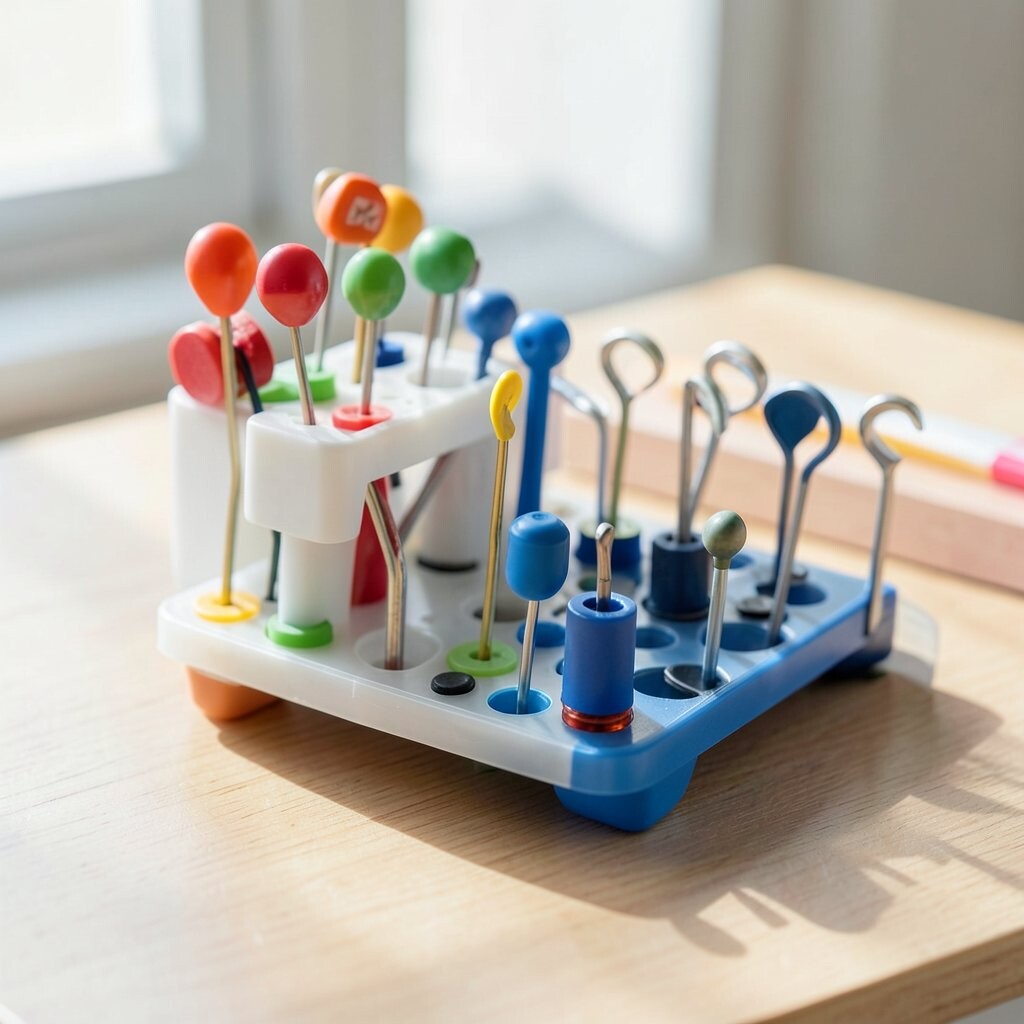
Picture a layered tray where pins “catch” when dropped and then “release” when lifted by hand. The system keeps pins contained while still making retrieval quick.
This holder feels unique because it supports different classroom rhythms, from careful labeling to fast station rotations. You can build it from modular inserts, like a top mesh layer that prevents pin scatter and a bottom tray that holds fallen pieces. For practical tips, keep a designated “reset time” slot at the end of activities so students return stray pins to the catcher layer.
Personalization ideas include customizing the tray with subject-themed decals or engraving station names on the modular pieces. Cost considerations vary depending on how elaborate you make the layers, but you can keep it affordable using basic clear bins and foam spacers. As classroom trends emphasize STEM tooling and repeatable systems, modular trays support reusability across years.