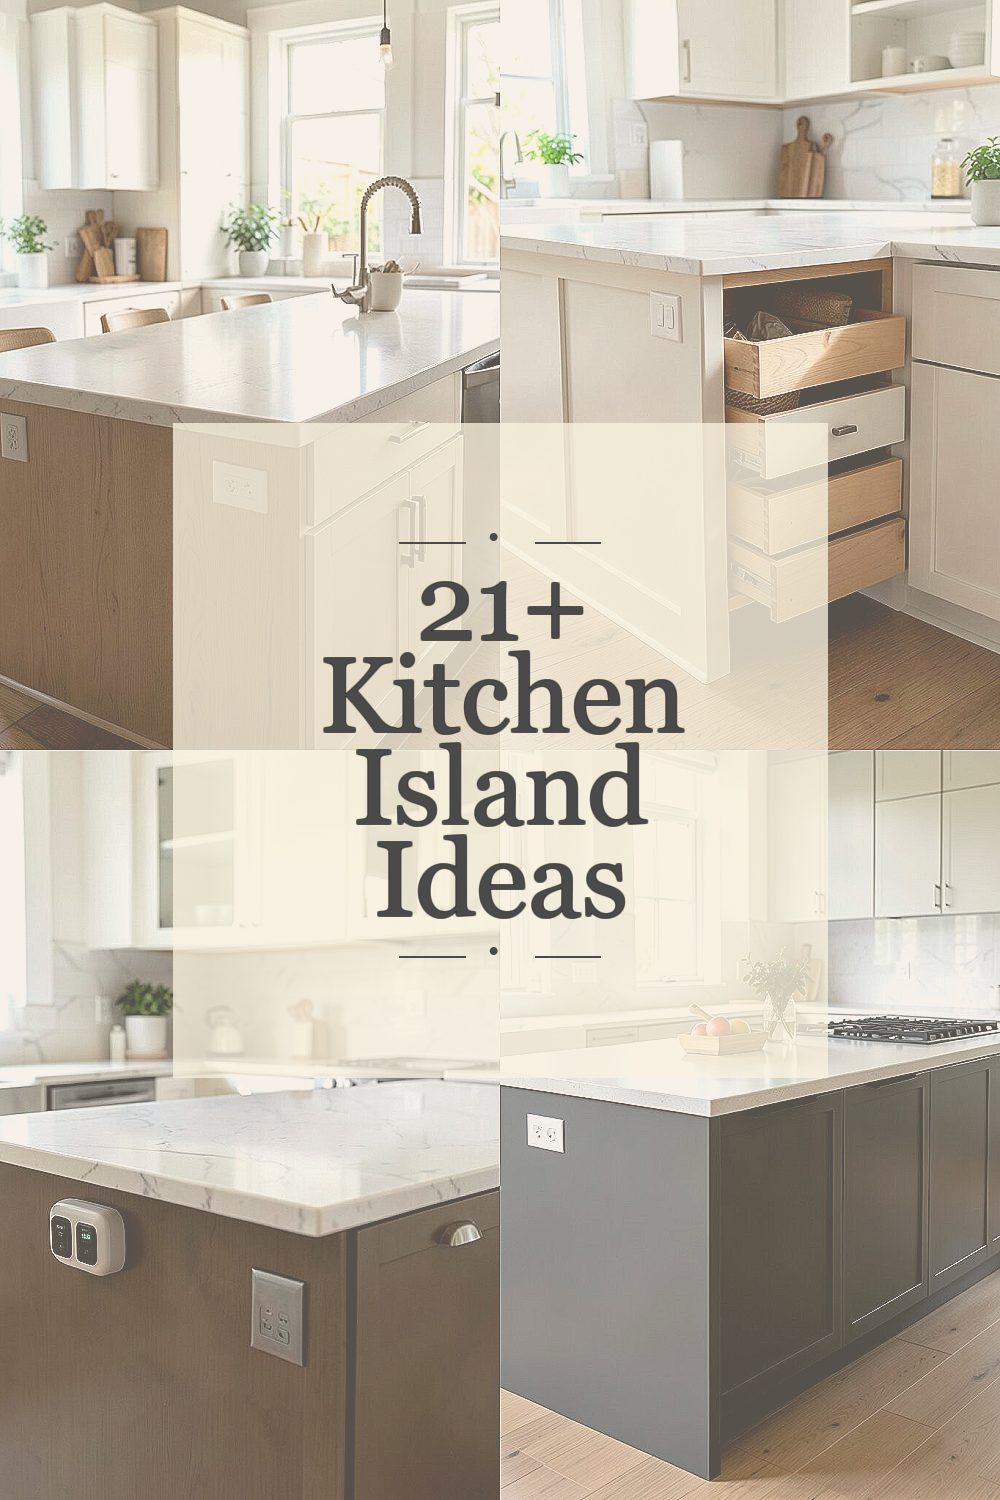
A clean kitchen island feels calm and ready for anything. Small choices can keep surfaces clear without losing the style you love.
1. Keep Only One “Landing Zone”
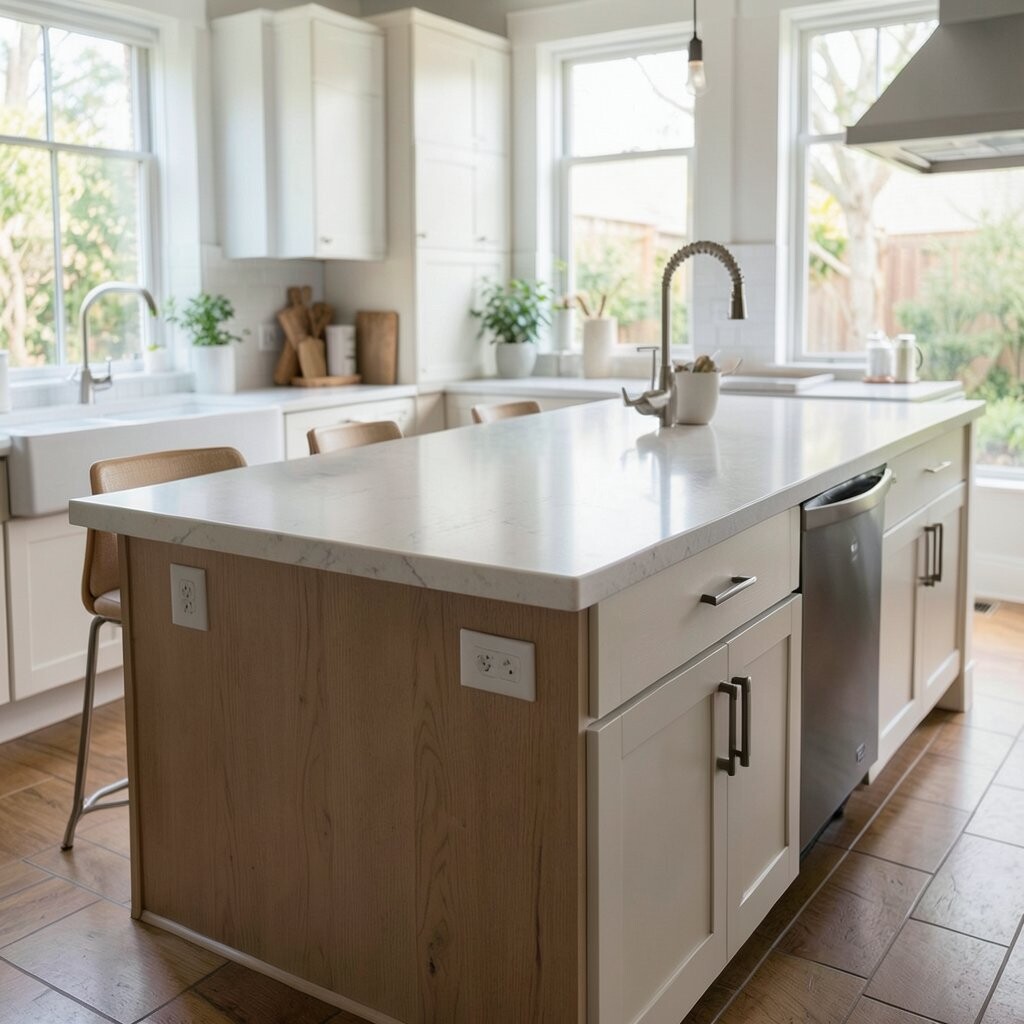
Choose one spot where everyday items are allowed to touch down. Everything else must earn a home somewhere else. This single rule prevents piles from slowly taking over.
Pick a landing zone that matches how you actually use the island, like the near-edge for mail or the center for prep. Use a shallow tray or a simple mat so items stay in place instead of spreading out. After each meal, reset that zone so it always looks intentional.
2. Use a Sliding Drawer System for Quick Storage

Drawer storage keeps small tools out of sight while still staying easy to reach. When you pull items from a drawer instead of setting them down, clutter has less time to gather. It also helps your island look neat even during busy days.
Consider adding dividers for items like cutting boards, baking sheets, and measuring cups. A sliding shelf for frequently used gadgets can make cooking smoother without using up counter space. This kind of layout is especially useful for smaller islands where every inch matters.
If you’re planning upgrades, measure your cabinet depth first and confirm drawer sizes with a professional. Smooth-glide hardware is a worthwhile trend because it feels premium and reduces the urge to “just leave it out.” Costs vary by whether you remodel existing cabinetry or add new inserts.
3. Add a Built-In Charging Station

Phones, tablets, and recipe screens often end up face-down on the island. A dedicated charging area gives them a place that doesn’t look messy. You get a clean surface and fewer interruptions while cooking.
Build in an outlet under a small flip-top panel or mount a charging dock inside a cabinet near the island edge. Use cord organizers so cables don’t drape across the countertop. Then place your device in the same spot each time, so it becomes a habit.
For personalization, choose a sleek cover that matches your hardware finish. If full electrical work isn’t in the budget, use an under-cabinet outlet adapter that’s installed safely by a qualified person. This trend is growing because smart cooking needs power, but countertops still need breathing room.
Even with built-ins, keep only one charging device at a time to avoid “device clutter.” A small rule like that makes the island stay calm and visually clear.
4. Choose a Matte Counter Finish to Reduce Visual Noise
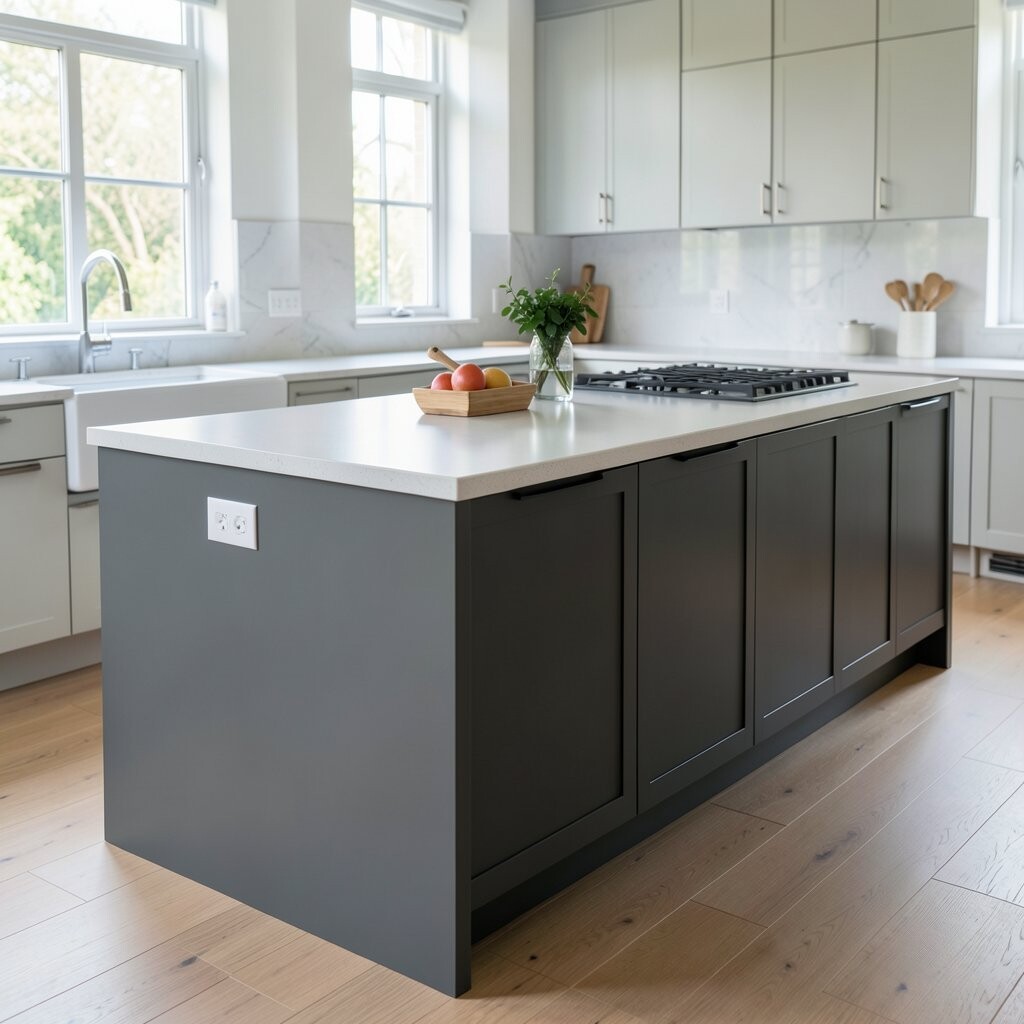
Shiny stone and glossy laminates can make tiny crumbs and smudges stand out. A matte or honed surface looks softer and hides everyday wear better. That means your island can look cleaner for longer between wipe-downs.
If you’re not replacing the countertop, use heat-safe covers and patterned tray mats to reduce glare. Light staining or sealed finishes can also help with practical upkeep. This is a budget-friendly idea that supports a clean look without major construction.
5. Install a Pantry-Style “Tools Gate” at One Side

When tools are stored behind doors, you don’t have to fight clutter every day. A pantry-style section on one island side acts like a gate that keeps mess contained. It’s especially helpful for families who cook often.
Use cabinet doors or a sliding panel to hide bulky items like foil, cling wrap, and extra containers. Keep the most common items in pull-out bins near the front so you still find things quickly. The unique part is the one-side focus, which keeps the rest of the island visually open.
To personalize, match the doors to your kitchen style, like shaker for classic homes or sleek flat fronts for modern spaces. Costs depend on custom doors and whether you’re building storage into the island itself. Even a simpler add-on panel can help if you’re not ready for a full renovation.
6. Stage Ingredients in a Single Bowl System
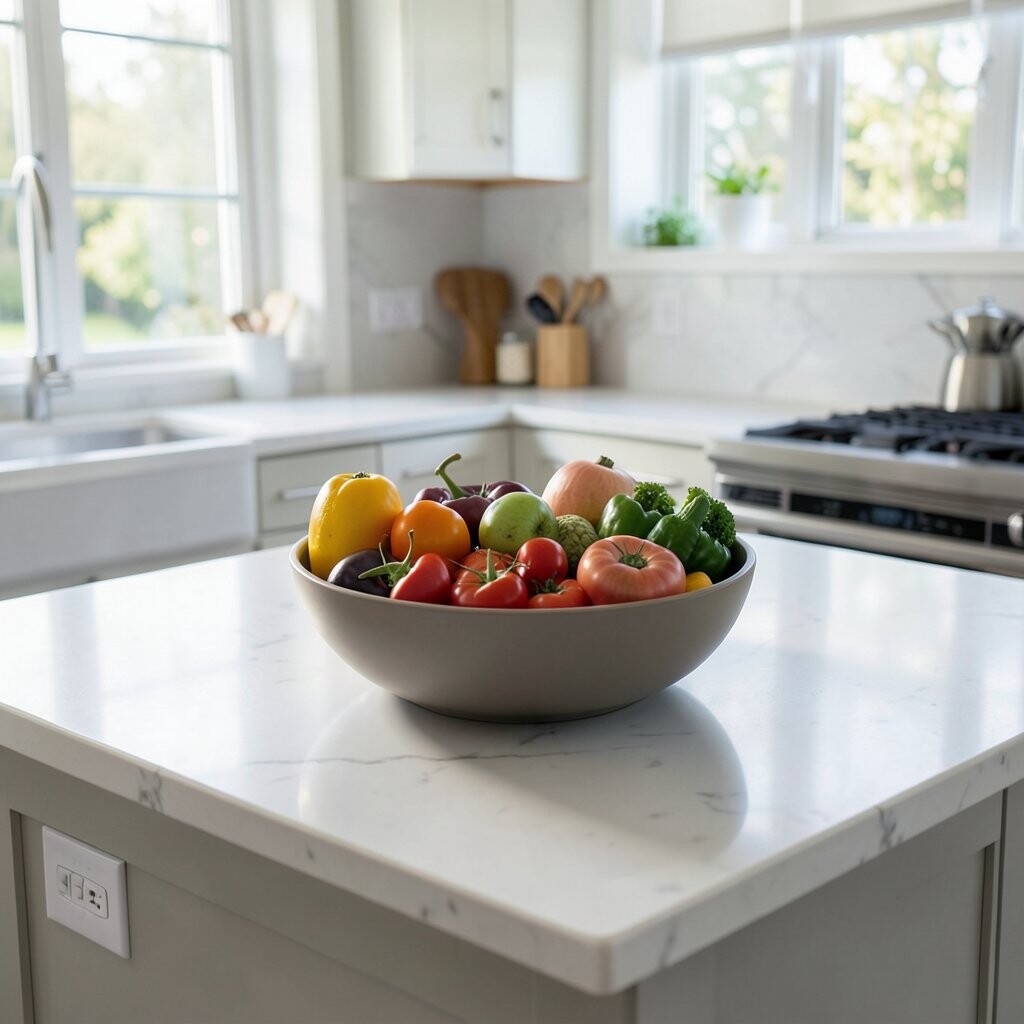
Instead of spreading ingredients across the island, use one bowl system while you cook. A large mixing bowl or an anchored ingredient tray can hold produce, nuts, or snacks in one tidy cluster. It keeps the rest of the surface ready for chopping and plating.
Try using stackable bowls with matching lids for prepped items. As you cook, move the set as a unit rather than setting down lots of separate containers. When you’re done, everything returns to the same storage location.
7. Use a Tall Roll-Up Rack for Towels and Wraps

Tall storage can prevent towels and paper goods from wandering onto the island. A roll-up rack or vertical holder keeps items visible but controlled. You get easy access without the flat-surface clutter that stacks quickly.
Mount the rack on the side of the island or inside a cabinet door. Place wraps like parchment, foil, and towel rolls so they don’t require extra counter space. This is a practical solution that feels tidy even when you use it daily.
For cost considerations, look for ready-made kitchen organizer kits that match your hardware. Popular trends include vertical storage because it uses height instead of precious counter inches. If you want a custom look, choose finishes that blend with your faucets and cabinet pulls.
8. Create a “Clear Center” Prep Rule

Keep the center of the island mostly empty so it can act like a work stage. A clear center reduces the temptation to drop items everywhere. When you cook, you only bring things to the island when you need them.
Use a marker in your mind: anything that isn’t actively being used goes to storage right away. Place cutting boards on a designated spot, then remove them after prep. This rule makes the island look clean even before company arrives.
If you’re personalizing, choose a reversible cutting board so one side is for prep and the other can be for serving. Store knives in a safe, hidden location to avoid clutter and improve safety. The best part is that the rule doesn’t require new furniture, so it’s friendly to any budget.
Over time, your household will naturally follow the routine because it feels simple and obvious.
9. Switch to Wall-Mounted Utensil Storage

Hanging utensils off the island can free up space fast. When spoons, ladles, and spatulas live on hooks or rails, countertops stay calmer. It also makes tools easy to grab while you cook.
Consider a rail system near the island so you can reach everything without walking around. Use hooks for mugs and a small basket for frequently used tasting spoons. This approach keeps your island looking curated instead of crowded with everyday items.
10. Add Labeled Containers for “Bring Back” Moments

Unlabeled containers often lead to guessing, and guessing leads to extra bags on the island. Labeled bins create a quick “bring back” system for snacks and staples. Then clutter has a clear path to disappear.
Use matching containers for items like coffee pods, baking supplies, or snack packs. Put labels where everyone can read them, including kids. When something is opened, the container goes back to its shelf or drawer as soon as you’re done.
For personalization, pick label styles that match your kitchen vibe, like warm kraft paper for farmhouse looks or sleek white stickers for modern spaces. Costs are usually low because you can start with a few containers and expand over time. A current trend is using clear storage so the island area stays visually tidy without extra display items.
11. Limit Decor to One Vertical Accent
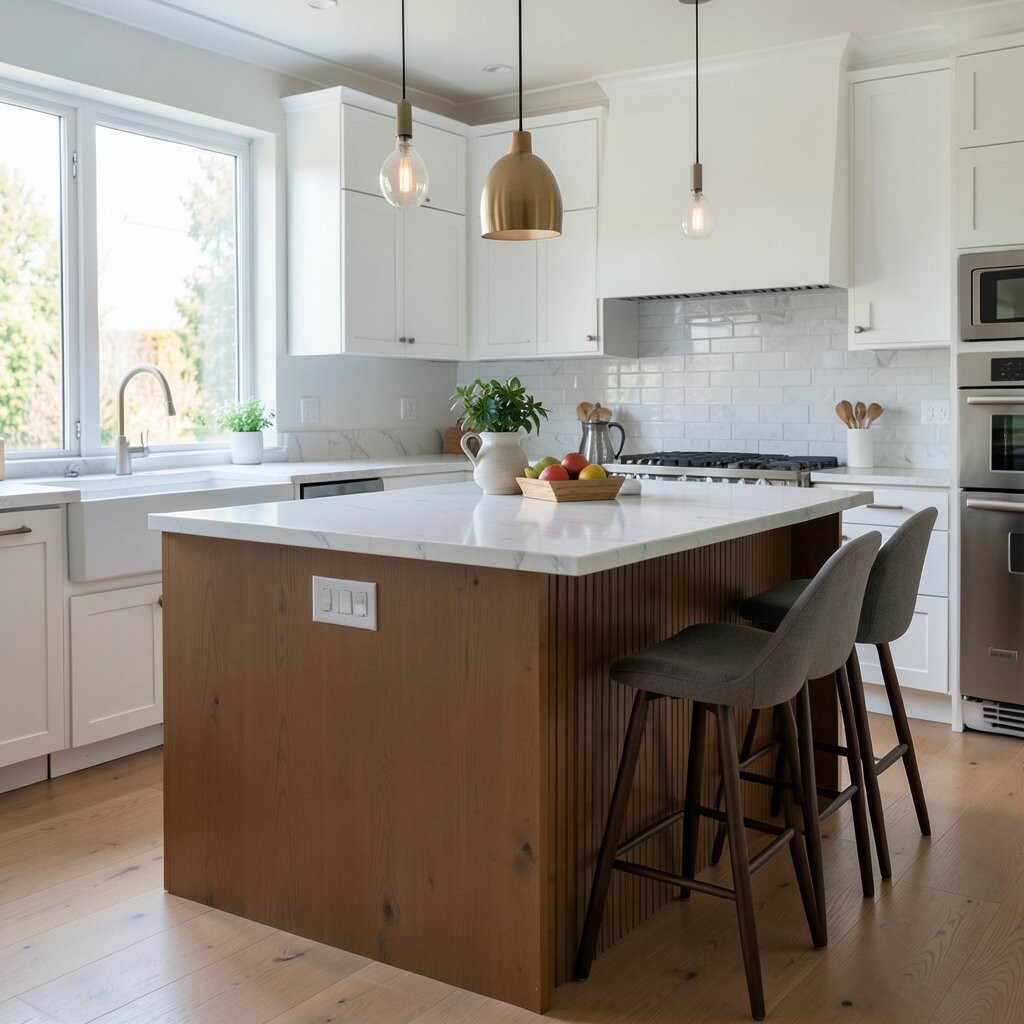
Decor can stay beautiful without taking over the island. One vertical accent, like a slim vase or a narrow plant stand, adds warmth without lots of small objects. It makes the island feel styled even when everything else is stored.
Choose a single height focal point and keep it away from your prep zones. Avoid stacking multiple candle holders and cluttering the space around it. If you like seasonal change, swap the accent rather than adding new pieces.
This idea works well because it reduces decision fatigue. Your island stays clean while still showing personality. Consider a vase that holds stems securely so you don’t keep adjusting it during cooking.
If you want a budget option, a simple glass bottle and a plant cutting can look great with minimal cost.
12. Use a Heat-Safe Serving Tray to Prevent Counter Marks

Hot pans and plates can leave stains or spots that make clutter look worse. A heat-safe serving tray creates a buffer between cookware and the countertop. It also makes cleanup faster because everything stays on one surface.
When cooking ends, carry the tray to storage or the sink instead of placing items directly on the island. You can also use the tray to hold daily items like a cutting board or a small cheese plate. This is a practical way to keep the island looking smooth and clean.
13. Store Cutting Boards Standing Up

Cutting boards are useful, but they can easily become a stack that spreads across the island. Standing boards in a holder keeps them organized and easy to grab. It turns a messy pile into a neat storage feature.
Place a board stand in a drawer or on the inside of the island door so it stays out of sight. For personalization, match the wood or metal finish to your kitchen accessories. This keeps the island surface ready for actual work instead of resting tools.
Cost-wise, a board stand is often a smaller purchase compared to replacing cabinets. It’s also aligned with a growing trend of “hidden function” storage, where storage supports cleanliness without looking industrial. Even with a limited budget, a simple stand can make a big visual difference.
Remember to store boards by size so the board you need is always at the top.
14. Choose One Timer Location and Keep It There

Kitchen clutter isn’t only about objects; it’s also about devices that wander. A dedicated timer location keeps gadgets like Bluetooth speakers or phone timers from piling up. When everything has one place, the island stays calmer during cooking.
Use a small dock or tray corner near outlets, or store the timer in a drawer and bring it out only when needed. If you use a digital display, place it on a shelf rather than the island edge. This small setup reduces random “just set it here” moments.
15. Use a Sliding Bar Cart for Weekend Extras
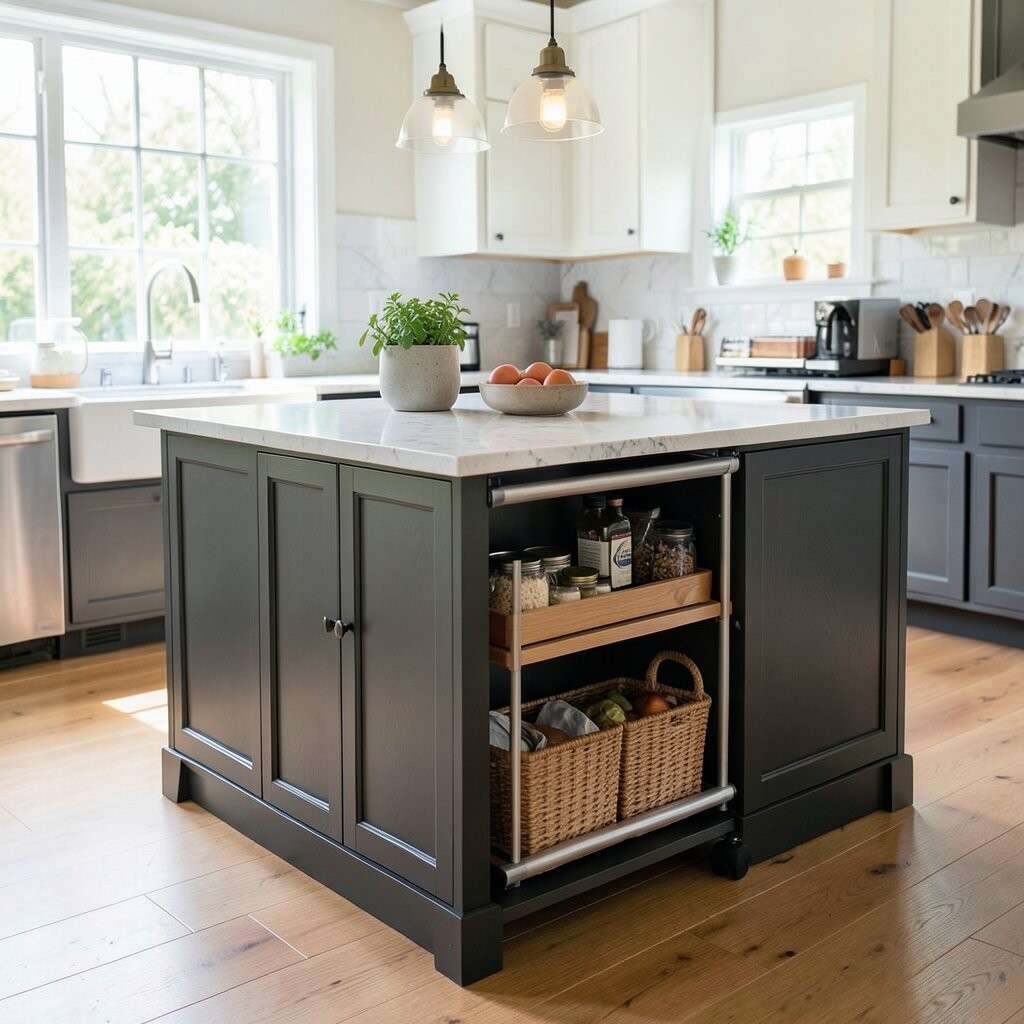
When you host, you need more space, but you still want a clean island the rest of the week. A sliding bar cart gives you a flexible staging area without leaving items out permanently. You can roll it in during gatherings and roll it away right after.
Keep serving ware like glasses, napkins, and cocktail picks on the cart. During normal days, store the cart in a corner or under a nearby open route so it doesn’t block flow. This keeps the island clear while still supporting entertaining.
For cost considerations, start with a compact cart if your space is tight. A current trend is using multi-use carts that double as coffee stations or snack storage. Choose wheels that lock so the cart stays stable when you pour and serve.
16. Use a Simple Rule for Fruit and Produce

Fruit can look pretty, but bowls can overflow into a constant mess. Choose a single fruit solution and keep the amount realistic for one week. This makes the island feel fresh without turning into a clutter hotspot.
Try a lidded container for produce that browns quickly, and a small bowl for items you finish fast. If you like countertop displays, rotate items regularly and remove anything that looks tired. The goal is a curated look that stays clean even when life gets busy.
17. Add a Knife Block Drawer or Hidden Magnet Strip
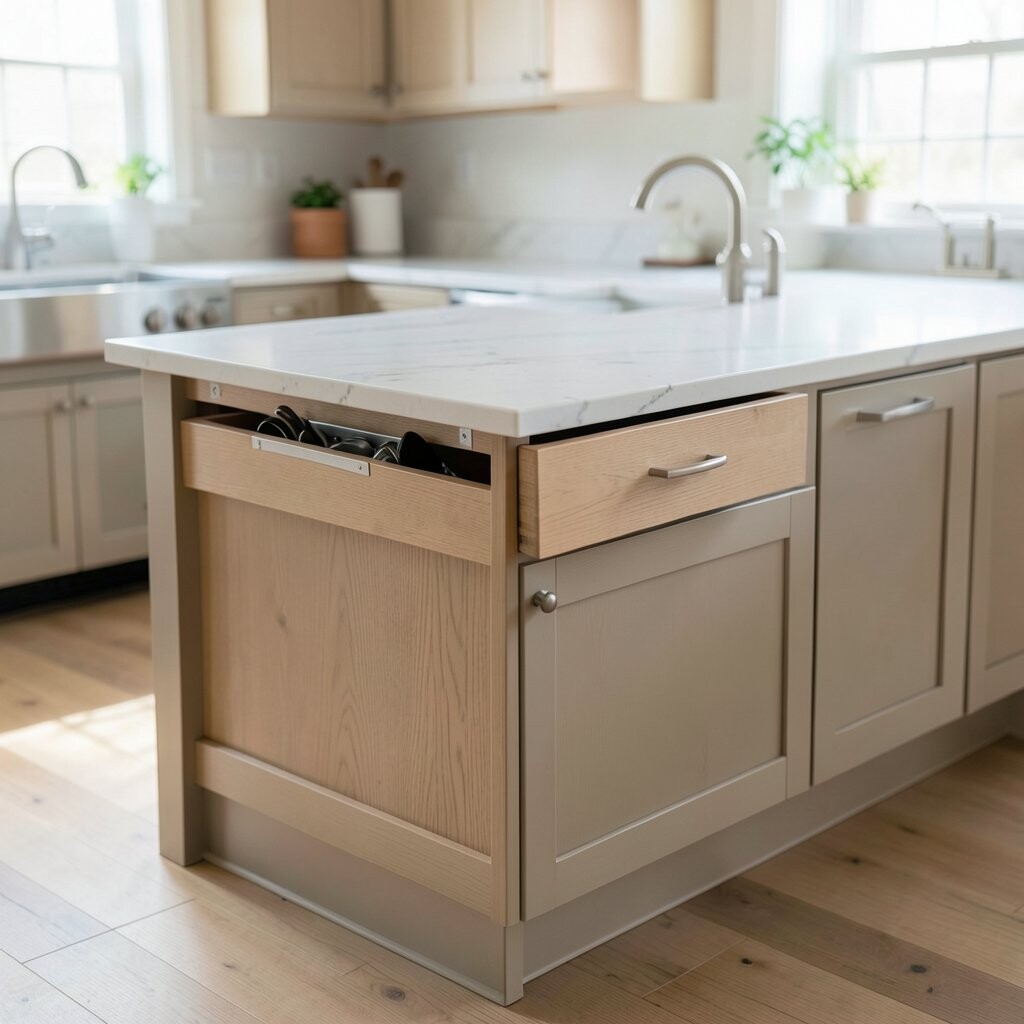
Knives left on countertops don’t just add clutter; they can also create safety issues. Hidden knife storage keeps the island surface open and tidy. It also protects blades and reduces wear.
Consider a drawer insert with knife slots or a magnetic strip inside a cabinet. Keep only one knife on the island during active prep, then return it right away. This makes the island feel ready for guests while you cook.
Cost depends on whether you add a magnetic strip to an existing cabinet or install drawer inserts. Trends lean toward concealed storage because it visually simplifies the countertop. Personalize by matching cabinet hardware and choosing a magnet system that’s secure and easy to wipe.
If you cook a lot, this idea pays off in comfort because you spend less time hunting for tools.
18. Put the Trash and Recycling in an Island Cabinet

Visible trash cans can make a countertop look messy, even if it’s clean. An island cabinet hides waste and reduces visual clutter immediately. It also helps keep odors contained and cleanup routines simple.
Use a pull-out bin system for trash and recycling so you can sort without lifting bags. Keep the bins close to the island edge for easy access during cooking. This upgrade is a strong practical choice because it reduces the number of items that people set down on the island.
19. Use Color-Coordinated Towels and Always Fold Them the Same Way

Towels can look stylish when they’re controlled, and chaotic when they’re not. Choose one or two towel colors that match your kitchen so the island stays visually calm. Then fold or roll them the same way every time.
Place towels in a holder on the side of the island or keep them in a drawer until needed. When you do use them, return them immediately instead of leaving them draped over bowls. This small routine makes the island feel cared for and clean.
20. Keep a Dedicated Spot for One Reusable Bag
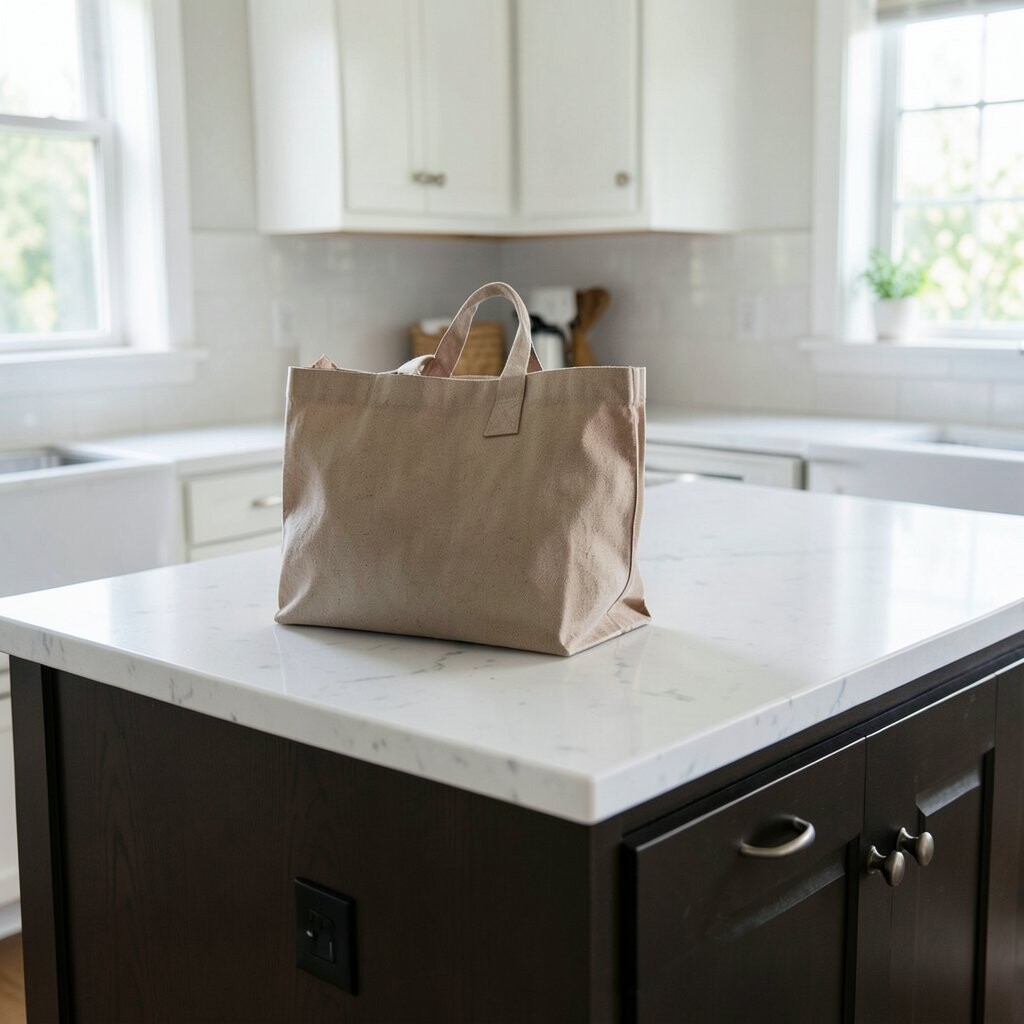
Reusable bags multiply quickly, especially when groceries come home. Instead of letting them live on the island, create one dedicated spot for one bag at a time. This keeps the island from becoming a storage surface for “later.”
Use a hook, a drawer slot, or a small hanging organizer inside a nearby cabinet. When the bag is full, take it back to the car or store it in the proper location. Personalization is easy here: choose a holder that matches your cabinet style and materials.
21. Display a Single Tray for Daily Essentials

A tray is a great compromise between function and cleanliness. It gives your everyday items a designated home without letting them spread out across the island. Pick a tray size that fits what you actually use each day.
Fill the tray with a few essentials like hand soap, a small dish for keys, or a covered canister for tea bags. Avoid adding extras “just because” and keep the selection tight. When something new appears, remove something old so the tray never grows.
For cost considerations, choose a tray you love because it will be on display often. Trends show a lot of texture mixing, like wood plus metal or ceramic plus linen. You can keep that modern look while still maintaining a clean island surface.
22. Make Use of Under-Counter “Drop Zones”
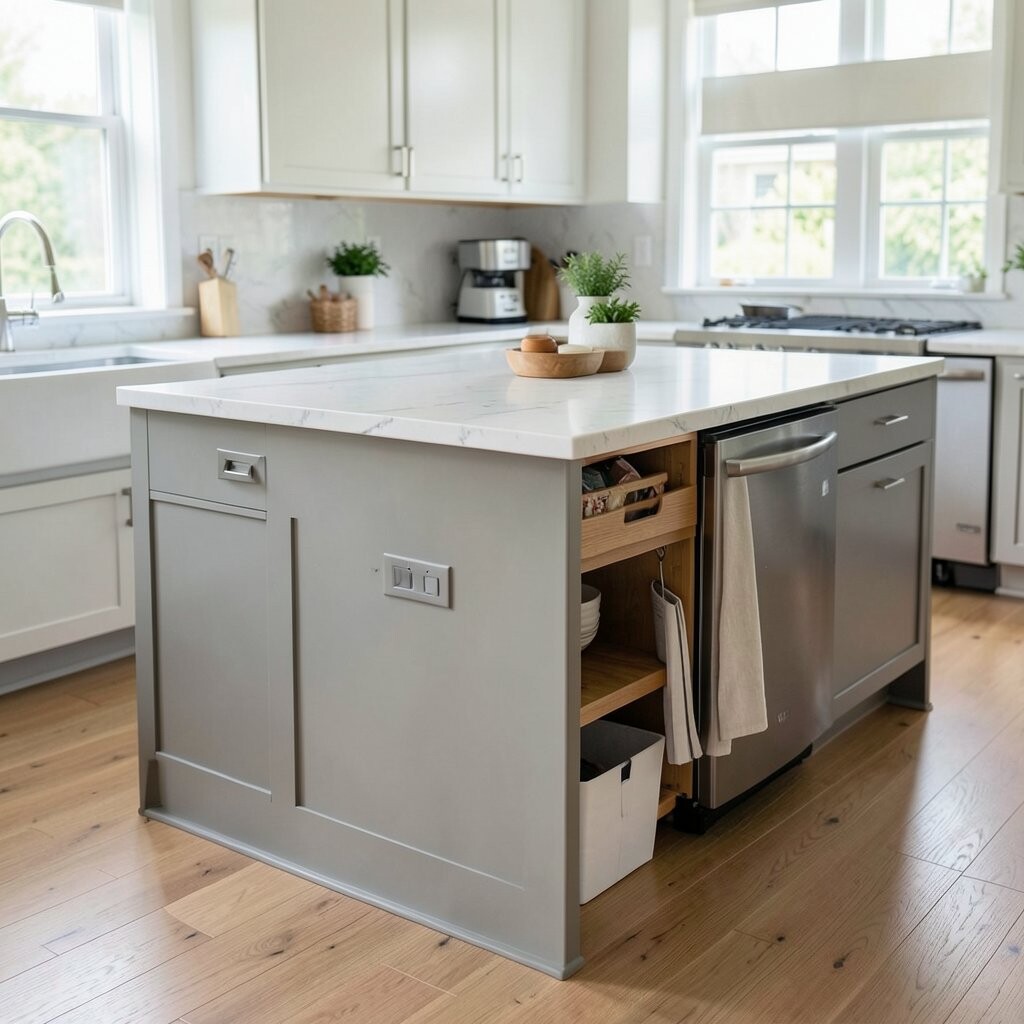
Sometimes clutter happens because things have nowhere quick to go. Under-counter drop zones provide a fast, clean path for items like takeout menus, rubber bands, and spare batteries. It’s a clever way to prevent objects from landing on the island during busy moments.
Install a small bin or cabinet opening under the island lip so items can be stored away immediately. Use dividers inside so the drop zone stays organized instead of becoming a hidden mess. Personalize by matching the interior finish to your kitchen so it feels built-in.
This can be done on different budgets by using existing space and adding organizers. A current trend is using smaller, targeted storage areas rather than relying on one big cabinet for everything. When the drop zone is right, the island stays clean because the “temporary” place is no longer the countertop.