
That old apron still has good bones waiting to shine. With a few budget-friendly steps, you can make it look loved again.
1. Patch a Torn Corner With Fabric Scraps

A small tear can make an apron look tired fast. Patching it early keeps it from turning into a big repair later.
Choose a scrap that matches the apron color or adds a fun contrast. Cut a slightly rounded patch so it blends and doesn’t fray as quickly. Stitch around the edges with a strong thread, then press the repair flat with a warm iron.
2. Reinforce the Pocket With a New Lining

If your pocket sags or separates, the apron still works but the look falls flat. A fresh pocket lining can bring structure back without replacing the whole apron.
Carefully open the pocket seam just enough to slide in a matching scrap or even a sturdy cotton from an old shirt. Sew the lining in place, then finish the edges neatly so the pocket looks intentional. For extra strength, add a couple of short bartacks at the corners where hands pull most often.
To personalize it, use fabric with tiny patterns like checks or subtle stripes so the apron feels cheerful. Cost stays low because you’re mostly using what you already have. Right now, many makers are mixing mismatched prints in a “patchwork utility” style, and that pocket update fits right in.
3. Refresh Faded Fabric With a Gentle Fabric Dye Bath

Faded fabric can be fixed in a surprising way with the right dye. When done carefully, dye brings back depth and makes colors look richer.
Pick a dye shade close to the original color so results look natural. Clean the apron first, then follow the dye instructions closely for temperature and time. Stir gently so the color spreads evenly, and keep watching until the tone looks balanced.
After rinsing, wash the apron separately once to prevent color transfer. Add a drop of mild salt or vinegar if your dye guide recommends it for better setting. If you want a modern twist, shift from plain solid color to a slightly darker shade for a “new again” effect.
Budget-wise, one dye package can cover multiple small garments. A trendy look is the “soft vintage” dye effect, so try a slightly lighter time than the maximum if you like subtlety.
4. Sew a Decorative Bias Tape Border
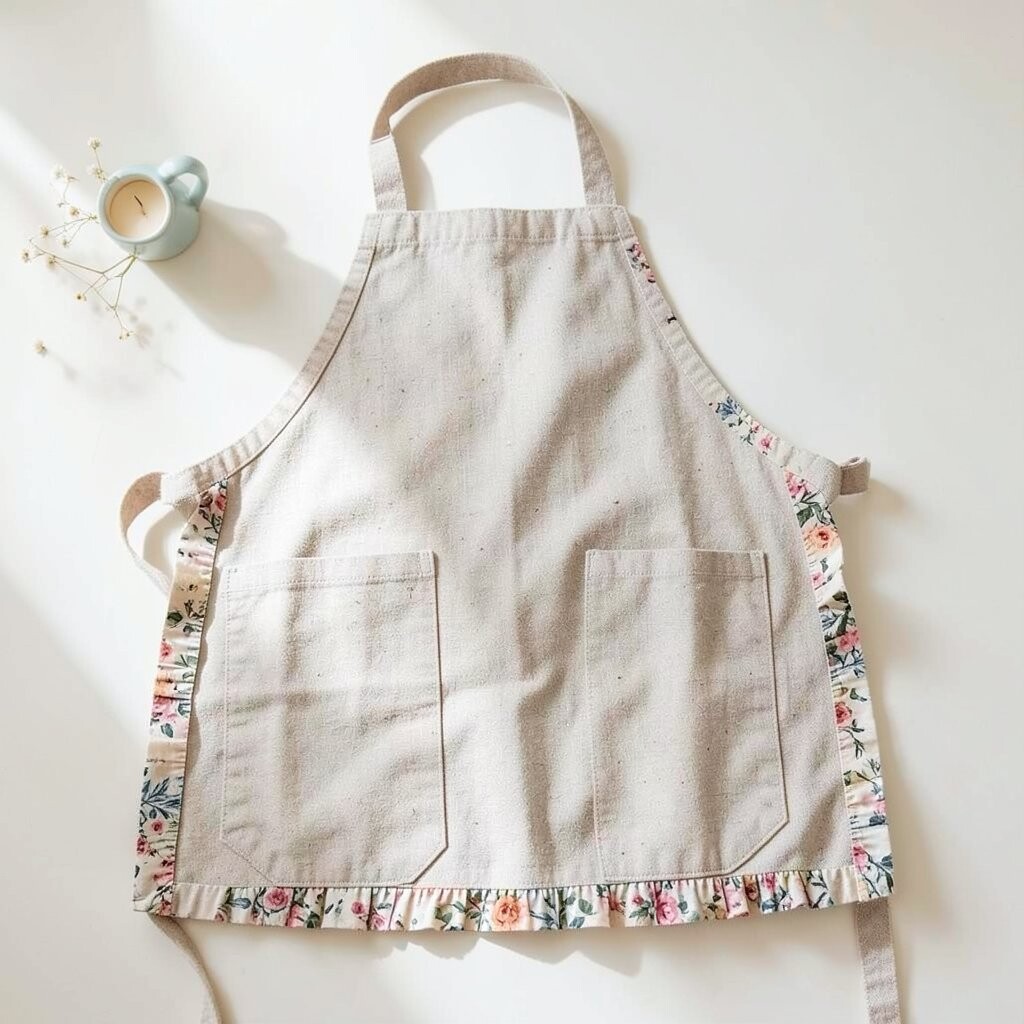
Bias tape is a simple trick that makes a plain edge look styled. Even if you only add it to the hem, the apron instantly looks more finished.
Pin the tape along a clean edge, then sew slowly to keep it from stretching. Choose tape that matches your kitchen vibe, like gingham, denim blue, or earthy tones. For durability, press the tape first so it lies flat and the stitches stay even.
5. Try No-Sew Hem Tape for Quick Fixes

Sometimes you need results fast, and that’s where hem tape helps. It can seal a loose hem without a needle and thread.
Measure the length of the hem, fold it neatly, and lay the tape between the fabric layers. Use a hot iron with firm pressure, following the product directions for time. When the bond cools, test by gently tugging so you know it will hold.
To personalize the style, cover the repaired spot with a strip of matching fabric at the very edge if you want it to look intentional. This approach is cost-friendly because you can buy small rolls. A current trend is quick craft repairs that look neat, not messy, and tidy hem tape jobs fit that perfectly.
6. Add Iron-On Patches for Instant Character
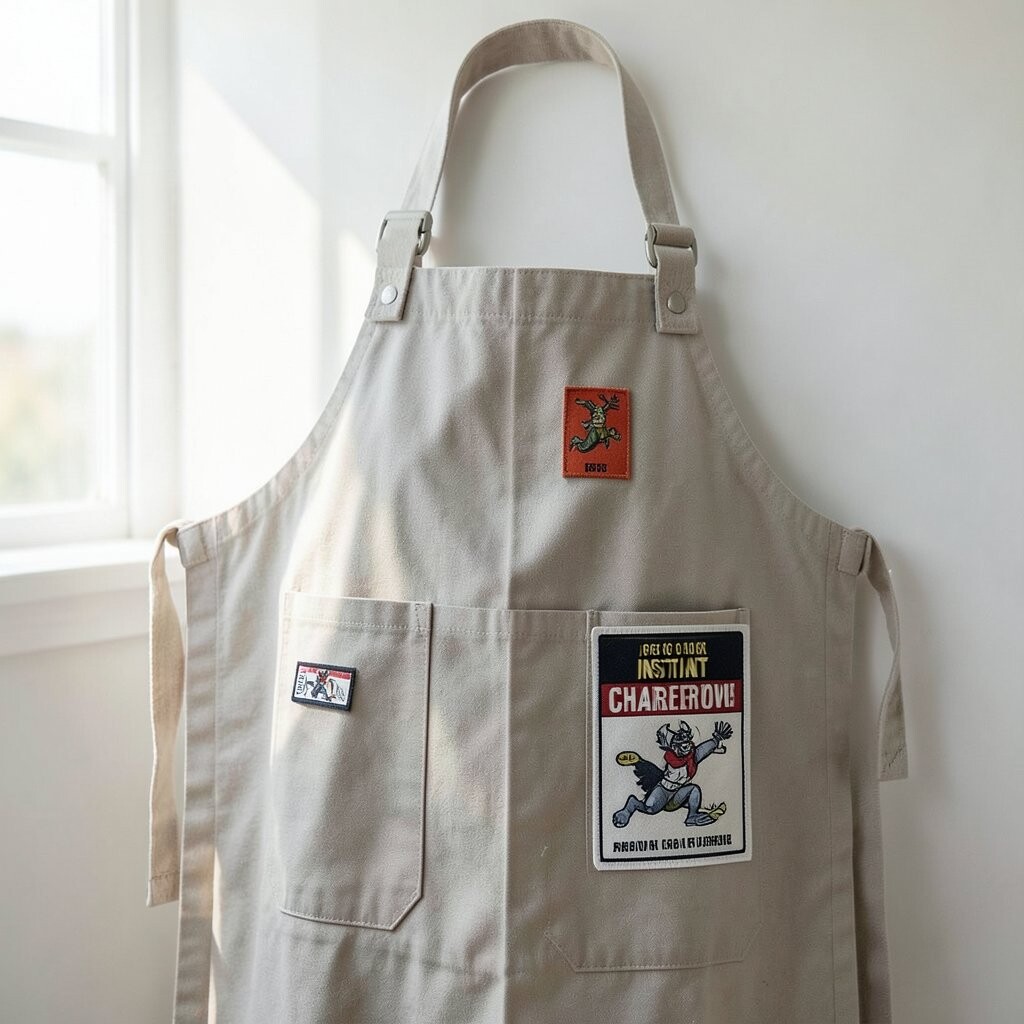
Iron-on patches can turn stains into charming details. You don’t have to hide mistakes, you can style them.
Place the patch over a worn spot, then heat according to the patch instructions. Press from the center outward to remove bubbles and help the edges stick. If the patch has a fabric edge, stitch around it afterward for extra staying power.
Pick designs that match your life, like gardening tools, coffee cups, or tiny fruits. This makes the apron feel personal instead of purely repaired. For cost, one or two patches can cover several problems, and they’re often cheap at craft stores.
7. Turn Stains Into Pattern With Fabric Paint
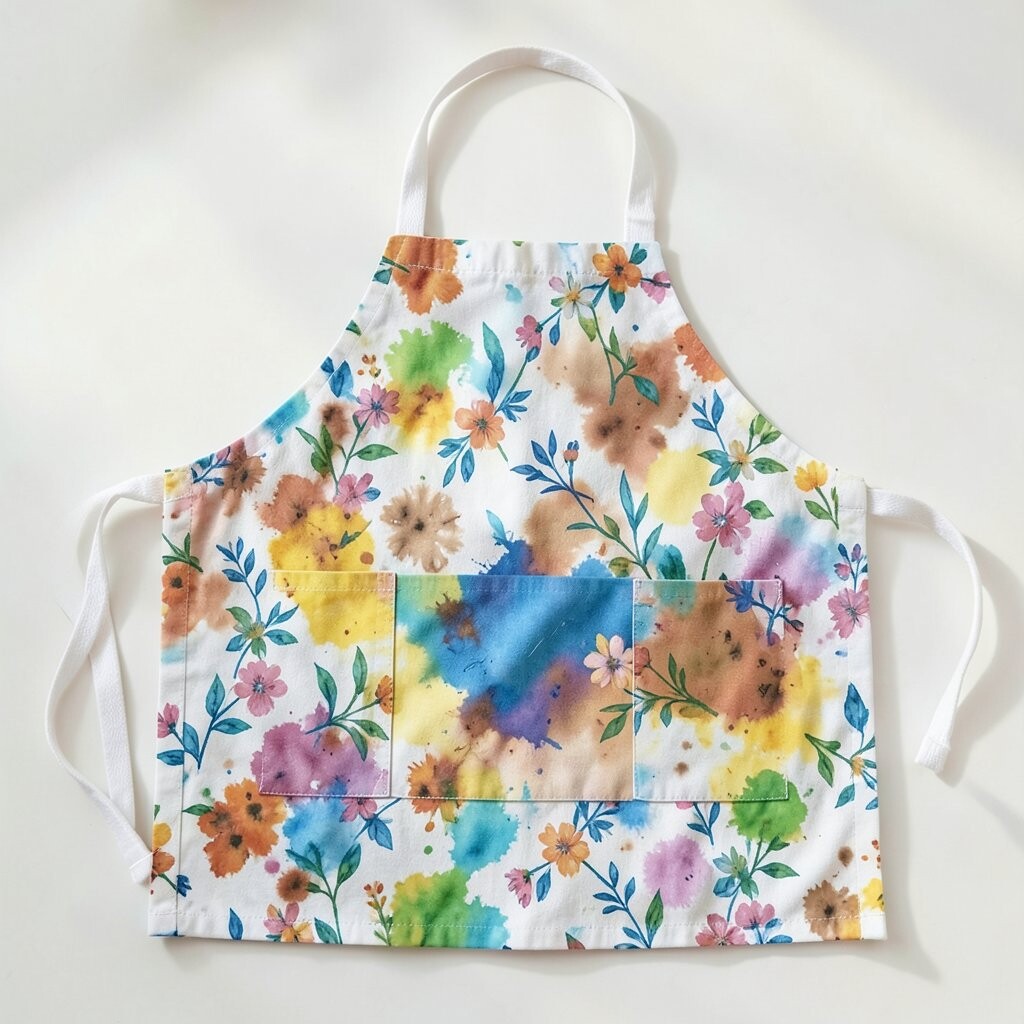
Stains are frustrating, but you can cover them with playful paint. With simple shapes, you can make the apron look like it was designed that way.
Clean the stained area, then test your paint on a scrap of similar fabric if possible. Use a stencil for clean lines, or freehand small doodles like dots, leaves, or simple stripes. Let it dry fully, and if your paint requires it, heat-set it with an iron on the correct setting.
To personalize, match the apron to seasonal colors by using warm oranges in fall or bright greens in summer. This method is budget-smart because a small tube of paint can cover multiple areas. Today, “visible mending” through paint and markers is trending, and it gives everyday items a handmade vibe.
8. Replace Worn Ties With a Strong New Strap

When ties fray, the apron can slip or feel unsafe. New straps make it comfortable and more secure.
Unpick the old ties carefully, then measure the length you prefer based on how you tie it. Use thick cotton twill, a sturdy ribbon, or even a reclaimed belt strip for strength. Stitch the ends firmly to the apron corners, and reinforce with extra stitches where stress happens.
If you want a unique look, braid two different colors of strap into one tie. You can also add a small loop and button closure for a faster fit. Keep cost down by using fabric you already own, like old curtains or unused tote straps.
Many people are leaning toward adjustable closures now, especially with aprons meant for cooking, baking, and crafting. A simple upgrade can make your apron feel like a modern tool.
9. Add a Matching Sleeve Cuff or Wrist Guard
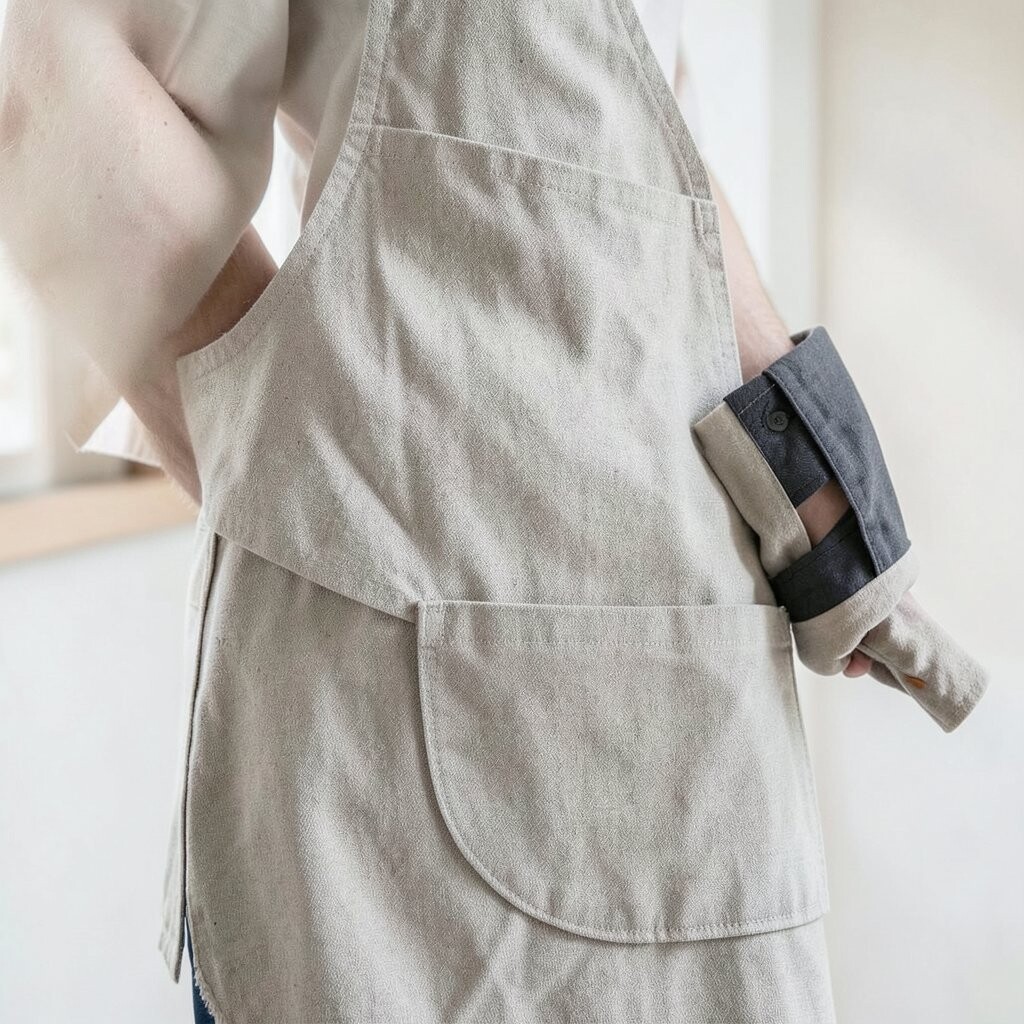
Even if the apron body looks fine, worn areas near the top can be distracting. A cuff update helps protect your sleeves and adds a crisp style line.
Cut a strip of matching fabric or denim, then sew it where your sleeve naturally brushes. For a snug feel, add elastic inside the cuff or use a small gathered band for comfort. Make sure it sits flat so food spills don’t catch on loose edges.
This detail is unique because it changes how the apron functions, not just how it looks. Personalize it with a bold cuff pattern while keeping the rest of the apron calmer. Cost stays low because you’re using small fabric pieces, and you can find denim scraps easily.
10. Use a Lining to Cover Grease Spots
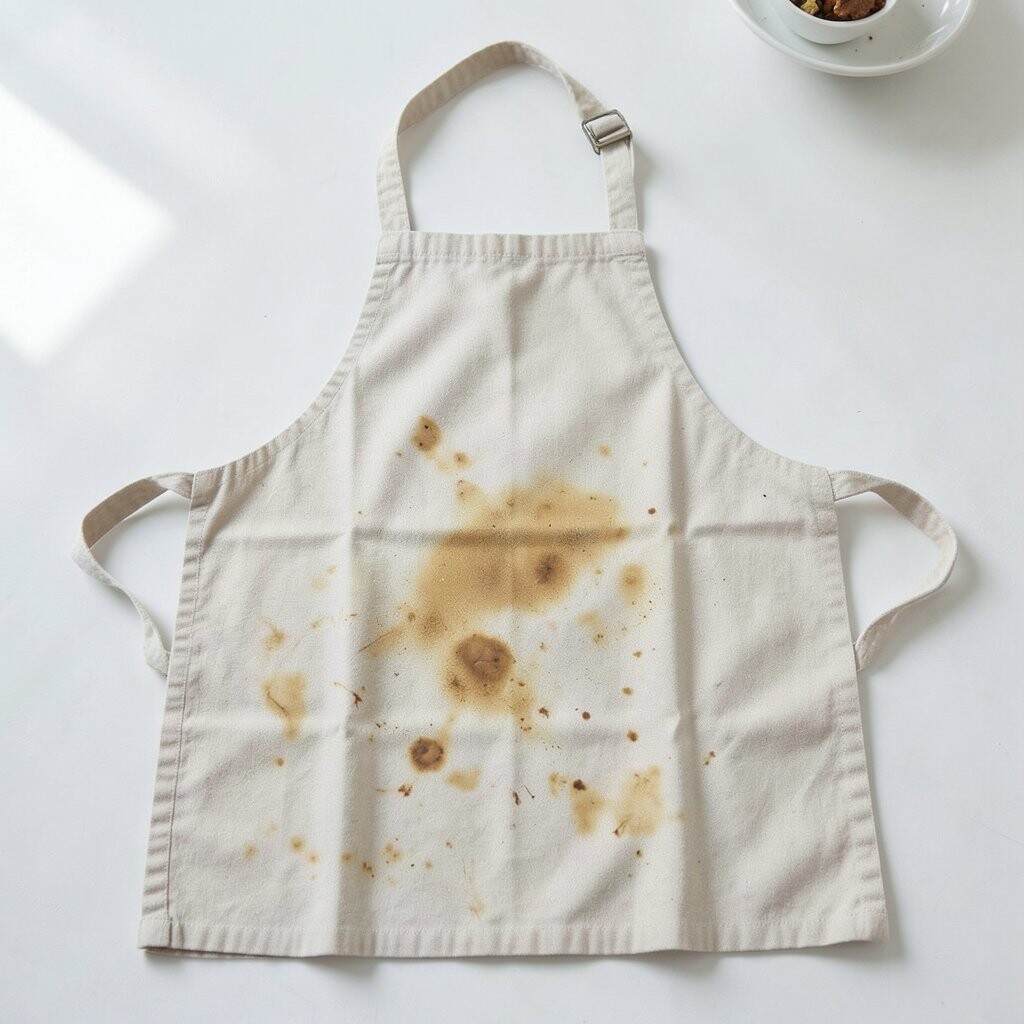
Grease can sink into fabric and feel impossible to remove. Covering it with a lining can make the apron look clean again.
Identify the worst area, then cut a lining patch from a washable fabric like cotton or canvas. Turn the patch edges under and sew it in place so it looks smooth from the outside. If you want extra neatness, add a second row of stitching around the edges like a decorative frame.
To personalize, choose a lining fabric with a subtle pattern so it peeks out when the apron moves. This approach saves money compared to replacing the apron, because you repair the problem where it matters. A practical trend is “inside-out upgrades,” where hidden layers improve durability and keep the outer fabric looking great.
11. Straighten the Silhouette With a Quick Press and Steam

Sometimes the apron looks worn because it’s just out of shape. A strong press can make it look freshly made in minutes.
Wash if needed, then iron using the fabric’s safe heat setting. Steam helps relax wrinkles, and pressing seams gives structure to hems and pockets. Take time to square the edges so the apron hangs evenly when you wear it.
Personalize by adding a crisp crease line along the center or adding light starch for a firmer look. This is a very low-cost fix since you’re mostly using what you already have. In recent years, “press-first” styling has become popular among crafters because it makes repairs look cleaner and more professional.
12. Turn Old Embroidery or Lace Into Trim
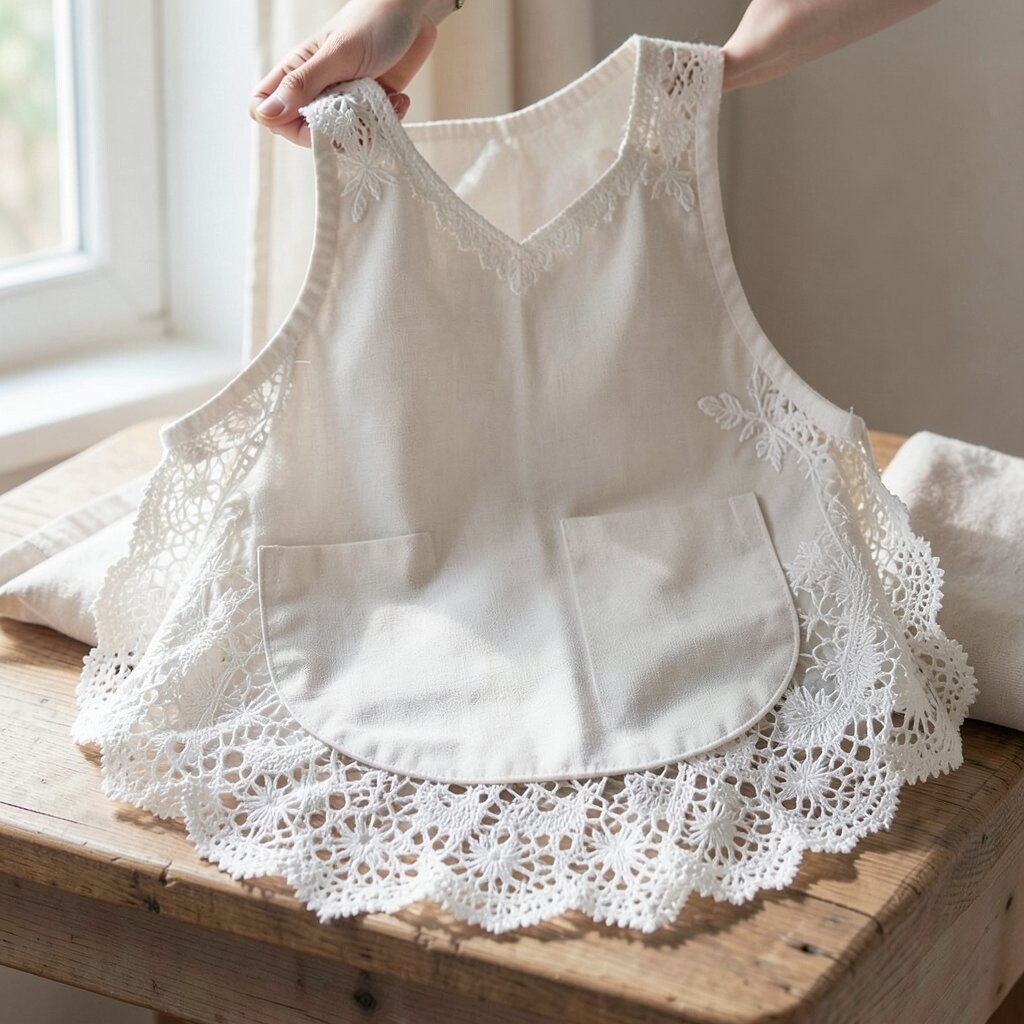
Scraps of lace or embroidery can make a plain apron feel special. It’s an easy way to upgrade without buying new fabric.
Cut lace trim to the length you need, then pin it along a hem or around a pocket flap. Sew gently so the stitches catch the base fabric without chewing up the lace threads. For a tidy finish, trim raw edges behind the lace so nothing frays.
13. Make a Simple Organizer Loop for Tools
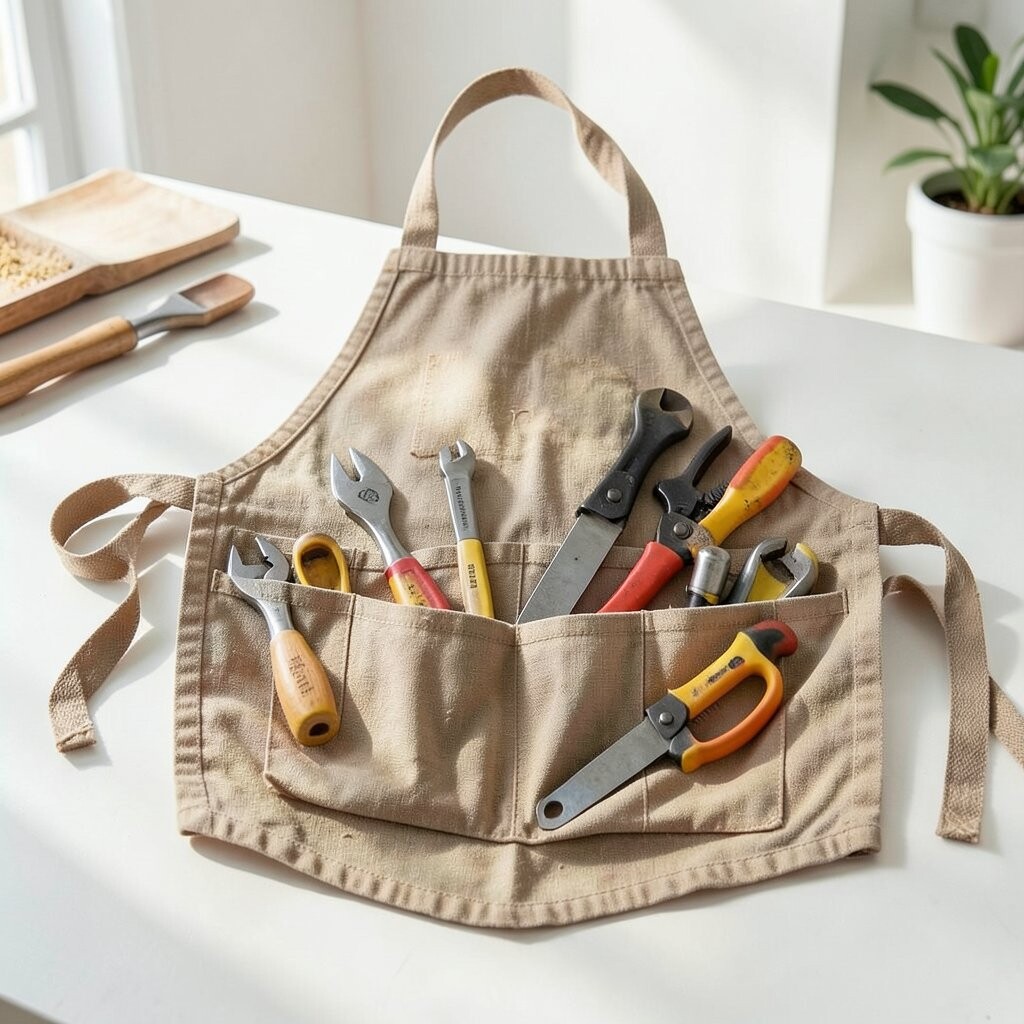
If your apron feels messy, add a purpose-built feature. Organizer loops help you keep small tools within reach while cooking or crafting.
Use a strip of fabric or webbing to create one loop, then stitch it securely onto the apron front. Adjust the size based on what you carry, like a spoon, measuring tool, or small towel. A sturdy topstitch helps the loop sit flat even when you tug items in and out.
To personalize, use contrasting thread so the stitching line shows as a design detail. This idea is unique because it restores usefulness as well as looks. Cost stays low because one strip of fabric and thread can be enough, and you can repurpose a strap from an old bag.
14. Upgrade the Neck Strap With Wider Padding
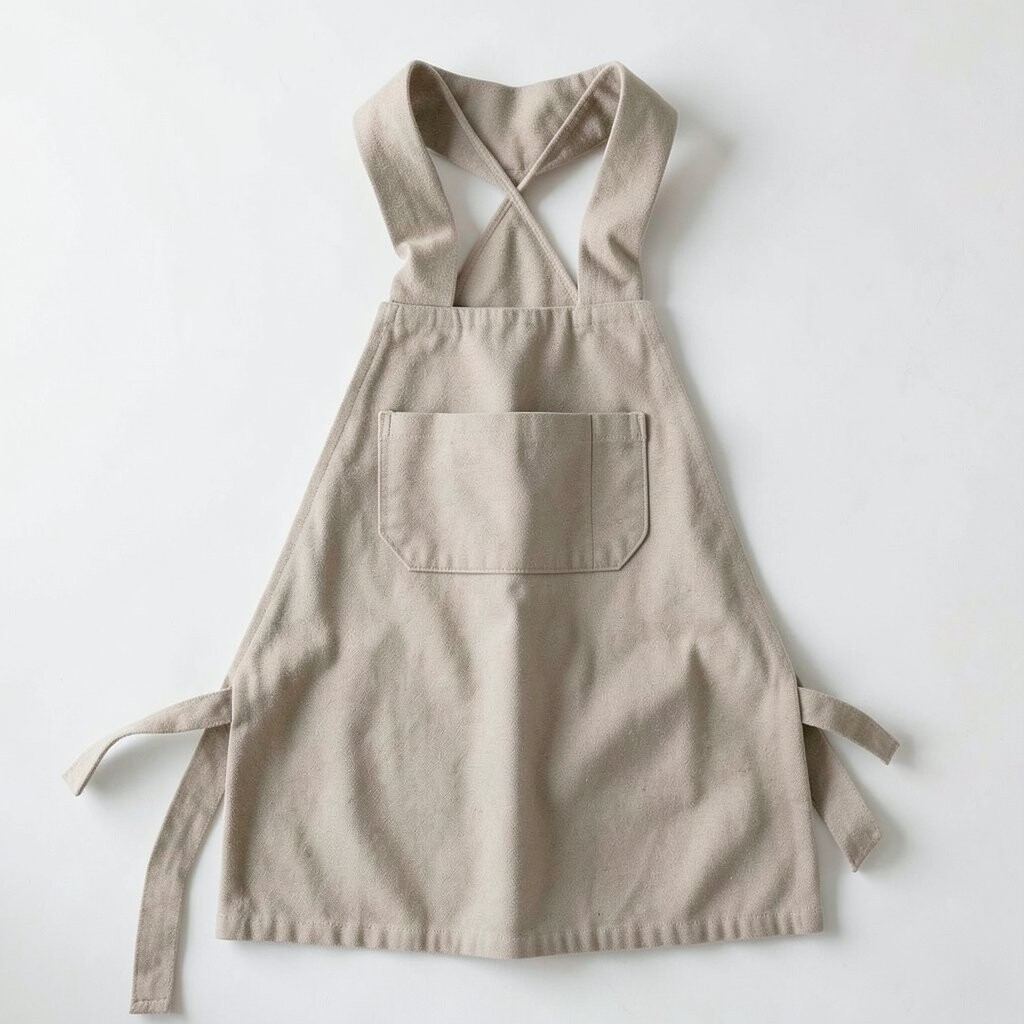
Old neck straps can dig in and make an apron uncomfortable. Wider padding spreads the weight and makes the apron feel better right away.
Remove or adjust the old strap attachment, then sew a wider strap that includes a thin layer of foam or folded fabric. Keep the padding inside so it won’t shift during washing. Stitch the edges carefully, then test the fit by wearing it for a few minutes.
15. Create a Two-Tone Color Block From Remnant Fabric
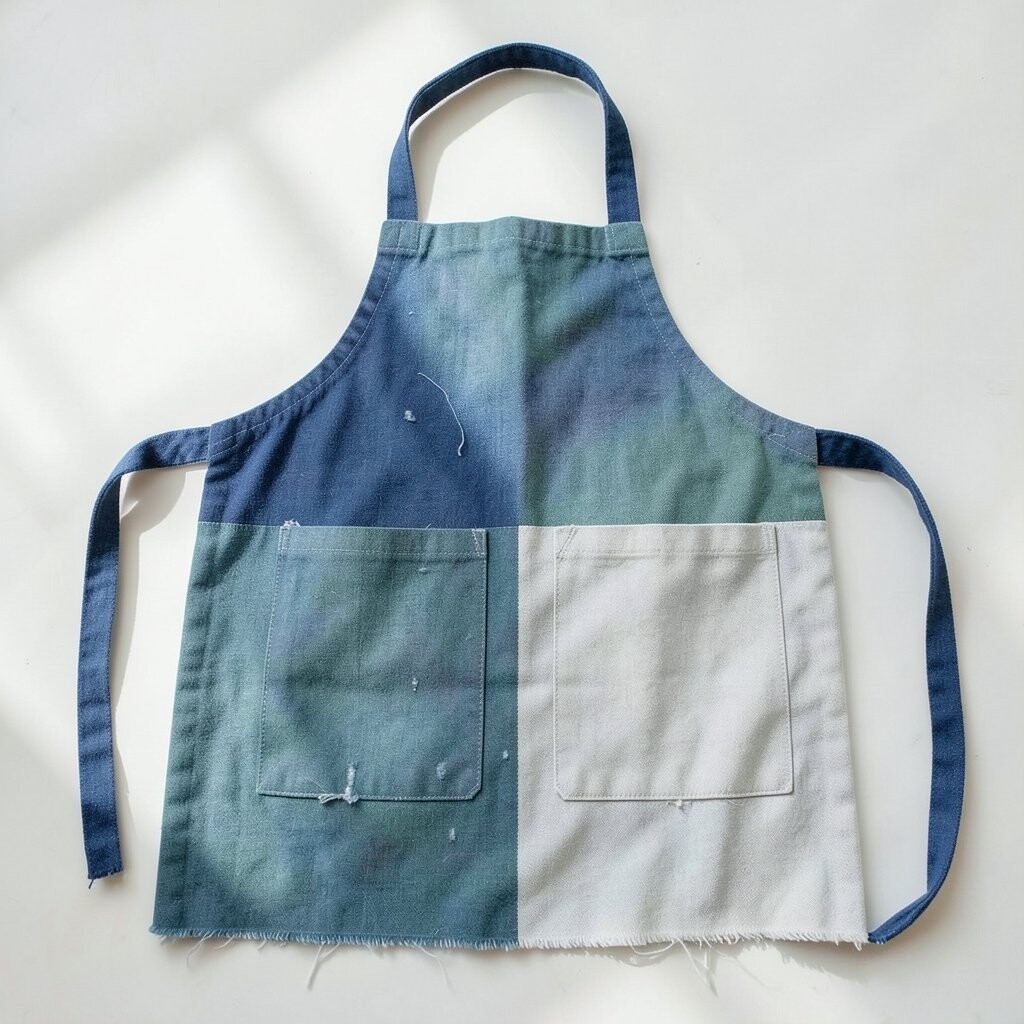
Color blocking turns restoration into a design choice. Instead of covering wear, you can rework the entire apron into something modern.
Choose remnant fabric that complements the original shade, like pairing navy with cream or rust with teal. Cut panels for the bottom hem, side sections, or even a wide stripe across the middle, then sew the pieces on like a planned pattern. Press seams carefully so the join line looks crisp and intentional.
If you want a trend-forward look, try bold contrasts with matte cotton or denim for a slightly rugged style. Cost considerations are simple because remnant fabric is usually cheap, and you can often finish with just a few cuts. For personalization, match the color blocks to items you already use in the kitchen so everything feels cohesive.