
Fresh flowers make any table feel special. You can create an arrangement that looks thoughtful without spending hours.
1. Start With a Simple Color Story

Pick two or three colors you love and stick with them. Your centerpiece will look more polished even if it’s the first one you make.
Choose shades that belong together, like blush and cream, or yellow and white. Keep one color as the main “star,” then add smaller accents for balance. If you’re shopping, grab filler blooms that match your color story so you don’t have to guess at home.
2. Measure Your Vase Before You Buy
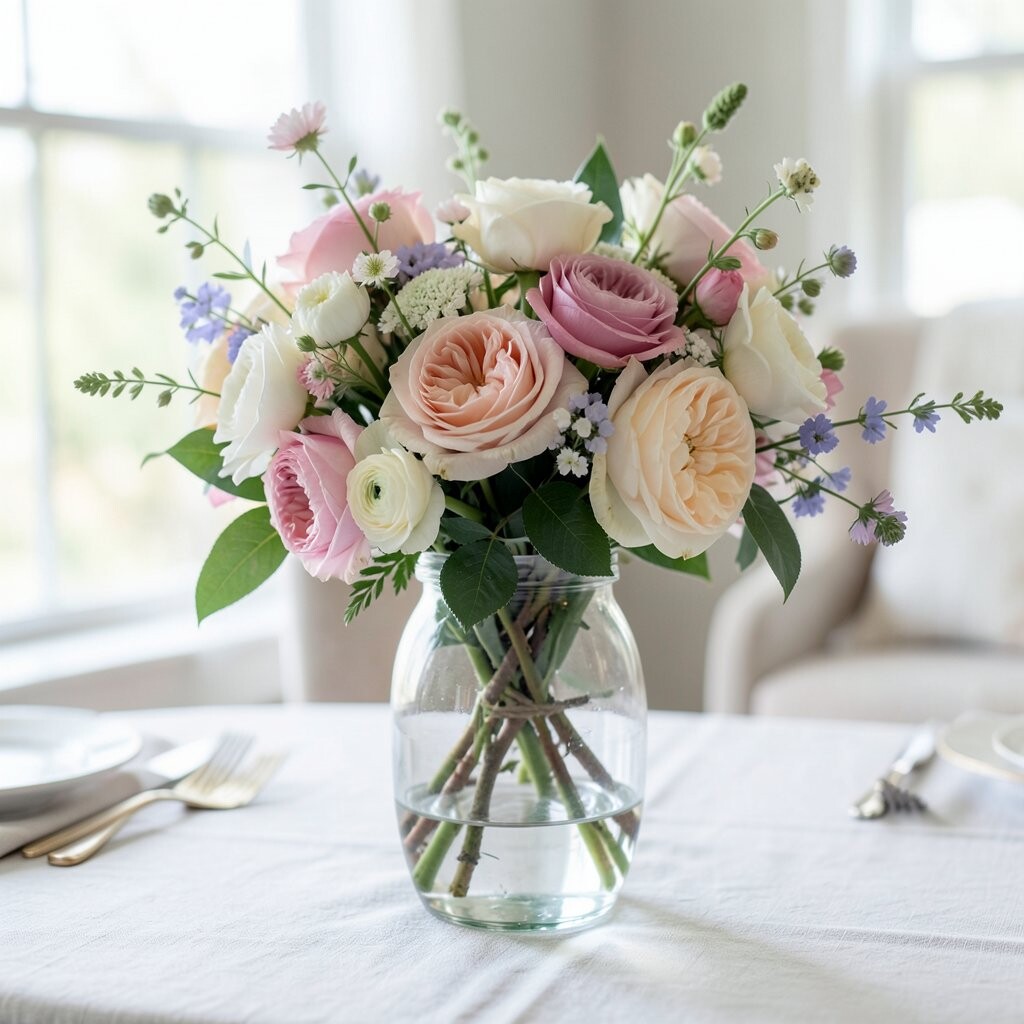
Hold your vase up to the table and imagine how tall it should be. A centerpiece that’s too tall blocks conversation, while one that’s too short looks lost.
Use a quick trick: measure the height you want, then compare it with the flower lengths at the store. If you plan to use greenery, remember it also adds height. This step saves money because you won’t buy more stems than you can fit.
For round containers, think in width too, not just height. A good goal is that the arrangement fills about half to two-thirds of the container’s visible space. That look feels full without wasting flowers.
3. Choose One “Hero” Flower for Instant Focus

Pick a single flower type to be the centerpiece’s main attraction. When you have a hero bloom, your eye knows where to rest.
Roses, peonies, tulips, sunflowers, and dahlias all work, but even simple daisies can look great. Add the hero bloom at different heights so the arrangement feels lively. Use fewer of the hero stems than you think, then let greenery and smaller blooms support them.
To make the look feel intentional, repeat the hero color in at least two places. For example, cluster three stems together, then add one or two nearby for continuity. This small choice makes beginners’ designs look “designed,” not accidental.
If the hero bloom is expensive, use it as an accent. Even a few stems can create the same wow factor when placed thoughtfully.
4. Use Greenery Like a Frame, Not Just Filler

Greenery sets the mood and gives structure to the whole design. Think of it as the picture frame around your flowers.
Choose one kind of greenery for a clean look, or two for depth. Place some pieces vertically to build height, then let others drape gently for softness. When in doubt, slightly vary angles so it doesn’t look flat.
5. Cut Stems at an Angle for Better Hydration

Fresh cuts help flowers drink water and last longer. It’s a quick step that makes a noticeable difference.
Use sharp scissors or a clean knife and cut stems at a 45-degree angle. Remove leaves that would sit under the waterline to prevent bacteria. If you can, recut the stems after a few hours for extra boost.
For woody stems like some greenery, split the end gently to help it absorb. This is one of those beginner-friendly tricks that feels almost like cheating. Your arrangement will look perkier for longer days.
6. Pick a Focal Shape: Round, Low, or Tall

Decide the shape you want before you start placing stems. It keeps your hands from wandering and helps the final look feel cohesive.
A low, round centerpiece looks friendly and casual. A tall and narrow one feels elegant and “event-like.” If you want an easy middle option, build a slight dome that’s widest near the center.
7. Build in Layers Instead of One Big Clump

Layering helps your arrangement look full without using lots of flowers. It also makes each stem feel like it has a job.
Start with greenery and place it around the inside edges like a soft border. Add the hero flower next, then tuck smaller blooms between the gaps. Leave space for “air” so the colors can shine.
Step back every minute to check balance. If one side looks bare, add one stem with a slightly different angle rather than piling on more flowers. This keeps your centerpiece looking refined.
8. Try a “Fill, Spill, Feature” Placement Method

This method makes arranging simple and fast. You’ll know exactly what to do with each type of stem.
Fill means placing most stems close together to create body. Spill means letting a few stems bend outward for movement. Feature means placing your most eye-catching blooms at the top or center where they’re easiest to see.
When you use all three, even a small bouquet looks intentional. Keep the spill stems longer than the fill stems by a small amount. Then point feature stems slightly toward the main viewing side.
It’s a great trick for beginners because you don’t need advanced floral skills. Just remember the three roles and your arrangement will naturally take shape.
9. Choose a Container That Matches the Occasion

Your container affects the style even more than people expect. A glass vase feels light and modern, while a ceramic pot feels cozy and warm.
For casual weeknight dinners, try a simple jar, bowl, or wide mug. For celebrations, use a clear cylinder so the colors look bright and layered. If you want a trendy look, combine a matte vase with glossy blooms for contrast.
10. Use Tape or Foam Carefully When Needed

If you’re arranging in a shallow bowl, you may need extra support. A little stability helps you place stems with confidence.
Floral foam is common, but make sure it stays hydrated and doesn’t dry out. If you prefer easier cleanup, use floral tape in the container for a simple grid. Another option is a chicken-wire frog insert for firm holding.
No matter what you use, keep it hidden. Tuck greenery around the edges to cover mechanics. This keeps the look clean and professional.
11. Keep the Arrangement Size Small for Fast Wins

Smaller centerpieces are easier to build and less expensive to fix. When you’re learning, quick success boosts your confidence.
Use fewer stems, but place them carefully with clear spacing. A bud vase arrangement on a side table can look just as charming as a big display. Plus, you can make more than one center of attention without stress.
12. Mix Textures for a More “Designer” Look

Flowers look better when they vary in texture. Smooth petals and feathery greenery together feel rich and interesting.
Try mixing types like silky tulips with ruffled stock, or flat daisy petals with bumpy seed pods. Even one unusual texture, like eucalyptus oils leaves or curly willow, can elevate the whole piece. Keep the color story steady so the texture variety feels intentional.
When selecting blooms, check how they look up close. Some flowers add visual softness, while others add structure. Aim for at least one element that looks delicate and one that looks bold.
13. Make a “Budget Bouquet” With Seasonal Picks

Seasonal flowers are often easier to find and usually cost less. They also look fresher because they match what’s growing right now.
Ask your florist what’s in season or watch what the shop has in abundance. Seasonal stems like lilacs, peonies, berries, and sunflowers can look expensive even when they’re not. Pair them with basic fillers so your centerpiece looks full.
If your favorites are pricey, choose one premium stem and surround it with affordable ones. A small selection of gorgeous blooms plus greenery can still look luxurious. This approach helps you control spending without losing the wow factor.
Don’t forget that greenery itself is a budget hero. Large leaves and aromatic stems often make arrangements look rich at a lower cost.
14. Add One Unexpected Accent for Personality

Little surprises make a centerpiece feel personal. They tell guests you chose something on purpose.
Try adding a ribbon, a few dried oranges, a handful of berries, or a sprig of herbs. If you want a modern touch, add a single metallic element like gold spray or a slim candle. Keep the accent small enough that the flowers still lead.
15. Use Candles for Height and Warmth
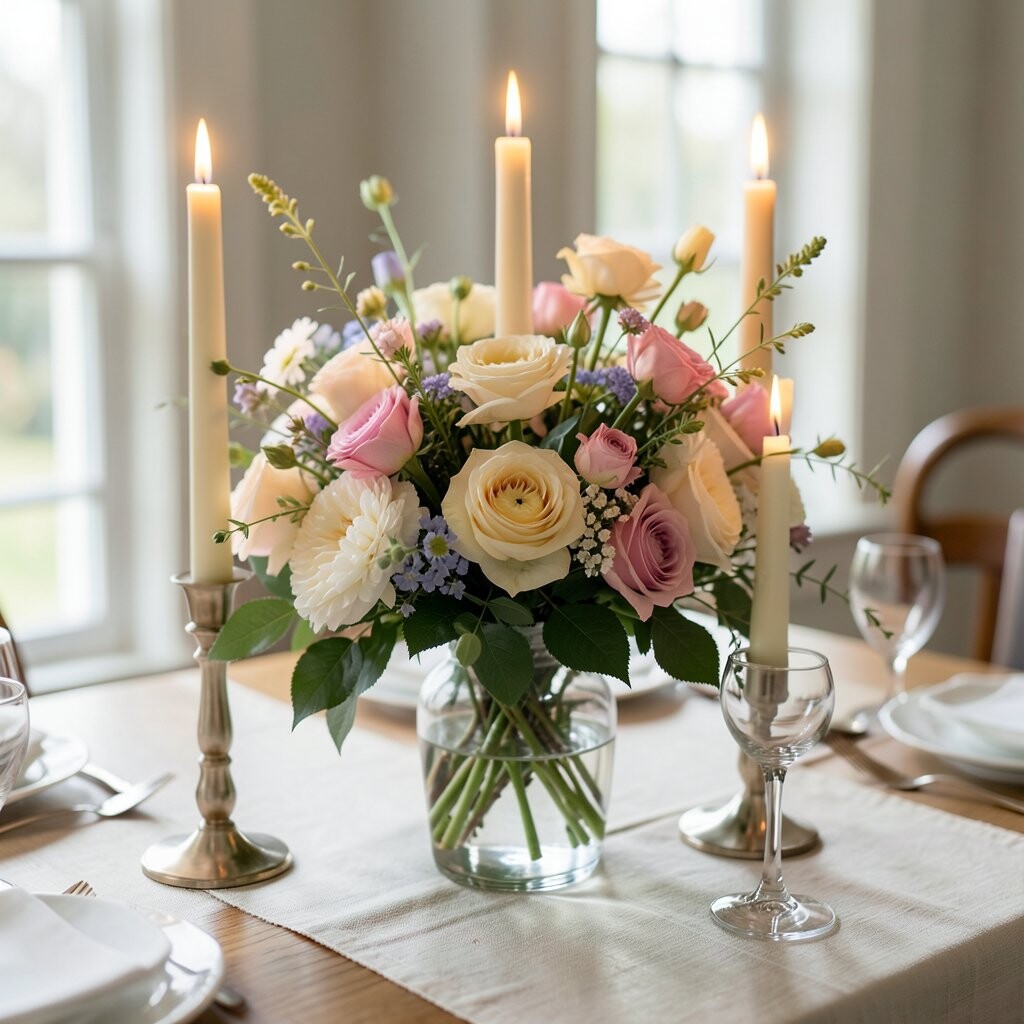
Candles instantly make a centerpiece feel cozy and complete. They also solve the “I need more height” problem.
Place a pillar candle in the center or lean a shorter candle beside the flowers. Use flameless candles for events where safety matters. Match the candle color to your palette so it doesn’t compete with petals.
Choose a candle that won’t drip wax over your arrangement. If you’re using real candles, keep them stable and away from loose greenery. This detail keeps the look tidy and stress-free.
16. Try a Wet-Rag “Micro Refresh” Between Events

Even a well-made centerpiece can droop if it sits in warm air. Quick refreshes help your flowers look fresh longer.
Keep a small wet rag or misting bottle nearby when you’re hosting. Lightly mist some greenery and avoid soaking delicate petals. If stems look tired, remove them briefly, recut the ends, and re-place.
17. Make a “One-Side Focus” Arrangement

Many tables are viewed from one side, like a dining room or buffet line. Designing for that viewpoint makes your centerpiece look better from every angle you see.
Build the tallest blooms on the far side, then taper down toward the front. Turn your vase slightly so the back layer isn’t visible. This trick prevents the back of your arrangement from looking unfinished.
Step outside your typical viewing position to check the balance. If it looks great from the main seat, you’ve nailed it. It’s an easy way to make beginners’ work look intentionally styled.
18. Don’t Fear Using Store Blooms “As-Is”

You don’t always need special designer flowers to make a nice centerpiece. Many everyday blooms look beautiful with simple placement.
If you buy mixed bouquets, salvage what you love by removing any weak stems. Keep the strongest colors and build around them with greenery. Trimming and reorganizing makes a standard bouquet feel custom.
Look for flowers with similar openness, like mostly buds or mostly fully open blooms. That keeps your centerpiece from looking uneven as some stems bloom faster than others. It also helps the arrangement look balanced for longer.
With a little care, store flowers can last and still look gorgeous. This is one of the quickest ways to practice without overspending.
19. Match Flower Sizes to Your Container Scale

Flower size matters because scale affects how full the centerpiece looks. Big blooms can overpower a tiny jar, while small blooms vanish in tall vases.
For small containers, choose petite flowers or cut down longer stems. For tall containers, use longer-stemmed blooms and allow greenery to spread upward. Keeping scale aligned makes your arrangement feel balanced without extra fuss.
20. Follow Current Trends With Modern Neutral Accents

Many recent floral styles lean toward neutral palettes and simple forms. Think cream, soft beige, blush, and gentle greens for an easy, trendy look.
Add a minimalist accent like sculptural branches or a single ornamental grass stem. This creates movement without making the arrangement busy. Neutral flowers also make other decor, like table settings and candles, look even better.
21. Personalize With a Meaningful “Memory Stem”

Choose one stem that connects to your life or the moment you’re celebrating. It makes the centerpiece feel like more than decorations.
Maybe it’s a favorite flower from a past trip, a plant from your garden, or a bloom that matches a gift you received. You can also use themed items like rosemary for a holiday dinner or lavender for a spring table. Keep it within your color story so it blends naturally with the rest.
When you add a memory stem, focus on placement. Put it where guests can see it easily, usually near the center or top. That simple choice turns an ordinary arrangement into a meaningful one.