
Stone floors can look like a dream and feel even better underfoot. The trick is picking the right stone for your home and your routine.
1. Start With Your Lifestyle, Not Just the Look

Before you fall for a color, think about how your day moves. A busy entry needs a stone that handles daily traffic without losing its charm.
Choose finishes based on habits like cooking, kids playing, and shoes coming in from outside. If you expect spills, opt for stones known for resisting staining or choose a strong sealer plan. For a calmer look in low-traffic areas, you can prioritize beauty first and still be practical.
2. Learn the “Feel” of Different Stones

Some stones feel cool and solid when you walk in, while others can feel smoother and warmer. Marble often has a classic, elegant glide, but it can be softer than people expect.
Quartzite usually offers a sturdier feel and bold natural patterning, which can make rooms look custom. Slate brings a textured, earthy surface that grips well, especially for wet areas. Granite tends to look lively with flecks and movement, which can hide everyday scuffs more easily.
Touch and compare samples in person if you can. Even two stones with similar colors can feel very different underfoot and change how a room “acts” during winter and summer.
3. Check Porosity and Plan for Sealing

Porosity tells you how easily a stone can absorb liquids, and that matters for daily life. If you choose a more porous stone, sealing becomes part of the maintenance rhythm.
Marble and some limestone options often look timeless, yet they may need more frequent sealing. Granite is typically less absorbent, so it can be easier for busy households. Always ask about the stone’s absorption rating and the recommended sealant type.
When you seal, do it on clean, dry stone and follow the exact cure time. Test the sealer on a small hidden area first to confirm the color won’t shift. With the right product, you can enjoy the stone’s natural character while reducing worry about stains.
Think of sealing as protection for your investment, not an annoying chore. A short maintenance schedule can prevent long-term frustration.
4. Match the Finish to the Room’s Reality

The finish changes not just the appearance, but also slip resistance and how light plays across the surface. A polished finish looks glossy and high-end, yet it can be slick in damp conditions.
Honed finishes feel more mellow and can hide minor wear better. Textured finishes like tumbled or brushed styles can add grip and hide small marks, which is great for entryways and kitchens. If you want a bright look, use lighting to enhance gloss, rather than relying on shine alone.
5. Choose the Right Color Temperature for Your Space

Color temperature affects how a room feels, even when the stone looks “the same” in a showroom. Warm tones can make spaces feel cozy, while cool tones can make them feel crisp and clean.
Pair warm stones like creamy limestone with wood cabinetry and soft lighting for a welcoming vibe. Cool stones like gray slate can create a modern mood with stainless fixtures and simple lines. Keep an eye on undertones such as beige, green, or blue, since those details show up after installation.
Bring home a sample and view it at different times of day. Sunlight can change how veining and shading appear, so you’ll know if the stone fits your real routine.
6. Understand Veining and Pattern Variation

Natural stone doesn’t repeat like tile, and that’s exactly why it looks special. Veins and speckles are like fingerprints, giving each slab its own personality.
Decide how much uniformity you want before you order. If you love dramatic movement, choose stones with bold veining and let it become the room’s focal point. If you prefer a calmer look, pick stones with tighter patterns or request selections with more consistent shading.
Ask whether the fabricator can blend slabs to match your style goal. For large areas, consistent pattern distribution can make the floor look cohesive. For smaller rooms, you can embrace variation for a more organic, lived-in feel.
Planning the pattern also helps with installation layout. When the stone direction is thoughtful, the whole floor looks intentional, not random.
7. Pick the Thickness and Format for Your Floor System
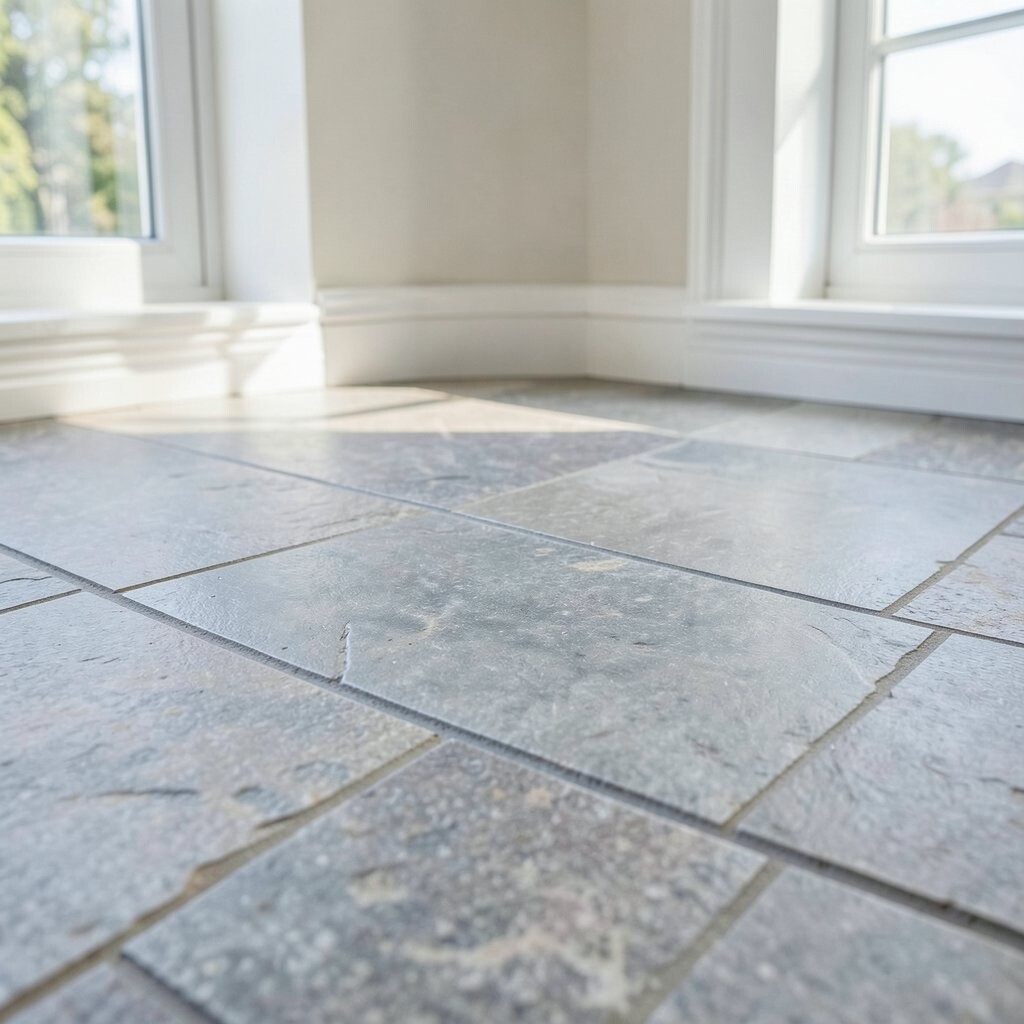
Stone comes in different thicknesses, and that affects installation and durability. Thinner pieces may be easier to handle, while thicker slabs can feel sturdier underfoot.
Consider your subfloor height and flooring layers so the final level matches doors and transitions. If you’re replacing old flooring, measure carefully and plan for the stone’s added height. Ask your installer about substrate requirements like flatness and support.
Smaller formats like tiles can offer more layout flexibility around awkward corners. Large-format slabs can create a sleek, continuous look but require careful planning for weight and handling. Choosing the right format helps the end result feel clean and balanced.
8. Prioritize Slip Resistance for Safety
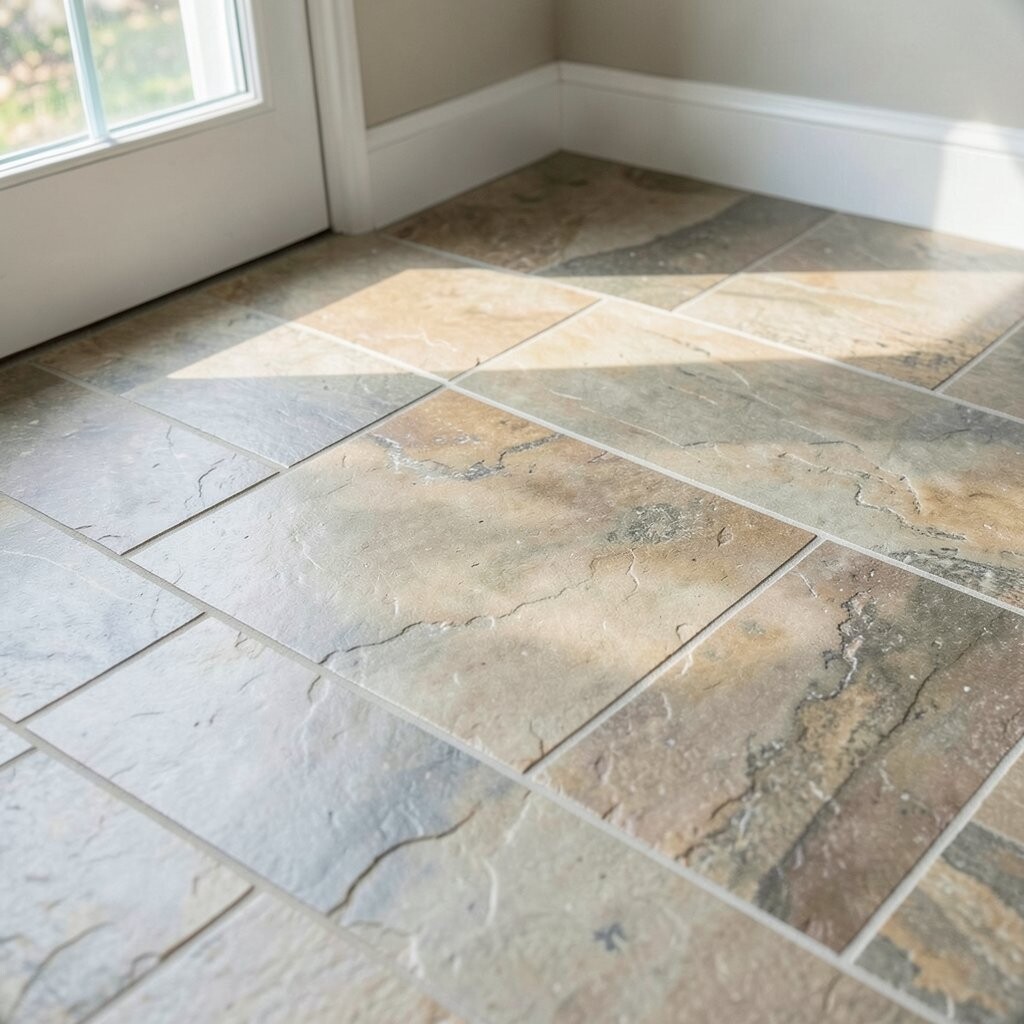
Stone can be gorgeous, but safety should never be an afterthought. Wet areas like bathrooms, entryways, and mudrooms need extra attention to traction.
Choose finishes that grip, such as honed or textured surfaces, instead of assuming polished always looks best. Ask about slip-resistance ratings and pick products suitable for the room’s conditions. A little texture goes a long way for preventing falls, especially with kids, pets, or frequent guests.
9. Know How Stone Handles Temperature Changes

Stone floors can feel wonderfully cool in summer and chilly during winter. That temperature swing is part of the experience, and you can manage it.
If comfort matters, consider radiant heating in appropriate areas. Even without heating, area rugs and mats can help you enjoy your floor without freezing toes. Lighter stones may look airy, while darker stones often look richer, but both can feel cool to the touch.
Think about how long you’ll stand in each space, like kitchens and bathrooms. For homes with older family members or people who spend a lot of time barefoot, comfort planning is especially important. The right combination of stone choice, finish, and comfort additions can make a big difference.
Also remember that stone can expand and contract slightly. A solid installation approach helps reduce long-term movement issues, which keeps the floor feeling stable.
10. Compare Installation Complexity and Labor Costs

Some stones are simpler to cut and install, while others can be more demanding. That difference can change both schedule and total cost.
Large-format slabs and stones with irregular patterning may require more careful layout. If your room has many cutouts, like vents and cabinets, labor increases regardless of the stone type. Always get an installation quote that includes prep work, underlayment, and grout or mortar recommendations.
11. Plan for Grout Lines and Edge Details

Even with stone flooring, the “lines” between pieces shape the final look. Narrow grout lines can feel modern and sleek, while wider lines can add a classic, forgiving feel.
For a tighter, contemporary style, choose smaller tiles with a minimal grout width or stones that can be installed with slim joints. For a more forgiving design that hides tiny imperfections, slightly wider joints can help. Edge details like bullnose, honed edges, or sharp-cut styles also affect comfort and how edges wear over time.
Pick grout and sealant based on the stone’s needs and the room’s moisture exposure. In wet areas, use grout rated for moisture and cleanability. When the joint system is chosen well, your stone floor looks better for longer.
12. Estimate Cost Beyond the Stone Itself

The sticker price is only part of the story, and hidden costs can surprise you. Consider stone thickness, slab size, and whether you need extra for waste due to cutting and pattern matching.
Polished marble might cost more, but you may also budget for sealing supplies and more careful maintenance. Engineered options or mixed stones can sometimes lower costs while still delivering a high-end look. Don’t forget underlayment, leveling compounds, adhesives, and sealing products in your full budget.
If you’re comparing options, ask for a total project estimate that includes labor and materials. A slightly pricier stone can be a better value if it’s easier to maintain or install with fewer complications. Thinking this through early helps your plan feel solid.
13. Use Samples Strategically Before You Commit

Seeing stone in a showroom is helpful, but it’s not the same as living with it in your lighting. A sample lets you judge the real color, veining density, and how it pairs with your walls.
Place samples on the floor near natural light and near artificial light. Also check them by day and night, since brightness and shadows reveal different tones. If your space has warm paint, confirm the stone doesn’t clash with undertones.
Try a small mock-up with your backsplash or vanity materials if possible. When colors and textures harmonize in real conditions, decision fatigue becomes much easier. Samples cost little compared to the stress of redoing a finished floor.
14. Look at Current Trends, Then Tailor Them

Right now, homeowners love layered neutrals and stone looks that feel both natural and refined. Many people are choosing warmer grays, creamy whites, and stones with soft movement rather than loud patterns.
Textured finishes and matte appearances are trending because they hide day-to-day marks and look modern. Another trend is mixing stone with wood and metal accents for balance, especially in open-plan spaces. However, trends shouldn’t override your lifestyle or your long-term taste.
If you’re drawn to a trendy gray, pick the undertone that matches your fixtures. If you love bold veining, keep the rest of the room simple so the floor can shine. Personalizing trend choices is the difference between “of-the-moment” and “always you.”
15. Match Maintenance to How Much Time You Want to Spend

All stone needs care, but the level varies by type, finish, and sealing. If you prefer low effort, aim for stones that resist staining and have finishes that tolerate cleaning.
Use pH-neutral cleaners and avoid harsh chemicals that can dull surfaces. For high-traffic zones, plan a realistic routine like periodic cleaning and timely re-sealing. Place mats at entry points and wipe spills quickly, even with protection.
Think about how you’ll handle stains and scuffs if they happen. Knowing what your stone needs now helps you avoid panic later. When you choose a stone that fits your maintenance style, you’ll enjoy it more every day.
16. Create a Personalized Plan for Your Final Look

Your stone floor can be the foundation for a whole design story, not just a surface. Start by pairing the stone with your cabinet color, lighting style, and countertop vibe.
For personalization, consider custom layout patterns like staggered pieces, careful directionality, or contrasting borders. You can also tailor the look with accessories such as matching thresholds, coordinated wall tiles, or a rug that brings out specific veining tones.
Finally, set a “must-have” list before ordering: the finish you want, the color temperature you prefer, and how much maintenance you’ll actually do. When each choice supports your daily life, the result feels effortless. A stone floor should make your home feel more like you, from the first step in.