A backsplash can make your kitchen look instantly finished. The right choices also make everyday cleanup much easier.
1. Pick a Style That Matches Your Kitchen’s Mood

Start by looking at your cabinets, countertops, and flooring and notice the “vibe” they share. Choose a backsplash style that fits that vibe instead of fighting it.
For a warm, traditional kitchen, consider classic subway tile or soft stone looks that feel timeless. If your kitchen leans modern, sleek slabs, large-format tiles, or minimal grout lines can create a crisp, calm surface. Try to match the backsplash’s color family with what you already have, then add a small contrast through the grout or trim for interest.
2. Use Visual Contrast in the Right Places
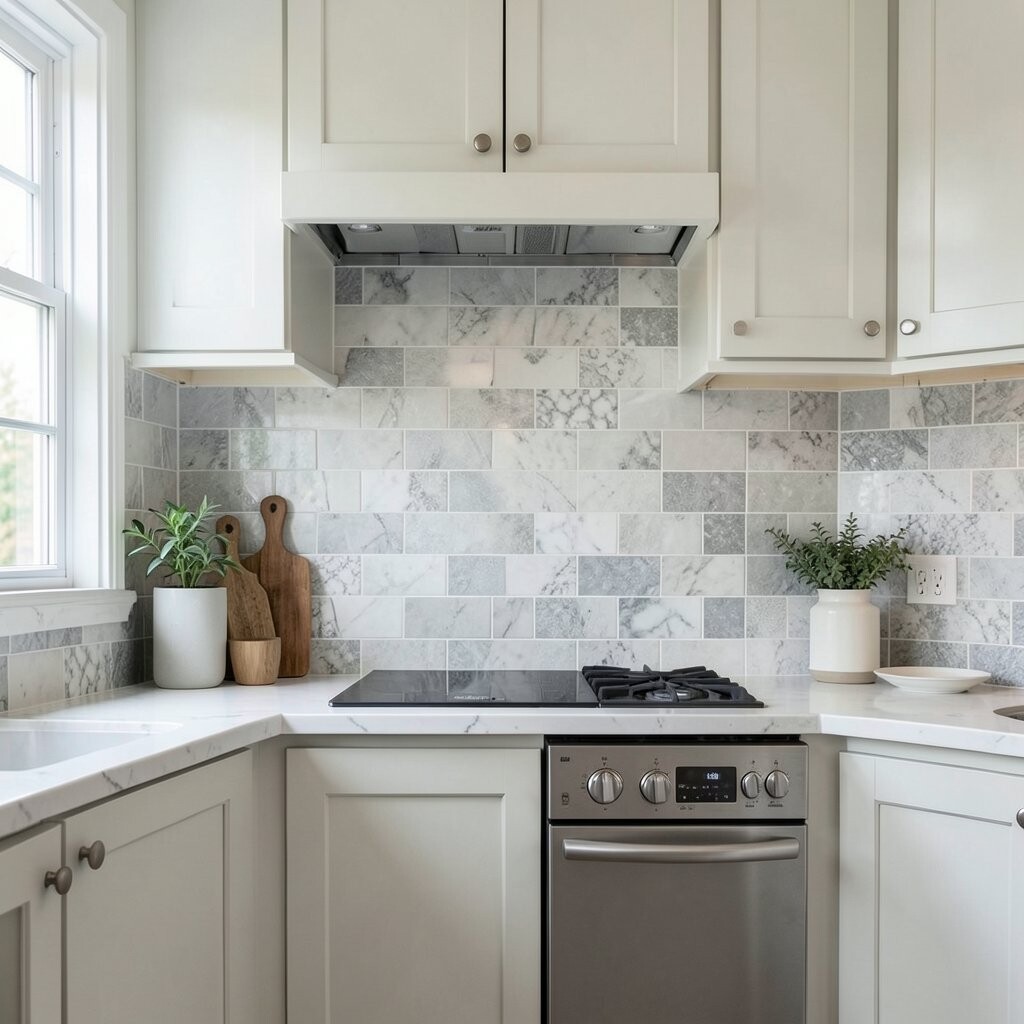
Visual contrast is like seasoning: a little can brighten the whole dish. You can use it with color, pattern, or sheen, but keep it controlled so the kitchen still feels balanced.
For example, white cabinets paired with a darker backsplash can make the space feel more grounded. Matte finishes hide fingerprints, while glossy tiles catch light and make the area look larger. If you prefer patterns, choose one main element—like a subtle herringbone or a gentle speckle—so your backsplash stays the hero without overpowering the room.
Another easy way to add contrast is through grout color. A light grout makes tile patterns pop, while a darker grout can hide stains and create a strong, graphic look that feels intentional.
3. Treat Size and Layout Like a Design Tool
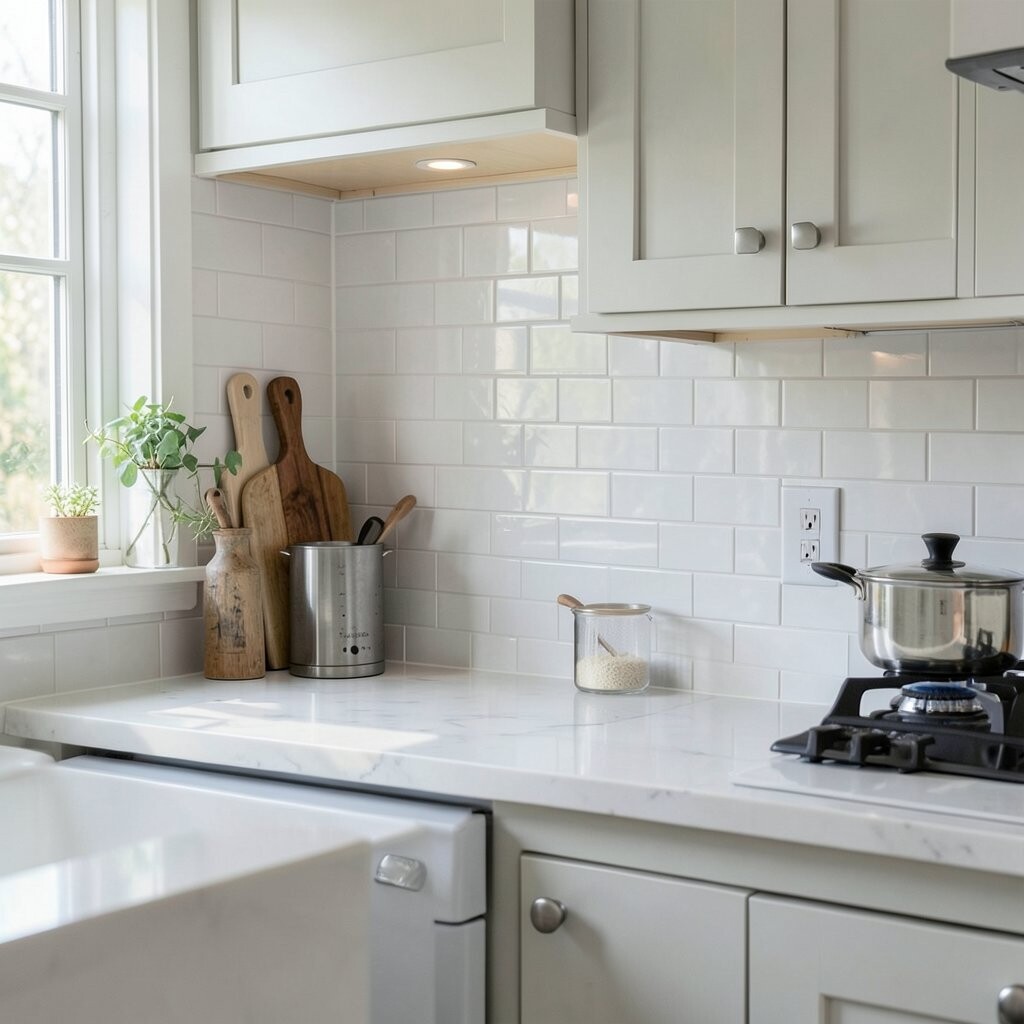
The size of your tiles and how they’re arranged affects how your kitchen “reads” from across the room. Bigger tiles often look clean and streamlined, while smaller tiles can add charm and texture.
Measure the space around outlets, windows, and the area behind your range before you commit. Planning the layout helps you avoid tiny slivers at the edges, which can look awkward. For a professional look, aim for a balanced pattern that centers nicely on key areas like the focal wall behind the stove.
Pay attention to height too. A full-height backsplash can look luxurious and cohesive, while a half-height backsplash can feel lighter and more open. If your counters are deep, consider whether the backsplash should visually “stack” with the countertop line for a smoother transition.
You can also use a border or accent strip to guide the eye. Just keep the accent width modest so it feels decorative rather than busy.
4. Choose Materials That Handle Real Kitchen Life

Your backsplash gets splashes, steam, and splatters, so the best material is the one that matches your cooking habits. Think about how often you cook and how messy your meals tend to get.
Ceramic and porcelain tiles are popular because they resist water and are easy to clean. Natural stone can look stunning but may need sealing to protect against stains. If you want a heat-friendly, low-maintenance surface, glass tile and solid-surface options can be great, especially in kitchens where you want a polished look.
5. Make Maintenance Part of the Design Plan
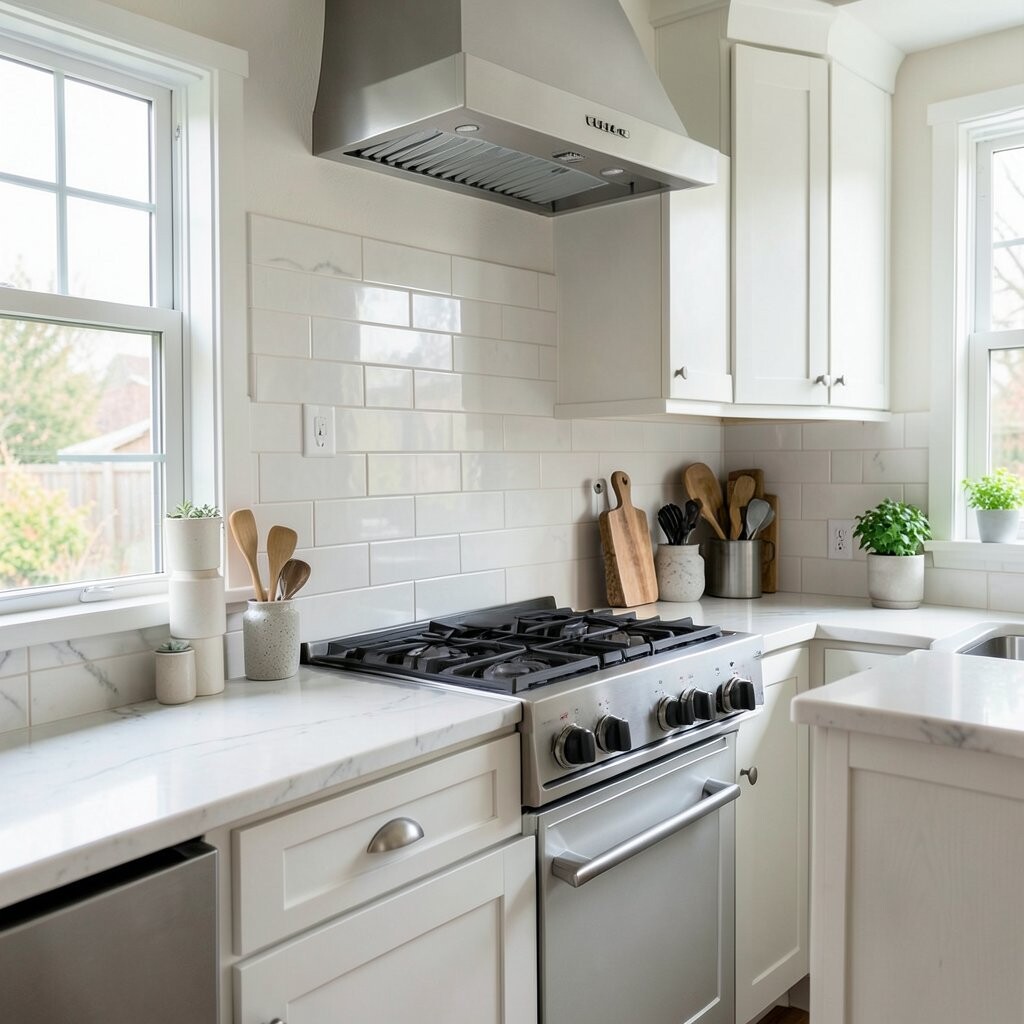
A backsplash should look good on day one and still look good months later. Since you’ll clean it often, choose a finish and grout that won’t make maintenance a chore.
Grout is a big factor: sealed grout helps repel moisture and grease, and it can make routine wiping faster. For kitchens that see a lot of frying or heavy cooking, darker grout can be forgiving, but make sure it still matches the overall color story. If you prefer a cleaner look, look for stain-resistant grouts and consider regular resealing on the schedule recommended by the manufacturer.
Also think about the texture you’re choosing. Smooth surfaces are easier to wipe, while highly textured tiles may trap grime in small areas. If you love texture, keep it to the places you can reach easily and clean comfortably.
6. Use Proper Backer and Installation for a Smooth Finish

Even the prettiest backsplash can look off if the wall surface isn’t ready. Prep matters more than most people expect.
Start by checking whether your wall is flat and firm, then use the right backer board if needed, especially around wet areas. A straight baseline line helps your first row stay aligned, which prevents crooked patterns as you move across the wall. When cutting tile for corners and outlets, take time to measure twice so the edges look crisp.
7. Plan for Heat, Splash Zones, and Outlets

The area behind and beside your range takes a lot of heat and grease, so it deserves special attention. Treat it like a high-traffic zone even if you rarely think about it.
Choose materials that can handle heat and make sure the installation covers the full splash area. If your backsplash will wrap around corners, confirm the coverage is consistent so the kitchen looks intentional. For outlets, plan the placement of the cover plates before the tile goes up, and consider using outlet extenders if needed for thickness.
When you install tile around outlets, keep the cuts neat and the edges sealed. A careful fit prevents moisture from sneaking behind the surface, and it makes the finished look feel truly custom.
8. Pick the Right Grout Color and Finish
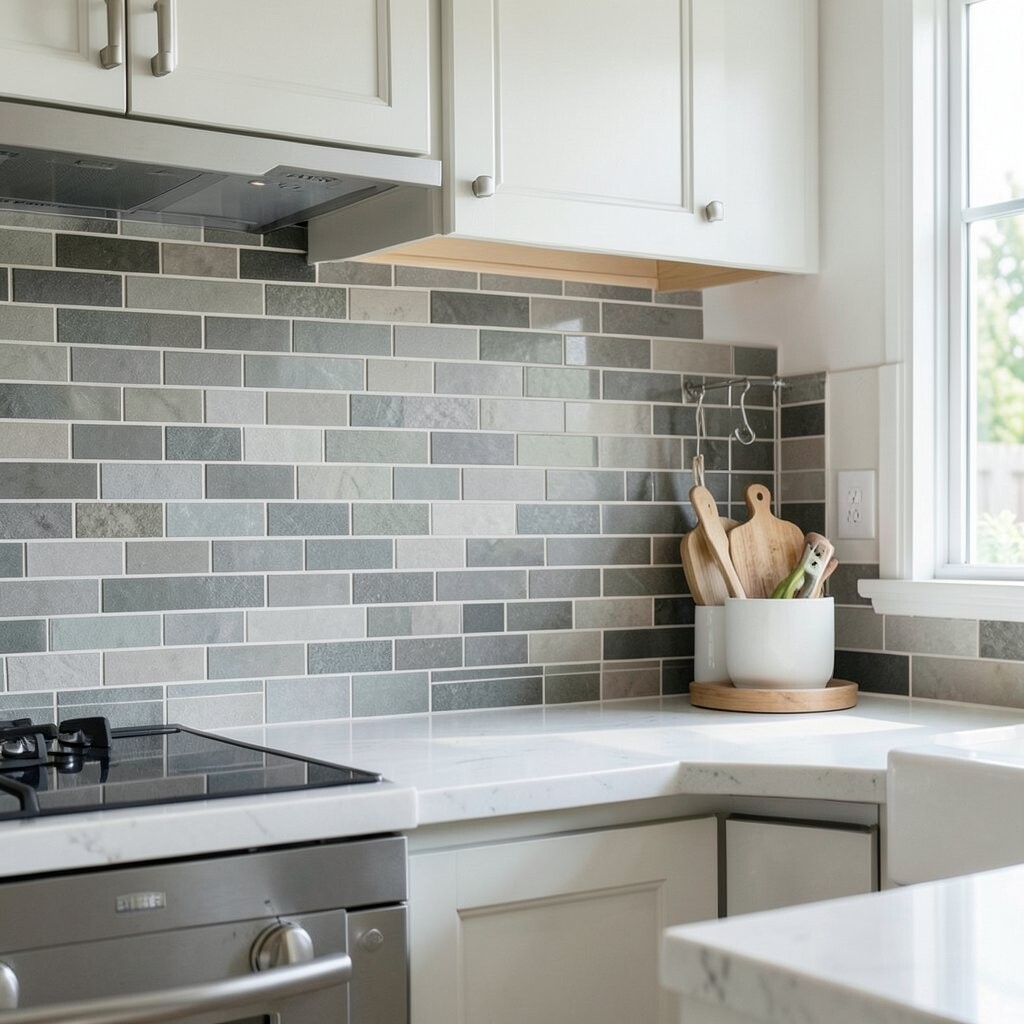
Grout affects both appearance and everyday performance, so choose it like it’s part of the design, not just a filler. The wrong grout tone can make even great tile look dull or messy.
Light grout can highlight small patterns and add brightness, but it may show stains more easily in busy kitchens. Dark grout can hide wear, create a bold grid, and look especially good with subway tiles and modern rectangles. Beyond color, think about grout finish too—some options are smoother for easier cleaning, while others help resist cracking and staining.
If you want a smooth, modern look, consider grout that matches the tile tone closely. That creates a calm surface where the backsplash feels like one continuous material instead of separate pieces.
9. Add Lighting Considerations for Extra Shine
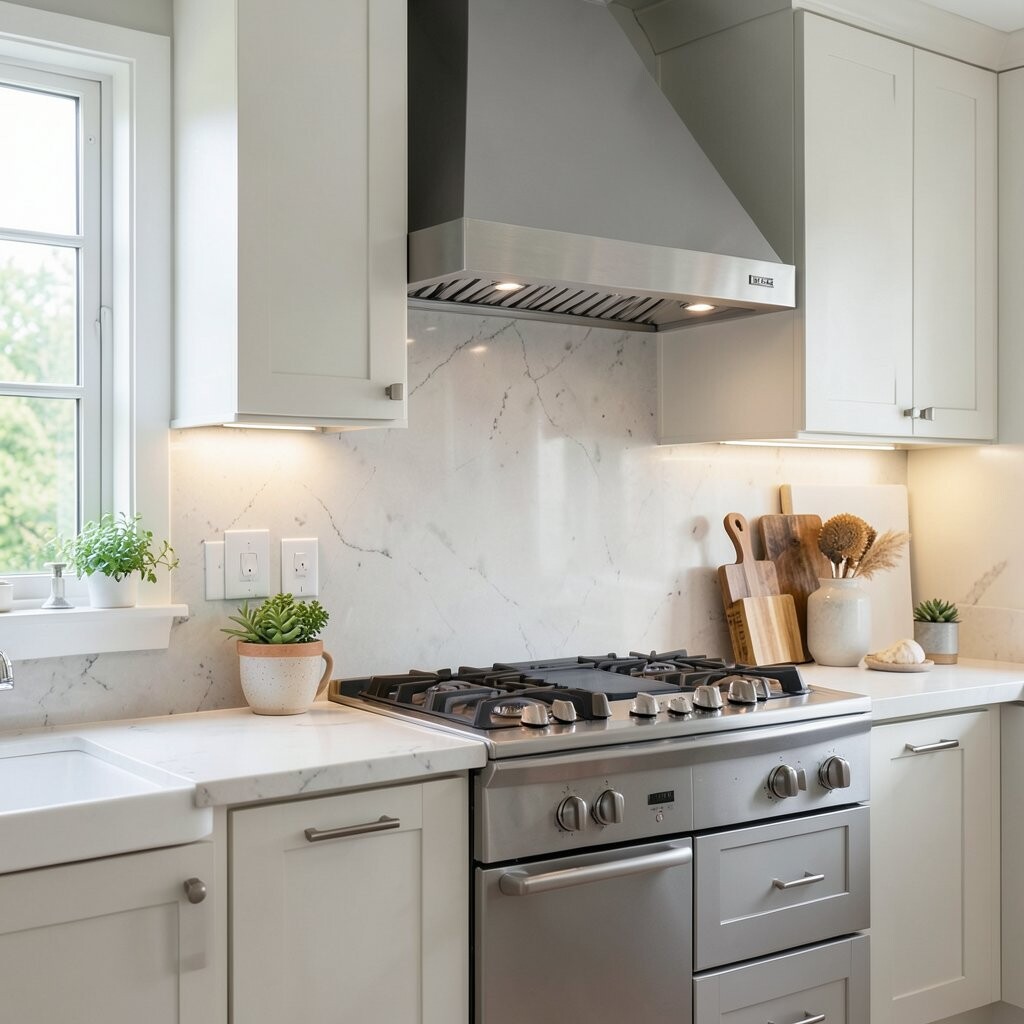
A backsplash doesn’t just serve a practical role; it also reflects light and changes the feel of your entire kitchen. When you plan lighting, the backsplash can look brighter and more “designer” without changing anything else.
Under-cabinet lighting is a common upgrade because it washes the backsplash with a gentle glow. This makes texture more noticeable and highlights color variation in materials like marble-look tile or natural stone. If you choose glossy or glass tile, lighting can turn it into a subtle sparkle, especially at night when the kitchen feels cozy.
Be mindful of glare. Highly reflective surfaces can show streaks, so cleaning becomes more noticeable. Matte tiles and textured finishes can reduce glare and hide smudges better, giving you an elegant look that stays relaxed.
If you love the look of shine, you can still keep it balanced by pairing a glossy accent strip with mostly matte surfaces around it.
10. Decide on Backsplash Height with Confidence

The height of your backsplash changes how tall and open your kitchen feels. It can also influence whether the backsplash looks like a feature or just background texture.
A half-height backsplash is a classic option that works well when you want to keep walls visually light. Full-height coverage can feel dramatic and clean, especially if you want a seamless look from counter to above cabinets. If you have open shelving, consider whether the backsplash should visually connect to that shelving area for a more unified design.
11. Match Your Backsplash to Your Budget Without Regrets

Cost is real, but you can still get a high-end look without overspending. The key is to spend strategically where it matters most visually and functionally.
Tile prices vary widely, so consider options that mimic expensive materials, like porcelain tiles with realistic stone patterns. You can also adjust your tile size and layout to reduce waste, which helps control total spending. If you want a premium look, invest in higher-quality materials in the main field area behind the stove, then use a simpler, matching tile on the sides.
Don’t forget to budget for thinset, grout, sealers, spacers, and any trim pieces. Those details can add up, so it helps to get a clear materials list before you start. If you’re hiring help, ask about labor costs based on your layout complexity, because intricate cuts can increase installation time.
12. Follow Current Trends, Then Personalize Your Twist
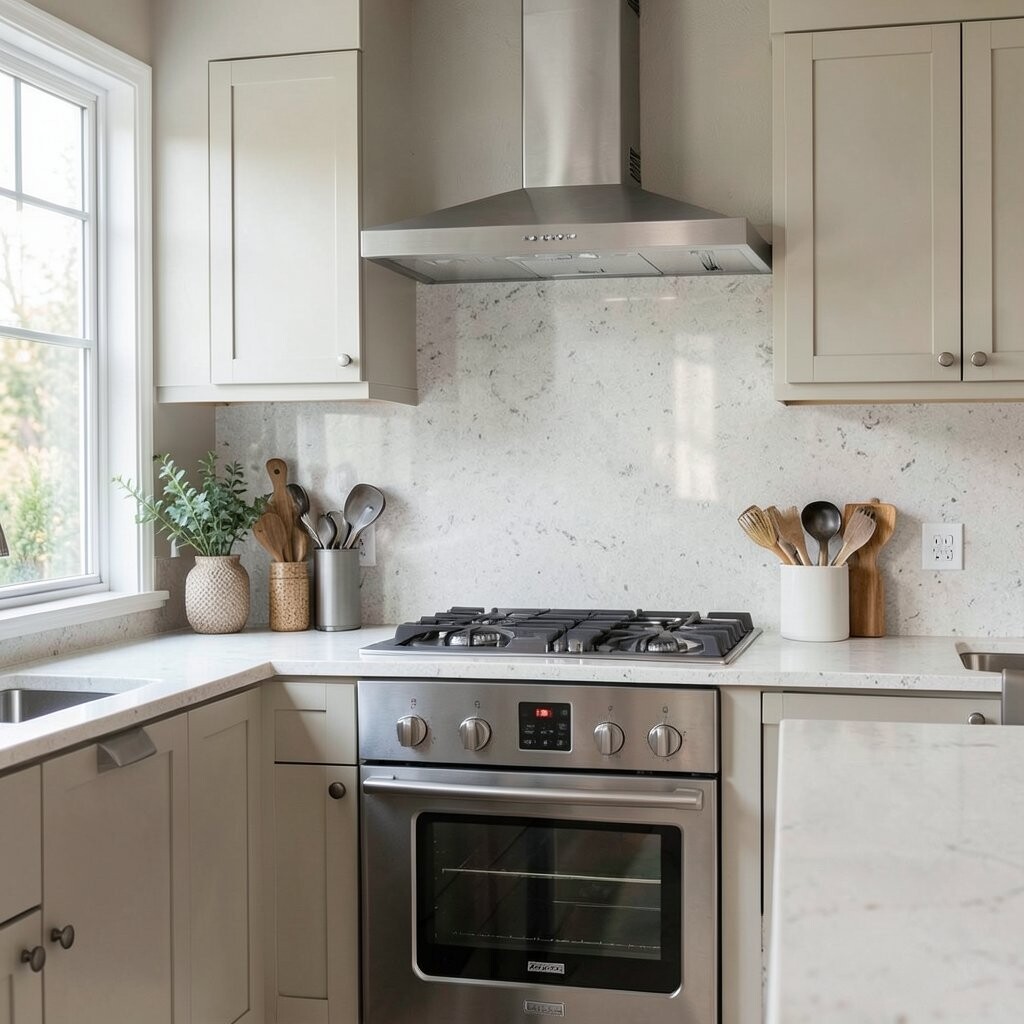
Kitchen backsplash trends change, but the best trend choices still feel like “you” when the project is done. It helps to look at what’s popular right now and then adapt it to your home’s taste.
In many kitchens, people are choosing warm neutrals, earthy tones, and tactile surfaces that feel cozy rather than sterile. Cement-look tiles, layered textures, and subtle movement in stone-patterns are trending because they add character without looking loud. Another popular direction is combining a backsplash with a matching countertop edge or using coordinated trim to create a finished frame around the kitchen.
Personalize with small details: a distinctive grout color, a thin accent band, or a custom cut around a window niche. If you want something special but timeless, pick one standout feature and keep everything else simple so the overall look stays balanced for years.