
Fruit centerpieces look effortless, but the details make or break them. Once you know the tricks, arranging becomes faster, fresher, and way more fun.
1. Start With a “Fridge Forecast”

Not all fruits behave the same after they sit out. Plan your centerpiece like it’s a mini schedule, not a last-minute sculpture.
Choose your main fruits based on how long your event lasts. Citrus and berries can soften quickly, while apples, pears, and grapes often hold up better. If you’re serving soon, you can use delicate fruit on top and sturdier fruit on the base.
2. Pick a Focal Fruit That Sets the Mood

One hero fruit makes the whole arrangement feel intentional. Think about what “vibe” you want before you slice anything.
Mango slices, pomegranate jewels, or big strawberries create instant visual drama. Grapes and blueberries feel gentle and classic, especially for afternoon gatherings. When you choose a focal fruit, it also helps you decide the color palette for everything else.
If your event is bright and playful, go for vivid red, orange, and yellow tones. For a calmer, elegant look, mix in green kiwi, pale peaches, and soft white fruit. The centerpiece will look more designed even if the mechanics stay simple.
3. Treat Height Like a Secret Weapon

Flat fruit bowls can look nice, but they rarely feel “centerpiece-worthy.” Height is what turns a pile into a scene.
Use risers such as small jars, inverted cups, or wooden skewers disguised inside the arrangement. Build a layered shape: taller fruit in the back, medium in the middle, and filler in front. Even a few extra inches can change how guests notice your display.
Try a tiered look with a fruit tower, where watermelon cubes or pineapple leaves sit higher than the supporting fruit. If you’re using a salad bowl, add a small plate in the center and build around it. Keep the highest point near the center so it doesn’t tip the visual balance.
When you photograph the centerpiece, you’ll thank yourself for the vertical drama. And when people reach for fruit, the tall pieces guide their eyes.
4. Use “Edible Texture” to Avoid a Flat Look

Color matters, but texture is what keeps a centerpiece interesting. A smooth arrangement can look like it’s missing something.
Mix cut shapes on purpose, like apple wedges with berry clusters and pineapple rounds with citrus segments. Crunchy elements like apple and cucumber-style cucumber slices add contrast even though they’re not traditional “fruit.” Include juicy texture from grapes and melon balls so the arrangement feels lively, not uniform.
5. Plan Your Color Wheel, Not Just Your Fruit List

Picking fruits without a color plan can lead to a centerpiece that looks busy instead of balanced. A quick color check helps you get a more polished result.
Try pairing warm tones like orange and red with cool tones like green and blue. Add white accents using bananas, lychees, or pale melon to create breathing room. If you want a sleek look, keep most fruits in one or two color families and use small splashes of contrast.
For example, you can build a mostly green base with kiwi and grapes, then add bright strawberries in a few “sparkle” spots. Color placement also affects how the centerpiece looks from across the table, so distribute vivid pieces rather than stacking them all on one side.
6. Leave One “Breathing Gap” in Every Design

It feels counterintuitive, but a little empty space makes fruit arrangements look more elegant. Crowding everything can flatten the shape.
Choose one area to keep slightly lighter, especially near the front edge of the bowl. This gap helps your focal fruit stand out and gives the centerpiece a natural, airy feel. You can fill gaps with thin citrus slices, herbs, or edible flowers later so it doesn’t look accidental.
7. Choose a Bowl That Matches Your Style

The container is part of the art, even if it’s hidden at first glance. A matching bowl can make your fruit centerpiece look store-bought.
For a modern vibe, use a clear glass bowl so layers look clean and bright. For rustic events, a ceramic bowl or wooden tray makes oranges and apples feel cozy. A deep container helps keep fruit secure, while a shallow one works best if you’re building a structured height.
Cost-wise, you don’t need to buy something new. Reuse serving platters you already own, and cover any messy edges with extra fruit or a neat ring of slices. If you do purchase, look for items you can use again for salads, snacks, or desserts.
8. Don’t Ignore the “No-Slip” Base

Fruit can slide, especially if juice gets involved. A stable base is the difference between “wow” and “why is it sliding?”
Start with a layer that grips, like a damp paper towel under the bowl or a clean silicone mat if the surface is slick. When using skewers or picks, keep them balanced so the weight stays centered. You can also place heavier fruits like apples and pears lower to anchor the arrangement.
Think about where people will place their hands. If the front fruit wobbles, rearrange it so sturdy pieces front the softer items. For long events, you may want to refresh the base gently without disturbing the top layer.
A good grip prevents smears and keeps the arrangement looking neat even after guests take a few bites.
9. Cut Fruit Like You’re Styling a Photo

Small cutting choices change how fruit looks from far away. The goal is crisp, consistent pieces, not just quick slicing.
Cut citrus into uniform segments, slice apples into even wedges, and aim for similar thickness so everything looks tidy. If you use melon balls, keep them consistent in size so the arrangement looks intentional. For pineapple, create a simple pattern with consistent rings or chunk shapes.
10. Use an “Edible Brush-Off” for Browning
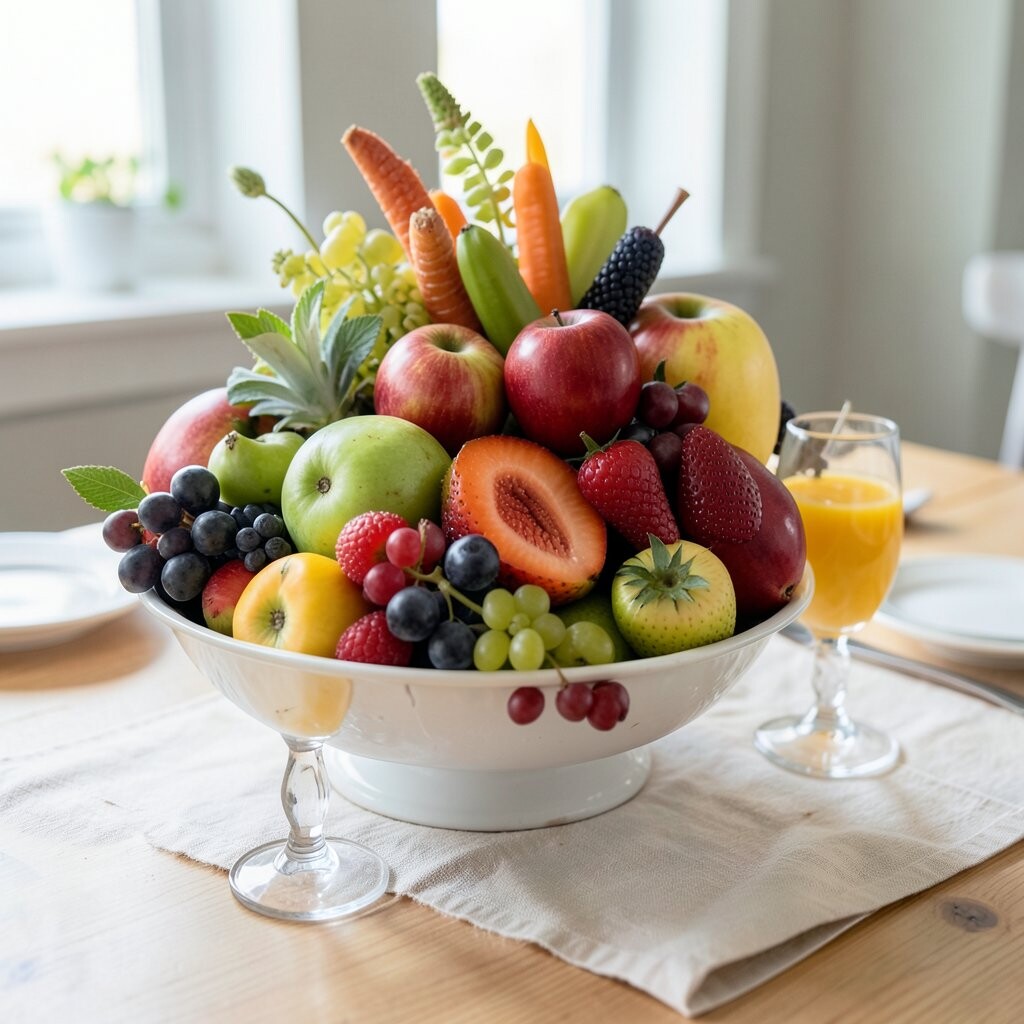
Some fruits brown faster than you’d expect, especially apples and bananas. A little care keeps your centerpiece bright longer.
Use a light coating of citrus juice or a fruit-safe anti-browning option on exposed surfaces. Pat slices gently so juice doesn’t pool and make the base soggy. If you’re using bananas, consider adding them last, closer to serving time, so they stay fresh-looking.
This tiny step makes your centerpiece look like it was assembled moments ago, even if it wasn’t. Guests will notice the difference in color and freshness.
11. Make the Back Row “Support,” Not “Filler”

It’s easy to toss in whatever fits, but the back row sets the structure. Treat it like a foundation that frames the main fruit.
Place taller items in the back, like pineapple leaves, citrus rounds, or stacked apple slices. Use grapes or berry clusters as the mid-height bridge between tall and low fruit. This creates depth, and your centerpiece looks good from multiple angles.
12. Add Herbs in Tiny Amounts for a Big Upgrade

Herbs can make fruit feel more gourmet without costing much. A small sprig adds a fresh, natural look.
Try mint, basil, or rosemary as a subtle accent, tucked behind fruit or tucked between slices. Keep herbs clean and dry so they don’t wilt or smear. If rosemary feels too bold, use smaller bits and pair it with citrus for an elegant match.
Herbs also help the centerpiece smell amazing, which makes the fruit feel even more tempting. Just remember to place the herbs where guests won’t confuse them for something to eat unless you’re sure they can. Keep labels simple if needed.
13. Create a “Serving Plan” Before You Decorate

Your centerpiece should be beautiful and easy to take from. If you can’t grab pieces without wrecking the design, it won’t last.
Arrange bigger pieces like pineapple chunks or melon wedges where guests can reach. Reserve fragile items like berries for areas you don’t expect to be repeatedly touched. If you’re using skewers, angle them slightly so each pick looks easy to grab.
Think about what happens after the first round of serving. If you plan for it, the centerpiece can look good even as it gets picked through, especially with a strong base layer.
When you set it up with serving in mind, it stays neat longer and feels more generous.
14. Use Water Wisely to Avoid Soggy Fruit
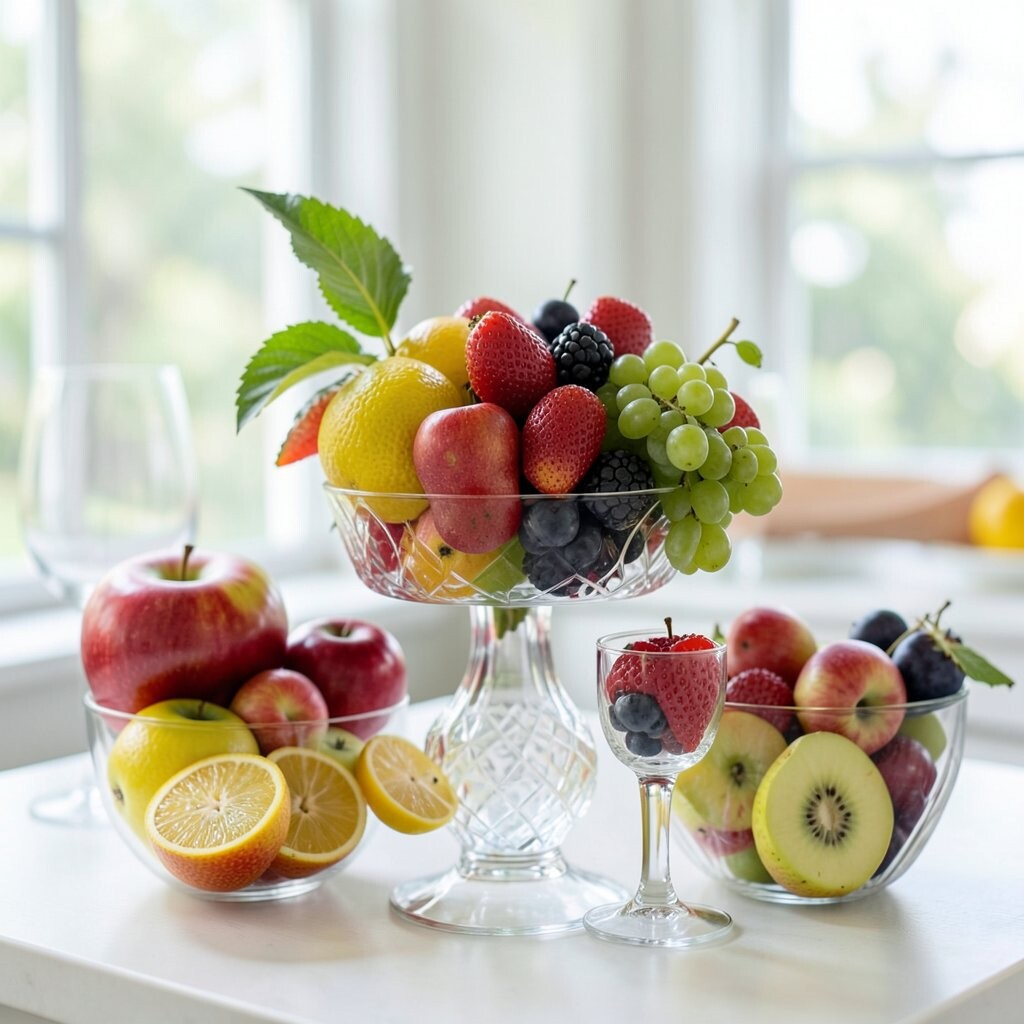
Fruit juices are helpful, but too much liquid can ruin the look fast. Soggy fruit looks tired, even when it tastes fine.
Instead of soaking fruit in water, mist lightly with a spray bottle if you need moisture for presentation. Dry slices thoroughly after washing and keep cut fruit covered until you build. If the bowl has a drain-like texture, use paper liners to catch extra juice without hiding the beauty.
15. Personalize by Matching the Centerpiece to the Event Theme

Your centerpiece can reflect the party without becoming complicated. Theme matching turns random fruit into a statement.
For birthdays, use fruit colors that match decorations, like red and green for classic parties. For holidays, include seasonal favorites, such as cranberries for fall and oranges for winter. For weddings, choose a refined palette and keep the shapes consistent for a calm look.
You can also personalize by adding small edible labels on toothpicks with fruit names. That’s especially fun for brunches or family gatherings where people like variety. It also helps guests know what they’re grabbing, which reduces food waste.
16. Choose Fruits That Stack, Not Just Fruits That Look Pretty

Some fruits photograph great but don’t hold their shape. For a centerpiece, structure matters as much as color.
Apples, pears, and melon wedges make reliable building blocks because they keep their form. Grapes and strawberries add volume and color, but place them where they won’t get crushed. If you use peaches or mango, cut them into thicker pieces so they stay firm enough to support the arrangement.
17. Keep Skewers Hidden for a Cleaner Look

Toothpicks and skewers can be helpful, but visible ones can reduce the wow factor. Camouflaging the tools keeps the centerpiece looking natural.
Hide skewers under heavier fruit or tuck them behind citrus rounds. If you must use picks, choose clear or food-safe picks and cut them to a short height. You can also secure pieces by placing fruit on top of other fruit layers so the structure holds without showing extra tools.
18. Account for Cost by Building From a “Core + Accent” Plan

Centerpieces can get expensive if every fruit is premium. A core and accent strategy keeps you in budget.
Pick a core of affordable, high-volume fruit like grapes, melon, apples, or bananas. Save expensive fruit, like figs or specialty berries, for small accent clusters on top. This approach still gives a high-end look because the eye is drawn to the bright, rare pieces.
Shop sales and seasonal produce when you can. Buying fruit in bulk for the core and using just enough variety for color makes your cost predictable. It’s also easier to adjust if you find a better deal the day before your event.
19. Follow Current Trends: “Whole-Fruit Minimalism”

One trend is using fewer cuts and more whole pieces for a clean, modern look. It feels fresh, easy, and slightly “designer” without being complicated.
Try using whole grapes in clusters, whole strawberries nestled in, and stacked oranges or tangerines in a ring. Add a few cut pieces only where you want visual contrast. This style also helps fruits stay fresher because there’s less exposed surface that browns.
20. Add a “Sauce Station” Idea Without Adding Mess

A fruit centerpiece can become interactive when you include a dipping option. Dips add fun, but you don’t want sticky chaos at the table.
Offer small cups of yogurt, chocolate sauce, or honey near the centerpiece rather than on top of it. If you want a themed look, match the dip color with fruit choices, like dark chocolate with strawberries or honey with citrus. Keep cups stable so they don’t tip when guests reach over.
This makes the centerpiece feel like an experience while still letting the fruit remain the star. It also reduces the need to constantly replace pieces during the party.
21. Use Lighting Tricks for Extra “Pop”

Fruit is shiny, but indoor lighting can flatten colors. A few lighting adjustments can make the centerpiece look more vibrant.
If you’re at home, place the centerpiece near a window or under brighter overhead light for the best color. For evening events, use warm string lights or a small LED candle effect placed safely behind the display. Avoid direct heat sources, since heat can speed up ripening and spoilage.
Even something as simple as a glossy serving tray under your bowl can reflect light and make colors look richer. Guests may think you used special decor, but it’s mostly smart placement.
22. Practice the “Edge Rule” for Clean Presentation

The edges are what everyone notices first when they approach the table. If the front rim looks messy, the whole centerpiece can feel less polished.
Arrange the most attractive pieces along the front edge, like symmetrical apple wedges or evenly spaced strawberry halves. Use smaller fruit as filler behind them so the front stays neat and intentional. When you finish, stand back and check from different angles, then adjust a few pieces to tighten the silhouette.