
Wood can look warm, calm, and real when you choose the right finish. These ideas help you highlight grain, keep color honest, and feel good about the end result.
1. Water-Based Clear Coat

A water-based clear coat keeps wood looking fresh and true. It usually dries fast and shows off the grain with minimal color shift.
Apply it with a quality brush or a foam roller for a smooth, even layer. For best results, sand lightly between coats to prevent tiny bumps and dust. You can refresh it later without the heavy smell that comes with many oil finishes.
2. Satin Varnish for Everyday Durability

Satin varnish gives a gentle glow without looking plasticky. It also adds a stronger protective film for kitchens, hallways, and furniture that gets daily use.
Look for a formula labeled low odor and low VOC when possible. If the wood is pale, apply thin coats so the sheen stays natural.
To personalize the look, adjust sanding grit and coat thickness. Heavier wear spots can get an extra coat only where needed to save time and cost.
3. Oil Finish with Natural Penetration
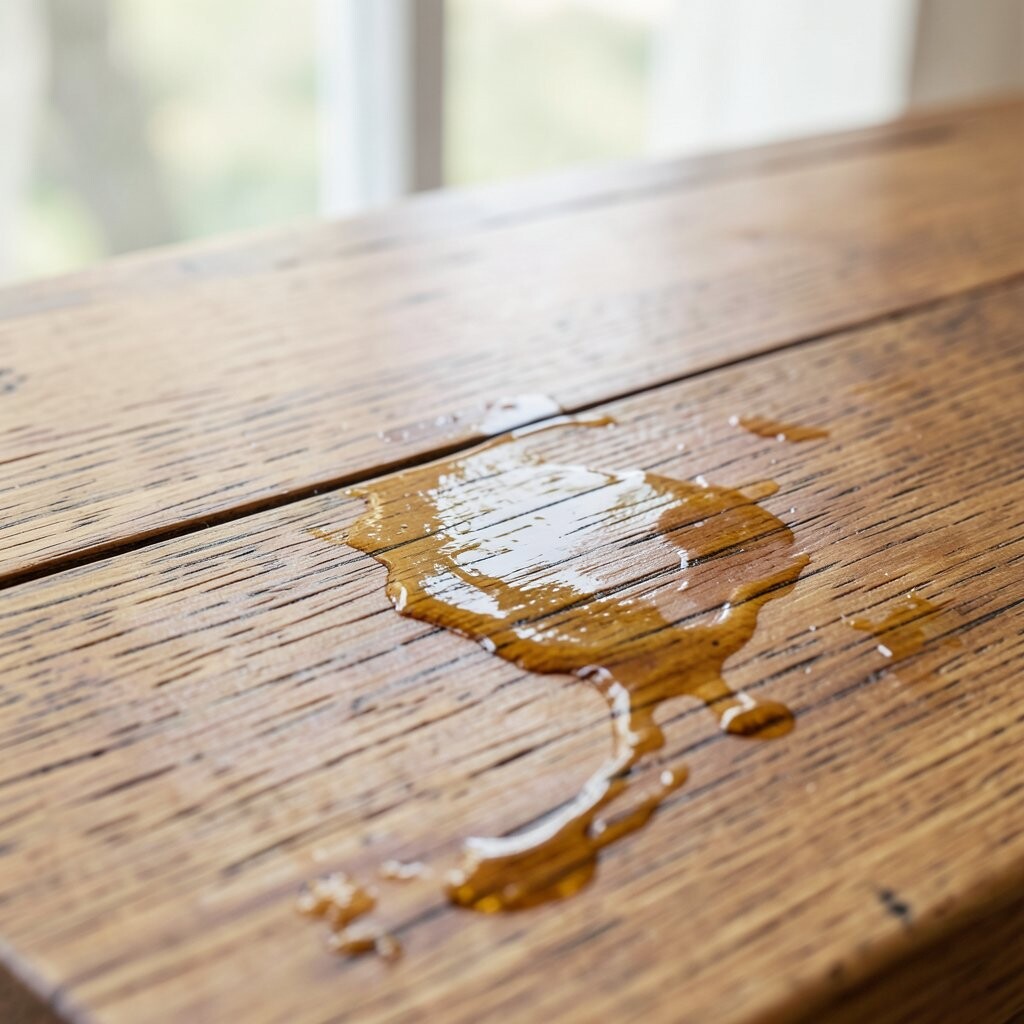
An oil finish soaks into the wood and makes it feel soft and alive. You’ll see the grain look deeper, especially on oak, walnut, and teak-like species.
Because it penetrates rather than sitting on top, it’s great for reducing that “sealed” look. Wipe on a thin layer, let it absorb, and wipe off any excess to avoid tackiness.
For practical results, reapply as needed instead of expecting one perfect coat forever. Costs can be lower than many varnishes, though ongoing touch-ups are part of the deal.
Pair it with a simple protective wax only on high-contact areas if you want extra resistance. Many people love this option for tables and cabinets when they want a warm, casual feel.
4. Hardwax Oil for Warmth and Protection

Hardwax oil creates a natural look with a soft, lived-in sheen. It protects while still letting wood feel closer to bare timber.
Thin coats work best, so plan for two to three rounds rather than one thick application. Use a lint-free cloth and buff lightly after curing for a smoother finish.
5. Matte Clear Finish for “Bare Wood” Looks
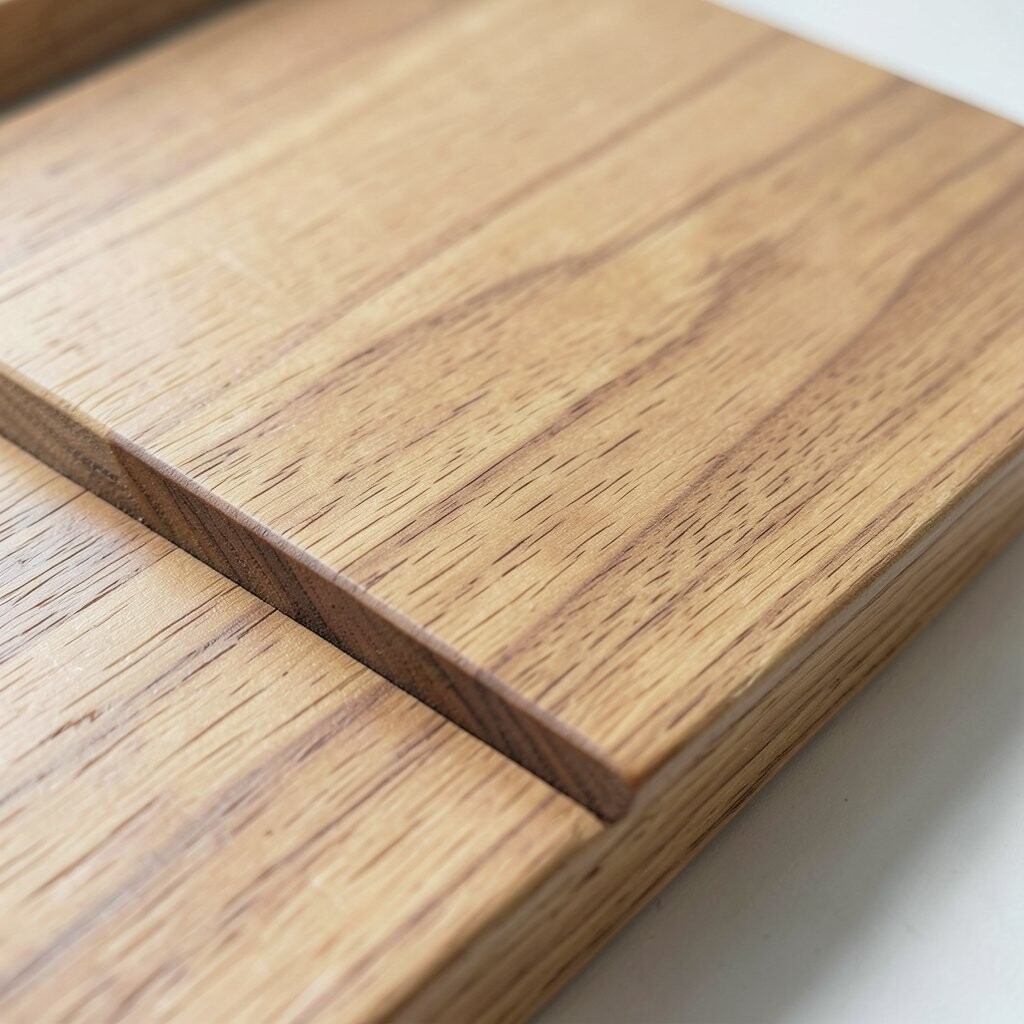
A matte clear finish is ideal when you want wood to look almost uncoated. It reduces glare and keeps grain patterns crisp and calm.
Choose a matte product designed for floors or furniture based on where it will live. Before starting, clean and sand well so the matte sheen comes out even.
If you like personalization, test on a hidden spot because matte finishes can slightly mute contrast. Budget tip: buying a small sample can save money by preventing rework.
6. Danish Oil for Rich Color Without Heavy Film

Danish oil is a classic choice for bringing out warm tones. It can deepen color and make the wood feel cozy without building a thick surface layer.
Apply it in thin coats and let each layer soak in before wiping off. If the surface looks dry after the first pass, you may need more time or an additional coat.
This finish is unique because it balances penetration and a light protective effect. It’s often reasonably priced, but it may require periodic re-oiling based on how much the piece gets used.
7. Shellac for a Classic, Warm Finish
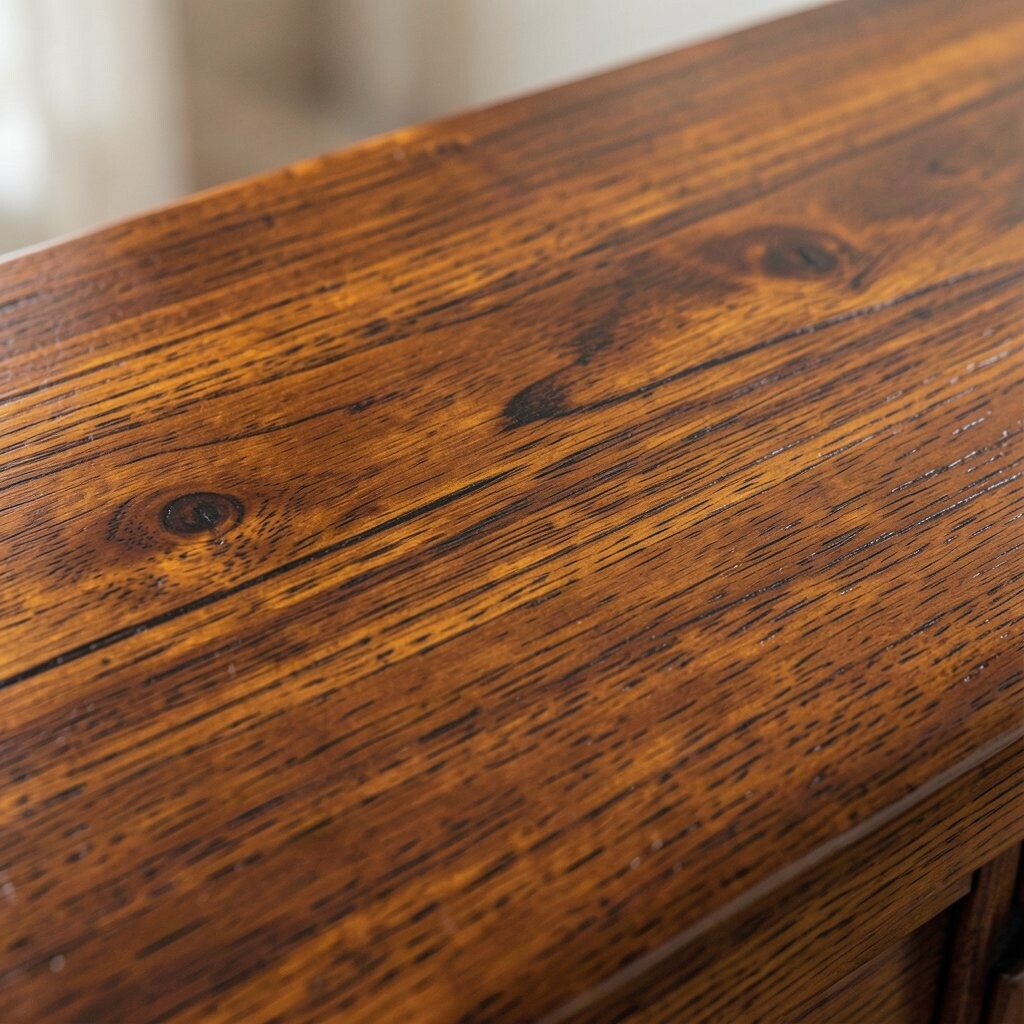
Shellac gives wood a warm, vintage look with a smooth feel. Many people love its natural amber tone because it flatters many species.
Use it carefully because shellac is sensitive to alcohol and certain chemicals. For practical use, consider it for low-traffic furniture or decorative pieces where spills are less likely.
To personalize, you can experiment with different shellac shades like blonde or amber. Trend-wise, modern makers still use shellac because it delivers a beautiful glow that looks hand-finished.
8. Limewash-Style Wood Effects with Light Sheen
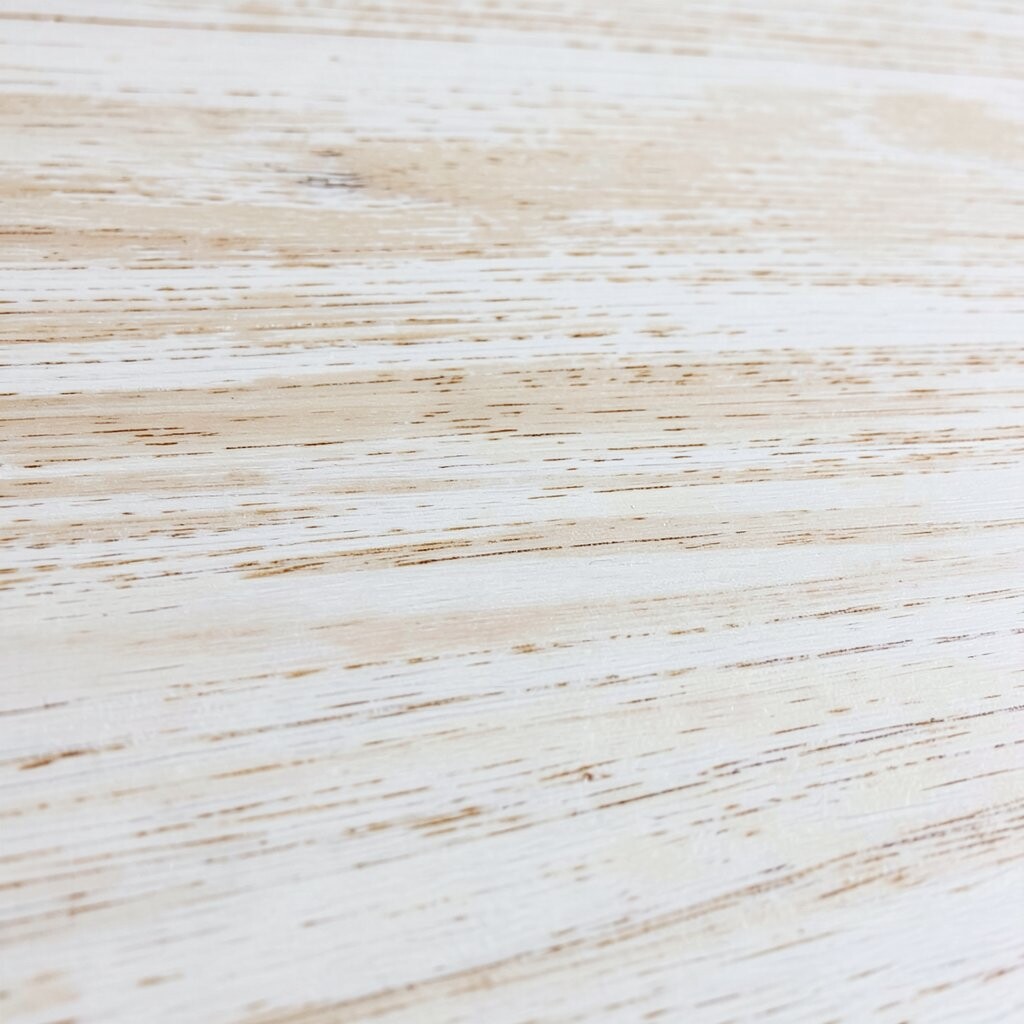
Limewash-style techniques can soften the look of wood while keeping texture visible. This is a great option if you want a light, airy finish that still respects grain lines.
You can aim for a cloudy, chalky feel by applying a diluted product and wiping back. For a more natural result, seal lightly afterward so it stays stable and easier to clean.
Costs vary depending on the specialty products you choose, but you can often mix a simple base with small-batch tint. This look is popular in farmhouse and coastal styles, especially for shelving and wall panels.
Test your mix on scrap first because the same dilution can read differently on different woods. When it works, the end result feels bright, soft, and genuinely handmade.
9. Clear Acrylic Sealant for Smooth, Low-Odor Results
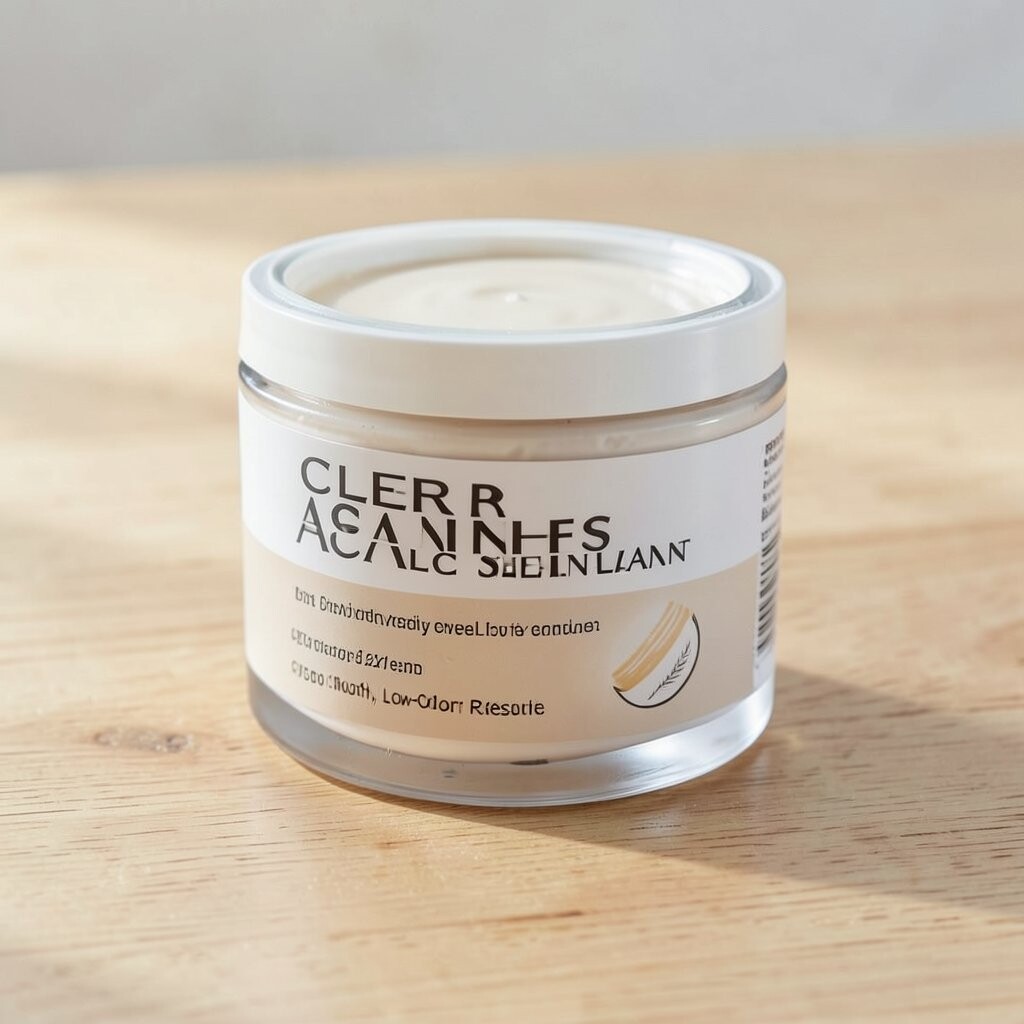
Clear acrylic sealant can give a clean, smooth surface without a strong smell. It’s a practical pick when you need faster turnaround and easy cleanup.
This option is unique because it often forms a protective layer that resists moisture better than many simple oils. It can also help prevent water rings on tabletops when applied correctly.
Apply thin, even coats and avoid overworking the surface to minimize brush marks. If you want a natural look, pick a satin or matte version instead of a glossy one.
10. Smoke-Tinted Finish for Depth and Character
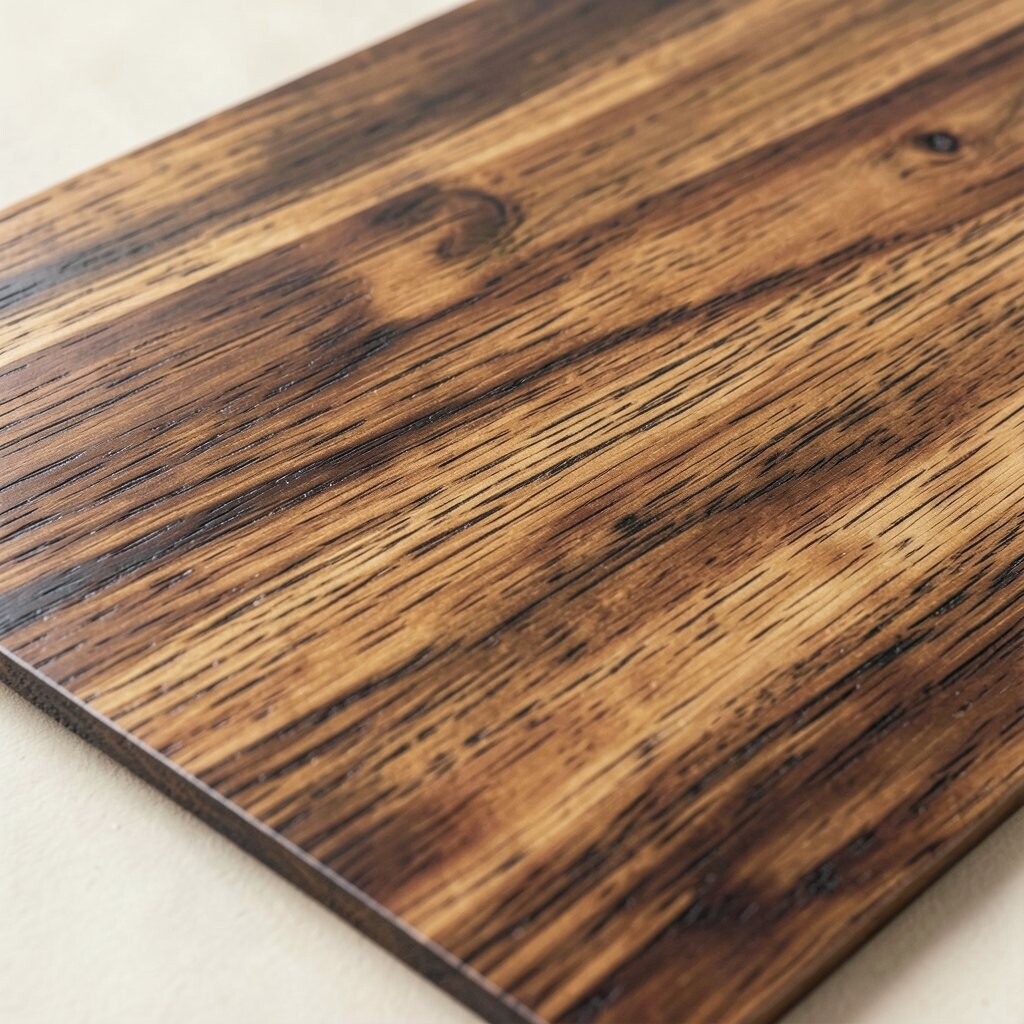
A smoke-tinted finish adds depth and character while keeping the wood looking organic. It can make lighter woods feel more like older furniture with a lived-in patina.
Work in controlled steps, because tint can build quickly and become too dark. Start with a small test area and adjust based on how the grain reacts.
For tips, keep sanding consistent and remove dust thoroughly before tinting. This finish feels especially trendy in modern rustic interiors and can pair well with black hardware.
11. Stain-Free Toner with Color-Harmony Setup
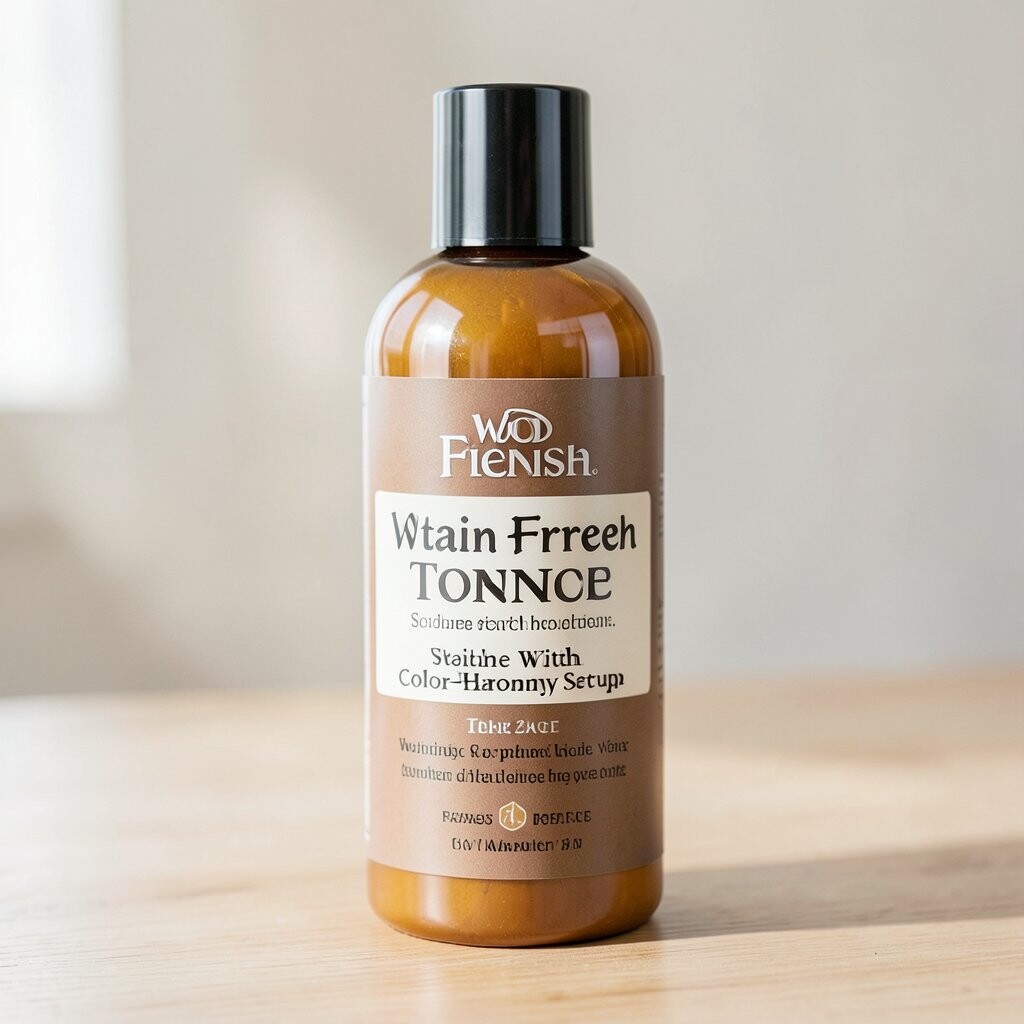
If you want a truly natural look, try stain-free toner products instead of strong stains. These often even out tone while letting the original wood character stay visible.
This approach is unique because it corrects color inconsistencies rather than masking the grain. It’s a smart choice for matching reclaimed wood boards in DIY projects.
Sand carefully to the same level across all pieces, then apply the toner evenly. Budget-wise, it can cost less than multiple stain attempts and can reduce rework.
Personalization is easy here: you can fine-tune warmth by choosing a toner that’s labeled neutral, warm, or cool. The final look tends to blend beautifully with modern interiors.
12. Natural Wax Finish for Soft Feel and Easy Buffing

Natural wax adds a gentle sheen and a smooth hand feel. It’s also a friendly choice if you like maintenance because re-waxing is usually simple.
Warm the wax slightly and apply thin layers, then buff until the surface looks evenly satiny. For practical tips, use wax mostly on furniture and decorative pieces, since it may not handle heavy wet exposure.
13. Custom Layering: Oil + Clear Topcoat
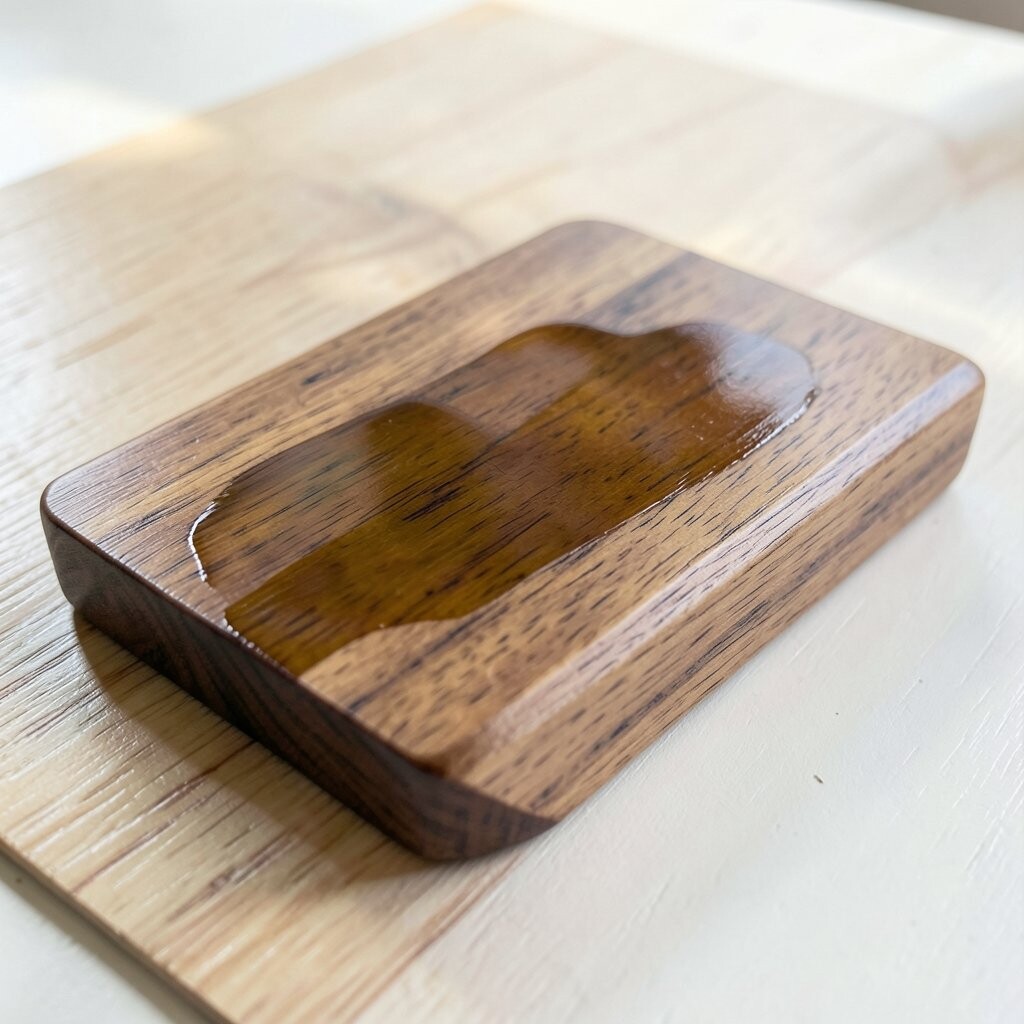
Layering oil under a clear topcoat combines comfort with stronger protection. You get the grain depth of oil plus the everyday resilience of a sealing layer.
This finish idea is unique because you can tailor the balance to your project. For high-touch pieces, add an extra topcoat, while for display items you can keep it lighter.
Plan the timeline so the oil cures fully before the topcoat goes on. Costs can be higher than a single product, but the results often last longer and look more intentional.
To personalize the final appearance, choose between matte, satin, or gentle gloss for the topcoat. Many makers prefer satin because it looks natural under most lighting and keeps the wood from reflecting glare.