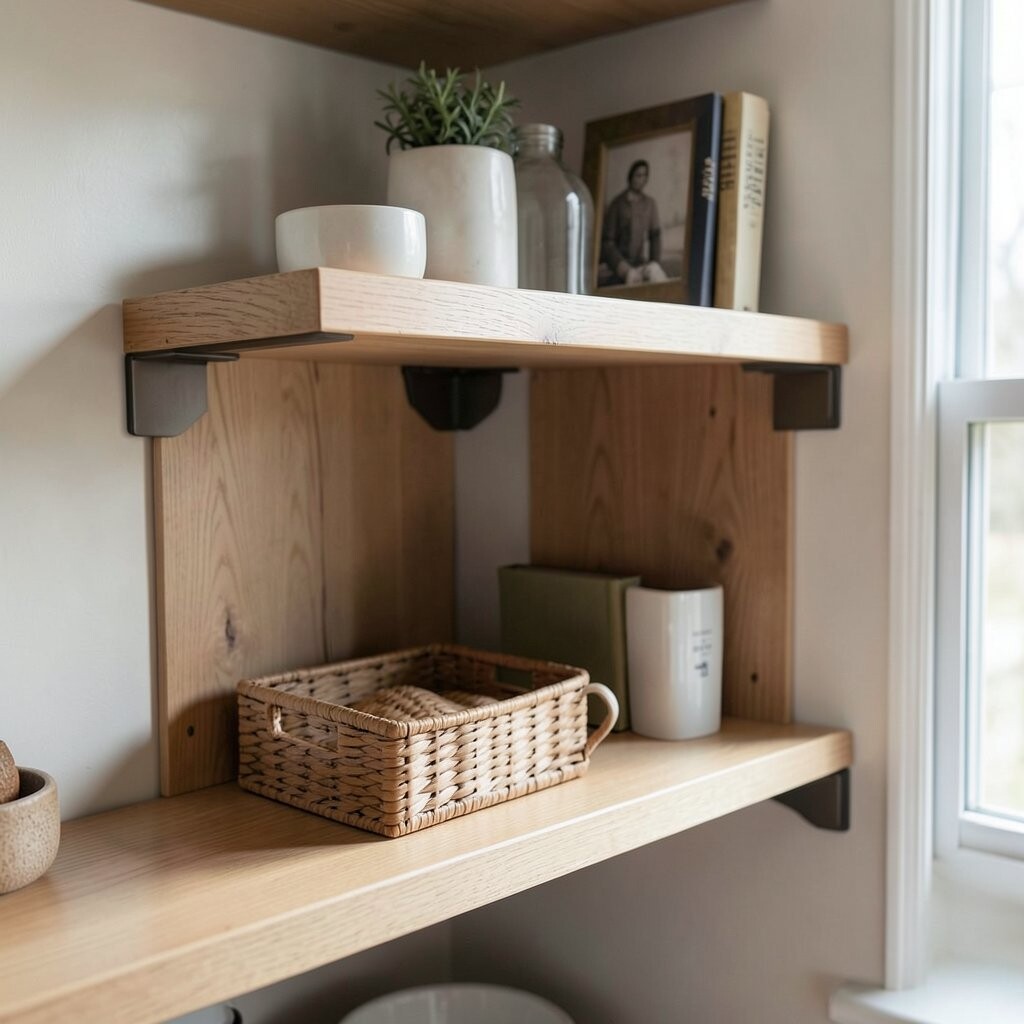
Pick a shelf area where you usually toss small things. Then place a thin picture ledge or trim strip right along the front edge.
It creates a neat visual line, like a little runway for your stuff. Use a narrow frame or a straight strip of wood so everything stays tidy. Keep one themed photo, ticket stubs, or a small label stack on top.
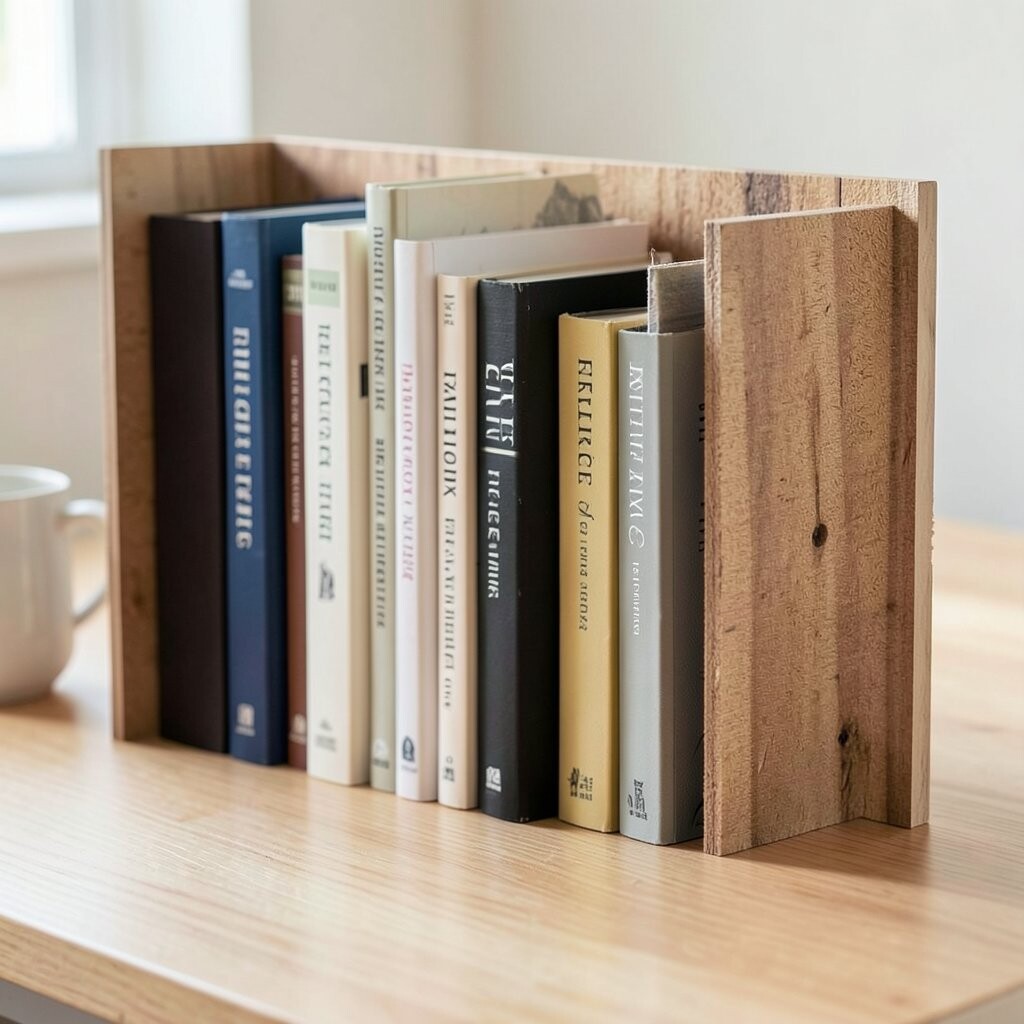
2. Turn a board into a quick backstop for books
Turn a board into a quick backstop for books
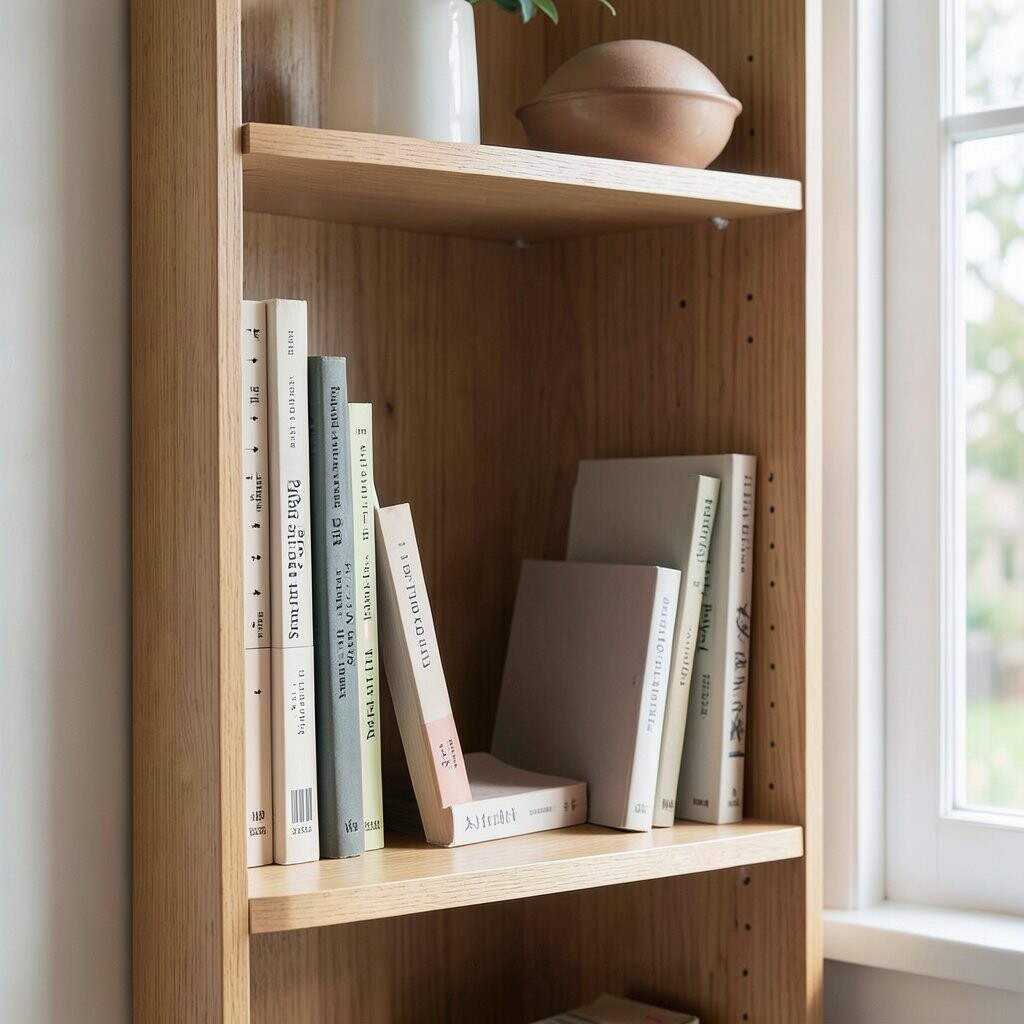
Stand your shelf items a bit loose and notice what slides forward. Fix it by hot-gluing or screwing in a small backstop strip.
Use a leftover wood slat, a cabinet trim piece, or even a cut acrylic strip. This keeps books from tipping and makes your shelf look intentional. Personalize the backstop color to match your room—paint it, stain it, or wrap it in contact paper.
For cost control, use scrap materials from old furniture. If your shelf is rented, choose removable options like command-style anchors. Current trends love tidy “built-in” effects, even when you’re using clever add-ons.
3. Use magnetic strips to hold metal gadgets out of sight
Use magnetic strips to hold metal gadgets out of sight
Look at what keeps falling behind jars, scissors, or tiny tools. Add a slim magnetic strip inside the shelf or under a lip.
When items snap into place, you get instant order and less mess on the shelf surface. This hack is perfect for craft supplies, key tools, or pantry measuring spoons. Keep a small tray magnet-safe so nothing rusts or scratches.
To personalize, add a painted strip behind the magnet for a pop of color. Think about the benefit too: faster grab-and-go when you’re mid-project. For budget shoppers, a thin metal bar from a hardware store is often cheaper than specialty organizers.
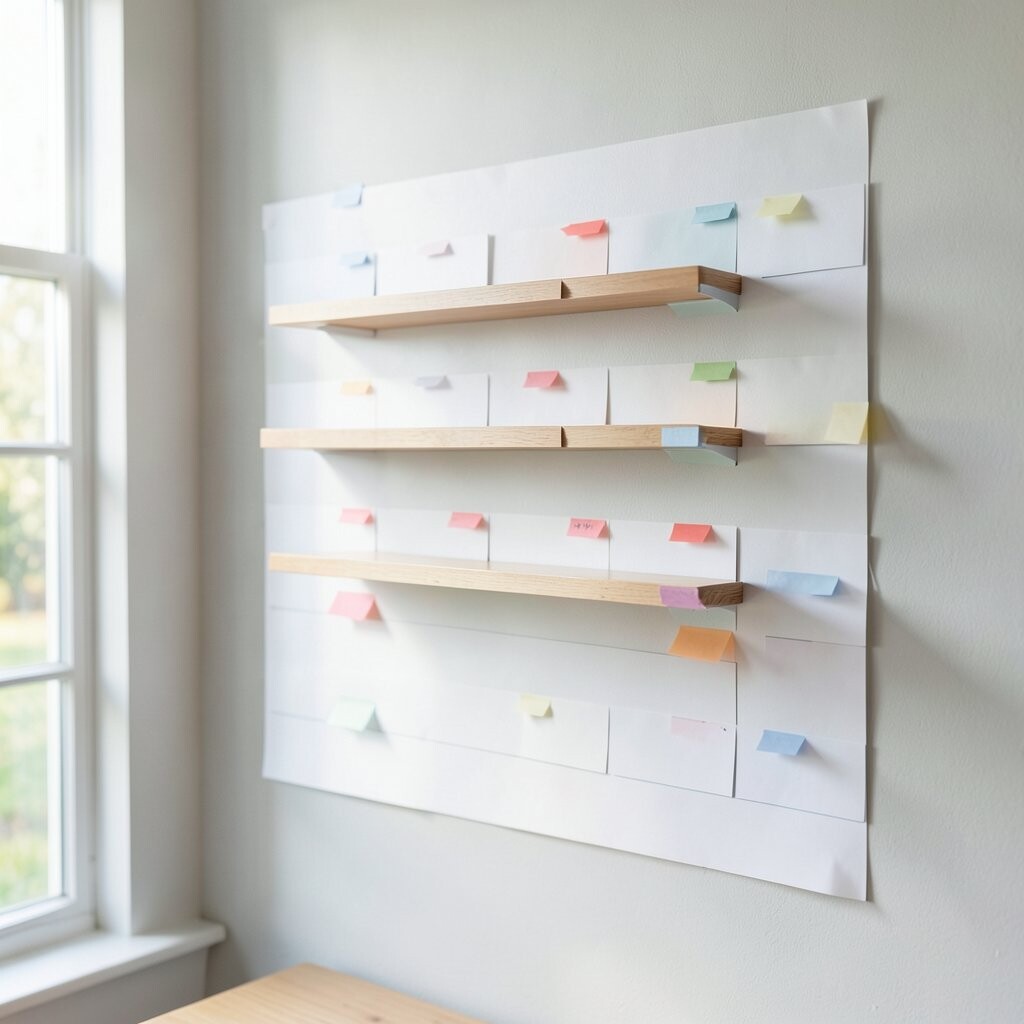
4. Create a “floating label wall” with stick-on tabs
Create a “floating label wall” with stick-on tabs
Choose one shelf and pick items that always get mixed up. Place stick-on label tabs along the front, like tiny bookmarks for your home.
This makes your storage system easy to read at a glance. Use simple words, or go cute with icons like a star for snacks or a paintbrush for art supplies. If you change the shelf contents later, swap the tabs instead of replacing everything.
For cost, printable label sheets and a basic label maker both work. The current vibe is clean, simple organization, and labels help your shelves look “done.”
5. Add corner shelf guards to stop scuffs and chips
Add corner shelf guards to stop scuffs and chips
Notice the spots where shelves get bumped most often. Add clear corner guards or small edge protectors right where damage happens.
This keeps your shelves looking smooth and new longer. It also helps heavier items sit without cracking the edge. Choose low-visibility clear guards for a sleek look, or pick matching colored ones for a playful style.
Personalize by trimming guards to match the shelf height for a neat fit. This is a small upgrade with big benefits: fewer repairs, fewer messy chips, and less stress. If you’re working on a tight budget, clear plastic strips can be a cheaper alternative to wood corner pieces.
6. Make a “tiered snack shelf” using a mini stand
Make a “tiered snack shelf” using a mini stand
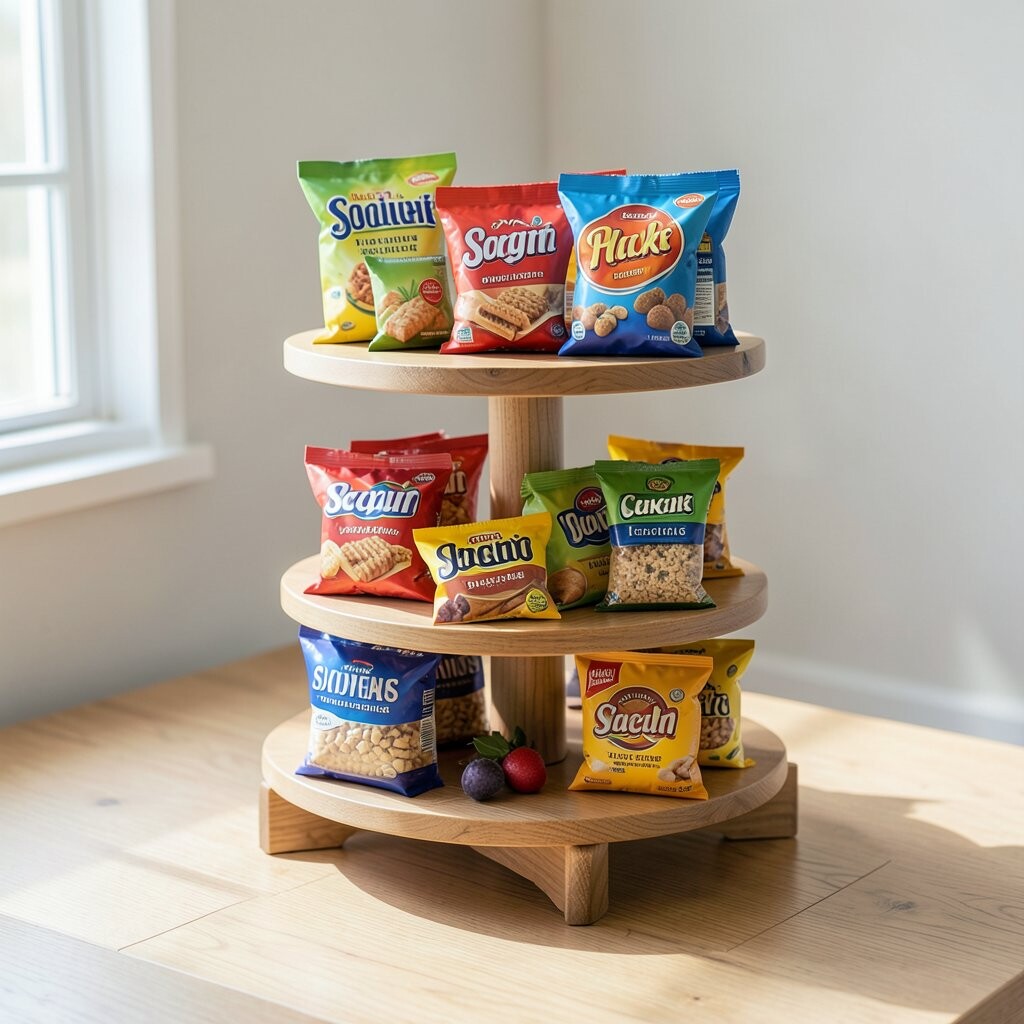
Find a shelf spot where you store snack bags or small boxes. Add a mini stand or riser so items sit in levels instead of one pile.
Your shelf will look taller and fuller, even with the same amount of stuff. It also prevents the back items from disappearing. For personalization, use different heights—some short, some tall—for a gentle mix.
To keep costs low, use inexpensive acrylic risers, stacked spice racks, or even clean upcycled blocks. A lot of people are using vertical display tricks right now because it looks stylish and saves time. If you love seasonal changes, swap risers with each holiday theme.
7. Use a tension rod to create a quick divider
Use a tension rod to create a quick divider
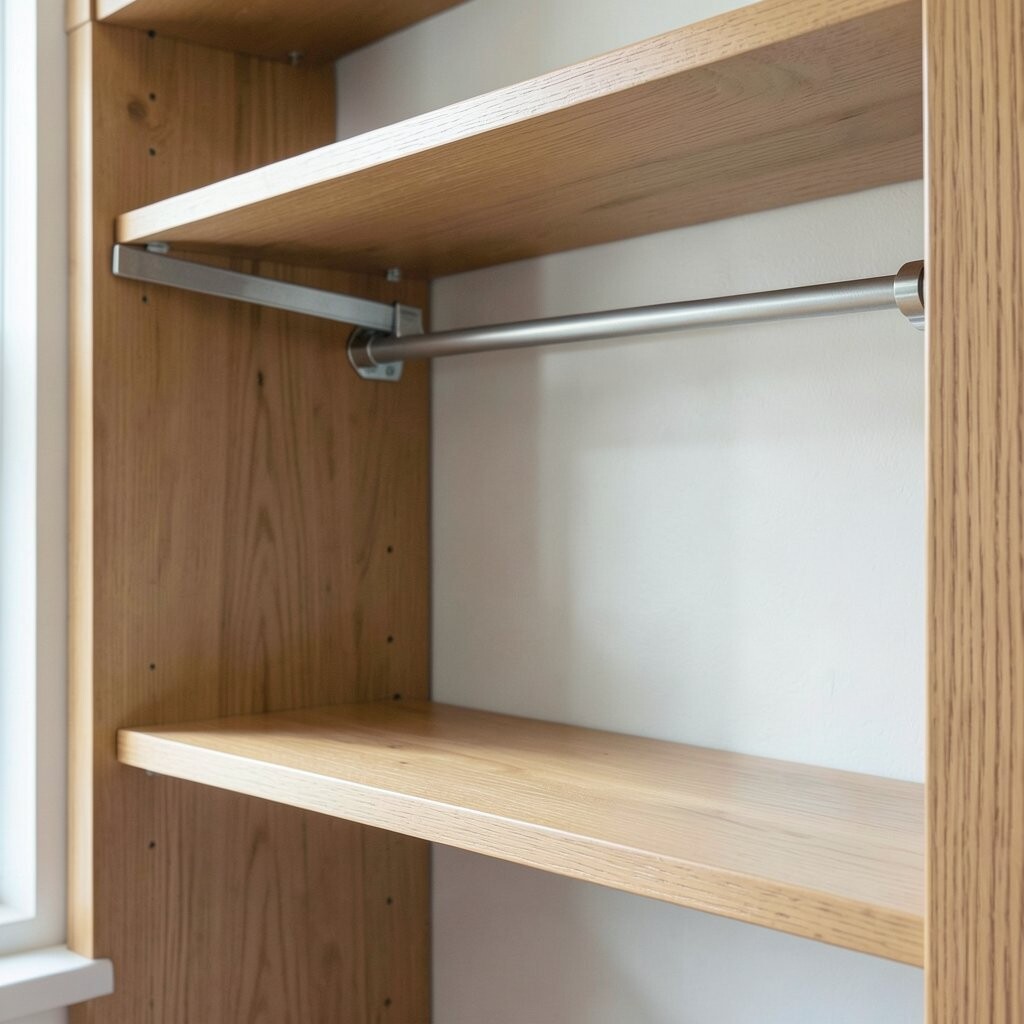
When you have two types of items that keep mixing together, a divider is your friend. Slide a tension rod across the shelf to split the space fast.
It’s like adding a wall without building one. Use it for upright cookbooks, cleaning sprays, or rolled craft paper. If your shelf surface is delicate, place thin felt pads where the rod touches.
Personalize the divider by tying small ribbons around the rod ends or adding clip-on bins. This keeps the look clean while giving you clear boundaries. For budget, tension rods are usually cheaper than custom dividers, and they’re easy to remove later.
8. Install short “stop clips” for jar storage
Install short “stop clips” for jar storage
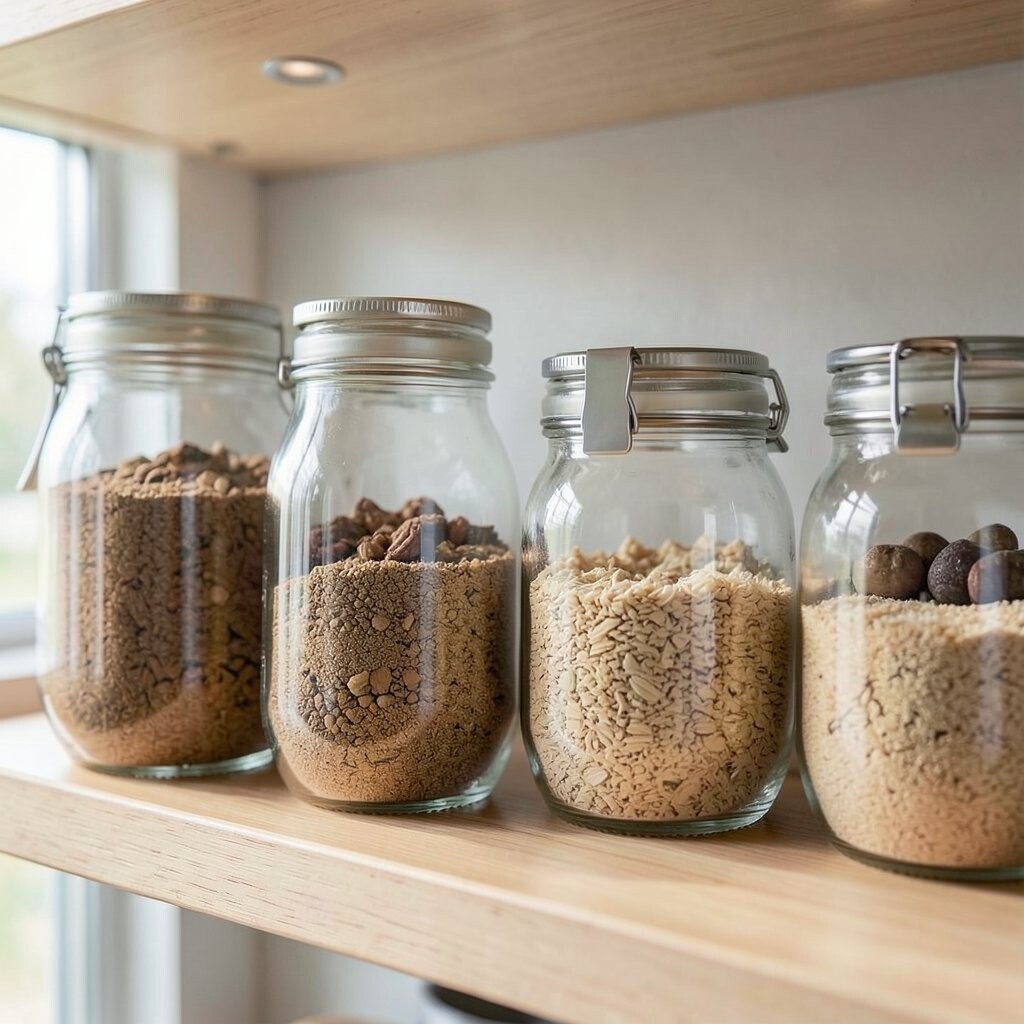
Jars often wobble and slide when shelves are dusty. Add short stop clips so jars stay steady and aligned.
You’ll love how neatly the jar rows look once everything sits the same way. Use small rubber stops or craft-store clips placed at the back edge. Add a label for each jar so you can find what you need instantly.
Personalize with matching jar colors and a tiny color label system. This hack is unique because it changes the shelf behavior, not just the look. If you’re keeping costs low, look for multipurpose cabinet drawer stops and reuse them.
9. Build a “book spine gallery” with intentional angles
Build a “book spine gallery” with intentional angles
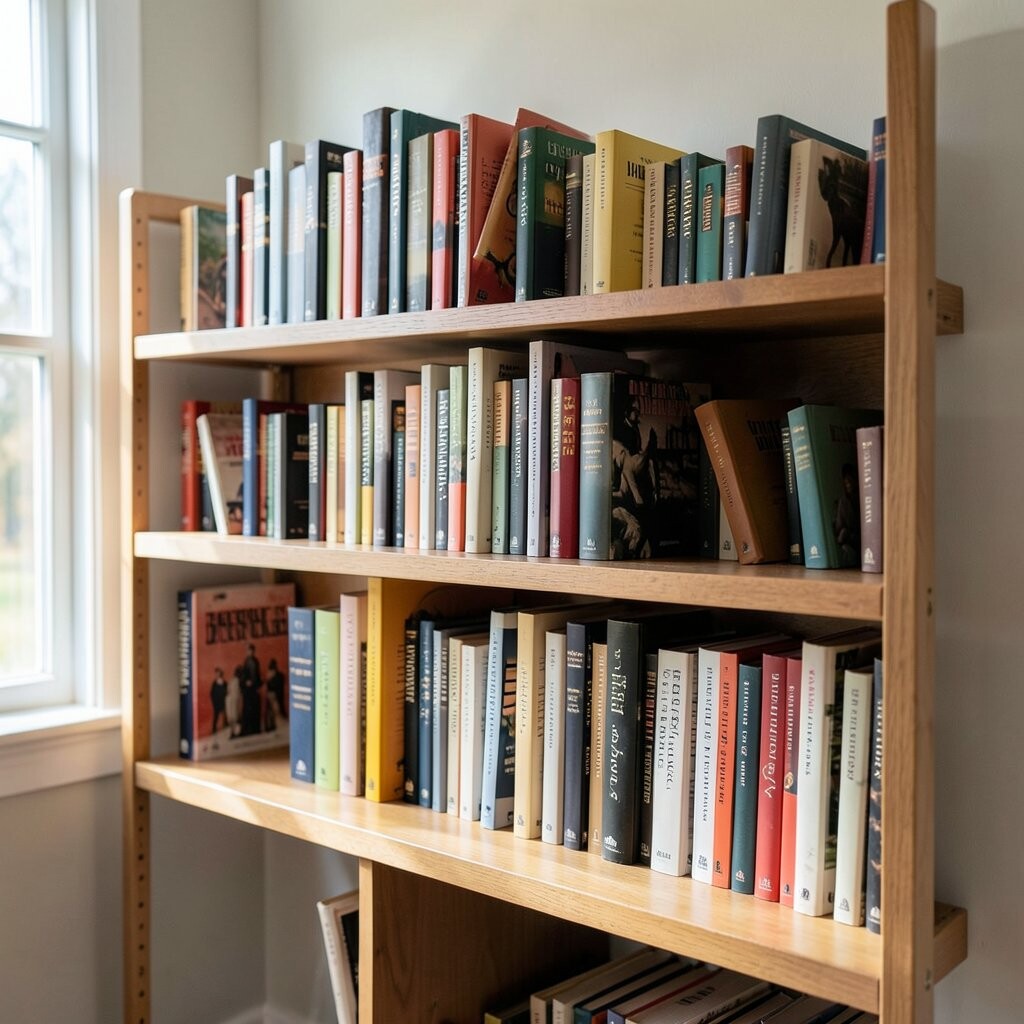
Pick five to ten books you actually enjoy seeing. Place them with a slight mix of angles so their spines form a neat pattern.
This gives your shelf a stylish gallery feel instead of a random stack. Add a small bookend on each side to keep them from drifting. Personalize by pairing colors—maybe warm tones on one side, cool tones on the other.
For cost, bookends can be simple like metal stands or DIY scrap wood. The current trend is visible, lived-in style, and angled spines look warm and modern. You’ll also benefit from quick browsing since you can see titles clearly.
10. Use peel-and-stick shelf liners for instant polish
Use peel-and-stick shelf liners for instant polish
If your shelf surface looks dull, cover it fast. Peel-and-stick liners give a smooth background that makes items stand out.
Choose wood grain, marble, or bold patterns depending on your room style. The liner helps protect the shelf from spills and scratches. Personalize by mixing one patterned liner with simple containers.
Costs usually stay friendly because you only buy the size you need. This trend is huge right now because it’s fast, affordable, and looks high-end. You’ll also benefit from easier cleanup—just wipe and replace if needed.
11. Create a hidden cable corner for tech décor
Create a hidden cable corner for tech décor
Some shelves end up holding small chargers and devices. Route cords behind the shelf edge using simple clips or a cable channel.
Your shelf will look calmer and more professional right away. Use adhesive clips on the inside back so wires don’t hang in front. Add a small box to store power adapters, so you only see the clean parts.
12. Add a quick “display wall” using washi tape frames
Add a quick “display wall” using washi tape frames
Want shelves to look styled without spending much? Tape thin washi tape rectangles behind objects like little picture frames.
That little border makes each item feel curated. Put tape where labels, photos, or small plants sit, then adjust until it looks balanced. Personalize by choosing tape themes—stars, stripes, florals, or neutral dots.
13. Use shelf “rails” made from dowel rods
Use shelf “rails” made from dowel rods
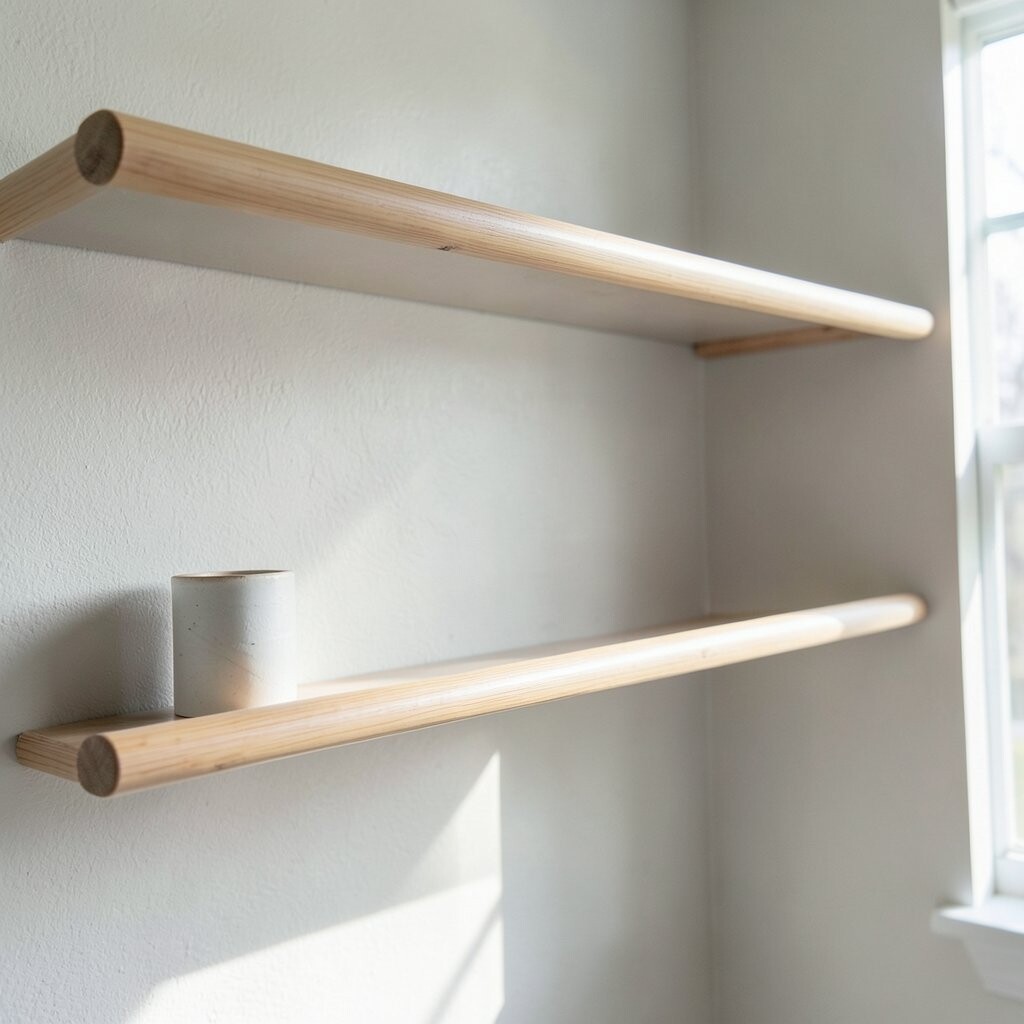
When your small items creep forward, add rails. A dowel rod or thin tube placed along the front edge works like a gentle barrier.
You can secure it with brackets, strong adhesive, or simple screws depending on your shelf. This keeps candles, stacks, and tiny boxes from tipping. It also adds a unique detail that makes the shelf feel built-in.
For cost, dowels are often cheaper than fancy shelf systems. Stay on trend by using slim, clean rails in warm wood or matte black. Personalize by staining the dowel or wrapping it with matching twine for a cozy style.
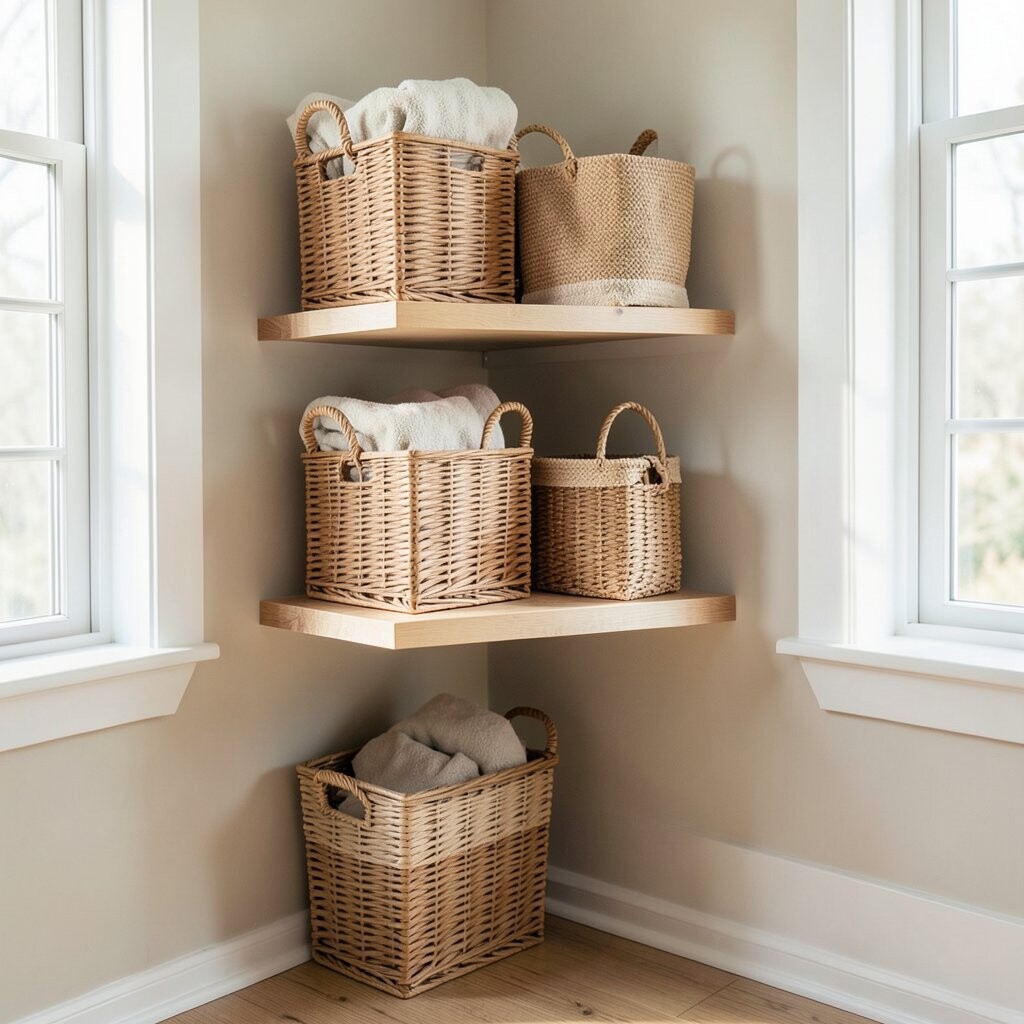
14. Turn odd corners into storage using stacked baskets
Turn odd corners into storage using stacked baskets
Look at the corners that always seem wasted. Put small stacked baskets there to create tidy vertical storage.
It’s great for cleaning supplies, extra batteries, or small seasonal items. Choose baskets that match your shelf liners so everything looks coordinated. Personalize by adding a fabric label tag to the basket handles.
15. Add a “small-to-large” sorting rule on one shelf
Add a “small-to-large” sorting rule on one shelf
Empty out one shelf section and sort items by size. Put smaller items near one end and bigger items on the other.
This simple order makes the shelf look cleaner and more balanced. You’ll also benefit from less rummaging because everything has a home. Personalize by using that rule with color—like light shades on top, dark shades below.
For cost, you only need a few small containers and maybe one label sheet. Current trends love “neat system” shelves, not just decoration. Try it for a craft shelf, a pantry display shelf, or a kids’ book area.
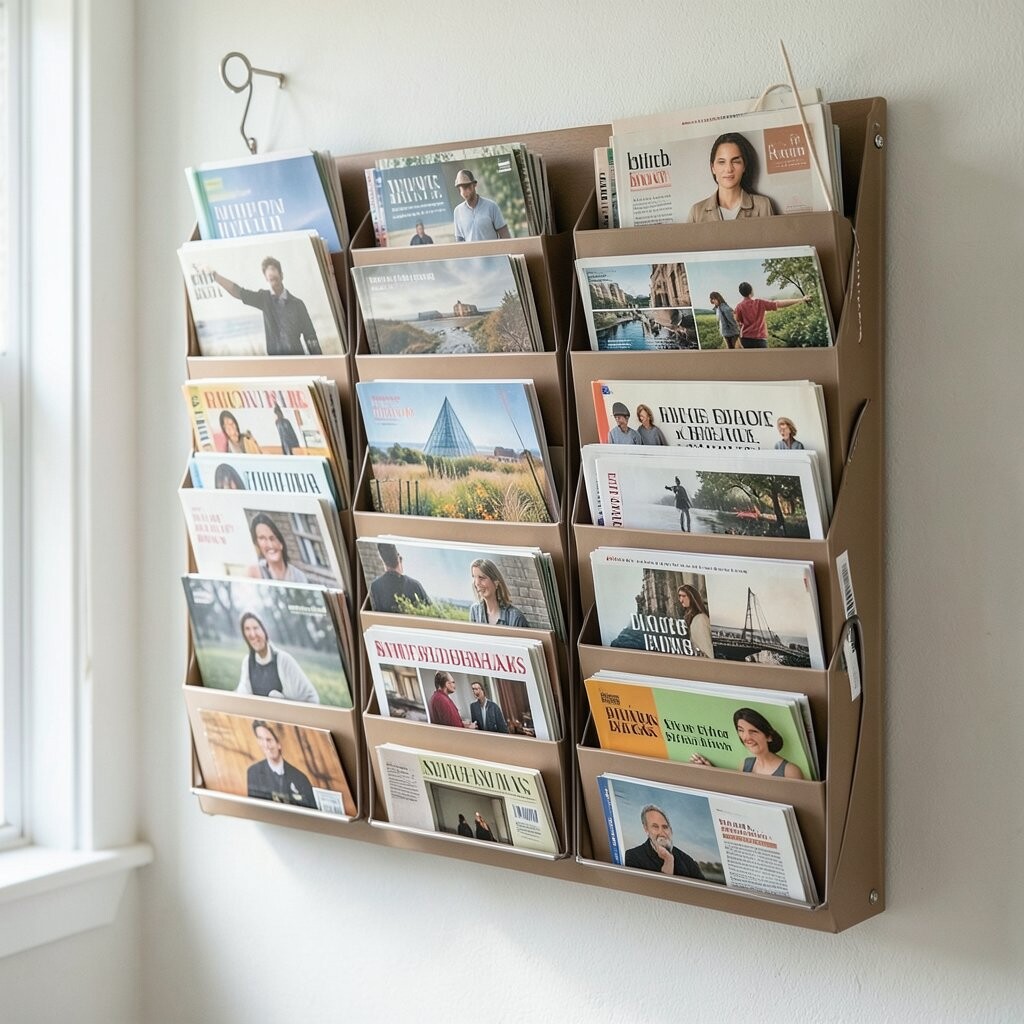
16. Create a “magazine wall” using a file holder
Create a “magazine wall” using a file holder
If you stack magazines sideways, they look messy fast. Use an upright magazine file holder to keep them standing.
It instantly upgrades the shelf look and makes your reading pile easy to grab. Pick a holder in wood, metal, or clear plastic depending on your room. Personalize with a cover photo tucked behind the front so it looks like a curated display.
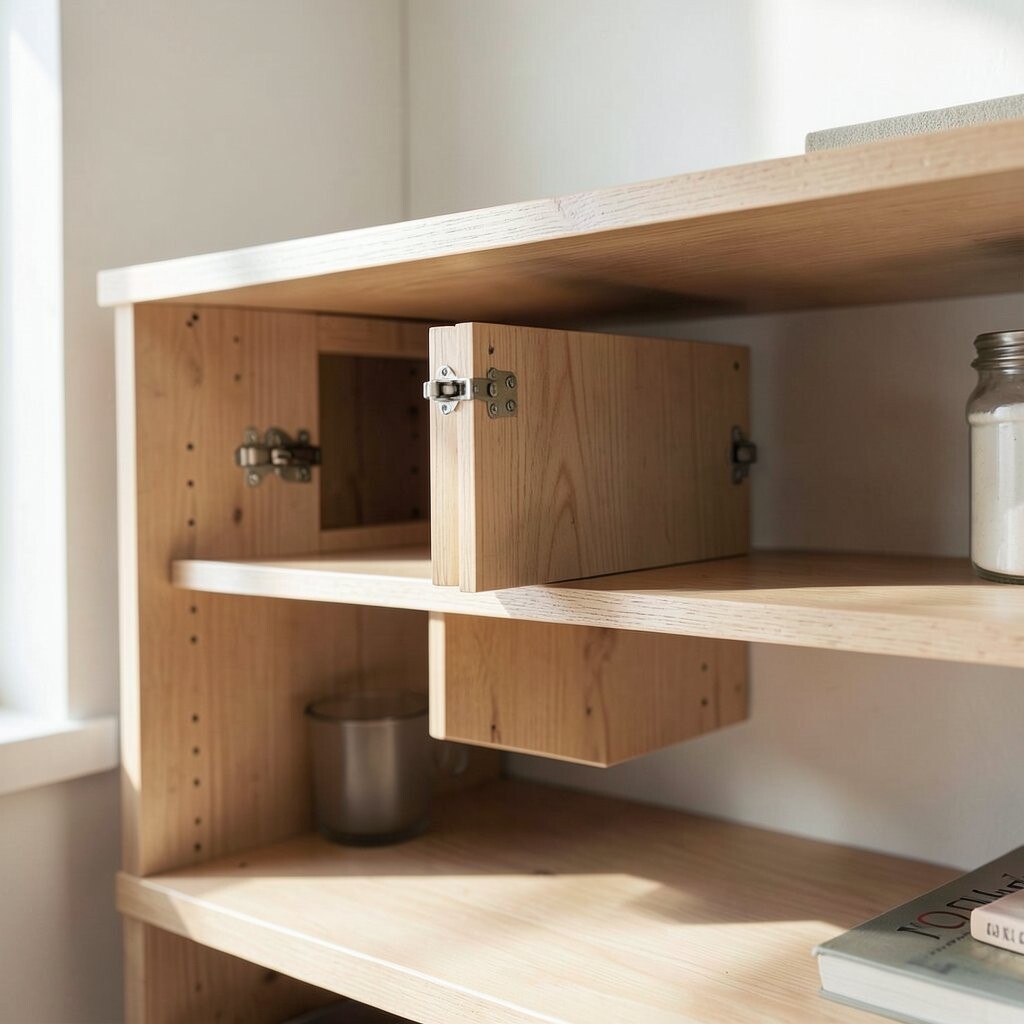
17. Add a mini door-style hideaway using a small cabinet hinge
Add a mini door-style hideaway using a small cabinet hinge
Sometimes you need to stash items but keep the shelf looking neat. Attach a small hinged panel to hide a narrow section inside the shelf.
This gives you a secret space for charging cords, spare batteries, or extra cleaning wipes. You’ll benefit from fewer visible clutter piles and a smoother visual line. Personalize the panel by painting it to match the shelf or adding a simple knob.
Costs can be low if you use leftover cabinet hardware. This hack feels unique because it uses a “built-in” idea without doing a full remodel. Trend-wise, hidden storage is very popular because it keeps rooms calm.
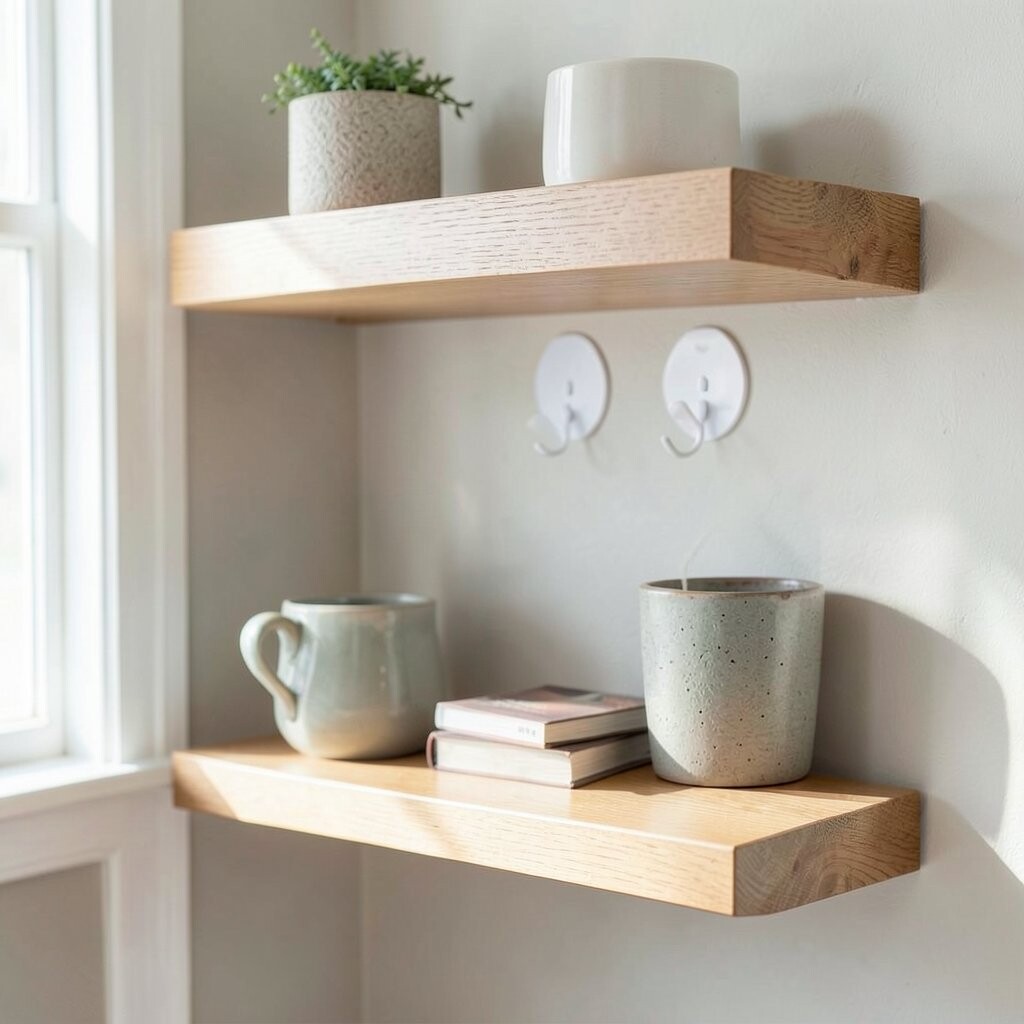
18. Use adhesive hooks for hang-and-go shelf storage
Use adhesive hooks for hang-and-go shelf storage
Small items like bags, measuring cups, and tote handles can be hard to place. Add adhesive hooks under the shelf so you can hang them neatly.
This frees shelf space and keeps items visible when you need them. Choose hooks with strong hold, then test with a light item first. Personalize by spacing hooks in a repeating pattern for a tidy look.
For cost, adhesive hooks are usually cheaper than buying extra containers. Current shelf trends include mixing hanging storage with flat display to add depth. You’ll also benefit because grab time gets faster.
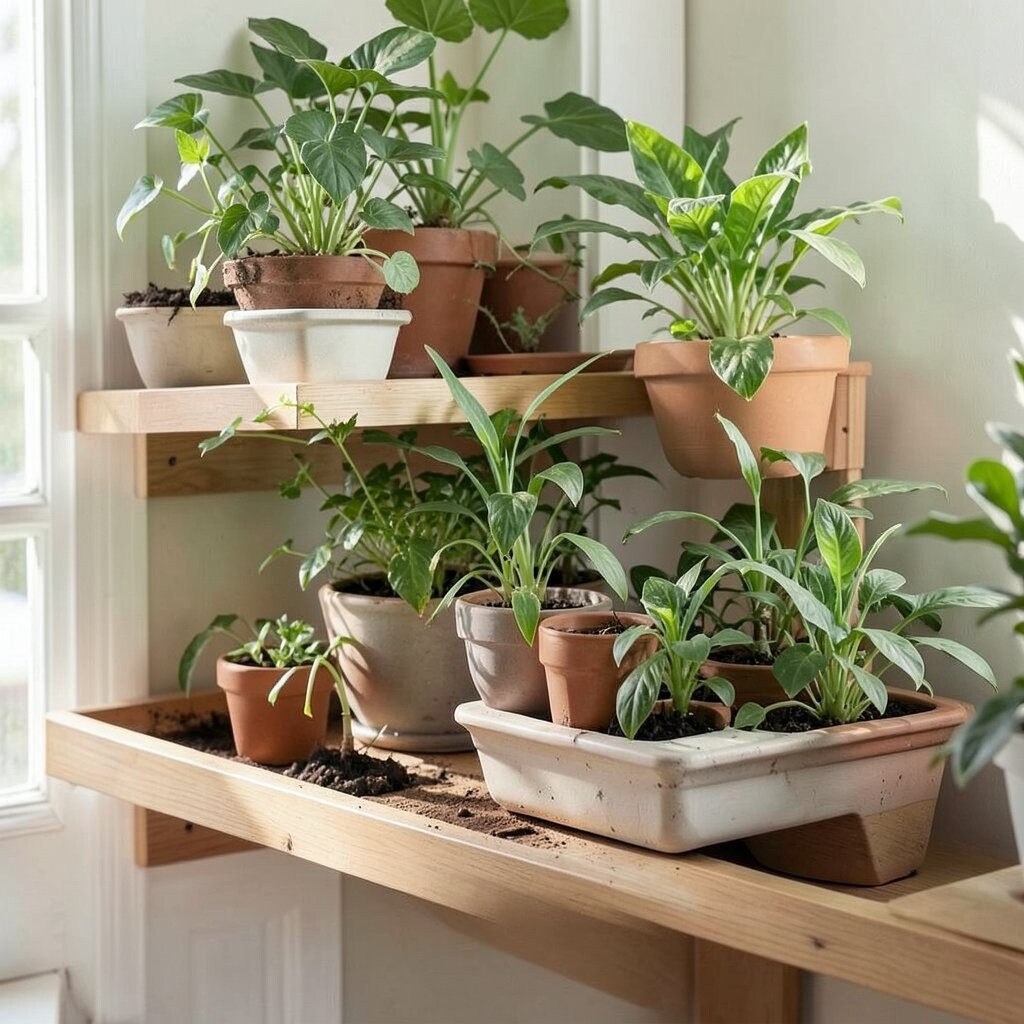
19. Set up “plant pacing” with a drip tray zone
Set up “plant pacing” with a drip tray zone
Plants can be beautiful, but they can also make a mess on shelves. Create a drip tray zone under pots so water stays controlled.
Use small trays, saucers, or a lined runner under each plant. Your shelf stays clean and your plants stay happy. Personalize with trays in matching colors or a pattern that fits your room theme.
This hack is unique because it improves both beauty and function. For cost, reuse old saucers and thrift store finds, then line them with felt pads. This fits current trends since plant styling is popular, but people want it to look neat, not messy.
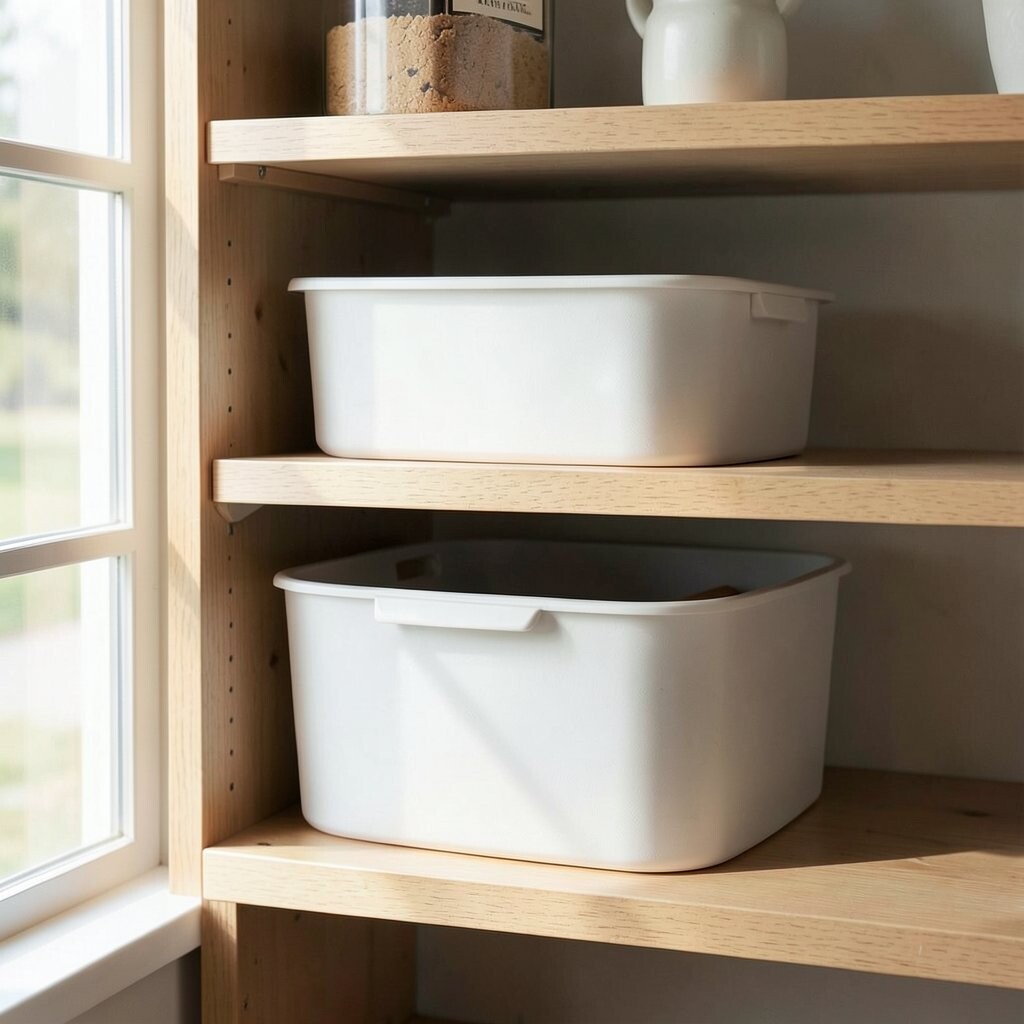
20. Add a “soft stop” for stackable bins
Add a “soft stop” for stackable bins
Stackable bins can slide, causing uneven piles. Place soft stop pads at the back edge of the shelf so stacks settle in the same spot.
This keeps your bins lined up and makes the whole shelf look intentional. Use foam strips or felt tape so nothing gets scratched. Personalize by choosing stops in a color that matches your shelf liner.
21. Make a quick “art stack” with an angled support strip
Make a quick “art stack” with an angled support strip
If you store art prints or craft paper, flat stacks can look bulky. Angle them slightly by using a small support strip under one side.
This creates a gentle display that feels airy, not heavy. You’ll also benefit because you can grab a sheet without moving everything. Personalize by stacking in color groups or adding a tiny bookmark ribbon on top.
For cost, use a scrap strip of wood, a folded cardboard piece, or a thin acrylic stand. Current styling trends focus on texture and layered displays, and this hack gives you both. Keep it stable with a strip wide enough to support the top stack.
22. Add a “label plus color code” system for fast cleanups
Add a “label plus color code” system for fast cleanups
Pick a shelf you want to keep neat, like entryway storage or a craft corner. Put labels on containers and add a simple color dot system on top.
This makes cleanup faster because anyone can match a color to the right spot. Use dots, tape marks, or colored index labels on each container. Personalize by picking colors that match your room or your family’s preferences.
Cost is flexible: you can use painter’s tape, small stickers, or a basic label printer. This approach is unique because it combines clear reading with quick visual guidance. It also matches current trends that value order, but still feel fun and friendly.