The door is the first thing people notice on a vintage RV. A fresh paint choice can make it look warm, cared for, and totally yours.
Even small changes can feel big when you keep the style cozy and the details intentional. The ideas below give you plenty of options without overwhelming you.
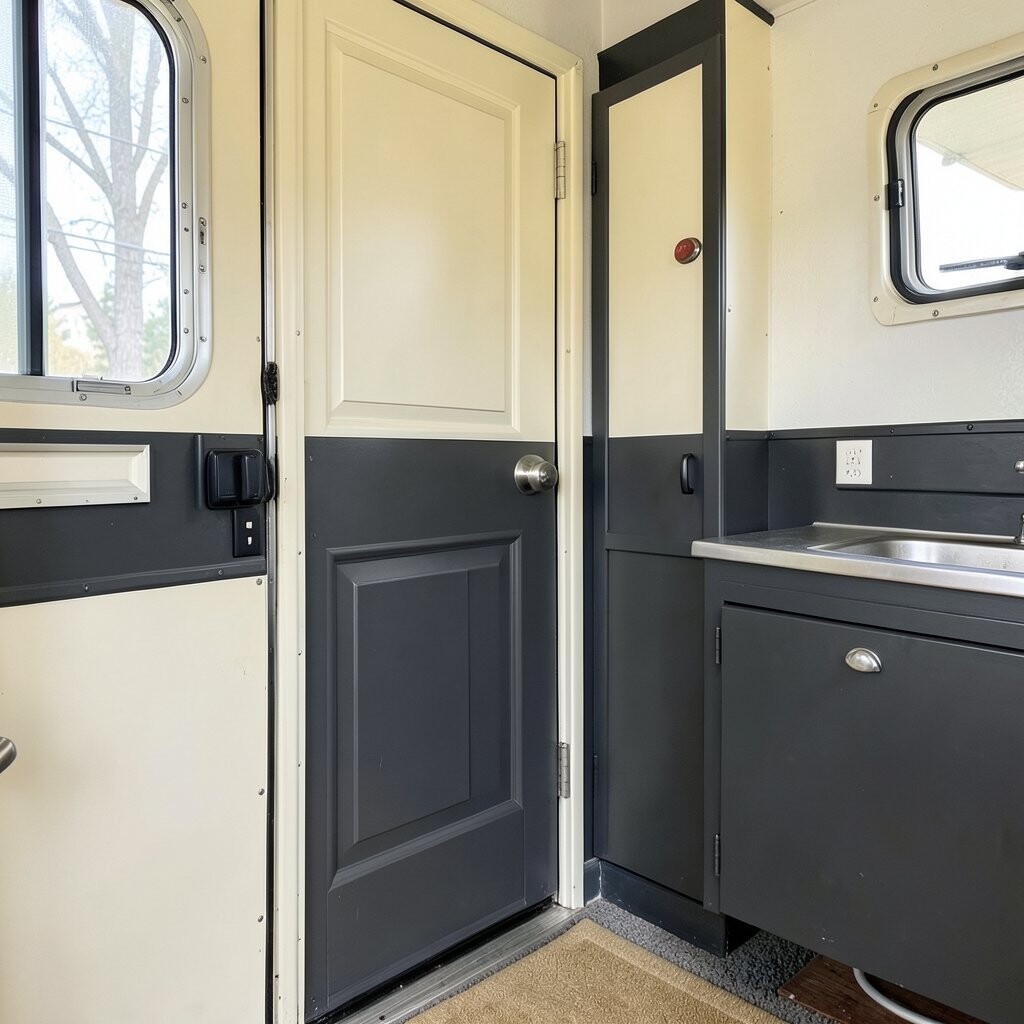
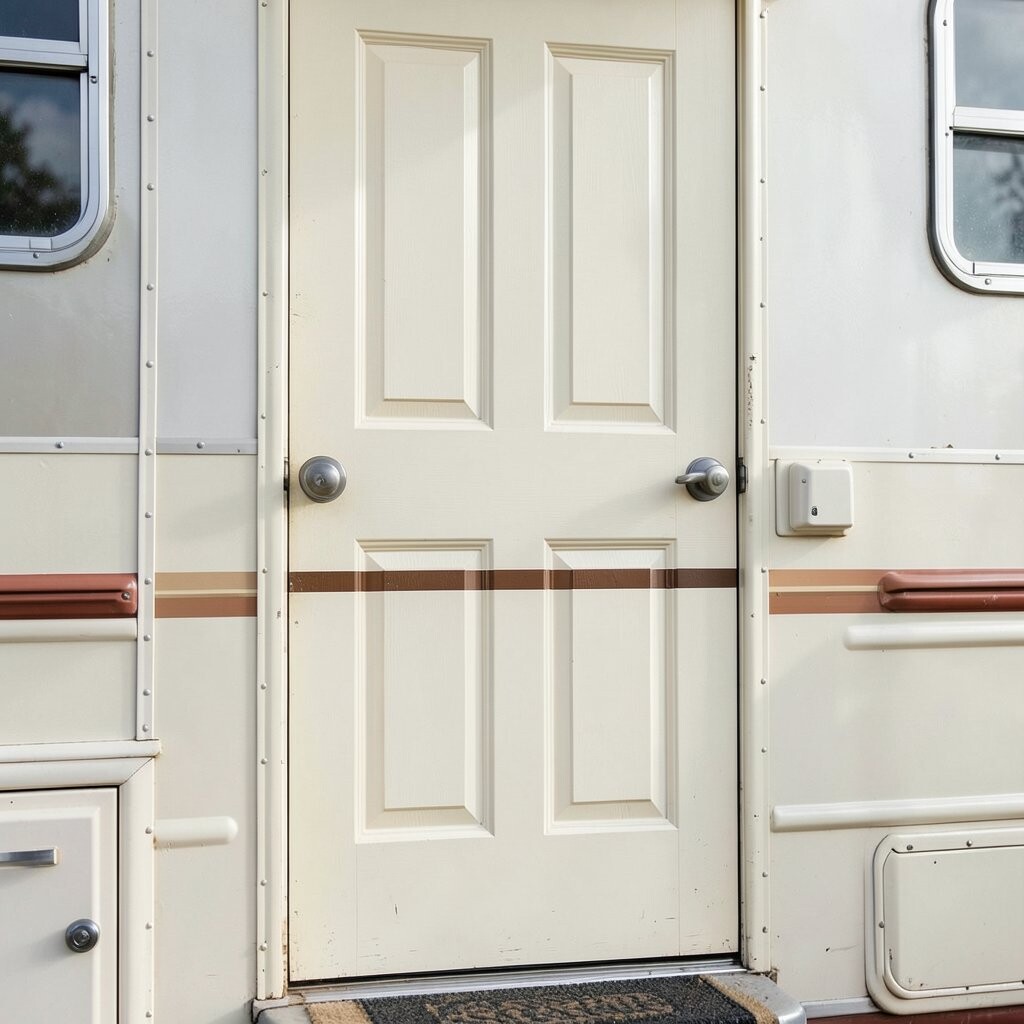
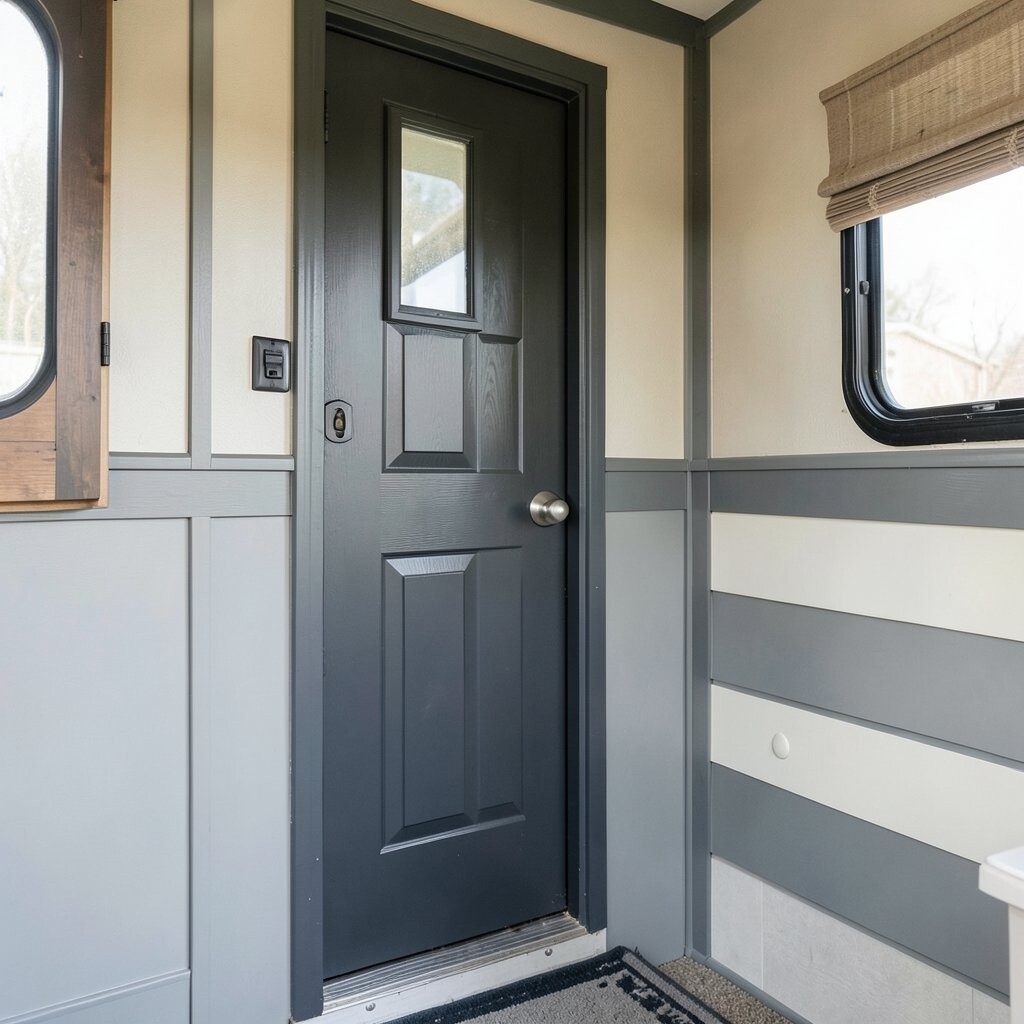
Picture a soft cream door with charcoal trim that frames the edges like a picture frame. The contrast makes the door look clean and classic, even if your RV already has age and character.
This style helps you hide scuffs and old wear because the darker lines make imperfections less noticeable. Use painter’s tape to create crisp borders and keep the pattern straight. For a smoother finish, sand lightly and prime before painting.
To personalize, swap charcoal for muted green or navy, then match the color with a small sign, mat, or curtain tieback. You can also paint the handle area slightly darker so it looks intentional and styled. Budget-wise, two colors means buying two small cans, but you can stretch them by rolling on thin, even coats.
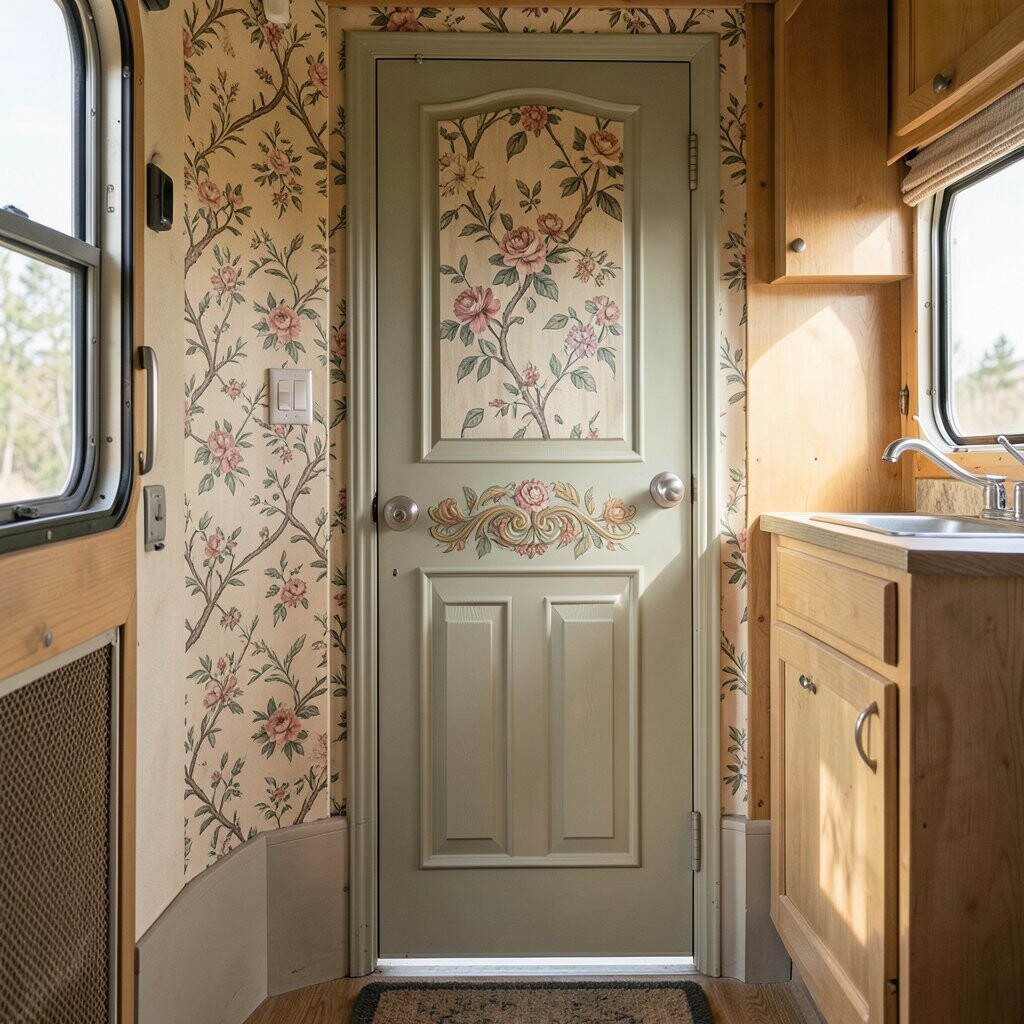
2. Sage Green With a Soft Distressed Edge
Sage Green With a Soft Distressed Edge
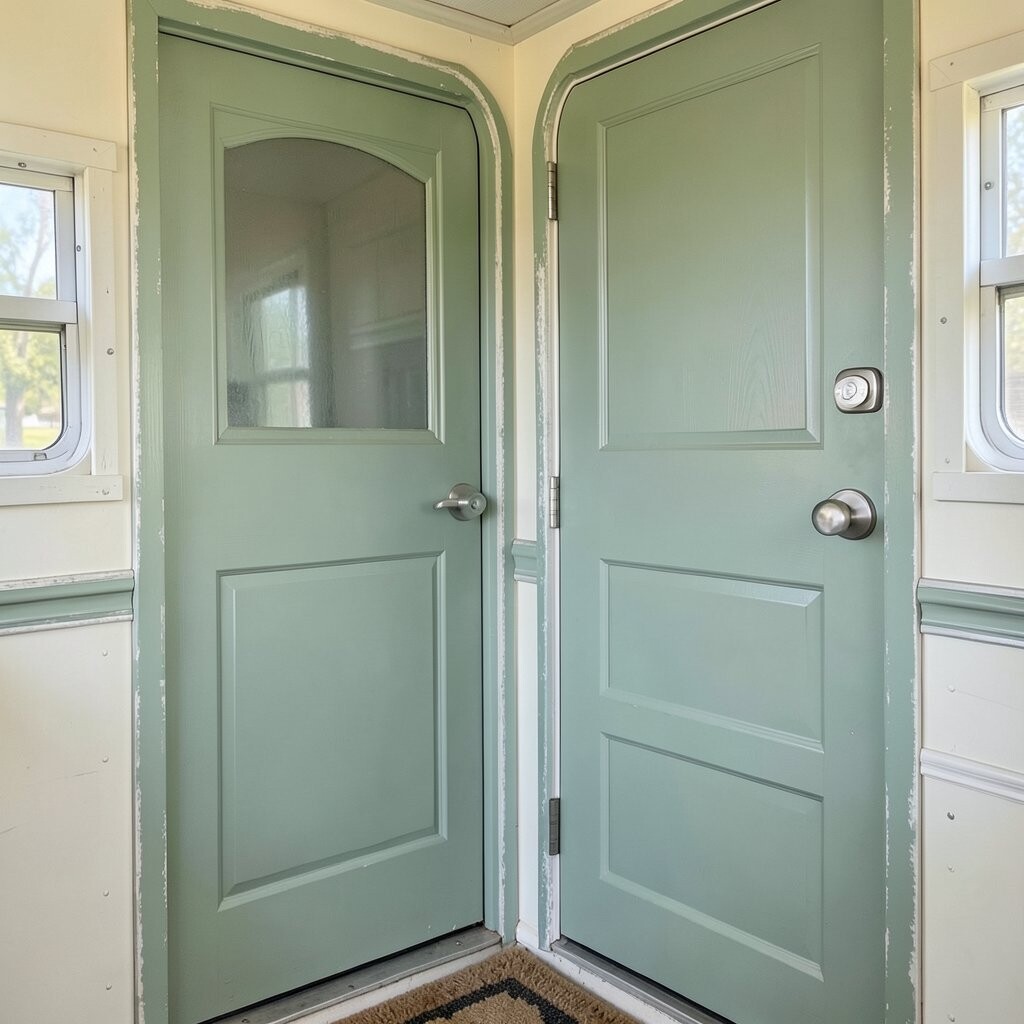
A sage green door feels calm and homey, like an old farmhouse kitchen. Add light distressing where hands usually touch and where the door meets the frame.
This approach gives you that “lived-in” look without needing years of wear. Start with a solid base, then rub edges with fine sandpaper after the paint cures. Seal it with a clear topcoat so the color stays richer and easy to wipe clean.
For uniqueness, try a two-layer distress method: distress a little, then add a thin glaze to unify the tones. Pair sage with warm brass hardware or upgrade the knobs for instant style. Costs are usually moderate because you’re using one main color plus a clear coat, not many special finishes.
3. Navy Door With a White “Arch” Border
Navy Door With a White “Arch” Border
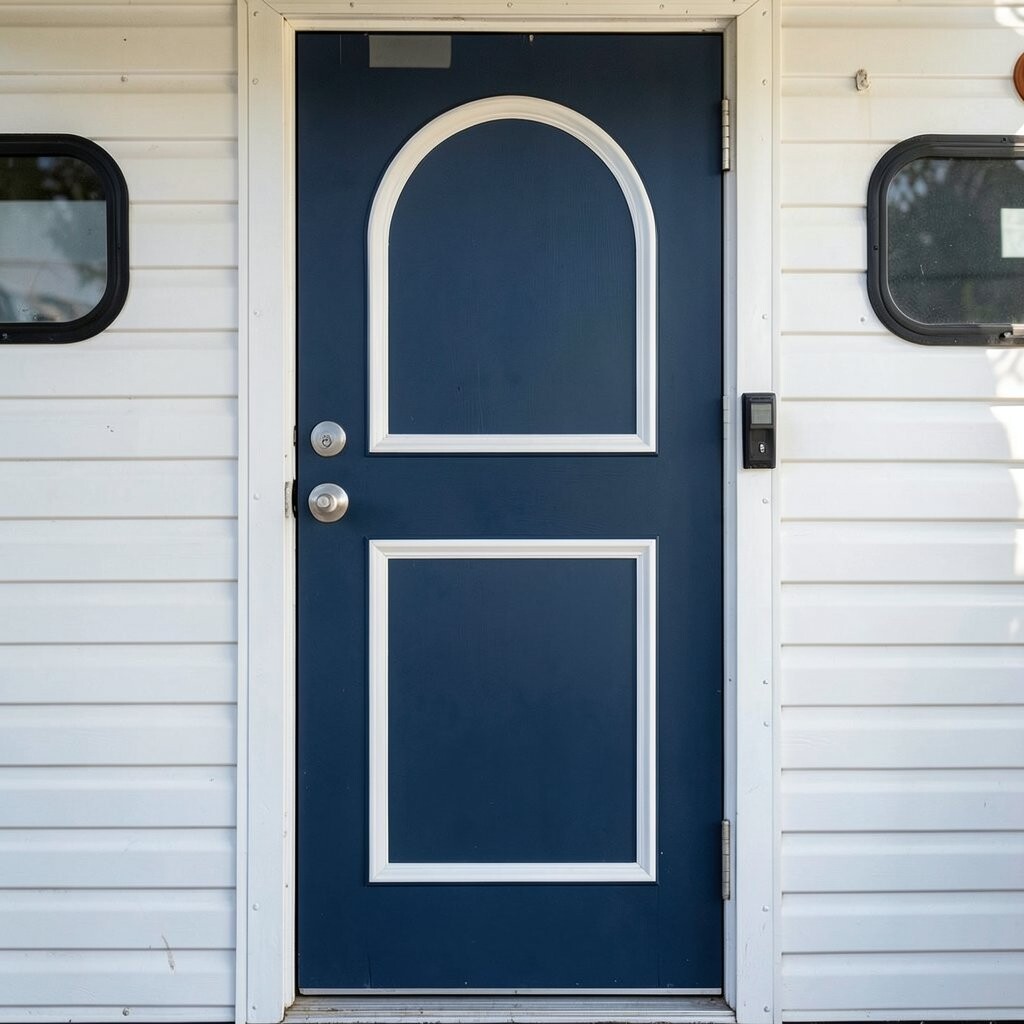
Imagine a deep navy door wrapped in a white arch that echoes the shape of vintage signage. The white border makes the door feel brighter and gives your RV a neat focal point.
This design is great if your RV has older trim or tired paneling, because the arch pattern pulls the eye forward. Use a flexible stencil or a homemade template from cardboard to keep the curves smooth. After painting, remove the stencil carefully while the paint is still slightly tacky for the cleanest lines.
To personalize, choose the arch width to match your door details, or add a tiny stripe inside the arch. You can even paint small stars or a subtle stripe at the top corner for personality. For cost, you can keep it simple: one navy color, one white color, and a primer if needed.
For trends, deep blues paired with crisp white borders keep showing up in modern vintage looks. It gives you that old-world vibe but still reads fresh and tidy. If you want extra protection, choose an exterior enamel and a satin clear coat to resist weather.
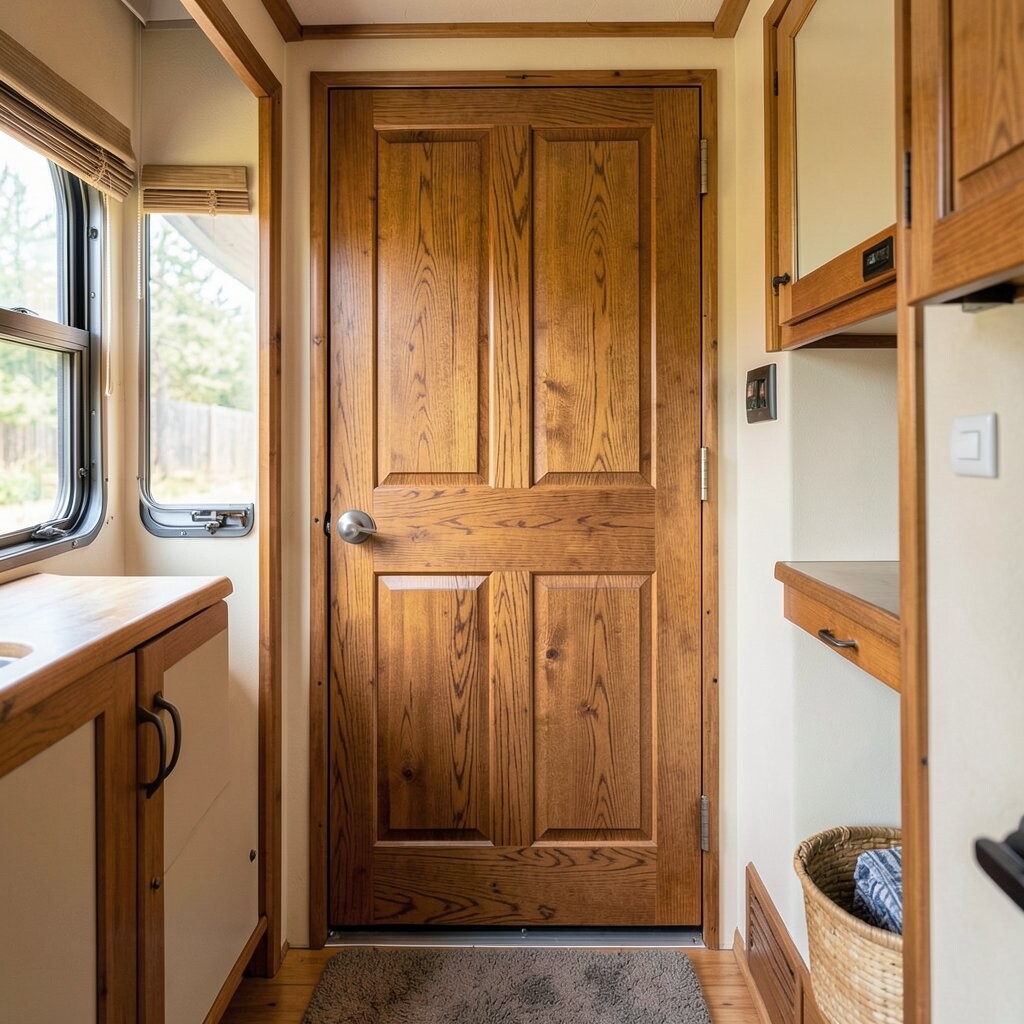
If you love the look of real wood but want an easier job, try a wood-blend stain effect made with paint. You’ll see gentle swirls and warm tones that mimic furniture doors.
This is a unique option because you can make your door look like it belongs in a handcrafted cabin. Use a base coat in a light tan, then layer a darker “stain” glaze with a rag or sponge. Finish by sealing so the finish holds up to sunlight and frequent door use.
Personalization is fun here: add more “grain” near the center and keep the edges calmer so it looks natural. For tips, practice on a scrap board first so you can get the swirl style you like. Costs can be slightly higher because glazes and sealers add up, but you can buy small amounts and still do a great job.
5. Butterscotch With Painted “Vinyl” Stripes
Butterscotch With Painted “Vinyl” Stripes
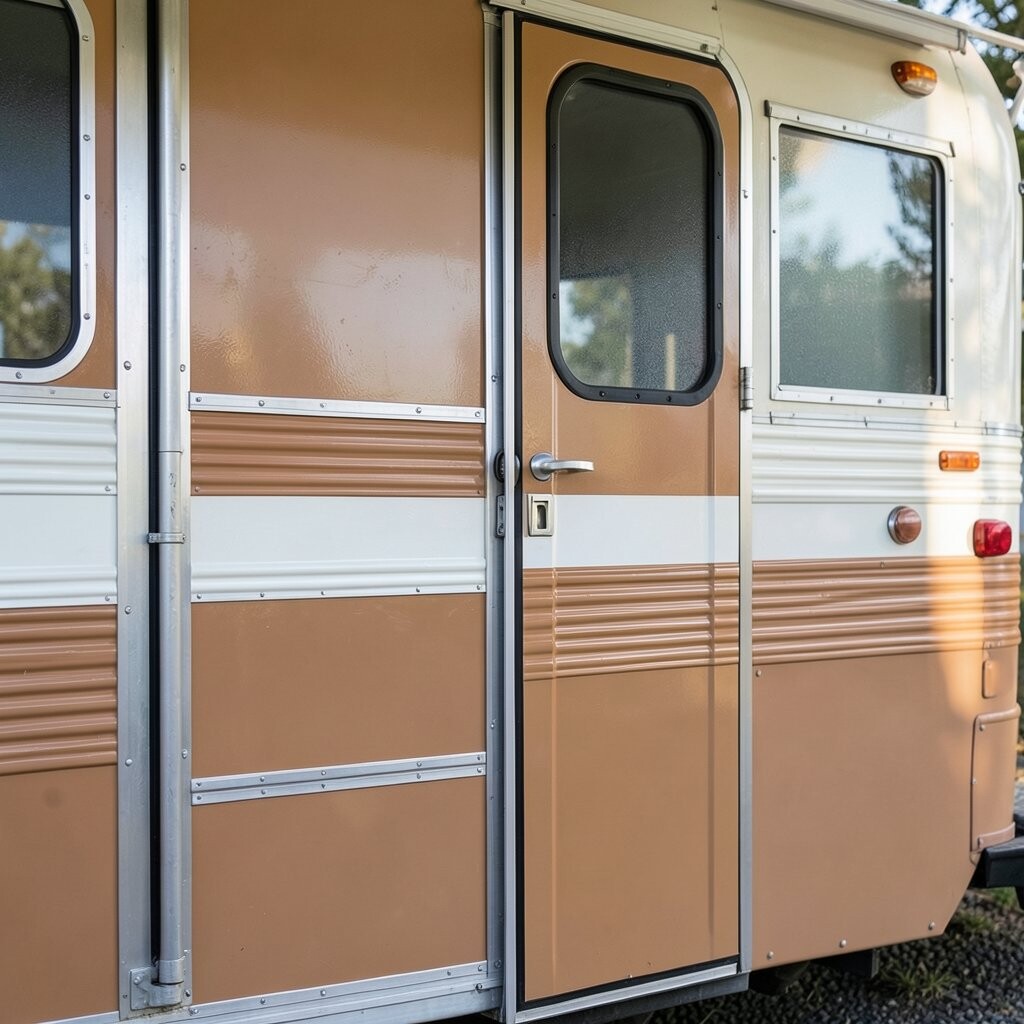
Think of a butterscotch door with playful stripes that look like old RV graphics. The warm color feels cheerful, and the stripes add motion even when the RV is parked.
Adding simple stripe lines helps cover small dents and scratches by turning them into design features. Use vinyl wrap-style striping tape or thin painter’s tape to create straight lines. After you paint, pull tape slowly so you avoid smudges.
To personalize, add tiny dots between stripes or choose stripe colors that match your curtains. A small “RV year” stamp style detail near the bottom can make it feel like a family heirloom. Budget-wise, you only need a base coat and one or two stripe colors, which usually stays affordable.
6. Antique White With Raised Panel “Shadowing”
Antique White With Raised Panel “Shadowing”
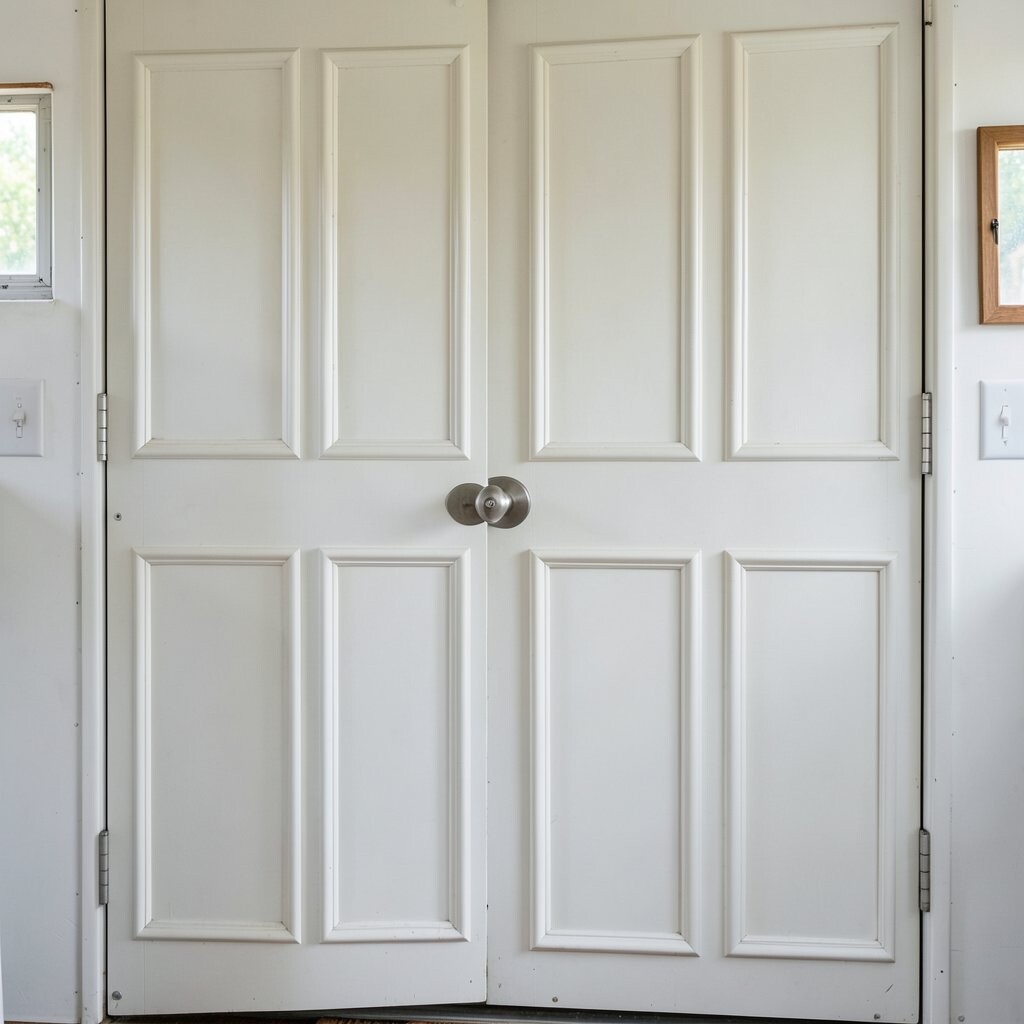
Picture an antique white door that looks richer inside the grooves. The trick is shadowing: you paint the raised areas light, then tint the recesses a slightly darker shade.
This design makes your door look more detailed, even if it’s flat or plain. Clean the surface, then use a small angled brush to lightly glaze the recessed lines so they stand out. Keep the shadowing subtle so it feels vintage, not harsh.
Personalize by matching the shadow color to your RV trim, like warm gray or dusty taupe. If you have brass handles, the antique white will make them pop. Cost considerations are good here because you can do it with two colors plus primer and a clear finish.
7. Terracotta Door With a Hand-Painted Sunburst
Terracotta Door With a Hand-Painted Sunburst
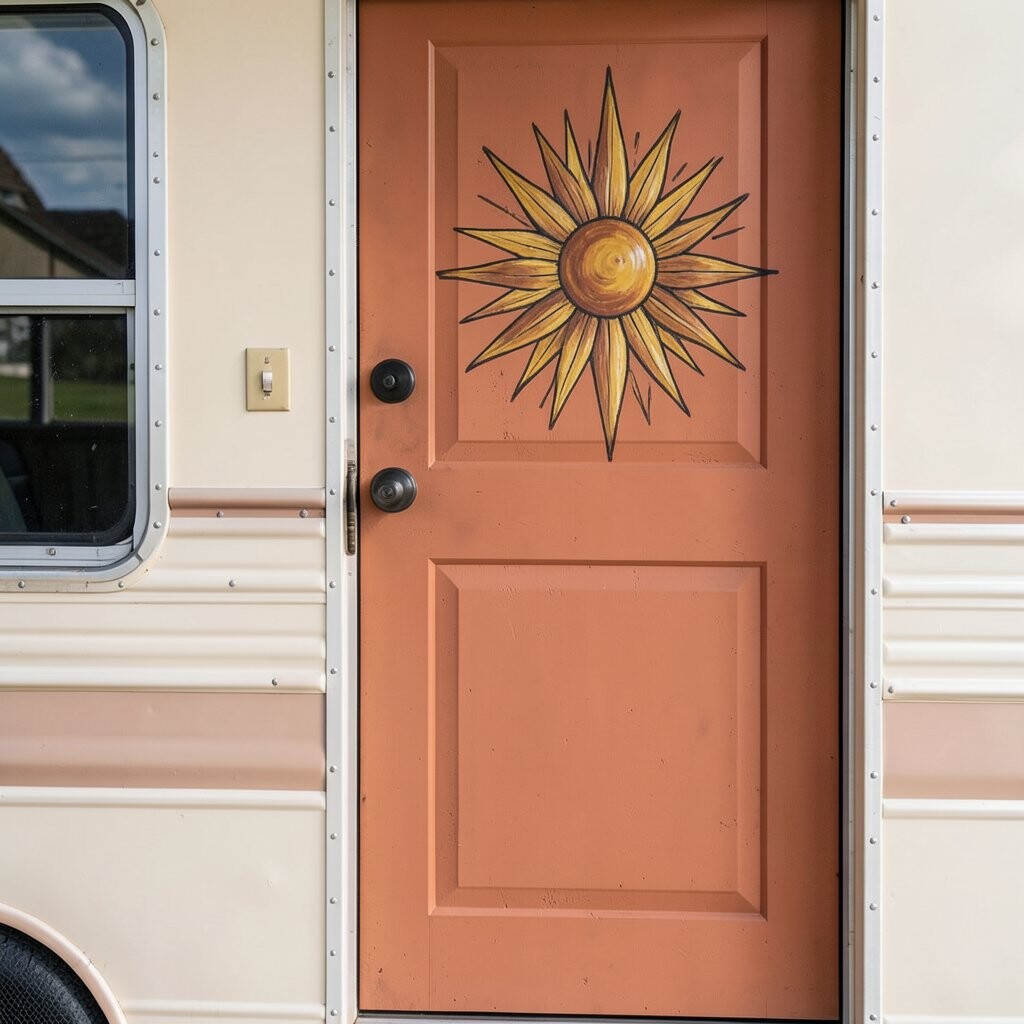
Terracotta looks like warm clay, and it can turn a plain door into a sunset moment. Add a sunburst pattern behind the handle area for instant charm.
This style is unique because it feels like outdoor artwork, not just a painted surface. Use a light base first, then sketch sun rays lightly with pencil or chalk so you can adjust. Paint the rays in warm cream or a slightly lighter terracotta for depth.
For tips, keep your lines thicker near the center and thinner at the edges to look more natural. Personalize with a small message near the bottom like “Home” or “Welcome,” painted in a simple script. Costs are moderate since you’ll buy a main terracotta color and one accent color, plus clear coat.
Current trend-wise, warm earth tones with friendly folk patterns are staying popular in home decor. RV doors are a great place to borrow that trend without changing the whole rig.
8. Dusty Teal With a Brass-Trim Look
Dusty Teal With a Brass-Trim Look
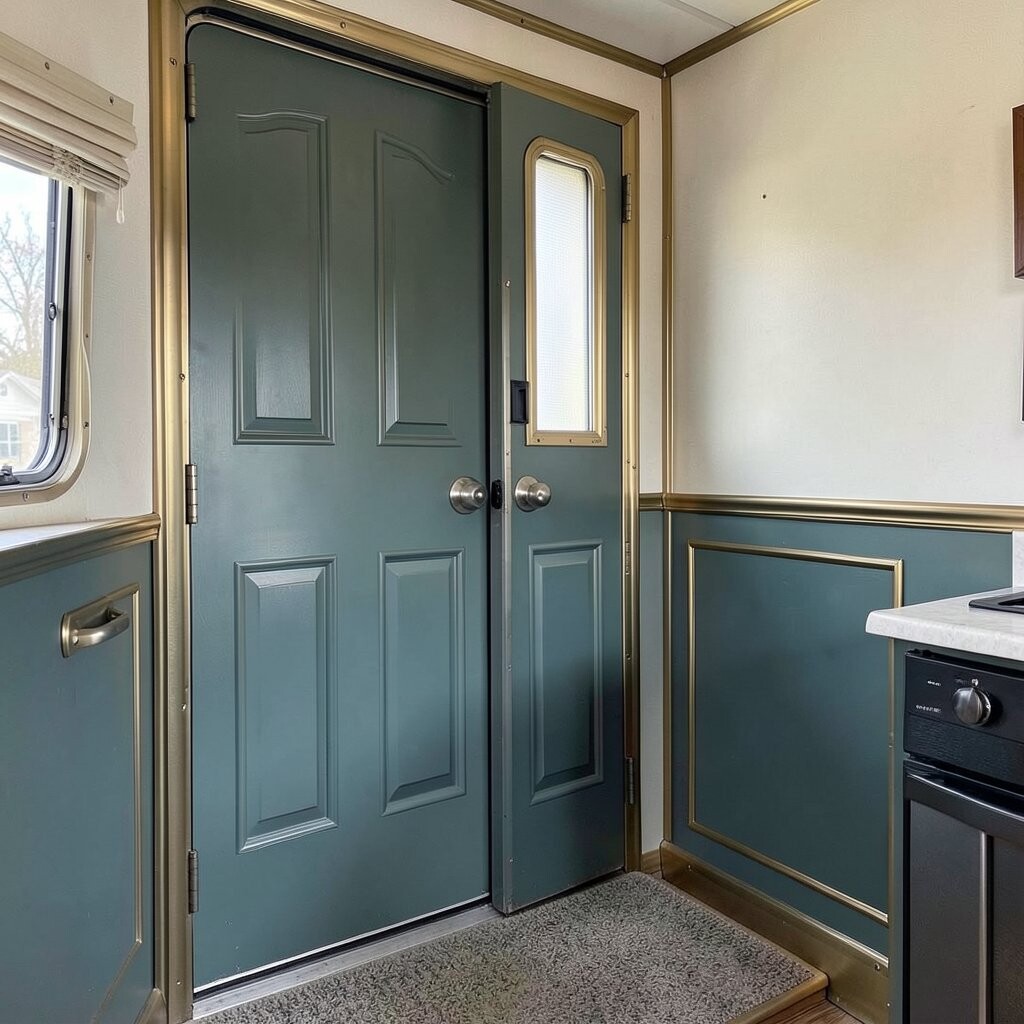
Imagine a dusty teal door wrapped in lines that look like tiny brass strips. Even without real metal, the painted “trim” can make your door feel upgraded and polished.
This idea is helpful because it adds structure and draws attention to the door shape. Use metallic gold or metallic brass paint, then seal it with a protective clear coat. Make sure you apply thin coats so the metallic finish stays smooth and doesn’t clump.
To personalize, choose line spacing that matches your panel seams, and add a small corner flourish. If you want to match your RV’s hardware, test the metallic shade next to your knobs first. Cost considerations: metallic paints can cost more, but you usually only need them for lines, so one small can may last.
Tip for longevity: scuff-sand between coats lightly and keep the area clean before painting. The better your prep, the less the finish will chip around high-touch spots.
9. Classic Red Door With a Simple White Frame
Classic Red Door With a Simple White Frame
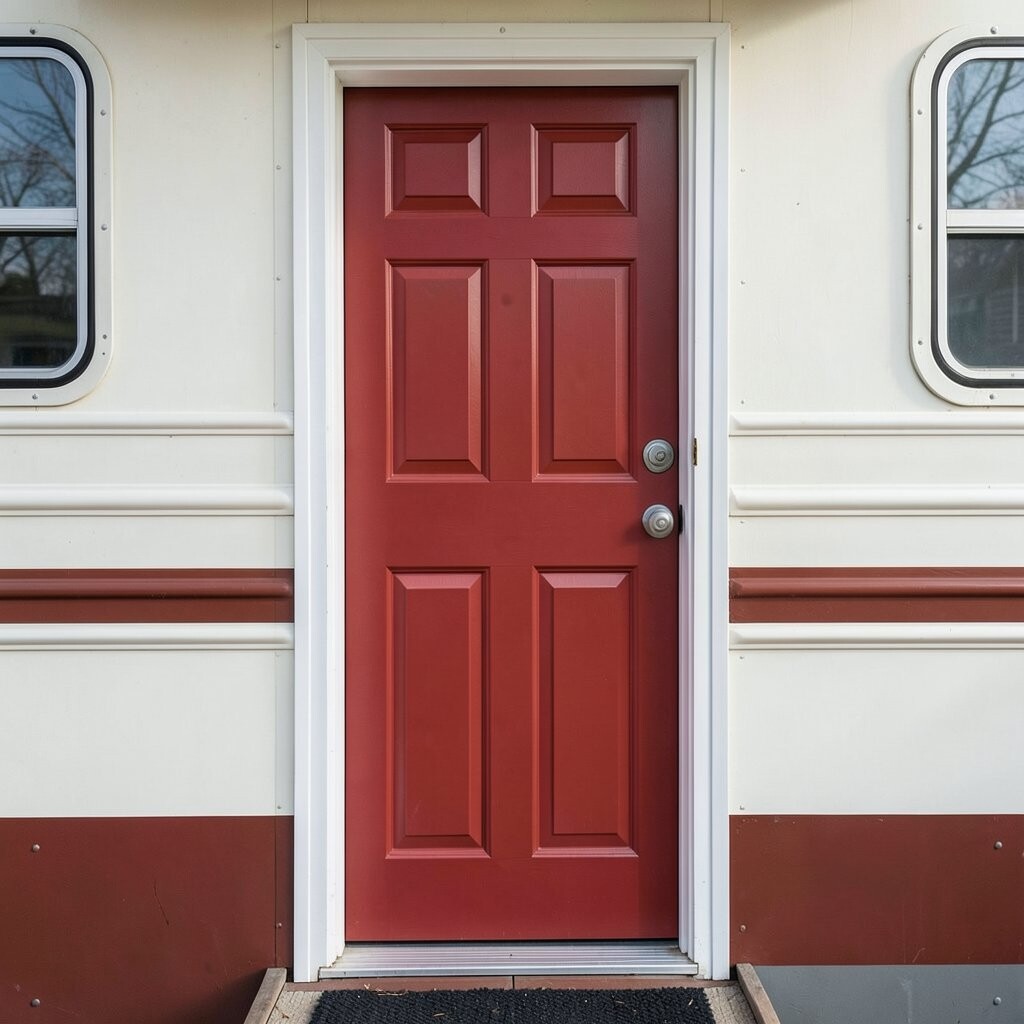
A classic red door instantly feels inviting, like a porch scene from an old movie. Add a white frame around the edges to keep it crisp and easy on the eyes.
This method is great if you want a bold look without complex art. Use tape for the frame lines and keep your coats thin for sharp edges. After it dries, apply a clear exterior topcoat so the red doesn’t fade too fast.
10. Coastal Blue With a Painted Rope Border
Coastal Blue With a Painted Rope Border
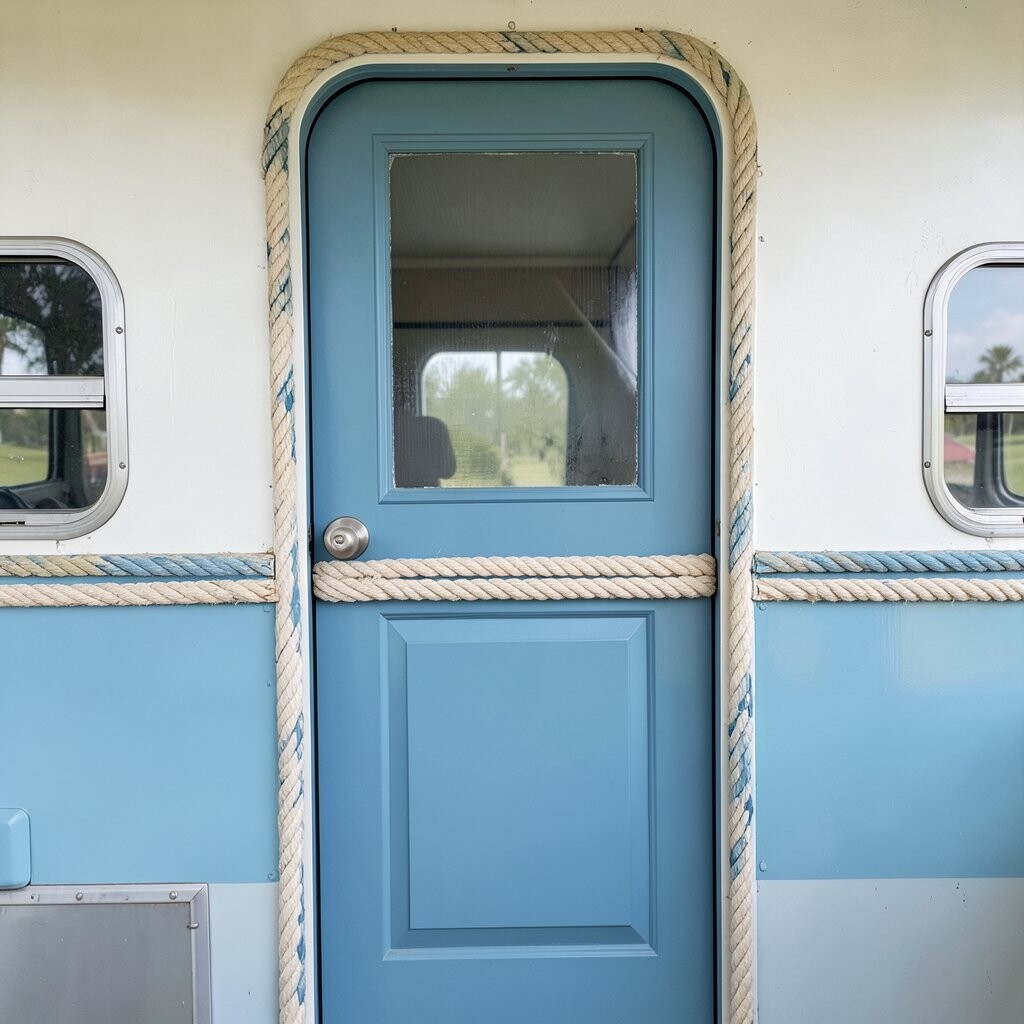
Picture a coastal blue door with a rope border drawn around the center panels. It gives a nautical vibe that feels playful but still tidy.
This design is unique because it adds texture through paint, not just color. Use a rope pattern stencil or draw a rope twist with a steady hand and a small round brush. If your door has panel lines, align your rope border to those seams for a natural look.
Personalize by adding tiny sailboat silhouettes in the corners or painting a wave line near the bottom. Costs can stay reasonable because most of the “rope” can be painted with basic colors plus a stencil. Choose a semi-gloss finish so it’s easier to wipe off salt air and dust.
11. Weathered Gray With Salt-Kissed Speckle
Weathered Gray With Salt-Kissed Speckle
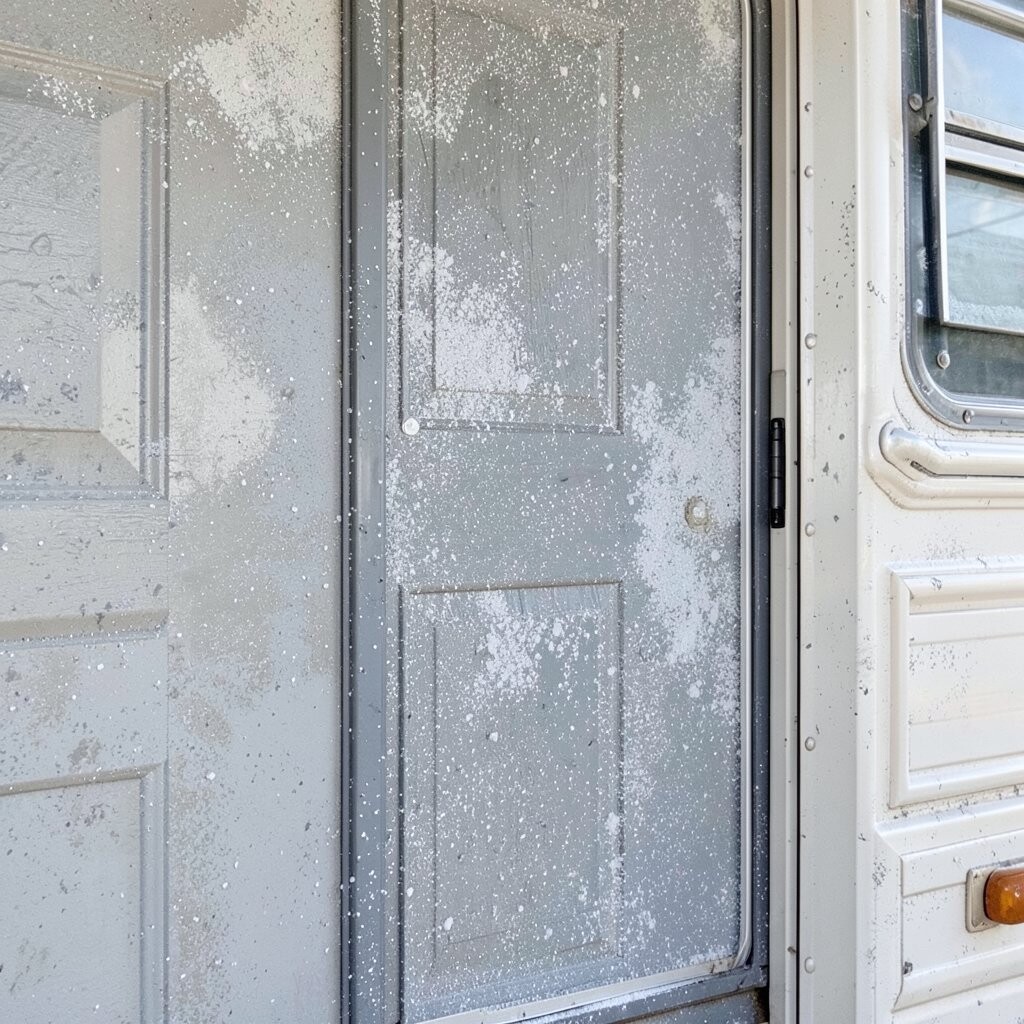
A weathered gray base makes your door look like it’s been part of the road for decades. Then add light speckle that looks like salt air and sun fade.
This finish is helpful for hiding tiny marks because the specks blend them into the pattern. For tips, thin your paint a bit and flick it gently with a toothbrush or small brush tool. Practice on scrap wood first so you get the speckle density right.
Personalization can be as simple as choosing your gray undertone: warm gray for cozy, cool gray for a sharper look. You can also add a small painted emblem at the center, like a vintage compass. Cost considerations are usually low because you’re mostly using one base color and maybe one light accent.
Trends here lean into “road-worn” textures, which are popular for vintage renovations. A speckle effect keeps the look interesting without requiring complicated graphics.
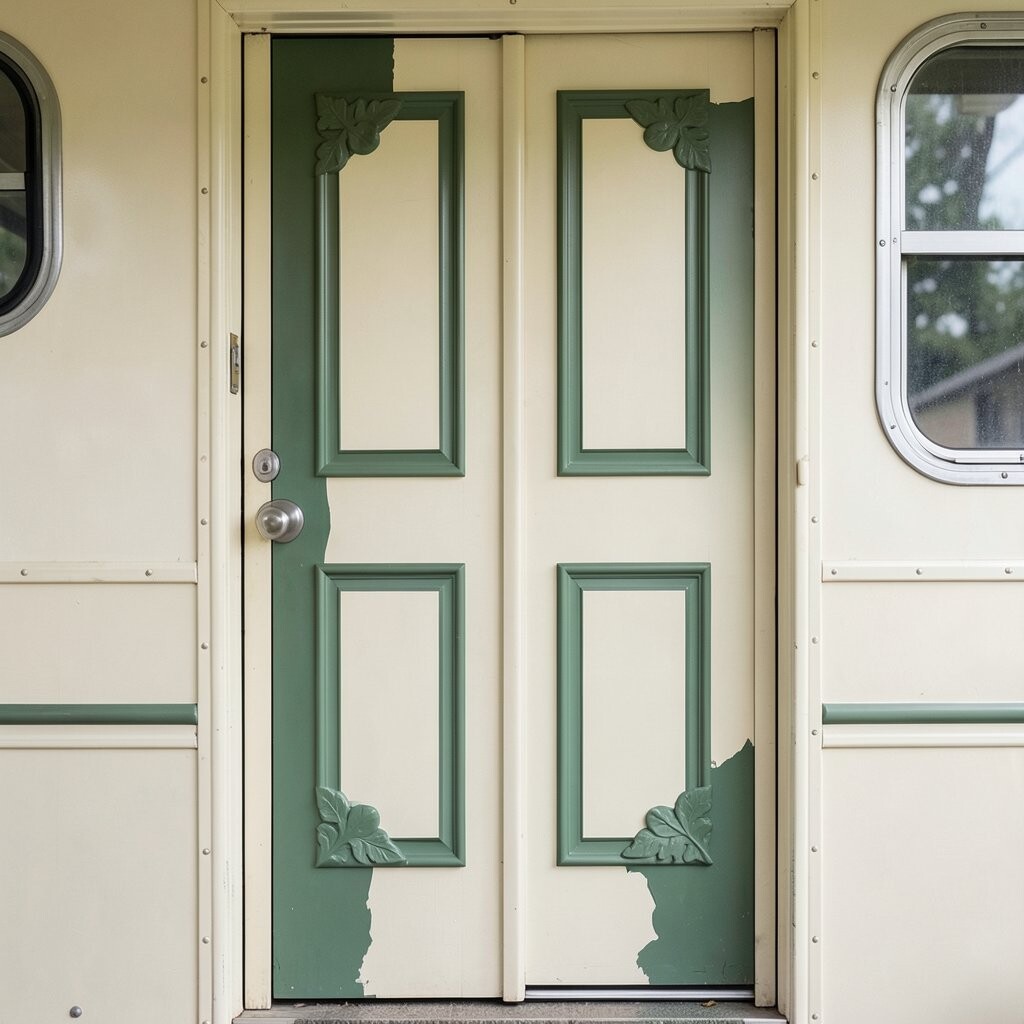
12. Cream Door With Green “Heritage Leaf” Corner Panels
Cream Door With Green “Heritage Leaf” Corner Panels
Think of a cream door with soft green leaves in each corner, like a classic cookbook cover. The leaves give a gentle vintage feel without going too loud.
This style works well when your RV already has patterns elsewhere, because the design stays in the corners. Use a leaf stencil and repeat the same style in both top corners for balance. Seal the painted areas well since leaves often sit near high-touch zones.
To personalize, pick leaf colors that match your interior fabrics, like olive, moss, or eucalyptus. You can also add tiny vein lines with a fine brush so the leaves look more lifelike. Costs are manageable because you mainly need two paint colors and a clear coat.
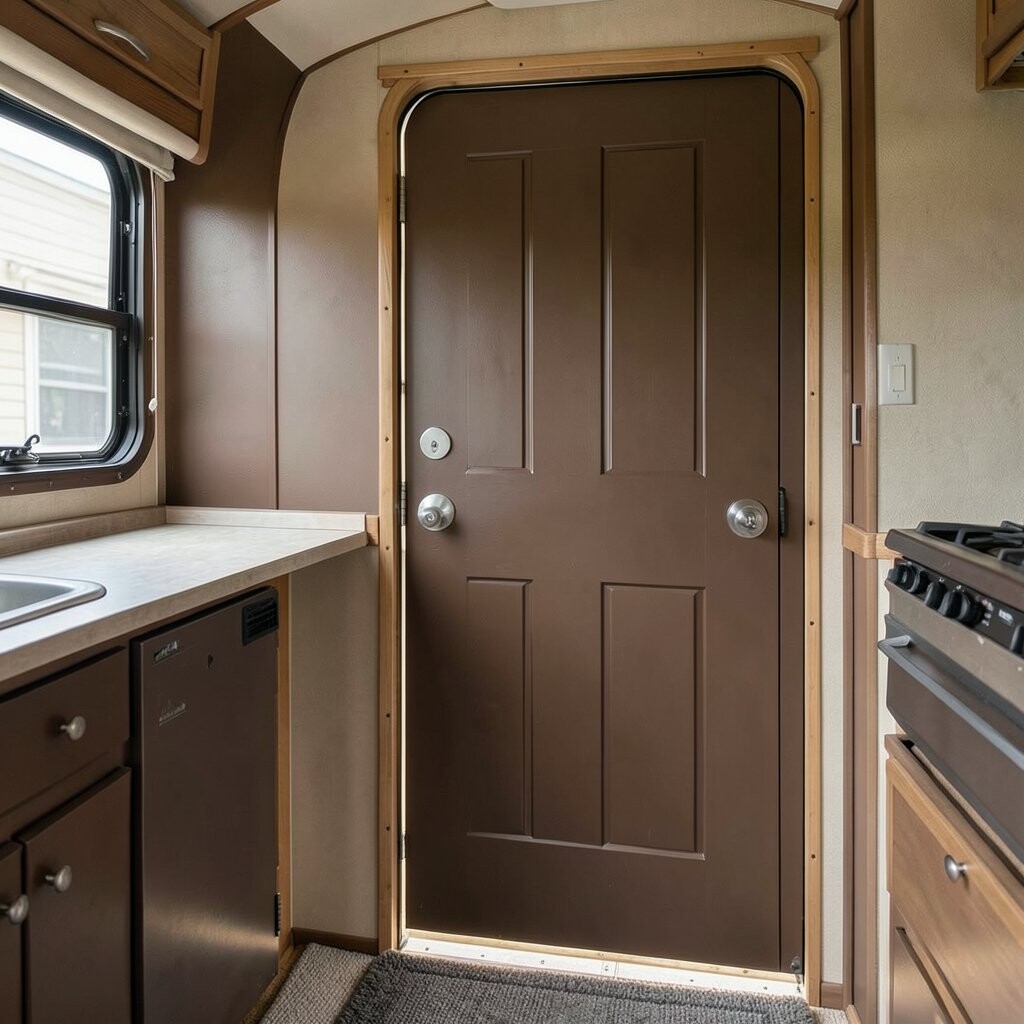
13. Chocolate Brown With a “French Chalk” Matte Finish
Chocolate Brown With a “French Chalk” Matte Finish
Chocolate brown with a matte, chalky look feels rich and old-fashioned. It turns a plain door into something that looks like it belongs in a vintage shop.
This finish is great because matte hides small flaws better than shiny paint. Use a chalk-style paint or a matte acrylic made for exterior use, then seal it with a protective topcoat. For best results, apply in thin layers and let it cure fully before heavy handling.
Personalize by stenciling a small border pattern near the bottom or by painting the door panels in slightly different shades of brown. Budget-wise, chalk-style products can cost more, but a little goes a long way. If you’re on a tighter budget, you can mimic the look with matte enamel plus careful sanding for smoothness.
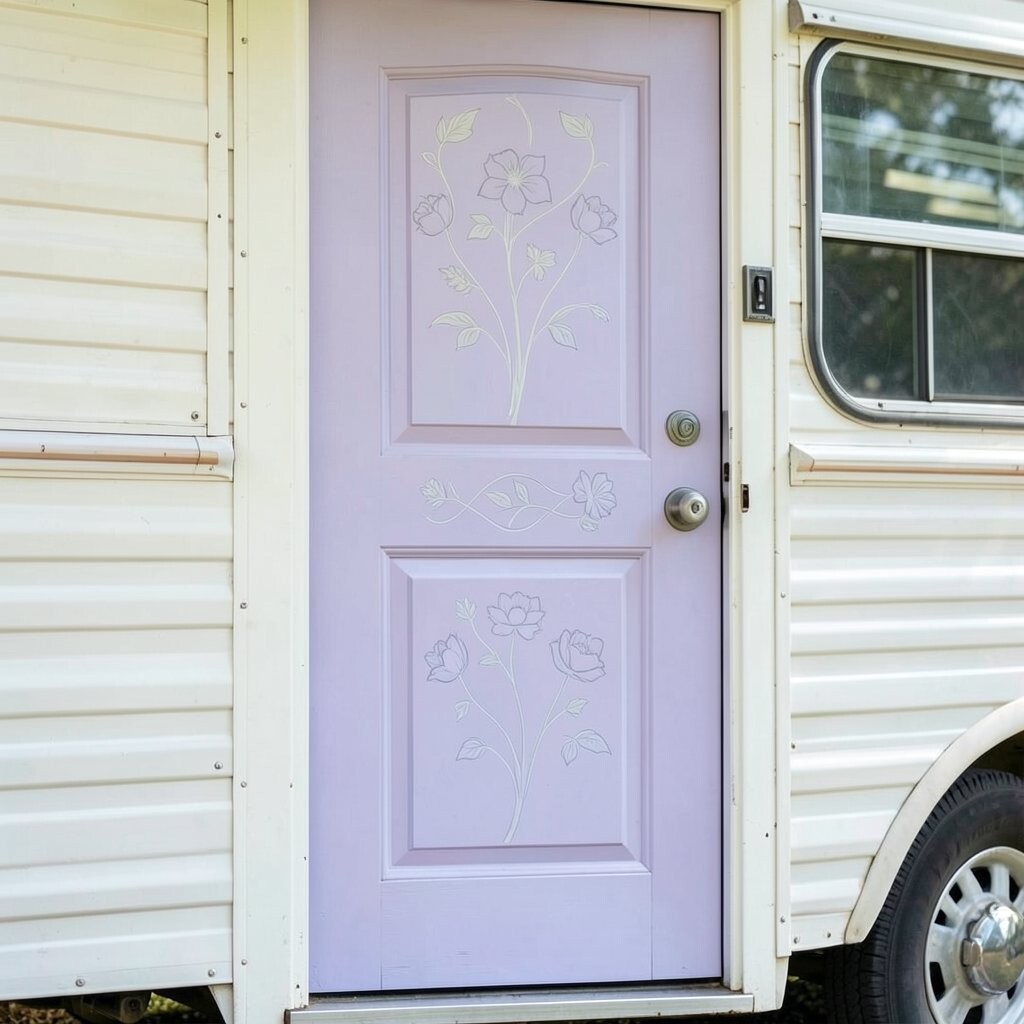
14. Pastel Lavender Door With Subtle Floral Lines
Pastel Lavender Door With Subtle Floral Lines
A pastel lavender door can make your RV feel soft and welcoming. Add subtle floral lines near the center or around the handle area for a gentle vintage look.
This idea stands out because it feels delicate, like hand-painted ceramics. Keep the flowers simple: thin lines, small petals, and light shading so it doesn’t look messy. Use a fine liner brush and tape off the border areas to protect your clean base color.
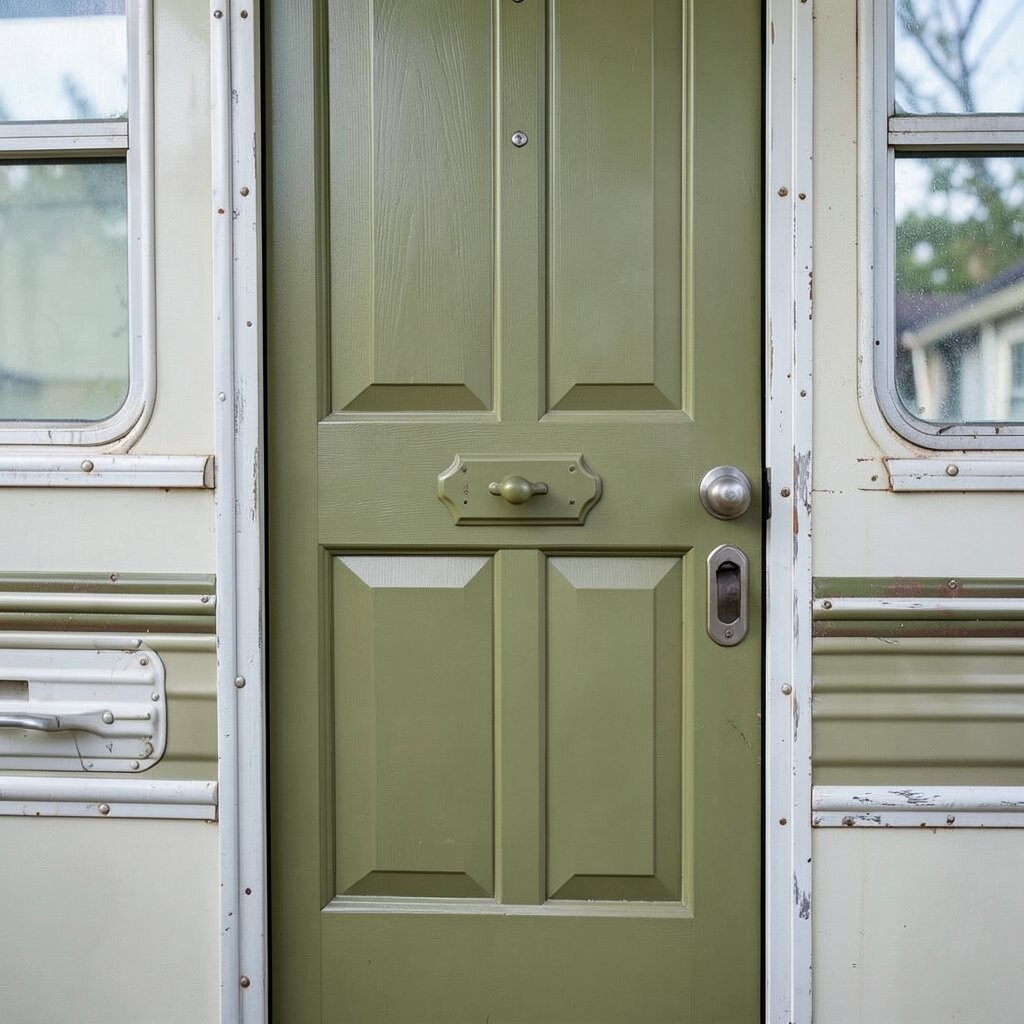
15. Olive Green Door With Faux “Hardware Plate” Details
Olive Green Door With Faux “Hardware Plate” Details
Imagine an olive green door with painted plates around the latch and handle. The plates look like decorative hardware even if you keep the original parts.
This design is practical because it draws attention to the door hardware and makes everything look more intentional. Paint plates in a slightly lighter or darker olive, then add metallic edges for a vintage effect. Seal the whole door so the paint won’t rub off from frequent use.
To personalize, copy the shape of a plate from a vintage tool or picture frame. You can also paint tiny screws as dots around the edges for extra realism. Cost considerations are favorable because you’re using mostly one base color plus a small amount of metallic paint.
Trend-wise, “faux detail” is a popular way to upgrade without replacing parts. It’s also a fun skill-builder because it helps you practice lines and shading.
16. Cream Door With a Painted “Railroad Stripe” Look
Cream Door With a Painted “Railroad Stripe” Look
Railroad stripe style brings bold movement to a vintage RV door. Picture a cream base with diagonal stripes that run through the middle like an old travel poster.
This approach helps your door stand out in a campground picture, and it can also hide worn spots. Use measuring tape and tape guides so the angles stay consistent. When you paint, do darker colors first and lighter colors last for cleaner coverage.
Personalize the stripe colors with your RV’s palette, like maroon and tan or navy and gold. For tips, keep stripe width simple and avoid too many colors so it doesn’t feel busy. Budget-wise, it’s usually just two or three paint colors plus tape and primer.
17. Charcoal Door With Light Gray “Stencil Corner” Accents
Charcoal Door With Light Gray “Stencil Corner” Accents
A charcoal door with light gray stenciled corners looks modern but still vintage. The stencils feel like classic wallpaper details and add structure to the panel surfaces.
This finish is a great pick if you want something classy and low-maintenance. Stenciled corners are small areas, so you can keep your time and paint use under control. Use a stencil with repeating patterns, and secure it well so paint doesn’t seep under the edges.
Personalize by choosing a stencil with vines, geometric shapes, or tiny fleur-de-lis. You can also add a thin line between stencil sections to tie the design together. Cost considerations are light because you’re using mostly one base color and one accent color.
18. Soft Yellow Door With a Painted “Curtain Tie” Motif
Soft Yellow Door With a Painted “Curtain Tie” Motif
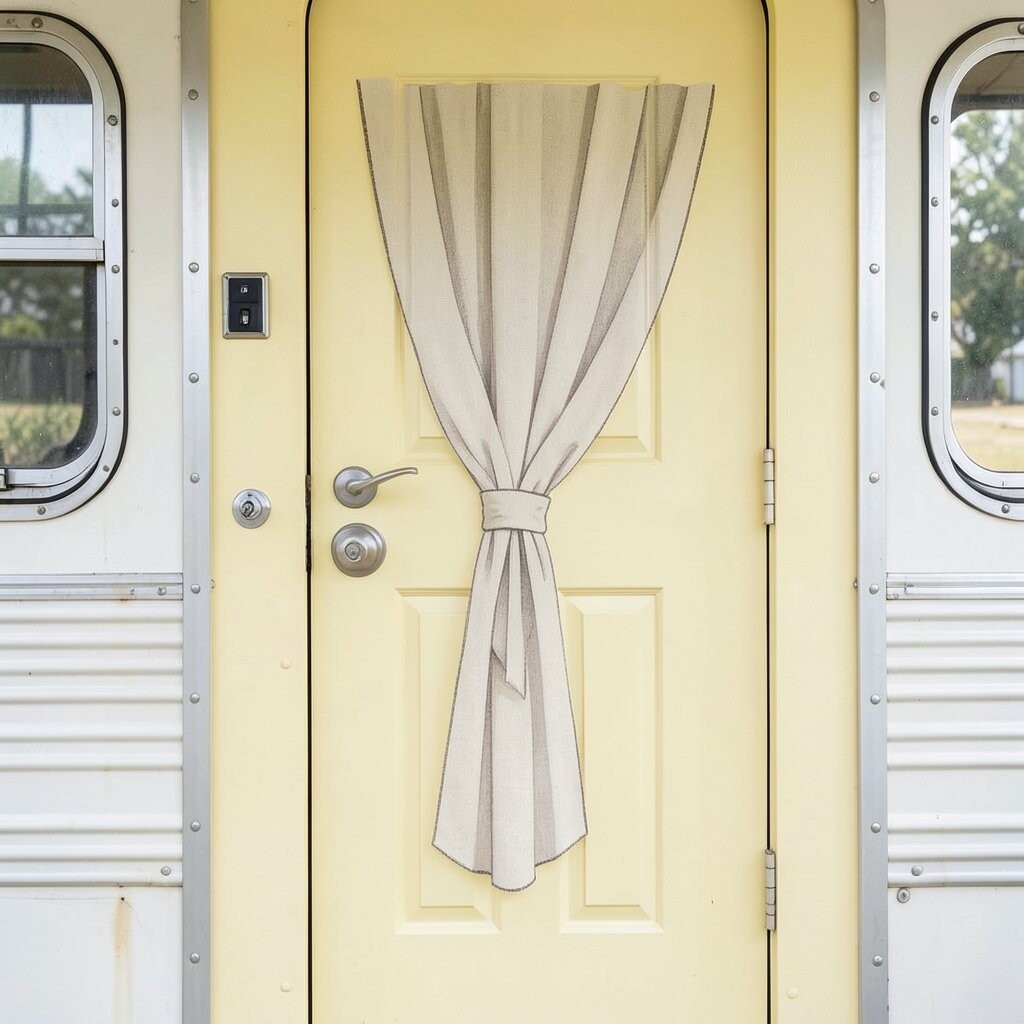
A soft yellow door feels bright and friendly, like morning light. Add a painted curtain tie motif near the top center or along the handle area for a playful vintage touch.
This design is irresistible because it turns a functional door into a little storytelling moment. Use a simple bow shape, then add shading under the “tie” so it looks lifted. Seal everything with an exterior clear coat to protect from sun and rain.
To personalize, match the “tie” color to your interior pillow covers or curtains. You can also paint tiny dots or stripes that echo your RV’s trim. Costs are usually affordable since yellow plus one accent color does most of the work.
For tips, keep your tie motif small and centered for a clean look, especially if your door has many panel lines. The right scale makes the door feel styled, not crowded.
19. Deep Forest Door With a Painted Evergreen Wreath
Deep Forest Door With a Painted Evergreen Wreath
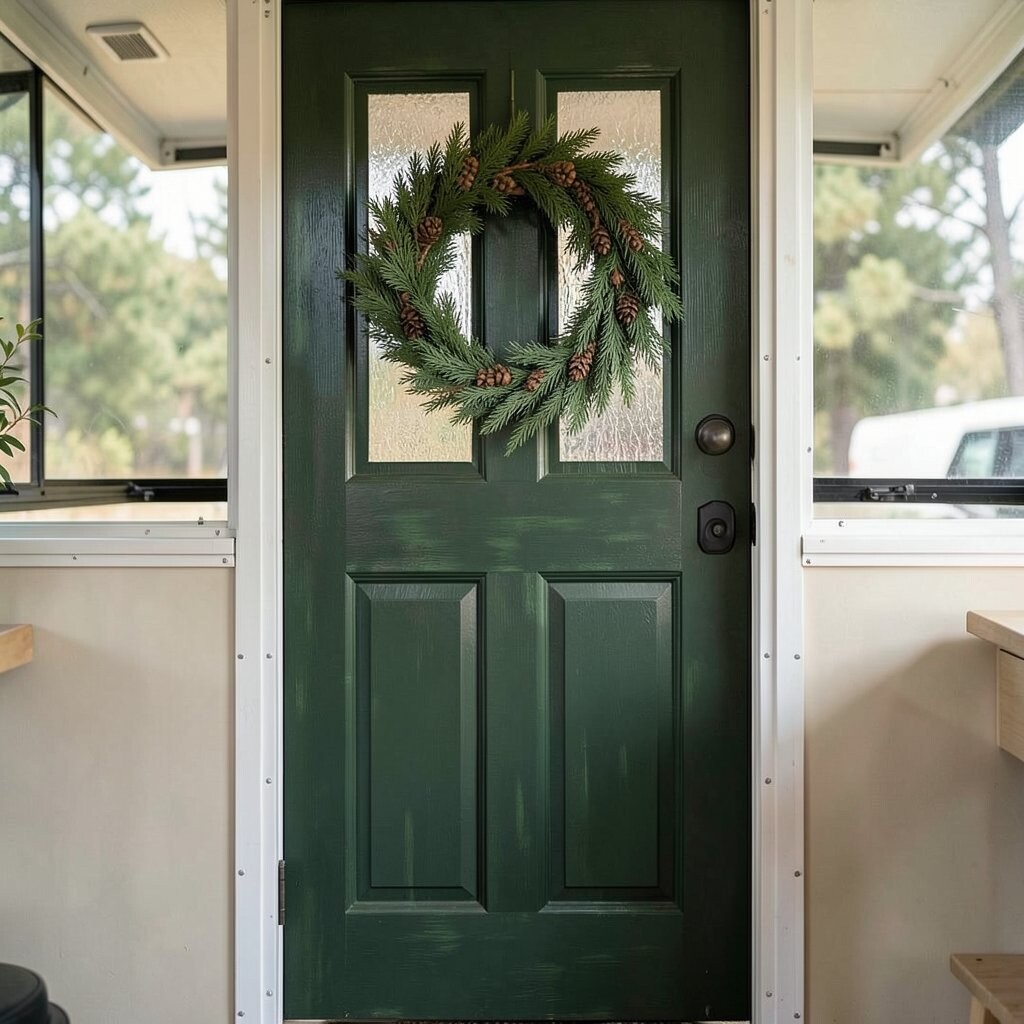
Deep forest green is rich and bold, and an evergreen wreath makes the door feel seasonal all year. The wreath can sit above the handle or on one panel like a gentle tradition.
This idea is unique because it feels like holiday décor while still reading vintage. Use a wreath stencil or lightly sketch a circle, then fill with small leaf shapes using two greens for depth. Add a small banner strip at the bottom if you want a custom message.
Personalize it with your RV’s name, a family date, or a simple word like “Gather.” Cost considerations are moderate because you’ll use multiple greens, but you can keep it efficient with small amounts of paint. For trends, wreath-style accents are popular again in vintage crafts and farmhouse design.
20. Vintage Wallpaper-Inspired Door Panels (Painted Panels Only)
Vintage Wallpaper-Inspired Door Panels (Painted Panels Only)
Instead of applying actual wallpaper, paint a wallpaper-inspired pattern inside the door panels. Imagine muted florals, tiny dots, or small vine lines that look like old printed fabric.
This option is helpful because you get the look of wallpaper without worrying about peeling edges. Use a stencil or freehand pattern on each panel section, then keep the background color simple so the details stand out. A satin topcoat makes the surface easier to clean while still looking vintage.
To personalize, choose a pattern theme that matches your RV’s personality, like cottage flowers, classic stripes, or vintage botanical sketches. Budget-wise, stencils and paint cost less than wallpaper and labor, especially if your door has multiple sections you can repeat. If you want extra protection, apply two thin clear coats and let each coat dry fully.
For best tips, start with one panel first, then review it from outside at different distances. When you like what you see, repeat the pattern on the rest with the same spacing. This careful step helps the door look balanced and intentionally designed.