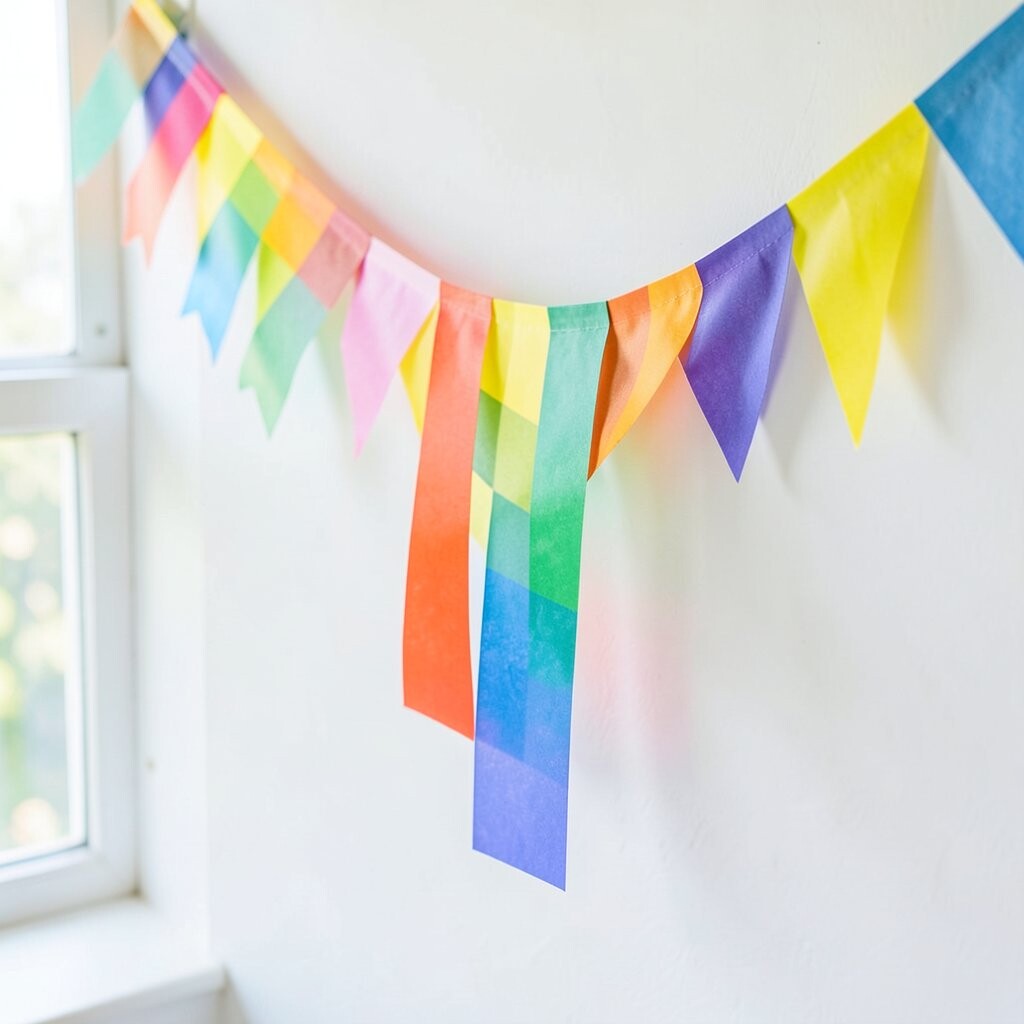
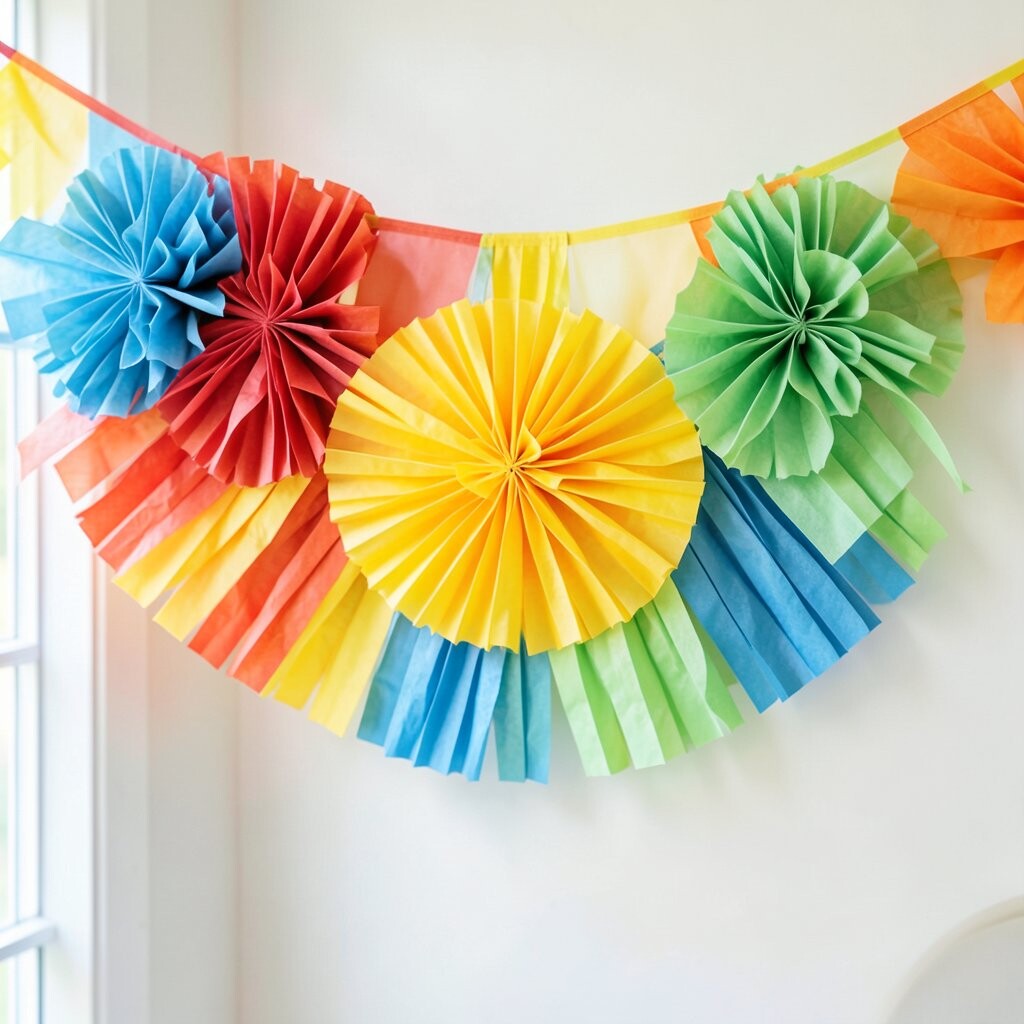
Cut colorful paper into simple rectangles and fold them like tiny fans. When you string them together, the bunting looks like a rainbow fluttering in the air.
Kids love how the fans catch light and move when someone walks past. This project builds fine motor skills and helps kids practice measuring and spacing.
Use washable glue sticks for easy cleanup and thick string so the pieces hold firmly. Let each child choose one favorite shade and name it, like “Sunshine Yellow” or “Bubblegum Pink.”
Tip: For a low-cost option, use old craft paper, magazine pages, or scrap wrapping paper. A trending twist is to add subtle metallic accents with gold or silver markers for that “party sparkle” look.
2) Photo Memory Pennant Line
) Photo Memory Pennant Line
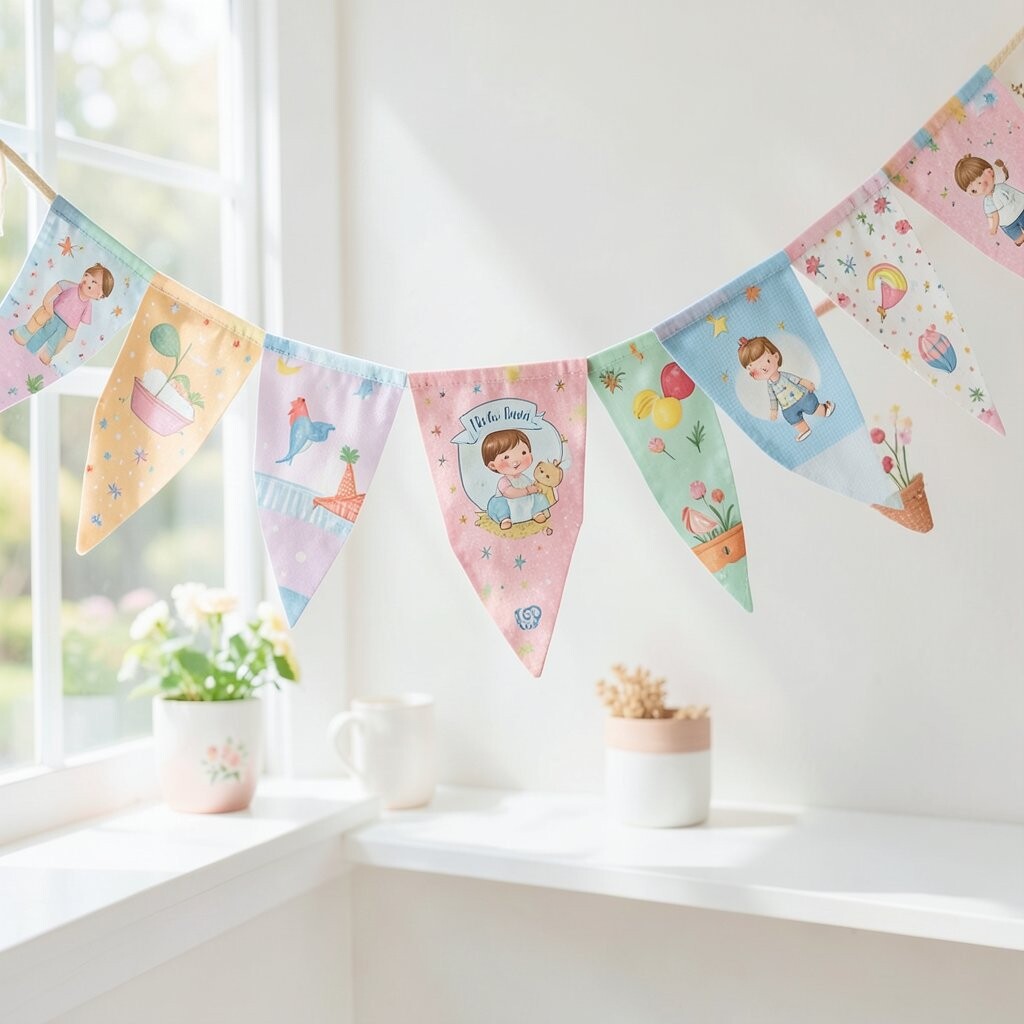
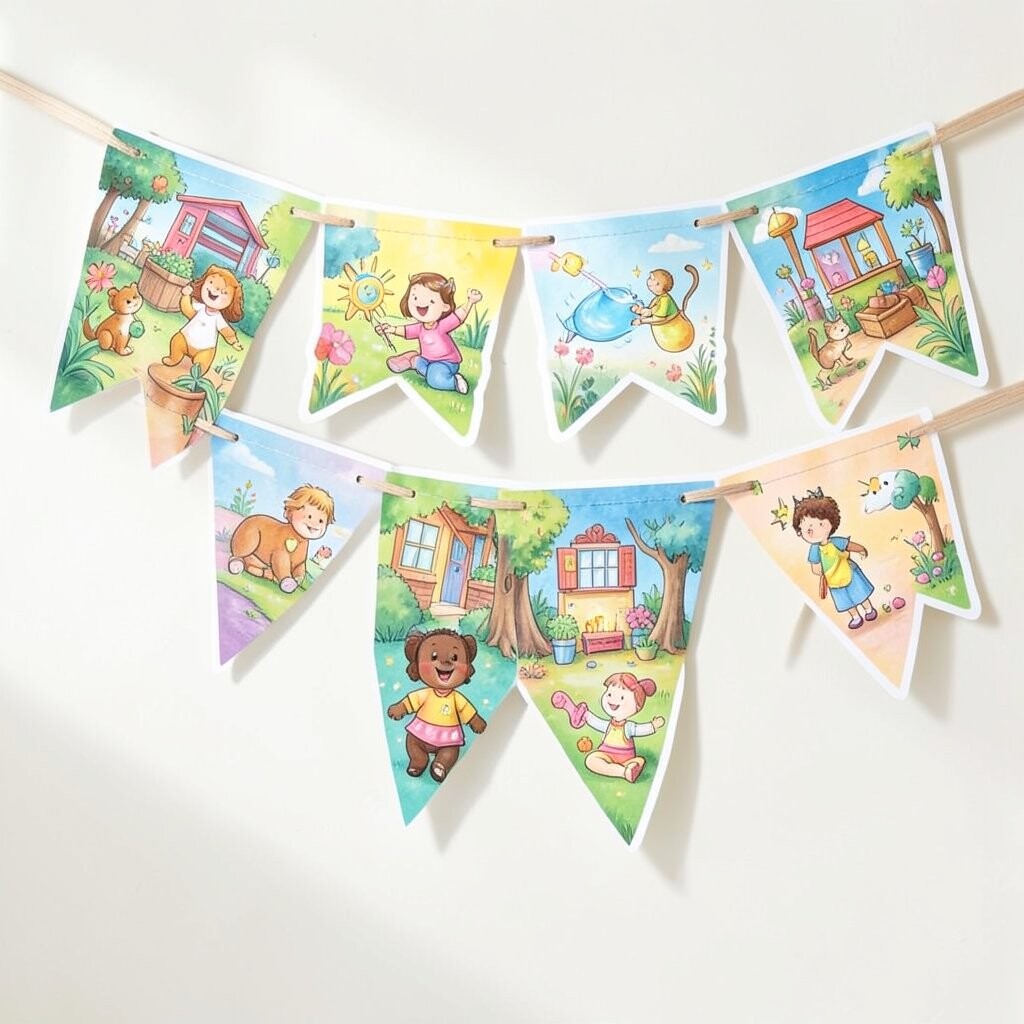
Print small photos of family, pets, or favorite places and frame them with bright cardstock. Stitch each photo into a tiny pennant shape so the bunting becomes a walking memory wall.
This idea is special because it turns “everyday moments” into something you can hang and admire. It also encourages kids to talk about their memories, which can feel soothing and fun.
To make it easier, pre-cut pennant templates and have kids decorate the borders with stickers. Personalize each flag with a short caption they dictate, like “Best Day Ever” or “My Super Cat.”
Cost note: If printing is pricey, use coloring-page images or printed drawings from home. A current trend is adding one solid background color behind photos so everything looks neat and cohesive.
3) Fabric Scrap Braided Bunting
) Fabric Scrap Braided Bunting
Gather scraps of old T-shirts, socks without pairs, and leftover fabric bits. Cut them into strips and braid them into short sections that hang like soft ribbons.
The look is cozy and textured, like a handmade blanket turned into a banner. It feels unique because no two braids will match, even if kids use the same colors.
This project supports creativity and can be easier than sewing. It also gives kids a safe, tactile way to create art while staying seated or working on the floor.
Use fabric glue or tie simple knots at the ends to secure each braid. Personalize by letting each child create a “character color team” and name the team on a small tag.
4) Starry Constellation Cutout Bunting
) Starry Constellation Cutout Bunting
Cut star shapes from black paper and glue them onto colorful strips of paper. Add small dots with white gel pens to make each star look like it belongs to a constellation.
The visual effect is magical, especially when you hang it near a window. Kids benefit because drawing the dots helps with hand control and pattern awareness.
For extra fun, label each constellation with a kid’s nickname, like “Captain Comet” or “Luna’s Club.” Use glow-in-the-dark stickers sparingly so it stays safe and not too messy.
Budget idea: Use craft store clearance paper or print star templates from home for free. A current trend is “space-themed” decor with bold colors like teal, purple, and bright blue.
5) Origami Heart Chain Banner
) Origami Heart Chain Banner
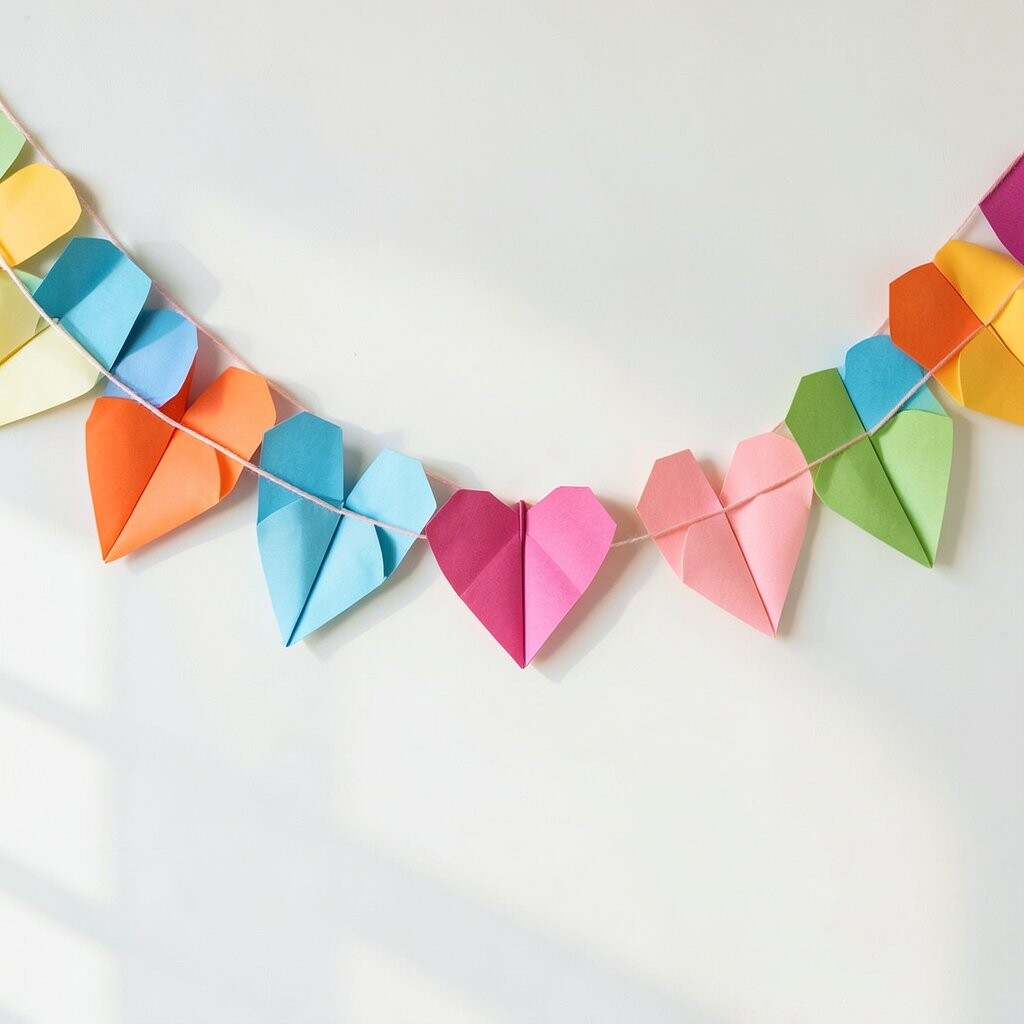
Fold paper hearts or use pre-folded heart templates, then connect them into a long chain. Hang the chain as bunting, letting hearts sway gently.
This idea feels sweet and romantic while still being kid playful. It can also be a great way to practice patience because folding takes steady focus.
Let each child pick a message for their hearts, such as “Kindness,” “Friendship,” or “You’re Awesome.” Personalization can be as simple as writing one word on each heart in thick marker.
Cost note: Printer paper, scrapbook paper, or even plain colored paper works. For a trendy look, mix matte paper with a few shiny gold or pastel gradient sheets.
Hang it in doorways, across shelves, or around a little “reading fort” corner. If hearts are tricky, swap to heart stickers on larger flags.
Safety suggestion: Use blunt scissors for kids and keep glue away from paper edges that need to bend.
6) Balloon-Themed Burst Bunting
) Balloon-Themed Burst Bunting
Create burst shapes by cutting circle-like waves from bright cardstock. Add mini balloon drawings or sticker balloons inside each burst.
Kids will love how it looks like a party is popping right on the wall. This bunting adds energy to play spaces and can boost excitement for events like birthdays or classroom celebrations.
Use different sizes so the bunting feels dynamic and “alive.” Personalize by giving each burst a balloon color name and adding a tiny “party forecast” like Sunny or Confetti Time.
Tip: Try using colored construction paper and foam stickers for an easy 3D effect. For current trends, match the burst colors to popular solid palettes like hot pink, lime green, and sky blue.
7) Weather Report Flag Line
) Weather Report Flag Line
Make small flags showing weather icons: sun, cloud, rain, and lightning. Kids can draw them with markers, then attach each flag to a string with clothespins or tape.
This bunting helps kids learn vocabulary and notice patterns in the day. It’s also fun because it turns a normal lesson into something visible and playful.
Set a daily routine: kids choose which icon goes up that morning. Personalize each icon with a kid’s “mood weather,” like “Cloudy but Cozy.”
Cost consideration: You can use scrap paper or old file folders. If you want it sturdier, laminate the icons with clear packing tape.
8) Mini Mural Sticker Pennants
) Mini Mural Sticker Pennants
Use sticker sheets featuring animals, flowers, or superheroes and place them on small pennants. Add a bright border around each sticker so the bunting pops.
The look is bold and clean, with a gallery feel. Kids get quick wins, which helps them feel proud and motivated.
Personalize by letting kids choose a theme like “jungle day” or “dragon parade.” Give each pennant a title phrase like “Roar Row” or “Sunny Garden.”
To keep it kid-friendly, use pre-cut pennant shapes and double-sided tape. This also reduces the mess compared to glue.
Budget note: Use leftover stickers or trading-card packaging art. A current trend is mixing “planner style” mini stickers with bright ribbon for a scrapbook-inspired look.
9) Washi Tape Rainbow Strand
) Washi Tape Rainbow Strand
Wrap a plain string or thin twine with colorful washi tape in vertical stripes. Create “flag sections” by folding tape into small loops or attaching tiny paper rectangles between tape bands.
This bunting is fast and surprisingly durable, especially for kids’ rooms. It also teaches kids about color order and simple spacing.
Let children design their own patterns—polka dots, stripes, or a “color surprise” mix. Personalize with tiny star stickers or handwritten mini labels using a fine-tip marker.
Cost note: Washi tape can be pricey, but you can buy a small set or reuse tape from craft boxes. For a trendy effect, choose tapes with holographic or pastel designs for one matching accent strip.
Hang it along a window frame or across a desk so it feels like a creative “work zone.” If tape is hard to peel, adult help for the first strip is okay.
10) Painted Spoon Flag Crafts
) Painted Spoon Flag Crafts
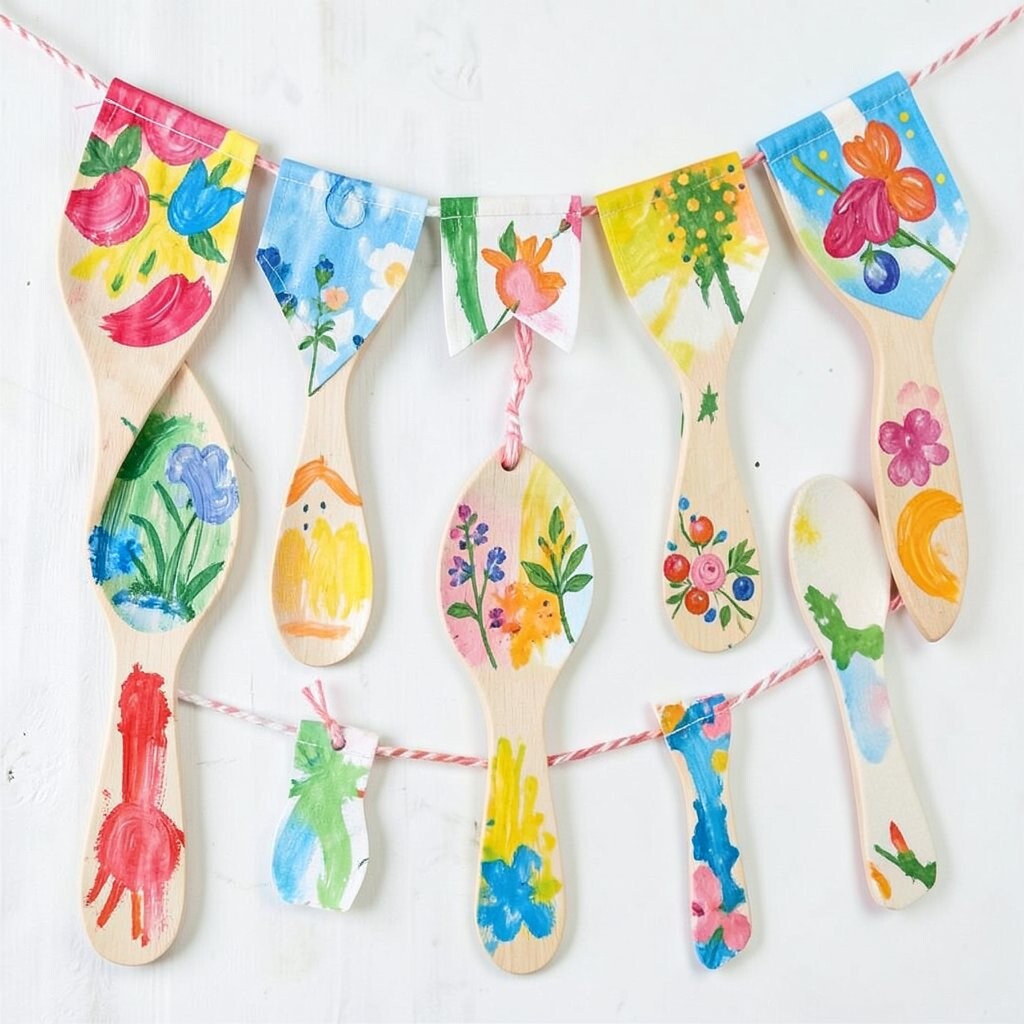
Use wooden craft spoons or plastic spoons and paint small designs on them. Tie each spoon to a string using yarn, creating spoon flags that sway like little banners.
The visual is playful and unusual, almost like a parade of tiny characters. This project is great for kids who love building and inventing silly things.
Benefits include practicing safe painting, learning about balance, and using colors intentionally. Personalize each spoon with a face, a favorite animal, or a simple letter.
Cost consideration: Wooden spoons are usually affordable, and you can save them for craft use. A current trend is upcycled decor, where everyday items become party materials.
11) Button and Ribbon Joy Garland
) Button and Ribbon Joy Garland
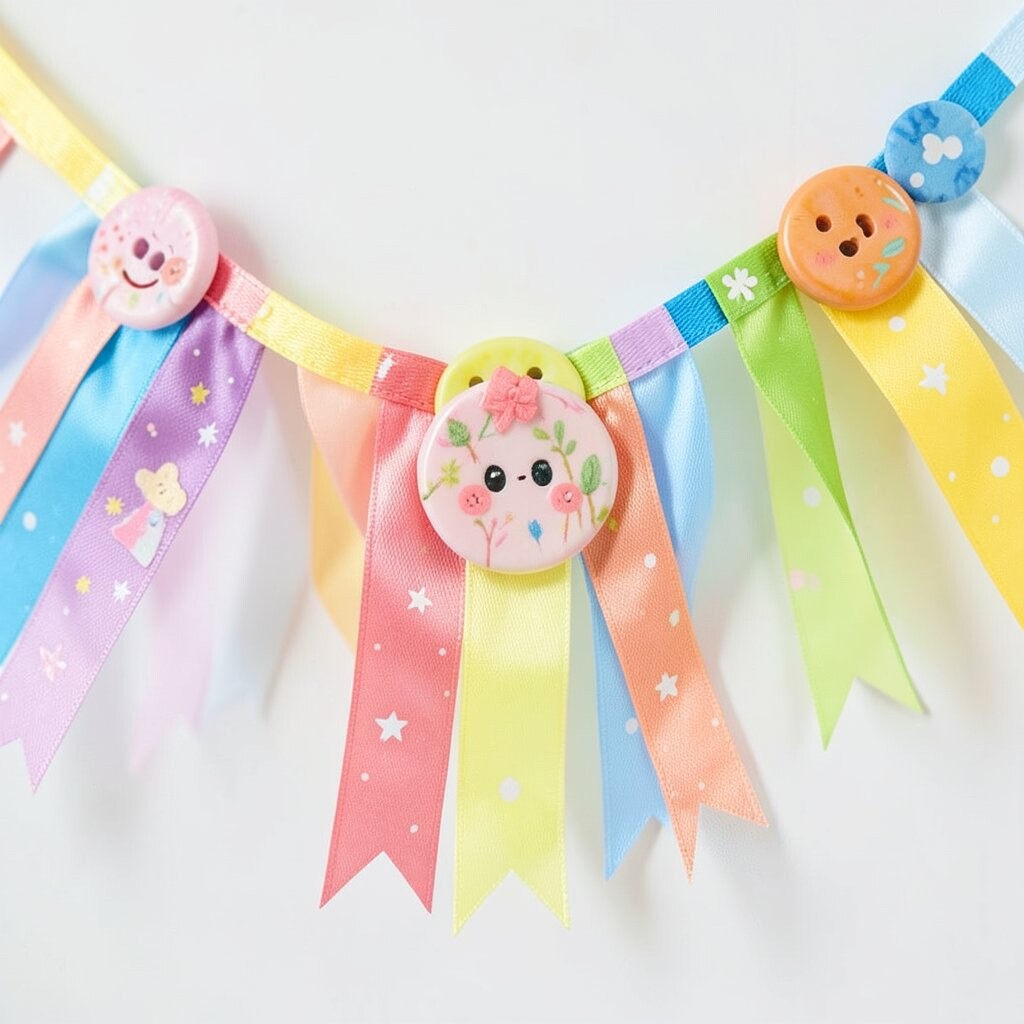
Thread large buttons onto ribbon, alternating colors and shapes. Between button clusters, tie small paper flags so you get both sparkle and structure.
This bunting feels charming and “cozy craft shop” style. Kids benefit because they practice threading and sorting, which can strengthen focus and patience.
To make it safer and easier, use a wide ribbon and large holes. Personalize by letting each child create a “button story” with one button representing a friend, a pet, or a favorite snack.
For a polished look, use a simple color palette like teal, mustard, and cream. Cost note: Buttons can be free from spare jars, while ribbon can be reused from gift wrap.
12) Chalkboard Mini Message Pennants
) Chalkboard Mini Message Pennants
Make pennants from small pieces of cardboard and coat them with chalkboard paint or chalkboard paper. Kids can write new messages each day with bright chalk.
This idea is interactive, so the bunting never feels “done.” It supports self-expression, and kids can practice spelling, positive affirmations, and friendly reminders.
Personalize each flag with a kid’s name and a short phrase like “Be Brave” or “Share Smiles.” Add tiny doodles like hearts, suns, and moons to make it feel personal.
Tips: If you don’t want paint, use chalkboard contact paper. Hang with clothespins so kids can swap messages easily.
Cost note: Small chalkboard pieces are often cheaper than buying full chalkboards. A current trend is “changeable decor,” where kids rotate designs to match seasons and moods.
13) Paper Lantern Tassel Bunting
) Paper Lantern Tassel Bunting
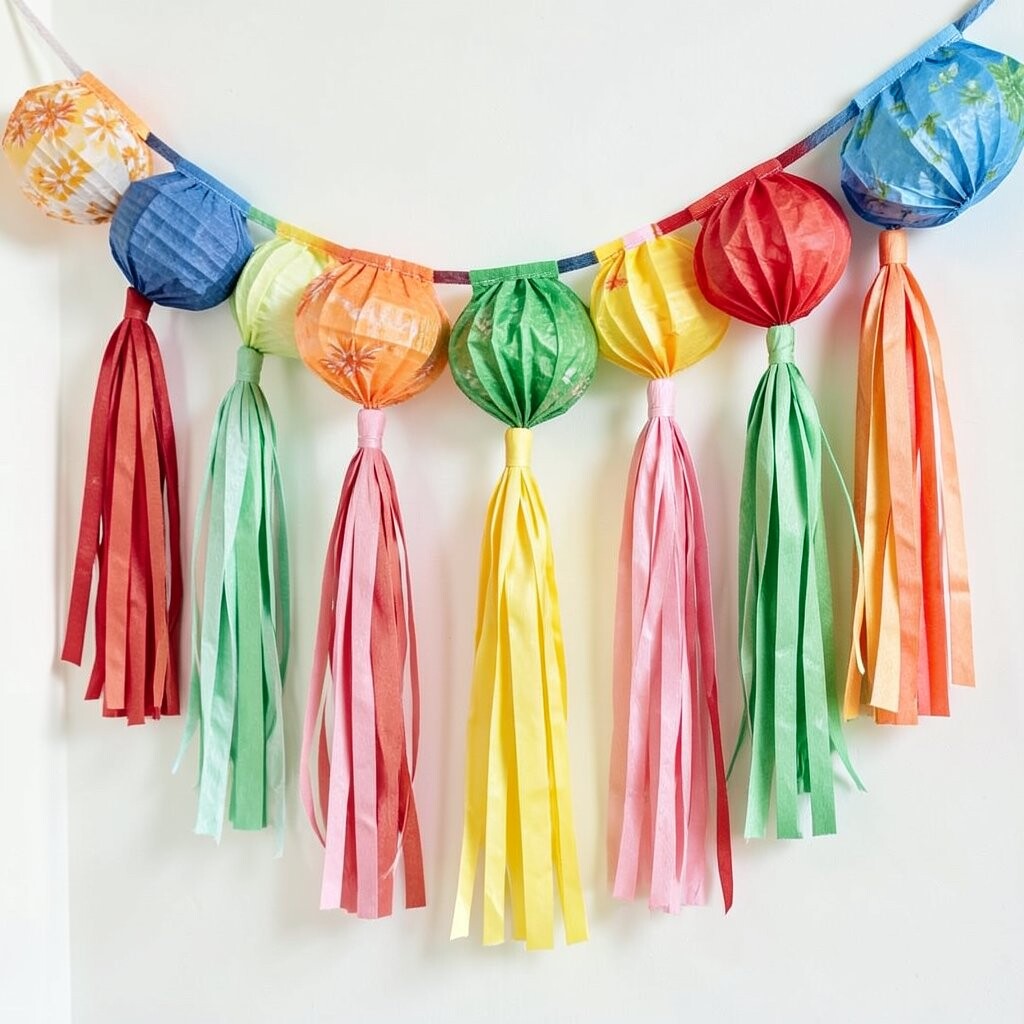
Fold paper into lantern shapes and add tassels at the bottom using strips of tissue or crepe paper. String the lanterns along with tassel pieces so the bunting looks like soft fireworks.
The visual is bright, floaty, and perfect for evening events. Kids love the swish sound and the way the tassels move when the air shifts.
This craft builds excitement while teaching kids about layering and assembly steps. Personalize each lantern by choosing a color theme and adding a simple symbol like a star or flower.
Budget idea: Use tissue paper scraps and leftover wrapping paper for lantern sides. For a trendy look, mix warm colors like orange and peach with cool teals and purples.
14) Alphabet Clip-On Banner
) Alphabet Clip-On Banner
Create pennants with letters and hang them using mini clothespins. Each letter can be decorated with a drawing that starts with that letter.
This is great for learning because it makes reading feel playful. It also helps kids practice recognizing shapes, sounds, and spelling.
Personalize by letting kids pick the letters they want to feature, like those in their name. Tip: add a small picture next to the letter, like “B” with a butterfly.
Cost consideration: Use scrap paper and old cereal-box cardboard for thicker pennants. For current trends, match the letters to a modern color theme like black-and-neon or rainbow with white spacing.
15) Recycled Magazine Confetti Pennant Line
) Recycled Magazine Confetti Pennant Line
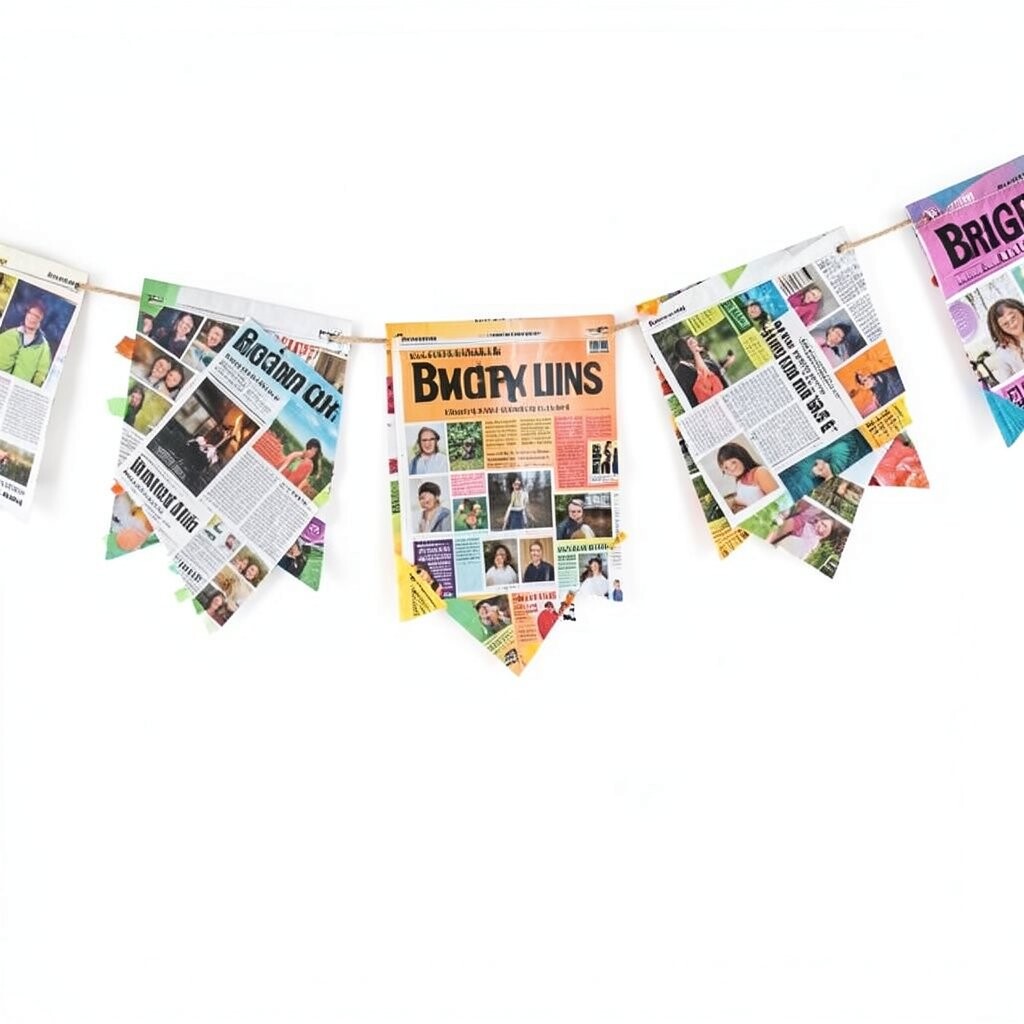
Cut small rectangles from magazine pages and roll them into “confetti tubes.” Glue or tape the tubes onto pennant bases so each flag looks speckled and bright.
The bunting looks textured and colorful, like tiny celebration pieces. Kids will enjoy spotting pictures they recognize and learning to sort colors and shapes.
This project supports creativity because there’s no single “right” design. Personalize by letting kids choose a favorite magazine section—sports, food, animals—and build a theme.
Use a sturdy string and reinforce the top edge of each pennant base with extra tape. Cost note: This is often free if you already have old magazines.
Trend: Many classrooms use upcycled collage art for a “mixed media” style. Add a few plain-color flags between collage flags to help the design breathe.
16) 3D Pom-Pom Mini Flag Bunting
) D Pom-Pom Mini Flag Bunting
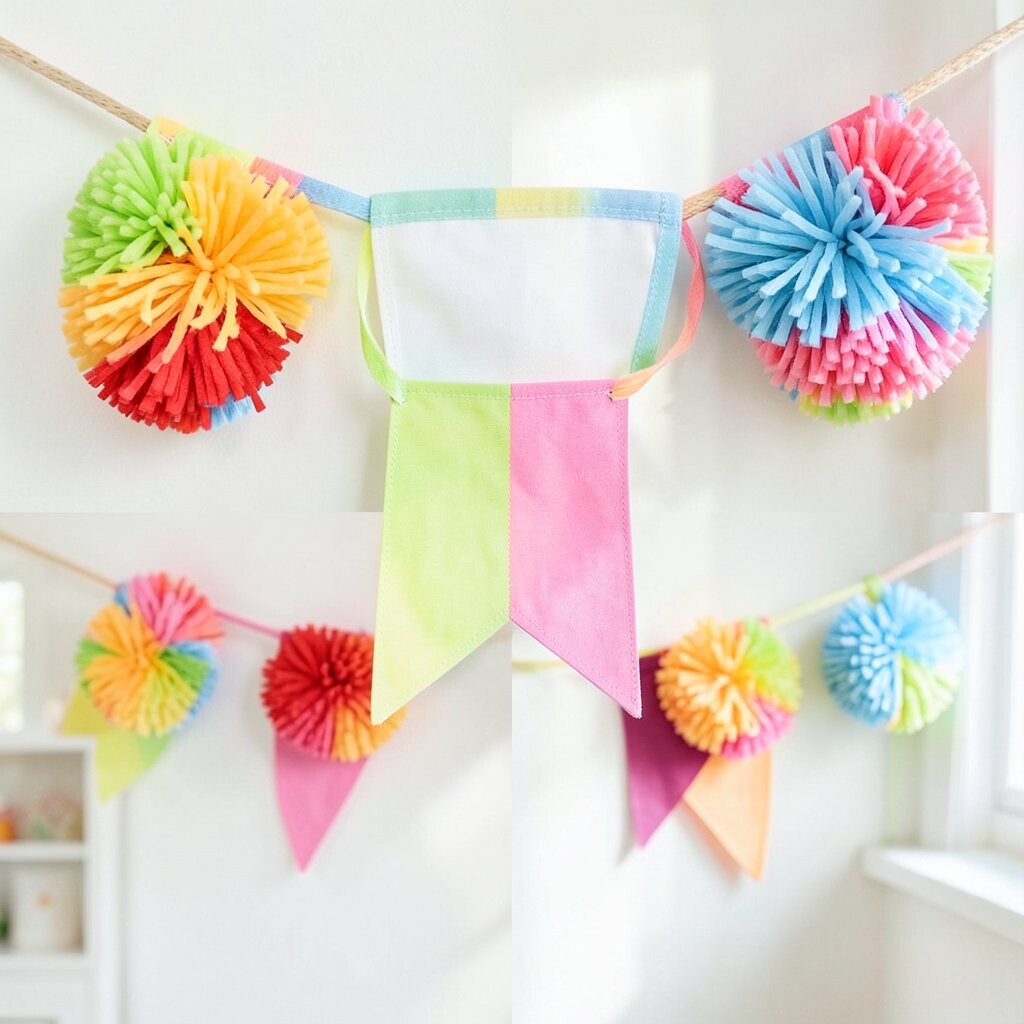
Make pom-poms from yarn or use store-bought mini pom-poms. Attach each pom-pom to a string, then add flat paper flags between them.
The 3D look is adorable and bouncy, and it feels like a cloud parade. Kids benefit because building pom-poms strengthens motor skills and makes them feel proud of a tactile result.
Personalize by using the pom-poms to match kids’ favorite colors or birthstone shades. Add tiny heart stickers to pom-poms or write a single initial on each paper flag.
Cost consideration: If you already have yarn, you’re set. If buying pom-poms, look for multipacks during craft sales to save money.
Tip: For a trendy “cozy modern” look, choose two main colors and one neutral color like cream. Too many colors can make the banner look busy, so balancing helps.
17) Animal Mask Parade Pennants
) Animal Mask Parade Pennants
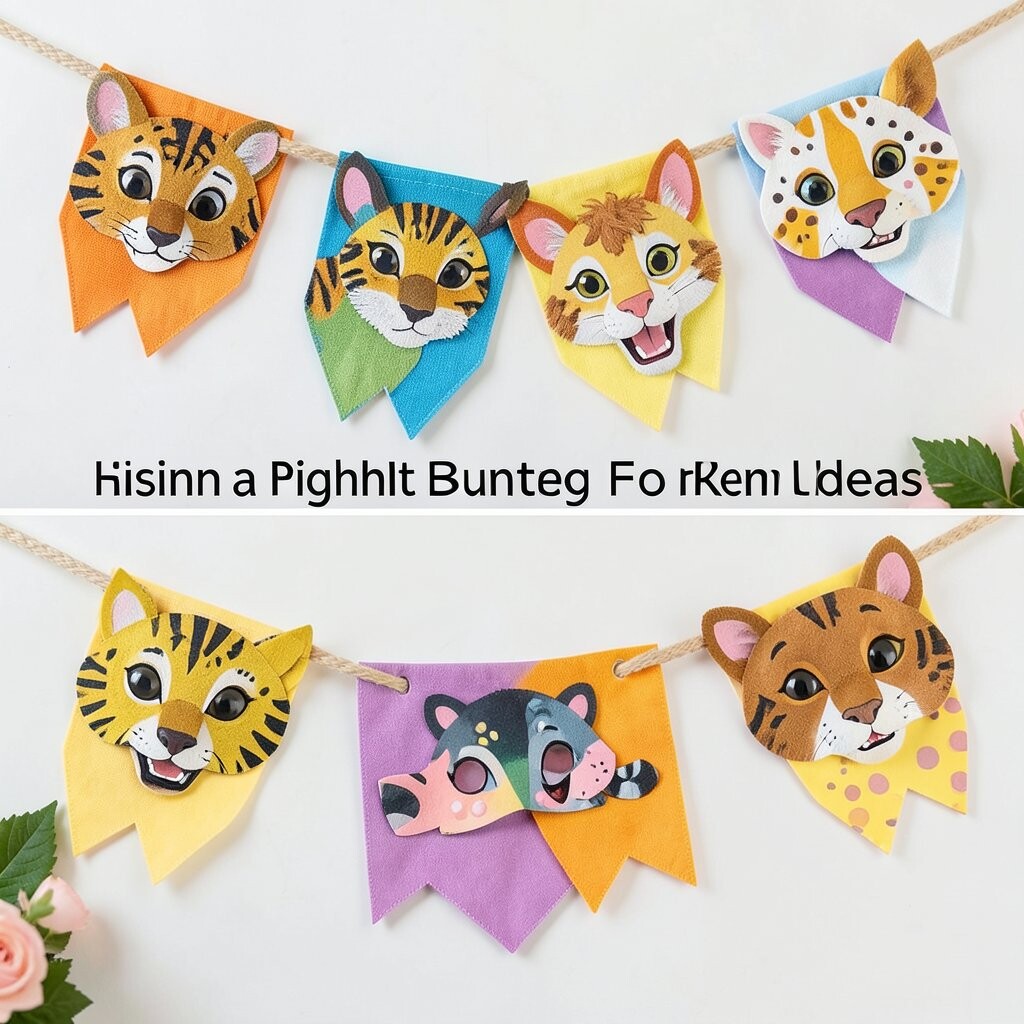
Cut pennant shapes and add animal mask faces—fox, cat, bear, or bunny—on each one. Use bright felt for ears and markers for whiskers and noses.
The visual is funny and expressive, like the bunting is full of friendly characters. Kids enjoy role-play, so they can “talk” to their masks as they hang the banner.
Benefits include storytelling practice, because kids can invent little scenes. Personalize by giving each pennant a personality trait like “Brave Bunny” or “Silly Squirrel.”
Cost note: Felt can be pricey, but small scraps go a long way. A current trend is felt-and-marker combos because they look handmade and clean together.
18) Sunburst Tissue Paper Swoop Banner
) Sunburst Tissue Paper Swoop Banner
Create sunburst shapes from tissue paper circles and stack them on cardstock bases. Add a strip of ribbon through the center so kids can hang them as swooping bunting pieces.
This craft brings a “festival” vibe with soft, glowing color layers. Kids benefit from learning how to stack materials and notice how color changes when layers overlap.
Personalize each sunburst by drawing tiny rays with glitter glue or colored pens. Tip: let kids choose whether each sunburst shows a smiling face, a star, or a simple pattern.
Cost consideration: Tissue paper is usually affordable and often found in party packs. For trending style, use ombré tissue colors like pink-to-orange for a modern sunset effect.
19) Kite Cutout Name Banner
) Kite Cutout Name Banner
Cut kite shapes from paper and write each child’s name on one kite. Add a fun border, like scallops or tiny triangles, so every kite looks like it’s flying.
This bunting feels special because it celebrates identity and makes a “personal show.” Kids benefit from letter practice and confidence, especially when they see their name up close.
Personalize by letting kids color the kites in any style they want: stripes, rainbow gradients, or doodle patterns. Add a small “message kite” if kids can’t write yet—use stickers and picture symbols.
Cost note: Kite templates can be drawn on scrap paper, and the rest is just decorating. A current trend is bold typography art, so thick markers and clear lettering make it look extra modern.
20) Seasonal Scallop Leaf Garland Bunting
) Seasonal Scallop Leaf Garland Bunting
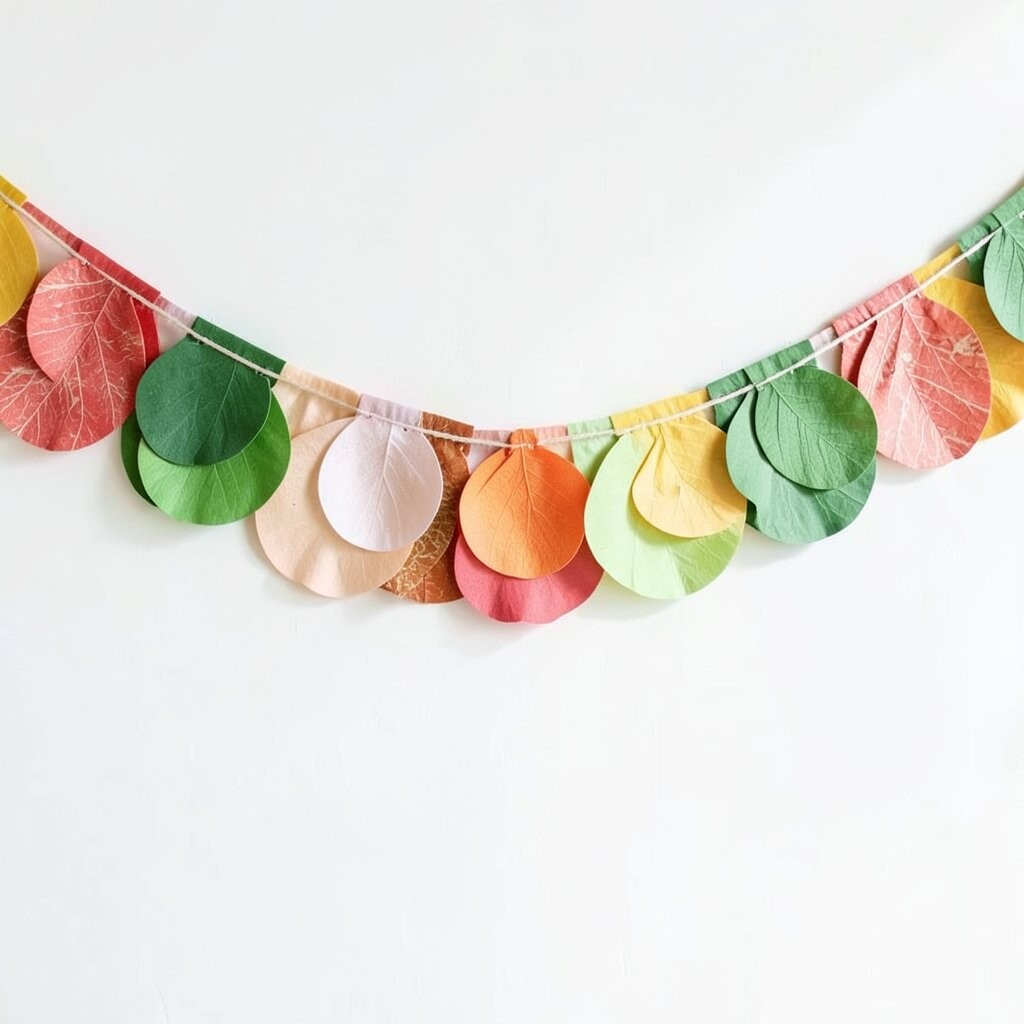
Cut scallop-edged leaves from colored paper and string them into a leaf garland bunting. Mix leaf colors to match the season you love, like spring pastels or autumn brights.
The visual is fresh and lively, and it can make outdoor play feel cozy. Kids benefit from learning about nature colors and practicing careful cutting.
Personalize by adding leaf “veins” with marker lines and writing a short fact on the back. If your kids enjoy science, turn it into a pretend “leaf scientist” project.
Cost consideration: Scrap paper and paper grocery bags work great when cut carefully. Tip: use a simple hole punch at the leaf tips and thread with twine for quick assembly.
Trend: Many families now use nature-inspired crafts indoors, like faux foliage and handmade seasonal decor. Bright leaves in a clean color palette look especially stylish.
21) Metallic Marker Pattern Flag Line
) Metallic Marker Pattern Flag Line
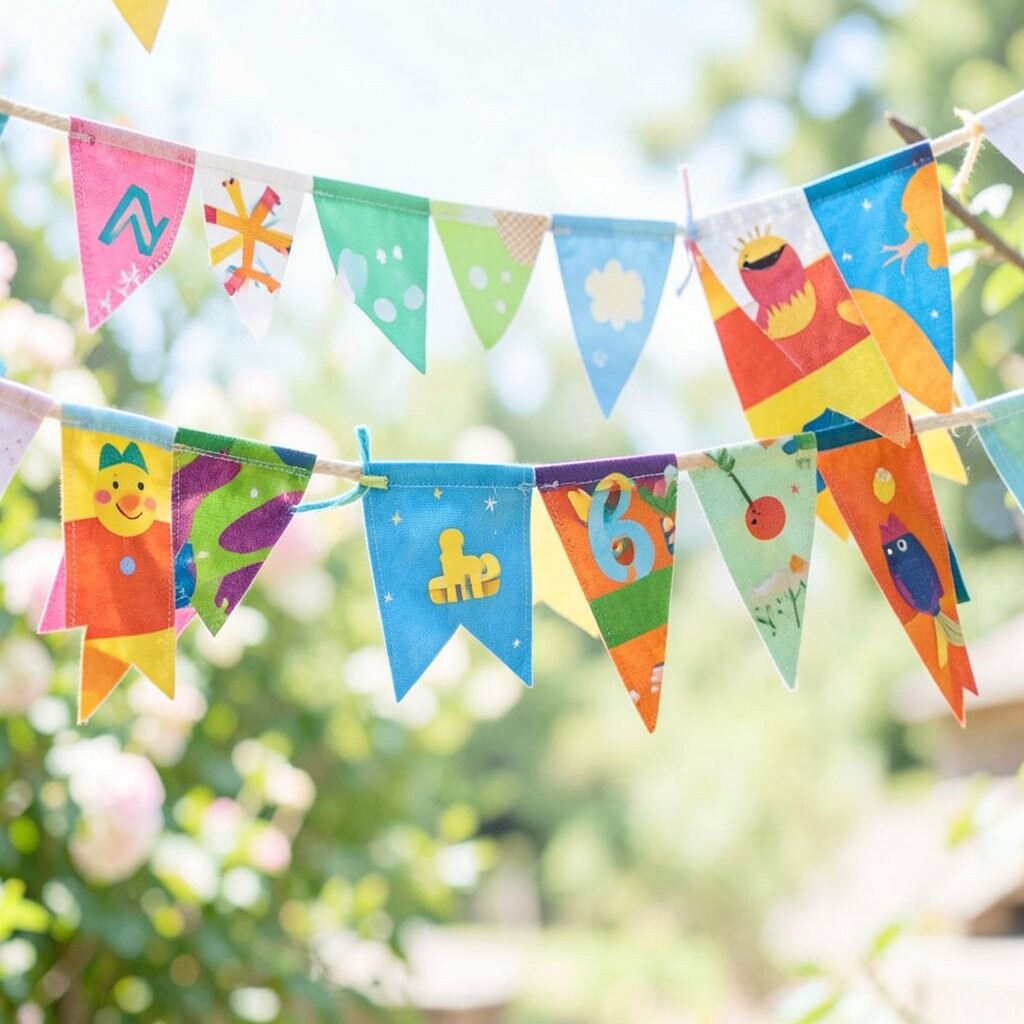
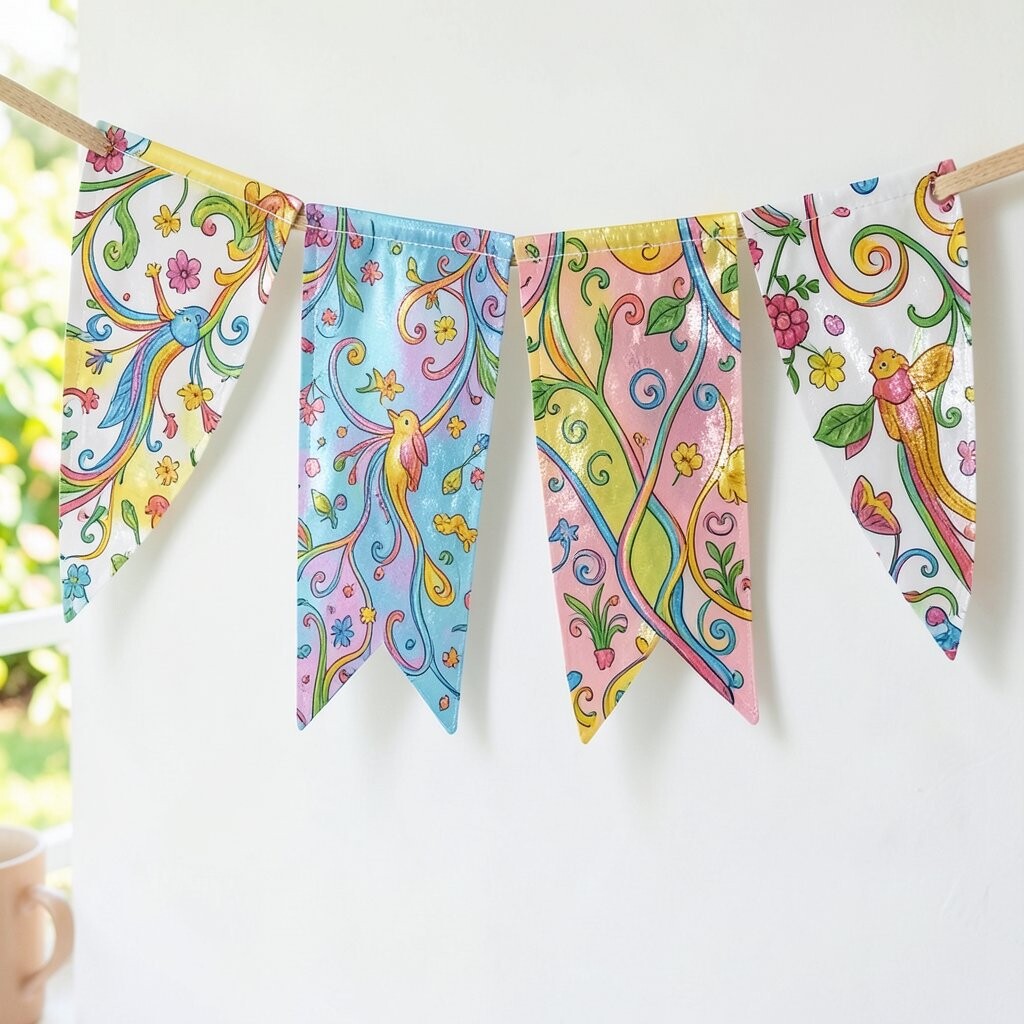
Use plain fabric or paper flags and let kids draw patterns using metallic markers. Try zigzags, polka dots, or repeating shapes for a bold look.
The visual spark is eye-catching, especially in daylight. Kids benefit because marker work builds grip strength and encourages them to slow down and focus.
Personalize by letting kids pick one pattern they call “their signature.” Add a small sticker number or symbol if kids want to track their patterns across different bunting sections.
Budget note: Metallic markers can last a long time, so you don’t need many colors. For current trends, mix metallic lines with matte backgrounds for that crisp, modern contrast.
Hang it in a study nook, craft corner, or near a toy shelf so it becomes a cheerful backdrop. If fabric flags are used, secure edges with fabric glue or tape so they hold their shape.
22) Giant Cardboard Window Frame Parade
) Giant Cardboard Window Frame Parade
Make a big window frame from cardboard and cut out rectangles for mini bunting strands. Kids decorate each mini panel with bright colors, then hang tiny flags from the frame like a parade bridge.
This idea looks dramatic and feels like a special photo spot. Kids benefit because they get both a craft and a play structure, so imagination can run wild.
Personalize by turning each panel into a “scene,” like a beach scene with waves or a city scene with buildings. Tip: add small pockets behind each panel so kids can swap decorations depending on the day.
Cost consideration: Cardboard is often free from deliveries, and paint can be reused. If you want a faster option, use thick markers and colored paper instead of painting.
Trend: Interactive photo corners are popular for parties and events, so this can become a “mini stage” for family pictures. Keep the frame sturdy with extra cardboard layers where kids might bump it.