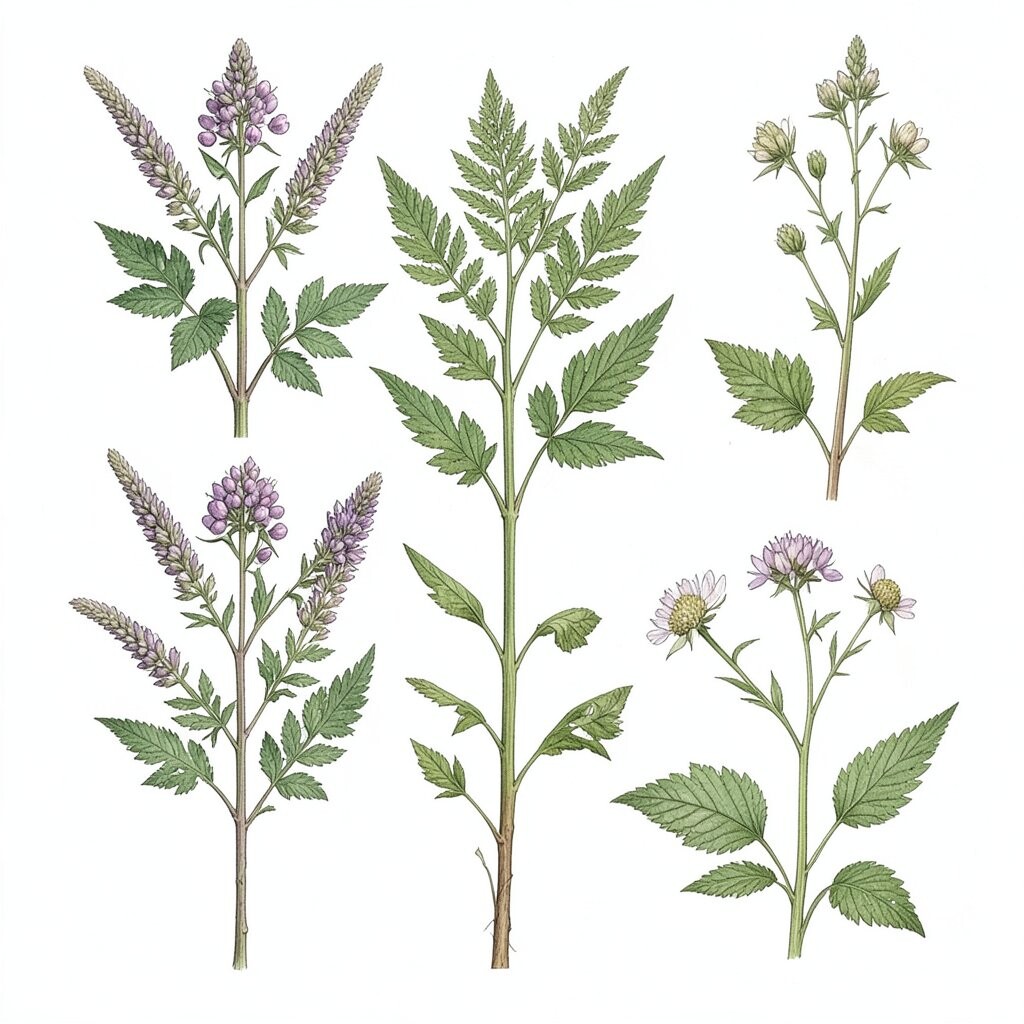
Arrange real pressed leaves on colored paper and trace their edges lightly before adding shading. Keep the light source consistent so the shadows look believable.
This kind of illustration builds strong observation skills because you notice vein patterns and tiny curves. It also helps with confidence since you can start with shapes you already know are there. Try using a soft pencil for the first layer, then add colored pencils for depth and a gentle glow.
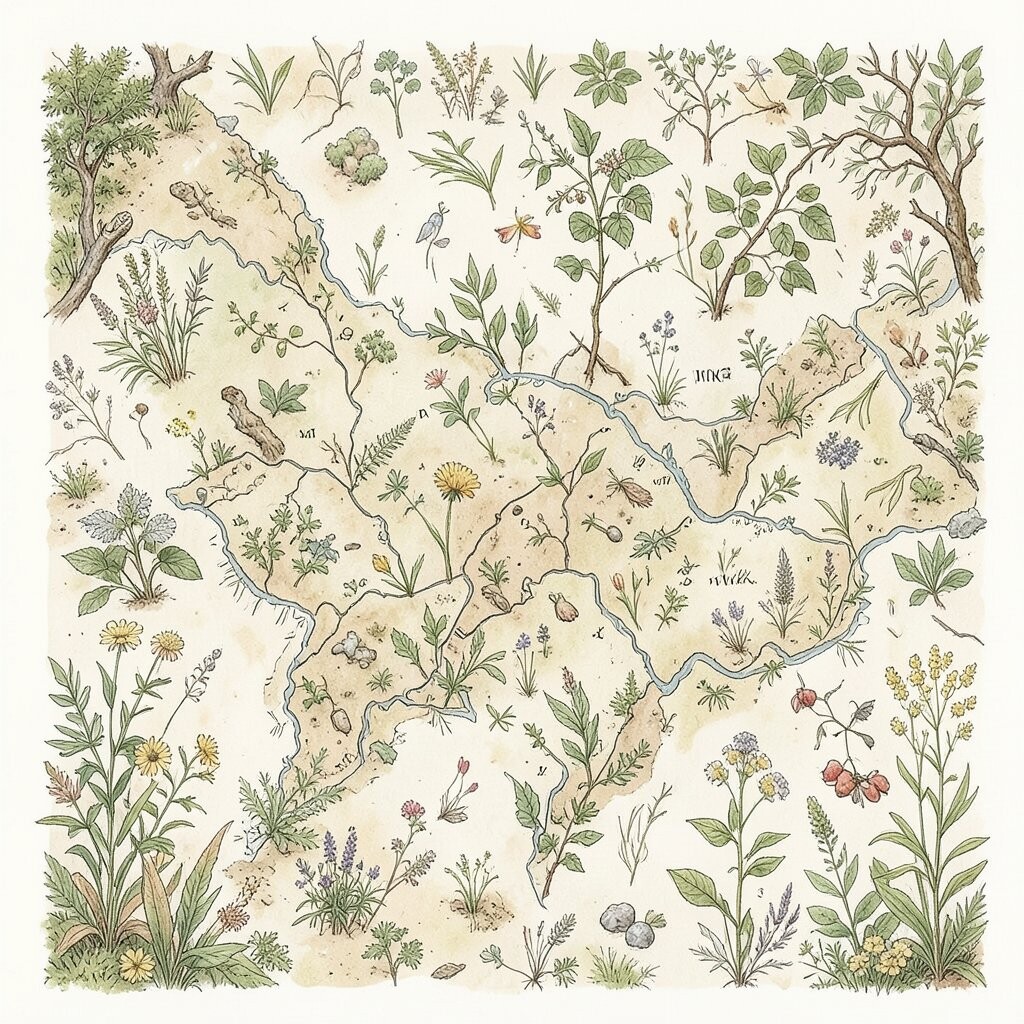
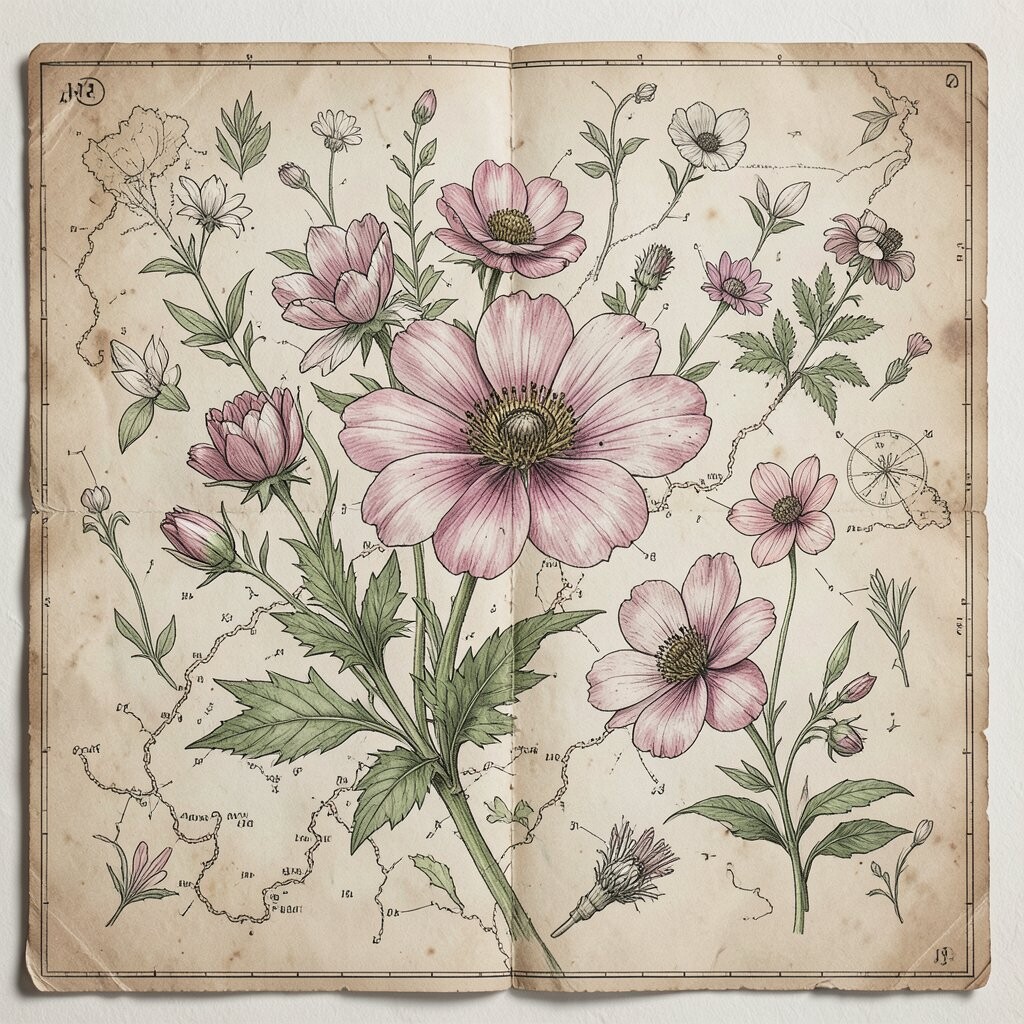
2. Botanical Map of Your Favorite Walk
Botanical Map of Your Favorite Walk
Sketch a simple route through a nearby park or yard, then mark plant “stops” with small illustrations. Give each plant a tiny symbol, like a star for a flower or a swirl for a vine.
You get a fun story instead of a plain page, and that makes your work more personal. It can also serve as a quick memory tool for seasons, weather, and where things grow best.
Keep costs low by using a free map app for layout and just print it or copy it by hand. A current trend is mixing art with journaling, so try adding a date and one short note beside each drawing.
3. One-Plant, Many-Faces Series
One-Plant, Many-Faces Series
Pick a single plant, then draw it in different moods across a page. Try “morning dew,” “windy,” “after rain,” and “late sunset.”
This gives you practice with lighting and texture, which is a big part of illustration. It also makes your portfolio feel unique because the same subject shows your growth from sketch to sketch.
Use a grid for each mood so you can keep proportions steady. Personalize it by adding your own color memories—maybe the plant looks warmer in your favorite season. If you want variety without spending much, reuse one pencil sketch and just change the colors.
To match what people love right now, consider posting the series online as a “plant character” set. The audience enjoys seeing both consistency and change, like the plant is a friendly hero in your art world.
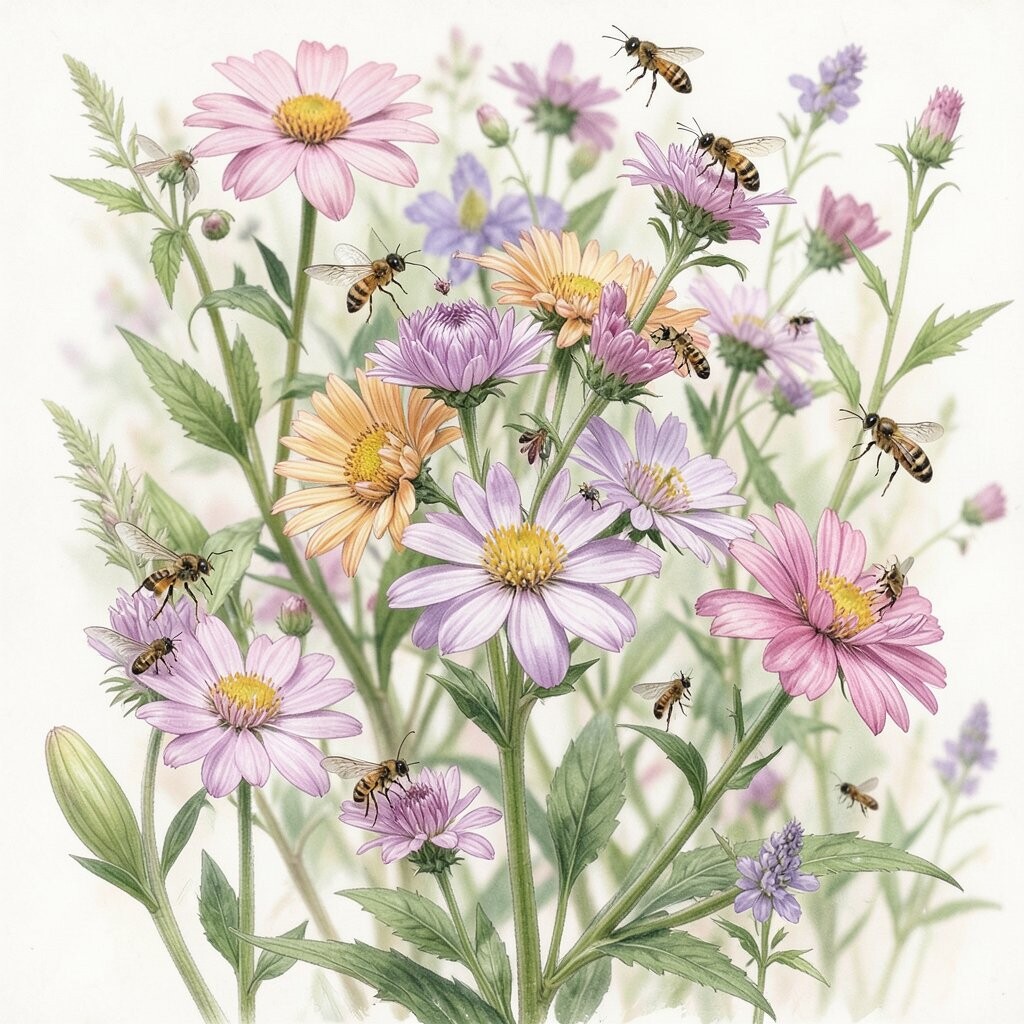
4. Insect Guest Visitors on Flowers
Insect Guest Visitors on Flowers
Draw a flower as the main character, then add a friendly bee, butterfly, or beetle guest. Focus on the tiny body details and the way the insect rests on petals.
This boosts your creativity because you build a mini scene, not just a plant portrait. It also makes viewers pause longer since they want to spot each little character.
Use thin pens if you have them, or a fine marker for clean lines, and keep the background simple. Personalize it by choosing insects you actually see outside.
5. Root Systems Like City Streets
Root Systems Like City Streets
Imagine roots as a map, curving like roads beneath the soil. Draw the root lines branching outward, then add tiny “landmarks” such as stones or soil clumps.
This idea helps you understand plant structure, which makes your later botanical drawings more accurate. It also turns science into art in a way that feels fresh and fun.
Keep it affordable by using pencil for the root network and a light wash for dirt. Try watercolor pencils for easy color mixing, and personalize by naming the “streets” after places you love.
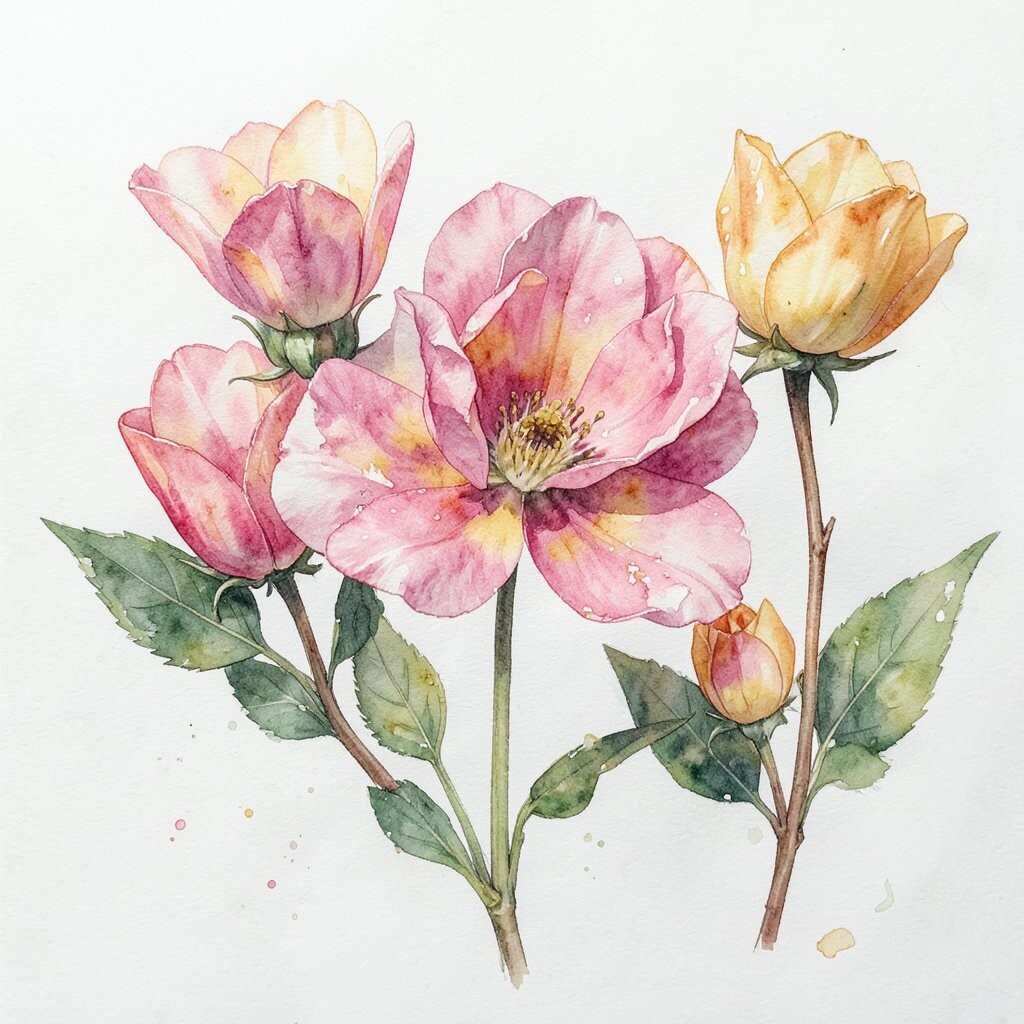
6. Watercolor Petal Melt Effect
Watercolor Petal Melt Effect
Make a soft watercolor sketch, then add water to pull pigment slightly across petals. Use a wet-on-wet technique so edges look dreamy.
This builds a sense of flow, which can make your work feel energetic instead of stiff. It also helps you practice control because you’ll learn how much water changes everything.
Start with one flower, then stop while it still looks magical. For personalization, choose colors tied to your favorite outfit or a memory—like “mint and sunshine” or “rose and dusk.” If you’re budget-conscious, buy one good palette set and use plenty of water instead of expensive paints.
7. Seed Pods and Their Hidden Patterns
Seed Pods and Their Hidden Patterns
Draw seed pods from different angles, like front, side, and close-up. Capture the pattern of ridges and the way seeds sit in their homes.
This gives you satisfying detail work, which is great for focused days. It also trains your hand to draw small textures without overthinking.
Use a light pencil for outlines, then add cross-hatching or stippling for shading. Personalize by collecting seeds you’ve found and labeling them with simple notes like “crisp,” “spicy smell,” or “dry sound when shaken.” If you want trends, consider “macro texture art” styles that look like science photography, but handmade.
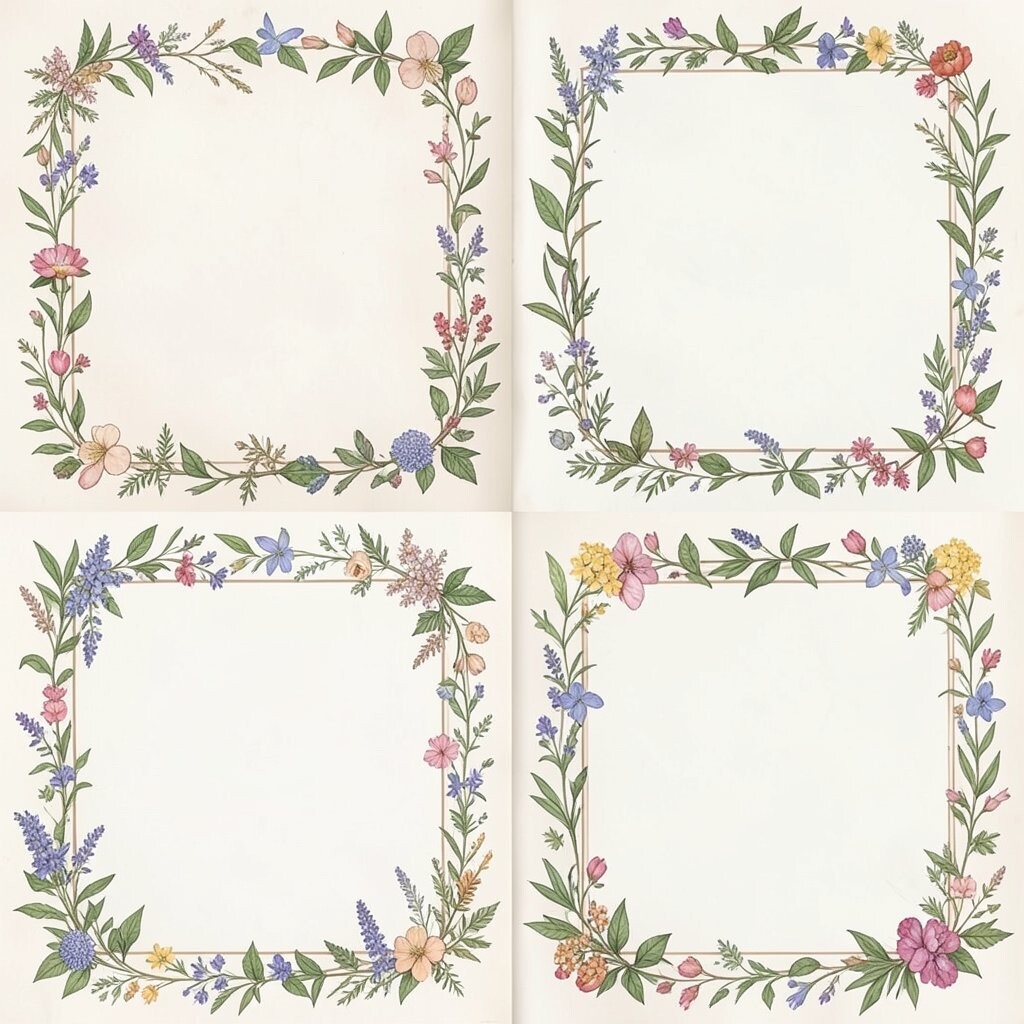
8. Botanical Borders for Your Journal Pages
Botanical Borders for Your Journal Pages
Pick two or three plants and design a border around the edges of your journal page. Repeat small elements like leaves, berries, and blossoms so the frame looks balanced.
This is a practical benefit because your art becomes part of your daily writing. It also makes your whole journal feel crafted, not store-bought and plain.
Keep costs low by using a thin set of markers or pencils and adding color only to the most important leaves. Personalize with your own theme, like “garden summer” or “cozy winter,” and match your border colors to your mood.
A current trend is “functional art,” where creators make backgrounds and frames for notes. If you follow that trend, you can also scan your border and reuse it for future pages.
9. Herb Still Life With Everyday Objects
Herb Still Life With Everyday Objects
Arrange herbs like rosemary, basil, or mint in a bowl or jar, then add one unexpected item such as a spoon or folded cloth. Draw the whole setup from a close angle.
Still life drawing helps your brain connect shapes, shadows, and spacing. It also lets you be creative with composition, so your herbs feel like characters in a cozy story.
10. Leaves With Handwritten Notes as Labels
Leaves With Handwritten Notes as Labels
Draw a leaf, then add handwritten “field notes” beside it, like where you found it and how it felt. Keep the writing readable, like a friendly label.
This makes your illustration more meaningful, and it turns drawing into gentle journaling. It also teaches you that botanical art can be both visual and informative.
For a personalized touch, add a small personal memory, such as “this grew by my window after the storm.” Use cheap paper and a simple pen if you don’t want to buy special supplies. Try current “caption art” trends by styling the handwriting like a mini museum card.
11. Floating Flower on a Bubble Background
Floating Flower on a Bubble Background
Draw a flower as if it’s floating inside a bubble, with circles and highlights all around it. Add a soft outline so the petals look crisp.
You’ll improve with highlights and glossy effects, which can make your drawings feel modern. It also feels playful, so your art becomes more inviting to show to others.
Keep it simple by using two to three colors plus white for sparkle. Personalize it by choosing colors that match your favorite mug or sticker pack. If you’re on a budget, a white gel pen can replace expensive specialty paint for the bubble glow.
Look for the current trend of “whimsical science,” where cute details sit beside realistic forms. This idea fits that vibe perfectly.
12. Botanical Silhouette Cutout Art
Botanical Silhouette Cutout Art
Make a silhouette by tracing a plant shape onto paper and cutting it out. Then place it on a contrasting background and draw the negative space.
This strengthens your shape skills, which helps every kind of drawing. It also makes your botanical illustration bold, graphic, and easy to read from far away.
Use craft scissors and a glue stick to keep costs low. Personalize by adding a second layer silhouette, like a hidden leaf behind the main one. This style matches current minimal poster trends, where clean shapes get attention quickly.
13. Cactus Edges and Tiny Spines Study
Cactus Edges and Tiny Spines Study
Choose one cactus and draw it with careful spacing between spines. Focus on the tiny dot-like spine points and the way shadows deepen between arms.
You gain patience and accuracy, which are huge benefits for botanical drawing. It also makes your illustration feel real because spines are a key identity feature.
Personalize by adding a “weather label,” like hot dry air or cool desert night. If you can’t find a cactus, use reference photos and sketch from the screen to save time. Consider using a small fineliner or even a mechanical pencil to keep the spine marks consistent.
A current trend is hyper-detail ink work, so try finishing with ink over pencil and then removing pencil lines gently if you can.
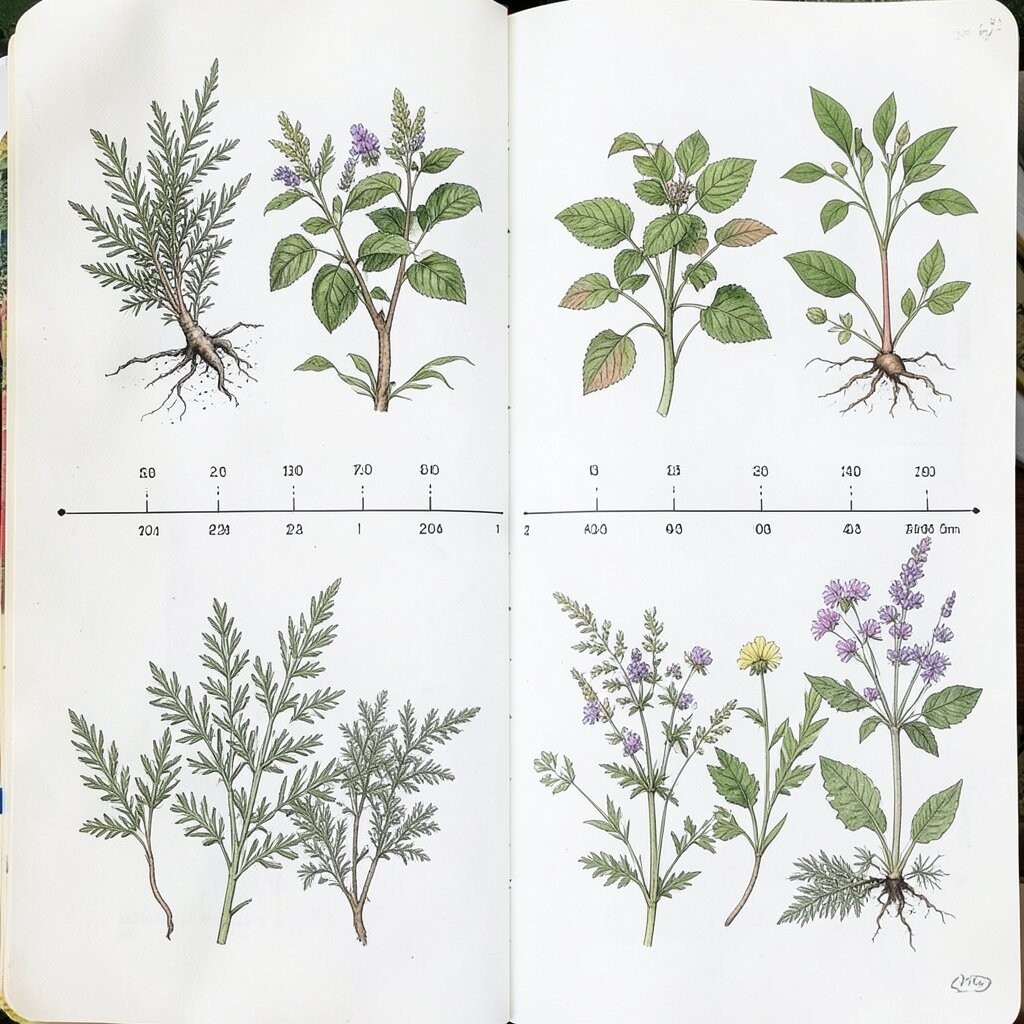
14. Seasonal Growth Timeline on One Page
Seasonal Growth Timeline on One Page
Draw the same plant across a timeline: buds, blossoms, seed stage, and dormancy. Put each stage in a neat row so the page feels like a story.
This improves long-view thinking, which helps you understand how plants change over time. It also gives your artwork a built-in reason to exist, not just a pretty moment.
15. Flower Anatomy as if It’s a Treasure Map
Flower Anatomy as if It’s a Treasure Map
Draw a flower and label parts like petals, stamens, and stigma as if they’re locations. Use small arrows and tiny “legend” icons for each part.
You’ll practice clean line work and clear visual organization. It’s also a great way to make science feel friendly, which helps both you and your viewers learn.
Personalize by using the same labeling style you see on maps, like compass directions. For cost considerations, use regular printer paper and a basic set of colored pencils for “legend” colors. If you want to follow current trends, make the label fonts bold and slightly playful, like museum signage for kids.
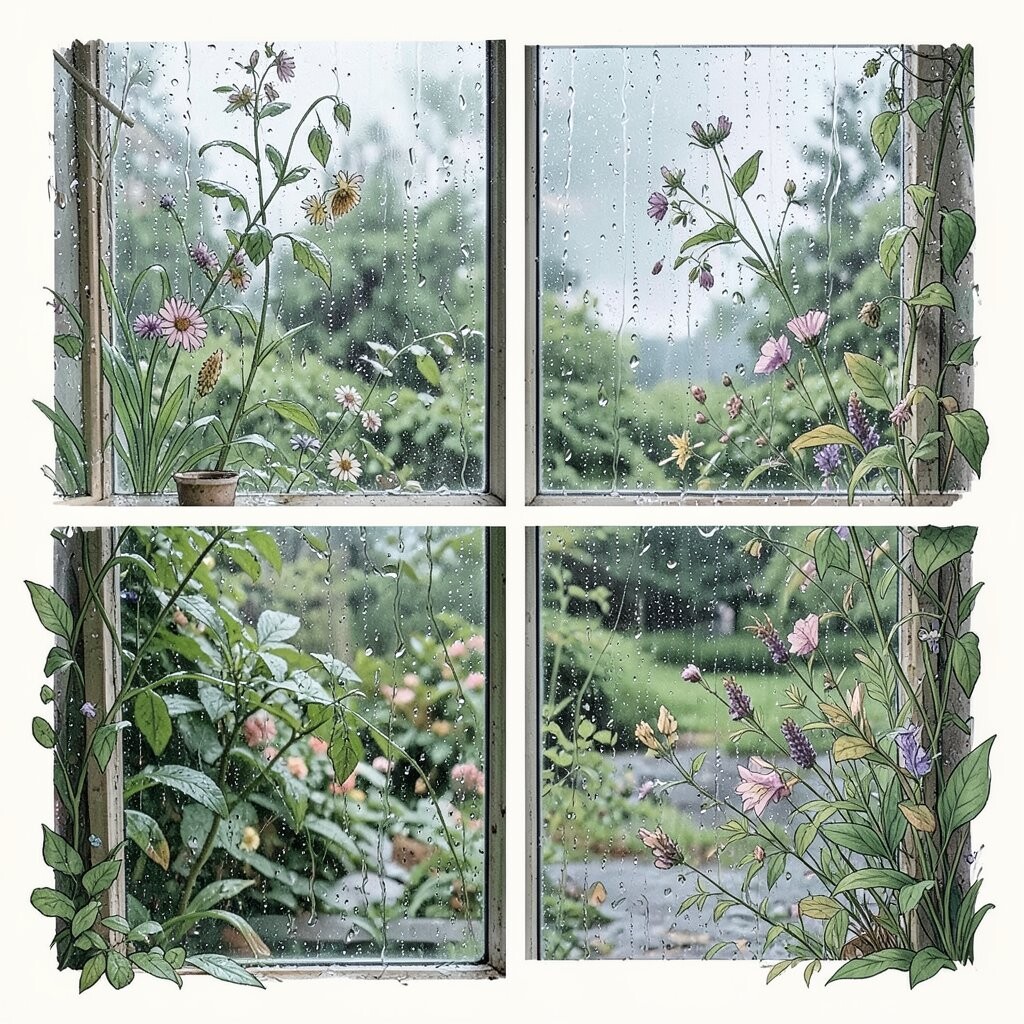
16. Rainy Window Garden Reflections
Rainy Window Garden Reflections
Illustrate plants outside a window while adding raindrop streaks on the glass. Blend leaves slightly so they feel softened by distance.
This teaches atmosphere, which makes drawings feel like real scenes. It also helps you play with blur and sharpness, creating pleasing contrast.
Use a light pencil for distant leaves and thicker lines for the main plant in focus. Personalize by choosing a specific time of day, like “post-rain morning,” and add a few raindrop patterns that match the mood. If you want an easy shortcut, reference a photo taken on your phone.
17. Dried Flower Halo With Vintage Colors
Dried Flower Halo With Vintage Colors
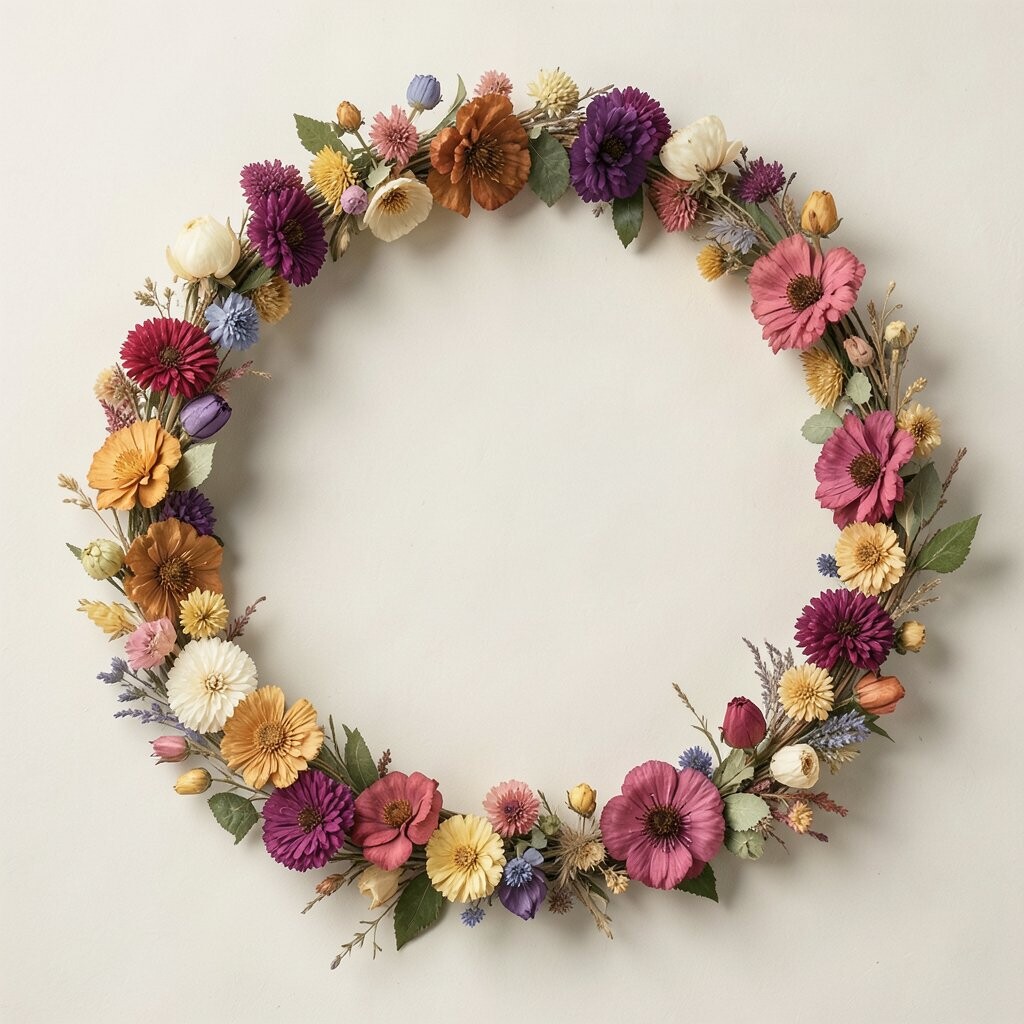
Draw a dried flower arrangement and frame it with a soft halo shape behind it. Add faded colors, like dusty rose and pale gold, to mimic age.
The benefit is emotional: your art feels nostalgic and warm. It also gives you practice shading petals that don’t look fresh and bright.
Keep costs low by using flowers you already have, even supermarket bouquets you no longer need. Personalize by pairing each color with a memory, like “this shade reminds me of a kitchen light.” For trends, vintage botanical art is popular again, especially when combined with hand lettering.
18. Mossy Stone and Tiny Plant Clump
Mossy Stone and Tiny Plant Clump
Find a stone in your yard or park and draw the moss growing in its cracks. Add tiny sprouts and little leaf bits where the moss is thickest.
This kind of drawing trains you to see texture, not just shapes. It also rewards you with rich details that feel soothing instead of stressful.
Use greens in layers, starting with light tones and building to deeper shadows. Personalize by adding a “scale mark,” like a tiny ruler icon, to make viewers feel like they’re seeing a secret world up close. For budget, blend with colored pencils or even watercolor if you have it.
A current trend is “micro-landscape art,” where tiny places become big stories. Your mossy stone can become a whole universe on paper.
19. Botanical Patterns for Wrapping Paper
Botanical Patterns for Wrapping Paper
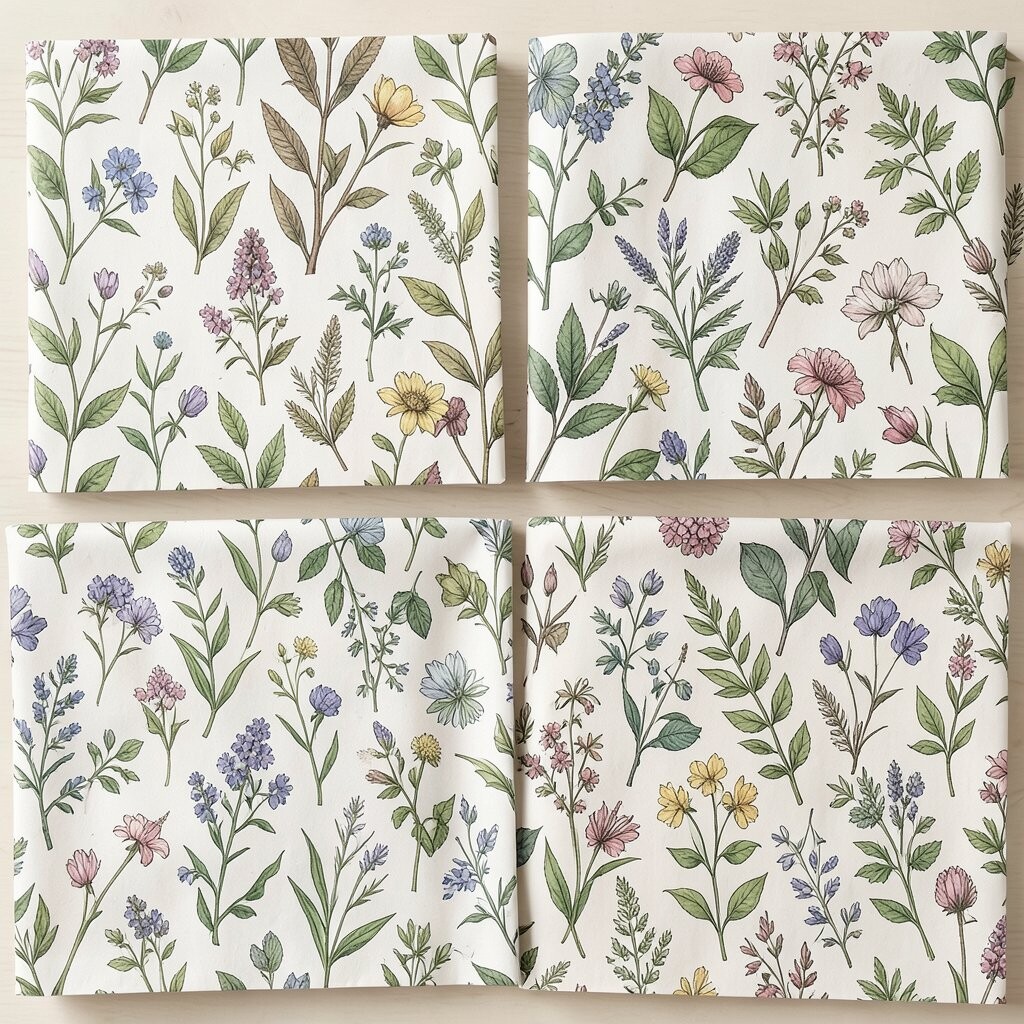
Create a repeating pattern using one leaf and one flower element. Arrange them so the spacing looks balanced, like wallpaper.
This benefits your creativity because patterns build rhythm and unity. It also makes your work useful, since you can print it or redraw it bigger for wrapping gifts.
20. Transparent Layers: Flowers Over Graph Paper
Transparent Layers: Flowers Over Graph Paper
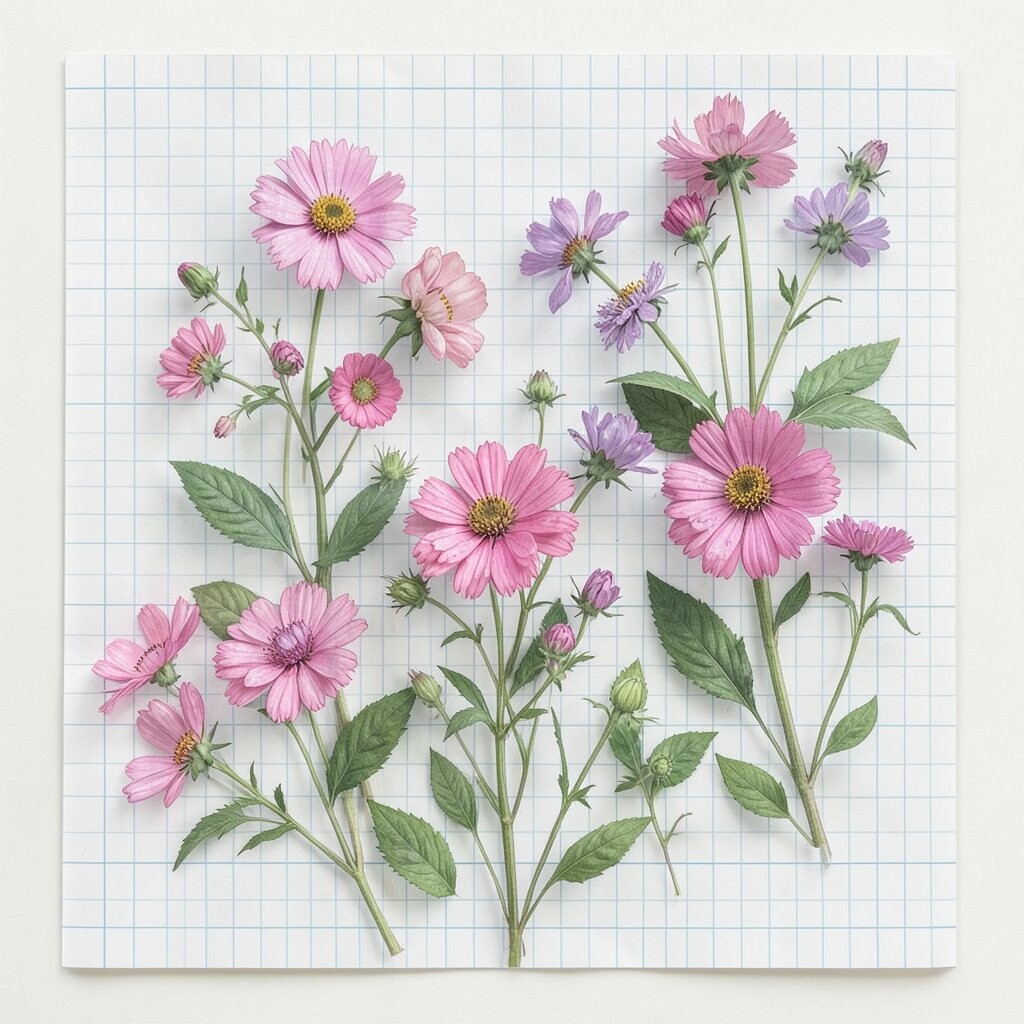
Place graph paper under a blank sheet and draw a plant, then add transparent layers of color. Try one layer for petals, one for leaves, and one for shadows.
This helps you plan color and shading more calmly because each layer has a job. It also creates a clean, modern look that feels like illustration meets design.
Personalize by making each color layer correspond to a theme, like “cool colors for calm” or “warm colors for energy.” For cost considerations, use watercolor paint or marker tones lightly so you don’t waste supplies. Current design trends often include grid-based composition, so your background can feel intentionally “graphic.”
21. “Plant in the Night” Lantern Glow Sketch
“Plant in the Night” Lantern Glow Sketch
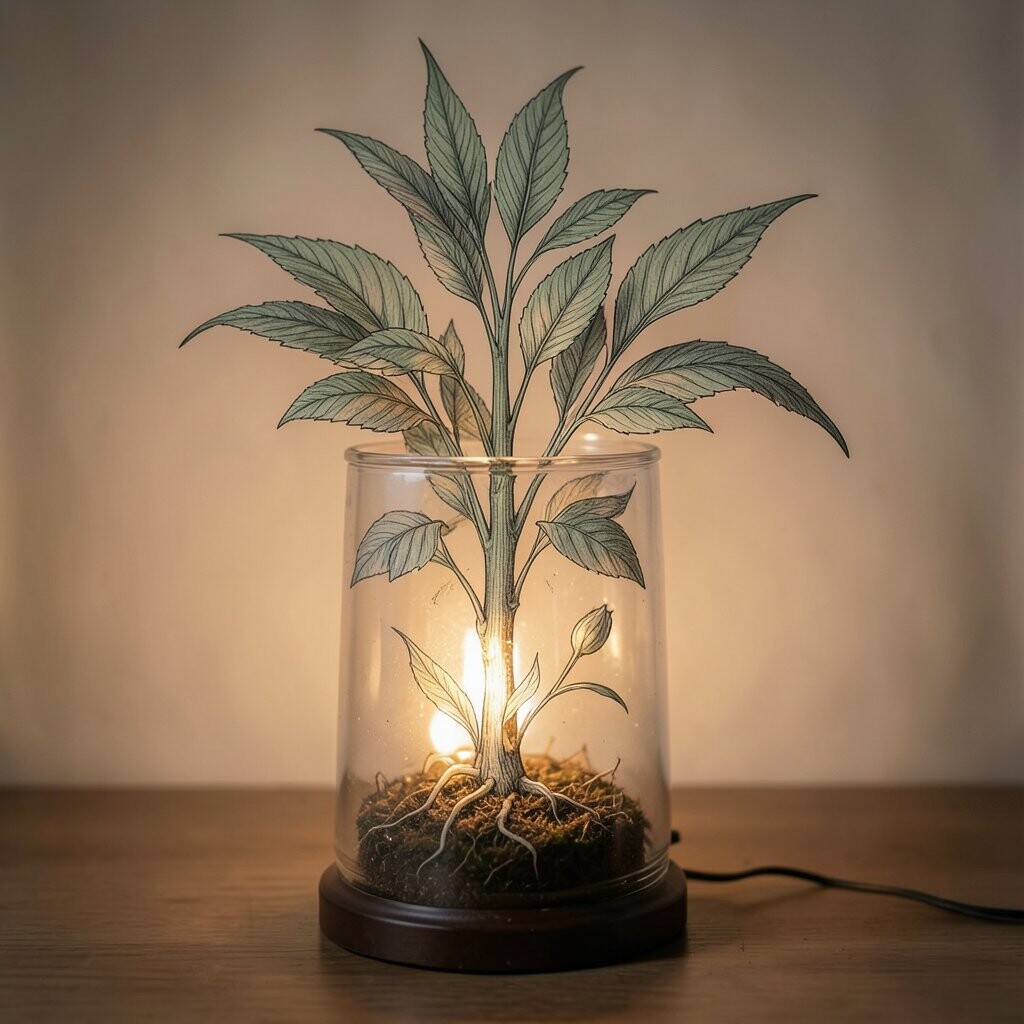
Draw a plant lit by a lantern, with a soft circular glow behind it. Use darker shadows on one side and brighter highlights on the other.
This boosts your skills with contrast, which makes art look dramatic and clear. It also helps you add mood, so your botanical drawing feels like a scene from a storybook.
Keep it affordable by using one dark pencil or marker, a mid-tone green, and a light yellow or cream for the glow. Personalize by choosing the lantern color that matches your personality, like teal for calm or amber for cozy warmth.
As a current trend, many artists use night lighting and “cinematic” shadows to make traditional botanicals feel new. Your lantern plant can fit right into that style while still being deeply botanical.