1. Scratched-Glitter Ornament Balls With Real Charm
Scratched-Glitter Ornament Balls With Real Charm
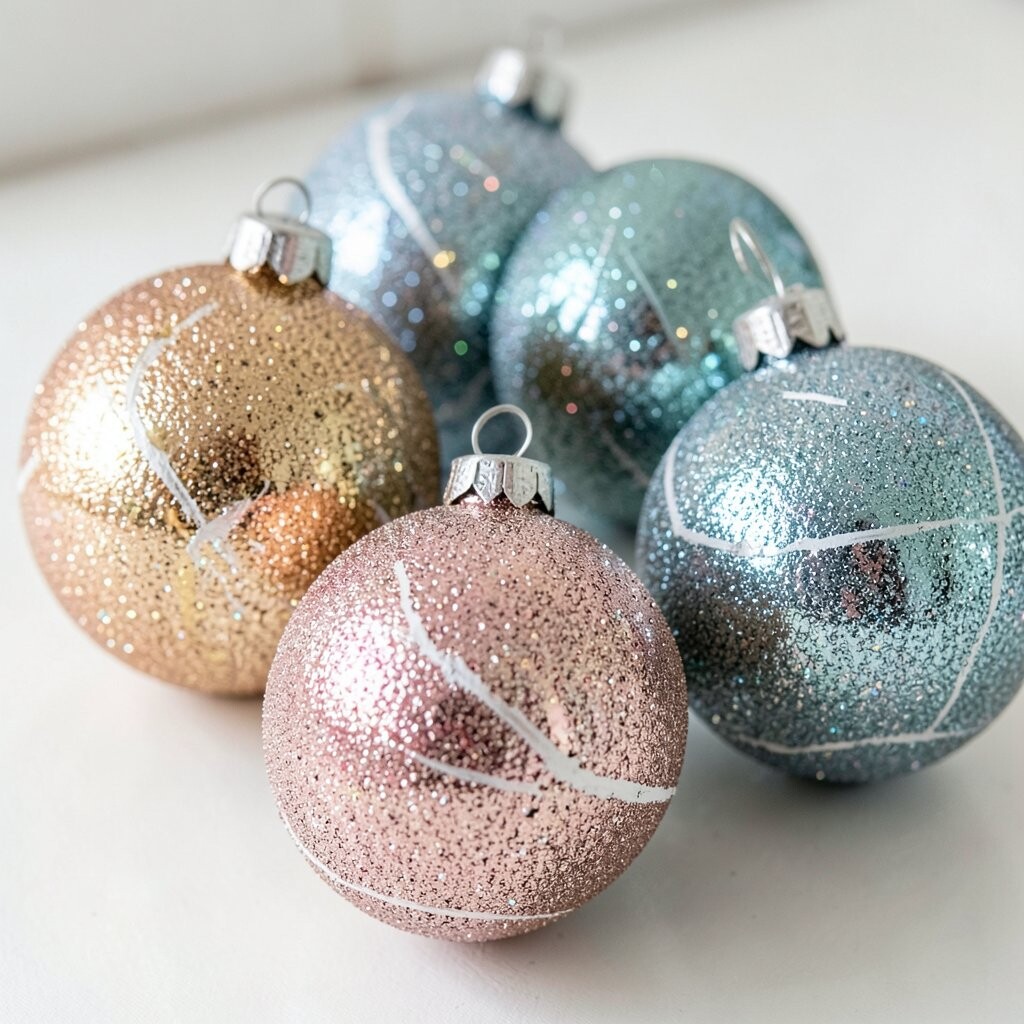
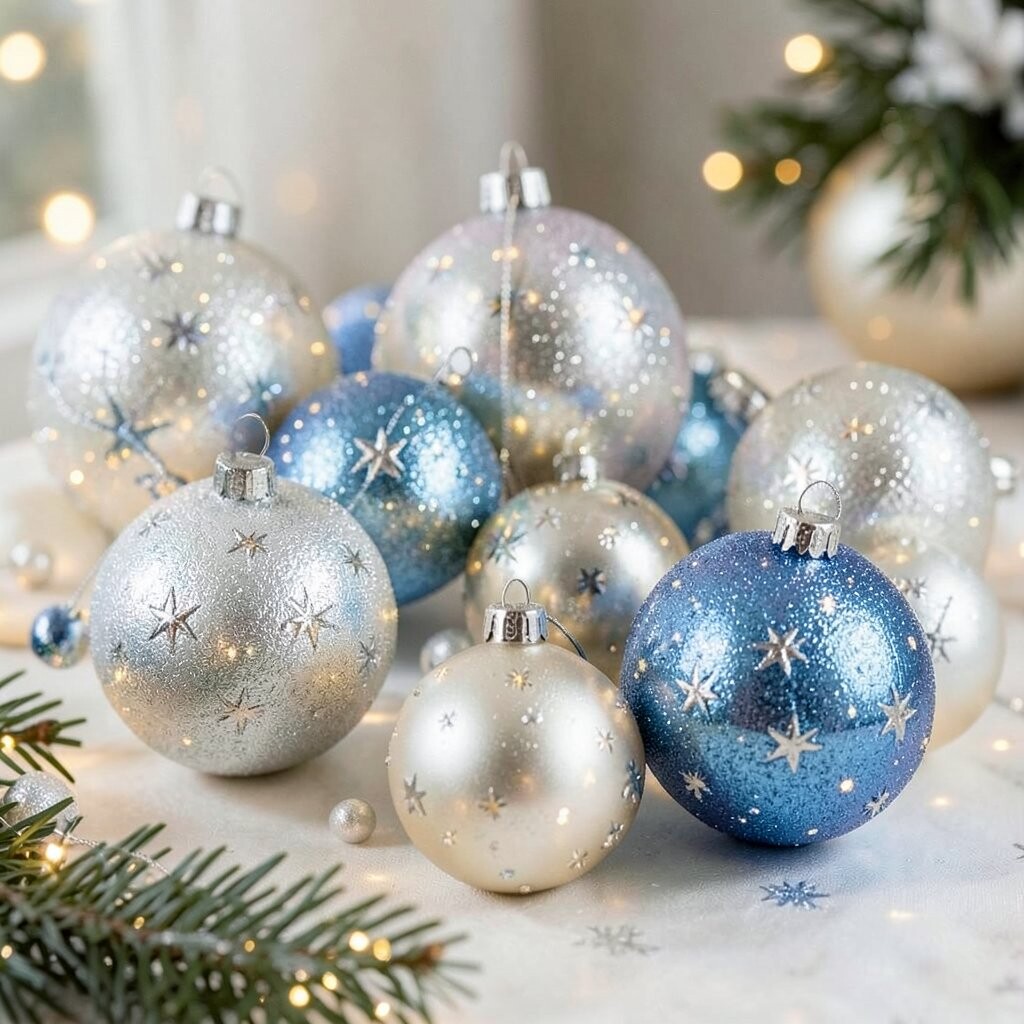
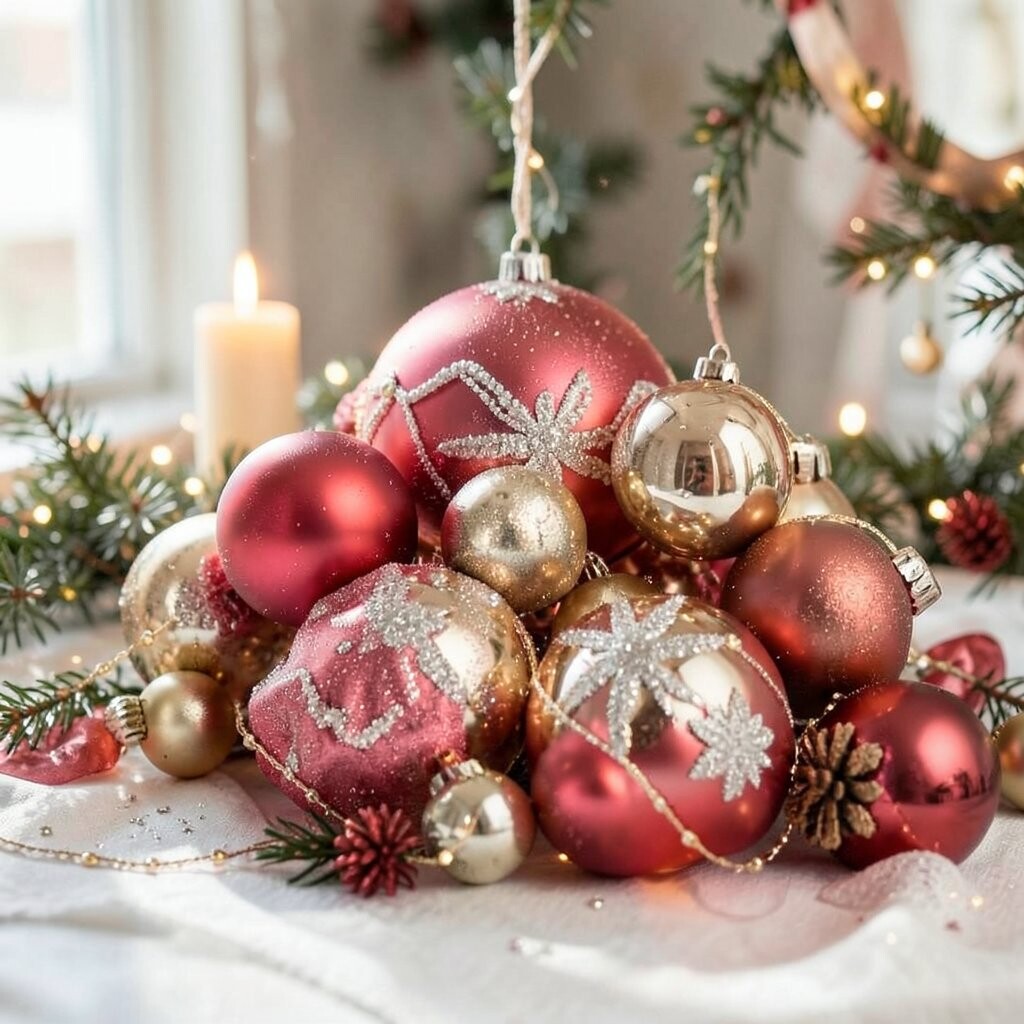
Take plain foam or plastic balls and sprinkle glitter where the light will hit. Even if the glitter looks a little uneven, that “handmade” texture looks cozy and real.
Use craft glue in thin swirls, then roll each ball lightly through glitter. Keep a small tray under your work so cleanup stays easy. For extra sparkle, add a tiny dot of clear glue on the most visible spots and let it shine.
Try matching glitter colors to your home: silver for a cool look, red for classic warmth, or mixed gold for a playful vibe. This idea is budget-friendly because you can use leftover glitter and cheap bases. Personalize by adding a letter, a tiny snowflake stamp, or a short ribbon tail on the top cap.
2. Paper-Strip Christmas Balls That Look Like Tiny Gifts
Paper-Strip Christmas Balls That Look Like Tiny Gifts
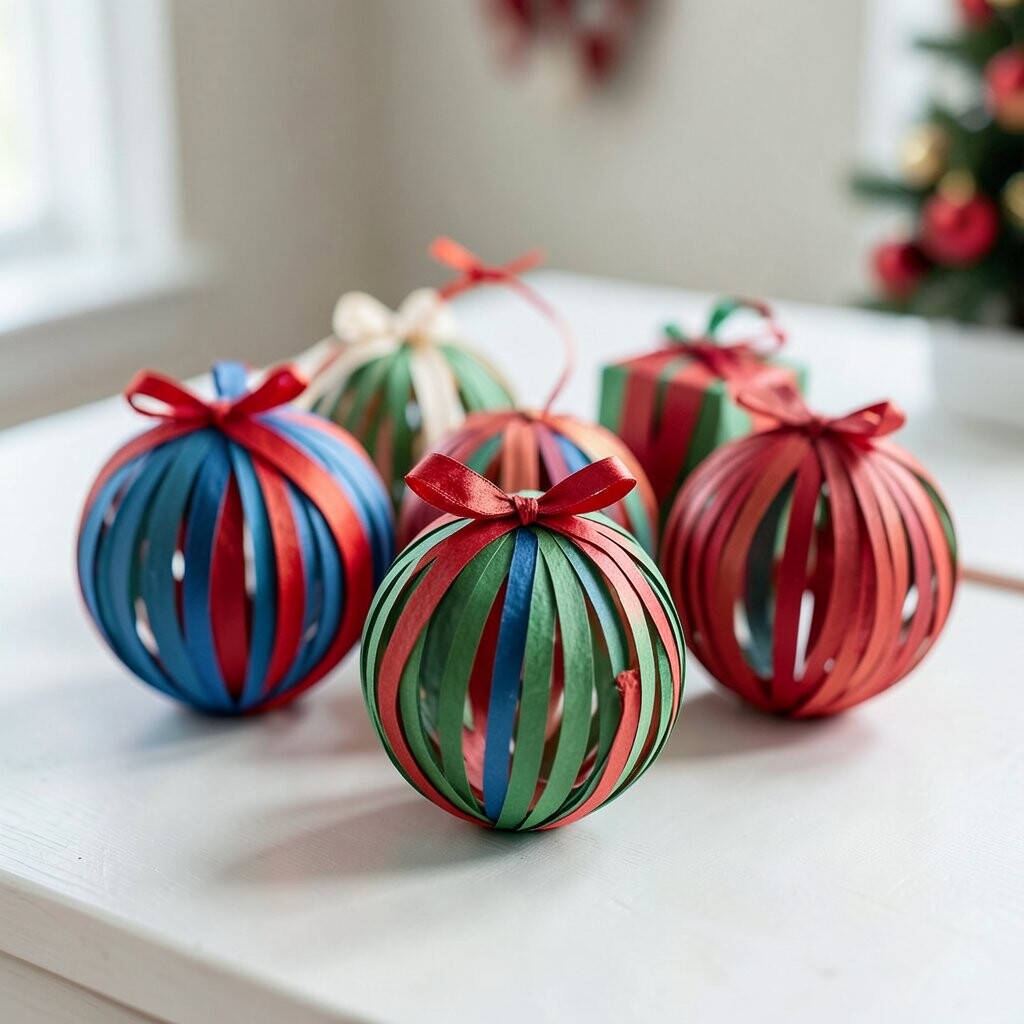
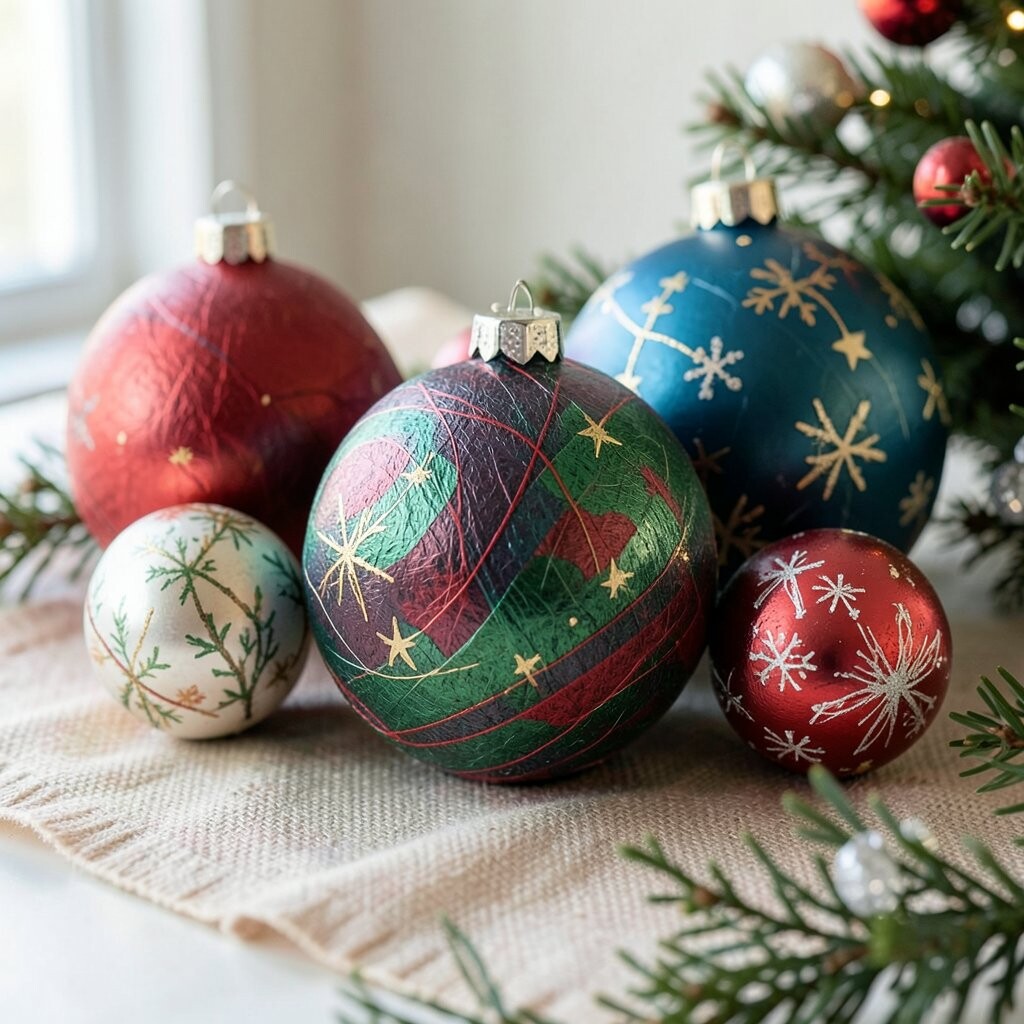
Cut thin strips of wrapping paper or scrapbook paper and wrap them around a ball shape. The result looks like a mini present that can hang from the tree or float in a bowl.
Use Mod Podge or a simple glue-water mix to help the strips stick. Press gently so you do not crush the paper, then let it dry fully.
These balls are lightweight, so they are safer for shelves and tabletop trees. You can personalize with patterns like polka dots, plaid, or even comic-style holiday prints. For cost savings, use scraps from old gift wrap and reuse what you already have.
3. Mini Pom-Pom Christmas Balls For A Soft Winter Look
Mini Pom-Pom Christmas Balls For A Soft Winter Look
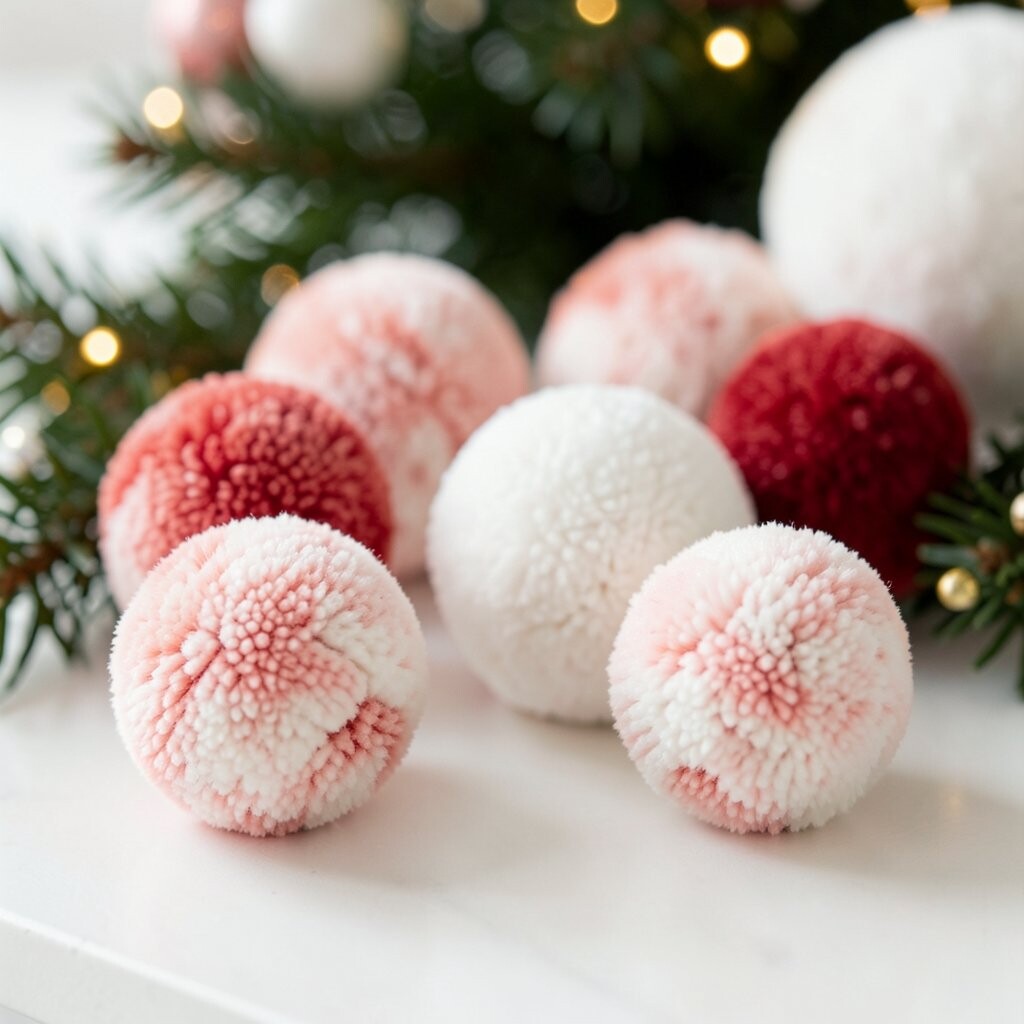
Cover a ball in mini pom-poms for a fluffy, snow-cloud feel. It looks adorable next to lights and feels warm even before you touch it.
Choose pom-poms in two or three colors, then alternate them like a cozy blanket. Glue them in small clusters so the texture stays thick and even.
Hang them from branches, tuck them into wreaths, or set them along a garland for a gentle pop of color. The benefit is that you can make a full set without buying expensive ornament materials. Personalize by adding a “tag” charm made from cardboard with a family name or year.
If you want a current trend vibe, lean into neutral pom-poms like cream, taupe, and soft gray, then add one bright color for contrast.
4. Fabric-Covered Christmas Balls With Vintage Style
Fabric-Covered Christmas Balls With Vintage Style
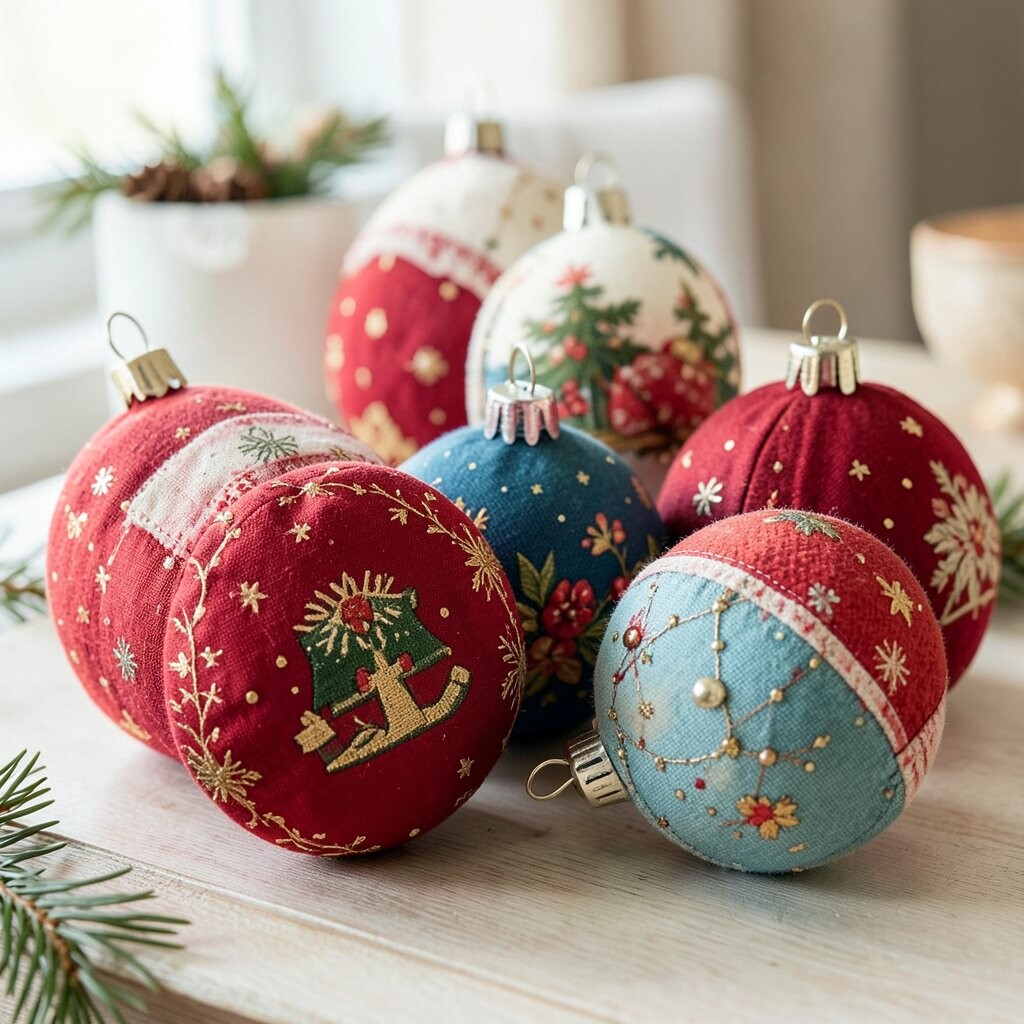
Wrap a ball with soft fabric scraps like burlap, cotton, or old scarves. The texture makes your decor feel more “designer” without spending much.
Brush glue onto small sections, then smooth the fabric down and fold edges neatly. If you use burlap, lightly mist it with water before gluing so it hugs the shape better.
These fabric balls are great for people who love cozy homes and slower, handmade vibes. They also hide mistakes, like uneven seams or tiny glue spots. Personalize with a thin ribbon bow, a mini button, or a stitched-on holiday icon.
For cost considerations, check thrift stores for unused fabric pieces, or cut up old clothes you no longer wear.
5. Chalkboard-Style Christmas Balls For Names And Messages
Chalkboard-Style Christmas Balls For Names And Messages
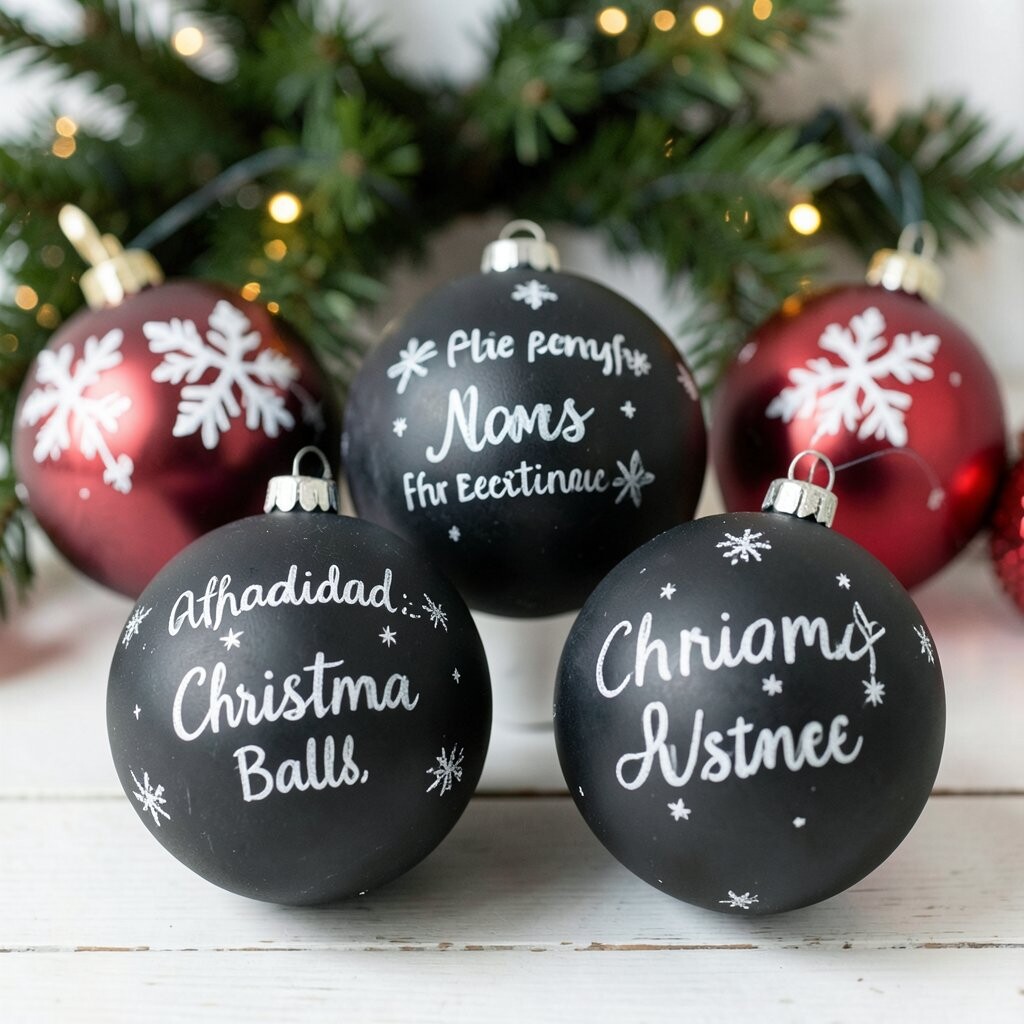
Paint a ball with chalkboard paint or matte black craft paint. Write sweet messages with chalk like “Merry,” “Joy,” or a loved one’s name.
After the paint dries, seal it with a light chalk-friendly finish if you have one. Let the chalk set for a minute before rubbing lightly to avoid smearing.
This idea is unique because your ornaments can change every year. Use it to highlight birthdays, anniversaries, or different holiday moods. Personalize by drawing tiny stars, a simple tree, or a snowman face with just a few lines.
6. Yarn-Wrapped Balls That Smell Like Warm Memories
Yarn-Wrapped Balls That Smell Like Warm Memories
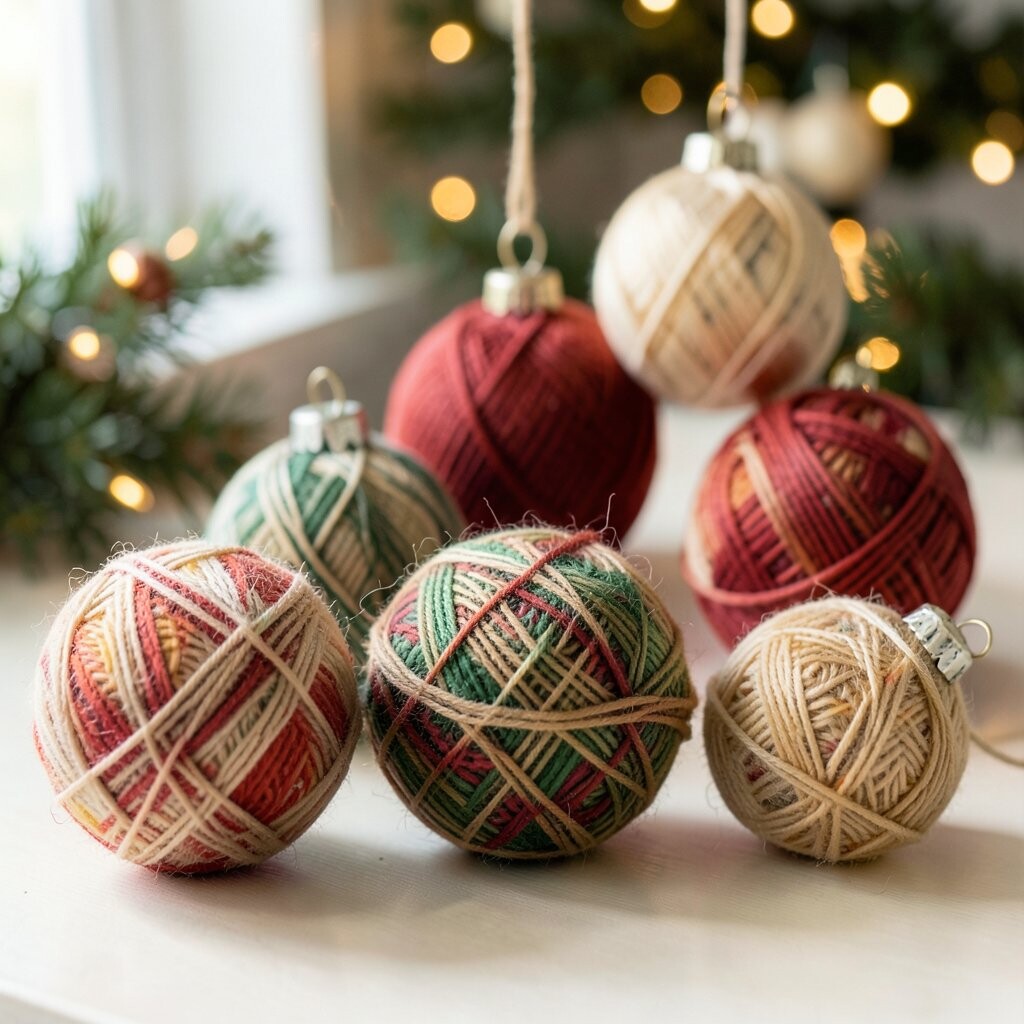
Coat a ball lightly with glue, then wrap with yarn in neat or playful swirls. The look is cozy, and the texture catches the light in a soft way.
Try using chunky yarn for a quick build, or use thinner yarn for a more detailed spiral. Keep your wrapping snug but not too tight so the surface stays smooth.
These are easy to customize: choose any color palette, add a small piece of felt as a “hat,” or thread a ribbon through the top. For benefits, they are light, easy to hang, and forgiving if you miss a spot. For cost, search clearance bins for yarn ends or buy one neutral skein and mix in small accents.
Current trend energy often leans into earthy tones, so try warm tan, forest green, and muted red together.
7. Candy-Stripe Christmas Balls For Fun, Bright Decor
Candy-Stripe Christmas Balls For Fun, Bright Decor
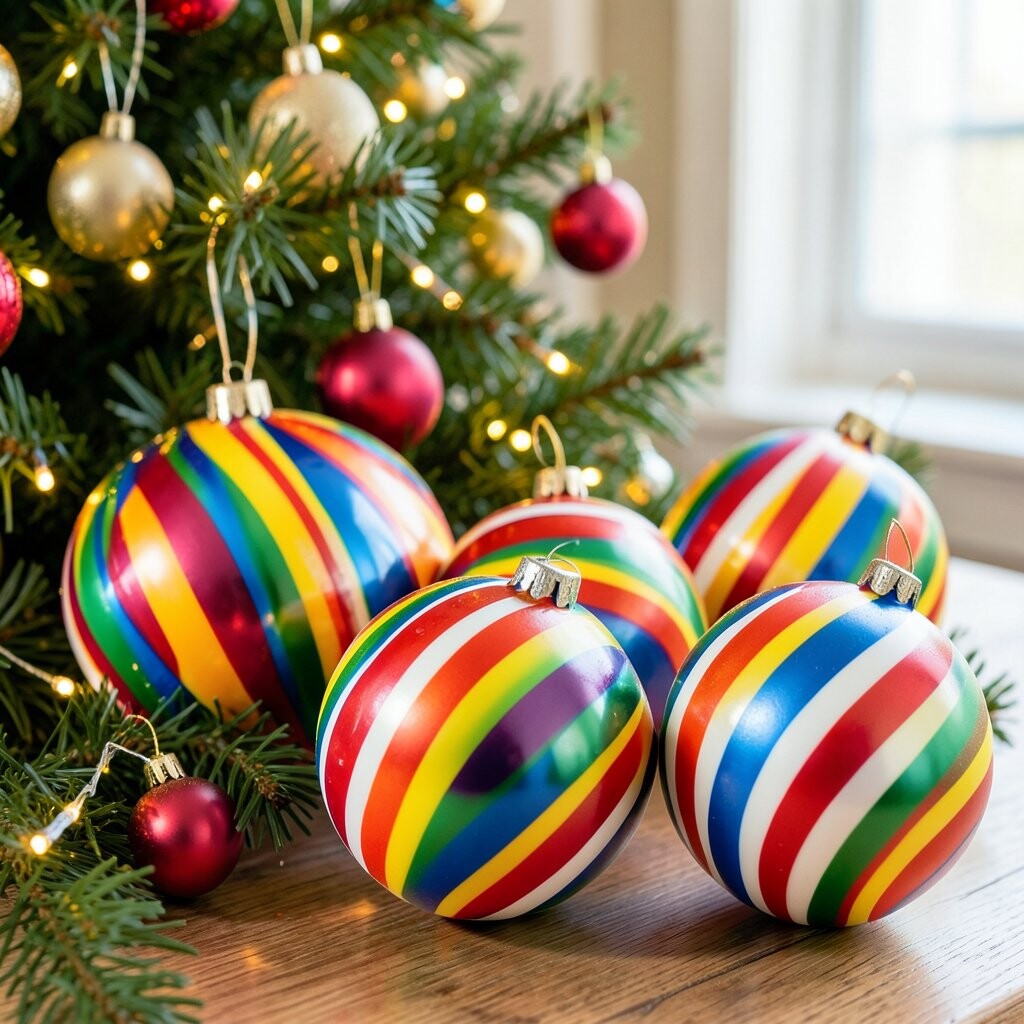
Grab inexpensive white balls and wrap them with thin ribbon stripes or painted stripes. Red-and-white is classic, but you can also try green-and-cream for a fresh twist.
For painting, use masking tape to make clean lines. Seal the final layer with clear spray so the stripes stay crisp.
These balls add instant color and make your tree feel playful. They work well in photos because the stripes show up clearly in the lights. Personalize by adding small “dot” stickers on the stripes or attaching mini bows that match your ribbon theme.
8. Matte “Snowy” Balls With A Soft Frost Effect
Matte “Snowy” Balls With A Soft Frost Effect
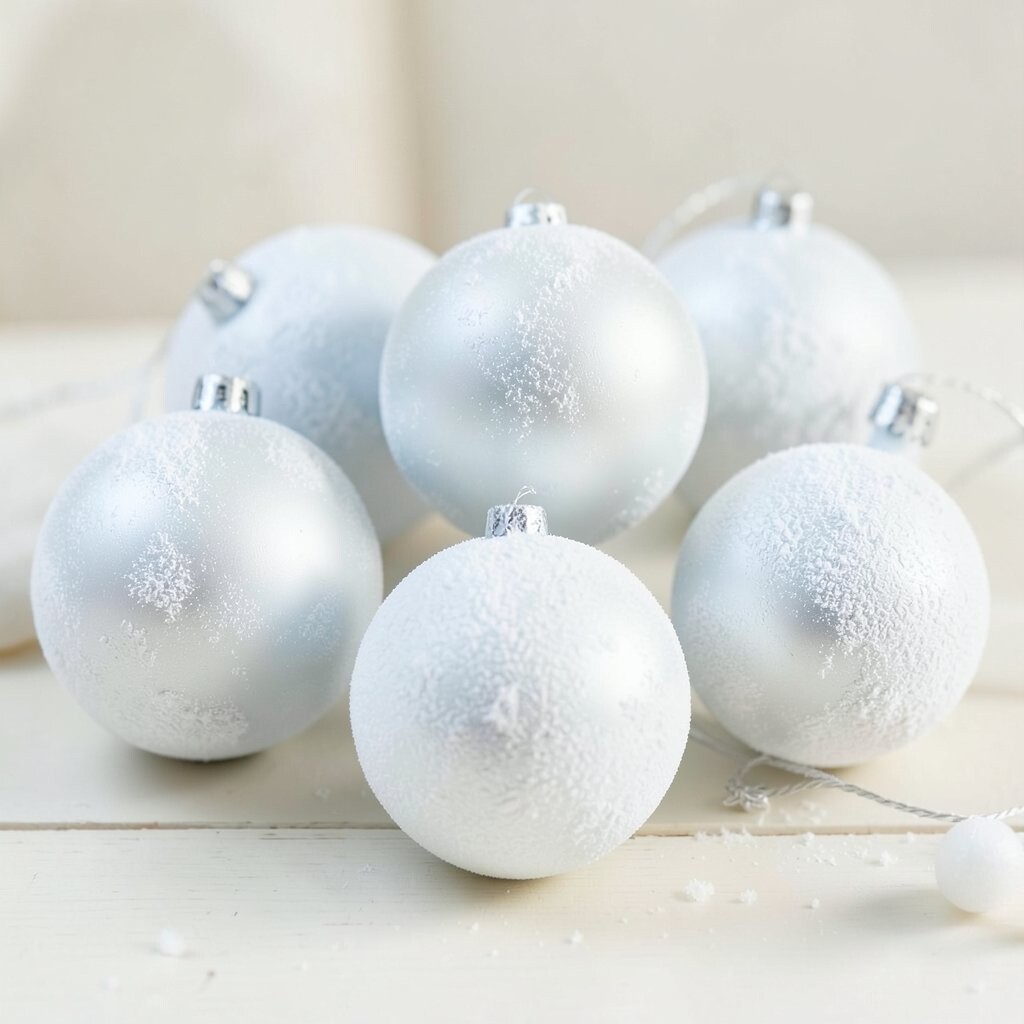
Create a wintery finish by dusting plain balls with fake snow powder or a snow-texture spray. The finish looks like it came right from a cold breeze.
Apply glue to a section first, then sprinkle snow and tap off the extras. If you want a more natural look, vary how thick the snow layer is.
Snowy balls are a great benefit for people who want a calm, winter color story. They also hide scratches on thrifted ornaments because the texture blends everything. Personalize with a small metallic accent—like a gold cap, a silver bow, or a tiny pine needle charm.
For cost considerations, use leftover snow products from previous years, and only spray one or two layers where the light will hit most.
9. Washi-Tape Christmas Balls For Pattern Lovers
Washi-Tape Christmas Balls For Pattern Lovers
Wrap a ball with colorful washi tape strips for quick pattern. You can build a modern look with geometric shapes or a cozy look with tiny holiday prints.
Overlap the tape slightly so no shiny base shows through. Smooth down the edges firmly so the tape does not curl later.
This idea is unique because you can change your mind as you go. Try different layouts: stripes, spirals, or “patchwork” squares like a little quilt. Personalize by using one tape for a border and another tape for a tiny symbol in the center.
10. “Starlight” Foil-Accent Balls For A High-End Glow
“Starlight” Foil-Accent Balls For A High-End Glow
Use affordable plain balls and add small foil shapes like star stickers or metallic confetti. This makes the ornament look more expensive because it reflects light in tiny bursts.
Brush glue on a small area, then press the foil pieces down. For a cleaner look, limit the foil to just the top third and leave the rest simple.
One benefit is that you can keep the color scheme simple, like all white or all cream, and still get a lively look. Personalize with foil letters for each family member or with a favorite holiday symbol. If you want a trend, mix warm gold foil with soft white “snow” finishes for that bright-and-cozy style.
11. Photo-Memory Balls That Feel Like Home
Photo-Memory Balls That Feel Like Home
Print small photos and attach them to ornament balls using photo-safe glue. The balls look sentimental, like mini holiday storybooks.
Choose one photo per ball: a pet, a family trip, or a childhood picture. Cover the photo with a thin layer of clear sealer so it stays protected.
This is an unforgettable idea because it turns decor into a memory keepsake. It also helps personalization feel natural without needing fancy supplies. Cost considerations are simple: use your printer, trim photos with scissors, and reuse ornament bases you already own.
12. Button-And-Trim Christmas Balls For Creative Recycling
Button-And-Trim Christmas Balls For Creative Recycling
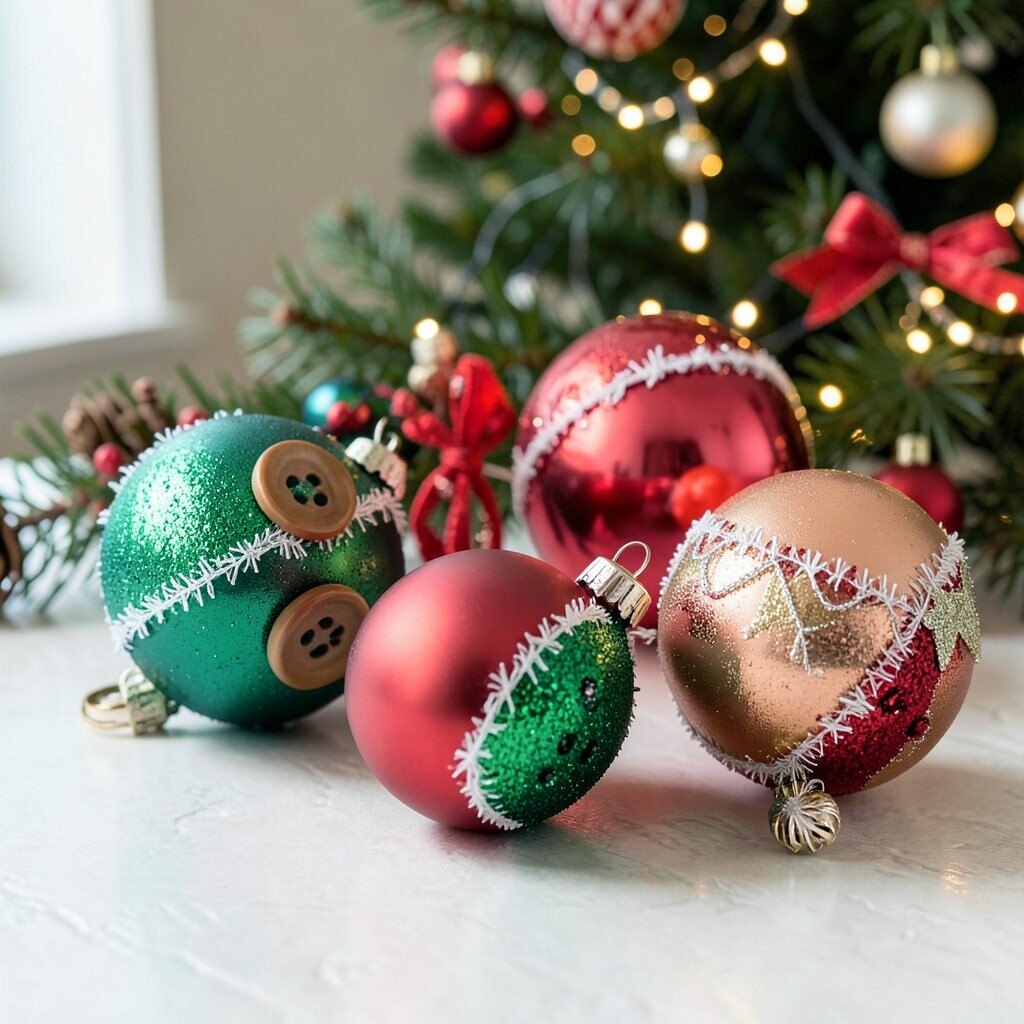
Glue buttons, beads, and fabric trim onto a ball to create a textured collage. The visual appeal is strong because different sizes catch light differently.
Start with larger buttons as the “anchors,” then fill gaps with smaller beads or ribbon ends. Use hot glue for quick hold, but go steady so you do not add too much glue weight.
Buttons make this idea feel truly unique, especially if your button collection includes mismatched shapes. The benefit is that it uses items you would normally toss, which keeps the cost low. Personalize by adding a tiny “constellation” pattern with star buttons or by spelling a word using letter buttons.
For a current style, choose one color family like silver and clear, then add only a few bright accents like red.
13. Cinnamon-Scented Christmas Balls For Cozy Evenings
Cinnamon-Scented Christmas Balls For Cozy Evenings
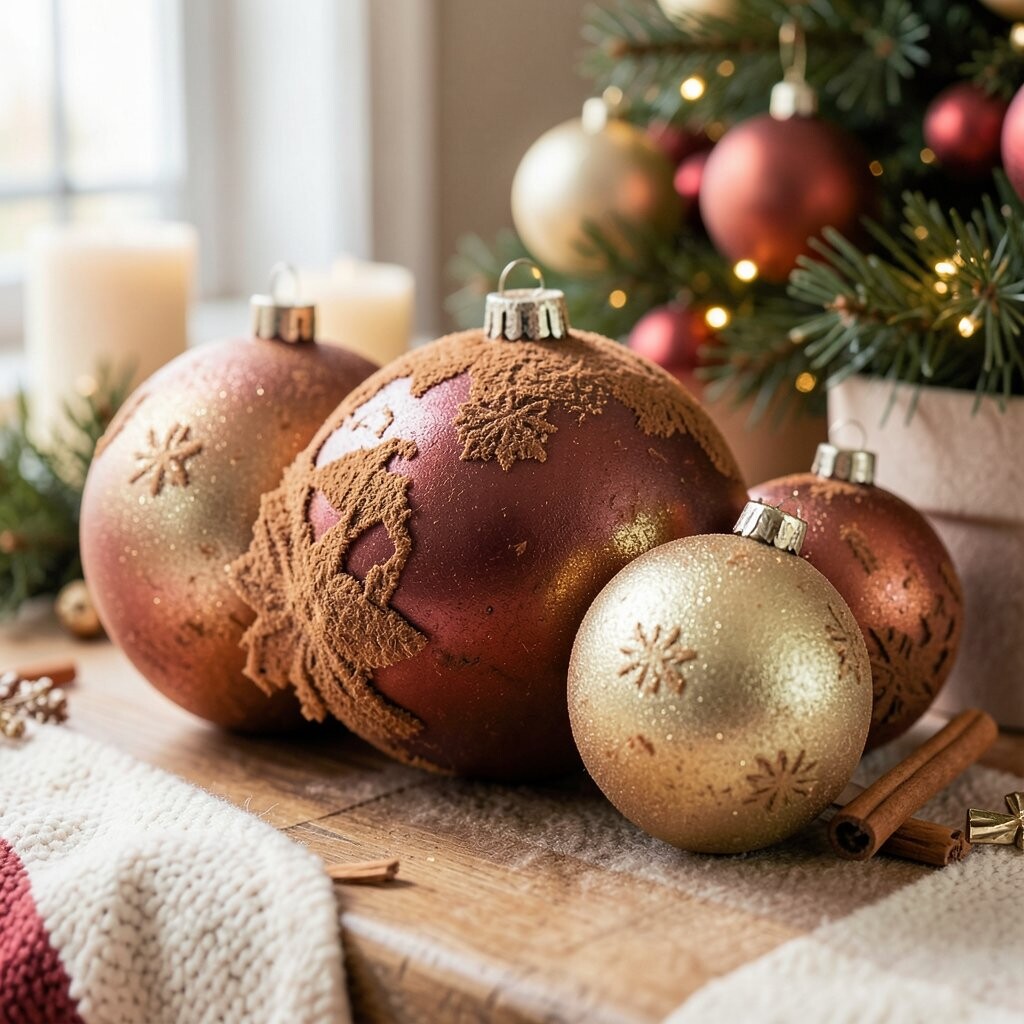
Make your ornaments smell like holiday kitchens by mixing cinnamon with glue and dust. The balls will look warm, and they will also add a gentle scent when placed near lights.
Coat the ball lightly, then roll it through cinnamon powder. Let it dry fully before handling so it does not smear.
This idea is irresistible because it adds a sensory layer, not just a visual one. A benefit is that you can control the strength by adding more or less spice. Personalize by adding a small ribbon label like “Cinnamon” or a name tag made from scrap paper.
14. Ombre Yarn Balls For A Soft Color Fade
Ombre Yarn Balls For A Soft Color Fade
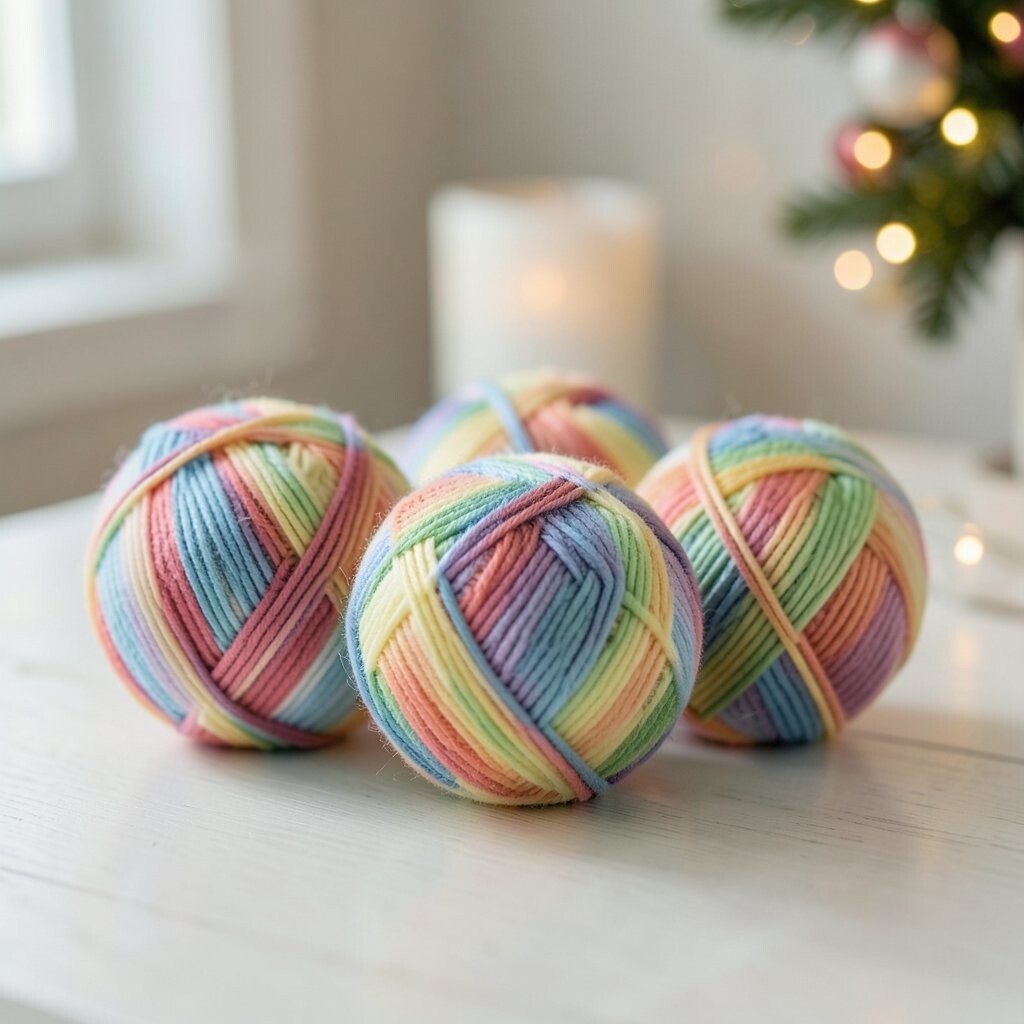
Create an ombre look by wrapping yarn from dark to light colors. The fade makes your ornaments feel calm and modern.
Start at the top with a darker shade, then switch gradually as you wrap. Blend the transition by overlapping a short section where both colors meet.
These balls are easy to match with blankets, candles, and seasonal garlands because ombre colors pair well with many palettes. The benefit is that you can make a “set” look even if you buy only a few yarn colors. Personalize by adding a small charm at the bottom, like a mini snowflake or a simple bell.
Cost considerations are friendly: you can use leftover yarn from old projects and mix textures for a rich look without buying new.
15. Fabric Scrunchie-Trim Christmas Balls For Playful Texture
Fabric Scrunchie-Trim Christmas Balls For Playful Texture
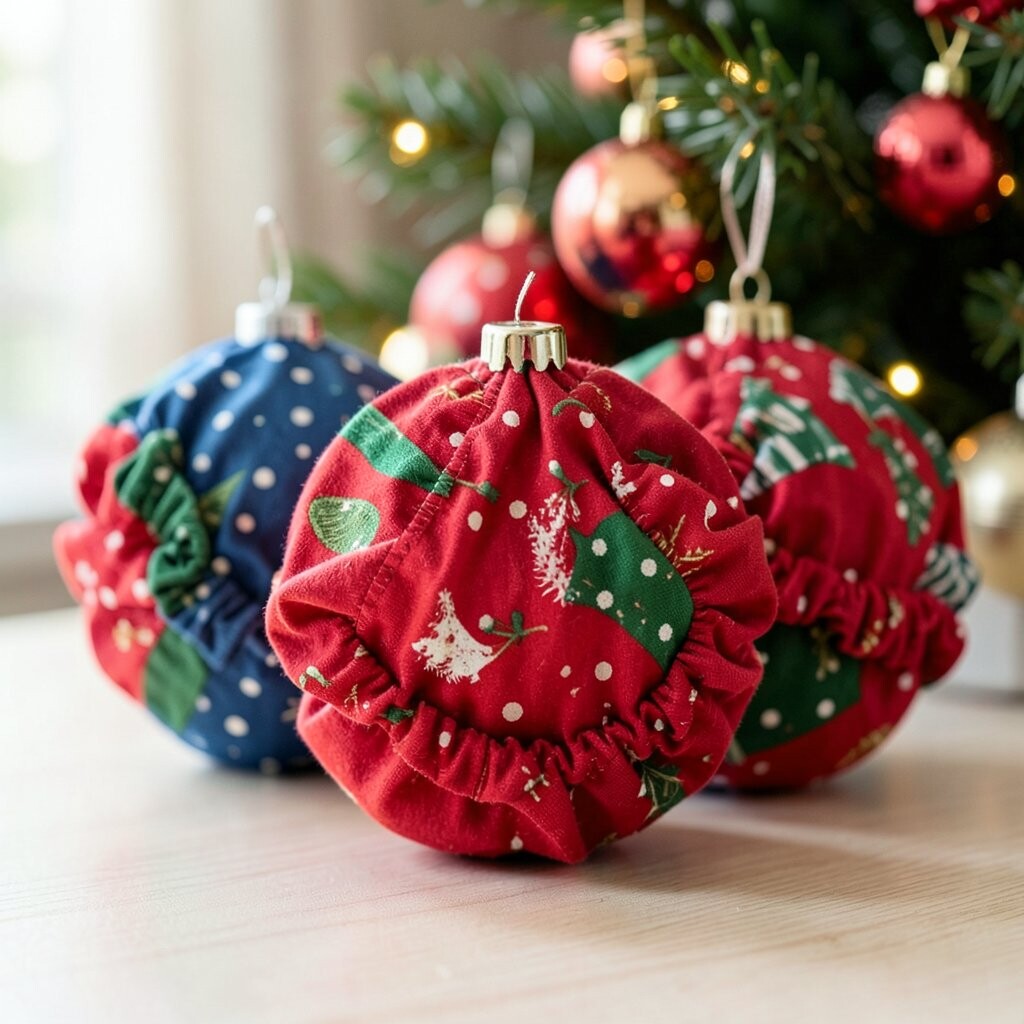
Use small fabric loops, ribbon curls, or scraps to build a bouncy look on a ball. When the lights hit, the loops create little shadows that feel fun and festive.
Wrap a few strips around the ball in a spiraled pattern, then add extra loops where you want extra fullness. Secure the ends with glue so everything stays put.
This is unique because it feels less like “perfect ornaments” and more like a handmade party. The benefit is that you can use tiny fabric leftovers, which keeps costs low. Personalize by choosing a theme like “cozy farmhouse” with neutral loops or “kids’ winter wonderland” with bright colors.
16. Layered Cardstock Christmas Balls With Paper Cut Details
Layered Cardstock Christmas Balls With Paper Cut Details
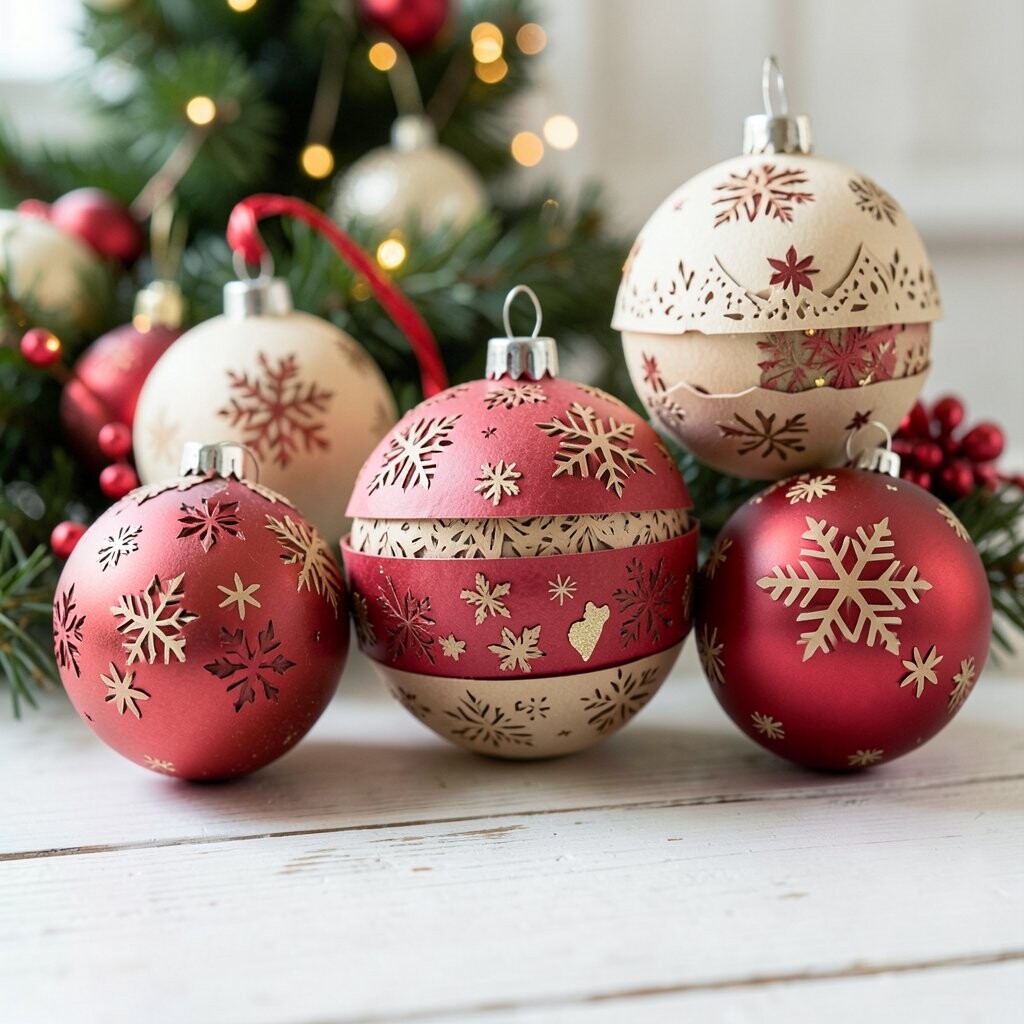
Cut cardstock into small shapes like stars, scallops, or circles, then layer them onto an ornament ball. The result looks like a little paper craft sculpture.
For an easy start, glue a band of shapes around the middle and leave the top slightly simpler. Add tiny dots with a marker so the layers feel crisp.
This idea is great for people who like clean lines and neat edges. It also helps you personalize fast by using holiday colors you already own. Cost considerations are simple: cardstock sheets are usually cheap, and you can cut multiple designs from one sheet.
For a current trend, try using metallic cardstock for the top layer so it looks “shiny but soft,” not harsh.
17. Clear-Glass Look Christmas Balls With Faux Snow Inside
Clear-Glass Look Christmas Balls With Faux Snow Inside
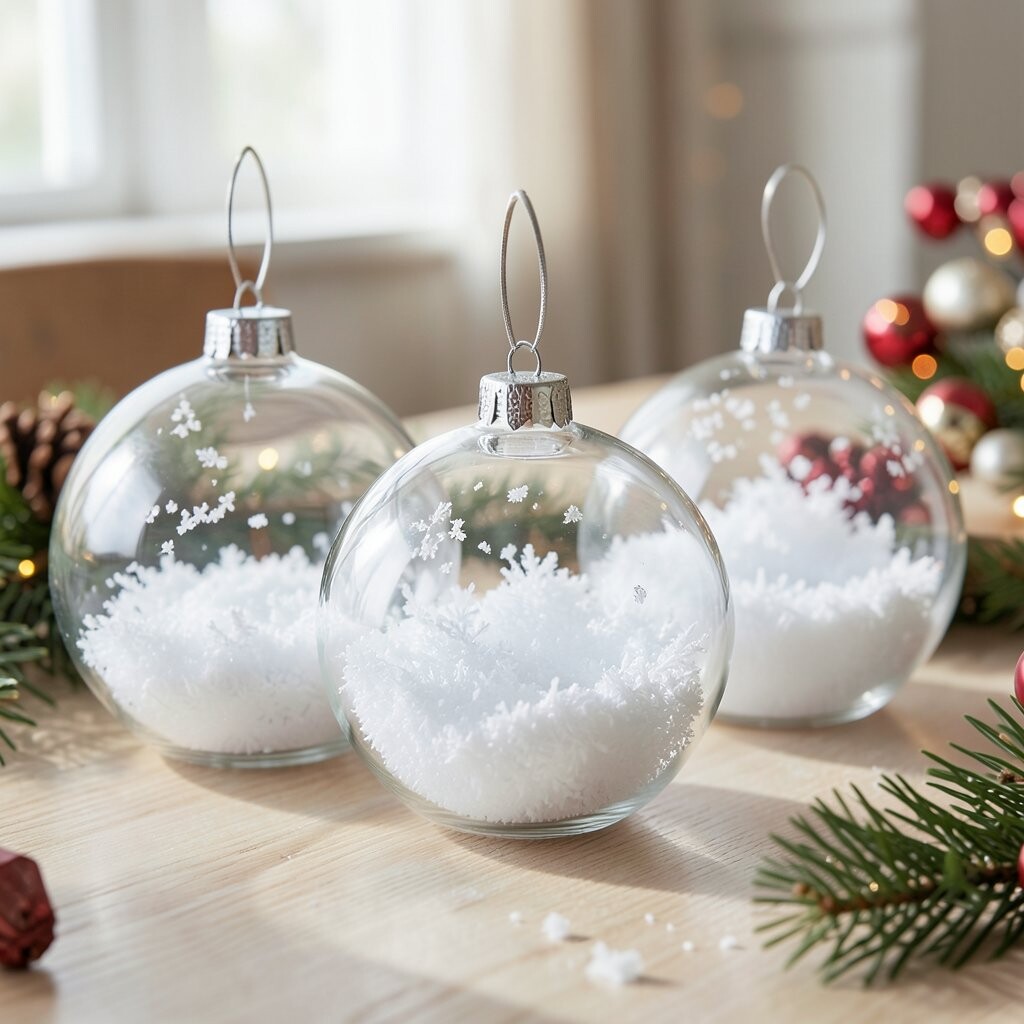
Use clear or translucent balls and add fake snow, mini beads, or tiny pearls inside. When the ball moves, the “snow” shifts and makes a calming sparkle.
Seal the opening carefully so the contents stay inside. If you cannot fully seal, choose a sturdy ornament base that closes well, or use decorative caps that hide any seam.
These balls are unique because the inside detail is visible from every angle. The benefit is that they look elegant on a tree and also look amazing in a clear bowl on a table. Personalize by mixing colors: white snow with silver beads, or soft pink dust with tiny gold pieces.