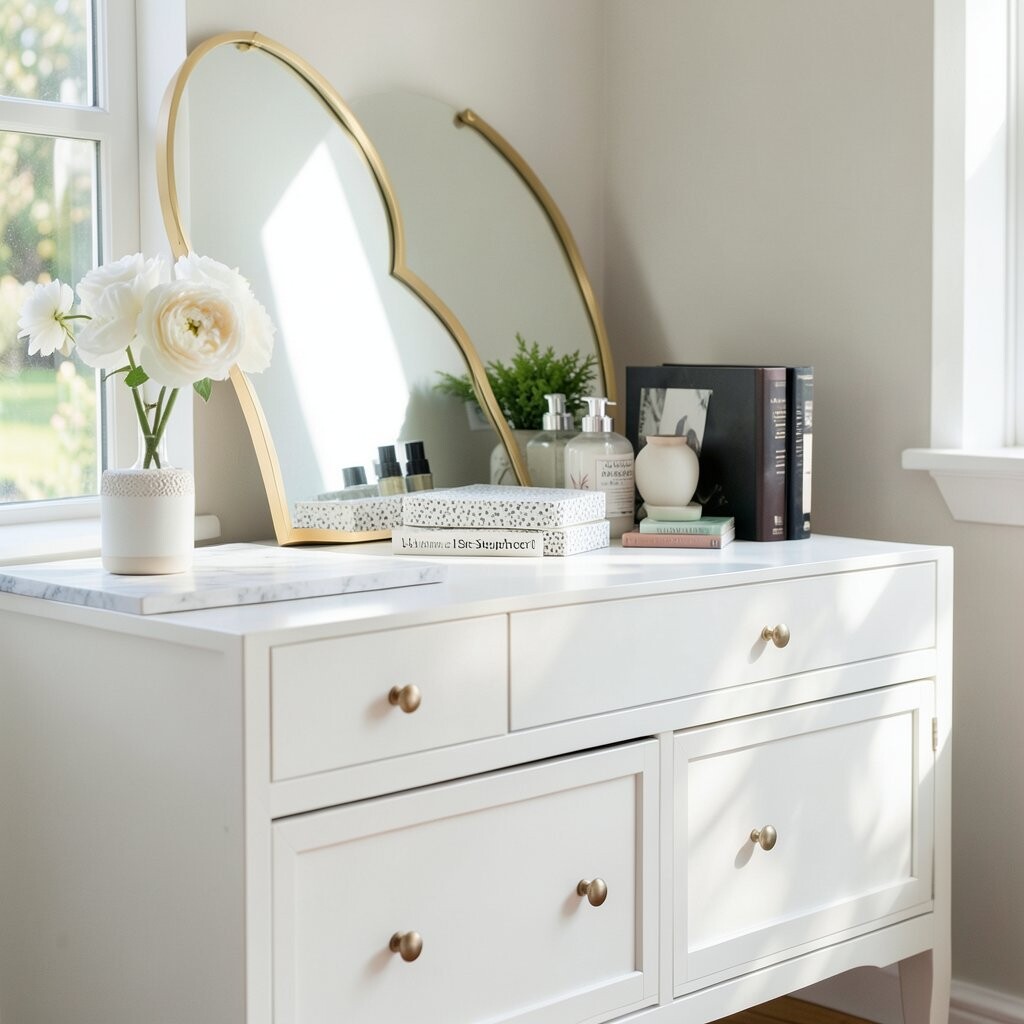
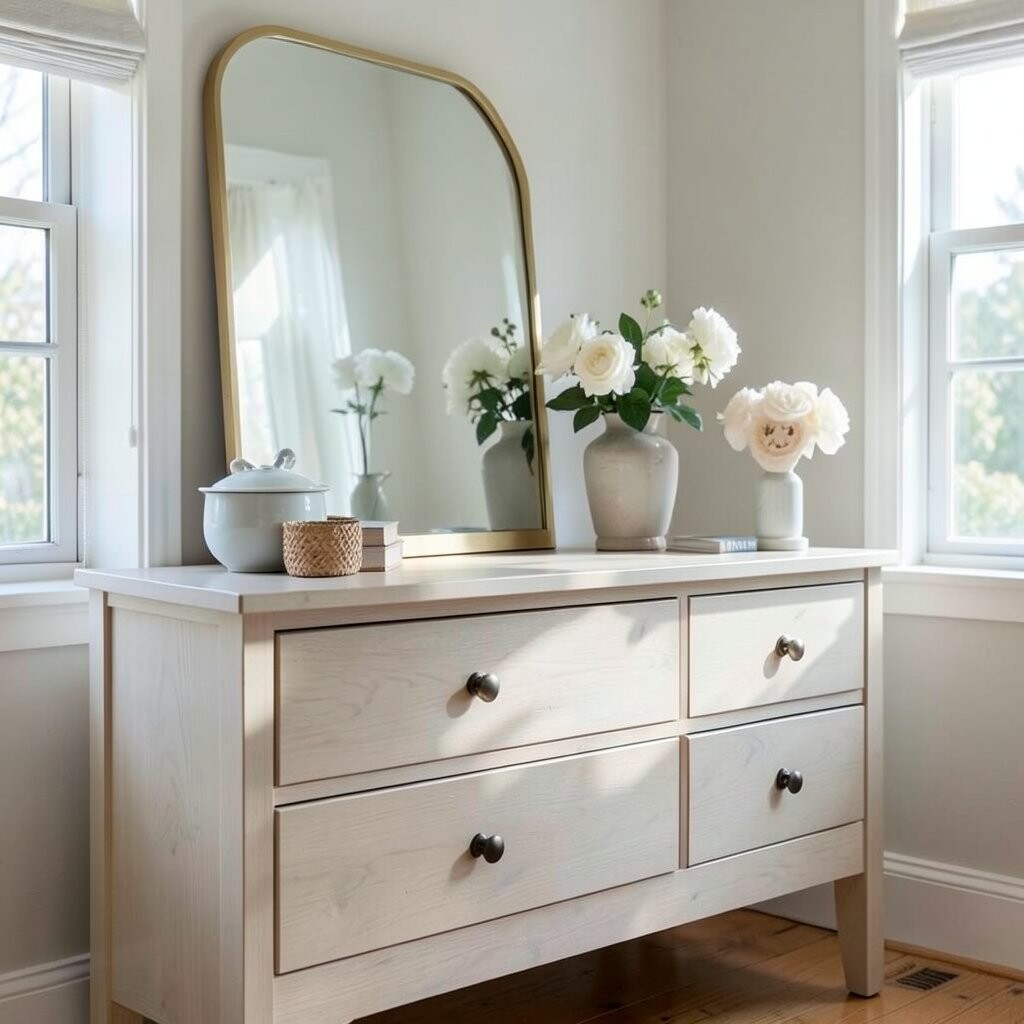
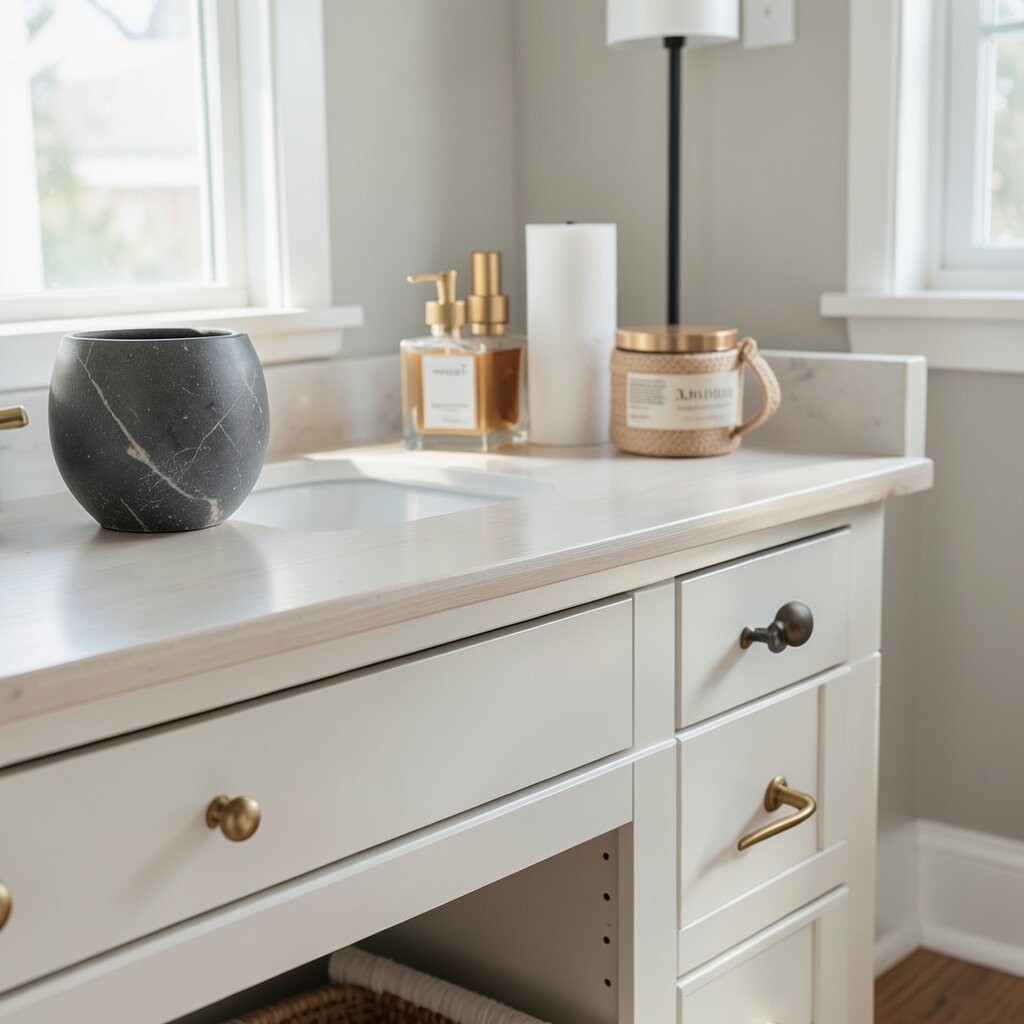
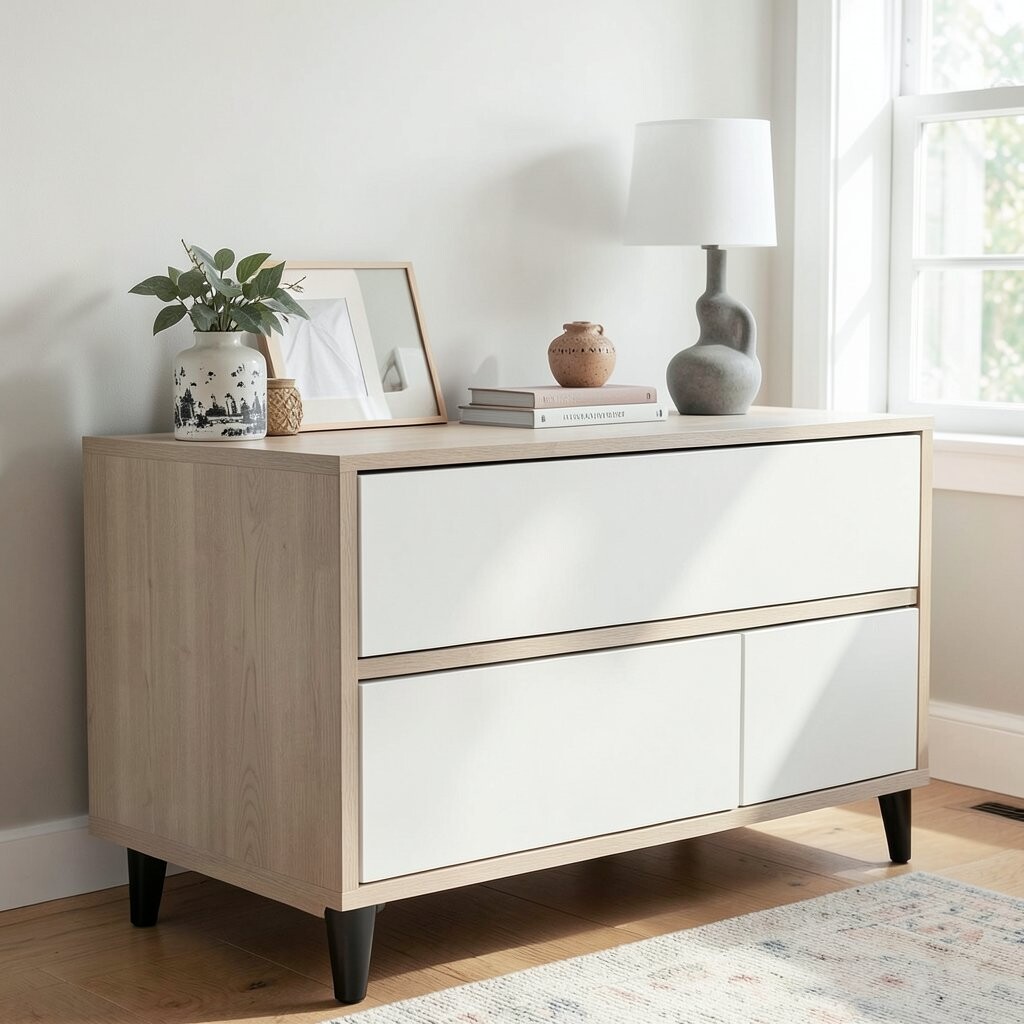
Before you buy anything, check the dresser closely. Look for wobbly drawers, loose knobs, water marks, and rough spots where paint or stain won’t sit nicely.
Take a few minutes to test hidden trouble areas. Sand a tiny patch to see if the finish comes off easily, and press a drawer track with your hand to feel for sticking points. This helps you plan the right prep step, which saves money and prevents peeling later.
2. Give It Time To Dry And Cure
Give It Time To Dry And Cure
Patience is a secret weapon in dresser makeovers. If you rush drying, the surface can look dull or feel tacky even after it seems “done.”
After painting or sealing, let everything cure long enough to handle daily use. Weather and humidity can slow things down, so follow product directions and do a gentle touch test in a corner first. The benefit is smoother handling and a finish that holds up to keys, rings, and everyday messes.
Keep doors and drawers slightly open while drying so air can move. That simple habit helps prevent sticky spots and helps your sheen look even across the whole dresser.
3. Clean Like You Mean It (Even If It Looks Fine)
Clean Like You Mean It (Even If It Looks Fine)
A clean dresser makes paint stick better and look more even. Wipe off dust, grime, and any greasy fingerprints along the edges and drawer fronts.
Use a gentle degreaser or soapy water, then rinse and dry fully. If you skip this step, the finish may chip sooner, especially around handles and high-touch areas. The unique benefit is that your topcoat will level smoothly, making brush marks less noticeable.
For personalization, keep a “prep kit” nearby with microfiber cloths and a small scrub brush. You can focus on corners, grooves, and the tiny lines where dirt likes to hide. That care is what makes a makeover look truly finished.
Cost-wise, cleaning supplies are usually cheap compared to repainting later. When you do it right, you stretch your materials farther.
4. Sand With Purpose, Not Just Motion
Sand With Purpose, Not Just Motion
Sanding is where the magic starts, because it helps your new finish grip. Lightly scuff the surface so paint or stain has something to hold onto, especially on glossy areas.
If the dresser has rough texture, sand a bit more until the feel becomes steady. Then wipe away the dust completely, because leftover grit can ruin your smooth look. This step also helps you choose your direction: flat and matte, soft satin, or a clean glossy vibe.
5. Pick A Finish Style That Matches Your Life
Pick A Finish Style That Matches Your Life
Think about how you use the dresser every day. A busy household often loves durable finishes that wipe clean, while a guest-room piece can handle a more delicate look.
Matte finishes hide small flaws and feel calm and modern. Satin finishes catch light gently, and semi-gloss looks crisp and easy to wipe. Choosing early helps you buy the right topcoat and avoid extra coats.
For personalization, match the dresser finish to your room colors. If your walls are warm, try a warm off-white or honey-toned stain. If your room feels cool and airy, a crisp white or cool gray can look fresh.
6. Use Primer Like A “Silent Superhero”
Use Primer Like A “Silent Superhero”
Primer may not look pretty, but it does the heavy lifting. It blocks stains and creates a steady base so your final color looks true, not blotchy.
For wood knots or old water marks, a stain-blocking primer can be a game changer. You’ll see cleaner color coverage and fewer patchy spots that you’d otherwise have to fix later. This also means you may need fewer paint coats, which can cut costs.
Uniqueness comes from how your dresser absorbs color. When the base is even, the top color looks richer and more professional, even if you’re doing it yourself.
7. Choose A Color That Feels Like You
Choose A Color That Feels Like You
Color sets the mood of the whole room, and your dresser should fit that mood. Pick a tone that makes you smile when you walk in, even on ordinary days.
Try trending shades like soft greens, warm greiges, or creamy whites with a hint of color. These tones are popular because they blend with many styles, from cozy to clean-lined. The benefit is that you can update your room later with accessories without needing a full repaint.
For personalization, paint one section in a bold accent color while keeping the rest calm. Or use a subtle two-tone look, like a different shade for drawers only. That small twist makes the dresser feel special and one-of-a-kind.
8. Layer Paint Thin, Let It Work
Layer Paint Thin, Let It Work
Instead of one thick coat, use thin layers and let each coat dry. Thin paint spreads smoothly and reduces drips, bubbles, and uneven coverage.
If you still see the old finish after a coat or two, that’s normal. Add another light coat until coverage looks steady, rather than trying to force it all at once. This helps your dresser look smooth and keeps your supplies from getting wasted.
9. Upgrade Hardware For Instant Style
Upgrade Hardware For Instant Style
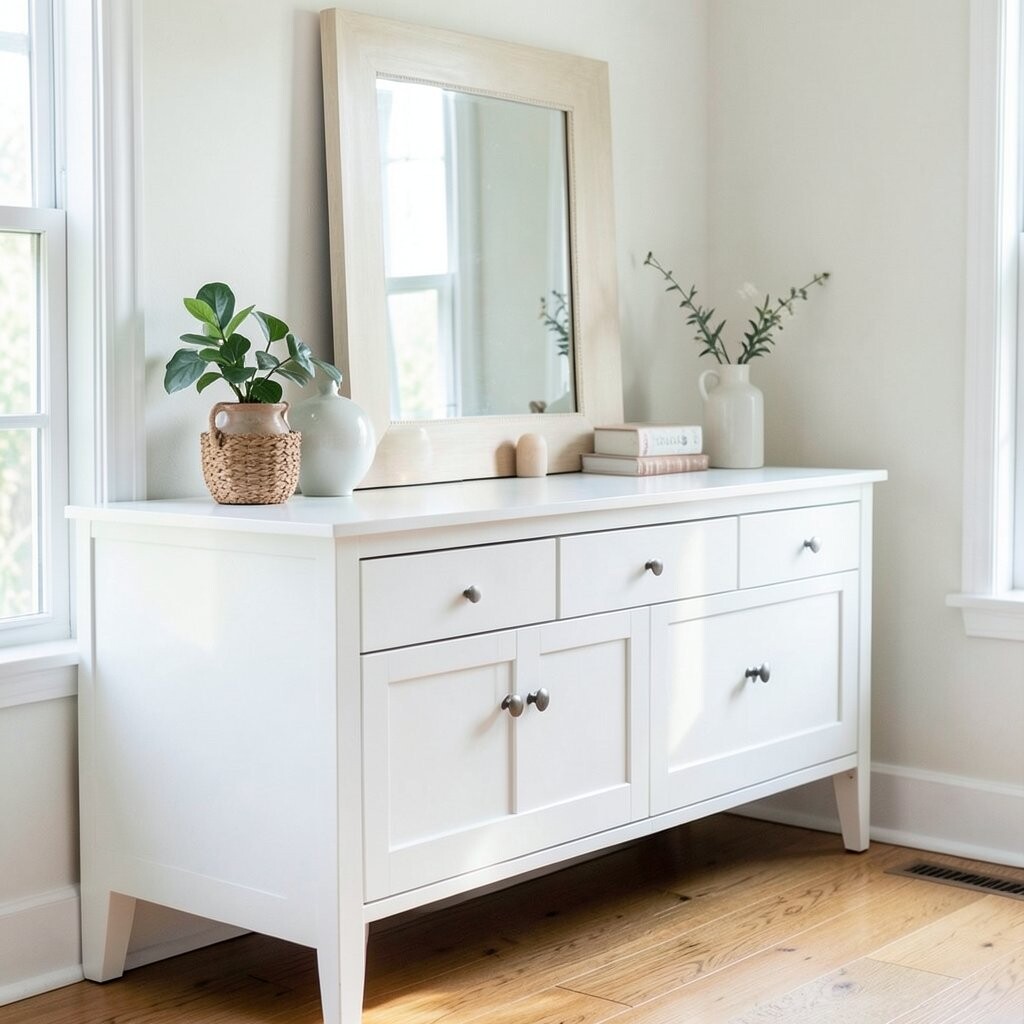
Hardware is like jewelry for your dresser, and it changes the look fast. Swap old knobs and pulls for new finishes like brushed brass, matte black, or smooth chrome.
When you update hardware, you create a clear “before and after” moment. It’s also cheaper than replacing the whole dresser, and you can do it without complicated tools.
For personalization, match hardware to your room details. If your light fixtures are warm gold, warm gold pulls can tie everything together. If your room is sleek and modern, matte black handles can add a bold edge.
10. Make Drawer Fronts Pop With Texture
Make Drawer Fronts Pop With Texture
If you want your makeover to feel unique, add texture to the drawer fronts. You can use raised trim pieces, wood appliqués, or even carve a simple pattern with care and patience.
Texture makes light bounce across the surface, so the dresser looks richer. It also helps hide small imperfections from old wear. Plus, the benefit is that your dresser looks custom even if your paint color is simple.
Cost considerations matter here, too. Trim and small decorative pieces can be affordable, and you can keep it to one or two drawer fronts to save money. Trends right now often lean toward subtle raised panels and clean geometric shapes.
11. Try A Wood-Tone Accent Instead Of All Paint
Try A Wood-Tone Accent Instead Of All Paint
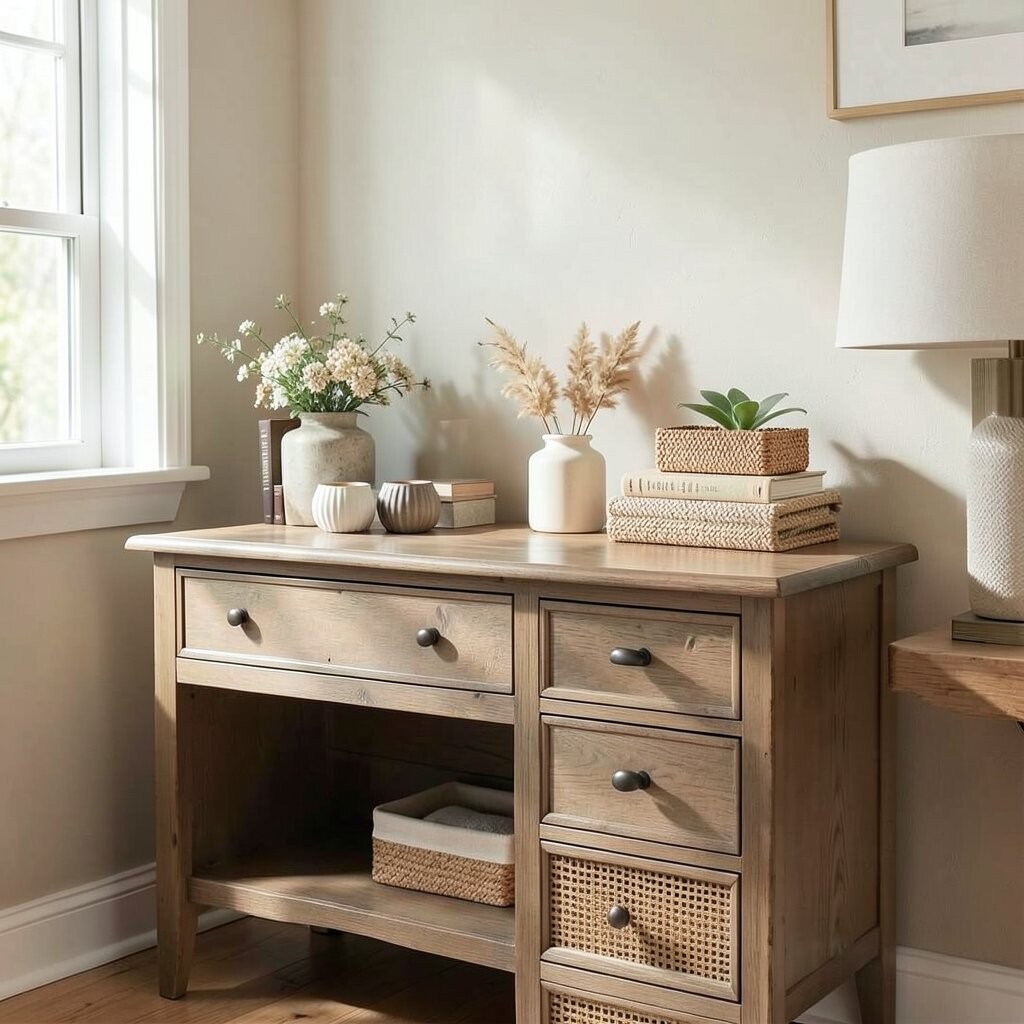
Some dressers look stunning when you keep part of the wood and paint only certain areas. You can sand down the top edge, lighten it, and seal it, while painting drawer fronts for contrast.
This combo is a great way to blend old and new. It keeps warmth and grain visible, which makes the piece feel cozy and not too “store-bought.” The unique benefit is depth: painted sections look fresh, while wood sections feel classic.
For personalization, choose one accent strip, a top band, or a panel shape. That kind of design feels thoughtful, and it’s easier than painting the entire dresser the same way. You can also use a stain close to your floors for a more connected room.
In terms of cost, doing partial sanding and sealing may require less paint. It can also make your dresser feel more expensive without expensive materials.
12. Consider A Stencil Or Simple Pattern
Consider A Stencil Or Simple Pattern
Stencils can give your dresser personality without making you an expert artist. Use a small repeat pattern on drawer fronts or along the top edge for a neat, classy look.
Pick a pattern that matches your style, like soft florals for a gentle vibe or clean lines for a modern one. The benefit is a designer feel that you can control, and it usually stays within a realistic budget. Stenciling also works well if you want color pop without repainting the whole piece.
13. Add A Clear Topcoat For Everyday Protection
Add A Clear Topcoat For Everyday Protection
A topcoat is what keeps your makeover from looking tired too soon. Choose a clear protective finish that matches your paint type so it bonds well.
Wipe tests matter: after it cures, gently wipe with a damp cloth to see if the finish resists smudges. A solid topcoat helps with rings, makeup smears, and the tiny everyday messes that happen in real homes. This is the benefit that makes your dresser makeover last.
For personalization, decide on shine level. A soft satin topcoat gives a “gently lit” look, while a matte topcoat can hide tiny marks. If you want a trendy furniture style, many people now choose satin because it feels modern but not shiny.
14. Style The Inside Too, Not Just The Front
Style The Inside Too, Not Just The Front
Your dresser won’t feel truly finished until the inside looks cared for. Add liners, small bins, or dividers so items stay organized and easy to grab.
Choose liners that match your dresser color story. Patterned liners can add charm, while neutral liners keep things calm. The benefit is daily ease: open a drawer and everything stays neat, which makes you want to maintain the makeover.
15. Match The Dresser To The Room’s Mood
Match The Dresser To The Room’s Mood
Look around your room and notice the colors, textures, and lighting. If your space is warm, consider warm paint tones and wood accents that feel cozy.
If your room is bright and airy, choose lighter shades and cleaner lines. This helps your dresser feel like part of the room instead of a separate project. For uniqueness, carry one accent color from the dresser into decor like a lamp base, a frame, or a tray.
Trends can guide you, but your home should feel personal. Current styles often love mixed textures, like matte paint with metal hardware, or soft paint with woven baskets in the drawers. When you follow the mood, the makeover looks effortless.
16. Plan For Small Touch-Ups Before You Start
Plan For Small Touch-Ups Before You Start
Every makeover has tiny moments—like a nick, a scratch, or a spot you want smoother. By planning ahead, you can keep your dresser looking fresh for a long time.
Save a little extra paint in a labeled container and keep spare hardware in a safe place. If you use a stencil or pattern, store a sample so you can match the exact look later. This small step is a cost saver because quick fixes cost less than full repaint jobs.
For personalization, consider a “touch-up routine” after the dresser fully cures. Check the edges, test high-touch spots, and smooth any tiny imperfections with careful sanding and recoat. When you do it early, the dresser stays crisp and pretty instead of developing worn areas.