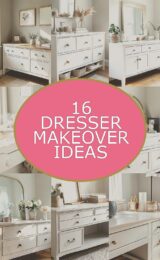
14 Dresser Makeover For Entryways Ideas To Inspire Your Home
Your entryway is the first hello your home gives every day. A refreshed dresser can make that hello feel warm, neat, and full of style.
Even small changes can look big when they sit right by the door. With the right makeover plan, your dresser becomes a landing spot that works and looks amazing.
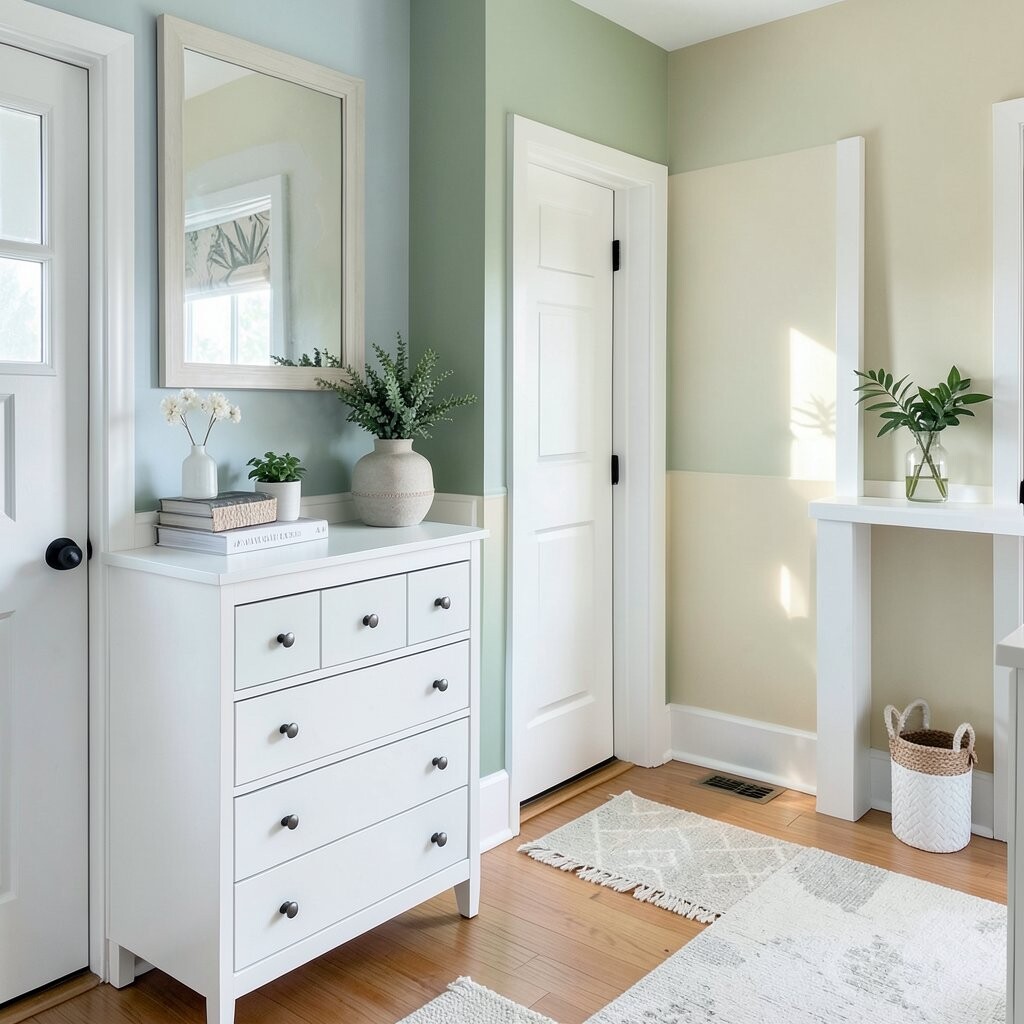
A bright dresser instantly changes the mood the moment someone walks in. Imagine a soft-sunny yellow or a calm sage finish paired with crisp white knobs, catching light as you pass by.
The surface can look smooth and fresh, even if the dresser once felt tired.
Choose a paint that handles daily touch and looks great in natural daylight. Before you start, sand lightly and wipe away dust so the finish sticks well.
Then add a clear topcoat to help with scratches and scuffs.
2. Keep the Wood Tone, Add a Stain Wash, and Update the Hardware
Keep the Wood Tone, Add a Stain Wash, and Update the Hardware
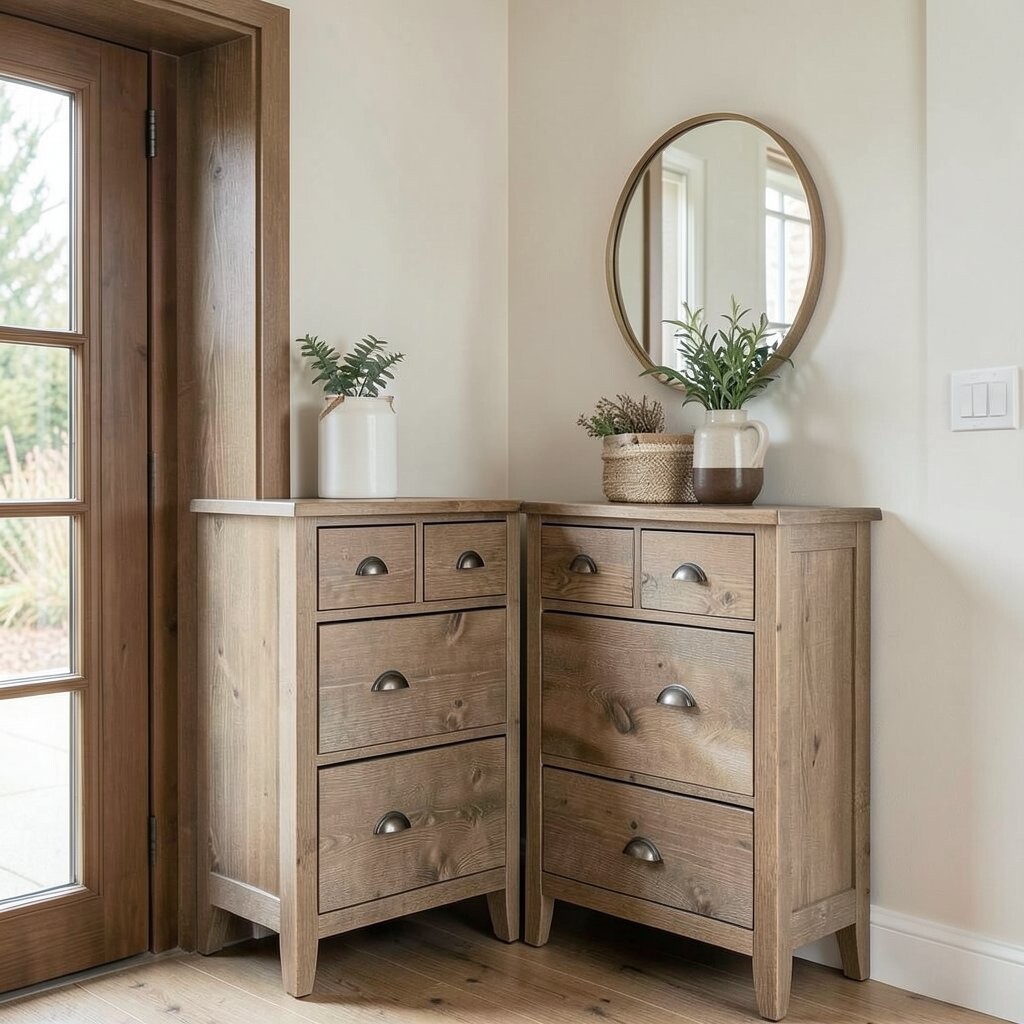
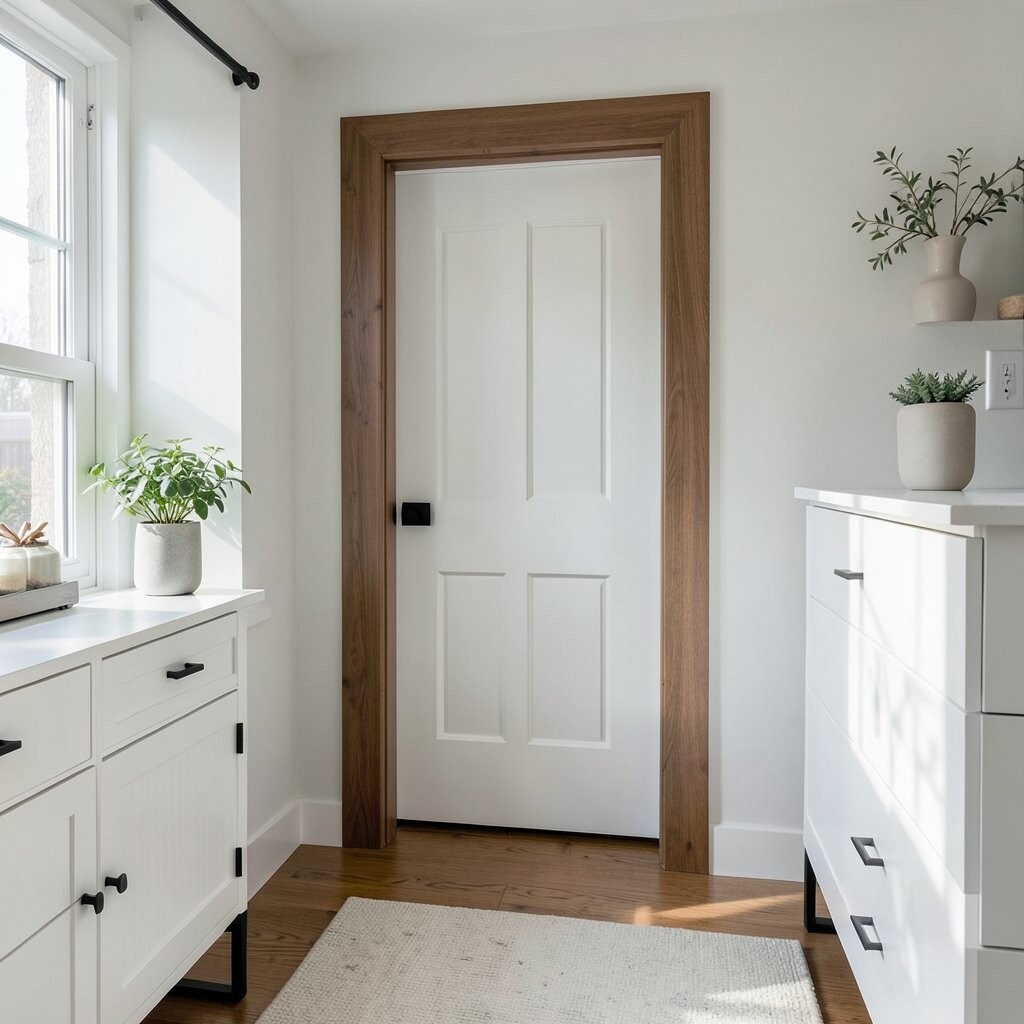
Some entryways feel best when the dresser looks like it belongs to the house. A light stain wash can bring out warm wood grain, and it looks especially pretty next to a mirror.
Swap old knobs for modern black or brushed brass for a quick style boost.
This approach is great when you want a cozy, natural look without heavy painting. Use a tack cloth after sanding to prevent grit from showing through the stain.
Finish with a protective layer so everyday use stays easy.
For personalization, pick hardware that matches your door fixtures, light switch plates, or curtain rods. This kind of makeover can stay budget-friendly because you’re upgrading key parts instead of rebuilding everything.
You still get a unique result because the wood tone will be different in every dresser.
3. Go Bold With Two-Tone Panels and a Fresh Top Shelf
Go Bold With Two-Tone Panels and a Fresh Top Shelf
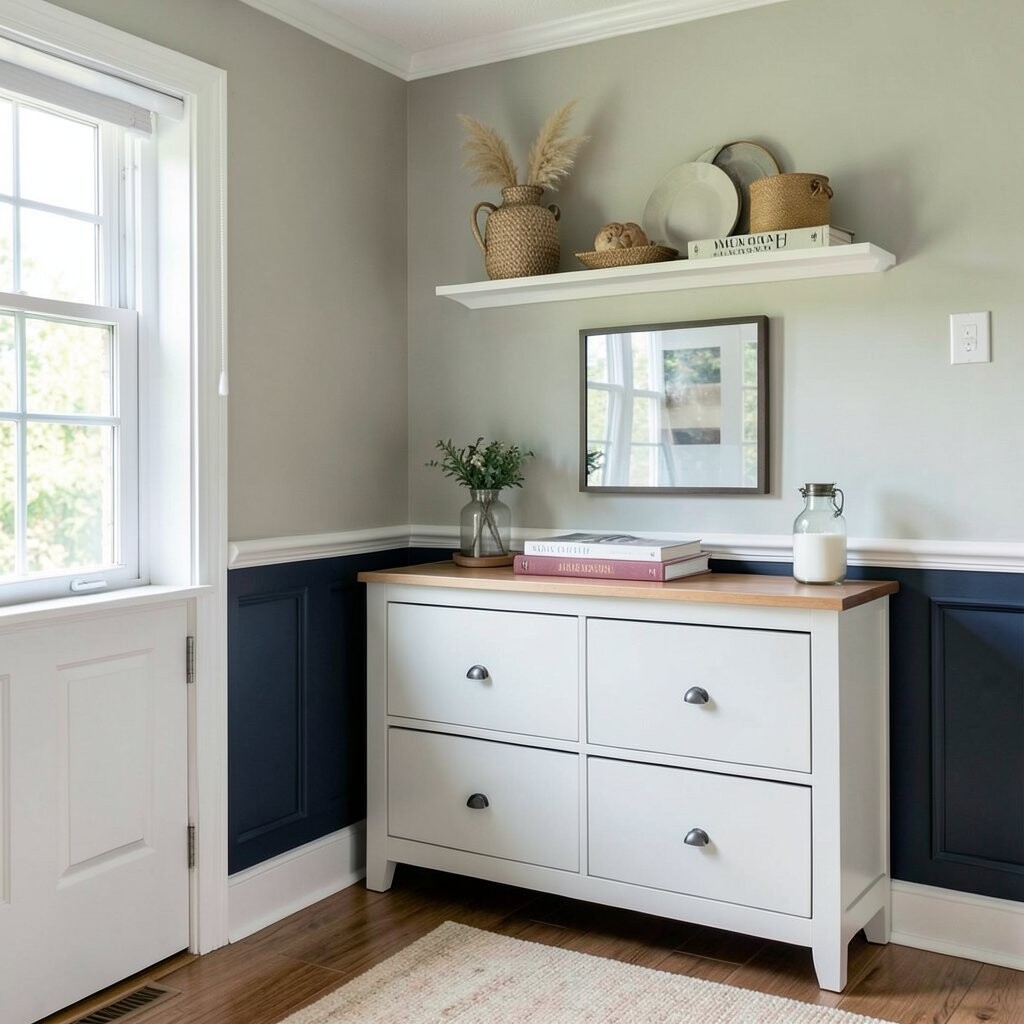
Two-tone dressers look like design pieces, not just furniture. Picture the body in deep navy and the top drawers in warm cream, with paneling that creates sharp contrast.
It makes your entryway feel styled like a magazine spread.
Use painter’s tape to mark straight lines and to keep colors from bleeding. If your dresser has trim, paint around it so the details pop.
Add a new top by either refinishing or attaching a slim wood or stone-look board for a brighter surface.
This makeover is unique because it lets you control the “story” your dresser tells. For personalization, match one color to a nearby rug and the other to a wall tone.
Even on a modest budget, you can focus money on paint and hardware while keeping the rest simple.
A helpful trend to lean into right now is “color blocking” with small furniture. It keeps the look modern while still feeling playful and welcoming.
You can also add a tray and a small plant to make the whole setup feel complete.
4. Add a Peel-and-Stick Wallpaper Backdrop Behind a Mirror
Add a Peel-and-Stick Wallpaper Backdrop Behind a Mirror
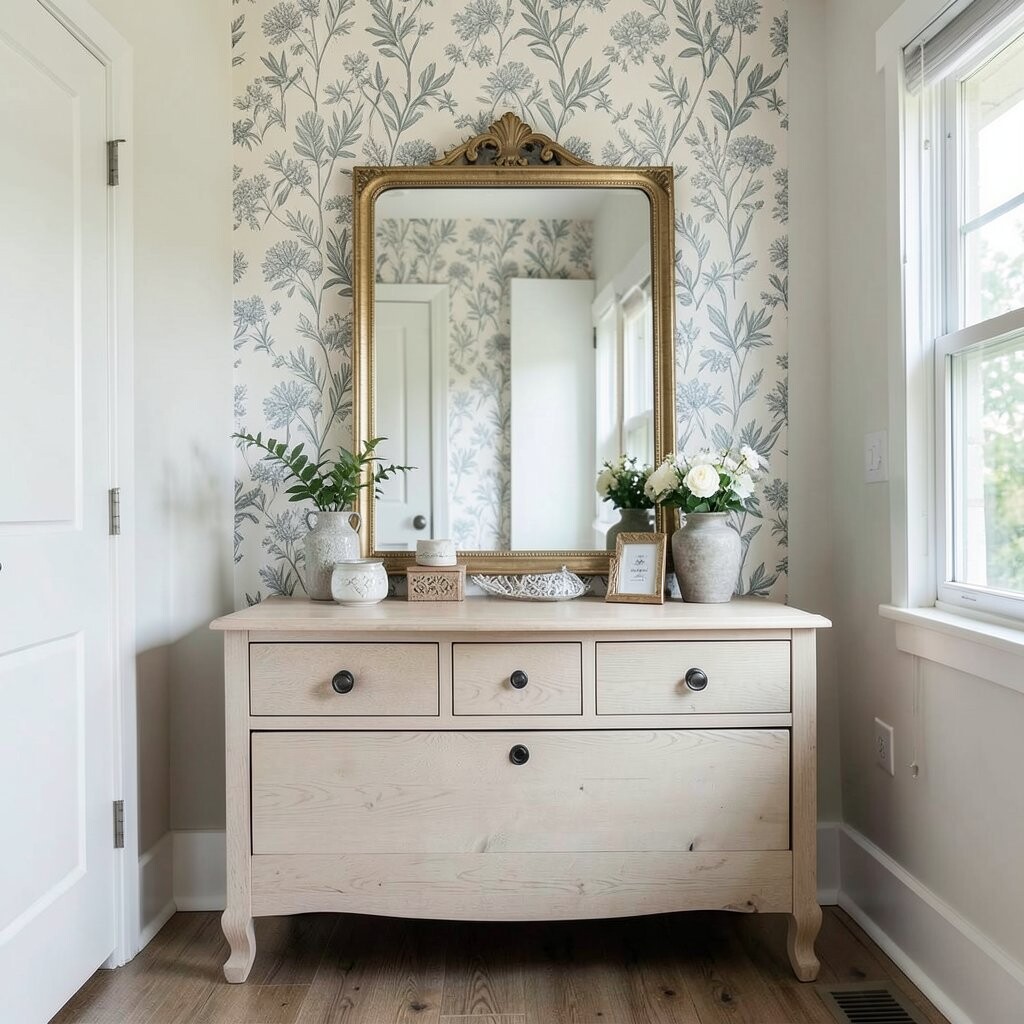
If your dresser sits under or beside a mirror, a wallpaper backdrop can make it feel custom. Imagine a soft botanical pattern or subtle geometric texture behind the mirror, so the whole area looks layered and rich.
Your entryway instantly feels more expensive without major construction.
Choose a peel-and-stick option for easier setup and easier changes later. Clean the wall area well, measure carefully, and smooth bubbles as you go.
Finish by styling the top with a small lamp, keys tray, and a vase for a pulled-together look.
5. Decoupage Drawer Fronts With Vintage Maps or Fabric-Like Prints
Decoupage Drawer Fronts With Vintage Maps or Fabric-Like Prints
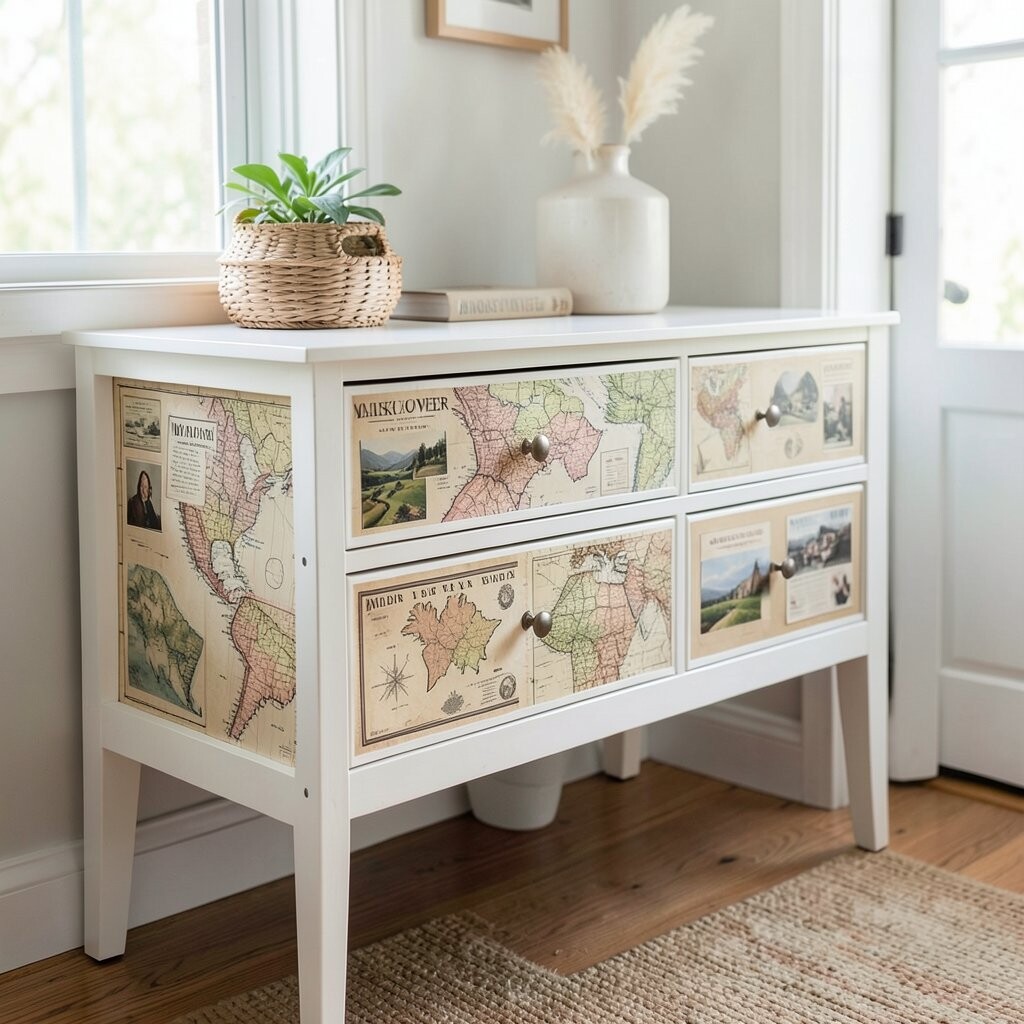
Decoupage gives your dresser a playful personality that’s hard to copy. Picture map-style paper on the drawer fronts, sealed with a glossy or matte topcoat so it looks smooth and protected.
The pattern adds story and charm right at your doorway.
For the best results, remove hardware first and apply a thin layer of decoupage medium evenly. Let it dry between layers so the paper lies flat.
Choose designs that match your entryway colors, like warm creams with muted greens.
This makeover is personal because every cut, placement, and paper choice becomes yours. It can also be budget-friendly since you can use affordable paper and a basic sealant.
Add matching coasters or a patterned runner near the dresser so the look feels intentional.
6. Create an Open-Shelf Entry Dresser by Removing One Drawer
Create an Open-Shelf Entry Dresser by Removing One Drawer
Turning one section into open shelving helps your entryway feel lighter and easier to use. Imagine removing a lower drawer and replacing it with a tidy shelf space, perfect for baskets and daily items.
The benefit is simple: everything you need is visible and within reach.
Use sturdy shelf liners or a wooden board to keep things neat. If you remove a drawer, consider sanding the edges and sealing them so they look clean.
Style the shelf with two baskets: one for gloves and one for scarves.
7. Stencil a Large Center Motif for a Gallery Feel
Stencil a Large Center Motif for a Gallery Feel
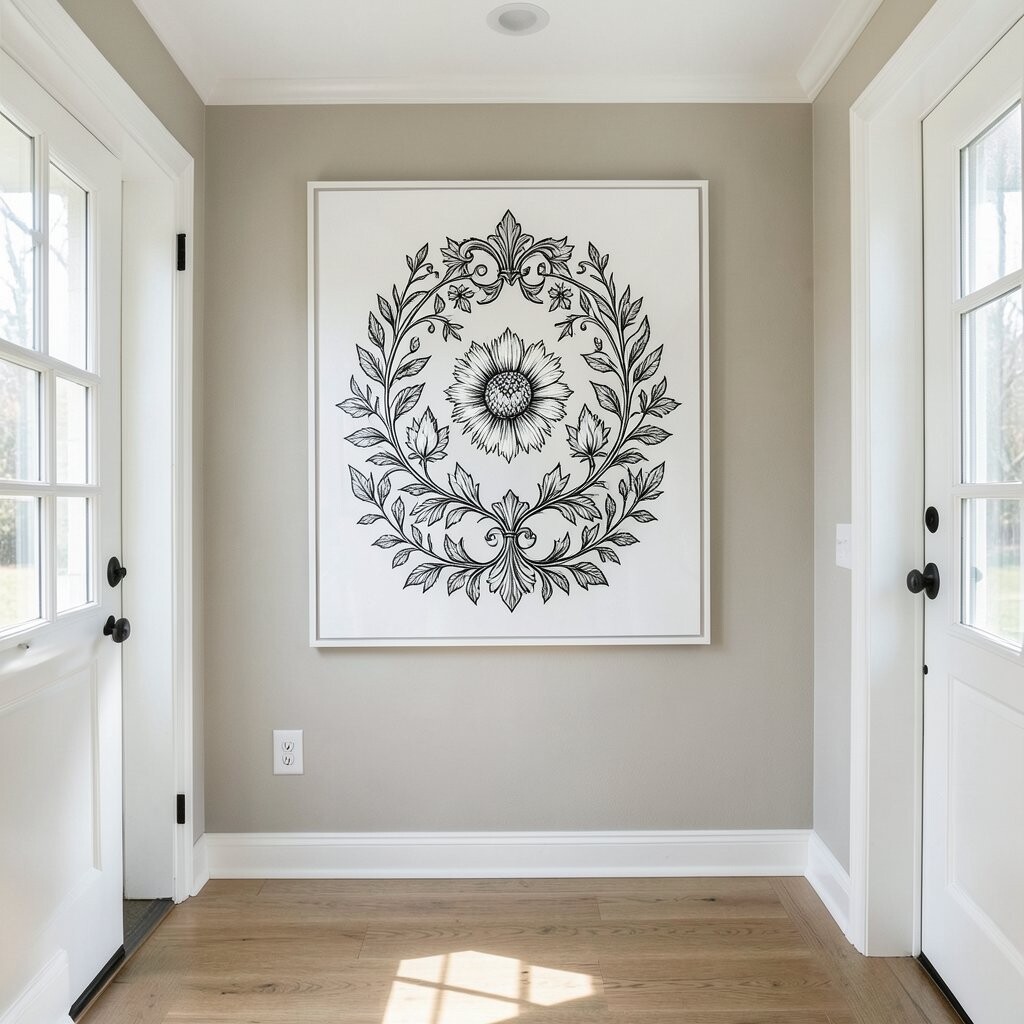
Stencils can turn plain furniture into wall-art style furniture. Picture a big flower, a geometric pattern, or a simple arch shape centered on the dresser front, framed by a clean painted base.
It looks like a designer choice, even when the steps are straightforward.
Start with a smooth surface, then secure the stencil with low-tack tape so it doesn’t shift. Use a small foam roller or stencil brush, and build color slowly to avoid drips.
Let it dry fully before removing the stencil.
For personalization, match the stencil color to your entryway mirror frame or the border on your rug. This is also a budget-friendly method because stencils are often cheaper than full custom artwork.
Keep the rest of the styling minimal so the motif stays the star.
8. Wrap the Dresser in Linen-Textured Contact Paper for a Soft Look
Wrap the Dresser in Linen-Textured Contact Paper for a Soft Look
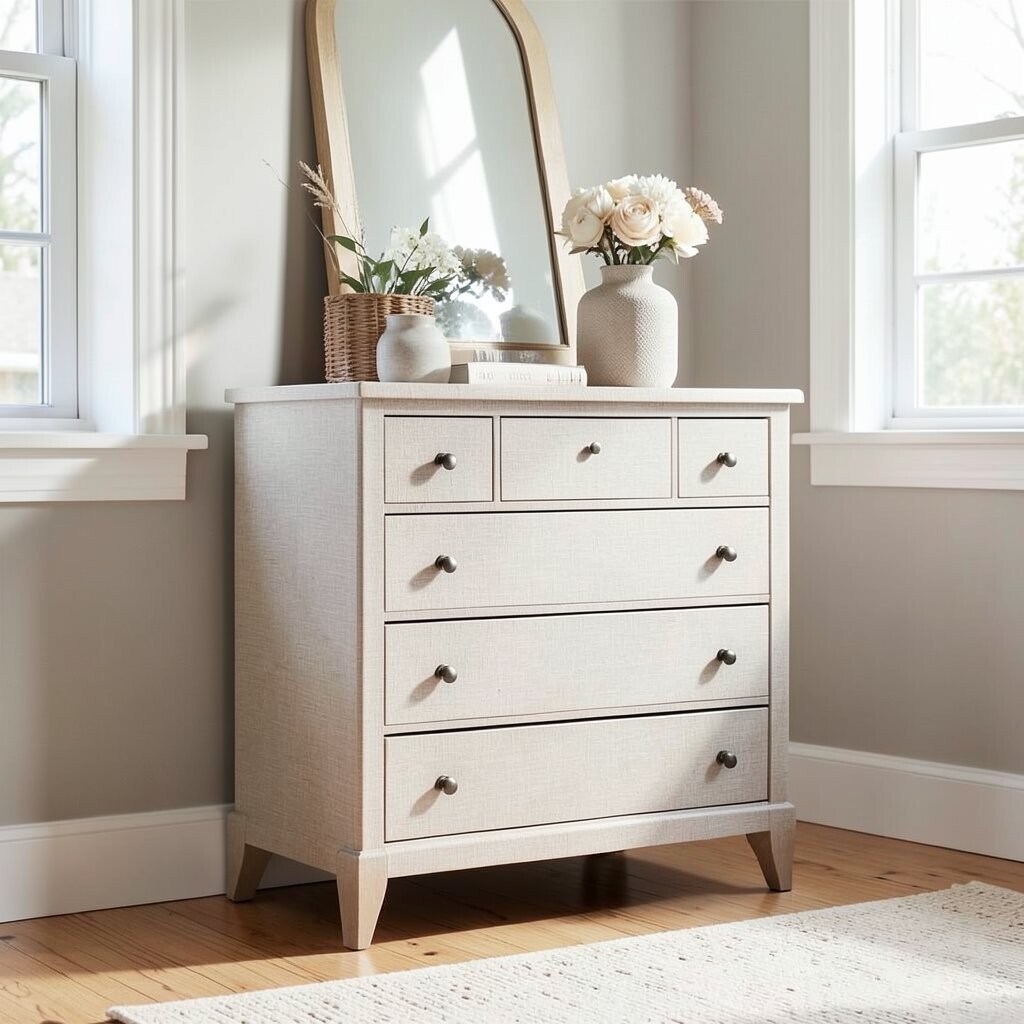
Want a makeover that’s gentle on your time? Linen-textured contact paper can give a soft, tailored feel that looks great in entryways.
Picture a creamy wrap finish that hides small flaws and makes the dresser look calm and cozy.
Clean and dry the surface well before applying the wrap, and take your time smoothing each section. Use a sharp blade for clean edges and cut around corners carefully.
Add new hardware on top to complete the look with a modern touch.
This option is unique because it changes the “feel” of the dresser visually, almost like fabric. It’s also easy to update later if you change your style.
Cost stays lower compared to spray finishes, and repairs are simpler if a patch ever needs replacing.
A current trend is using soft textures to balance sleek modern entryways. Pair the dresser with a textured runner and a warm lamp for a layered vibe.
Your entryway will feel inviting the moment you step inside.
9. Update to Black Hardware and Add a Key Tray With Hooks
Update to Black Hardware and Add a Key Tray With Hooks
Small upgrades can feel like big wins, especially at the door. Swapping to black hardware creates contrast, and adding hooks plus a key tray makes the dresser work like a daily command center.
Picture keys lined up neatly, scarves hung in easy sight, and a tidy spot for mail.
Choose hooks that screw in securely and a tray that matches the hardware color. Use a simple wood tray or a metal one with a protective coating.
Add small labels or a tiny sign so everyone knows where things go.
This makeover is practical and unique because it’s built around your routine. Consider a small basket for sunglasses and another for charging cables if your entry is near an outlet.
Even if you keep painting simple, hardware and organization add real value.
10. Add a Raised Wood Trim Frame for a Modern “Built-In” Look
Add a Raised Wood Trim Frame for a Modern “Built-In” Look
Raised trim can make a dresser look like it’s part of a custom wall. Imagine thin strips of wood around the drawer fronts, painted to match or contrast with the base color.
The result feels crisp and architectural.
Use lightweight trim pieces, measure twice, and attach them with wood glue plus small finishing nails if needed. Sand the edges smooth so the trim feels seamless.
Then prime and paint for an even, clean finish.
11. Try Chalk Paint and a Gentle Distressed Finish
Try Chalk Paint and a Gentle Distressed Finish
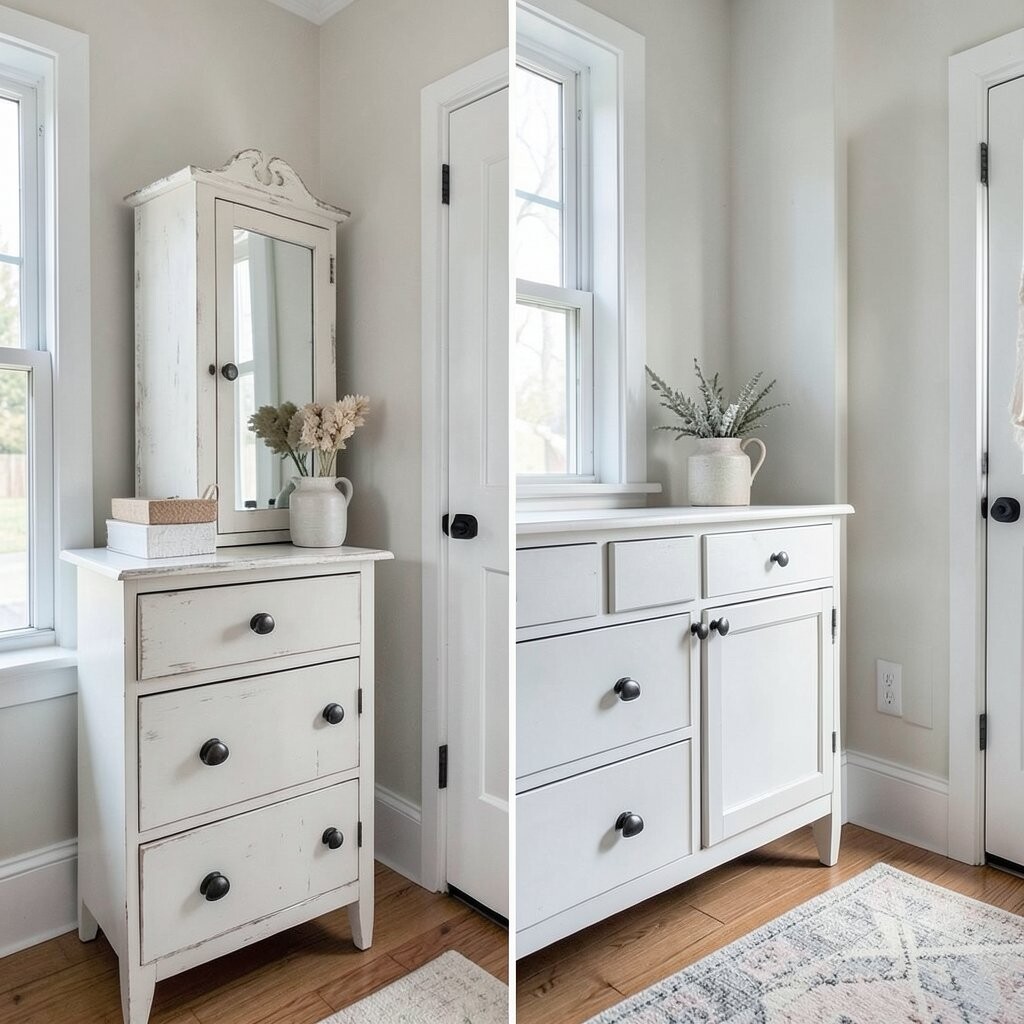
Distressing can create a cozy, lived-in charm that still looks stylish. Think of a soft white or light gray chalk-painted dresser with edges rubbed just enough to show a hint of original wood.
It gives your entryway a welcoming, vintage touch.
Use dark wax or a clear protective topcoat depending on the look you want. Lightly sand in high-wear areas like corners and drawer edges for a natural effect.
Keep distressing subtle so the dresser stays easy to pair with modern decor.
This makeover feels unique because no two distress patterns are exactly the same. Personalize with warm-toned hardware like bronze or aged brass to match the soft palette.
Cost considerations are friendly here because chalk paint can cover well, and you can achieve a high-end look without expensive materials.
12. Style the Dresser With a Glass Front Organizer and Storage Baskets
Style the Dresser With a Glass Front Organizer and Storage Baskets
A dresser makeover can be just as much about function as it is about style. Add a glass front organizer or decorative bins so items look tidy even when they’re in use.
Picture the top with a tray and the drawers holding matching baskets labeled by purpose.
Use baskets that fit the drawer sizes and keep colors coordinated, like woven neutrals or black-and-white patterns.
If you’re adding glass, make sure it’s secure and well-anchored so it stays safe during daily bumps.
This setup helps reduce clutter because it gives each item a specific home.
13. Create a “Spa Entry” Look With Soft Neutrals and Curved Gold Details
Create a “Spa Entry” Look With Soft Neutrals and Curved Gold Details
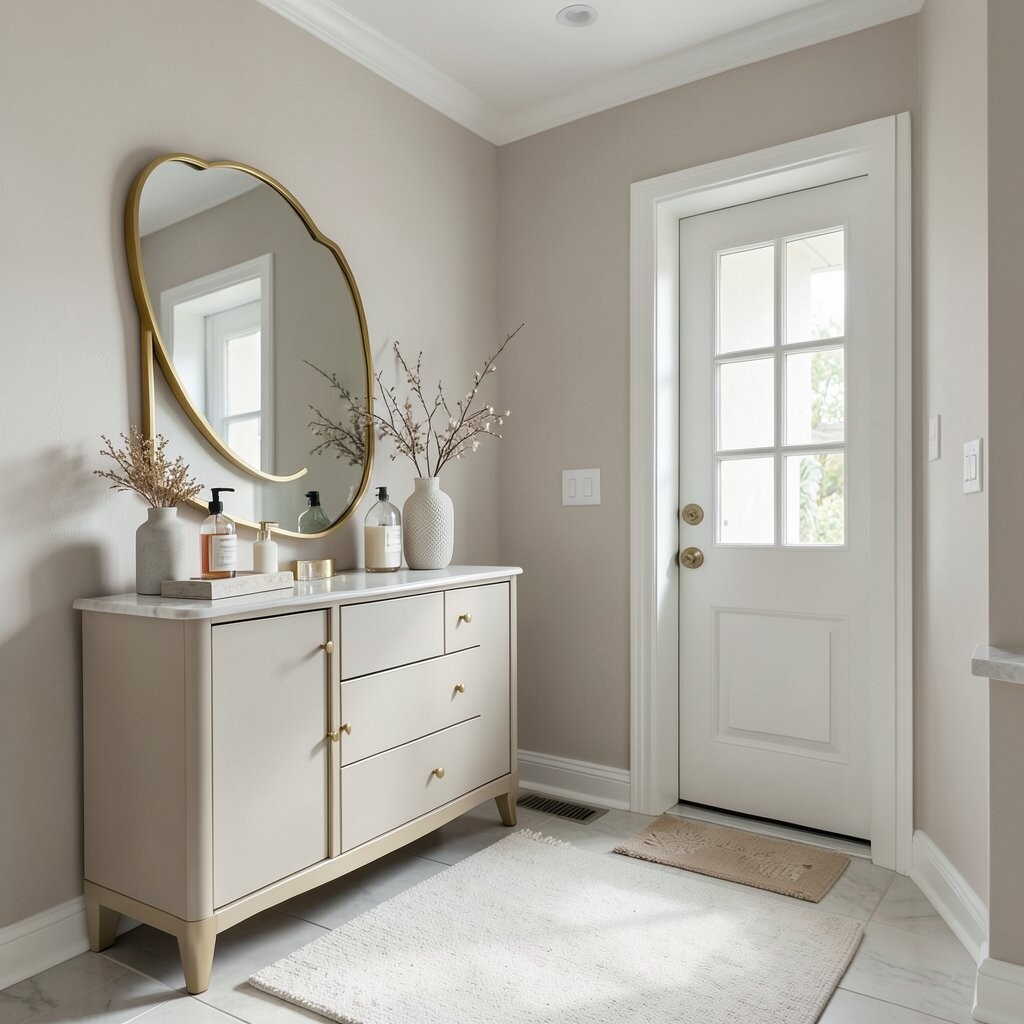
Soft neutrals make an entryway feel calm, like stepping into a cozy spa. Imagine a warm oatmeal or creamy beige dresser with curved gold pulls that catch sunlight.
The look feels elegant without needing loud colors.
Pair the dresser with a rounded mirror frame and a gentle runner in light textures. Choose a topcoat that keeps paint looking smooth and helps resist scuffs.
Add a small vase with dried stems or fresh greenery to bring life into the space.
This makeover is unique because the styling choices shape the “mood” every day. Personalize with scent-friendly items like a small candle near the mirror or a diffuser scent you enjoy.
Cost can be kept reasonable by focusing on paint, hardware, and a few key decor pieces that matter most.
14. Paint the Top a Different Finish and Use It Like a Catch-All Zone
Paint the Top a Different Finish and Use It Like a Catch-All Zone
The top of the dresser deserves special attention because it’s where daily life lands. Consider painting or staining the top surface a contrasting finish, like matte charcoal or a warm walnut tone, so it looks grounded and intentional.
Then style it as a true catch-all: keys, mail, sunglasses, and a small basket for odds and ends.
For protection, use a durable topcoat or a removable decorative tray so spills don’t ruin your work.
Add a small organizer that matches the finish, and keep one open drawer for “quick grabs” so clutter doesn’t pile up elsewhere.
This makes the makeover feel practical, not just pretty.