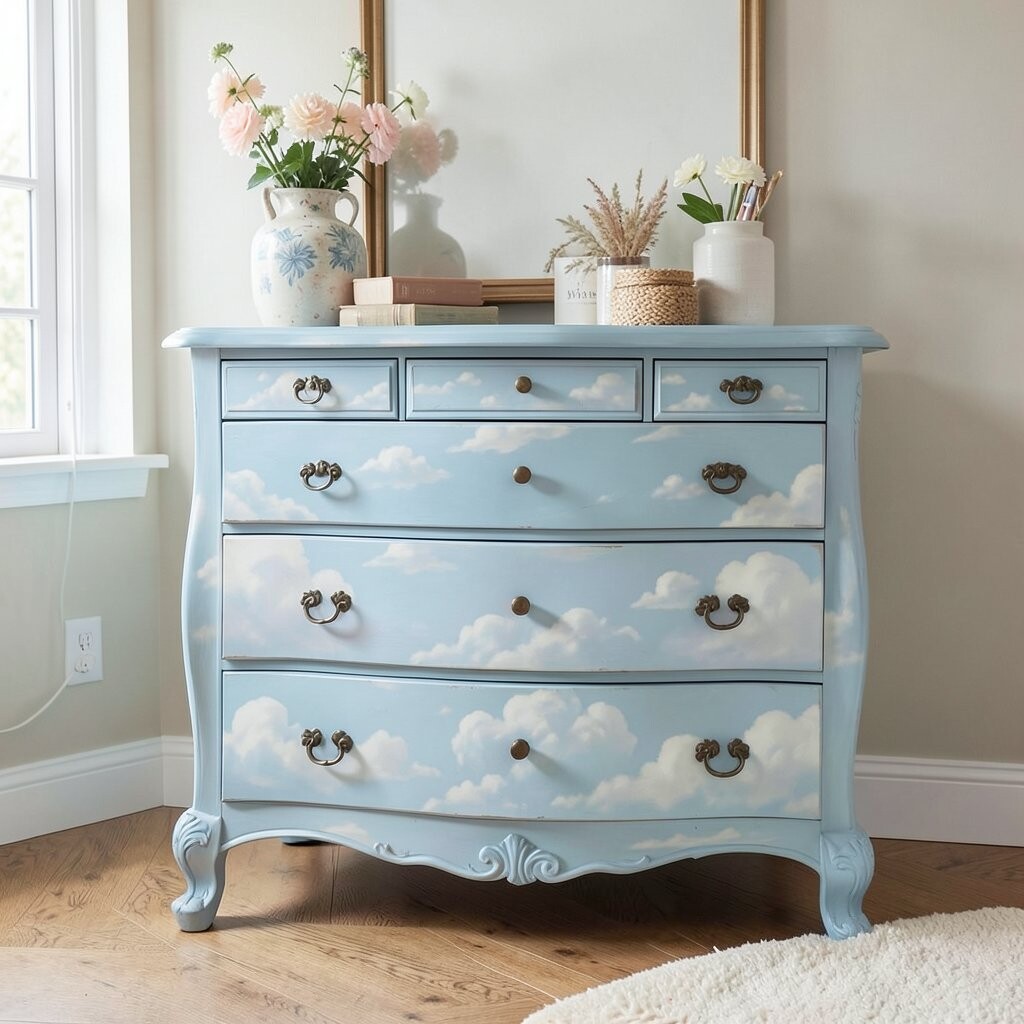
Go for a soft, dreamy sky color with swirls that look like wispy clouds. Think of light blues, creamy whites, and gentle gradients that make the drawer fronts feel airy.
This look feels whimsical without needing complicated art. It can brighten a dim room and makes your dresser look fresh every time you walk by.
For tips, use painter’s tape to keep lines clean, then blend colors with a sponge or a dry brush. To personalize, add tiny star stickers near a corner or outline a few drawers with a lighter shade like moonlight.
2. Wallpaper the Inside of the Drawers
Wallpaper the Inside of the Drawers
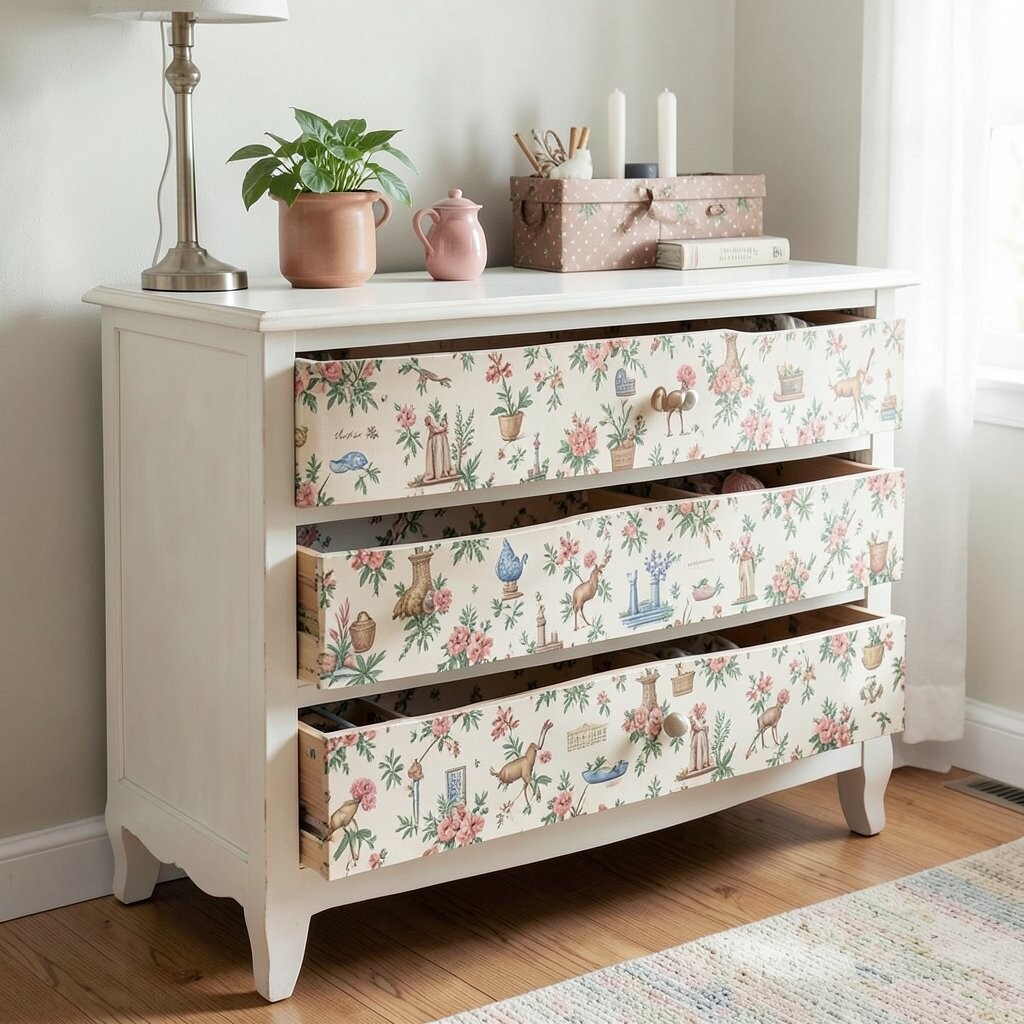
Instead of changing only the outside, cover the inside drawer panels with fun wallpaper. Choose small patterns like tiny flowers, dots, or even playful stripes.
When you open the drawers, you get a little surprise. That surprise makes daily tasks more fun, and the pattern can hide scuffs better than plain wood.
Cut pieces carefully, then seal the edges with a clear adhesive or mod podge style top coat. For cost, peel-and-stick wallpaper is a friendly option, especially if you want easy changes later.
3. Add Vintage Handles With a Surprise Theme
Add Vintage Handles With a Surprise Theme
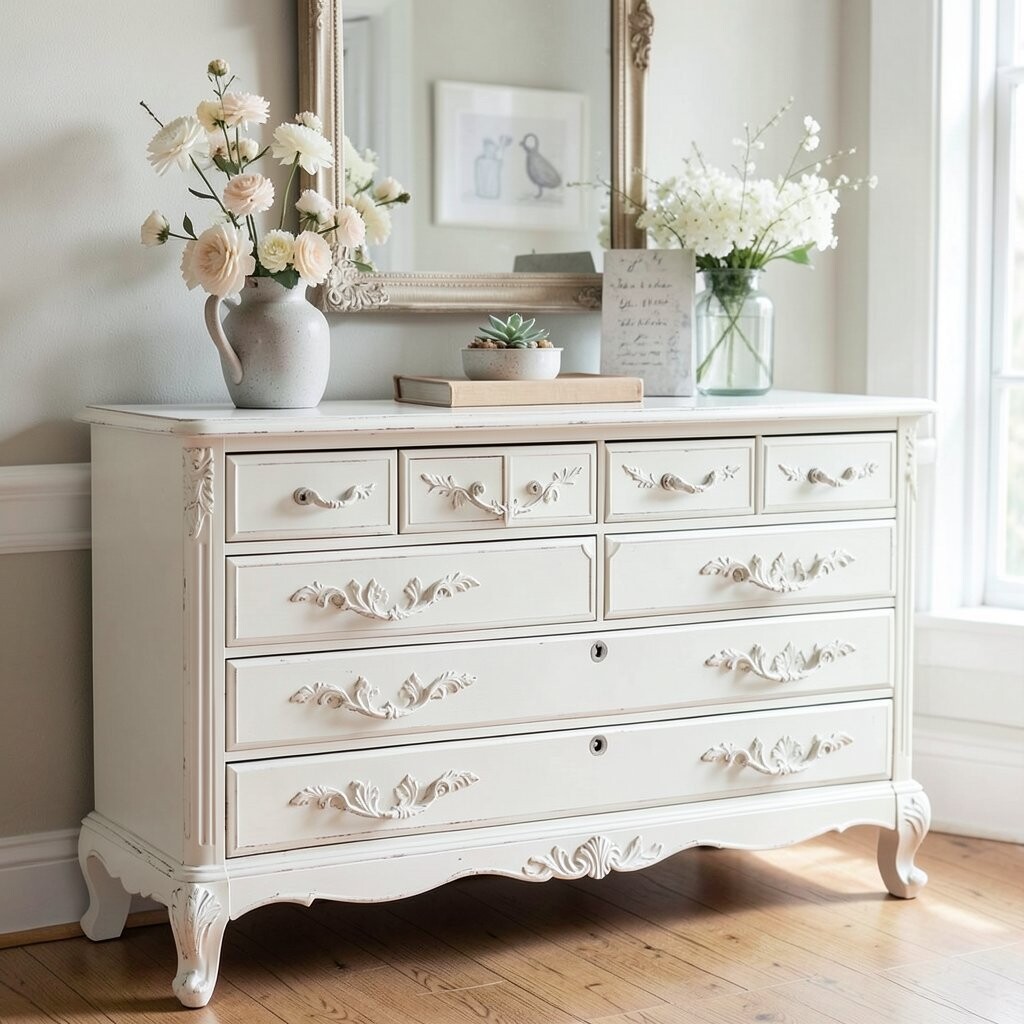
Swap your knobs and pulls for something charming, like brass with scroll details or colorful ceramic shapes. A dresser instantly looks more special when the hardware feels “collected.”
This is one of the quickest upgrades and it can feel very personal. You can match the hardware to your favorite color or even a theme like cottage garden or beachy calm.
To keep it easy, measure the screw holes and buy compatible hardware sizes. For personalization, mix two styles—like one drawer with star pulls and the next with tiny leaf knobs—so it feels intentional.
Cost can vary, but you can often find good deals at thrift stores and swap sites. Even new hardware in a bold color can look trendy right now because statement pulls are all over home styling.
4. Create a “Book Spine” Drawer Label Look
Create a “Book Spine” Drawer Label Look
Paint slim strips on the drawer fronts like book spines, then add names or dates as if you’re labeling a mini library. Use bright lettering or simple black text for a neat, whimsical feel.
This idea makes your dresser look curated, not random. It helps you organize too, because labels can remind you what belongs where.
Try using a stencil for clean letters, and finish with a protective clear coat. Personalize by picking “chapter” titles like “Paint,” “Stories,” or “Tiny Toys,” so it feels like your own world.
For cost, you can keep it low with basic craft paint and paper labels. This kind of tidy, playful organization is a current trend in cozy home decor.
5. Paint Tiny Animals or Garden Sprigs
Paint Tiny Animals or Garden Sprigs
Choose one corner of each drawer front for small art, like a rabbit peeking out or a leafy vine curling around the handle. Keep the details simple so you still feel confident.
This creates a whimsical vibe that feels warm and friendly. It also helps the dresser feel unique, because your tiny drawings will look different from everyone else’s.
For tips, practice on scrap paper first, then use a small brush or even a fine-tip paint pen. Personalize by using colors from your room—like sage green, dusty pink, or sunny yellow.
If you want a lower-cost route, use printable templates or stickers made for fabric or crafts. Hand-drawn botanicals and cute critters are popular right now, especially in light, cottage-style rooms.
6. Ombre Finish With a Bold Color Flip
Ombre Finish With a Bold Color Flip
Try an ombre paint effect that starts soft at the top and gets brighter toward the bottom. Choose one main color, then let it fade into a lighter or darker shade.
This gives your dresser a stylish look while still feeling playful. It’s great for making a room feel taller and more airy.
To keep the blend smooth, use a sponge and lightly tap between colors. Personalize by adding a thin contrasting line near the handles, like a stripe of gold or a pop of teal.
7. Use Chalk Paint, Then Wax for a Soft Glow
Use Chalk Paint, Then Wax for a Soft Glow
Chalk paint is popular because it goes on smoothly and can give a cozy, velvety finish. After painting, add wax for a gentle glow and easier cleaning.
This benefit is huge: you get a forgiving surface that hides small dents and old marks. It also feels nice to the touch, which makes the dresser feel more “special.”
For tips, clean the dresser first, then apply paint in thin coats. Personalize by lightly distressing only the edges, so it looks whimsical but still neat.
Cost considerations are simple: chalk paint can be a bit pricier, but it often needs fewer steps. This style still fits current trends because matte, warm finishes keep showing up in home photos.
8. Make a Gallery of Small Mirror Tiles
Make a Gallery of Small Mirror Tiles
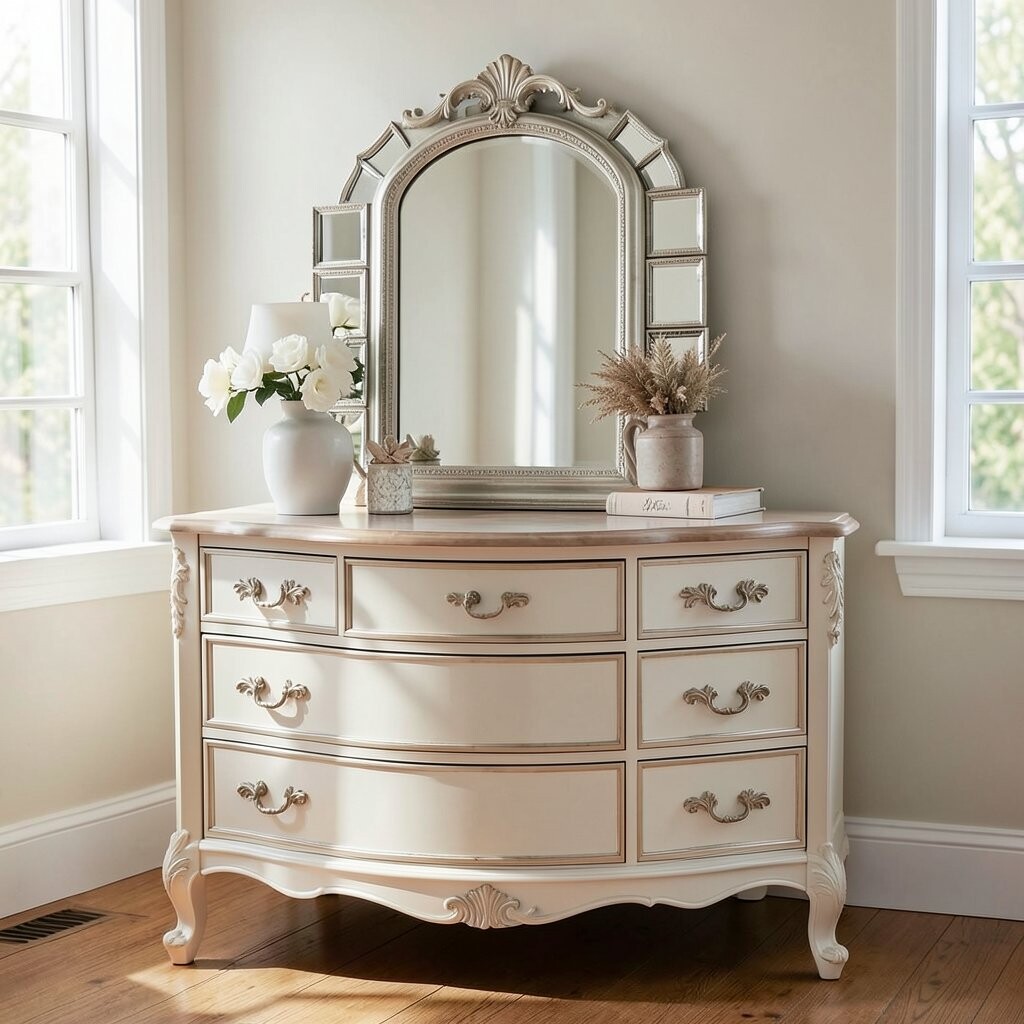
Add small mirrored tiles or cut glass pieces as a patchwork on the top or drawer fronts. Place them in a pattern so the sparkles look planned, not random.
Mirrors bounce light around your space, which makes your room feel brighter. It’s also unique because every tile angle gives a slightly different sparkle.
To make it safer and smoother, use mirror tile sheets designed for easy placement. Personalize by choosing a mostly neutral dresser base, then letting the mirrored patch be the “wow” moment.
If you’re worried about cost, start with only the top surface. This is a trend that’s always coming back because it makes furniture look glamorous without needing a full renovation.
9. Paint a Rainbow Arch Around the Handles
Paint a Rainbow Arch Around the Handles
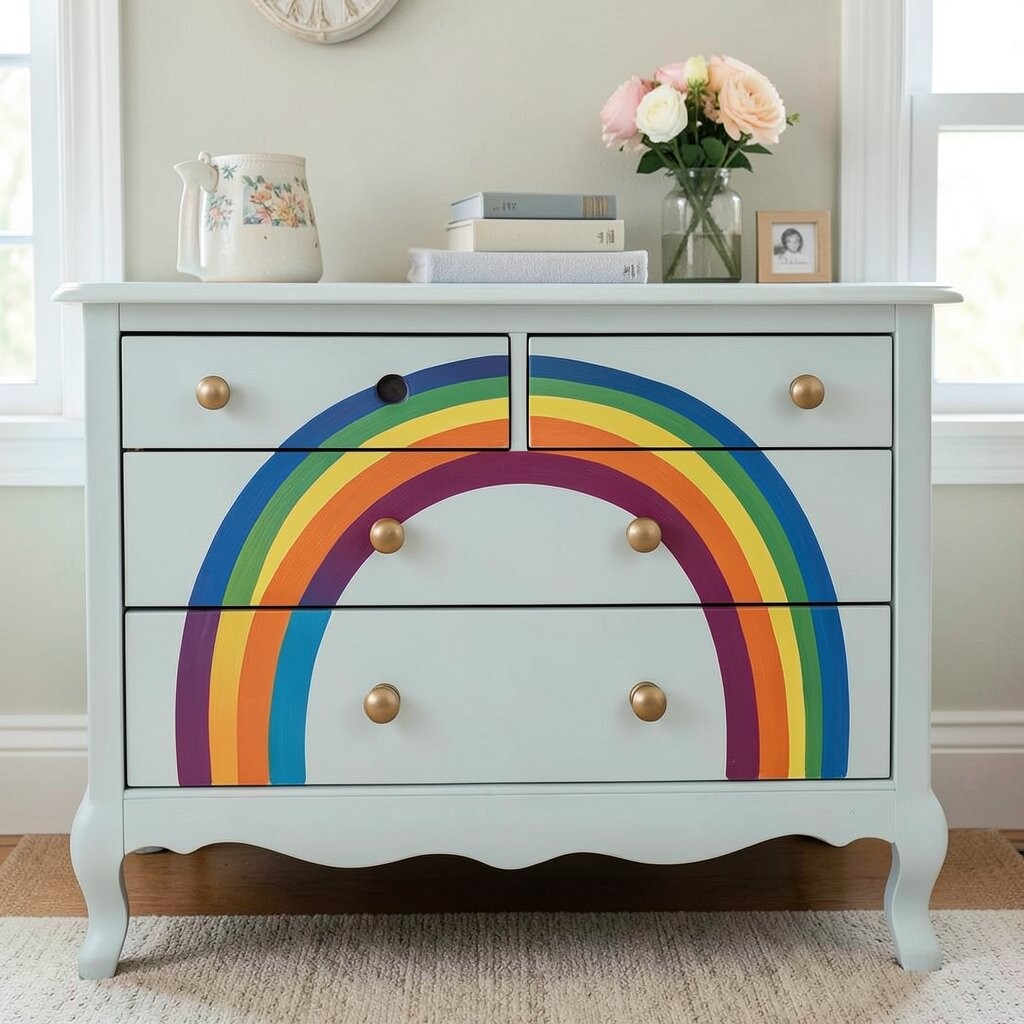
Draw a simple rainbow arch on each drawer front, centered above the hardware. Use 3 to 5 bands of color so it looks clean and cheerful.
This gives a playful, smiley look that feels great in kids’ rooms and creative studios. It also makes the handles easier to spot, which is helpful in daily use.
Use painter’s tape to mark the curve before you paint. Personalize by matching the rainbow colors to your room art, bedding, or rug tones.
Cost stays low if you use craft paints and stencils. Rainbow accents are trendy because they bring a joyful mood without feeling too loud.
10. Cover the Top With a Decorative Serving Tray Style
Cover the Top With a Decorative Serving Tray Style
Instead of painting the whole surface, use a large decorative tray or peel-and-stick top covering. The top instantly looks styled, like your dresser is hosting something pretty.
This idea is great if you want a change without heavy mess. It also lets you swap designs later for different seasons or holidays.
For tips, measure the top carefully and choose a covering that fits snugly. Personalize by picking a pattern you already love—like marble-look, floral, or playful geometric shapes.
11. Add Fabric Decoupage on One Drawer Front
Add Fabric Decoupage on One Drawer Front
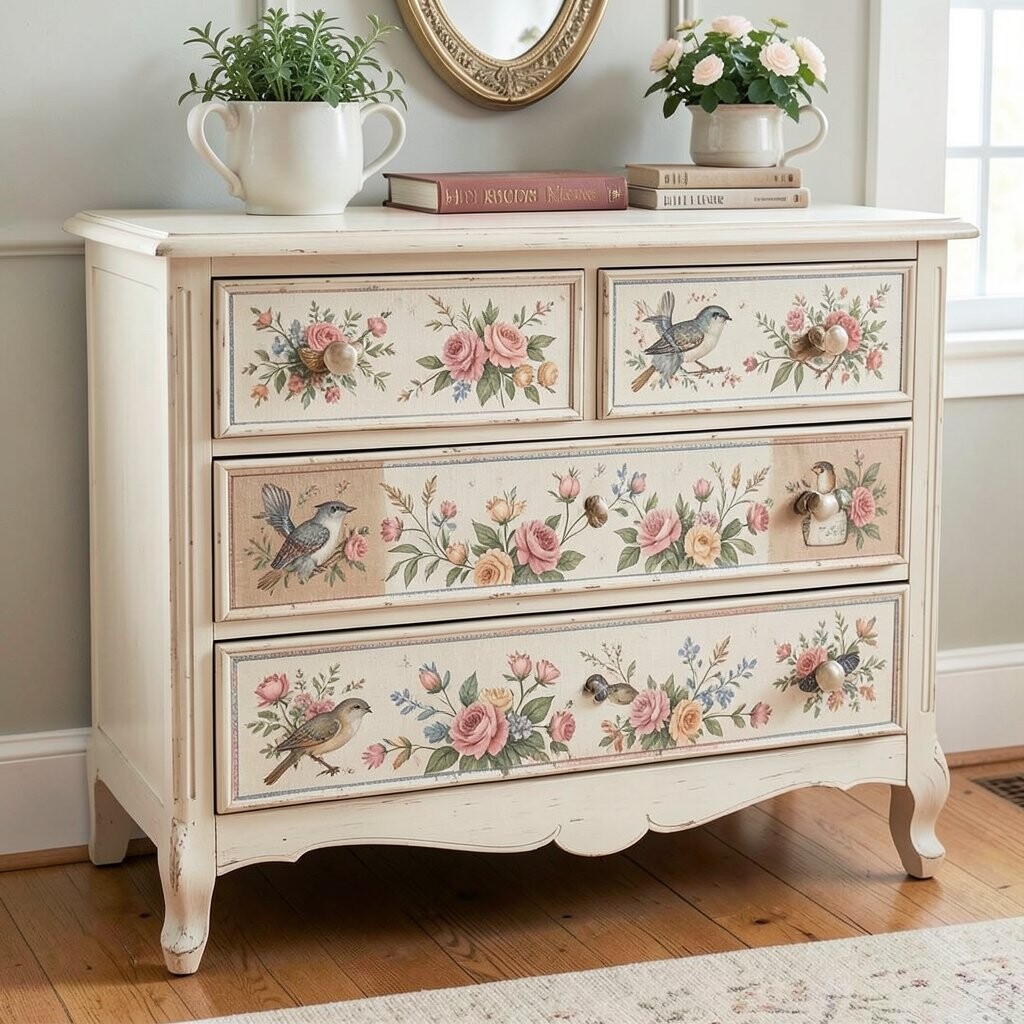
Decoupage means layering paper or fabric with glue and sealing it. Choose a cute fabric print—like tiny hearts, gingham, or watercolor flowers—and apply it to one drawer front for a focal point.
This method is unique because fabric adds texture you can see and feel. It also makes your dresser look like a handcrafted piece rather than a store-bought copy.
To keep it tidy, stretch the fabric flat and trim edges with sharp scissors. Personalize by repeating small motifs across drawers, like tiny birds on all the top edges.
Cost can be friendly if you use scrap fabric from old projects. Current trends love soft texture and mixed materials, so this fits right in.
12. Turn the Dresser Into a “Candy Store” Color Block
Turn the Dresser Into a “Candy Store” Color Block
Paint each drawer front a different bright shade, like taffy pink, lemon yellow, and mint green. Keep the shapes consistent so the result looks polished.
This color-block style feels fun and lively, especially when your room uses simple neutrals. It also boosts mood every day because the colors catch your eye.
For tips, use tape to block off sections and paint in small batches. Personalize by using one color for the top drawers and a different color set for the bottom, like a sweet gradient.
13. Stencil a Doily Pattern on Drawers
Stencil a Doily Pattern on Drawers
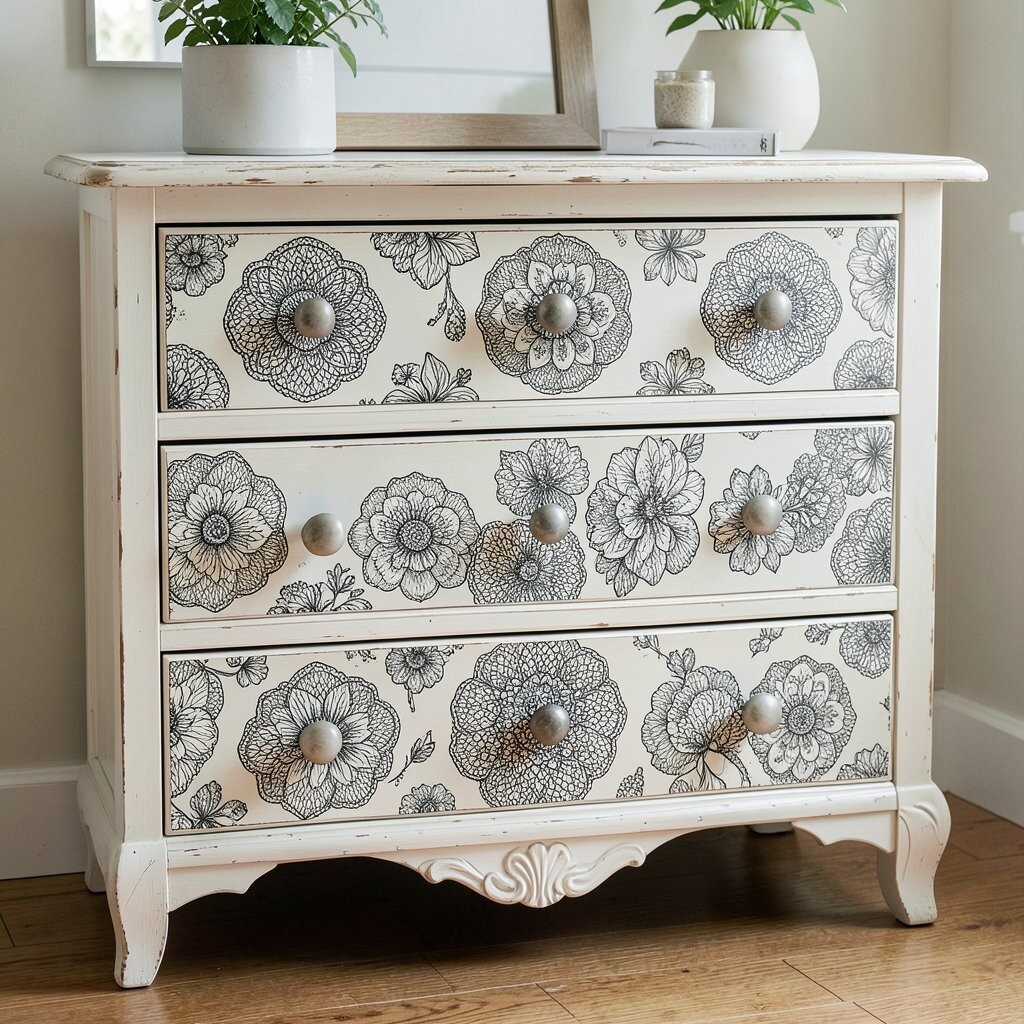
Use a stencil to paint a doily-style lace pattern around the handles or in a corner. It looks delicate, but you can still do it with simple supplies.
This adds whimsy while keeping the dresser organized-looking. It can also hide minor imperfections because the pattern covers small issues.
For tips, press the stencil down firmly and use a light hand so the edges don’t bleed. Personalize by choosing lace colors like soft white, pale blue, or warm gold.
If you want to keep cost down, reuse stencils you already own or buy affordable packs. Lace-inspired patterns are trending in a modern way, often mixed with bright or clean paint colors.
14. Add a Chalkboard Label Strip
Add a Chalkboard Label Strip
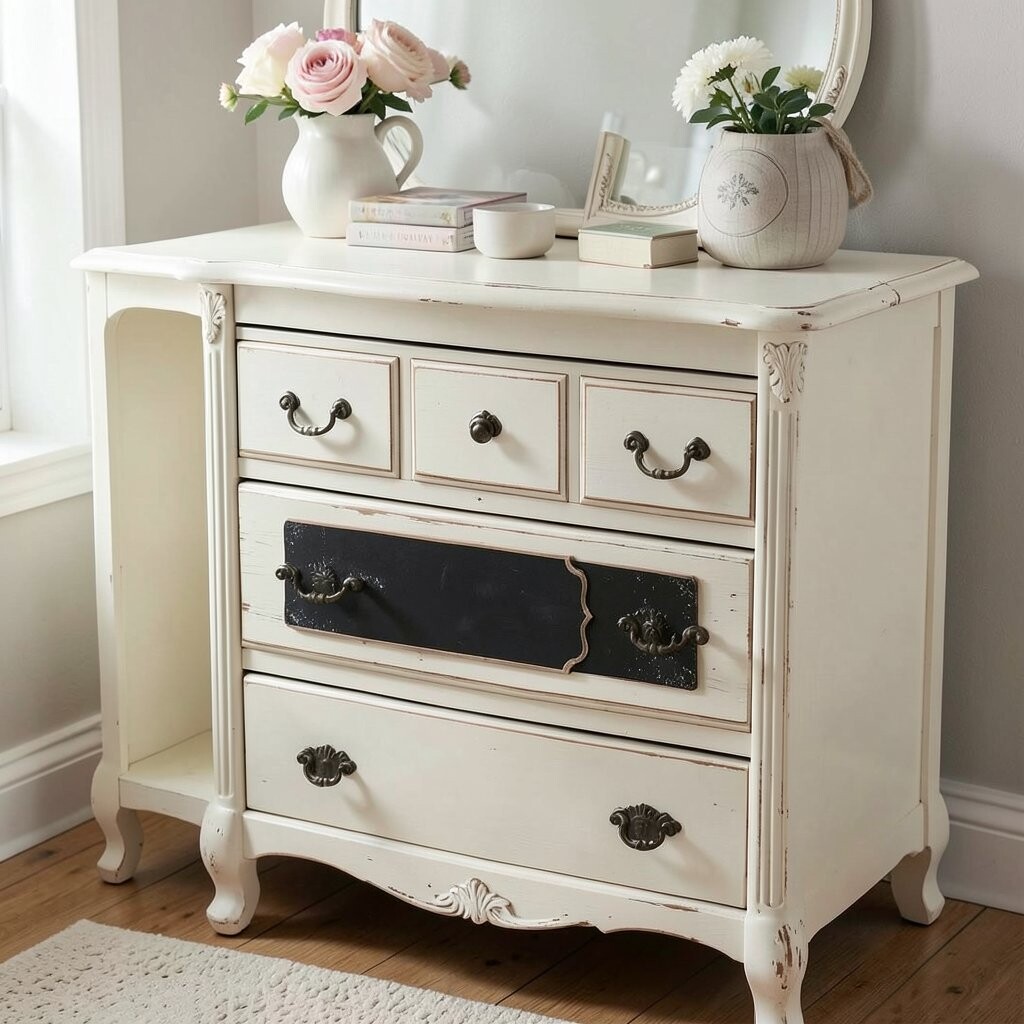
Paint a narrow strip of chalkboard paint across the top drawer front or just above the hardware. Then you can write notes, doodles, or short “rules” you’ll actually remember.
This is helpful and whimsical at the same time. You can change it anytime, so your dresser feels alive instead of stuck in one look.
Use light, neat handwriting or small doodles like stars and tiny hearts. Personalize with phrases like “Today’s Socks” or “Art Supplies,” and erase whenever you want a fresh start.
15. Try a “Glazed Ceramic” Effect With Topcoat
Try a “Glazed Ceramic” Effect With Topcoat
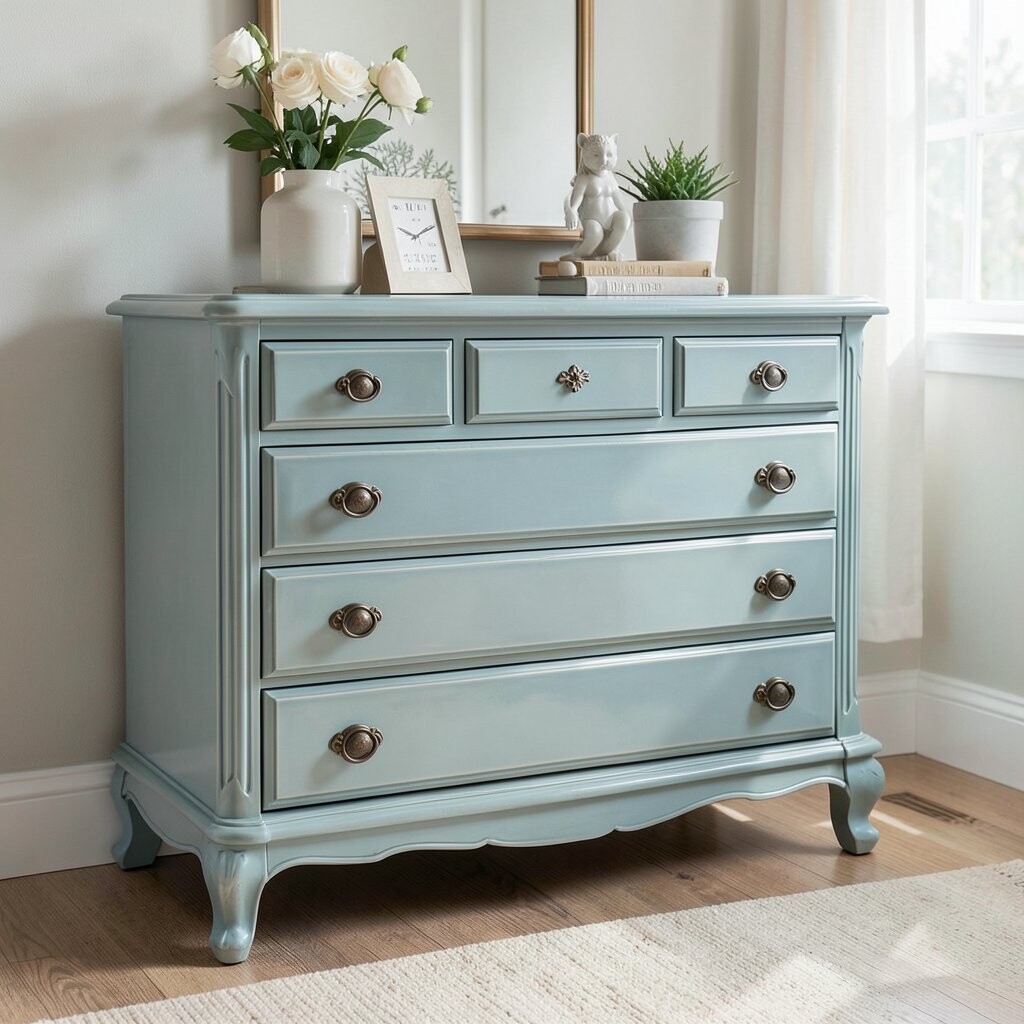
Create a glazed ceramic look by painting, then adding a special topcoat glaze or mixing clear mediums. The finish can look deeper and more elegant, like small jars of color.
This benefit is the shine: it catches light and makes colors look richer. It also helps the surface wipe clean if sealed well.
For tips, test on a small drawer first so you can see how the glaze behaves. Personalize by choosing one or two accent colors and keeping the rest muted for balance.
16. Frame Each Drawer With Decorative Trim
Frame Each Drawer With Decorative Trim
Use thin decorative trim pieces around each drawer front, like tiny picture frames. Paint the trim the same color as the dresser or pick a contrasting shade for extra charm.
This makes your dresser look custom, almost like it belongs in a magazine. It also gives you a consistent design plan, which helps keep the makeover neat.
To make it easier, use lightweight trim and attach it with strong adhesive. Personalize by mixing trim styles—like one drawer with scalloped edges and others with straight lines.
Cost can rise if you do every drawer, so consider starting with only the visible drawers. This framed-furniture style feels current because many people love furniture that looks built-up and detailed.
17. Make a Star Map Theme With Constellations
Make a Star Map Theme With Constellations
Paint a night-sky base, then add constellation dots connected by tiny lines. Keep the constellations simple so they don’t take forever to finish.
This creates a dreamy, whimsical vibe that feels relaxing. It also looks great with warm lamp light, because the dots can glow like tiny sparks.
For tips, use a small stencil or dot pattern guides so everything lines up. Personalize by using constellations that match your favorite zodiac signs or even a special date.
Cost considerations: glow-in-the-dark paint can be optional and pricier, so you can skip it if you want. Starry decor is a steady trend, especially in cozy bedrooms and reading corners.
18. Decoupage With Vintage Postcards or Art Prints
Decoupage With Vintage Postcards or Art Prints
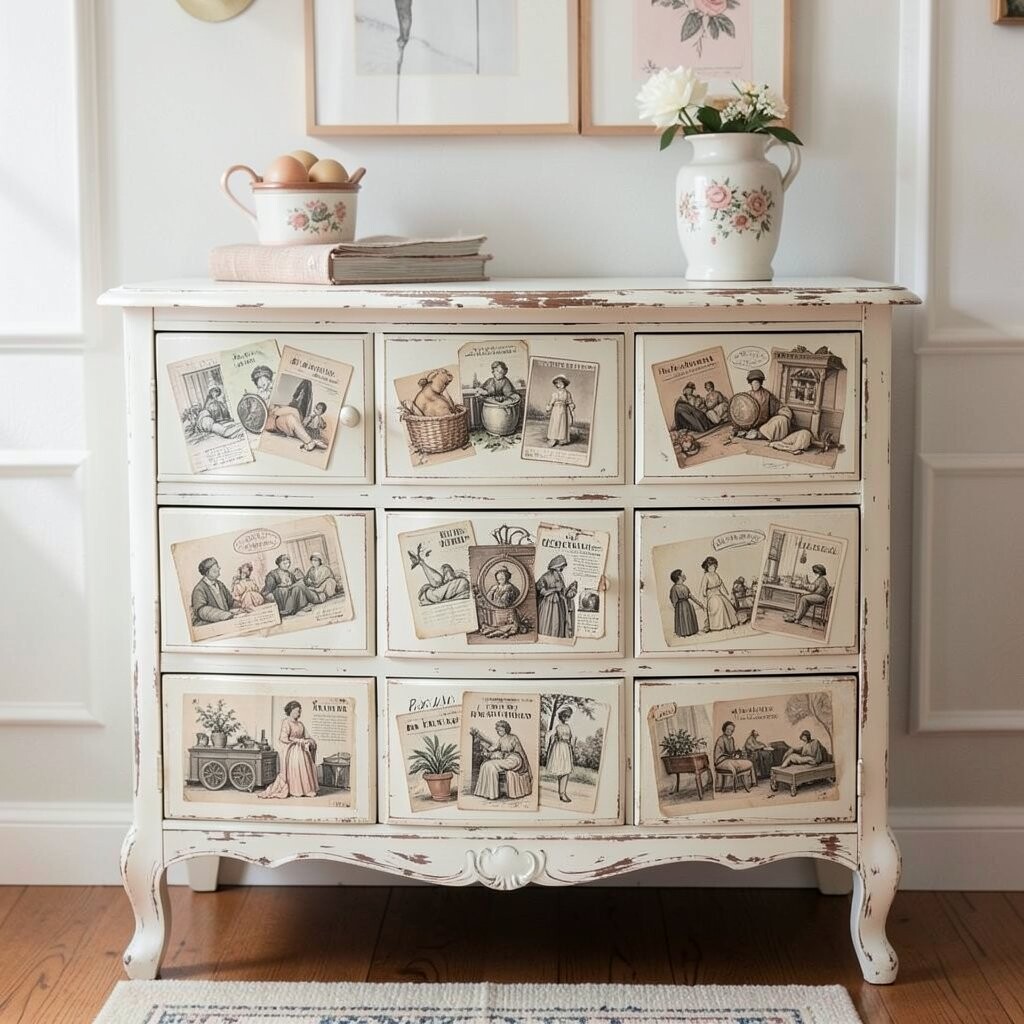
Cover drawer fronts or the top with decoupage using vintage postcards or art prints. Choose images that feel like a story, such as old travel scenes or cheerful illustrations.
This is unique because your paper choices become the dresser’s personality. It also lets you reuse things you already love, like printables from books or downloaded art.
For tips, seal everything with a few thin layers so it won’t peel. Personalize by leaving some edges visible for a “collage” look, or by placing one big image across several drawers.
19. Use Fabric Drawer Liner Rolls for Easy Charm
Use Fabric Drawer Liner Rolls for Easy Charm
Swap out plain drawer lining with colorful fabric liner rolls or pretty contact paper that looks like cloth. This won’t change the dresser’s body much, but it adds daily joy.
The benefit is comfort and protection, because liners help prevent scratches and keep items from sliding. It also makes the inside feel clean and cozy, which many people love more than they expect.
For tips, measure your drawer bottoms and cut clean corners. Personalize by coordinating liner colors with your room curtains, rugs, or seasonal decor.
Cost can be low because liners are usually cheaper than paint and tools. This kind of small “layering” upgrade is trending because it’s easy and easy to update.
20. Finish With Colorful Wax Seals and Seated Accents
Finish With Colorful Wax Seals and Seated Accents
Use decorative wax seals, paint dots, or small medallion decals as accents near each handle. Place them like little “stickers” that feel like you’re dressing the dresser for a party.
This creates a quirky, whimsical look without needing major painting. It’s also great for personalization because you can choose shapes you love, like hearts, circles, or tiny flowers.
For tips, seal the accents with a clear topcoat so they stay put. Personalize by using a pattern, like seals in the top left of each drawer, so it feels neat and planned.