
Your cabinets deserve a little styling magic. A backsplash on the back of cabinets can add beauty and protection in the places you usually skip.
1. Tile Trim That Frames the Backsplash Gap

A narrow tile trim can clean up the look between cabinets and the wall. It turns a simple edge into a neat design line that catches the eye.
Choose a trim that matches your cabinet hardware, like brushed nickel or matte black. Use a thin-set adhesive made for tile and apply it with steady pressure so the line stays straight. For extra staying power, seal any grout lines that touch moisture, especially near the sink.
2. Glossy Subway Tile in a Soft Off-White
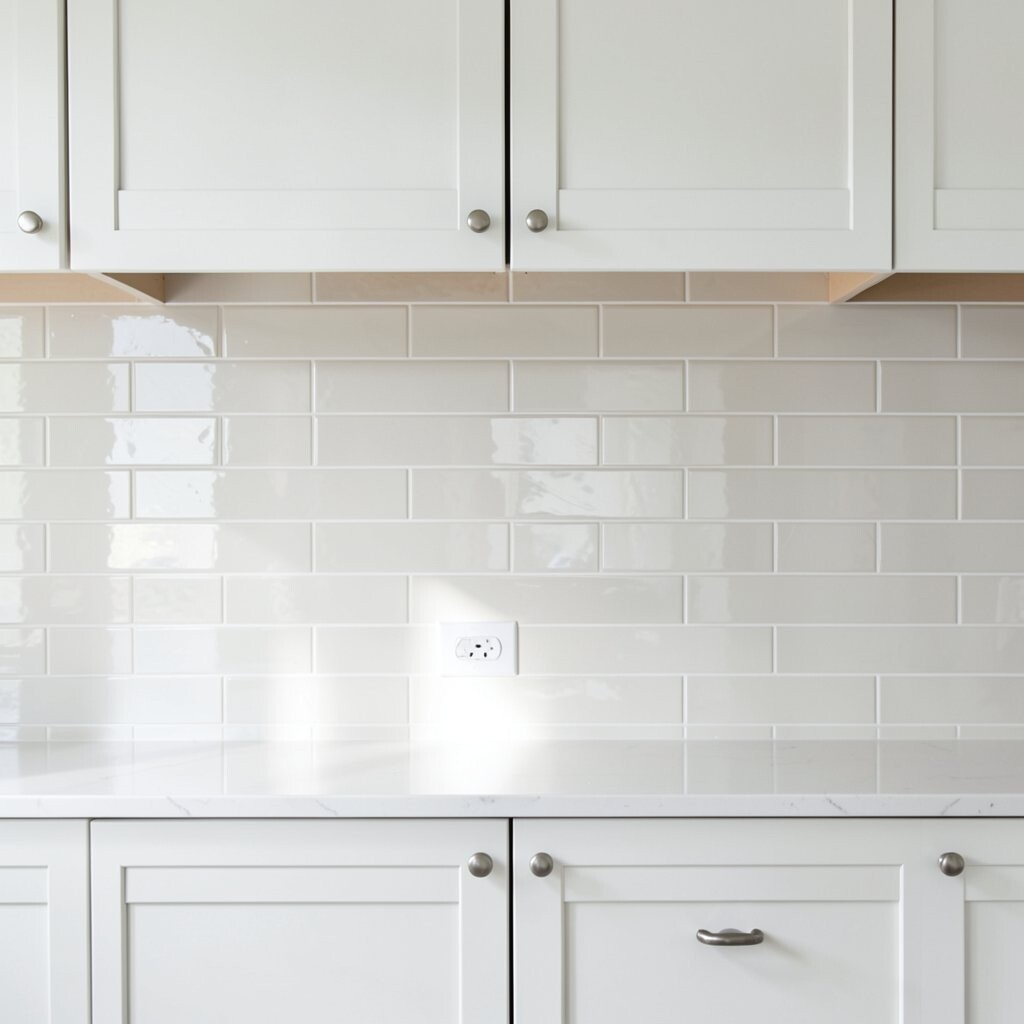
Glossy subway tile on the back of cabinets reflects light and makes kitchens feel brighter. The smooth surface also helps wipe away splatters before they settle in.
Go for an off-white tone to warm up your cabinetry without looking yellow. A classic running-bond layout looks tidy from a distance, and it still feels timeless up close. Keep grout light and sealed to avoid the dulling effect that dark grout can create over time.
To personalize, mix in one row of slightly larger tiles for a subtle “pattern moment.” If you’re working around outlets, plan your cuts by measuring wall outlet centers carefully. Budget-friendly tiles are often available in multi-pack sheets, which can lower labor and reduce waste.
3. Water-Resistant Peel-and-Stick Marble Look Panels
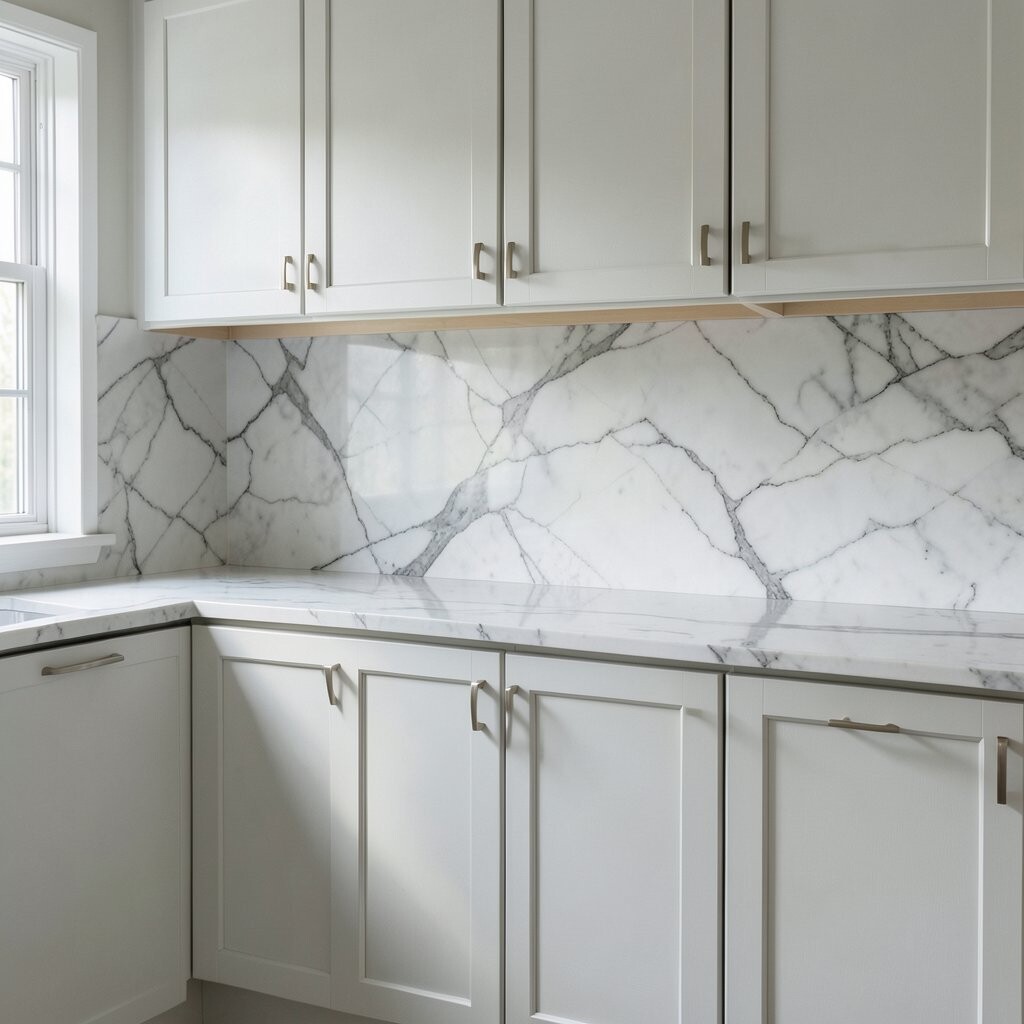
Marble-look panels behind cabinets make a high-end style feel attainable. They’re especially helpful if you want a quick update with less mess.
Look for panels labeled heat- and moisture-resistant, since cabinet backs can see splashes and steam. Clean the surface thoroughly, then apply at a calm pace so bubbles don’t form near seams. If your cabinets have uneven gaps, use a thin spacer strip to keep the panel line straight.
For a more natural look, pick veining that runs in one direction and line it up across cabinet sections. This approach costs less than real stone and usually needs no grout, but still check the warranty. A trend you’ll see often is “stone realism,” where the print mimics movement without the heavy installation.
If you later repaint or replace cabinets, many peel-and-stick systems remove cleanly, which helps with future upgrades.
4. Mosaic Sheet Accent in Warm Earth Tones

A small mosaic area behind cabinets adds texture and character without overwhelming the kitchen. Earthy colors like terracotta, caramel, and sand can make everyday meals feel cozier.
Use mosaic sheets only where splash risk is highest, like near a cooktop or coffee station. Keep the grout color light to prevent the pattern from looking busy. If you want a unique touch, choose two mosaic tones and blend them in a soft gradient rather than a strict checkerboard.
5. Herringbone Wood-Look Panels for a Soft Modern Feel
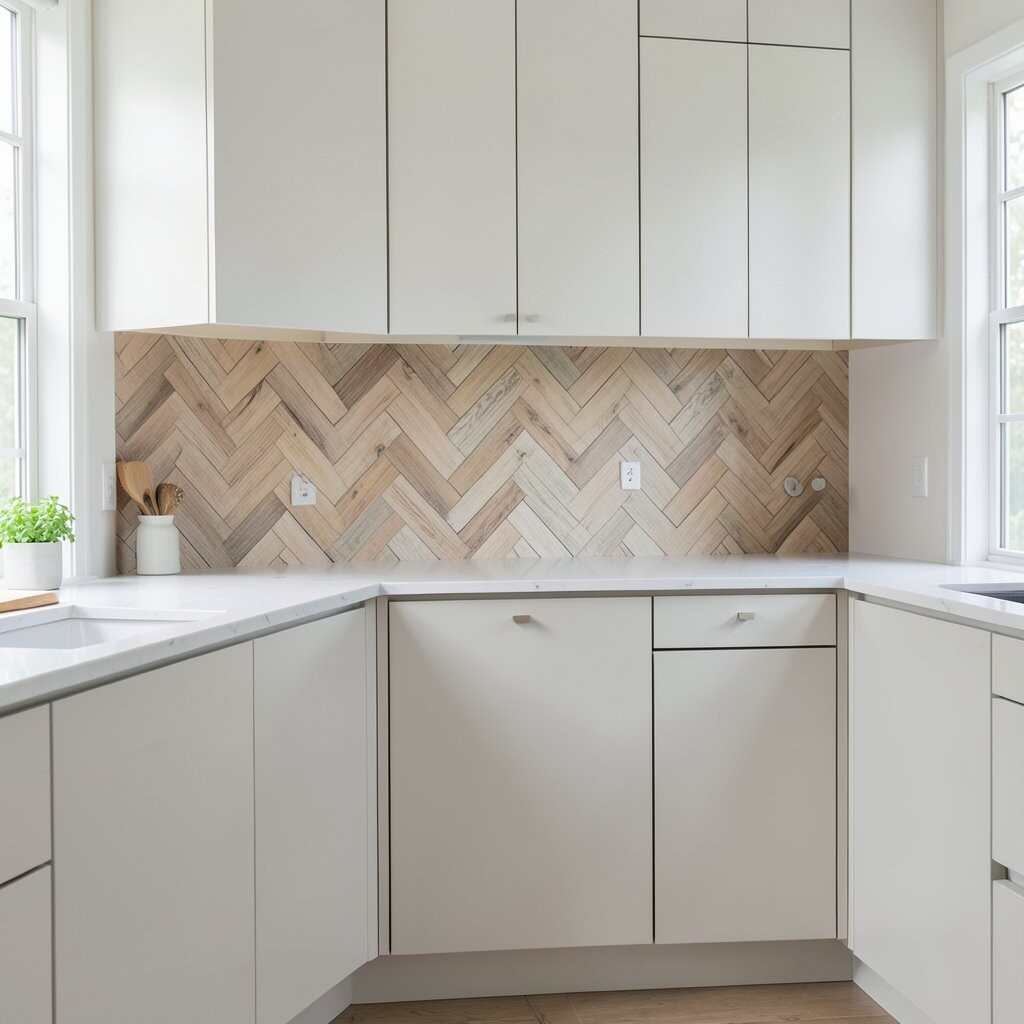
Wood-look backsplash panels on cabinet backs bring warmth while staying cleaner than real wood. The pattern adds movement and helps the kitchen feel designed, not just finished.
Pick a panel thickness that won’t flex, because waviness can create visible seams. If you have warm-toned cabinets, choose a herringbone that leans golden or honey. Seal any edges if the product allows it, since moisture can creep where panels meet trims.
To make it feel personal, match the panel color to your flooring undertones instead of your cabinet color. Installation is often straightforward, so you can keep costs lower than custom tile. A current trend is mixing wood-look backsplash with solid countertops for a balanced, lived-in modern vibe.
6. Classic Ceramic Squares in a Checkerboard of Neutrals

Checkerboard ceramic squares behind cabinets create an upbeat, classic look. The mix of neutral shades can make the space feel playful while still calm.
Choose two tones that both coordinate with your countertop, such as cream and light gray. Use a consistent grout width so the pattern stays crisp from every angle. Install the first tile carefully, then use spacers and a level to keep the grid aligned across cabinet runs.
For practical tips, plan for outlet locations by dry-fitting the tile and marking cut lines. Costs vary depending on tile thickness and how many cuts you need, but pre-measured tile kits can reduce waste. Personalize the design by swapping one “checker” color for a subtle warm beige to soften cool countertops.
7. Marble-Effect Kitchen Board with a Satin Seal

A marble-effect board behind cabinets gives the look of stone with fewer installation steps. The satin finish can feel more refined than high-gloss while still wiping clean.
Choose a board system that’s made for backsplashes, not just décor panels. Check that it can handle everyday kitchen splashes and cleaning sprays. If your cabinet backs are exposed to steam, keep edges sealed and avoid using harsh abrasives that can dull the surface.
For uniqueness, consider a “vein burst” near the center of a run, like a soft highlight behind a focal cabinet. This style pairs well with matte hardware, since the surface catches light gently. Expect medium costs compared to peel-and-stick, but less than full slab installations.
If you ever repaint nearby walls, the board still keeps the cabinet area tidy and protected without redoing tile.
8. Stainless Look Panels for a Clean, Professional Contrast
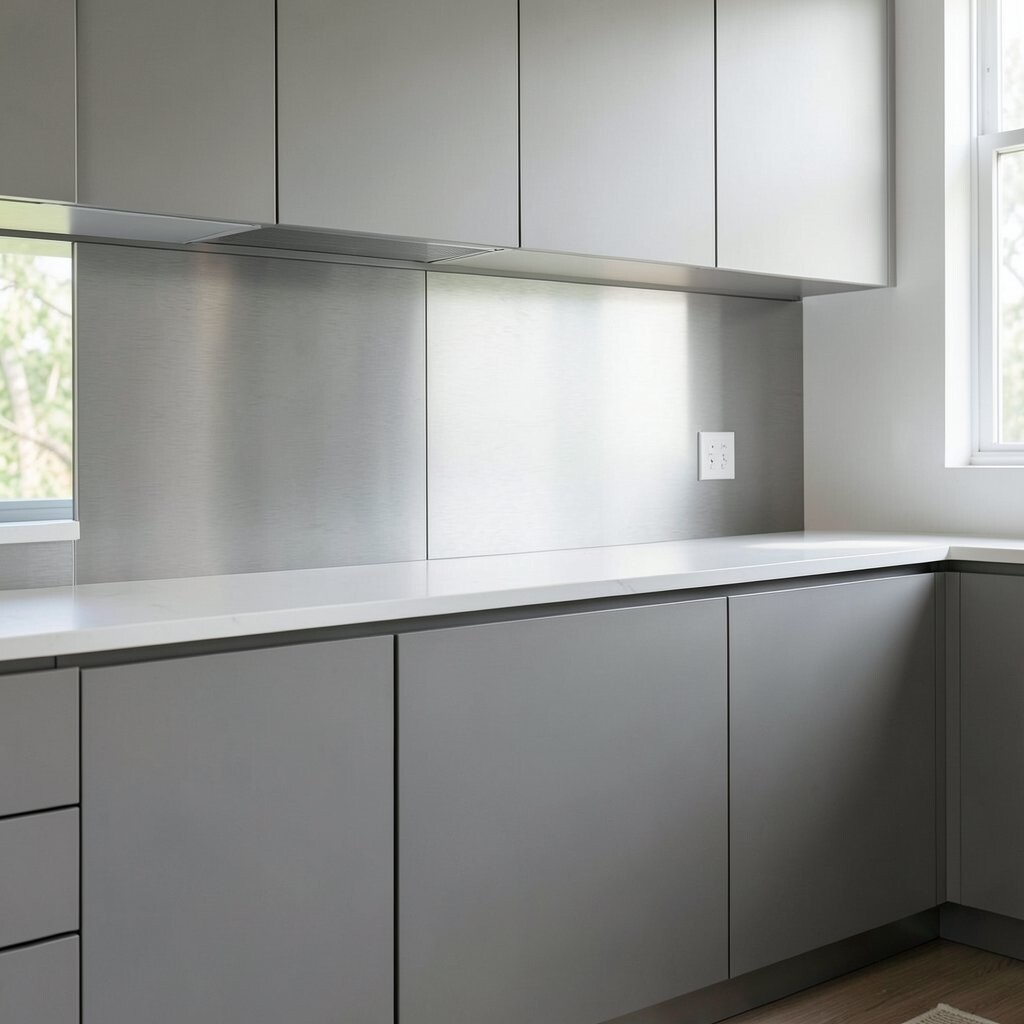
Stainless look panels behind cabinets bring a restaurant-style crispness. They also hide smudges better than you might think, especially with the right finish.
Opt for a brushed or satin stainless look instead of mirror shine, which can show streaks. Cut around outlets cleanly and use appropriate backing adhesive so the panel stays flat. This option works great if you have stainless appliances and simple cabinet doors, because it ties the room together.
9. Color-Blocked Glass Tile Between Cabinet Sections
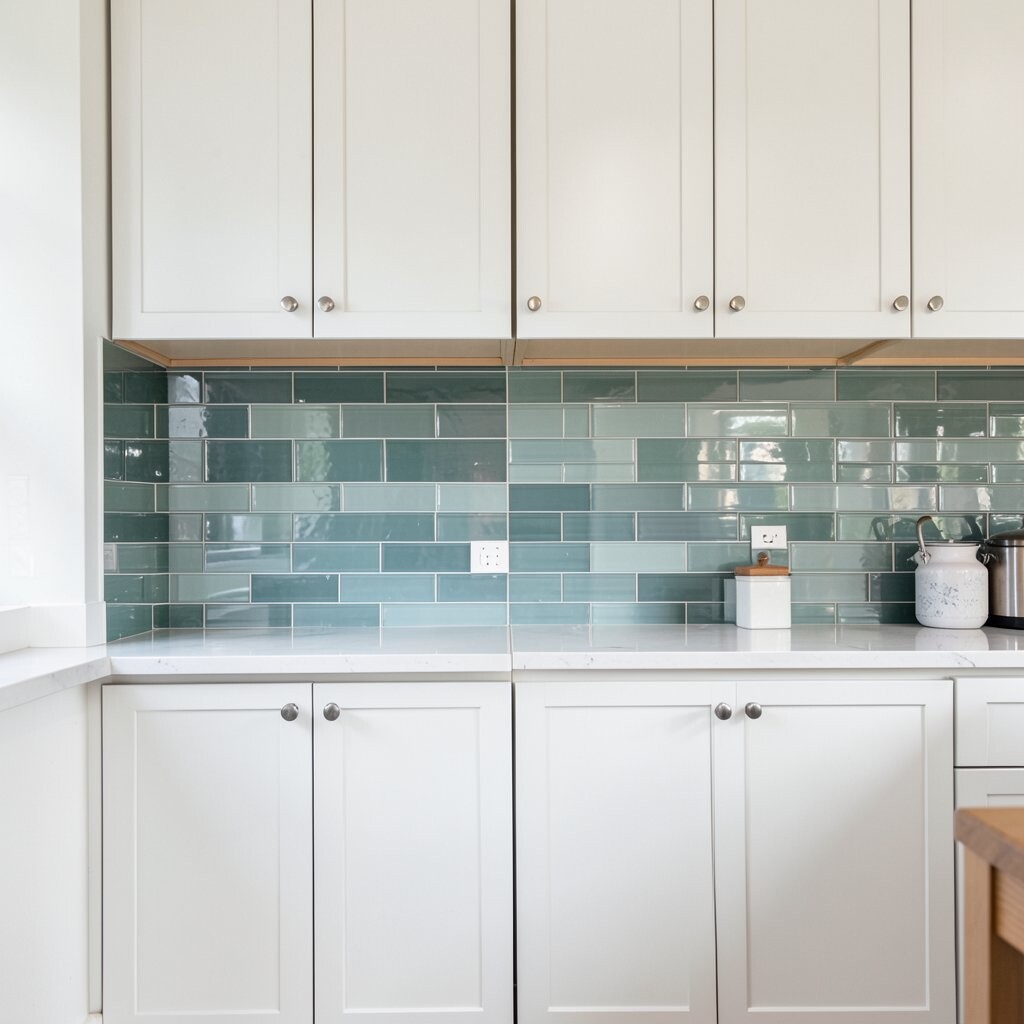
Glass tile on cabinet backs can feel airy and bright, especially when light hits it. Color-blocking adds a modern twist without needing a full-wall backsplash.
Use glass tile for the areas that most likely get splashed, then keep the rest simple to control costs. Pick a small palette, like two complementary shades, and repeat the colors for balance. Because glass is smooth, it often cleans easily, but grout still matters for long-term durability.
For practical installation, use spacers and avoid rushing thin-set placement, since glass tiles can show uneven lines. Consider using unsanded grout if your tile joints are narrow. Personalize by choosing a jewel-tone accent strip that matches your kitchen art or utensil colors.
If you like current trends, color pops with neutral kitchens are very popular right now, and this method keeps it subtle.
10. Stone Veneer or Faux Rock for a Dramatic Warm Spot
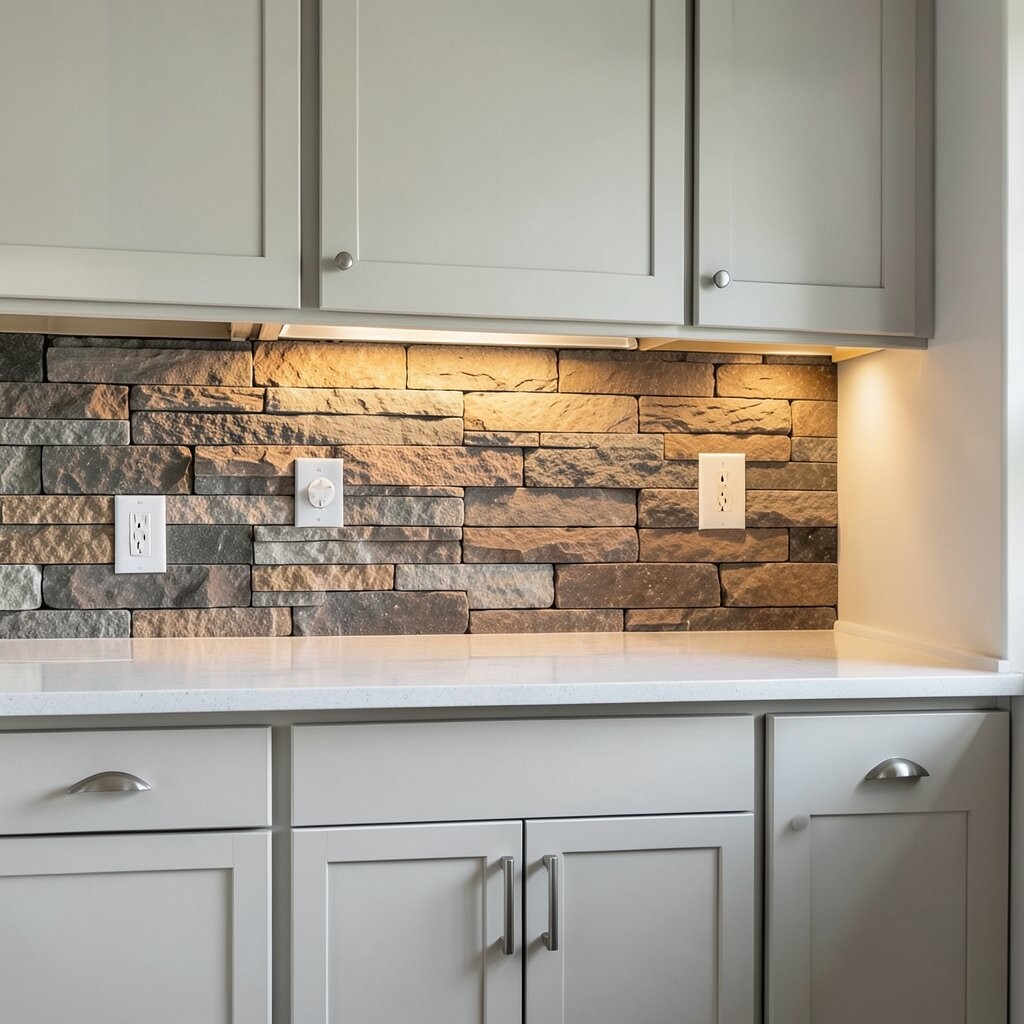
Stone veneer behind cabinets can make your kitchen feel like a cozy cabin retreat. It adds depth, and the texture makes the area look richer even in neutral lighting.
Keep it practical by using veneer only on cabinet backs that face splash zones you control, like behind a coffee corner. Seal the veneer surface so it resists stains, and use a bonding method designed for masonry-like materials. Costs can be higher than tile because of material thickness and installation care, but the visual impact is big.
To personalize, pick a light, weathered stone to keep the kitchen from feeling too heavy. Pair it with simple cabinet fronts and warm metal accents for a balanced look. This style is trending in rustic-modern kitchens where natural textures are celebrated.
11. Patterned Enamel Look Tiles in a Vintage Palette
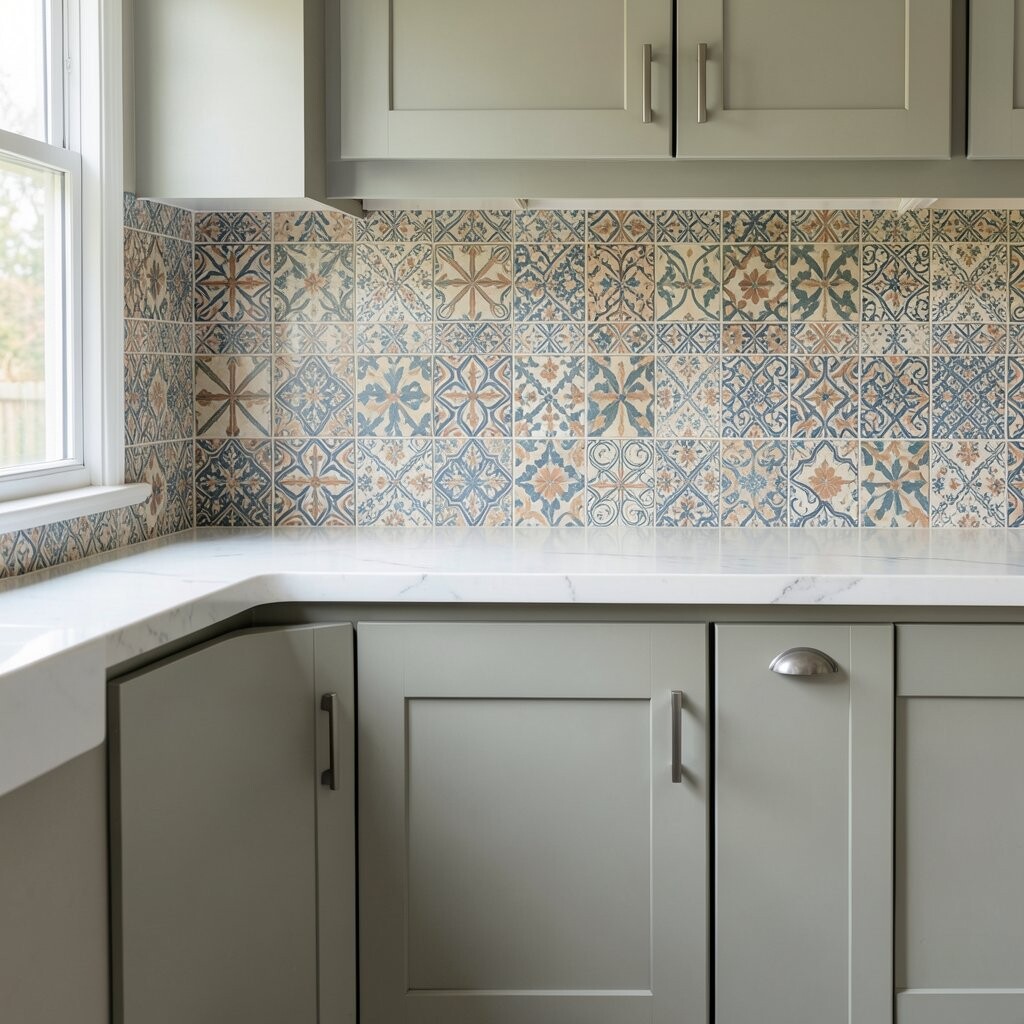
Enamel look tiles behind cabinets bring a vintage feel with a glossy, protective surface. The colors can make everyday spaces feel special and curated.
Choose patterns that won’t overwhelm, like small repeats or single motif strips. Enamel styles often have strong color, so match them to one other element such as a backsplash, curtain, or bowl set. Keep grout sealed and maintain it with gentle cleaners so the finish stays vibrant.
For personalization, frame the patterned area with solid tiles so it feels intentional. This can be cost-effective if you use patterns only for a small section and fill the rest with simpler tiles. A current trend is using “moments” of bold design behind functional areas, like behind a range hood or prep station.
12. Paint-Ready Wall Panel with Washable Semi-Gloss Coating

If you want maximum color freedom, a paint-ready panel plus washable paint can work beautifully. The semi-gloss finish is easier to wipe than flat paint and helps resist everyday splatter.
Pick a durable interior paint rated for kitchens, and prime properly so the coating bonds well. Install a thin panel behind the cabinets, then paint it in your chosen shade, such as sage, navy, or warm gray. For practical tips, tape edges carefully and allow full dry and cure time before heavy cleaning or steam exposure.
To make it feel unique, use a paint technique like gentle sponging or a subtle gradient behind a coffee bar. Costs are often budget-friendly because you’re using paint and panel materials rather than lots of tile. This method is a modern favorite for people who change decor often, since refreshing color can be easier than re-tiling.