
Painted backsplashes can make a kitchen feel brand-new without a total remodel. The best part is that you get to choose the mood, color, and details.
1. Marble-Mimic Accent Panels
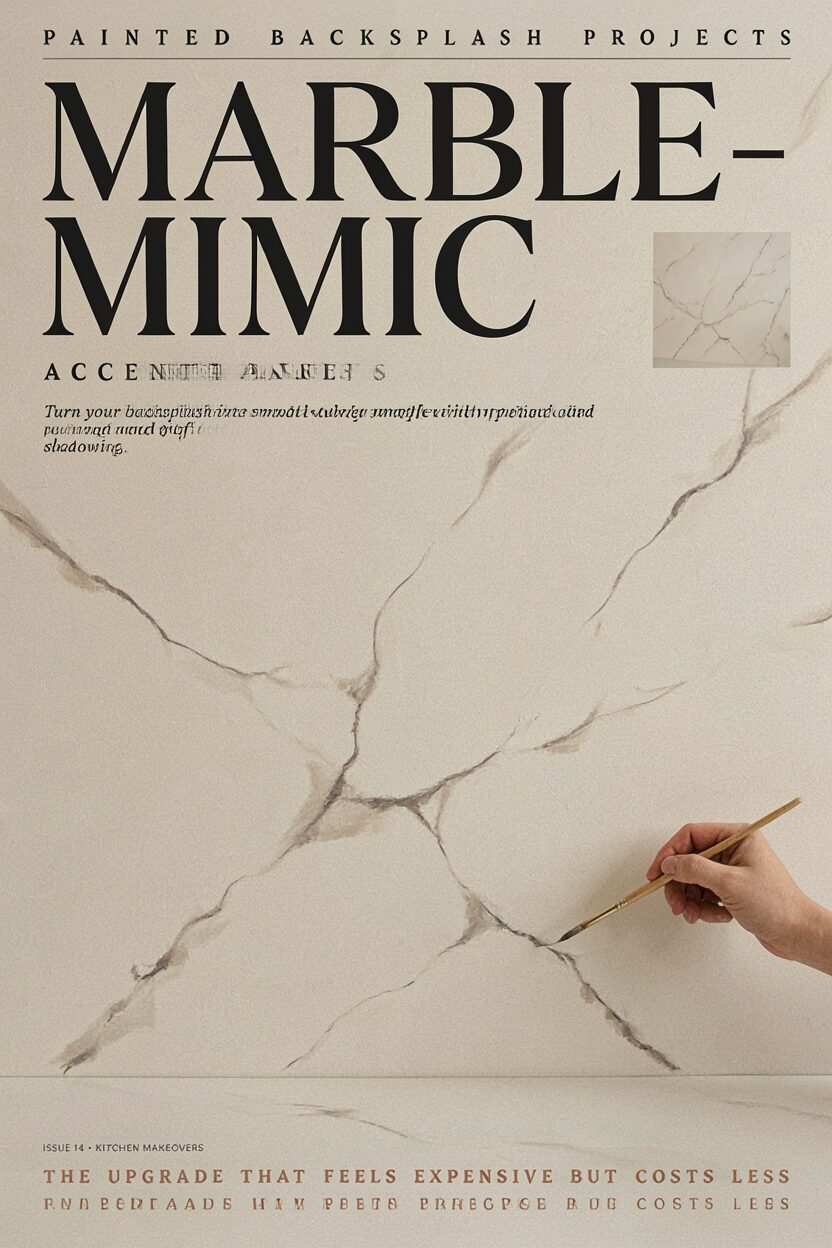
Turn your backsplash into smooth-looking marble with painted veining and soft shadowing. This style feels upscale while staying budget-friendly for most kitchens.
Start by cleaning the wall thoroughly and using a bonding primer so paint sticks around heat and steam. Choose a base color like warm white or light gray, then add thin “vein” lines with a fine brush or a sponge tool. For practical durability, seal the final layer with a clear, water-resistant topcoat designed for walls.
2. Bold Geometric Color-Block Grid
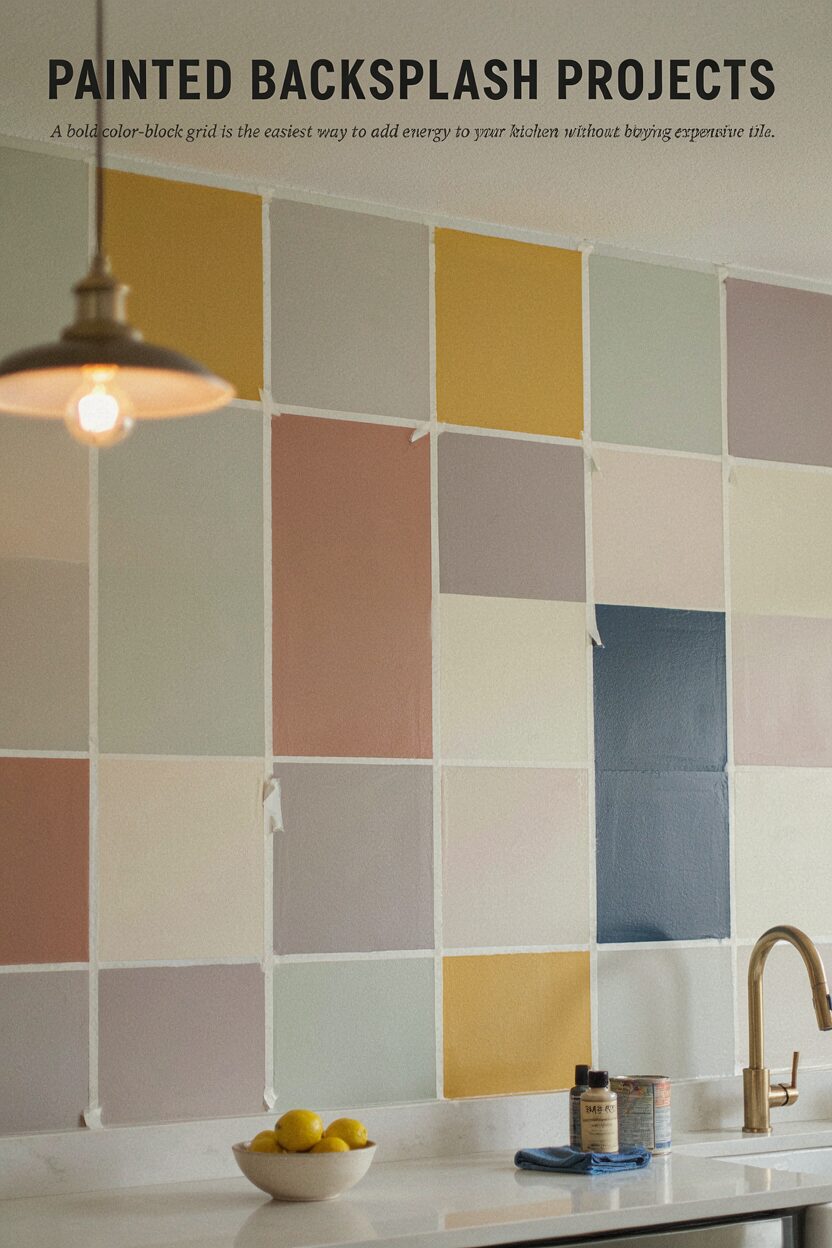
Go for a crisp grid that looks modern and fun right away. Color blocks add energy without needing expensive tile.
Use painter’s tape to plan straight edges, then paint in alternating shades for a clean pattern. A satin or semi-gloss kitchen paint will wipe easier after splashes and splatters.
If you worry about tape bleed, test a small strip first and remove tape while the paint is still slightly tacky. For personalization, match the colors to cabinet hardware, bar stools, or a nearby rug so the whole room feels connected. Budget-wise, you can often finish one backsplash section with a few small sample bottles plus one primer and a topcoat.
3. Coastal Waves With a Soft Seafoam Wash
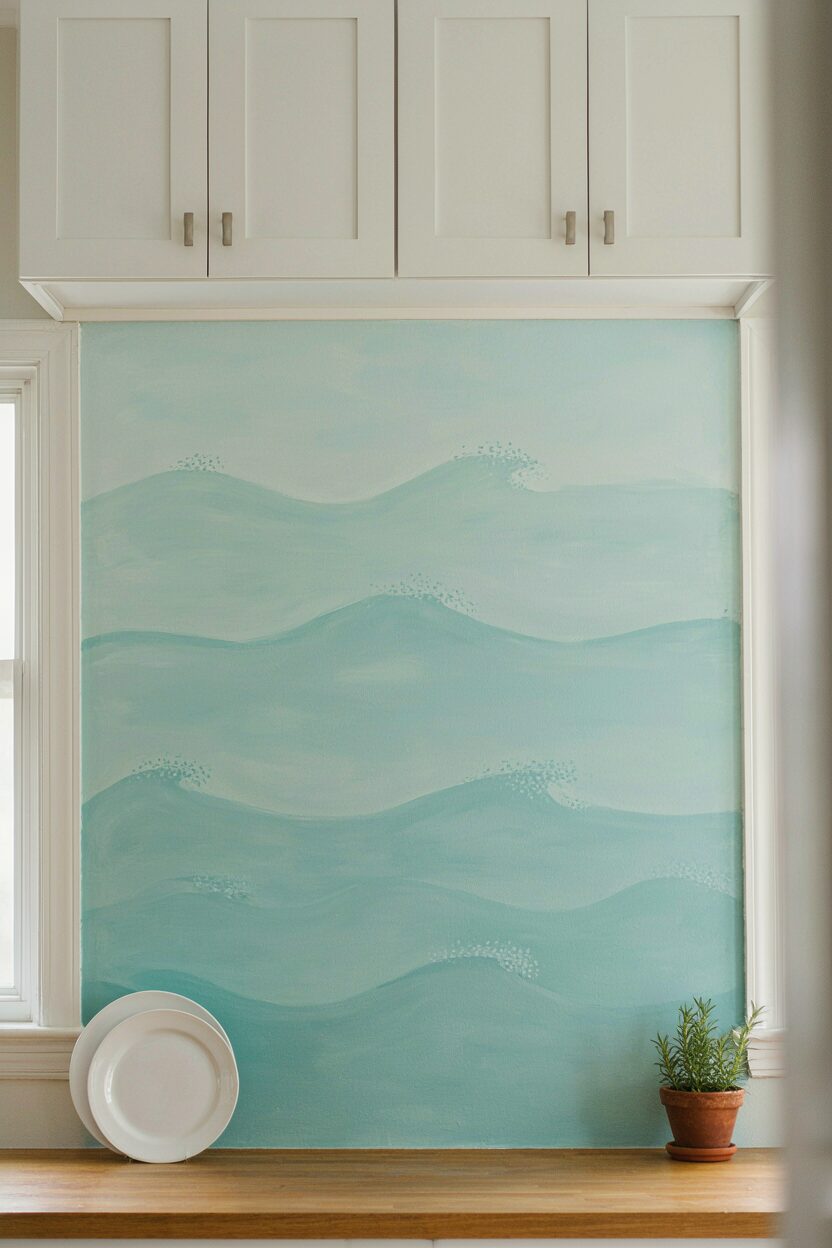
This backsplash idea brings calm vibes with gentle wave shapes and airy color. It’s a light look that flatters both bright and darker kitchens.
Paint a seafoam or pale aqua base, then layer wave lines using a fan brush or a sponge for texture. Keep the wave spacing consistent so the design looks intentional and not messy.
To make it unique, add tiny “foam dots” with a small stippling technique near the crest lines. Consider pairing this backsplash with white dishes and warm wood tones for a balanced, coastal feel. For costs, you’ll mainly spend on primer, several paint colors, and a clear topcoat for easy cleaning.
Current trend notes: soft, nature-inspired gradients are popular right now, so a slightly blended wave fade can look fresh and modern. If you want extra protection, apply two thin clear coats rather than one thick coat to reduce streaking.
4. Vintage Botanical Stems in a Small Pattern
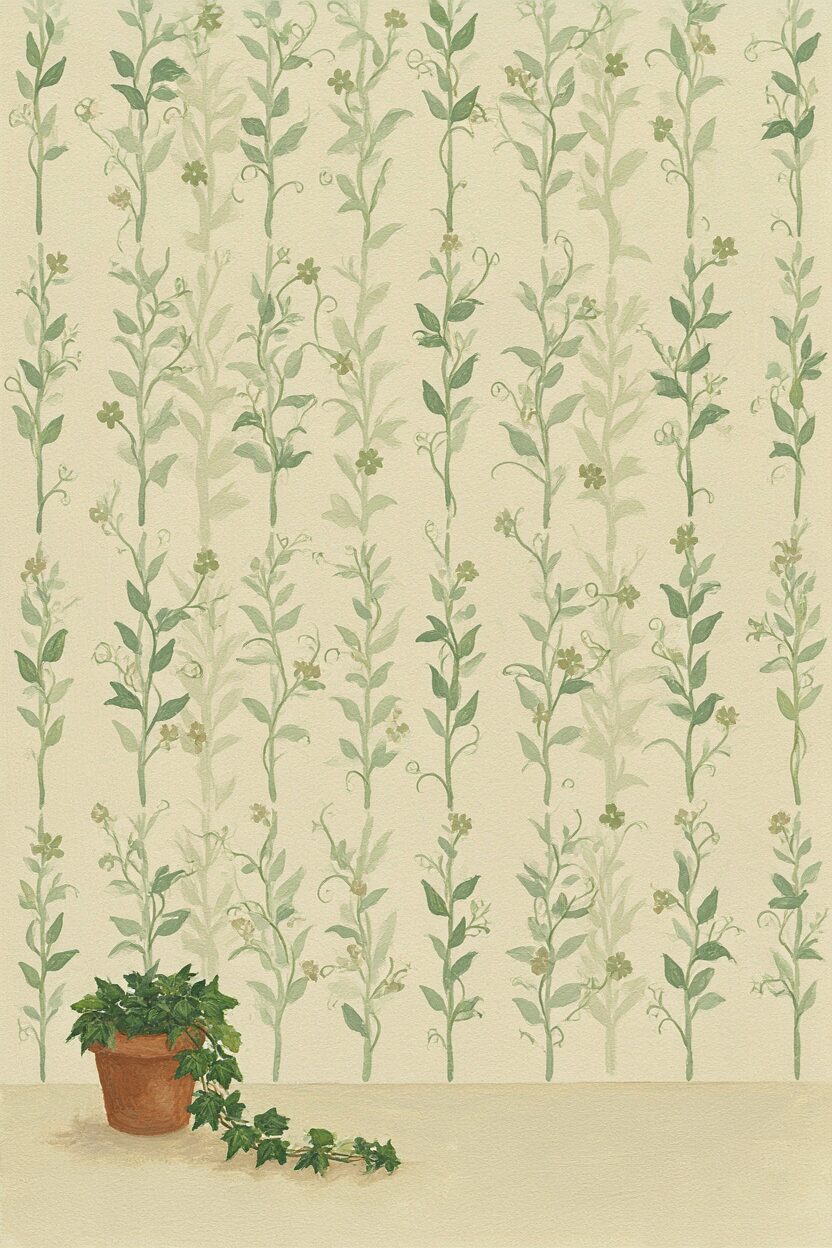
Add gentle greenery using painted botanical stems that repeat across the backsplash. This project looks charming and gives your kitchen a lived-in, storybook feel.
Begin with a neutral base like cream or pale beige, then sketch stems lightly before painting in layers. Use a liner brush for thin leaves, and a darker green for depth so it doesn’t look flat.
5. Chalkboard-Style Menu Zone
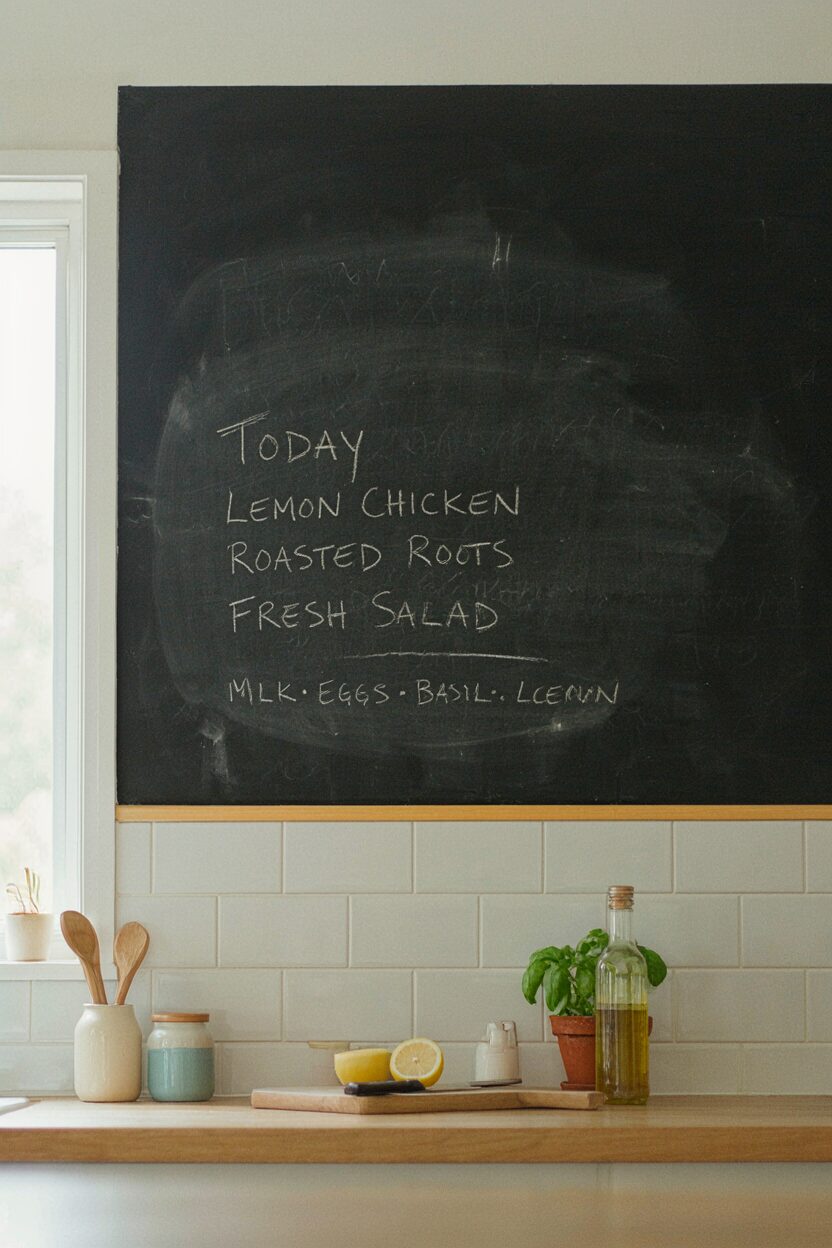
A chalkboard-style strip on the backsplash is both useful and stylish. You can jot down grocery lists, today’s menu, or reminders while cooking.
Apply a chalkboard paint meant for walls, then let it cure fully before using chalk. For practical tips, seal the edges carefully and wipe gently with a soft cloth to avoid scuffing.
Personalize the look by painting a small border in a coordinating color so the chalk area feels designed, not accidental. Keep in mind that chalkboard surfaces can show fingerprints, so a quick wipe after meals helps. Cost is usually moderate since you only need paint for the main area and a protective finish for the rest of the backsplash.
6. Moroccan Tile-Inspired Arches

This style recreates the feel of patterned tile using arches and star-like shapes. It’s bold, decorative, and surprisingly doable with the right tape and a steady hand.
Pick two or three colors, then map your pattern with light pencil marks before painting. A thin craft brush is great for small curves, and a stencil can help if you want crisp edges.
What makes it unique is how the pattern can be adjusted to your space, like centering it behind a range. Trends are leaning toward vintage-inspired geometry, so this look matches that vibe well. For cost considerations, stencils are usually cheaper than full tile and can reduce repainting mistakes.
7. Sunburst Accent Behind the Range
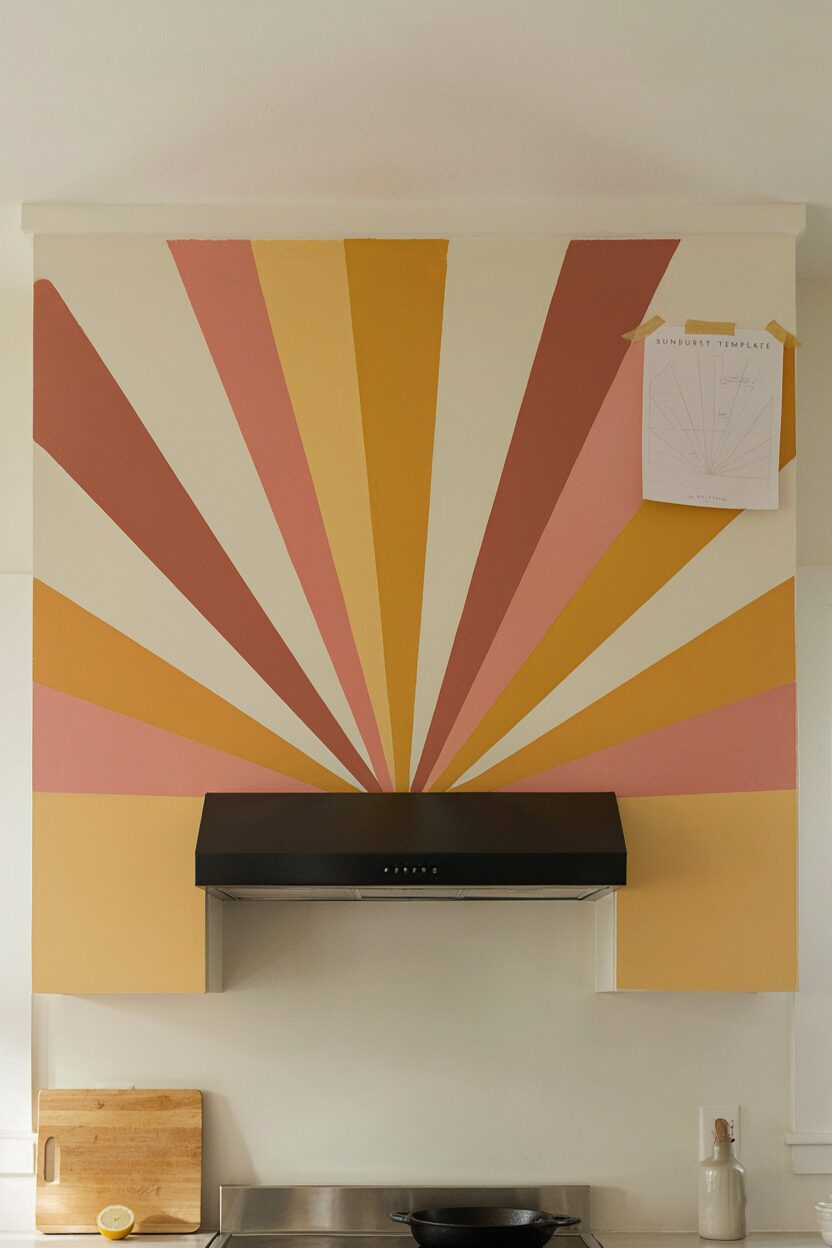
Create a sunburst focal point that draws the eye and makes the backsplash feel like art. It works especially well behind a stove or cooktop where there’s a natural viewing center.
Paint a clean background color, then mask rays with tape so they radiate outward. Use a mix of warm tones, like terracotta, coral, or golden yellow, for a lively but cozy effect.
To keep the pattern from looking wobbly, use a small measurement guide or a printed template taped to the wall behind the project. For personalization, you can limit the rays to a certain height or add a thin outline for a gallery-style look. Costs are typically manageable since most supplies are paint, tape, primer, and a protective topcoat.
8. Ombre Night-Sky Gradient
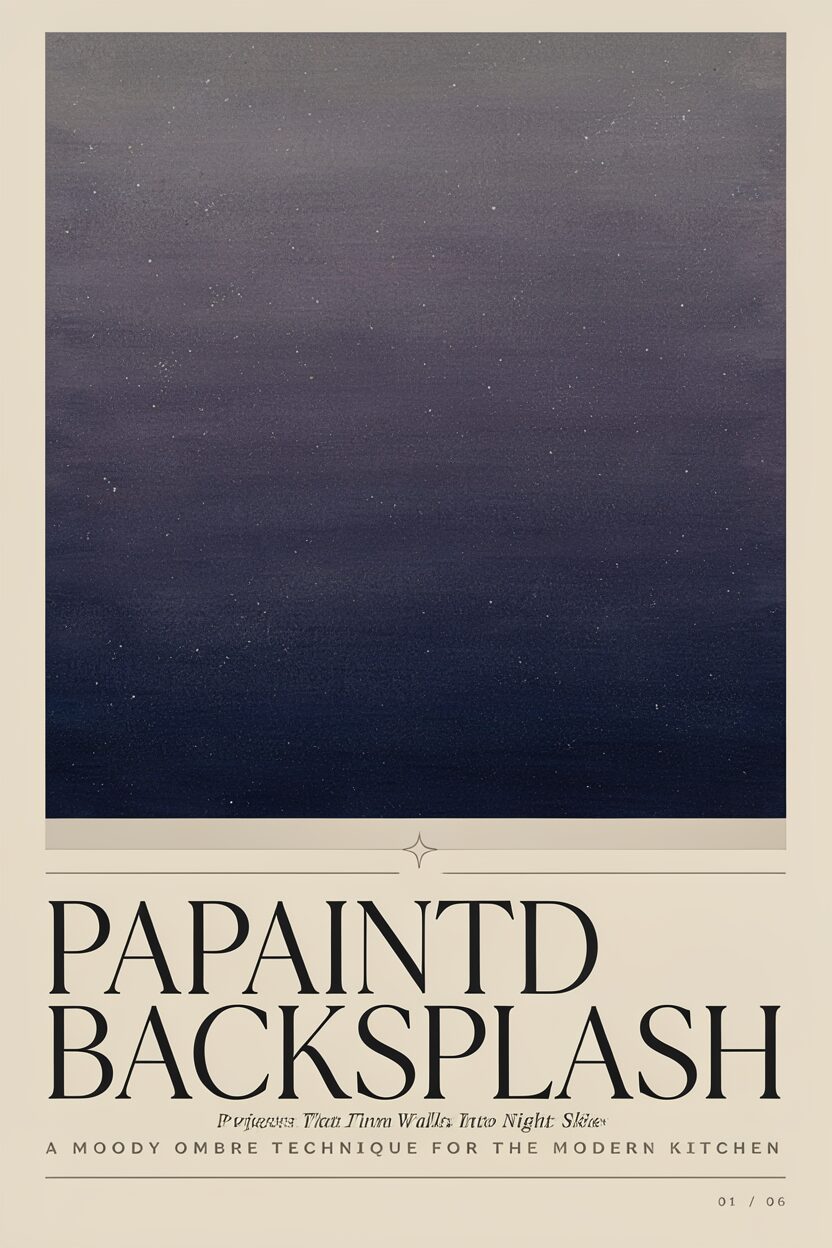
If you like dramatic color, try a night-sky ombre that fades from deep blue to soft gray. It adds depth and feels creative without needing figurative painting.
Apply a dark base at the bottom, then blend upward using a sponge or wide brush technique in smooth passes. After the gradient dries, add a light dusting of “stars” with a toothbrush for tiny speckles.
Make it practical by sealing with a clear coat that handles kitchen splashes. This uniqueness comes from how the gradient shifts depending on the lighting in your space, so the backsplash looks different at different times of day. Budget-wise, you’ll mostly need paint in two or three shades plus the finishing coat.
Current trends include moody color stories and subtle texture, so a lightly speckled finish fits right in. If you want a cleaner starfield, you can use a small stencil and a dry brush instead of freehand flicking.
9. Soft Wash With Color-Blocked Corners

This project gives you a gentle painted wash across the backsplash with pops of color in the corners. It’s calm, modern, and friendly for beginners who want something lower-pressure.
Start with a breathable, even wash using a roller, then add small corner shapes or vertical strips using tape. Choose colors that echo your cabinetry so everything looks coordinated, not random.
To make it feel intentional, keep the color accents consistent in size and placement. For practical care, use a wipeable paint sheen and finish with a clear topcoat. Costs stay reasonable because you only need a base color plus one accent palette.
10. Geometric Halo Tiles Using a Stencil
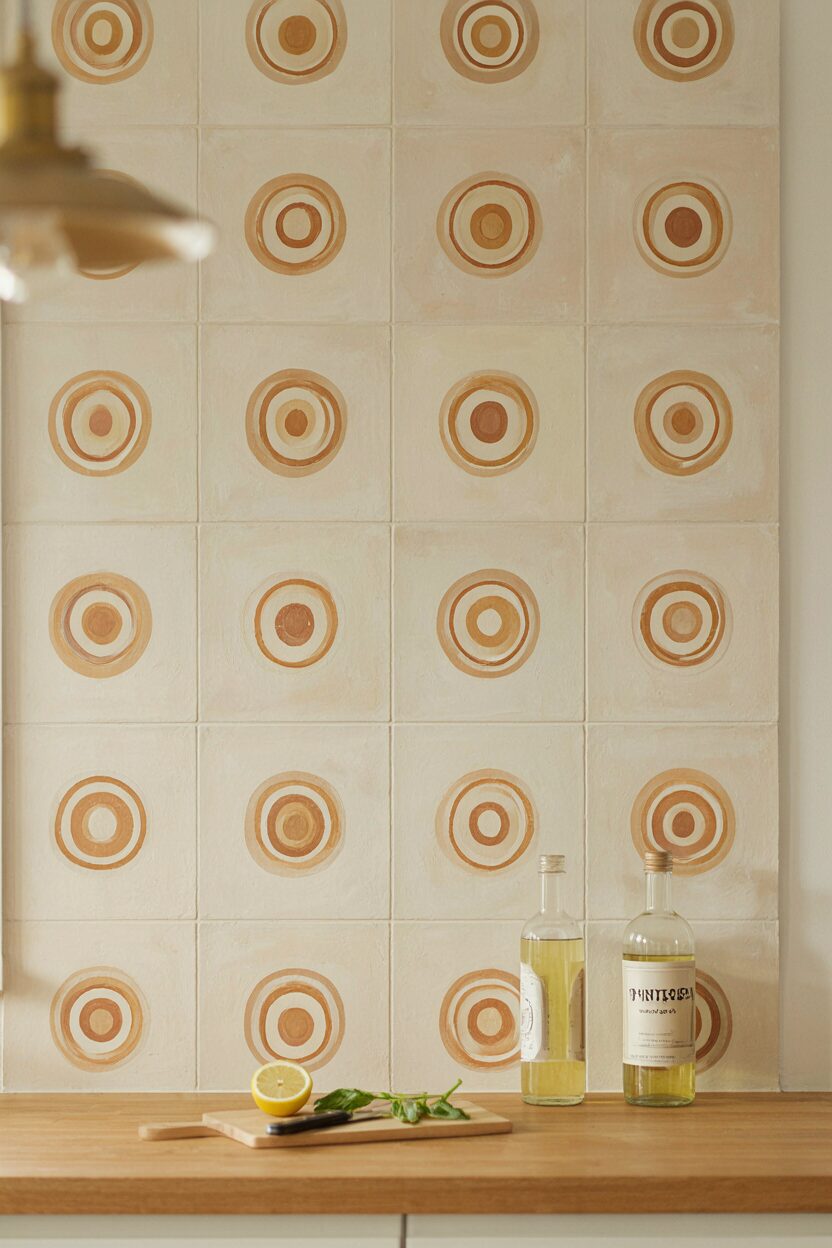
Stencil-painted halo tiles can look like expensive backsplash murals while still being manageable. The repeated circles create rhythm and a modern, clean vibe.
Pick a background color and one or two stencil colors, then apply the pattern in aligned rows. Work slowly and dab rather than brush hard, so paint doesn’t seep under the stencil edges.
For uniqueness, vary the halo thickness in a few spots so it feels handcrafted. If your kitchen has warm lighting, choose colors that won’t appear too cool, like creamy white with caramel or terracotta. Budget considerations are often favorable because stencils can be reused and you avoid purchasing tile.
11. Brick-Style Lines in Warm Clay Tones

Painted brick lines can create a cozy, farmhouse look without installing actual brick. It gives texture through color and spacing, which makes the wall feel more substantial.
Use a guide to mark brick heights, then paint thin mortar lines first or last depending on your preference. For best results, a fine brush helps with mortar detail, while a small roller works for the brick color blocks.
Personalize by mixing slightly different clay shades so the bricks look natural, not perfectly uniform. For practical tips, seal the finish well so splatters wipe clean and colors don’t dull quickly. Cost can be low since you’re mostly buying paint and primer, not tile or grout.
12. Colorful Ribbons With a Hand-Painted Feel
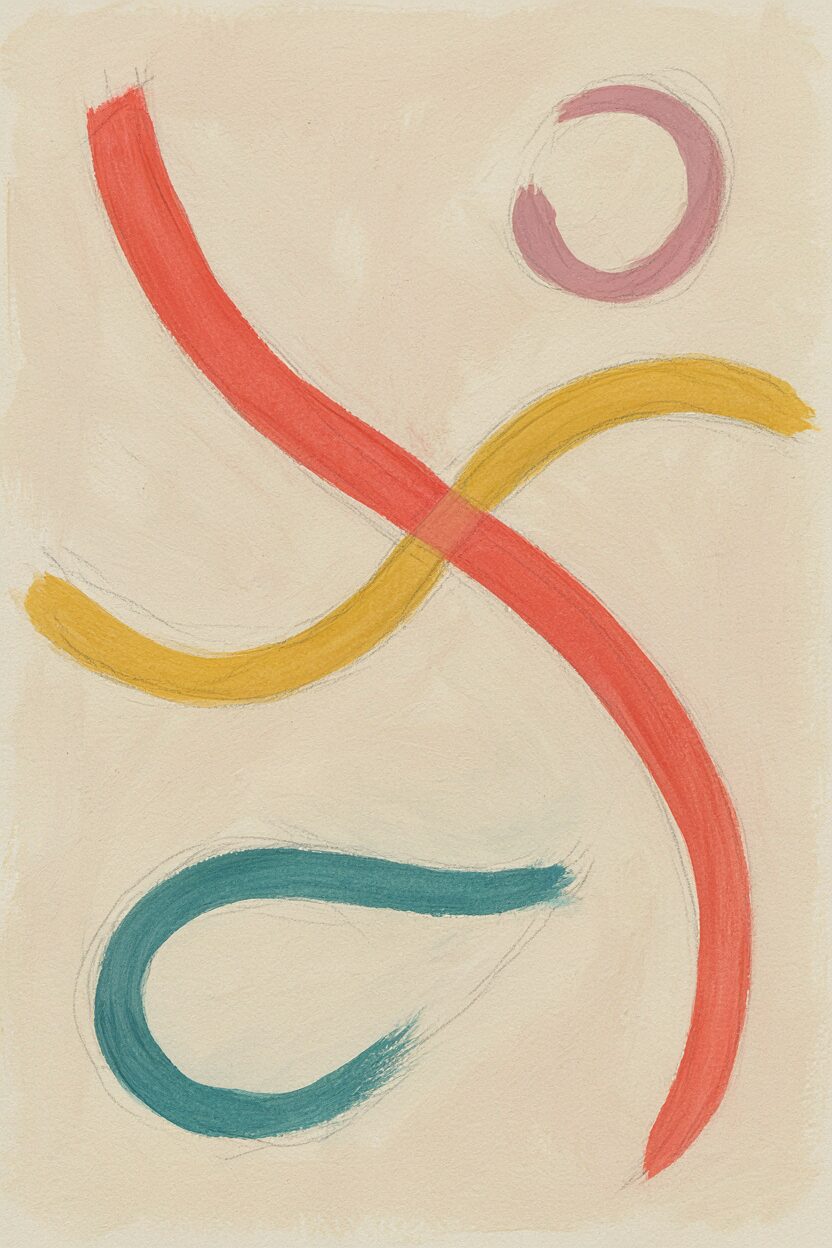
This backsplash looks like flowing ribbon art, full of movement and bright personality. It’s a great choice if you want something playful but still coordinated.
Paint a light base, then draw ribbon curves with pencil guidelines and freehand paint. Use two or more ribbon colors, and vary the thickness slightly so it feels organic.
13. Subtle Linen Texture With a Tonal Finish
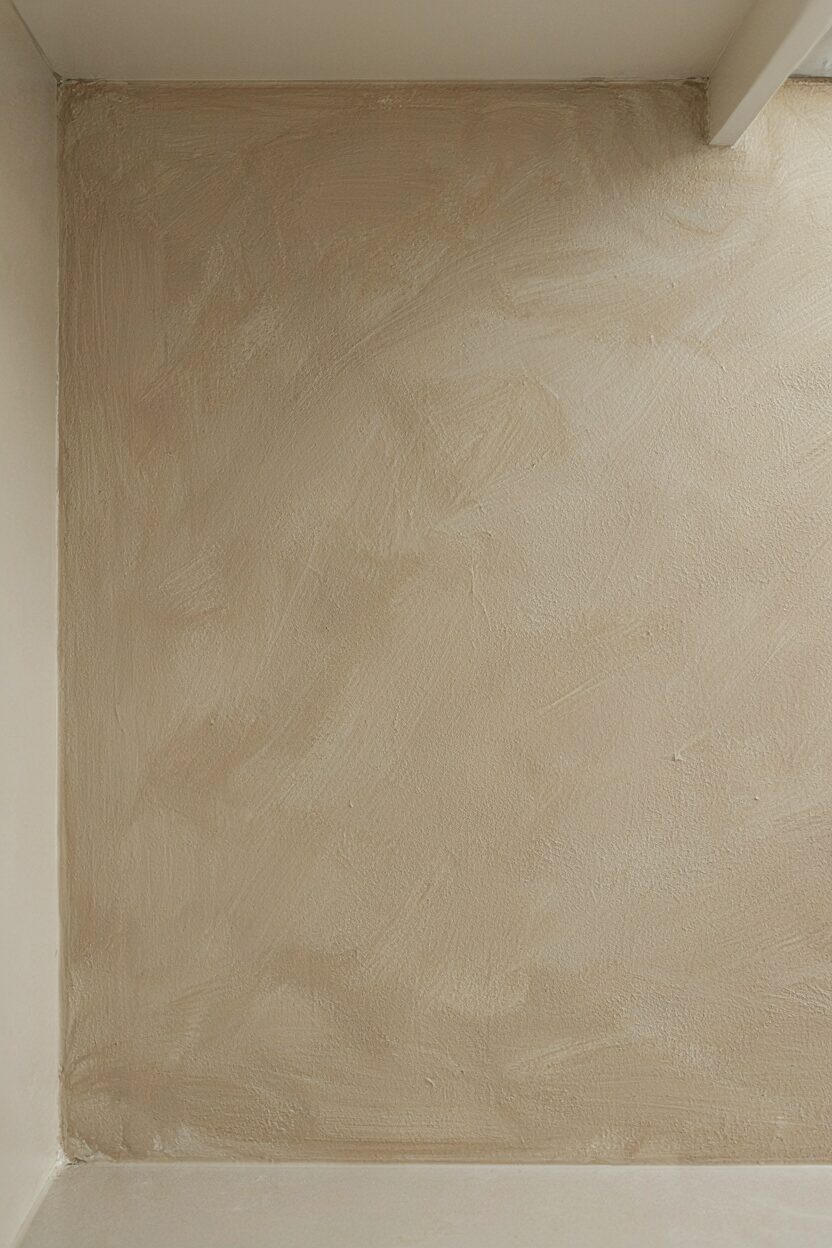
For a more elegant approach, paint a linen-like texture that’s soft and tonal. This look is low on loud color but high on depth and craftsmanship.
Choose a single color family and build texture with a sponge or textured roller, then keep the pattern gentle. Tonal finishes are forgiving because small overlaps or brush marks won’t stand out as much.
Make it unique by adding a very light highlight over raised areas with a slightly lighter shade. If you want practical protection, seal with a clear coat and let it cure fully before heavy cleaning. Budget-wise, this method can be a bargain since you’re using fewer colors and likely fewer specialized tools.
Current trend notes: textured, “warm minimal” finishes are popular, and linen-inspired walls fit that style. Keep your palette close to your countertops so the backsplash feels cohesive rather than competing for attention.
14. Atlas Map Lines With Compass Accents
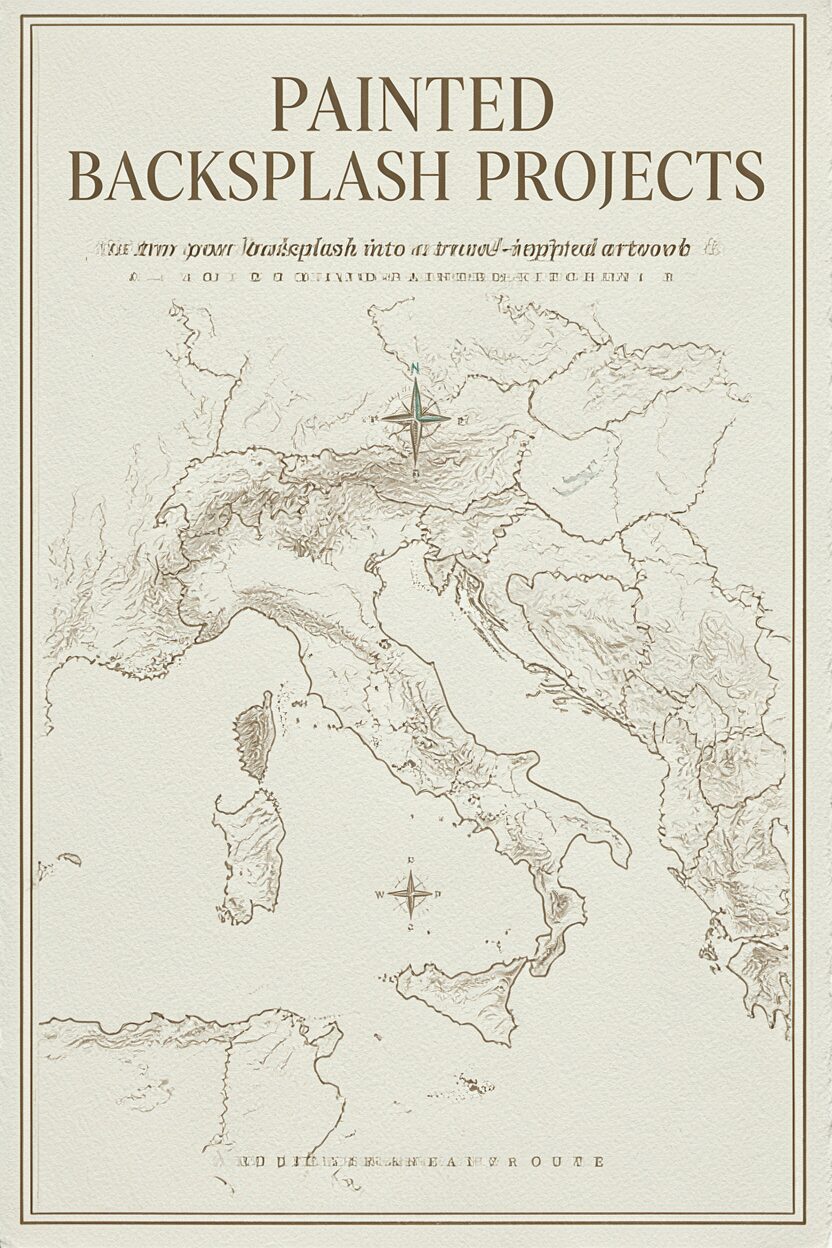
Turn your backsplash into a travel-inspired artwork with map-style lines and compass details. It’s creative, conversation-worthy, and perfect for anyone who loves geography or vintage prints.
Use a base color like off-white, then paint thin “route” lines and contour-like squiggles with a fine brush. Add a small compass rose near the center or around a cooking area to create a focal point.
To personalize, adapt the “map” to your favorite region by changing line shapes and adding tiny labels in a consistent style. For practical tips, seal the finished design so wipe-downs won’t fade the details quickly. Cost considerations are usually moderate because you mainly need paint, a liner brush, and a quality topcoat to protect the art.