
Your walls are about to get a lot more cheerful. A few smart displays can make your child’s art feel valued every single day.
1. Create a Rotating Gallery Wall

Pick a wall spot that’s easy to see from the main room. Use frames or a mix of clip frames so swapping artwork is simple.
A rotating gallery keeps the display fresh and helps you avoid clutter. Choose a size that matches your wall space, like a grid of similar frames. When you rotate, keep a “save” folder elsewhere so special pieces don’t feel rushed.
2. Hang Artwork on a String with Mini Clips
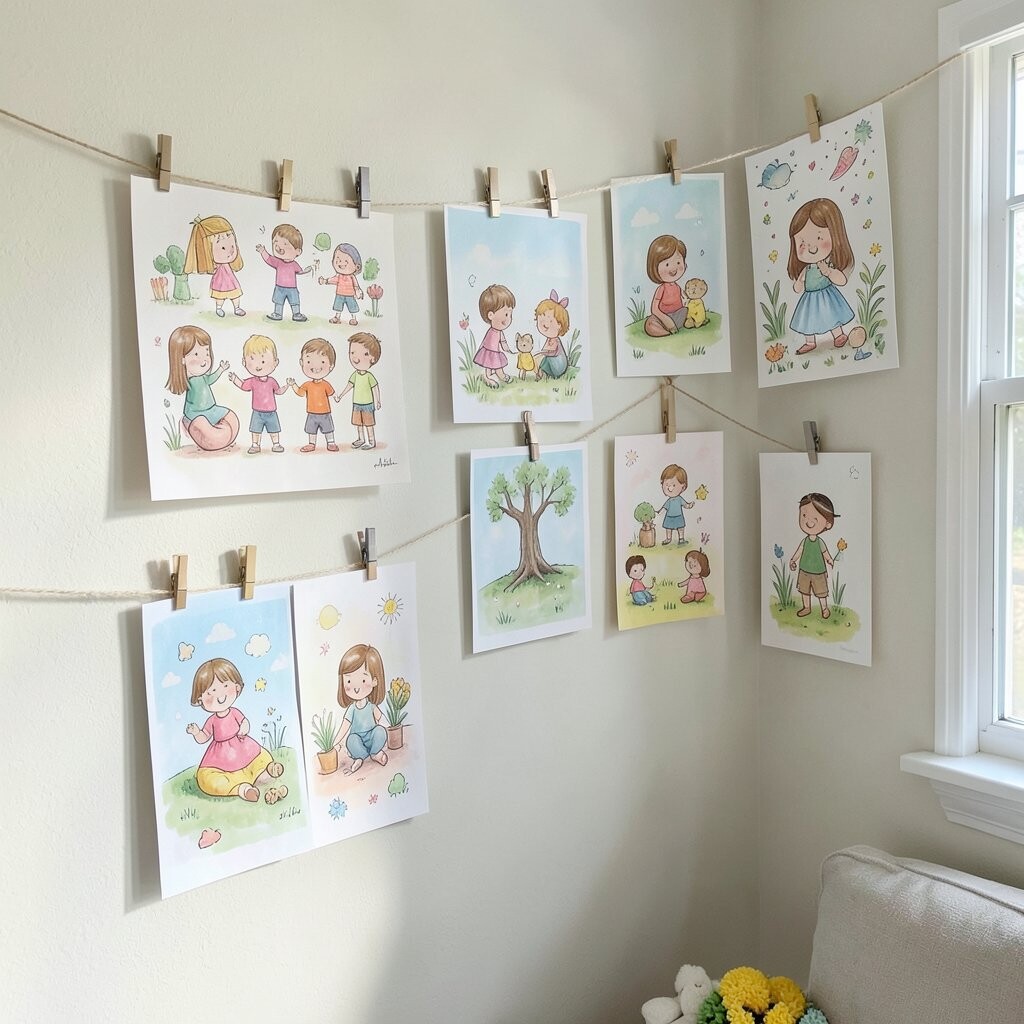
This look is casual, bright, and perfect for busy families. Run a couple of strings across a wall or between two nails to create an instant art line.
Kids can help clip up new drawings, which makes the process feel like a celebration. Use clothespin-style clips or mini binder clips so different paper thicknesses fit. For a neat finish, keep the string level using a small ruler or level tool.
If you’re worried about mess, use clear sleeves behind the paper so edges don’t curl. This is budget-friendly because you’re reusing simple supplies. In recent home trends, “gallery lines” and flexible displays like this show up a lot because they’re easy to refresh.
3. Use a Magnetic Board for Quick Swaps

Magnetic boards turn art into something that feels tidy and playful. It’s also great for kids who bring home drawings often.
Instead of taping or pushing papers into drawers, place them right on the board with magnets. You can use a large magnetic sheet in a decorative frame to make it feel like real wall art. Add sticky labels on the back so you remember the date or theme for each piece.
This display is unique because it’s interactive; children can move their own work around. As a personalization idea, assign different sections for “today’s favorites” and “special achievements.” Cost is usually low if you buy a standard magnetic sheet, and you can update it any time.
If you want a more polished look, choose magnets shaped like stars, letters, or animals. This fits a modern trend toward functional décor that still feels warm.
4. Frame a “Monthly Masterpiece”

Choose one piece each month to spotlight in a simple frame. The rest can be stored until their turn comes.
This method reduces decision fatigue and keeps the display from feeling too busy. It also teaches patience because kids understand their work will be shown again. For practical tips, keep a small basket near the fridge where you place “this month’s candidate” art.
5. Make a Keepsake Shadow Box

Shadow boxes are great for more than just drawings. They can hold textured art, crafts, and little treasures without flattening them.
Place a finished project inside, then add small layers of depth so it looks like a tiny exhibit. You can include ticket stubs, a cut-out silhouette, or a marker title card made by your child. This unique style feels special because it preserves the “story” of the item, not just the paper.
For cost considerations, start with one shadow box you’ll reuse for years. If you want personalization, add a label with your child’s name and age next to the piece. This approach matches current trends where homes display meaningful objects, not only framed prints.
6. Turn a Clipboard into a Daily Art Display

A clipboard on the wall is simple, practical, and surprisingly stylish. Use it near a kitchen or hallway where you’ll see it often.
Swap the paper whenever new artwork arrives, and you won’t need to open frames. Choose a clip size that can hold thicker paper so crayon creations don’t slip. As a unique touch, paint the clipboard frame in a color that matches your décor or your child’s favorite theme.
This option is budget-friendly because it repurposes a common office item. It also supports personalization since you can change the artwork without damaging it. Many parents like this display because it feels functional, not precious.
7. Build a Staircase or Hallway “Art Path”

Stairs and hallways are perfect for small displays because there’s natural movement. Create a repeating pattern of frames or small canvases along the path.
Use consistent spacing so it looks intentional, even as artwork changes. You can place framed pieces at kid height so they feel included whenever they pass by. For variety, mix sizes slightly, but keep a matching border color to unify the look.
This strategy is unique because it turns everyday walking into a gallery experience. Cost can stay reasonable by using affordable frames and swapping them seasonally. A great personalization idea is to theme each section, like “rainy day art” or “ocean month,” using the same frame style for that period.
If you’re following current trends, consider “vertical story walls” where visitors see a timeline as they move through the space.
8. Create a DIY Photo Frame Wall with Clear Sleeves

Clear sleeve frames make art feel crisp and protected. They also let you update pieces quickly without removing the backing.
You can buy ready-made sleeve systems or build your own using frame mats and plastic sleeves. Put the artwork in the sleeve, slide it into the frame, and you’re done. This display is practical because it protects fragile paper from fingerprints and smudges.
It’s unique because it looks like a modern museum label display. For personalization ideas, add small date stickers or a handwritten note under each piece. Cost is a bit higher than a string line, but the protection can save you from warping or tearing.
9. Display Art in a Curated Canvas Panel Set

Canvas panels give drawings a finished, gallery-ready look. They also work well for slightly thicker paper or prints.
Use pre-stretched canvas panels or foam boards with a decorative cover, then attach artwork with gentle adhesive or corners that can be removed later. Choose a simple layout, like three panels in a row, to make it feel intentional. This approach is unique because it blends kid creativity with a décor style you already love.
For practical tips, keep corners secure so the art lies flat, and avoid fully soaking the paper. If you want personalization, paint the canvas edges in your child’s favorite colors so the display matches their personality. Cost considerations vary, but starting with just a few panels can keep it manageable.
This technique fits trends toward “texture walls” where homes feature mixed materials, not only frames.
10. Make a “Letter from Me” Art Display on a Magnetic Strip

A magnetic strip can hold drawings, letters, and small learning sheets in an organized way. Place it at an eye level height where kids can reach safely.
Pick magnets that are fun but sturdy so pieces don’t fall. Use clear clips or small magnetic tabs to keep the order neat. This display stands out because it supports daily communication, not just one-time showing.
As a personalization idea, rotate pieces that match what your child is learning, like phonics or counting. Cost is usually low because magnetic strips and magnets are easy to find. In current trends, more homes highlight “learning décor” that celebrates milestones.
11. Hang Artwork in a Clear Rolling Organizer

A clear rolling organizer looks neat and lets you store art without hiding it completely. You can roll it into a closet when you want it out of sight.
Use sections for different types of artwork, like drawings, crafts, and seasonal projects. When it’s time to display something new, roll the organizer out and swap pages fast. This is unique because it functions like a display and a storage system at the same time.
For practical tips, keep the organizer against a wall or near a craft corner so it feels like part of your routine. Cost varies based on size, but you can start small and expand later. To personalize, label each section with your child’s name or with playful icons.
This approach matches modern organization trends that focus on visible, easy-to-use storage.
12. Frame a “Seasonal Showcase” by Theme

Seasonal showcases make your home feel like it’s celebrating life. Instead of swapping random drawings, you swap themed pieces that match the time of year.
For example, use winter drawings in one frame set, spring art in another, and summer crafts in a third. Choose one consistent frame style so the display looks cohesive even as the art changes. This method is unique because it helps your child connect creativity with seasons and events.
13. Transform Art into a Custom Fabric Panel

Turning art into fabric is a creative way to display it in a soft, cozy style. You can use it as wall décor, like a hanging panel, or a decorative backdrop.
Have a favorite piece printed onto fabric, then mount it in a simple wooden frame or hang it with a dowel. This is practical because fabric feels durable and can handle light cleaning better than delicate paper. Cost depends on the printing method, but it’s often worth it for a truly special piece.
This display is unique because it turns artwork into something you can keep and reuse as your décor changes. For personalization, add your child’s name and a short year label on the fabric border. It also fits current trends where people display memories in textile forms, like wall hangings and photo quilts.