
Roll a little creativity into your home with crafts that start with something ordinary. A rolling pin can become decor with warmth, texture, and a personal touch.
1. Stenciled Rolling Pin Wall Art

Turn an old rolling pin into a striking wall piece. Add a simple stencil pattern so it looks polished but still homemade.
Choose a bold motif like wheat, hearts, or tiny stars. Lightly sand the wood so paint sticks well, then use a foam brush or stencil sponge for clean edges. Finish with a clear matte seal so the design stays crisp and easy to dust.
2. Hanging Rolling Pin Herb Holder

Let your kitchen smell like home by hanging herbs from a repurposed rolling pin. It gives you a neat spot for small pots and keeps everyday plants within reach.
Drill a few evenly spaced holes across the rolling pin, then attach jute twine or small rings at each point. Plant herbs in small containers that fit snugly, and hang the rolling pin on a hook near a sunny window. For a trendy look, alternate pot sizes and mix fresh greens with tiny purple flowers.
To keep costs low, use thrifted mini planters or recycled glass jars with drainage holes. Use a quick-dry clear coating on the wood so it handles humidity better.
3. Rolling Pin Frame for Photos and Prints

Make a one-of-a-kind photo frame without buying fancy materials. A rolling pin frame adds texture that instantly upgrades a simple picture.
Cut a backing board to the size of your photo, then wrap the rolling pin body with fabric or leave the wood exposed for a rustic feel. Secure the print behind the backing, and attach a small hanging wire on the back. If you want a modern twist, paint only the edges of the rolling pin while keeping the center natural.
Sand the corners gently so the frame feels smooth to the touch. Consider using family photos in black-and-white for a classic gallery look. Sealing the wood helps it resist fingerprints and daily handling.
This craft works especially well with inexpensive rolling pins from yard sales. Try adding a little name tag label for a personalized gift that feels thoughtful.
4. DIY Rolling Pin Candle Holder
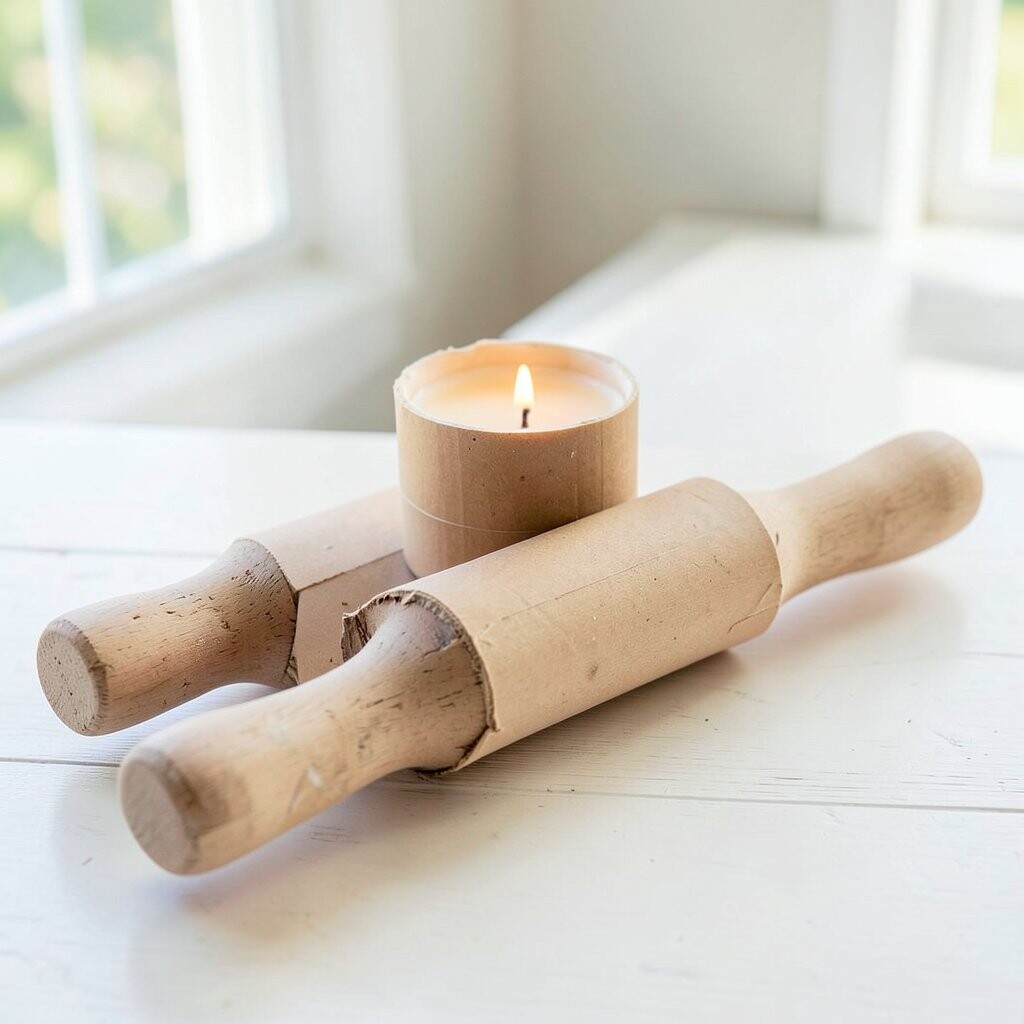
Create a cozy centerpiece with a rolling pin shaped into candle holders. It looks warm, rustic, and perfect for casual dinners.
Carve shallow channels or drill holes along the rolling pin ends, then place small pillar candles or battery tea lights. Keep spacing even so the candles look balanced from any angle. Use heat-safe candles and place a trivet underneath if you use real flames.
5. Rolling Pin Coasters with Stamped Patterns

Stamped rolling pin coasters add charm to coffee tables and nightstands. Every coaster gets a slightly different look, which makes the set feel handmade and fun.
Sand the rolling pin slightly, then stamp repeating patterns onto thin wood slices or cork bases using paint or ink. Let each design dry fully, then seal with a protective top coat. For variety, swap between lines, dots, and simple leaf shapes.
If you want an easy upgrade, use felt pads on the bottom so cups slide smoothly. Keep to neutral colors like cream, tan, and muted green for a trend-forward, calm vibe. These are a low-cost option because you can use scrap wood and small ink pads.
6. Weathered Rolling Pin Key Rack

Turn a rolling pin into a key rack that looks like it belongs in a farmhouse hallway. It’s a practical fix for clutter and a stylish way to organize daily essentials.
Attach hooks along the underside of the rolling pin or mount small metal pegs in a row. Sand, paint, and lightly distress the surface for that current “lived-in” look. Add a small catch tray from a cut wood strip at the bottom to hold loose change.
Use sturdy mounting screws into a stud if possible so the rack can handle daily weight. This craft is budget-friendly because you only need hooks, a few screws, and basic paint. Personalize it by painting the hooks with different colors for each family member.
7. Rolling Pin Serving Tray with Handles

Give hosting a stylish upgrade with a rolling pin serving tray. It’s a creative way to make a practical item feel special.
Attach a flat board base to the rolling pin body, then add short handles on both sides using leather straps or wood knobs. Seal everything with food-safe or general-purpose varnish for a smooth wipe-clean finish. For a modern look, keep the wood natural and add a thin black edge line with paint.
Use it for bread, pastries, or small charcuterie boards during gatherings. To protect surfaces, add felt or rubber strips on the bottom so it doesn’t scratch tables. This idea also works with mini rolling pins for smaller snack trays.
8. Rolling Pin DIY Wall Shelf for Small Decor

Make a tiny shelf from a rolling pin to show candles, plants, or mini sculptures. The round shape adds a playful twist to traditional wall shelves.
Mount brackets to the wall, then secure the rolling pin on top so it acts like the shelf rail. Use a flat wooden plank as the base if you want a stable surface for items. Paint the brackets to match your room, or keep them wood-toned for a cozy style.
For personalization, place small labels or painted dots to mark where each item goes. Consider adding a small tray on the shelf for keys, bookmarks, or perfume. If you’re working with a heavier item, use stronger brackets and double-check the wall anchor.
This craft is trending because it combines functional storage with handmade texture. Keep costs in check by using a scrap plank and simple hardware from a home store.
9. Rolling Pin Stamp Garland for Festive Touches

Use your rolling pin as a rolling stamp to make a fabric or paper garland. It brings a playful pattern to seasonal decor without needing fancy stamps.
Dip the rolling pin design area lightly in craft paint, then roll it across cardstock or fabric strips. Cut small flags or shapes, string them together, and hang them on shelves, doorways, or above a dining table. Choose colors that match your current decor, like warm terracotta, soft sage, or classic red and cream.
This technique looks unique because every roll has slight texture differences. If you want crisp repeats, practice on scrap paper first to get the amount of paint right. Seal the finished pieces lightly if they will be near humid spaces.
To keep cleanup simple, use disposable liners on your work surface. Rolling pin stamping also makes a thoughtful gift because the banner becomes part of the recipient’s traditions.
10. Stacked Rolling Pin Coaster Stand
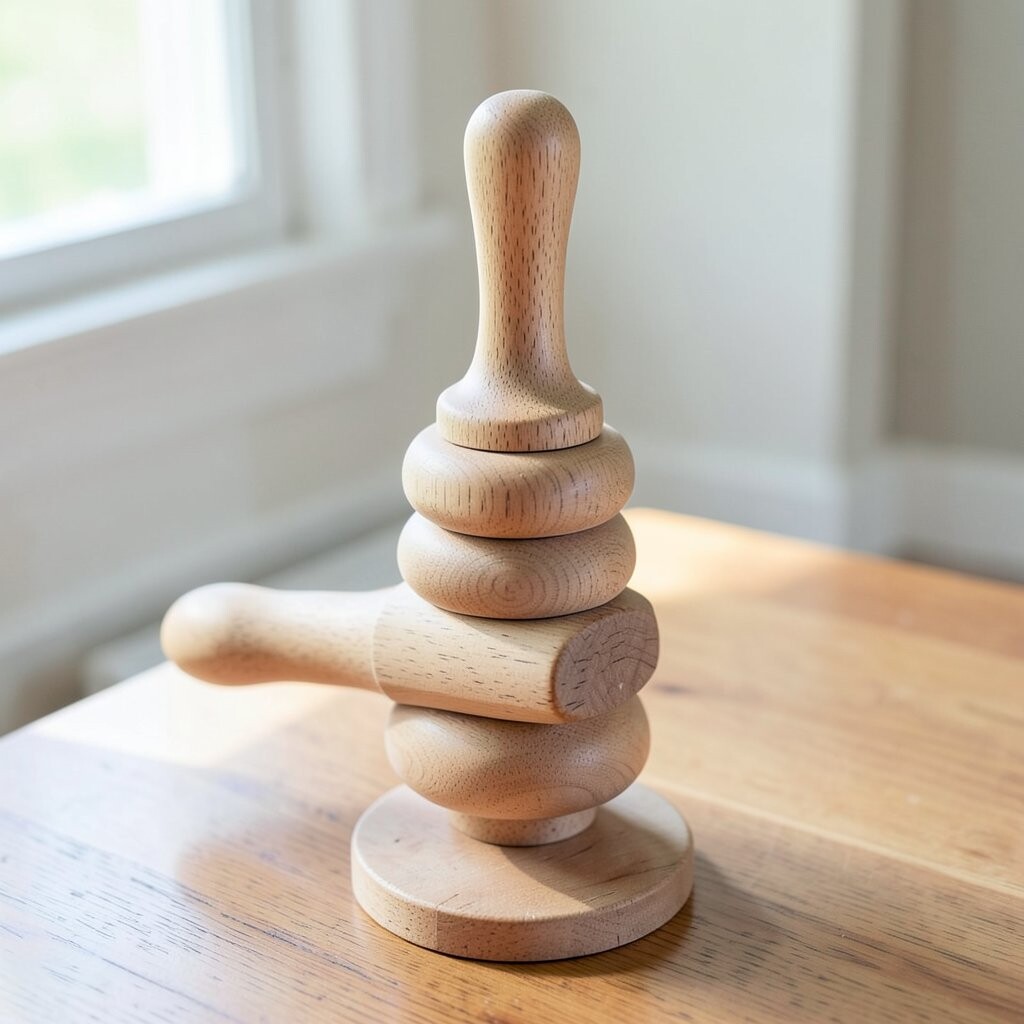
Instead of just making coasters, give them a home with a rolling pin stand. It looks neat on counters and keeps your table ready for guests.
Cut the rolling pin into short sections, then sand and stack them to create a vertical holder. Add two wider pieces at the top like “handles” so it feels decorative even when empty. Use wood glue and small clamps for a sturdy finish.
Paint or stain the stand to match your dining set. For a current style, keep the wood light and add a subtle wax finish for a soft glow. You can also attach a small nameplate for personalization, like “Coffee Corner.”
11. Rolling Pin Snowflake Ornaments

Make simple ornaments by cutting out shapes and using the rolling pin for texture. These look seasonal, but the method stays quick and repeatable.
Roll a thin layer of air-dry clay or craft dough, then press the rolling pin lightly to create raised patterns. Cut out snowflakes or circles, then add a small hole for string. Bake or air-dry based on your material, and paint with metallic white or icy blue.
12. Rolling Pin Tabletop Desk Organizer

Give your workspace a handmade upgrade with a rolling pin desk organizer. It turns small office clutter into something you can actually see and enjoy.
Mount a rolling pin horizontally and attach small cups or compartments along one side using wood blocks or metal can holders. Use dividers for pens, scissors, and sticky notes so everything stays easy to grab. Seal the wood so spills wipe clean without soaking in.
To personalize it, paint labels directly onto the organizer or glue on tiny fabric patches. For today’s trend, mix one bold color with natural wood to create a warm contrast. Keep it cost-effective by using thrifted jars and scrap wood for the dividers.
This craft is ideal for small spaces because it uses vertical organization while still looking decorative.
13. Rolling Pin Bird Feeder with Simple Planks

Create backyard charm with a rolling pin bird feeder that looks rustic and welcoming. It also gives you a front-row seat to everyday nature.
Attach small perches or planks to the rolling pin body and add feed access through openings along the sides. If you want a safer design, use mesh or wire guards so birds can eat comfortably. Seal the wood with weatherproofing to help it handle rain and sun.
14. Rolling Pin Wall Mirror Frame

Frame a mirror with a rolling pin for a statement piece that feels artistic. The textured wood edge catches light and makes even a small mirror look elevated.
Choose a small mirror, then wrap or mount the rolling pin around the frame area like a border. Secure it with strong craft adhesive or screws hidden behind the mirror backing. Keep the wood natural for a warm farmhouse vibe, or paint the frame with chalk paint for a softer, matte finish.
Add a hanger wire to the back, and check the level before mounting. For personalization, stain the wood darker in one section like a gentle gradient. This project is also cost-smart because you reuse a simple mirror and focus your budget on sealant and a few finishing touches.