
Small kitchens can feel tight, but they don’t have to be stressful. With the right tricks, every inch can work harder for you.
1. Start With a Clear Counter “Landing Zone”
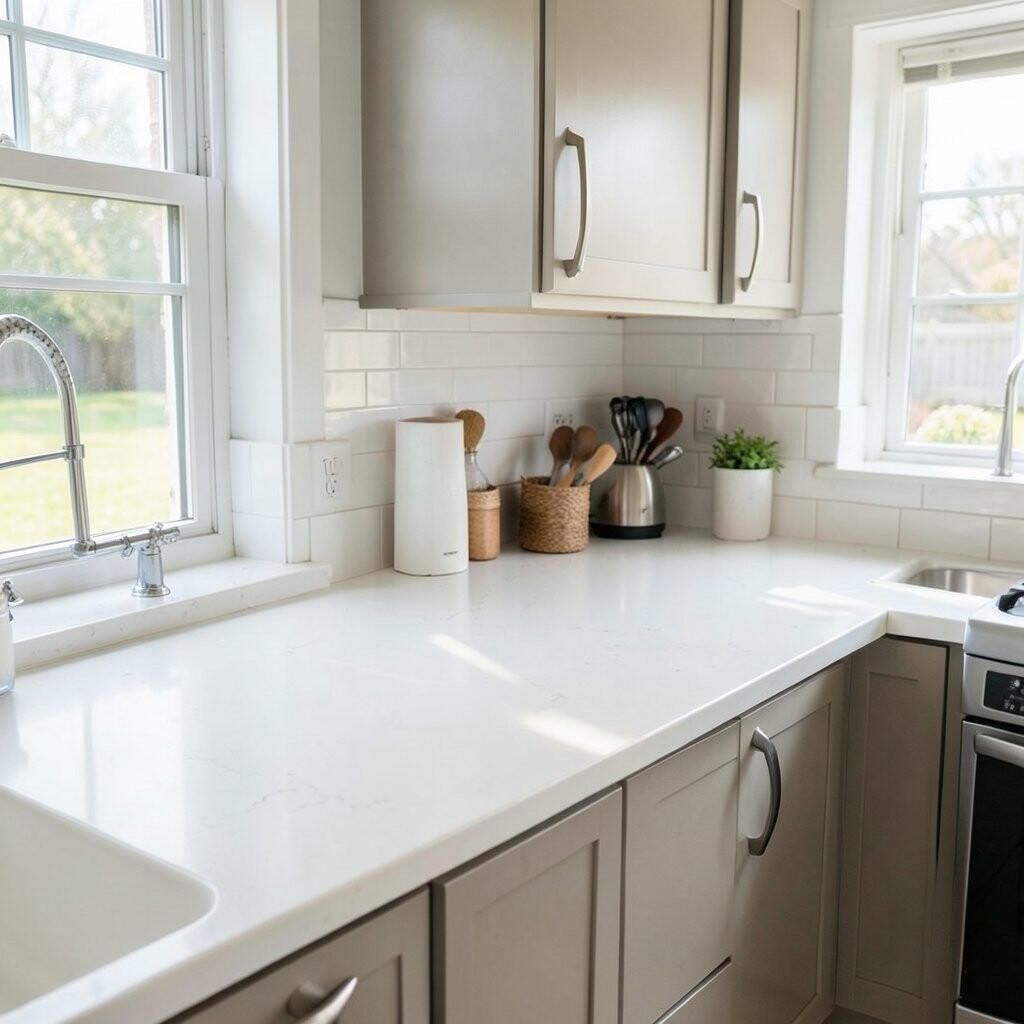
Pick one main spot where things can rest without blocking you. Keep everything else off that surface as much as possible.
This simple rule makes the kitchen look calmer right away. It also improves how you move while cooking, since you’re not weaving around clutter. When you personalize the landing zone, try a tray for daily items like oil, salt, and a cutting tool, so you always know where they go.
2. Use Vertical Space With a Magnetic Rail and Hooks
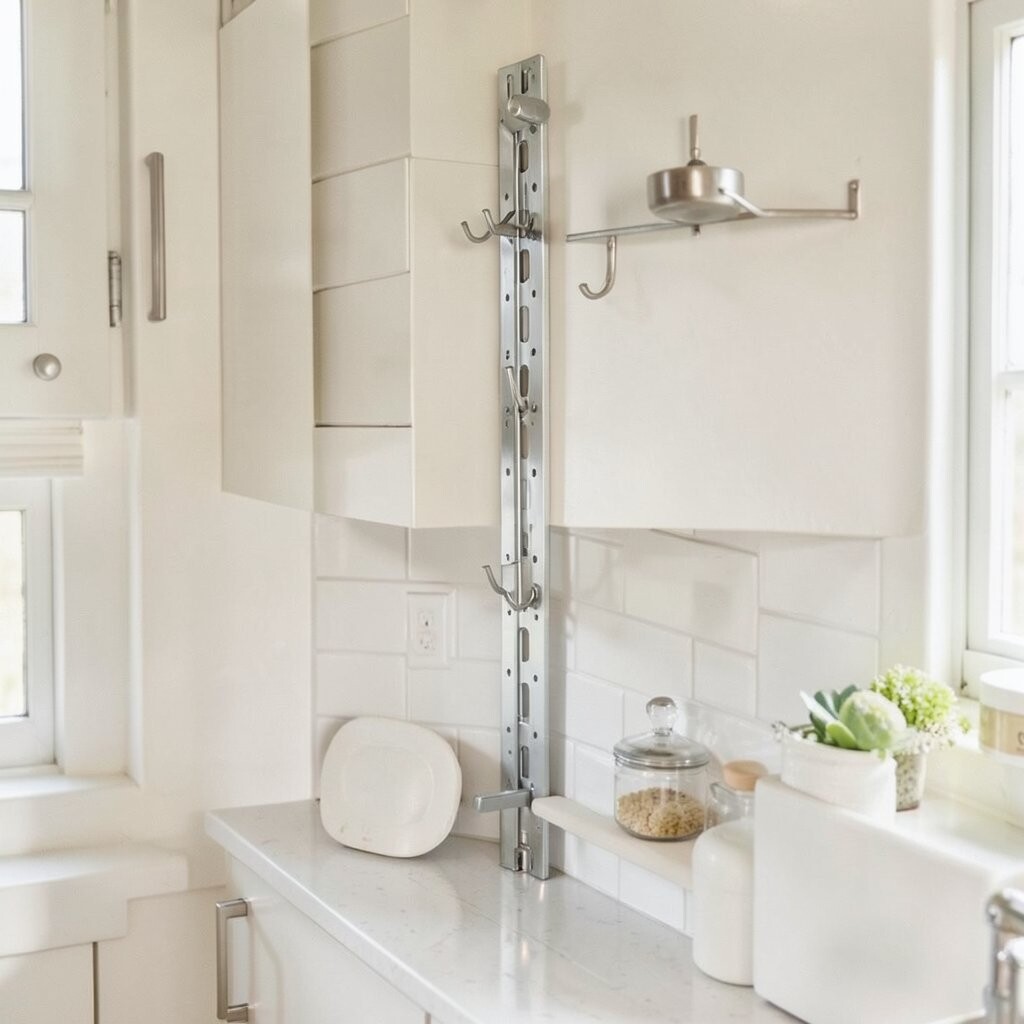
Mount a magnetic rail for knives or metal tools and add hooks for mugs, pans, or utensils. You’ll free up drawer space that often gets swallowed by “extra stuff.”
What makes it unique is how it turns everyday tools into visible organization. People also love the modern, tidy look that open hanging creates. For cost considerations, magnetic rails come in many price ranges, and you can start with just one small rail if budget is tight.
To match current trends, pair the rail with sleek, minimal tools in matching finishes. If your kitchen is a bit dark, choose lighter tool colors so the wall doesn’t feel heavy. Just remember to anchor properly so it stays safe for heavier items.
3. Put Tall Items in the Back and Short Items Up Front
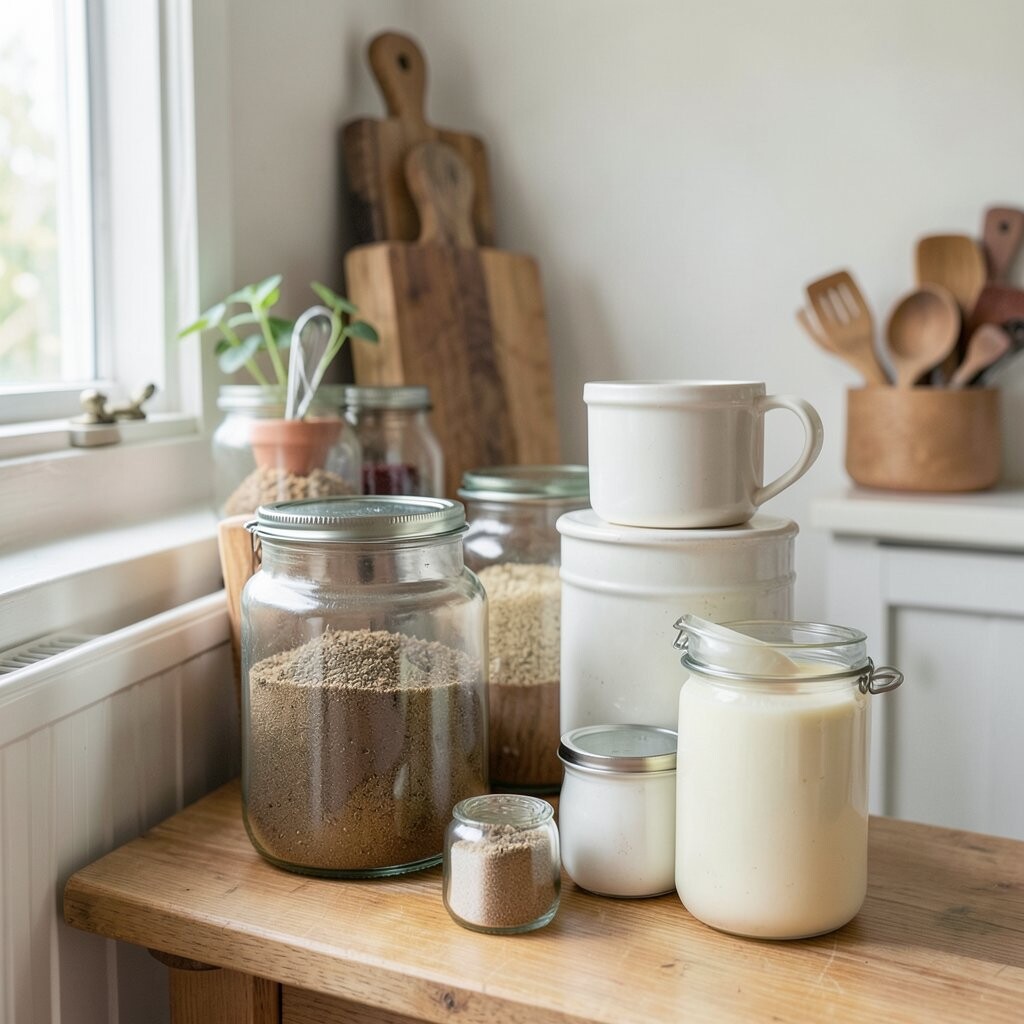
Rearrange cabinets so you don’t have to hunt for what you need. Keep the tallest containers toward the back and place everyday items at eye level.
This helps you grab things quickly without pulling everything out. It also prevents spills because you’re less likely to bump fragile bottles. A practical tip is to use a small step stool or a cabinet shelf riser for the lowest awkward spots.
For personalization, label containers with bold, easy-to-read tags so the system keeps working. If you cook frequently, store the most used seasonings together so your workflow stays smooth. This hack also supports a common trend: pantry-style organization inside kitchen cabinets.
If you’re worried about cost, you can start with inexpensive drawer liners and a few simple shelf dividers. Even those small changes make the space feel larger because everything has a “home.”
4. Add a Folding Step Stool That Stays Out of the Way

A compact folding stool makes it safer to reach top shelves without stacking chairs or risking wobble. Store it under a counter or inside a corner cabinet so it doesn’t clutter the room. When you can reach items easily, you’re less likely to keep buying duplicates.
This hack is unique because it removes a hidden barrier, not just clutter. Many small kitchens waste space because people store things they can’t easily grab. Choose one with a slim profile and a nonslip surface for better stability.
5. Convert One Cabinet Into a “Quick Grab” Zone

Choose one cabinet near where you cook and fill it with your most frequent tools. Think spatula, tongs, mixing spoon, oven mitt, and a few basics you reach for daily.
Keeping those items together saves steps and reduces counter mess. It also makes cooking feel smoother because you’re not opening multiple doors. A practical idea is to add small bins inside so everything stays upright and visible.
If you like flexibility, use removable organizers you can move when you change seasons or menus. For cost, start small with one bin set and upgrade later if needed. This is a popular approach in modern kitchens where efficiency is part of the style.
6. Install a Pegboard Wall for Flexible Storage
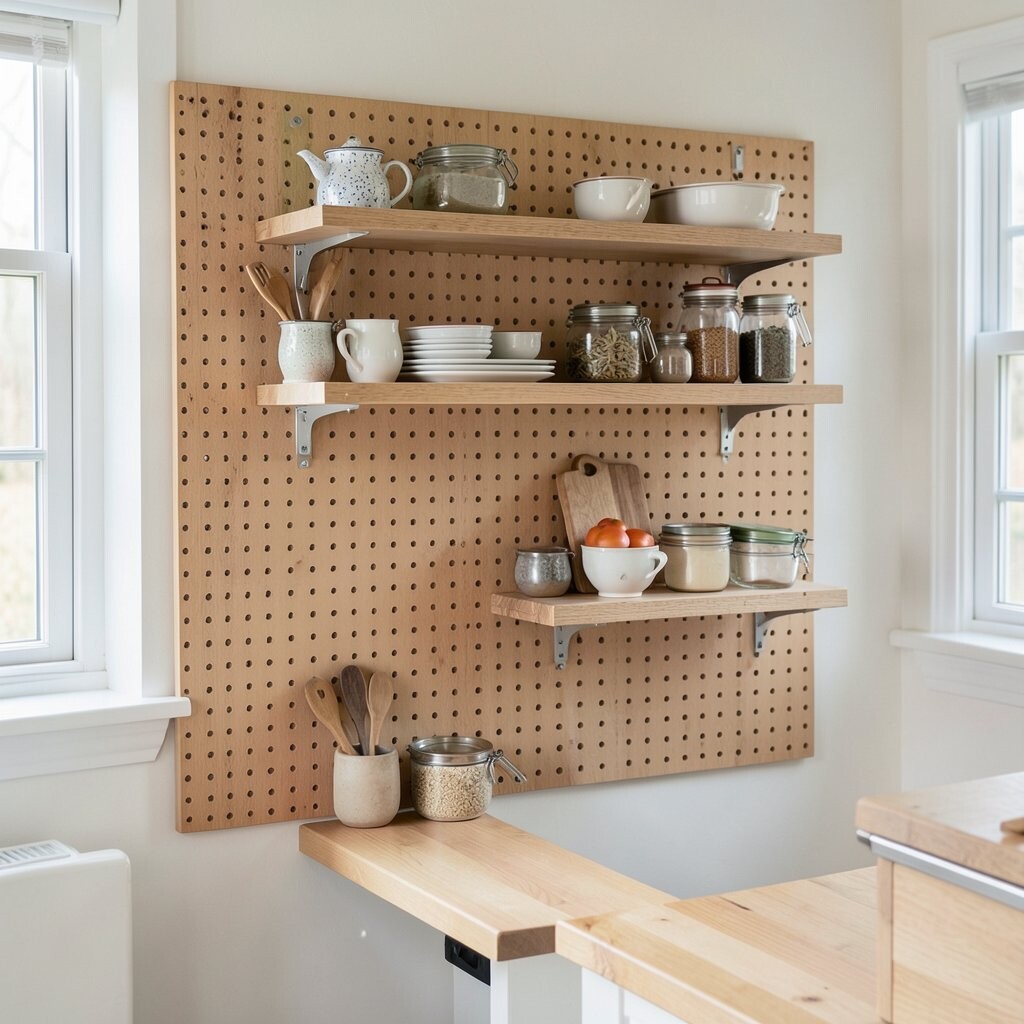
Pegboard turns a plain wall into a storage system you can adjust anytime. Hang utensils, measuring cups, small shelves, and even a cabinet-sized organizer.
The benefit is flexibility, because your needs change as your cooking habits change. It also looks visually interesting, especially when you mix hooks and baskets. To personalize, color-match accessories or use a consistent finish so it feels designed, not crowded.
For practical tips, group items by task, like baking tools on one section and grilling tools on another. Keep heavier items lower and lighter ones higher for safety. If you’re watching costs, buy pegboard and basic hooks first, then add specialty pieces over time.
7. Add Under-Shelf Lighting or a Small LED Bar
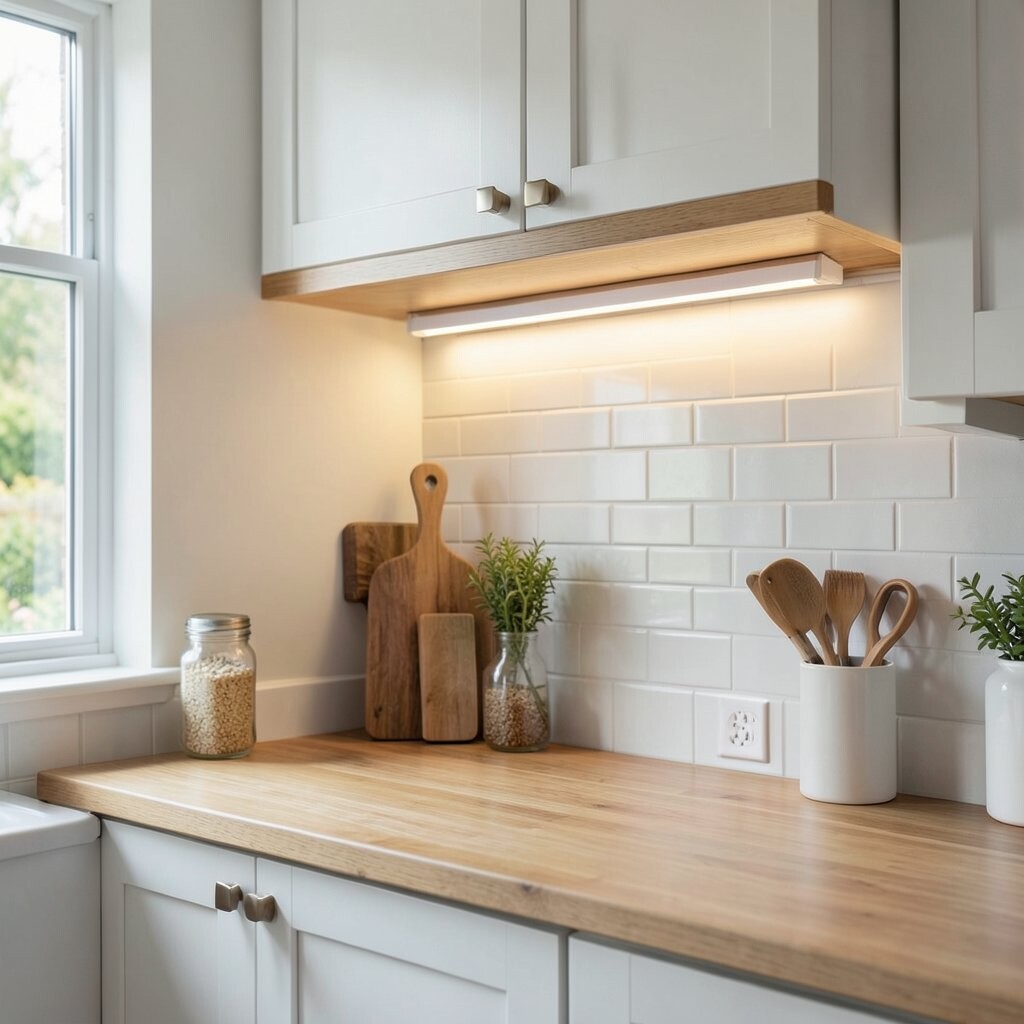
Good lighting helps a small kitchen feel bigger because shadows disappear. Install an under-shelf LED bar or use a plug-in puck light system.
This is unique because lighting improves both mood and function. When you can see clearly, you waste less time searching and spill less often. A helpful tip is to place the light directly above prep areas, not only near the ceiling.
For cost considerations, LED options range from simple plug-in models to hardwired systems. If you want the easiest upgrade, start with battery or plug-in lights. This also matches a current trend toward warm, flattering LEDs that make kitchens feel cozy instead of harsh.
8. Use Drawer Dividers That Fit Your Exact Tools
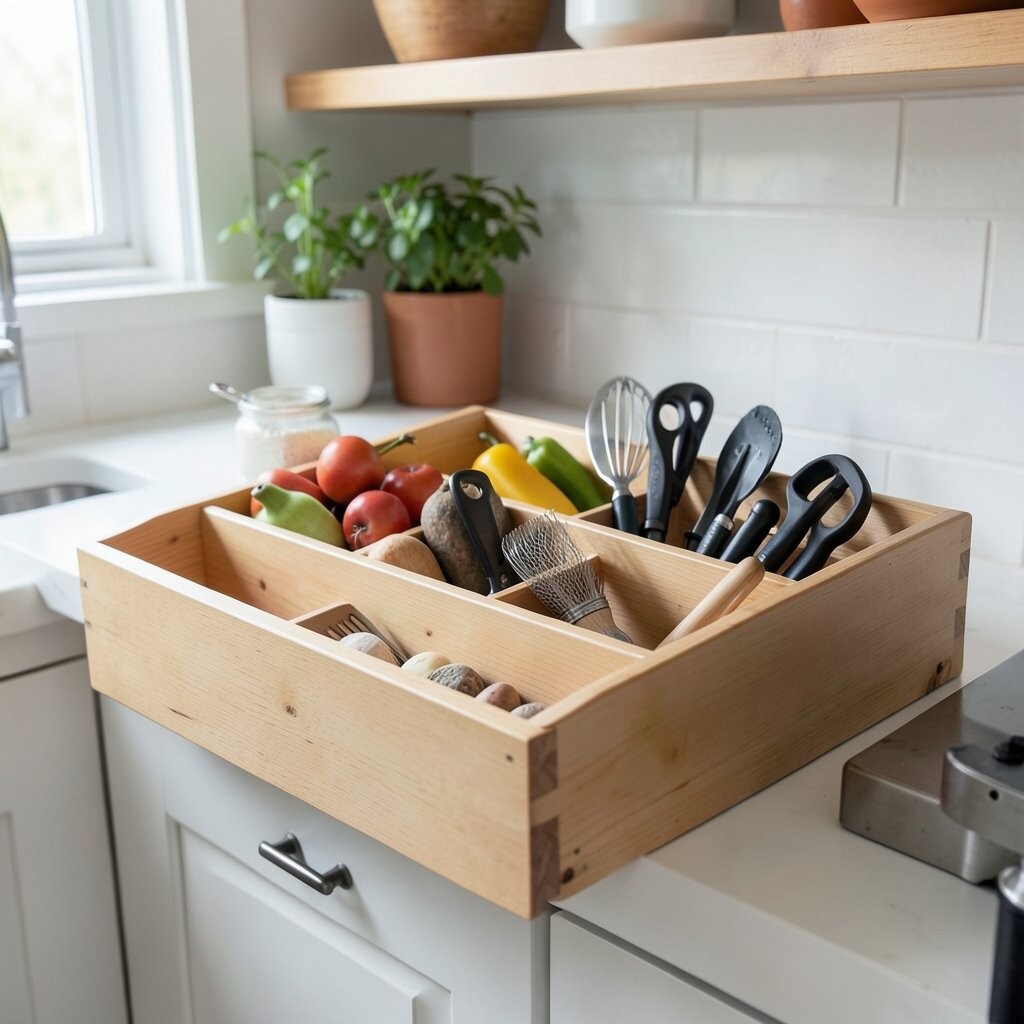
Measure the width of your drawers and choose dividers that match your utensils. Custom-fit compartments prevent small tools from sliding together.
The benefit is that you spend less time untangling things and more time cooking. It also keeps sharp edges separated, which is safer. Try using adjustable dividers so the layout can change when you add a new gadget.
For personalization, label the divider sections or group items by routine, like “coffee tools” and “baking tools.” Even a simple layout can make your kitchen look organized. This is a practical upgrade with a wide budget range.
If you’re not ready to buy new dividers, you can repurpose clean containers and cut-to-fit foam liners. The key is giving every item a defined space.
9. Store Sponges, Scrubbers, and Brushes on the Back of a Cabinet Door
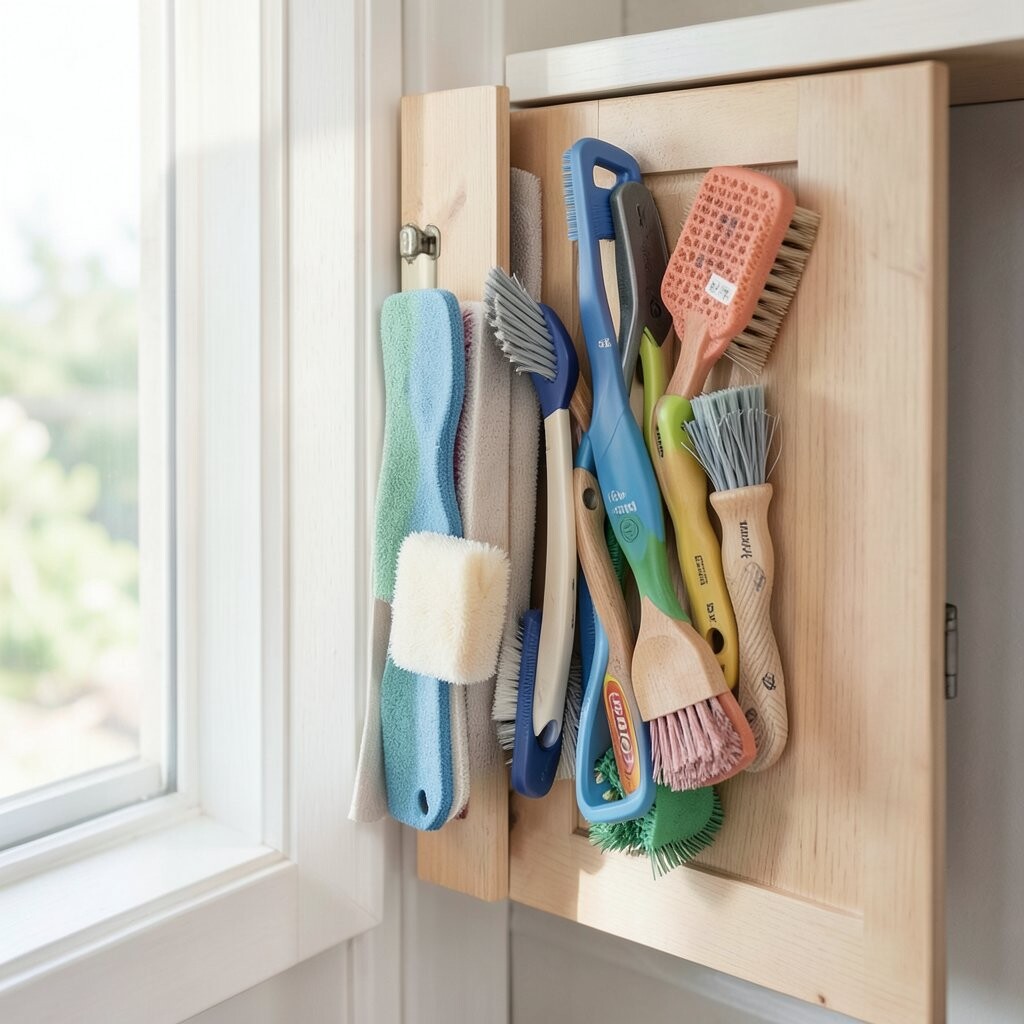
Cleaning tools often hide in awkward drawers and then reappear on counters. A door-mounted organizer keeps them contained and easy to grab.
This hack is unique because it uses a spot you already have, not a new piece of furniture. It also improves the look of the sink area, since sponges stay tucked away. Choose an organizer with adjustable pockets so it fits your brush shapes.
A practical tip is to separate “daily” items from “deep clean” items. That way you don’t rummage when you need something fast. For cost, a simple over-the-door organizer is usually cheaper than a full under-sink redesign.
If you want a trend-friendly look, choose a sleek, neutral organizer that blends with your cabinet color. Keep it tidy by rinsing sponges regularly so it doesn’t look messy.
10. Put Frequently Used Oils and Sauces at Eye Level

Keep your everyday oils, vinegars, and sauces where you can see them quickly. When they’re easy to grab, you cook more often and clean less.
This saves cabinet space because you don’t need backup bottles “just in case.” It also helps you keep track of what’s running low. A practical tip is to use a small shelf liner or a tray to stop bottles from wobbling.
For personalization, rotate your lineup based on season and cooking style. If you love meal prep, group items by cuisine, like Italian or Mexican sauces. Budget-wise, you can start with one shallow tray and add organizers slowly.
11. Wrap Cords and Store Small Appliances in a Dedicated Bin
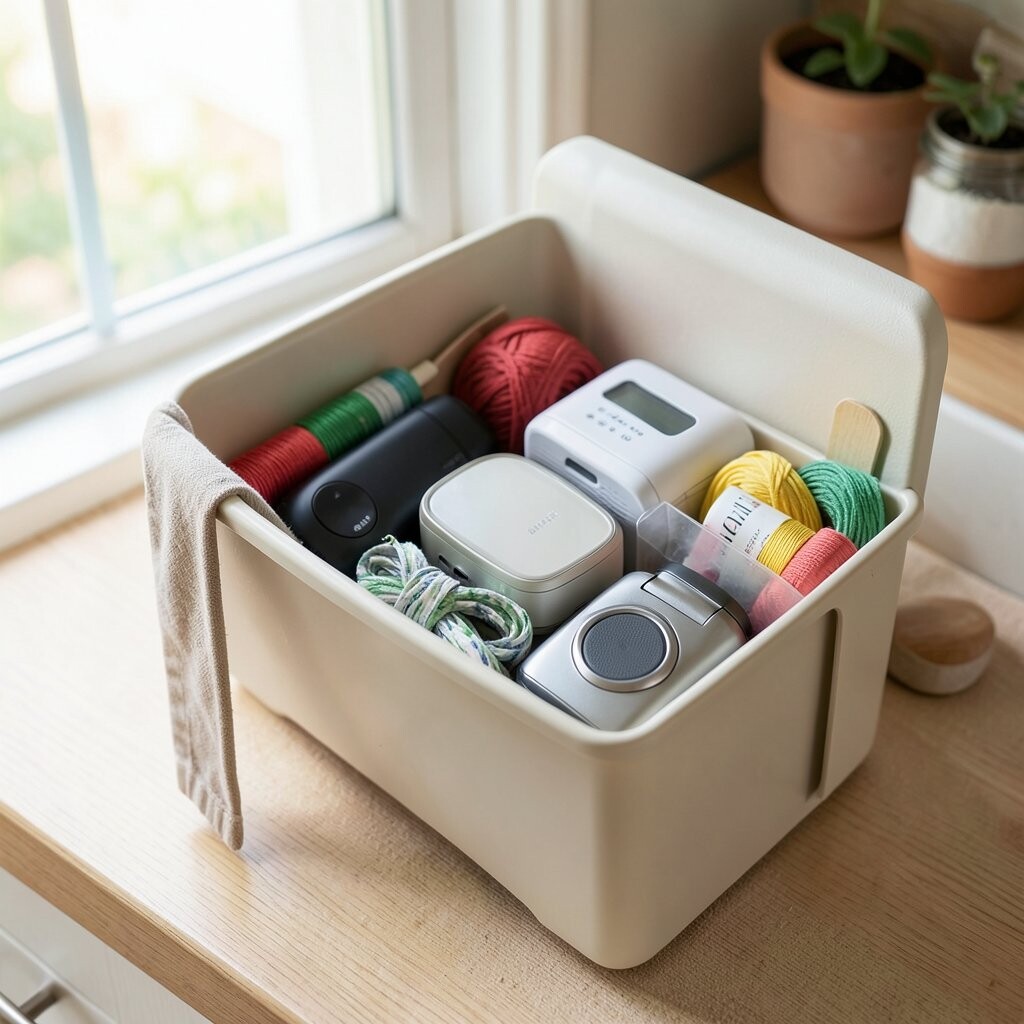
Small appliances can steal space when they’re stored loosely on counters. Use a labeled bin or a pull-out basket for your blender, hand mixer, or coffee accessories.
This is unique because it tackles the “invisible clutter” of cords and chargers. It also makes appliances feel easier to use since everything is together. Try coiling cords with velcro straps so they don’t tangle every time.
For practical tips, only keep out appliances you use weekly. Everything else goes into the bin and is moved to a higher shelf. If you want to personalize, keep a small recipe card holder inside the bin for quick inspiration.
Current trend-wise, many people now use charging and storage stations to reduce countertop chaos. You can mimic that look with a simple, matching basket and cable ties.
12. Use a Pull-Out Trash and Recycling Drawer
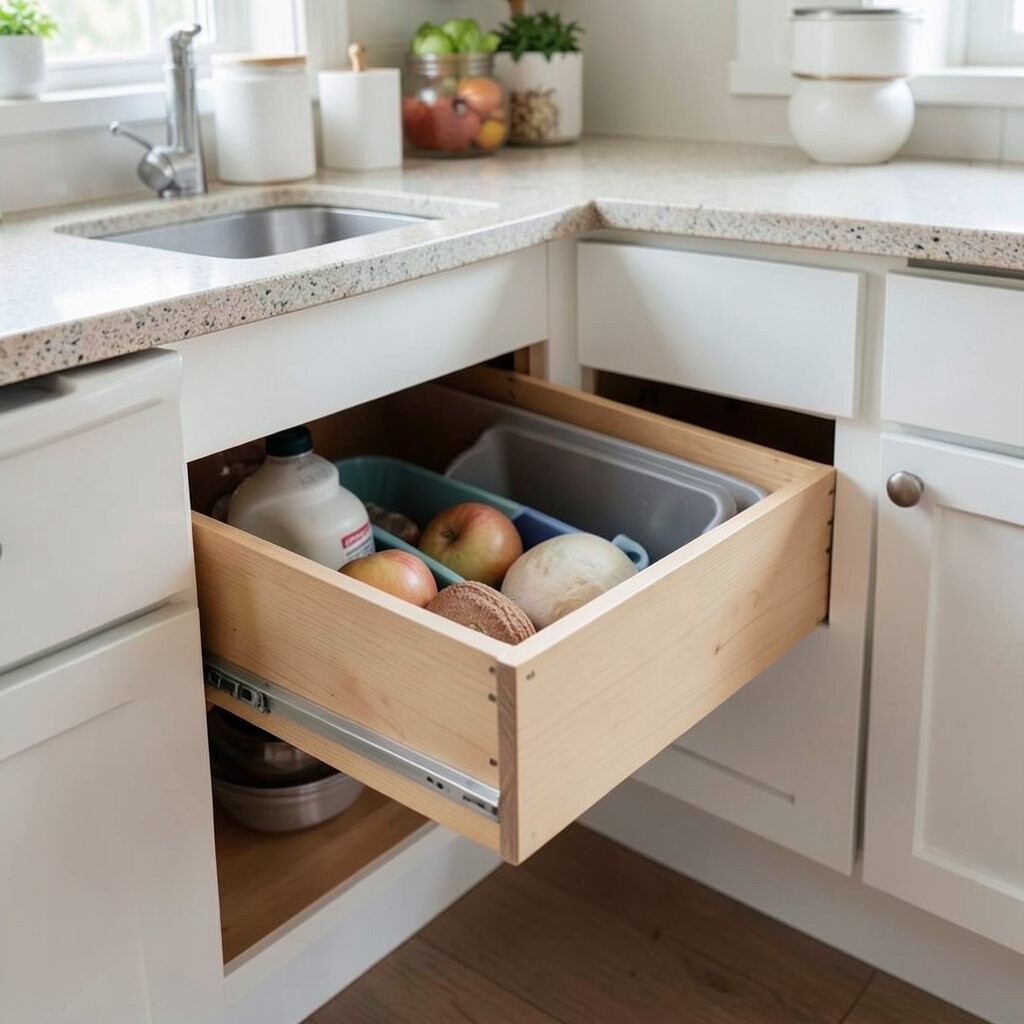
Wasted space behind cabinet doors adds up fast in small kitchens. A pull-out trash drawer keeps bins hidden while still easy to reach.
The benefit is cleaner workflow, since you don’t have to lift the lid with one hand while holding food. It also keeps odors contained and reduces visual clutter. When you choose a system, measure your cabinet opening so the fit is snug and doesn’t wobble.
For cost considerations, some pull-outs cost more upfront, but they can prevent future reorganization purchases. If you’re on a tight budget, look for simpler sliding organizers or consider a single pull-out for recyclables first. Personalize by placing a small deodorizing mat underneath.
13. Install a Shelf Over the Fridge or on a High Wall
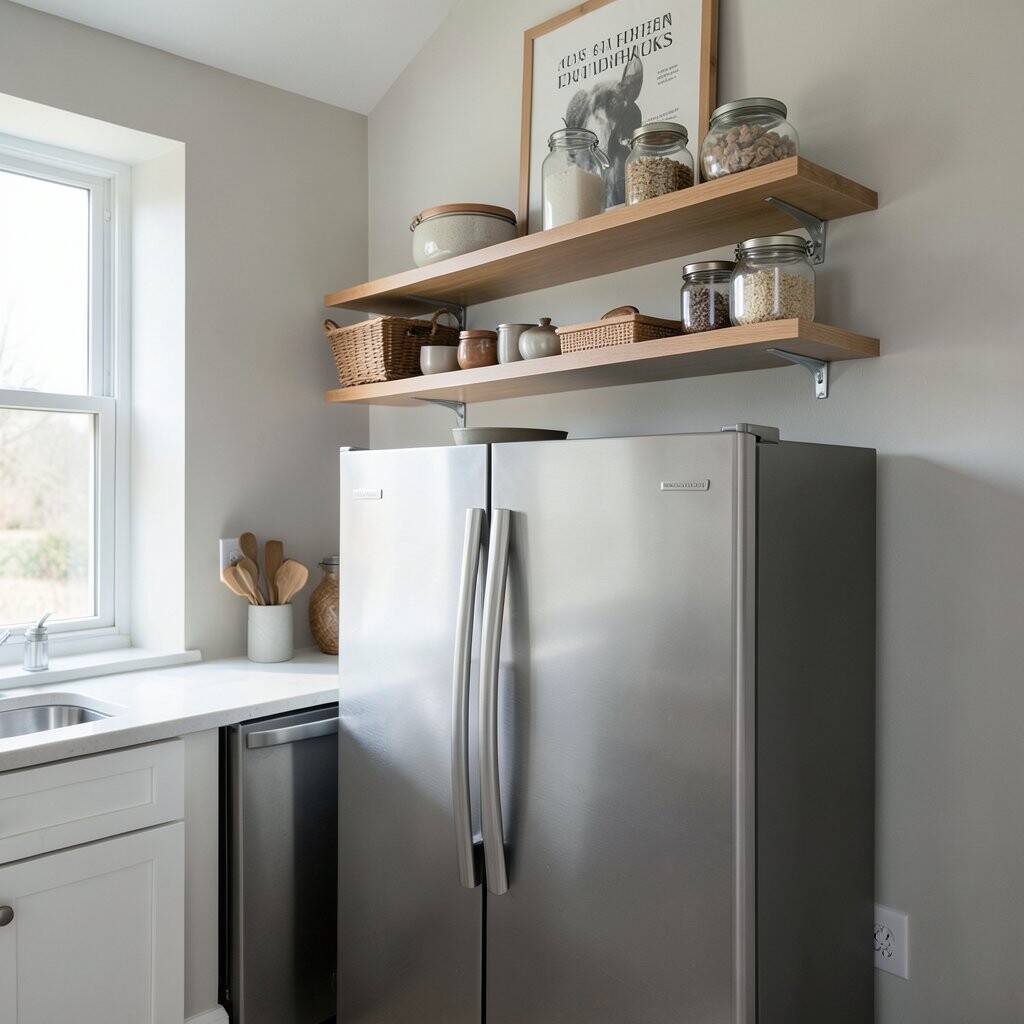
Often, small kitchens waste the top area where walls are unused. A slim shelf near the ceiling can hold items you rarely need.
This hack is unique because it makes tall storage feel intentional, not like random piles. Keep it for backup items, special-occasion plates, or extra pantry supplies. A practical tip is to add a low front edge or a small lip so items don’t slide.
For personalization, use matching containers so the shelf looks coordinated. If you’re worried about reaching, place a few lighter items up there. Many homeowners now use “decor storage” by showing stylish jars instead of hiding everything.
Budget-wise, basic wall shelves can be affordable, and hardware kits make installation doable. Just be sure to secure shelves into studs for safety.
14. Put a Cutting Board Over the Sink for Extra Prep Area

A foldable or over-sink cutting board gives you a temporary prep zone exactly where you need it. When you’re done, it disappears and frees the counter again.
This is unique because it uses two surfaces at once, sink and prep. It also reduces mess since you can rinse while chopping. For practical tips, choose a board with a lip so it doesn’t shift, and keep a towel nearby to catch drips.
If you personalize, pick a board size that matches your sink width and your common meals. For cost, start with a simple model that fits your budget, then upgrade when you find your preferred thickness. This fits current trends toward space-smart prep tools.
15. Store Pots and Pans Vertically With a Lid Organizer

Lids and pans stack in messy ways that waste cabinet volume. Use a vertical lid organizer or a standing pan rack so they stay separated.
The benefit is easy access and fewer scratches, because everything is stored in a stable position. It also helps you see what you have without pulling several items out. Try placing the most-used cookware in the easiest-to-reach section.
For personalization, match the organizer with your cabinet style or choose a wire rack that looks airy. Budget-wise, lid organizers range from inexpensive drawer inserts to larger racks. A trend right now is leaning into “open cabinet” organization, where cookware is stored neatly and visibly.
16. Use Shelf Risers and Stack Plates With Care

Stacking plates might sound like the opposite of a space hack, but it’s all about stacking smart. Use shelf risers to create two levels in one cabinet space.
This hack is unique because it helps you use cabinet depth instead of just height. It also keeps dishes from becoming buried, so you can grab dinnerware without reorganizing. A practical tip is to place the heaviest plates on the bottom and lighter ones on top.
For personalization, keep daily plates in front and save special serving dishes for behind. If you host often, create a “party shelf” for platters so they’re easy to reach. Cost-wise, risers are usually affordable compared with major cabinet changes.
17. Create a Pantry Shelf With a Sliding Basket for Snacks

A sliding basket turns pantry organization into something you can reach in seconds. Use it for snacks, tea, breakfast items, or baking ingredients.
This is unique because it brings hard-to-see items forward without digging. It also helps you keep track of what’s left so you don’t overbuy. A practical tip is to use clear containers so you can scan quickly.
For personalization, rotate items by week or by meal plan, keeping the most-used labels facing out. If you like a minimalist look, use matching containers and consistent jar sizes. Budget considerations are reasonable since many sliding baskets are modular and easy to add gradually.
This also fits a trend toward “organized visibility,” where small kitchens feel lighter because you can see what’s where.
18. Hang a Pot Rack or Ceiling Hooks for Extra Clearance
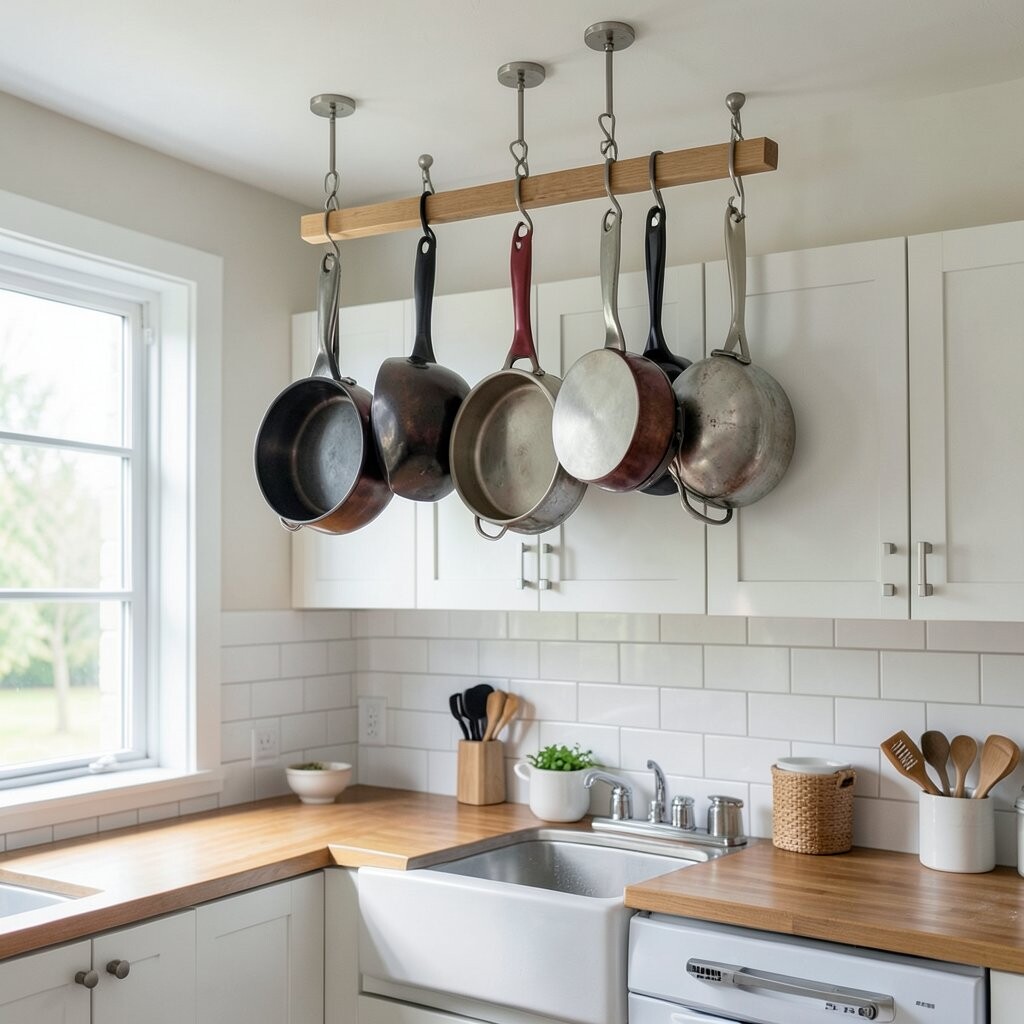
If your kitchen has strong ceiling support, hanging cookware can free up valuable cabinet space. A ceiling hook system or pot rack can keep items accessible and stylish.
The benefit is open storage that makes the room feel airy and reduces the sense of boxed-in cabinets. It also means you can store bulky pots in a way that prevents stack stress. A practical tip is to hang items by weight and to keep heavier pieces closer to the center for stability.
For cost considerations, a pot rack varies widely, but many kitchens can start with a small rack for just a few essentials. Personalize with matching hooks or add small baskets for spatulas and ladles. This hack is popular right now because open ceiling storage looks modern and practical.
19. Use a Pegboard Shelf With Small Bins for Spices

Spices take up more space than people expect because jars cluster and topple. A pegboard shelf with small bins keeps them standing and easy to read.
This approach is unique because it turns a vertical grid into a clean spice zone. It also makes daily cooking faster since labels face outward. A practical tip is to group spices by use, like “taco night” or “baking staples,” so you grab the right jar fast.
For personalization, choose consistent jar sizes or use refillable containers for a neat look. Budget-wise, you can start with bins for only the spices you use weekly. Current trends favor visible organization, and this is a functional way to do it without adding visual chaos.
20. Add a Pull-Down Pantry Shelf for Baking Tools
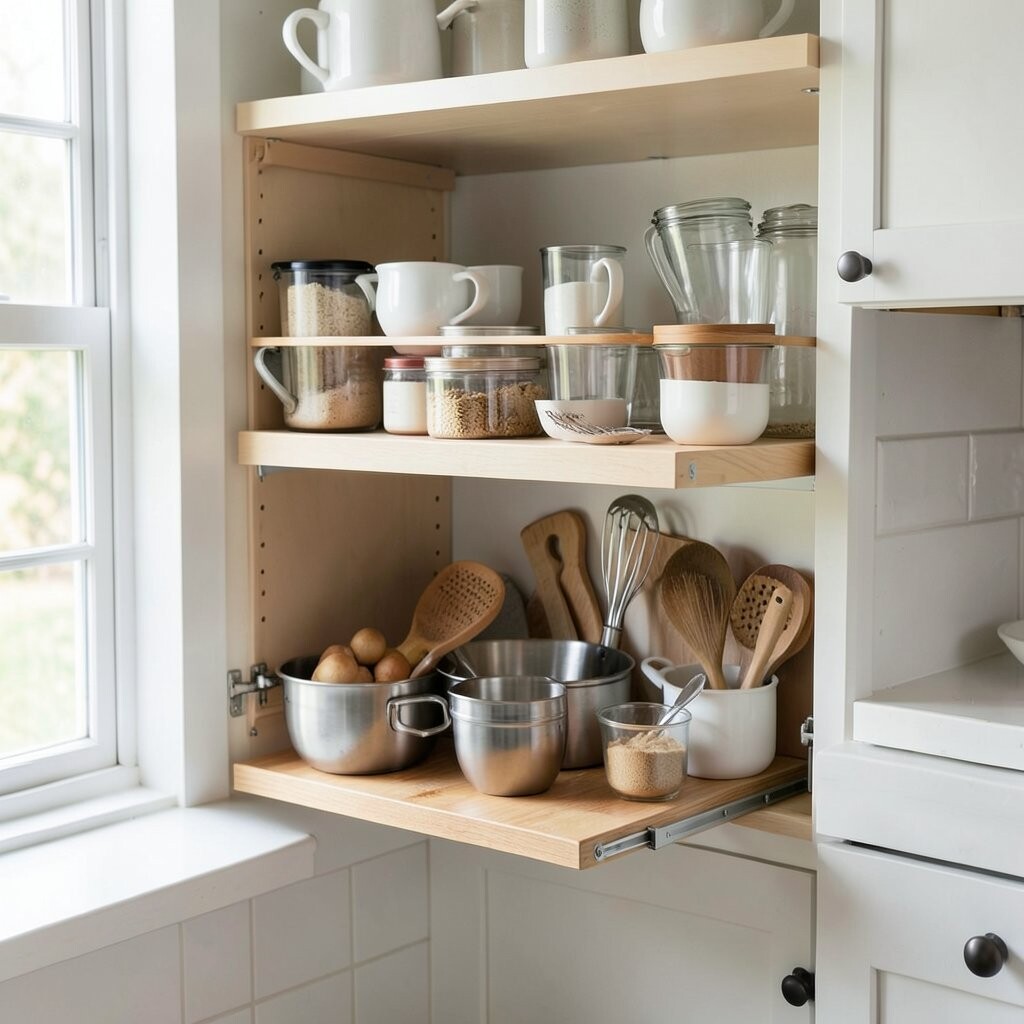
A pull-down shelf can store baking pans, mixing tools, or seasonal cookware without crowding cabinets. When you need it, it drops smoothly into reach and then tucks away.
This hack is unique because it uses motion to save space, not just storage containers. It also helps prevent the “everything in one drawer” problem that leads to clutter. A practical tip is to install it where you can comfortably reach while standing, and to keep it balanced with lighter tools on top.
For cost considerations, this can be a mid-range upgrade, so it’s best when you already have a clear plan for where the shelf will live. Personalize by labeling compartments so it stays organized even when you’re busy. Many homeowners love pull-down storage because it looks neat and feels built-in.
21. Rethink the Sink Area With a Multi-Use Organizer

The sink area is where clutter forms fastest, from drying racks to random bottles. Use a multi-use sink organizer that holds soap, sponges, and a drying tray in one tidy setup.
This is unique because it combines several tasks into one streamlined station. The benefit is a cleaner countertop and faster cleanup after cooking. For practical tips, choose materials that resist water spots and place the draining part so water flows back into the sink.
If you personalize, pick colors that match your kitchen finishes and keep a small towel nearby for extra quick drying. Cost considerations are flexible because you can find compact organizers for smaller budgets or larger sets for more tools. This also aligns with today’s trend toward practical, countertop-friendly organization.