
Paths are the quiet stage props of a great garden. They guide your eyes and your feet with ease.
1. Stepping-Stone Loop Through Greenery

Set a loop of stepping stones through beds of grass-like plants. It instantly makes your garden feel welcoming and easy to walk.
Choose stones with flat tops so they’re comfortable underfoot. Place them so the spacing matches a natural walking stride, usually around 18 to 24 inches apart. To personalize, let creeping thyme or moss fill the gaps and soften the edges as the season changes.
2. Gravel Path With a Bright Border

A gravel walkway looks relaxed and tidy at the same time. Add a border of edging stones or bricks and the path will look “finished” from day one.
Use compacted base layers, then spread gravel evenly for a smooth, stable surface. For a unique twist, pick a border material that matches nearby pots or stepping stones so the garden feels pulled together.
If you want it low-cost, use smaller gravel and fewer border pieces in tight spaces. A simple border can still look sharp, and it’s easier to maintain than a wide, heavy stone lane.
3. Reclaimed Brick Path With Soft Planting Edges

Old bricks add character because they already look weathered. When you lay them in a gentle curve, the garden feels older and more lived-in.
Mix sizes of bricks and vary the spacing to create little pockets for soil and herbs. That planting edge becomes a living detail, especially with low flowers like alyssum or creeping sedum.
Keep drainage in mind by building a base and using landscape fabric to reduce weeds. This option can cost less if you source reclaimed bricks locally, but you may spend extra time sorting them for a good fit.
Current trends lean toward “messy neat,” where plants spill naturally along the path rather than being boxed in.
4. Woodchip “Wander Trail” Under Trees

Woodchips make a cozy trail that fits perfectly under trees. It looks natural, and it’s forgiving if you walk there often.
Define the edges with logs, metal edging, or flat stones so the chips stay contained. For tips, rake the surface flat each spring and add fresh chips to keep the trail clean and cushioned.
5. Flagstone Straightaway to a Focal Point

A straight flagstone path creates calm order and leads the eye to your favorite spot. It works especially well if you have a bench, statue, or fountain at the end.
Lay large flagstones with minimal gaps for a polished look, then fill cracks with sand or fine gravel. To personalize, choose stones in warm tones like buff, tan, or rust so the path glows in late-day sun.
For cost planning, compare delivery prices by weight, since flagstones can add up. Buying fewer, larger pieces for the main route often saves money while keeping the look bold.
6. Mosaic Tile Path With Hand-Cut Charm

Small tile mosaics let you add a personal “signature” in the garden. You can create leaf shapes, curved lines, or even a simple border that repeats along the walkway.
Use outdoor-rated tiles and an outdoor mortar so the surface withstands weather. Seal it properly if your tiles are porous, and consider a grout color that blends with the garden for a cleaner look.
For a practical approach, mosaic just a few stepping sections rather than covering the entire path. That keeps the budget friendlier while still giving you a standout feature.
7. Curved Stone Steps With a Border of Tall Flowers
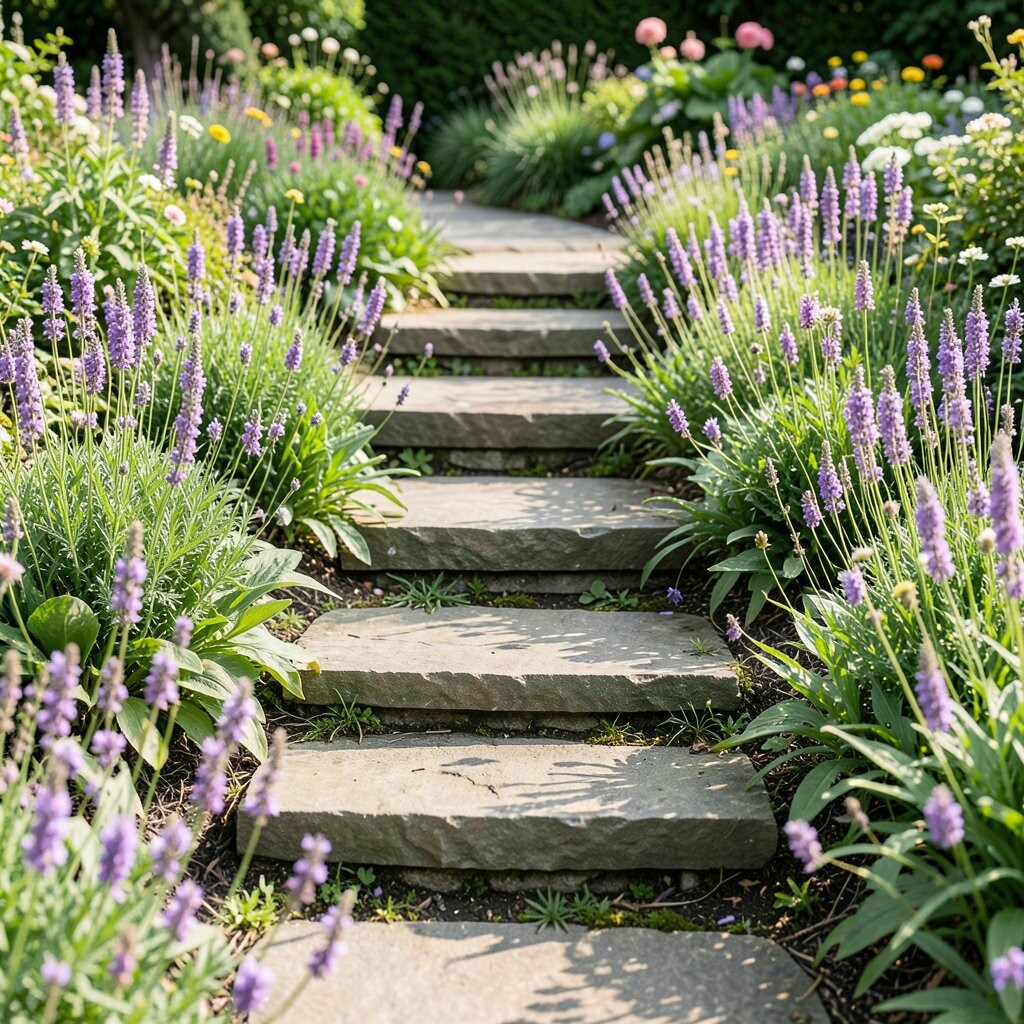
Curved stepping stones feel playful, like they’re inviting you to slow down. Pair them with tall flowers along one side for a naturally framed walkway.
Choose plants that match the path’s light conditions, such as coneflowers in sun or ferns in shade. The uniqueness comes from the way the curve and vertical growth create movement, even when the wind is calm.
Space the stones to guide your stride, and keep the border plants trimmed so the path stays usable. If you’re working with a sloped yard, this style can make the garden feel safer and more stable.
8. Smooth Concrete Path With Gravel Inset Lines
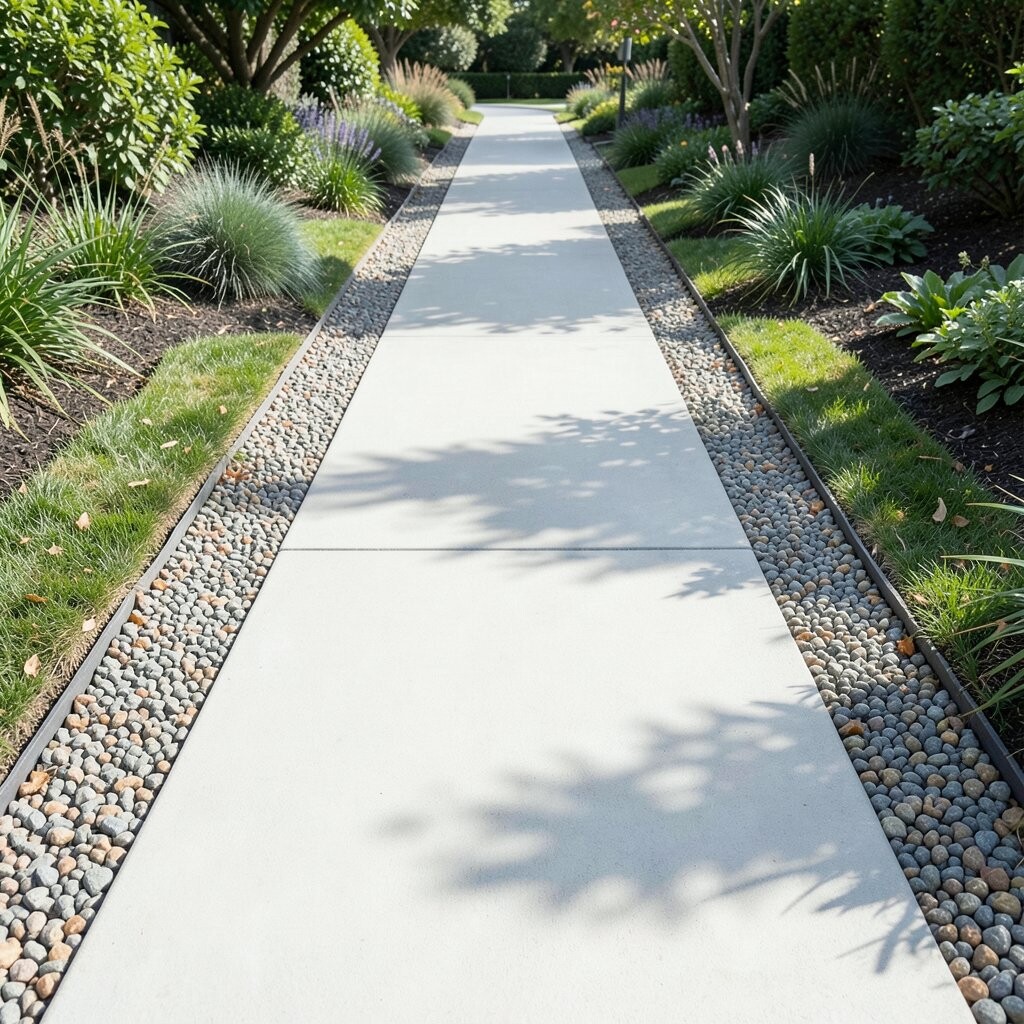
A clean concrete path gives your garden a modern backbone. Inset gravel lines add texture without taking away the sleek look.
Plan the pattern ahead by using temporary edging strips so the gravel channels stay straight. Finish with a sealant rated for outdoor use to reduce cracking and staining.
To personalize, match the gravel color to your mulch or container plants. This approach can be mid-range in cost, since concrete work depends heavily on labor and length.
One current trend is “quiet modern,” where contrast is created with subtle materials rather than bright colors.
9. Terracotta Strip Path for Warm Mediterranean Style

Terracotta strips bring warmth and a classic Mediterranean feel. The color looks great near herbs, citrus-toned flowers, and gray-green foliage.
Lay terracotta pieces with consistent spacing and cover joints with sand or a fine soil mix. If your area freezes, consider a flexible underlayment so the path doesn’t heave over time.
For personalization, alternate strip widths or add a small terracotta “knot” pattern near the entry. Costs can vary, but terracotta often wins if you can find secondhand pieces or buy in small batches.
10. Boulder Border With a Narrow Gravel Center

Using boulders as edge markers makes a simple path look bold. A narrow gravel center keeps the design light and easy to maintain.
Set boulders so they lock together visually, then fill the center with gravel that matches surrounding stone. The uniqueness comes from the dramatic edge, which feels strong even in a small garden.
For practical tips, keep gravel depth consistent so it doesn’t sink in certain spots. Add a thin layer of landscape fabric under gravel in stubborn weed areas to cut down on maintenance.
11. Log Slice Stepping Stones in a Natural Patch

Log slices look rustic and friendly, especially in a woodland-style yard. They also create a comfortable walking feel when you step carefully on stable slices.
Seal the underside and set slices on compacted base material to reduce shifting. Fill small gaps with mulch or low groundcover so the edges stay tidy and the path looks intentional.
Budget-wise, you might save money if you can source logs locally, but you’ll spend time on preparation. It’s also smart to replace any slices that crack over time, treating it like part of seasonal care.
This style is popular right now because it matches the trend toward natural, habitat-friendly landscaping.
12. Brick-and-Mortar “Ribbon” Path Through Beds

When bricks are laid in a narrow ribbon, the garden gains structure without feeling heavy. A slight curve makes it feel romantic and human-scaled.
Use mortar sparingly for a tighter look, or use mostly sand for easier replacement later. Choose brick colors that echo your home or fence, and keep the ribbon width consistent for a clean line.
To personalize, add a break in the ribbon where you’d like a plant spotlight, like a single rose or decorative grass clump. Costs depend on brick price, but a thin ribbon needs fewer materials than a wide path.
13. River Rock Edged Path With Bronze Accents

River rock creates a smooth, flowing appearance that feels like it belongs near water. Bronze or copper-toned edging adds a warm touch that stands out.
Use larger stones near the edges and smaller river rock in the center for a layered effect. The practical benefit is that river rock drains well, which helps during rainy seasons.
If you worry about weeds, install a weed-block fabric under the rock and refresh the top layer each year. This option can cost more than basic gravel depending on stone size, but the visual payoff is high.
Trend-wise, mixed metals and natural stone are showing up more in modern cottage gardens.
14. Paver Herringbone Path for a Classic Look

Herringbone pavers look classic and can make even a small garden path feel elegant. The pattern also helps stones stay aligned as the walkway ages.
Use a solid base, then set pavers carefully and add joint sand to lock the pattern. For uniqueness, choose paver colors that complement your patio, driveway, or exterior trim.
Costs vary by paver type and thickness, but the design is worth it because it lasts. For personalization, keep the path narrow and let surrounding plants soften the edges with seasonal color.
15. Raised Bed “Walkway” With Soil and Groundcover
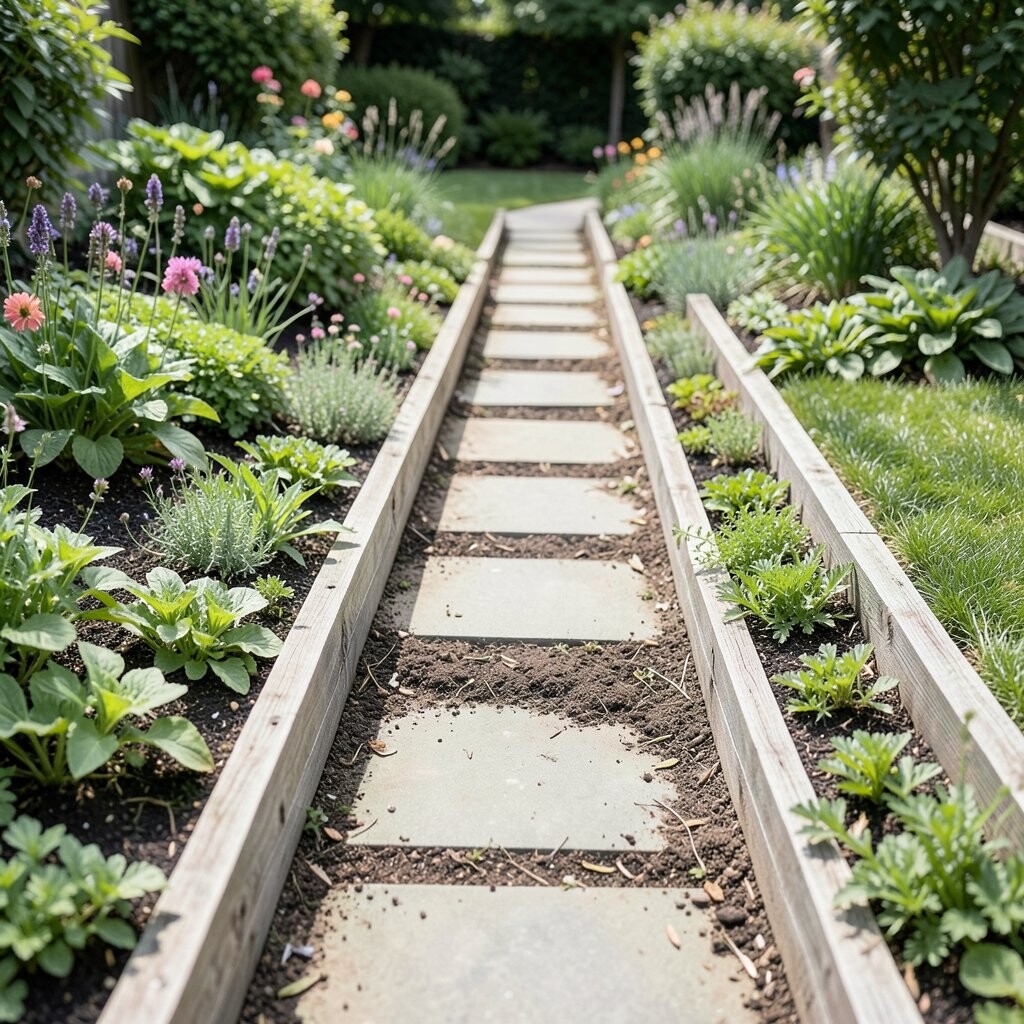
A raised walkway can turn a garden slope into something comfortable and decorative. Instead of fighting bare soil, you can build in a clean surface and plant it well.
Use landscape timbers, stone, or blocks to create the raised edges, then fill with soil mixed for drainage. Plant the top with low groundcovers like creeping thyme or sedum so it stays attractive and reduces erosion.
This style is unique because it combines a pathway with living landscaping. For cost considerations, materials can add up, so measure carefully and keep the path width practical.
It’s a great choice in areas with heavy rains because the raised structure can manage water better.
16. Brick Steps in Grass With Intentional Gaps

Brick steps set in grass create a soft, natural walking surface. It looks especially charming in cottage gardens and informal landscapes.
Cut straight openings in the turf, add a compacted base, and set each brick firmly. Use sand or soil in the gaps so it stays stable and the grass can grow around the edges.
For personalization, use different brick heights or a slight arc so the steps feel whimsical. Maintenance is the trade-off, since you’ll trim grass and replace any bricks that loosen over time.
17. Polished River Stone Border With Stepping Pads

Instead of covering the whole way, frame your path with a polished river stone border. That border acts like jewelry and makes the walkway look more intentional.
In the center, set stepping pads in a comfortable stride and fill between them with mulch or fine gravel. This design is unique because the “focus” is where your feet land, while the surrounding stones give sparkle.
Costs can be managed by using river rock only on the edges, where you need fewer stones. It’s also an easy way to upgrade an existing path without redoing everything.
18. Gravel Texture Path With Hidden Lighting

A gravel path is beautiful in daylight, and it becomes magical at night. Hidden lighting turns tiny movement into a dramatic feature.
Choose low-voltage lights and place them along the edges or under low shrubs so the glow softens the ground. Gravel’s texture helps light scatter, so the path looks bright without being harsh.
For practical tips, use a timer or smart control so you don’t forget, and check the placement after rainfall. The cost depends on the lighting system, but even a few lights can create a big wow factor.
Current trends favor warm white lighting and low, subtle fixtures that keep the garden feeling calm.
19. Stone Sleeper Path With Moss Between Joints

Stone sleepers create a sturdy, rhythmic walkway that feels like an old rail line turned garden feature. The look is bold, and the spacing can guide you smoothly.
Keep joints open enough for moss or fine groundcover so the path softens over time. This is a unique benefit because you’re not only building a path, you’re building a seasonal change in texture.
For personalization, pick sleeper tones that match your fence or outdoor furniture. Costs can range widely based on stone availability, but moss-filled joints can reduce how much gravel or sand you need.
Be sure to use a well-draining base so the joints don’t stay waterlogged.
20. Tile-and-Gravel “Garden Checkers” Near Seating Areas
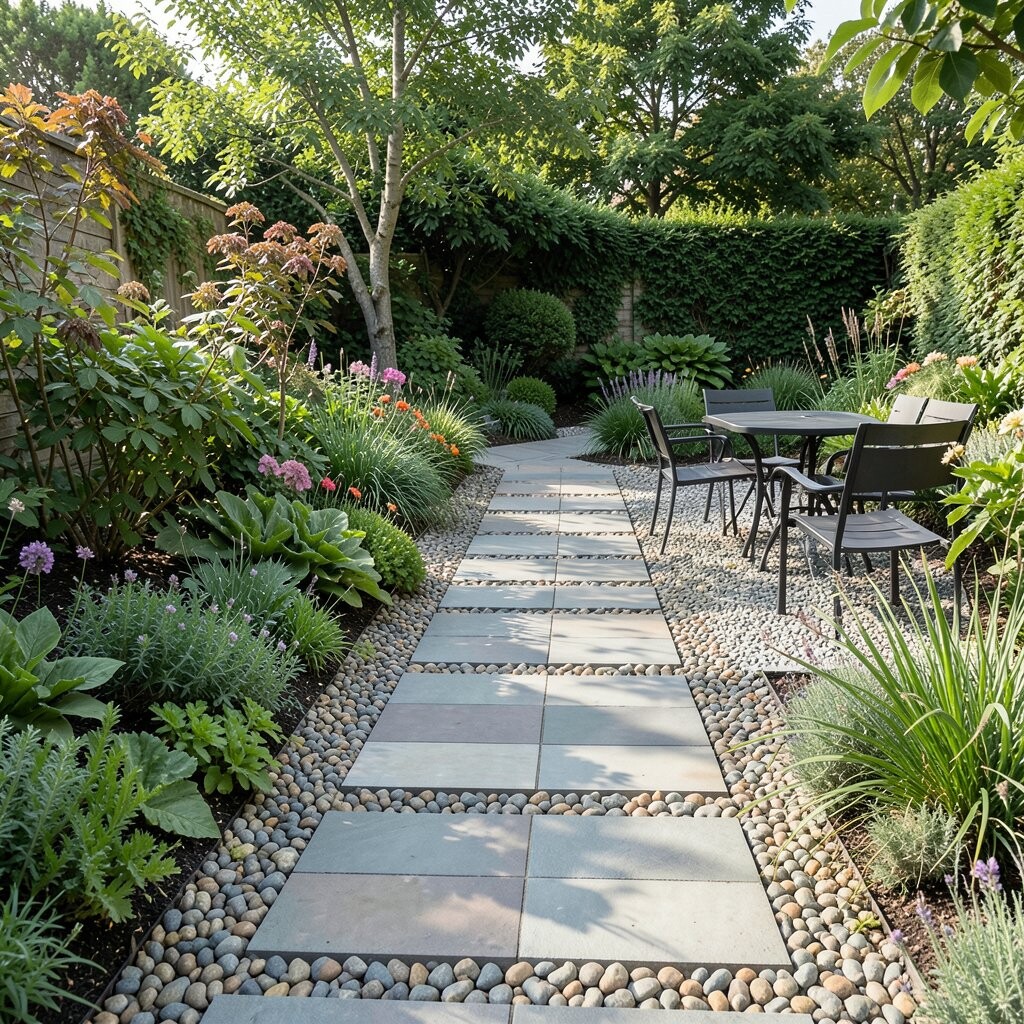
Checkers made from tile and gravel add a playful, friendly vibe right where you sit. It’s a small design choice that makes the whole garden feel more “you.”
Use outdoor tile squares set into a prepared bed, then surround them with gravel for contrast and drainage. The uniqueness comes from the mix of tidy and textured materials, which looks great against potted plants and cushions.
For cost, use tile only in the main seating reach and let gravel do the rest. If you want a trend-forward look, consider neutral tile colors and a slightly irregular gravel texture for an organic feel.