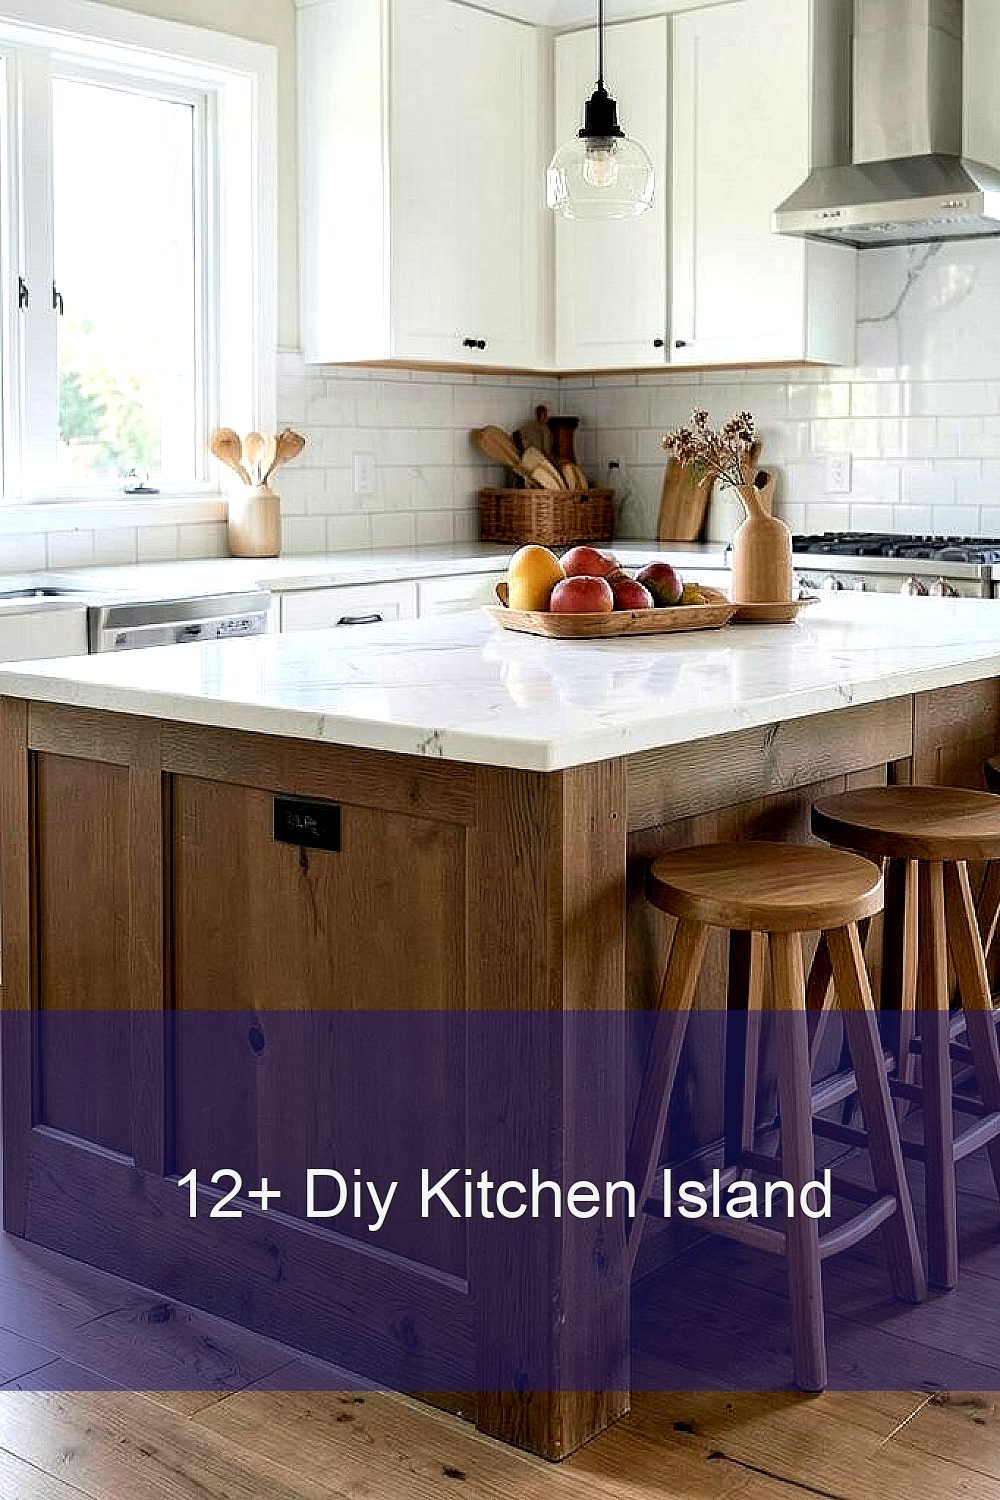
Picture a kitchen island that fits your space like it was made for you. Then build it with your own hands, step by step.
1. Choose the Right Style and Size for Your Kitchen

Start by looking at how your kitchen flows from sink to stove to fridge. Measure the walkway space so people can pass comfortably while you cook.
For a visual idea, sketch the island as a rectangle and note where doors and drawers open. Choose a style that matches your cabinets, like modern flat panels or classic shaker lines. Picking the size early saves money later because you won’t keep redoing materials.
2. Plan a DIY Island Blueprint With Real Measurements

A simple blueprint keeps you from guessing, especially when you’re cutting wood. Draw the top view and add key dimensions like overall width, length, and the overhang if you want seating.
Decide whether you want legs, a base cabinet, or a furniture-style frame. If you plan outlets, write down where cords will run and how you’ll reach power safely. This is also a great time to note how much storage you want, like drawers for utensils or shelves for cookbooks.
Make a material list right after your sketch, then check it against what you can buy in one trip. When you plan for apron-height details, like trim and toe-kicks, your island will look “built-in” instead of temporary. Even a small island looks polished when the math is tight.
3. Pick a Budget-Friendly Base That Looks Custom
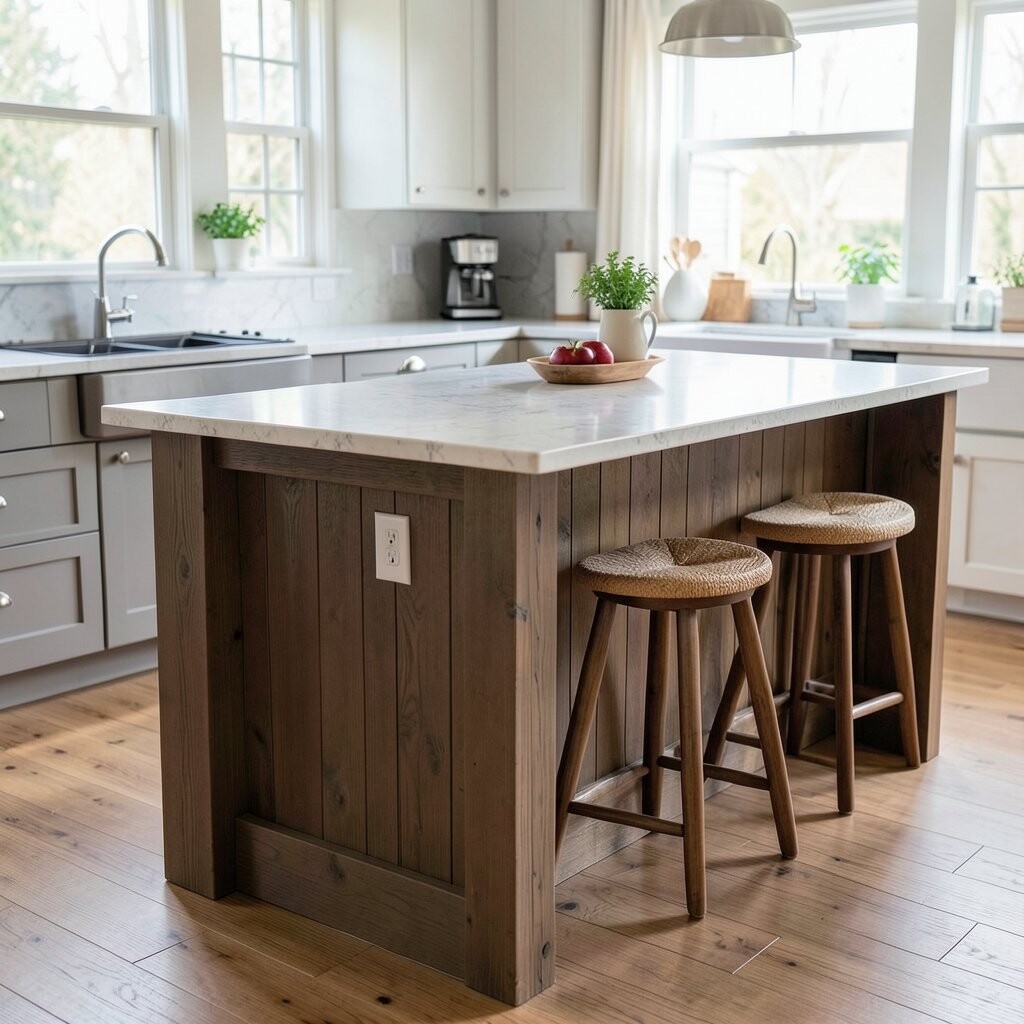
You can get a custom look without custom pricing by using a sturdy base design. Many people build from either a freestanding frame or repurpose cabinet components that are easy to find.
For a practical visual, think about a cabinet-style base with doors and drawers so the front doesn’t look blank. If you prefer an open shelf look, add cross-bracing so it feels solid when you lean on it. The benefit is clear: you get storage plus a surface that holds up to daily cooking.
Consider whether you want a lower ledge for barstool seating or a flat front for a cleaner look. Choosing a base with adjustable feet helps if your floor isn’t perfectly level. To personalize, paint the base a different color than your cabinets for a bold contrast.
When it comes to cost, pre-made cabinet parts can be cheaper than building every box from scratch. If you do use new lumber, shop for straight boards and check moisture content when possible.
4. Build the Frame Like a Strong Workshop Project

The frame is where your island earns its stability, so build it like you mean it. Use quality plywood or dimensional lumber and keep everything square before you fasten it for good.
Clamp parts, measure corner-to-corner, and adjust while glue or screws still allow correction. Add internal supports for drawers and for the countertop overhang so nothing sags later. A well-built frame means your island feels solid even when you’re stacking groceries or rolling dough.
5. Choose the Countertop Finish That Matches Your Lifestyle
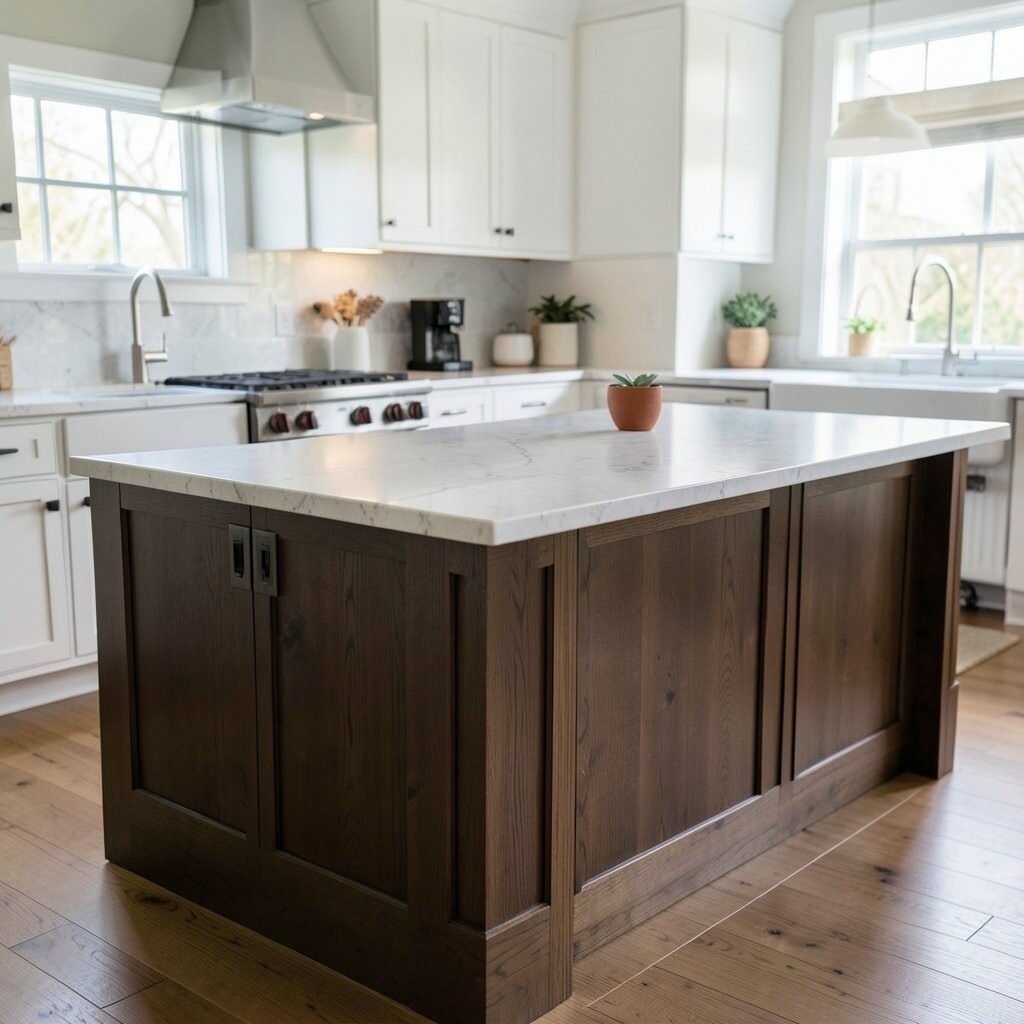
The countertop is the most noticeable part, so pick a surface that fits how you cook and clean. For a warm look, butcher-block wood gives a friendly, traditional feel and it’s easy to customize.
If you want low maintenance, consider laminate or a butcher-block style with a tough sealer finish. Stone-look options are popular too because they offer an elegant vibe without heavy installation. Your unique touch could be a contrasting edge detail, like a rounded profile or a mitered finish.
Budget matters here, so compare the full installed cost, including support materials and sealing. Think about heat and water exposure, especially near the stove. A good choice keeps everyday messes easy while still looking high-end.
6. Add Storage That’s Actually Useful, Not Just Pretty
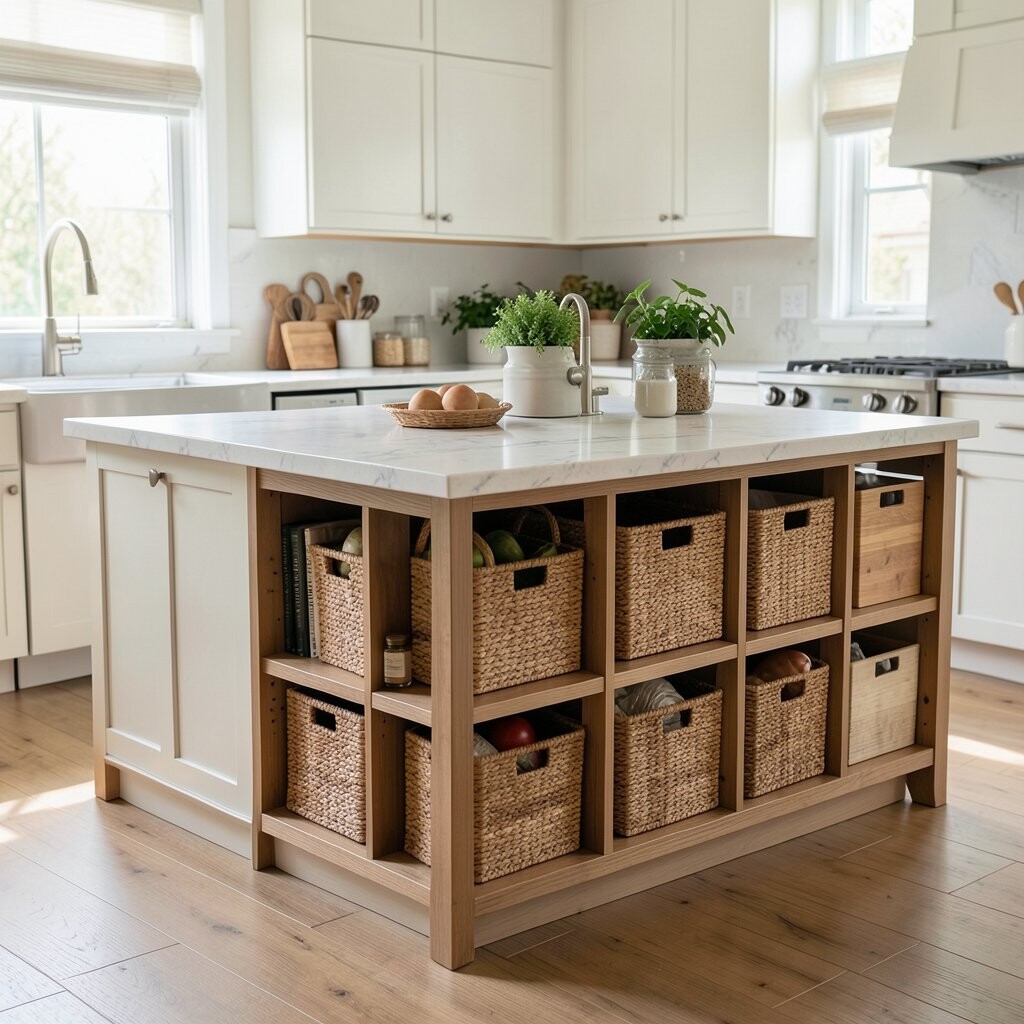
Storage makes an island feel like a command center, not just extra counter space. Plan drawers for small tools, like measuring cups and whisks, and add shelves for bulk items you reach often.
For a unique twist, mix drawer sizes so the front looks intentional instead of uniform. Install soft-close hardware if you want the island to feel quieter and smoother every day. Even simple labels can help you keep items in the right spot when you’re busy cooking.
When you think about cost, remember that quality slides and hinges are often worth paying for once. You’ll use them constantly, and cheap hardware can get frustrating fast. Proper storage also improves safety because knives and hot pads aren’t left scattered.
7. Create a Seating Overhang Without Weak Spots

If you want stools, an overhang makes the island inviting and practical. A good look comes from matching the overhang style to your kitchen, like straight lines for modern homes or gently rounded edges for classic spaces.
To avoid sagging, support the overhang with strong brackets or a properly designed internal frame. Measure stool clearance so you don’t end up with a tight fit when someone pulls a chair in. This planning helps the island feel comfortable, not cramped.
For personalization, you can add a decorative kick plate or a front panel that ties into your cabinet trim. Seating also creates a social spot for breakfasts, homework, or chatting while dinner simmers. If you’re budget-conscious, focus spending on structural support first, then add style details afterward.
8. Finish Surfaces With Paint, Stain, and Protection
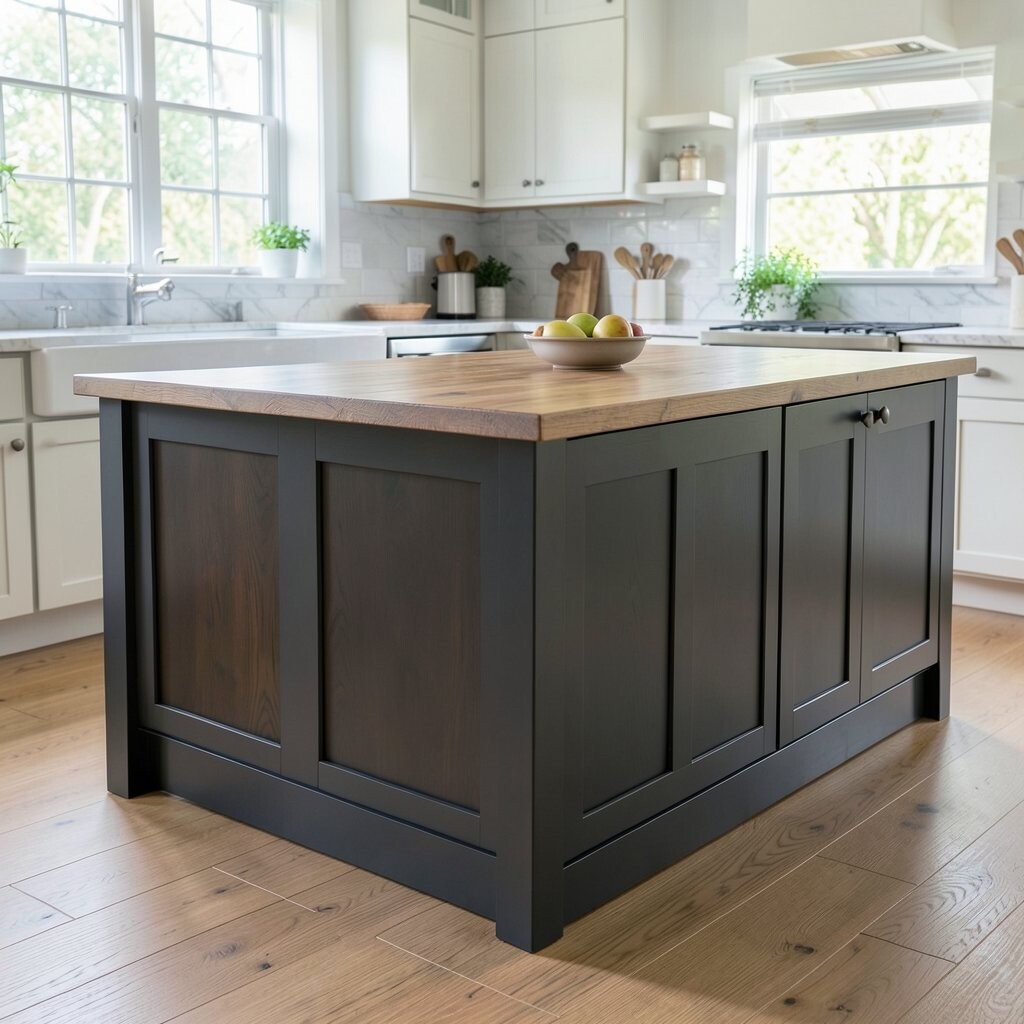
A smooth finish makes your DIY island look like it came from a showroom. Sand thoroughly, wipe dust well, and choose paint or stain designed for furniture-grade durability.
For a unique look, blend techniques like a light stain on the frame with painted trim for contrast. Use a topcoat that matches your countertop needs, especially if you used wood. Finishing well also protects against moisture from spills and daily cleaning.
9. Install Hardware and Details for a High-End Feel
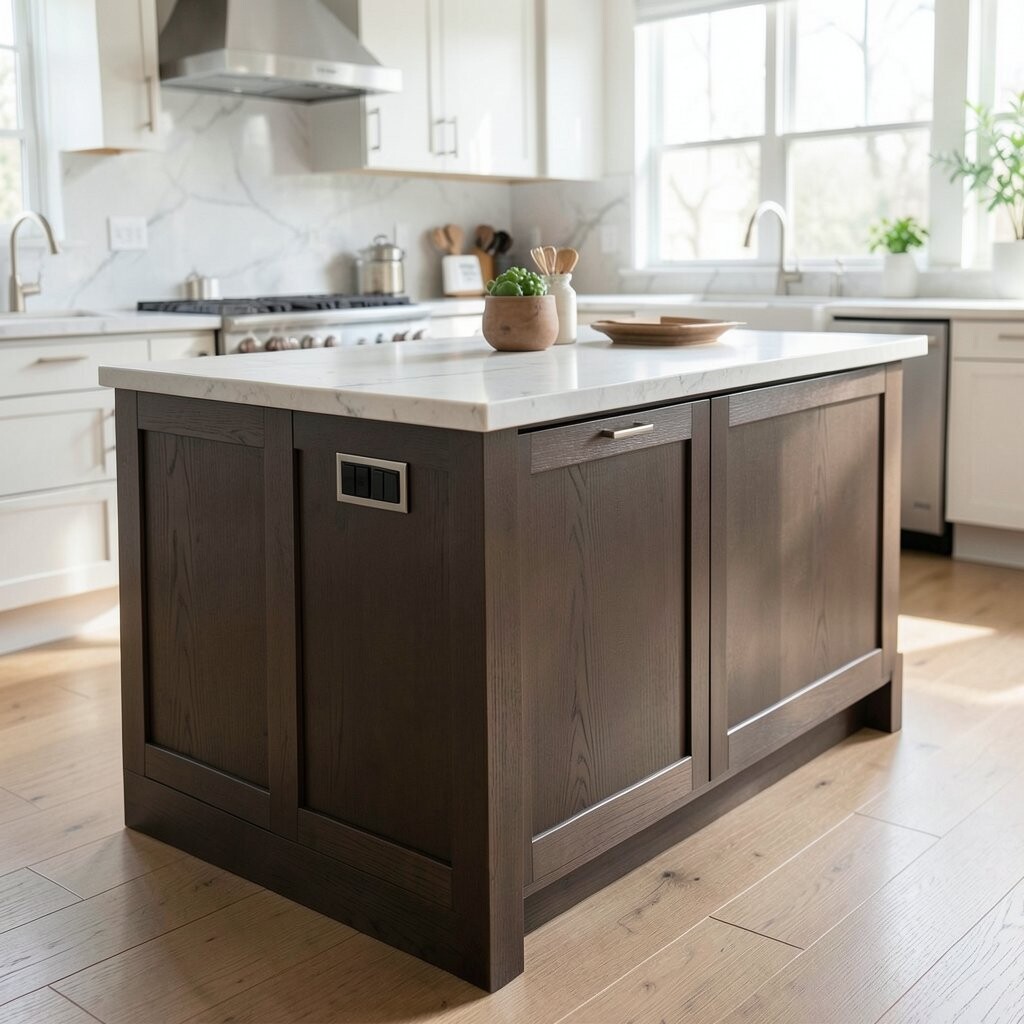
Hardware is small, but it’s a huge part of the final vibe. Choose pulls and knobs that match your cabinet hardware so everything looks coordinated.
Add details like trim molding, corner caps, or a decorative apron panel to make the island feel built-in. If your kitchen is modern, keep lines crisp and pick streamlined metal hardware. If your home is more traditional, consider classic bronze or oil-rubbed finishes for warmth.
To make the island feel unique, mix textures, like matte black hardware with a warmer wood tone. You can also add a subtle pattern panel on the doors if you want visual interest. Just keep it balanced so the island doesn’t compete with your backsplash.
When cost is tight, you can upgrade hardware first and keep other features simple. Often, a small hardware upgrade makes the entire island look more expensive than it is.
10. Plan for Power, Lighting, and Cords Safely

If you want an island that works harder, add power for charging and small appliances. Think about where you’ll plug in a blender, kettle, or phone charger so it feels convenient.
For safety, follow local electrical rules and consider having an electrician handle wiring if you’re not experienced. Use outlet covers that blend in with your design and place them where cords won’t get tangled. Lighting is a current trend too, like under-cabinet LED strips that brighten prep areas and make surfaces easier to see.
11. Customize the Island Top With Creative Edge and Trim Options
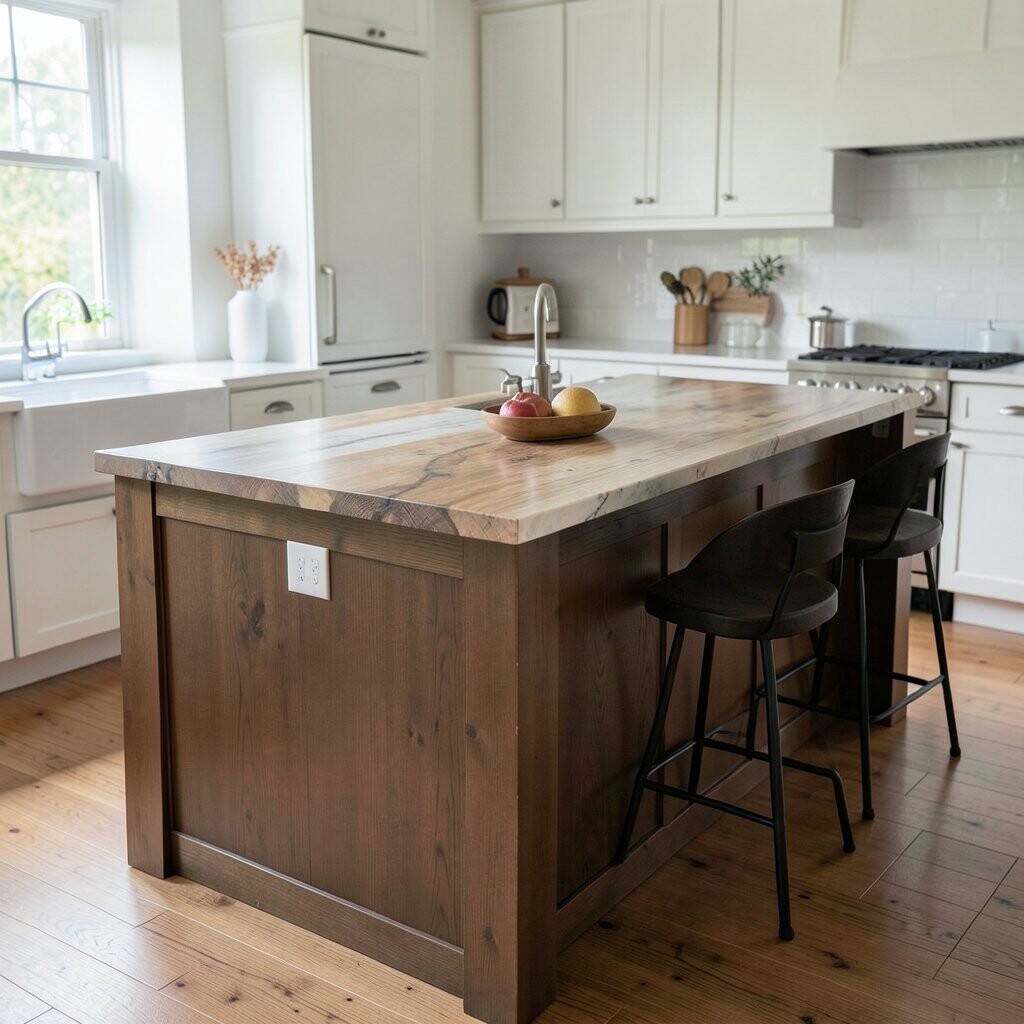
Even small top details can make your island stand out. Try a beveled edge, a waterfall-style look, or a simple rounded profile that catches the light.
If you’re working with wood, consider adding a contrasting wood strip for a modern “panel” effect. This is a great way to personalize without changing the whole structure. Trends right now include clean edges, thicker-looking countertops, and trim that visually “frames” the surface.
Cost-wise, edge work can be cheaper than changing the entire countertop material. If you plan to stain or paint any trim, test a scrap piece first so the color matches your base. This careful step prevents surprise tones when everything is assembled.
12. Make It Mobile or Built-In, Depending on Your Needs
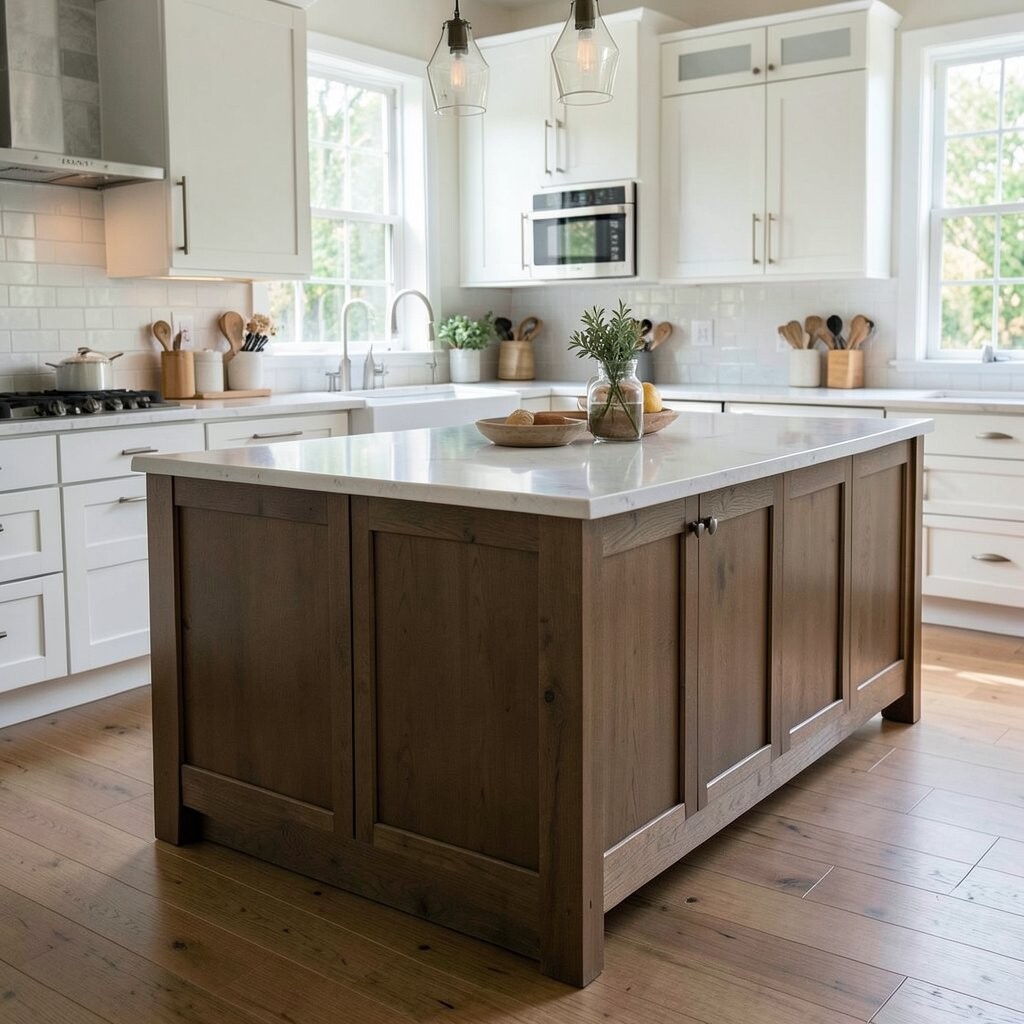
A mobile island can be a flexible win, especially in smaller kitchens or open-plan spaces. Adding locking casters lets you move the island for cleaning or for bigger cooking days.
For a built-in look, use a fixed base and add matching toe-kicks and trim to hide gaps. Choosing a style that fits your lifestyle is the best personalization idea. When you’re deciding, think about how often you rearrange furniture and how much floor protection you want.
Budget changes based on mobility hardware, but good casters can be worth it if you plan to move the island often. Either way, level the island so it doesn’t wobble when you roll dough or chop vegetables. A stable top feels better and lasts longer.
13. Match the Island to Current Kitchen Trends and Your Own Taste
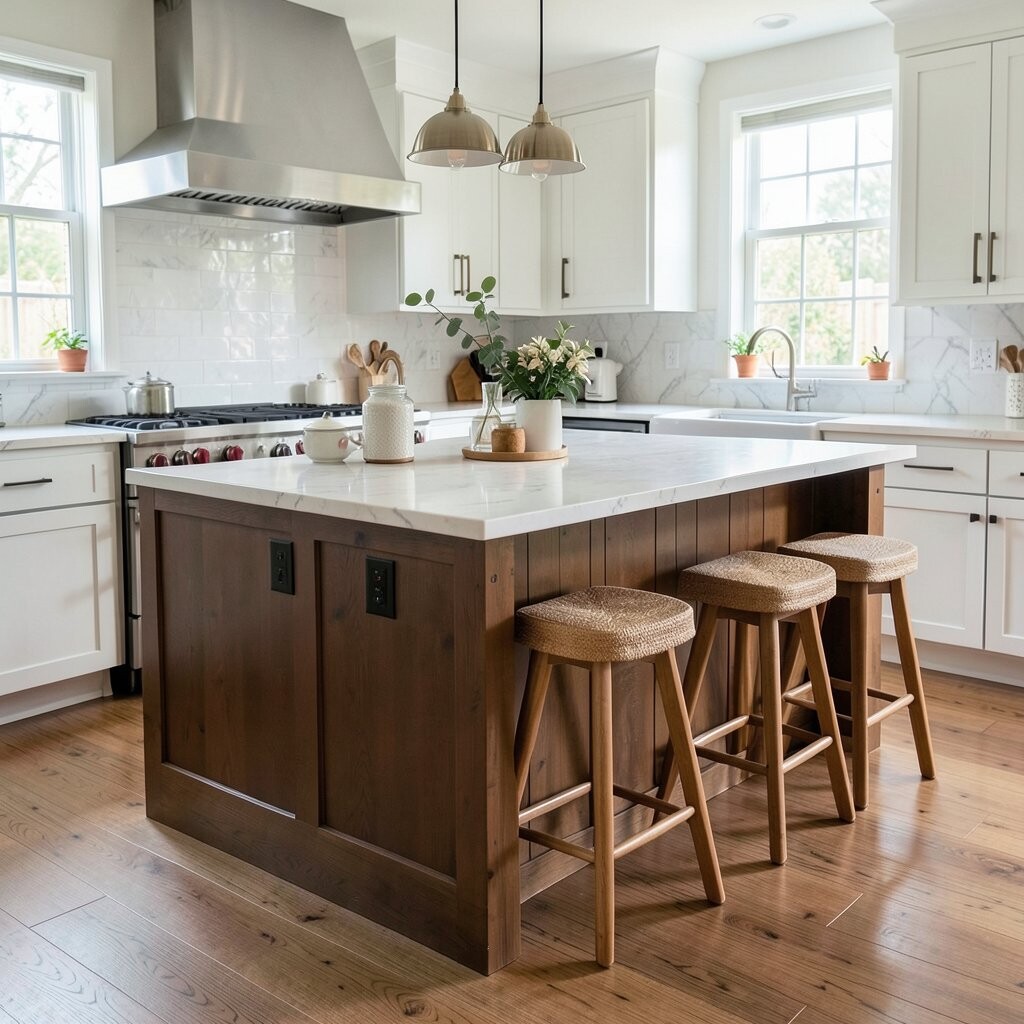
Kitchen islands often reflect what’s trending, like warmer wood tones, soft matte finishes, and practical storage. You can also borrow ideas from different styles, like adding black accents to lighten a bright kitchen.
Consider pairing your island with a backsplash or cabinet finish that already exists in your home so it feels connected. This is where personalization shines, because you can pick a signature element, like a bold drawer color or a distinctive countertop edge. Keep the whole look balanced so your island feels like part of the room, not an extra project.