
Small kitchens can feel cozy, not cramped, when the light is planned. The right lighting makes everyday tasks easier and the whole room more inviting.
1. Layer Light With a Simple Three-Step Plan

Start by separating light into three jobs: brightness, comfort, and focus. Use overhead lighting for overall coverage, then add softer light nearby so corners don’t look shadowy.
Choose one main source like a flush-mount or slim ceiling fixture, then pair it with under-cabinet lights for counters. Add a small accent lamp or a dimmable sconce near a breakfast nook if you have one. This layering is unique because it matches how you actually move through the space, from prep to eating.
2. Use Under-Cabinet Lighting for Instant Counter Clarity
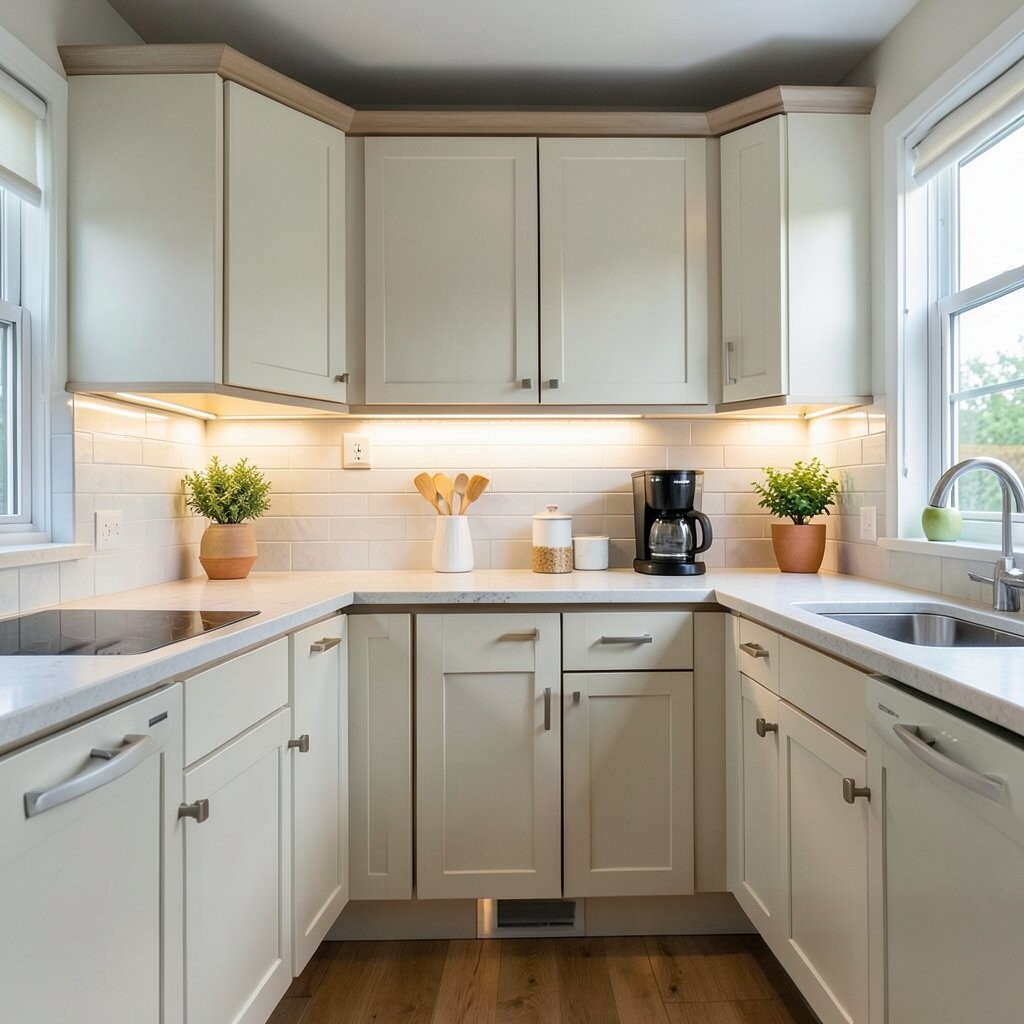
Under-cabinet lights make a small kitchen feel bigger because they brighten the work zone you use most. You’ll notice fewer harsh shadows under plates, cutting boards, and the sink.
For practicality, place the light strip close to the front edge of the cabinet so it washes the counter evenly. If you’re choosing LEDs, pick a warm white (around 2700K–3000K) for a welcoming look, or a neutral white (around 3500K–4100K) for a crisper feel.
Many people love how easy it is to personalize by changing color temperature or using dimmers. Cost-wise, LED strips are usually affordable, and they often last for years, which helps the budget. A current trend is putting a discreet channel or diffuser under cabinets to reduce glare and make the light look clean.
3. Swap to High-Reflectance Finishes and Bright Bulbs

Your kitchen lighting works harder when the room reflects it. Lighter wall paint, glossy tiles, and shiny cabinet hardware bounce light around and reduce gloomy corners.
Use bulbs that match your style, such as LED bulbs with high lumens and an even color rendering (look for “CRI” on the packaging). Aim for a brightness level that feels comfortable, then fine-tune with dimmers so you can go softer in the evening.
This is unique because it’s not only about fixtures; it’s about how surfaces carry light. If you’re not ready to repaint, even small changes like switching to light grout, adding mirrored décor, or using a brighter backsplash can help. As a practical step, test one bulb in the most-used socket before replacing everything.
In terms of cost, paint and hardware swaps can be budget-friendly compared to a full lighting overhaul. The trend right now is mixing warm light with brighter, cleaner-looking surfaces for a “soft modern” vibe that still feels crisp.
4. Install a Dimmable Pendant Over the Main Work Area

A pendant can be both useful and stylish when it’s sized correctly for a small kitchen. Choose one fixture that sits at a safe height over the island or table so it adds light without taking up visual space.
Use a dimmer so the brightness fits the moment, like bright for chopping and softer for dinner. This feels unique because the pendant acts like a focal point while still supporting daily tasks. It’s also a great way to add personality through color, glass, or a simple metal finish.
5. Choose the Right Color Temperature for a Cozy Yet Clean Look

The color of light changes how your kitchen feels, more than most people expect. Warm light can make wood tones look richer, while neutral light can make countertops and hardware appear clearer.
For personalization, consider warm white in the evening areas and neutral white for task zones like counters and the sink. Keep it consistent across fixtures when possible so the kitchen doesn’t look patchy. This is unique because small shifts in temperature can improve how food, cabinets, and flooring look in photos and daily use.
Cost considerations are usually minimal because color temperature is built into the bulb choice. A current trend is “layered warmth,” where under-cabinet lights and overhead lights stay in a similar range for harmony. If you’re unsure, pick warm-to-neutral LEDs and adjust later with dimming.
6. Add a Slim Flush-Mount Ceiling Fixture for Even Coverage
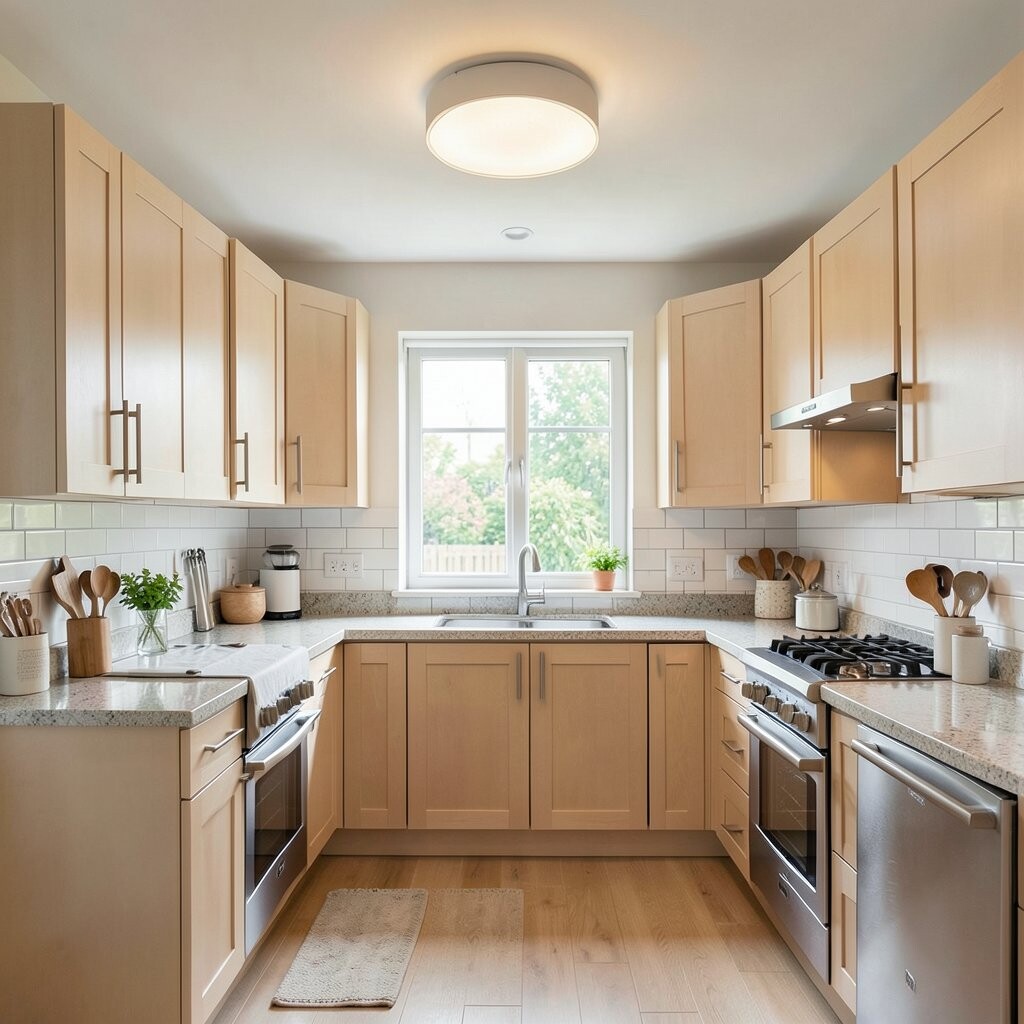
A slim flush-mount keeps the ceiling line clean, which matters in tight kitchens. It also spreads light across the room so the center doesn’t feel dim compared to the edges.
Look for fixtures with diffusers or frosted glass to soften glare and make the light feel smooth. If your kitchen has a low ceiling, choosing a low-profile design is a practical win. This is unique because it balances style with space efficiency, especially when you don’t have room for bulky fixtures.
When budgeting, flush-mount fixtures are often mid-range compared to elaborate chandeliers. A trend you’ll see often is minimal designs in matte finishes, like black or brushed nickel, that pair well with modern cabinetry. Try matching the fixture finish to faucets or cabinet pulls for a cohesive look.
7. Use Bright Lighting at the Sink to Reduce Shadowy Corners

The sink is where most people do detailed tasks, so shadows are more than annoying. If your sink area feels darker than the rest, the kitchen can look smaller and less organized.
Consider adding a small light bar above the sink or using a vertical fixture like a wall sconce on the side. Aim the light so it illuminates the basin and countertop, not just the backsplash. This makes the lighting feel personalized because it targets your daily routine.
In practical terms, keep the fixture positioned so it won’t glare in your eyes when you lean forward. LED task lights can be a cost-effective upgrade since they often require only wiring or a simple replacement. A current trend is adding subtle lights that look built-in, which helps the sink area feel intentional rather than tacked on.
8. Wrap Light Around Corners With Recessed or Track Spot Options

Corners are where small kitchens hide shadows, and shadows can make everything feel cramped. Recessed lighting or track spots can “aim” brightness toward tricky areas like hallways, pantry doors, or the far corner.
Try spotlights with adjustable heads so you can direct light to where you cook and store items. This is unique because it gives you control, not just constant illumination, which is great for changing seasons or rearranging furniture.
Cost can vary, since installing recessed lights can require more work than adding LED strips. If you want a simpler route, consider plug-in track heads or surface-mounted rails that need less carpentry. A trend that’s growing is using slim spot arrays for a gallery-like feel that still supports everyday tasks.
For personalization, set up lighting angles that brighten your “view” lines, like from the doorway toward the counter and fridge. That way, the kitchen instantly looks brighter the moment you walk in.
9. Pick a Light-Color Backsplash and Keep It Consistent With Fixtures

A small kitchen can glow when the backsplash reflects light instead of absorbing it. Light stone, bright ceramic, or clean subway tile can make your lighting look stronger.
Choose fixtures that match the backsplash tone, such as warm metal finishes for creamy tiles or cooler metals for gray and white surfaces. This is unique because it connects lighting and décor into one visual system, so nothing feels random.
If you can’t change the backsplash, add a peel-and-stick option or install a removable panel as a trial. That makes it easier to test how your lighting looks at different times of day before committing. From a cost angle, these smaller upgrades can be far less expensive than major remodeling.
A current trend is using backsplash lighting with subtle under-shelf or back-of-cabinet LEDs for a “floating” glow. Even a small strip can make a bright backsplash look intentional.
10. Add Open-Shelf or Glass-Door Lighting to Make Storage Look Brighter
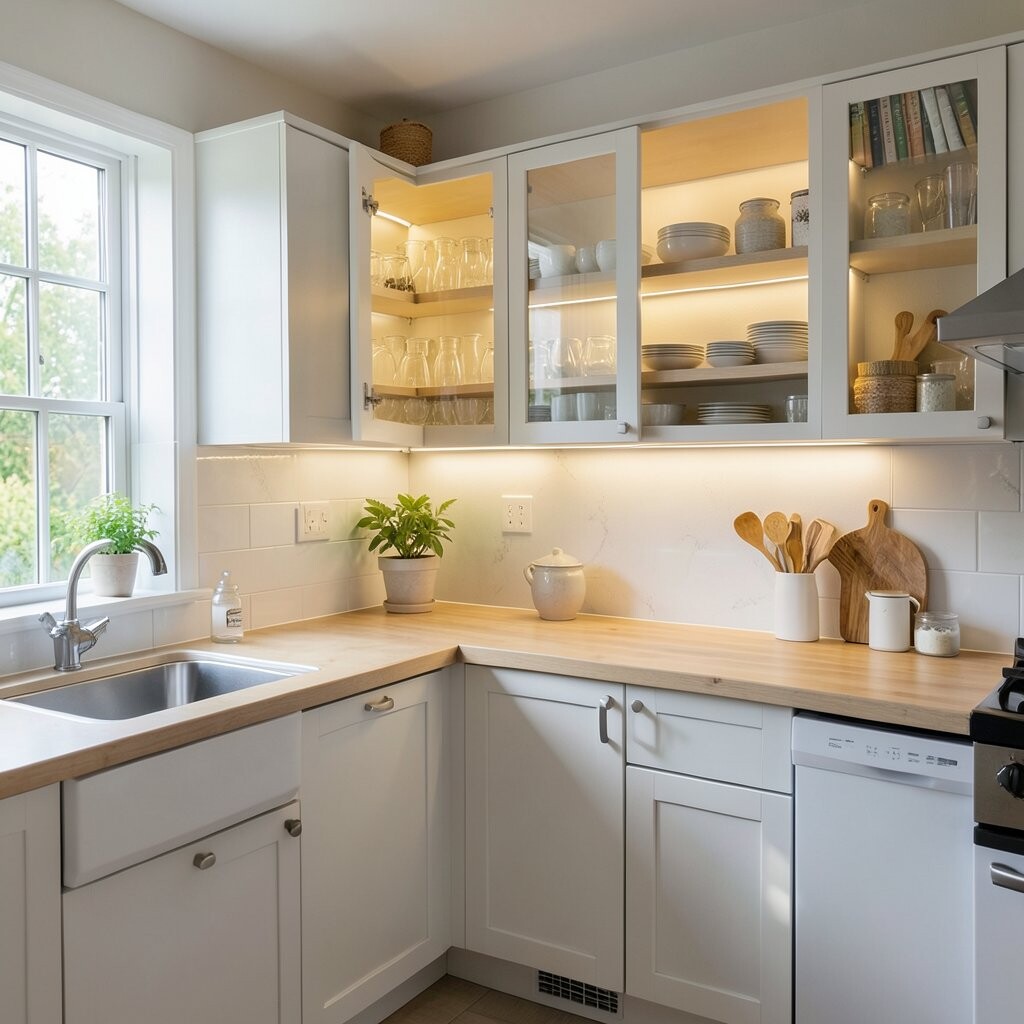
When cabinets hide everything, the kitchen can feel closed in. Open shelves or glass-front doors help light travel, especially when you add a little illumination.
Consider installing small LED puck lights inside glass cabinets or along the top of open shelving. This creates a gentle glow that makes dishes and glassware look more like décor than clutter.
This is unique because the lighting also acts as a styling tool, showing off your favorite items without needing extra artwork. It’s practical too, since it helps you find bowls, mugs, or spices faster. If you’re concerned about cost, start with one cabinet and see how much difference it makes before expanding.
11. Keep Window Treatments Light and Use Layered Sheers
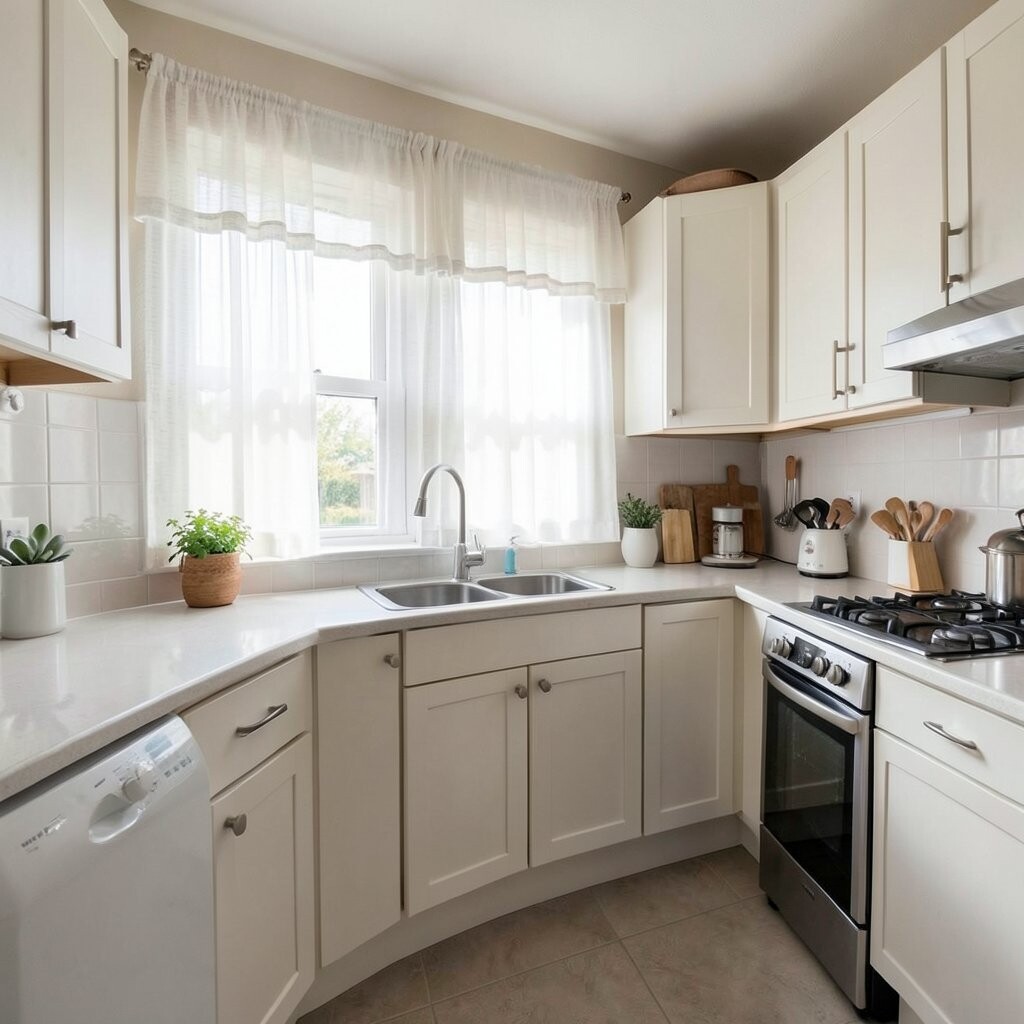
Natural light is free, but it needs the right support to keep the room bright. Heavy curtains can block daylight, which makes the kitchen rely on artificial lighting all day.
Use lightweight sheers or blinds that can open fully, and add a simple shade that you can adjust quickly. This is unique because it combines daytime brightness with nighttime lighting, creating a consistent mood across hours.
For practical tips, place the brightest task areas—like the prep counter—where daylight naturally reaches. If privacy is required, choose textured sheers that soften views without fully shutting out light. In terms of cost, sheers and roller shades are usually affordable and easy to update.
A current trend is “soft layering,” where people use a thin sheer with a simple blackout panel for evening control.
12. Avoid Glare by Choosing Diffusers and Proper Light Angles
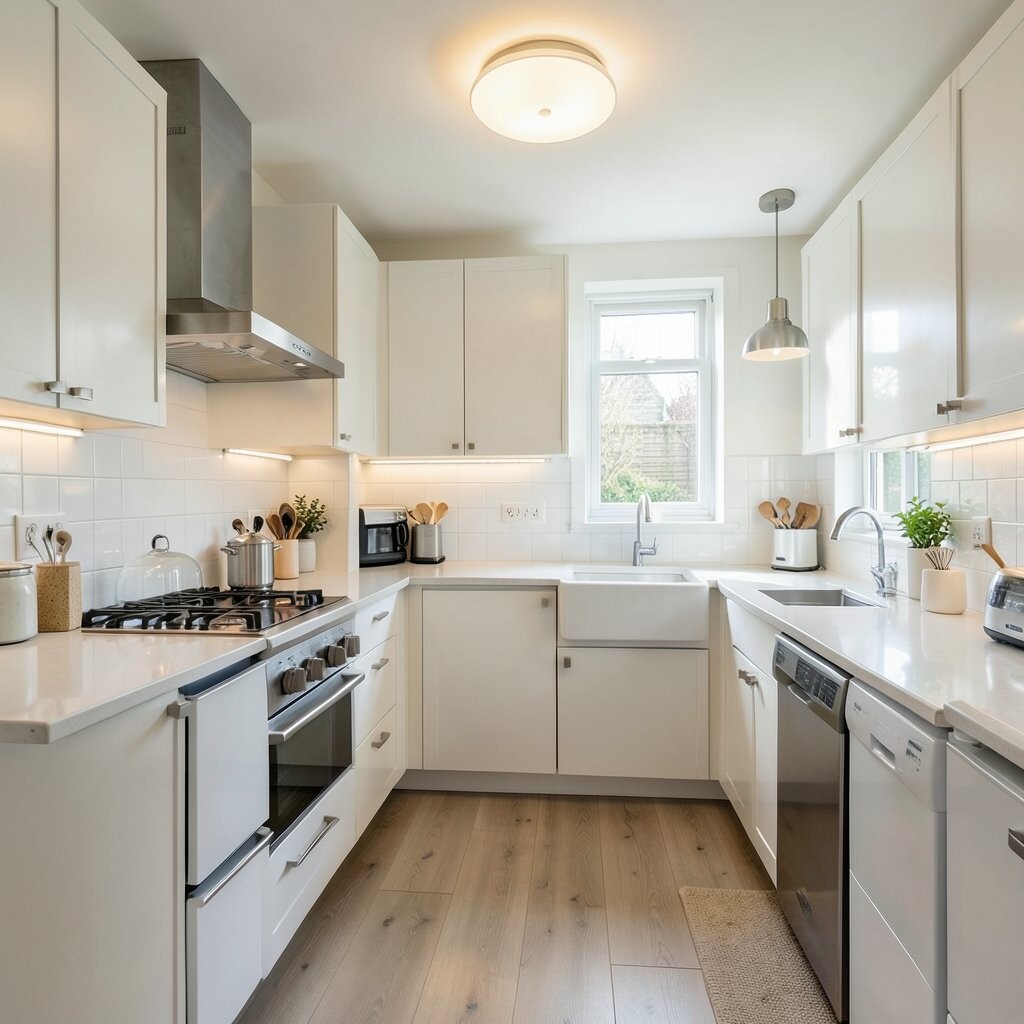
Glare makes small spaces feel uncomfortable, and discomfort can make you avoid spending time in the kitchen. It also washes out finishes, so cabinets and countertops can look dull.
Choose fixtures with frosted glass, diffusers, or recessed housings that hide the bulb. Position lights so they shine onto surfaces, not directly into your eyes. This is unique because the goal isn’t maximum brightness; it’s comfortable brightness that you can live with.
For practicality, watch how light hits at eye level from the main standing spots. If you see reflected glare on glossy counters, adjust the angle or add a warmer bulb. Cost considerations depend on fixture type, but preventing glare often saves you from buying multiple trial bulbs or replacing fixtures later.
13. Use a Brightest-First Layout: Overhead Plus Task First
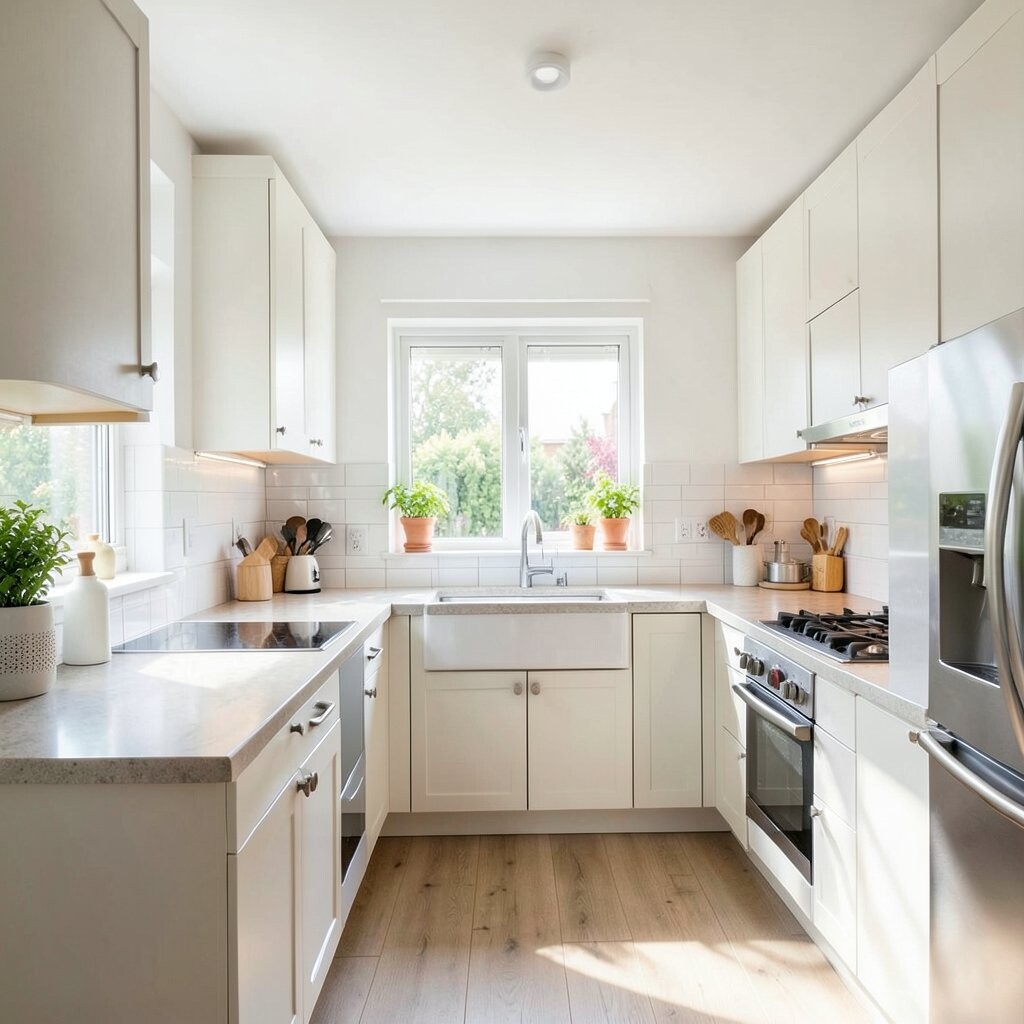
Instead of lighting everything equally, focus on what you do most: cooking, washing, and prepping. In a small kitchen, task-focused light usually delivers more value than extra ambient fixtures.
Start with overhead coverage to reduce the overall shadow map, then add task lighting under cabinets and near the sink. This is unique because it prioritizes usefulness, which keeps the kitchen feeling orderly and bright without overdoing it.
When personalizing, match the brightness of task lights so counters look uniform, especially near the stove. If you’re installing new bulbs, choose a similar color temperature for each light zone. From a cost standpoint, task lighting is often the best “bang for the buck,” since it targets the areas you touch every day.
A current trend is using smart dimmers so you can shift brightness quickly for cleaning, cooking, and relaxing.
14. Add LED Strips Under Shelves or Inside Cabinets for Depth
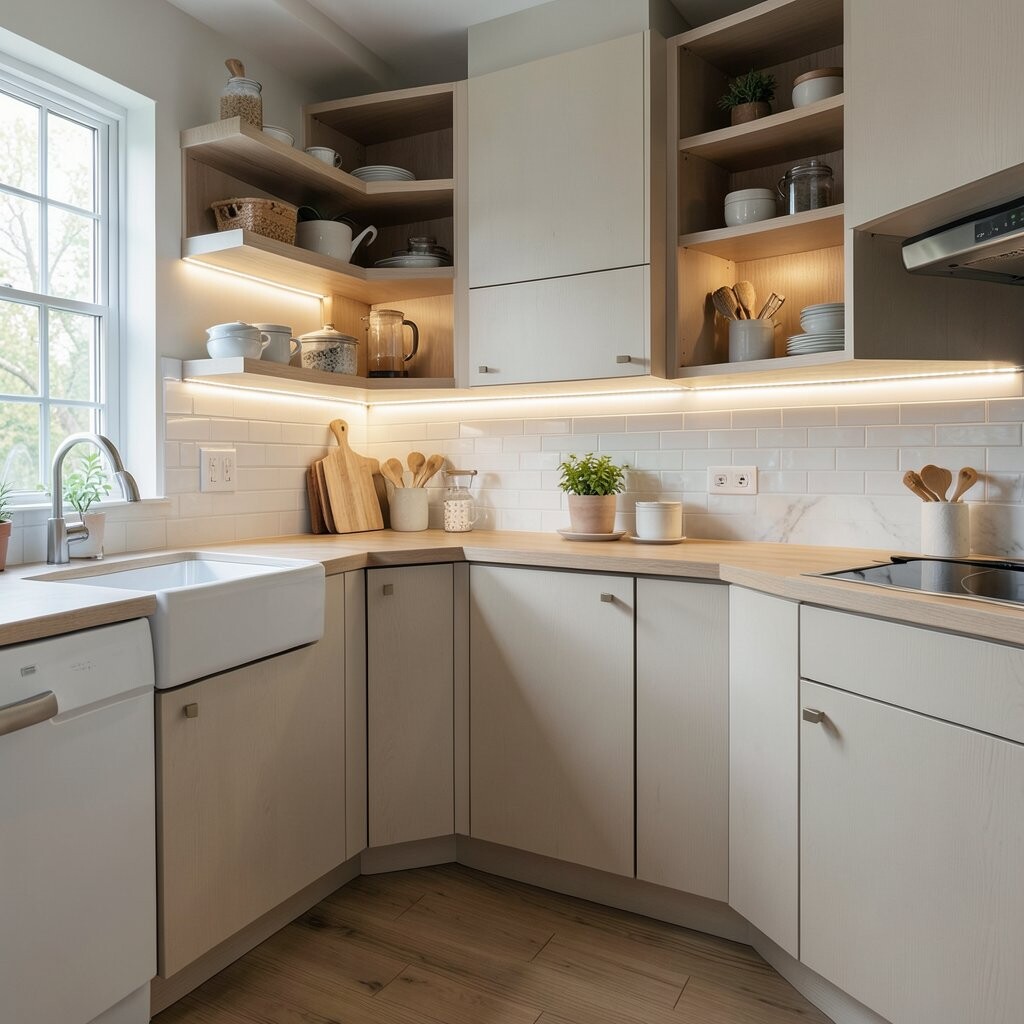
If you don’t have cabinet space for traditional under-cabinet bars, you can still add depth with LED strips. Under-shelf or inside-cabinet lighting brings a glow that visually expands the room.
Place strips so they create a wash behind décor or along the back wall of storage. This is unique because it adds dimension, making the kitchen feel layered rather than flat.
For practical tips, use a diffuser cover if you want a smooth line of light with less visible diode sparkle. Keep wiring neat and hide it inside cabinet channels whenever possible. Cost considerations are usually reasonable because LED strips come in many lengths, so you can cut and fit without waste.
Trends show people combining strips with matte shelf edges for a modern, “shop-like” clarity that still looks warm.
15. Match Fixture Scale to the Room so It Doesn’t Overpower

In a small kitchen, scale matters as much as brightness. A large, ornate fixture can block the sight lines and make the room feel smaller even when it’s bright.
Choose compact designs with clean shapes, and make sure the fixture width matches the cabinet or island size. This is unique because it respects the kitchen’s proportions, which helps lighting look intentional instead of accidental.
If you’re personalizing, consider a simple metal finish or a minimal glass shade that complements your hardware. Measure before buying, because the wrong size is a common and expensive mistake. Cost-wise, the right size reduces the chance of returns, and many compact fixtures are affordable.
16. Use Smart Bulbs or a Smart Switch for Easy Mood Changes

Small kitchens benefit from lighting that can shift quickly for different tasks. Smart bulbs or a smart dimmer lets you adjust brightness without changing fixtures or constantly replacing bulbs.
Set scenes like “Cooking,” “Cleaning,” and “Dinner” so your kitchen stays comfortable all day. This is unique because it turns lighting into a routine helper rather than a one-time decision.
Practically, start with one area, like under-cabinet lights, and then expand only if you like the results. Cost considerations depend on your choices, but smart dimmers are often a good mid-budget entry point. A current trend is combining smart controls with warm-to-neutral color options for an effortless glow.
17. Add a Reflective Ceiling Feature for Extra Glow
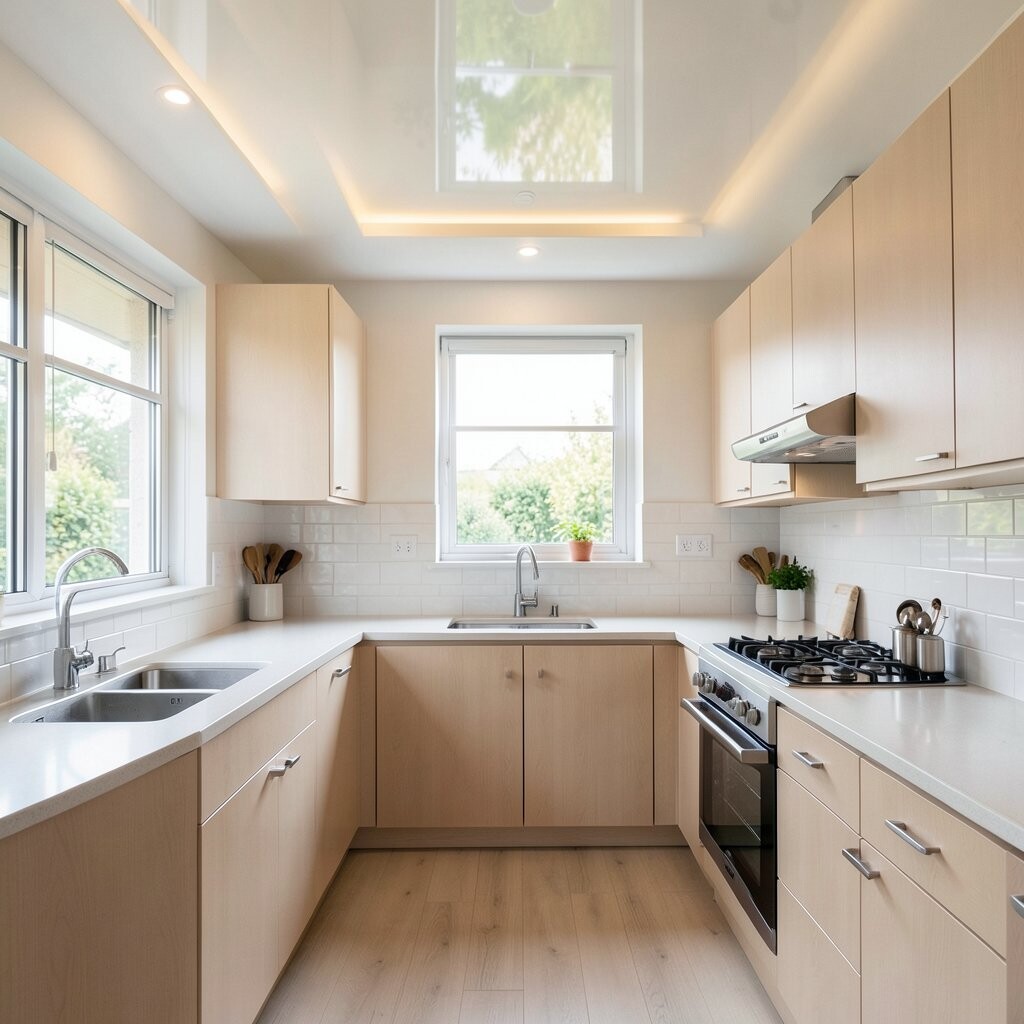
Some kitchens can feel like light disappears quickly, and the ceiling plays a bigger role than you’d think. A reflective or brighter ceiling finish can send light back down and lift the whole room.
Try a satin or eggshell paint that works well with overhead lighting, or consider a subtle decorative ceiling treatment in a light tone. This is unique because it boosts illumination without adding another fixture, which is helpful when space is tight.
For practical tips, keep the finish smooth so it doesn’t scatter light unevenly. If you’re working with existing ceilings, choosing a brighter color can be a low-cost change that makes a noticeable difference. Cost depends on whether you repaint, but it’s often cheaper than rewiring or installing multiple new lights, and trends still favor brighter ceilings for smaller spaces.