
Choosing ceramic tiles feels exciting, but the options can be overwhelming. Use these practical ideas to pick pieces that look great and hold up well.
1. Start With the Right Room and Real Traffic
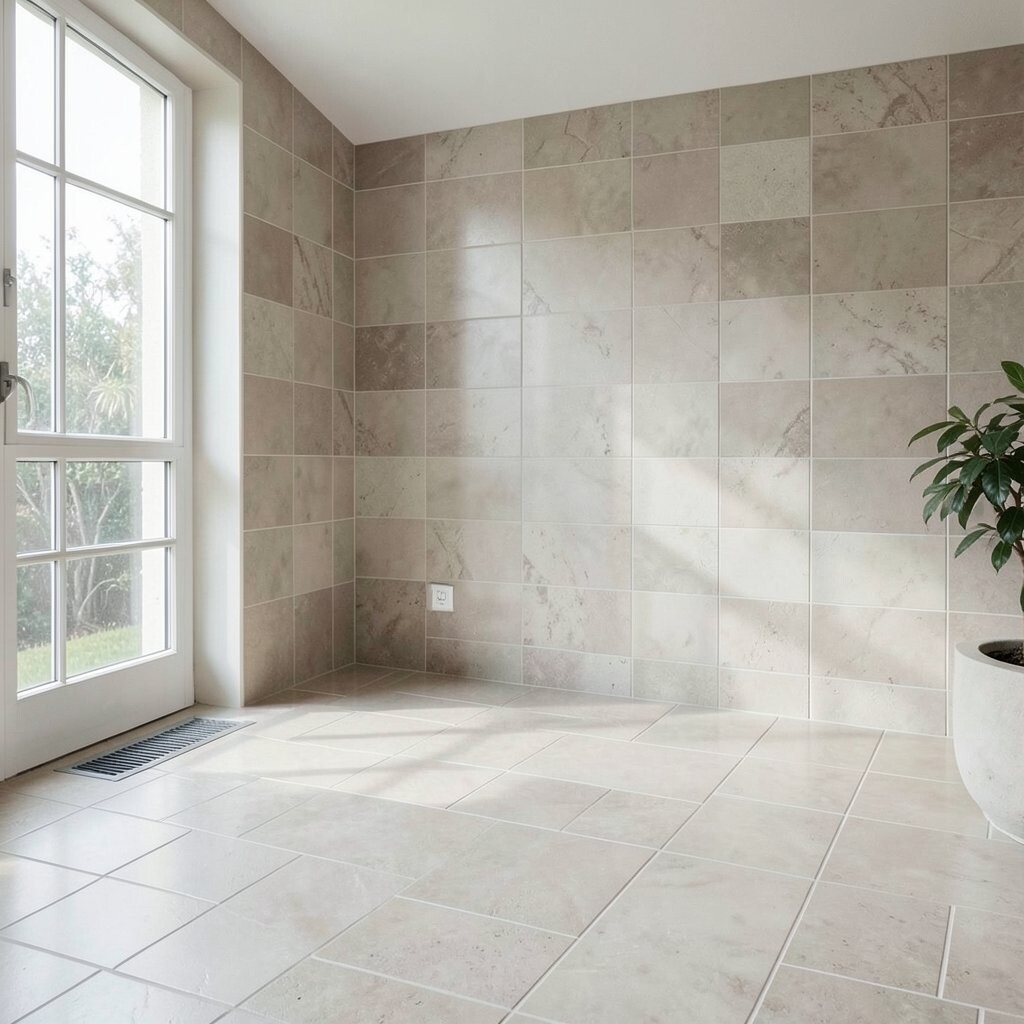
Think about where the tiles will live every day. A hallway needs tougher choices than a guest bathroom.
Walk the space in your mind and picture doors opening, shoes landing, and chairs moving. For busy areas, prioritize durability and strong finish quality. If moisture is common, choose tiles with better water resistance and proper installation.
2. Match Color to Lighting and Wall Tones

Tile color changes fast depending on light. Warm bulbs can make cool grays look softer, while bright daylight can make whites feel crisp.
Before buying, place a few sample tiles against your paint or cabinets and look at them at different times of day. Pay attention to undertones like beige, gray, or green, because they can subtly shift the mood. A consistent palette helps the room feel calm, even when the pattern is bold.
Consider how floors will coordinate with trim and furniture. If you want visual interest, use variation in tone rather than random colors that clash. This is also where simple personalization comes in, like matching tile veining to your countertop style.
3. Understand Ceramic vs. Porcelain vs. “Ceramic-Like” Looks

Ceramic tiles are made for beautiful floors and walls, but not all ceramic behaves the same. Porcelain is often denser and can handle more moisture, stains, and wear.
When you see “ceramic-like” designs, notice whether the selling point is the look or the performance. Many modern tiles imitate marble, wood, and concrete with realistic texture and speckling. That visual realism can be a major benefit, especially if you love a high-end look without the heavier price.
For wet areas, focus on the tile’s ratings and how it will be installed. A great tile on its own is only part of the story. Pairing the right tile with correct grout and sealing practices helps the finish last.
Use this knowledge to decide where you truly need higher performance. It can save money while still giving you the style you want.
4. Choose the Right Finish: Matte, Glossy, or Textured
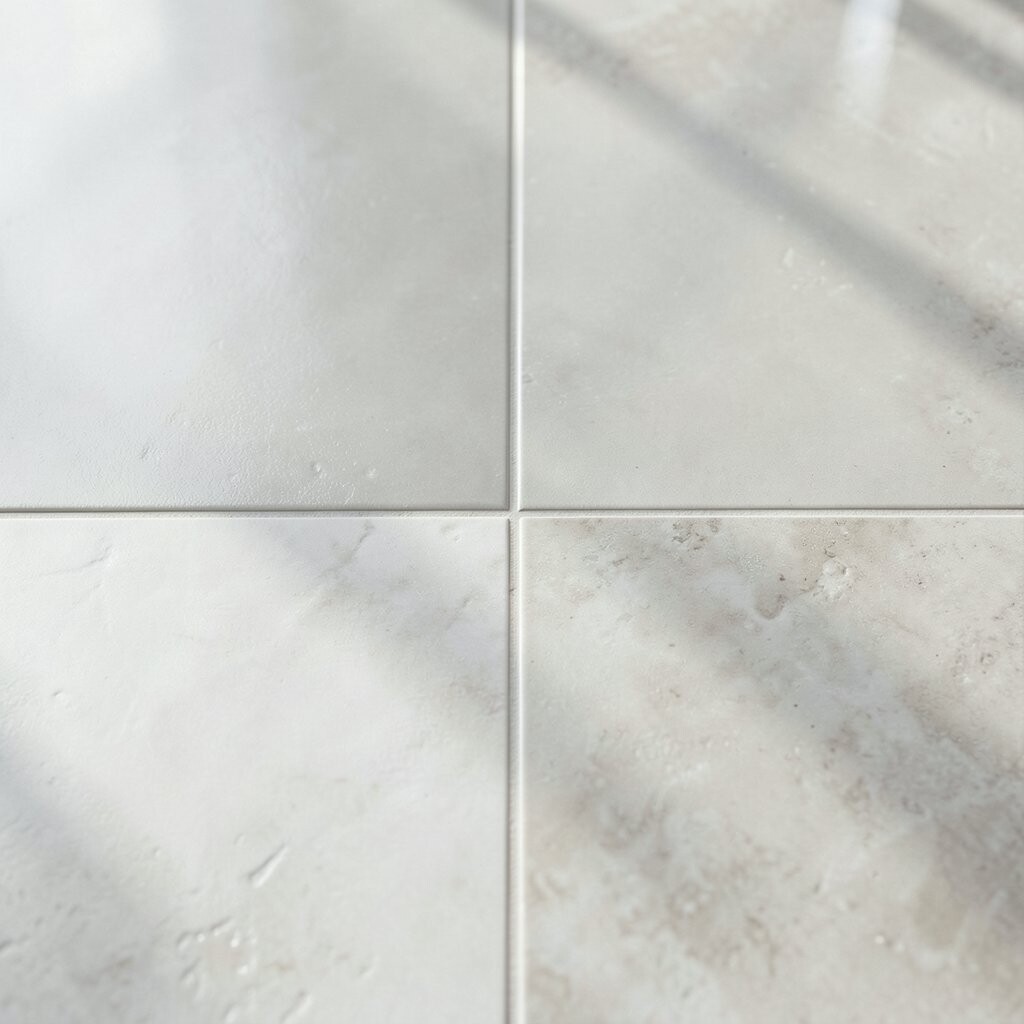
Finish affects both style and everyday life. Glossy tiles reflect light and can look elegant, while matte surfaces hide minor scuffs more easily.
Textured tiles add grip, which can be helpful in entryways and bathrooms. If you dislike seeing smudges, consider finishes that do not show fingerprints as clearly. Think about how much you want to clean and how you move through the room.
5. Look for Durability Ratings and Slip Safety
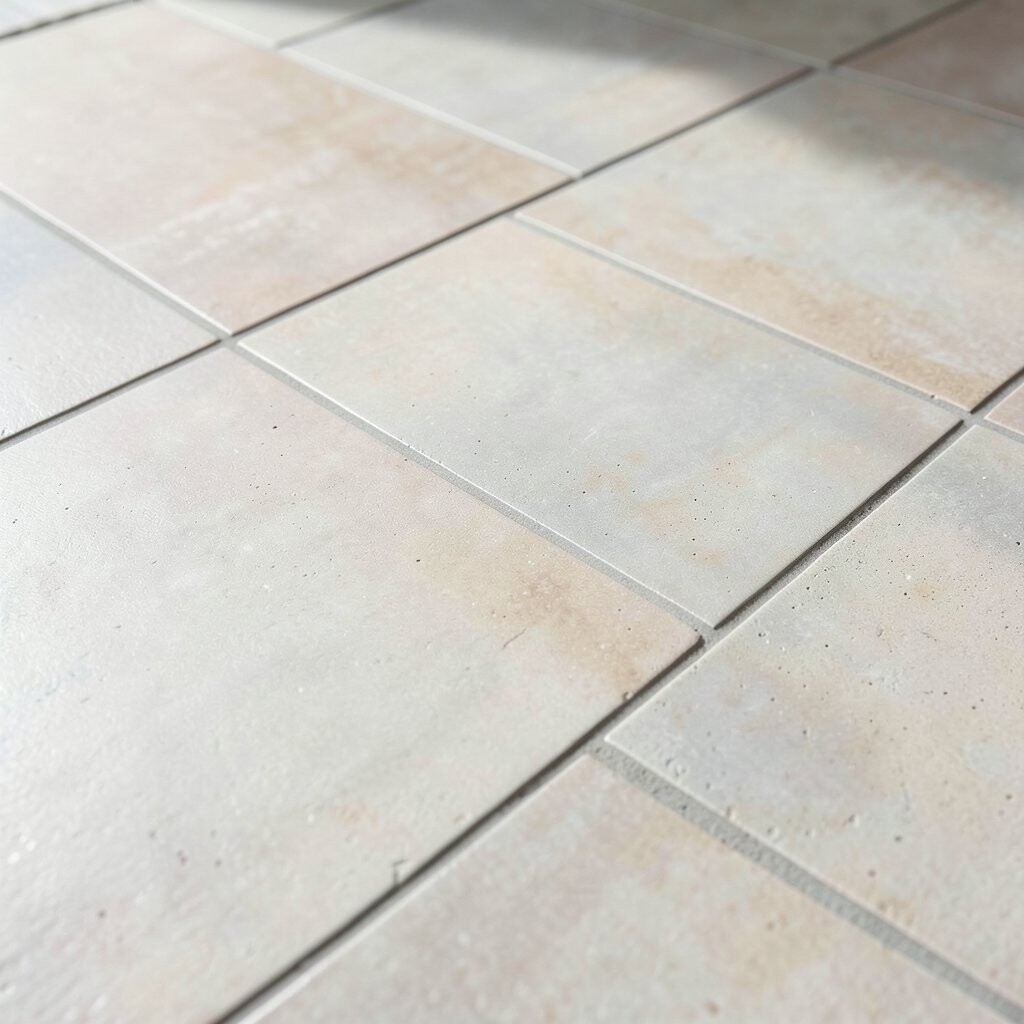
Durability isn’t only about thickness, even though thickness matters. Ratings and standards tell you how well the tile can handle foot traffic and cleaning.
For safety, pay attention to slip-resistance, especially near showers, tubs, and exterior doors. A tile that looks stunning but feels slippery is not a good match. Always consider how wet your floor might get.
It can also help to choose grout and installation methods that reduce water movement. This is a practical way to protect both your tile and the subfloor beneath. When you’re planning a family-friendly home, safety features are worth prioritizing.
6. Decide on Format: Square, Rectangle, or Large Planks

Size changes the whole design rhythm. Small square tiles can feel classic, while large formats create long, clean lines.
Rectangles are great for making rooms look wider or longer, depending on how you set them. If you want fewer grout lines, choose larger tiles, but remember that they may require more careful leveling. Smaller tiles can be more forgiving on uneven floors.
Think about the scale of your space and your personal taste. In a cozy kitchen, medium tiles can feel balanced and warm. This is a simple place to personalize, like pairing a farmhouse layout with a modern color.
7. Inspect Edge Quality and Consistent Color Variation

Even in the same design, tiles can vary a little from box to box. High-quality manufacturing keeps that variation controlled and easier to install.
Look at the edges, because chipped or rough edges can create gaps that look uneven. Check color consistency by comparing tiles side by side under the same light. If you want a natural stone effect, some variation is great, but it should look intentional.
Ask about batch numbers and plan to use tiles from the same lot when possible. Sorting tiles before installation can prevent surprises later. This attention to detail often makes the finished floor look professionally finished.
When you’re budgeting, remember that investing in consistent quality can reduce waste and labor. That can make the final cost more predictable.
8. Plan the Layout to Avoid Ugly Cuts
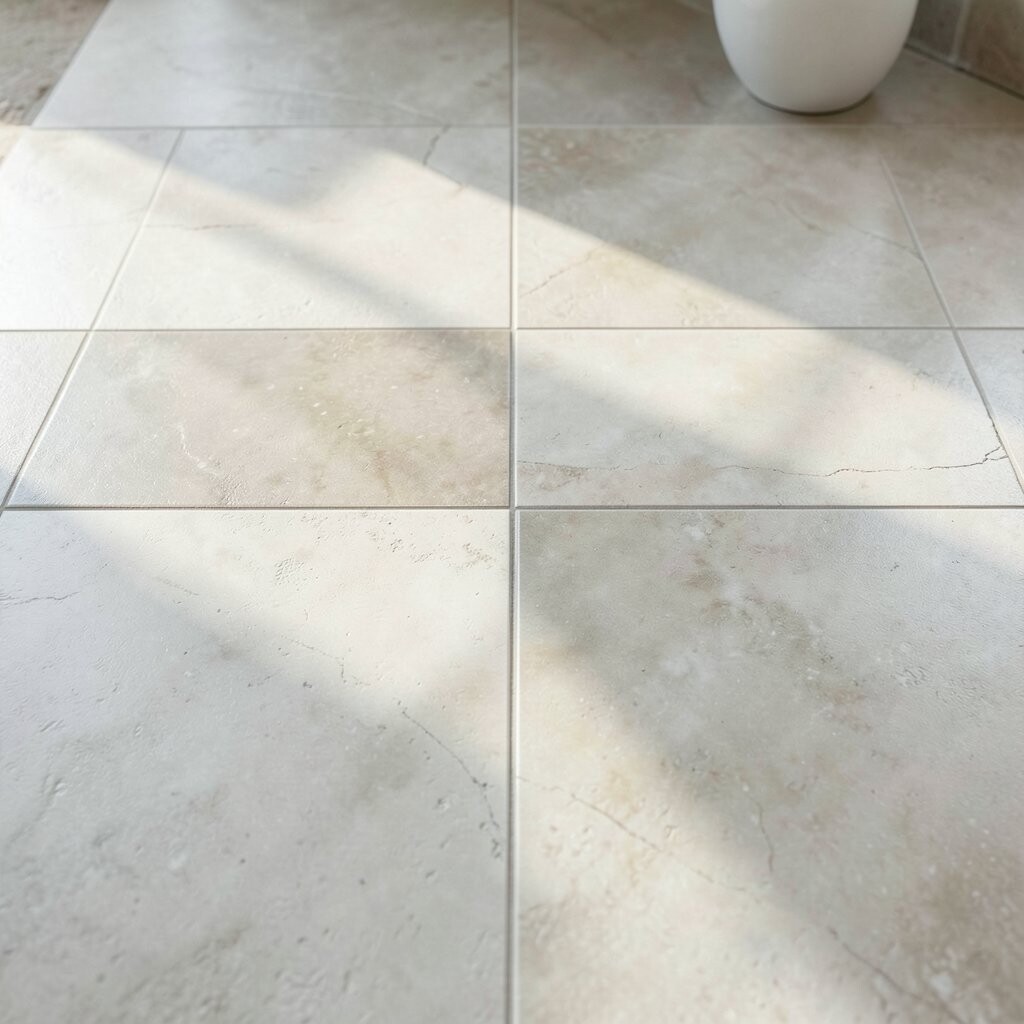
A smart layout looks like it was effortless. A careless layout can leave narrow slivers along walls that stand out instantly.
Use a tape measure and do a dry layout before ordering final quantities. Consider the direction of the pattern and how it aligns with cabinets, vanities, or hallway openings. If you’re using a repeating design, plan so the motifs land where you want them most.
9. Pick a Pattern That Fits Your Style and Your Time

Patterns can be bold without being loud, especially when the colors stay calm. Herringbone and chevron layouts add movement, while simple grids feel steady.
For everyday life, remember that complex patterns can make replacement harder later. If a tile ever chips, matching an exact design can be trickier than with plain tiles. That’s a practical reason to keep extra tiles stored after installation.
Consider your lifestyle, too, like whether you have kids, pets, or frequent gatherings. If you want a low-fuss look, choose patterns that still hide light dirt. Personalization can be as simple as selecting a subtle pattern that adds charm without dominating the room.
Also think about grout color, because it shapes how the pattern reads. Contrast grout can highlight lines, while matching grout blends everything for a smoother appearance.
10. Use Grout Like a Design Tool, Not Just a Filler

Grout color changes the final look more than many people expect. Light grout can make tiles pop, while darker grout can create a clean, modern block effect.
Consider how grout will handle stains in your specific space. Kitchens and entryways often need grout that resists discoloration and is easier to maintain. If you want a uniform look, choose grout near the tile tone for a cohesive finish.
11. Choose Water-Resistant Options for Wet Areas

Bathrooms and laundry rooms need planning beyond pretty tiles. Water can seep through grout lines and corners if the installation isn’t right.
Look for tiles designed for wet locations and pair them with an appropriate underlayment and sealant system. Shower walls may handle different conditions than shower floors, so match the tile choice to where moisture sits most. This is one of the best ways to avoid future issues.
Remember that ventilation matters, too. Good airflow helps grout and backing stay healthier longer. For a personal touch, you can still choose a stylish wall tile while using a more slip-safe floor tile.
12. Plan Your Subfloor and Base Before You Buy Too Much
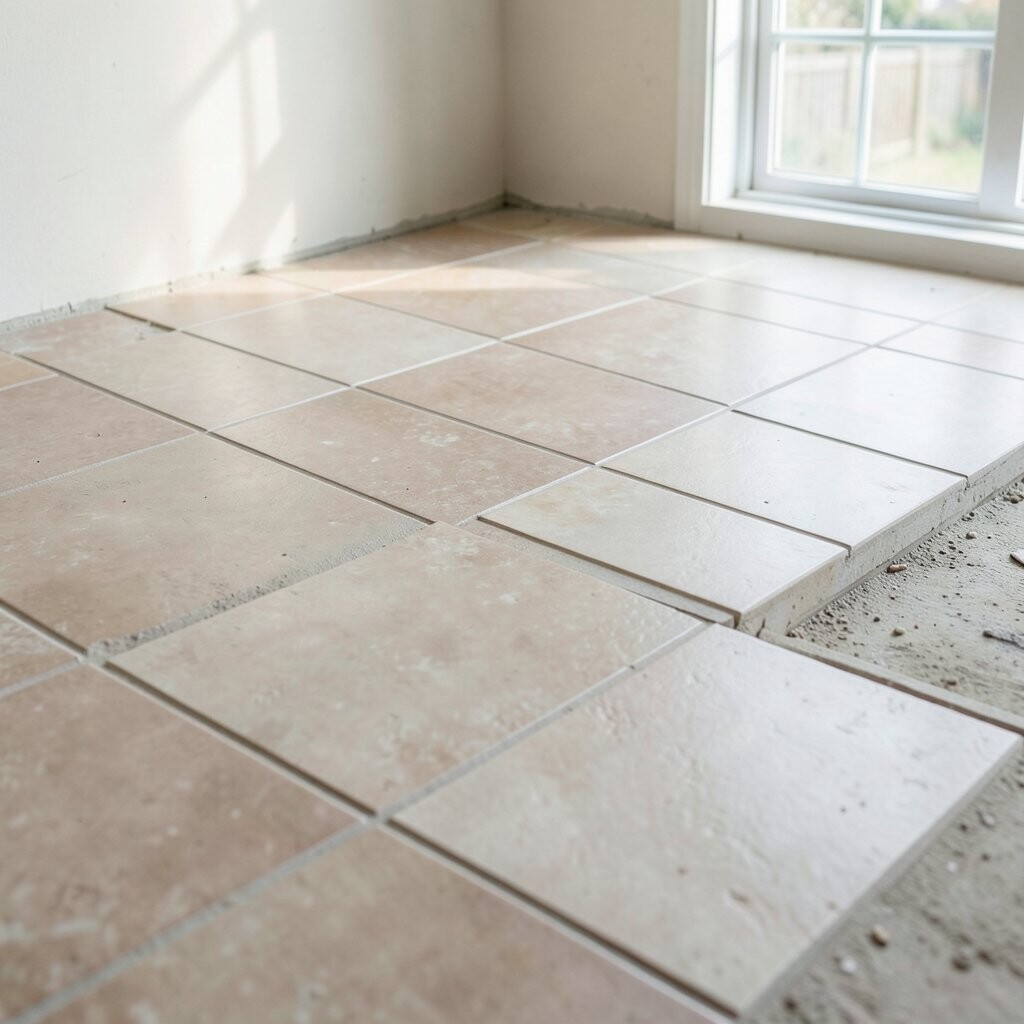
Great tiles can look bad on an uneven surface. Taking time on the base helps prevent cracked grout and uneven lippage.
Check flatness and understand whether you need leveling or underlayment. If you’re installing over an existing floor, confirm compatibility before you start. This step protects your investment and makes the final surface feel smooth underfoot.
13. Think About Maintenance: Stains, Scratches, and Cleaning Habits
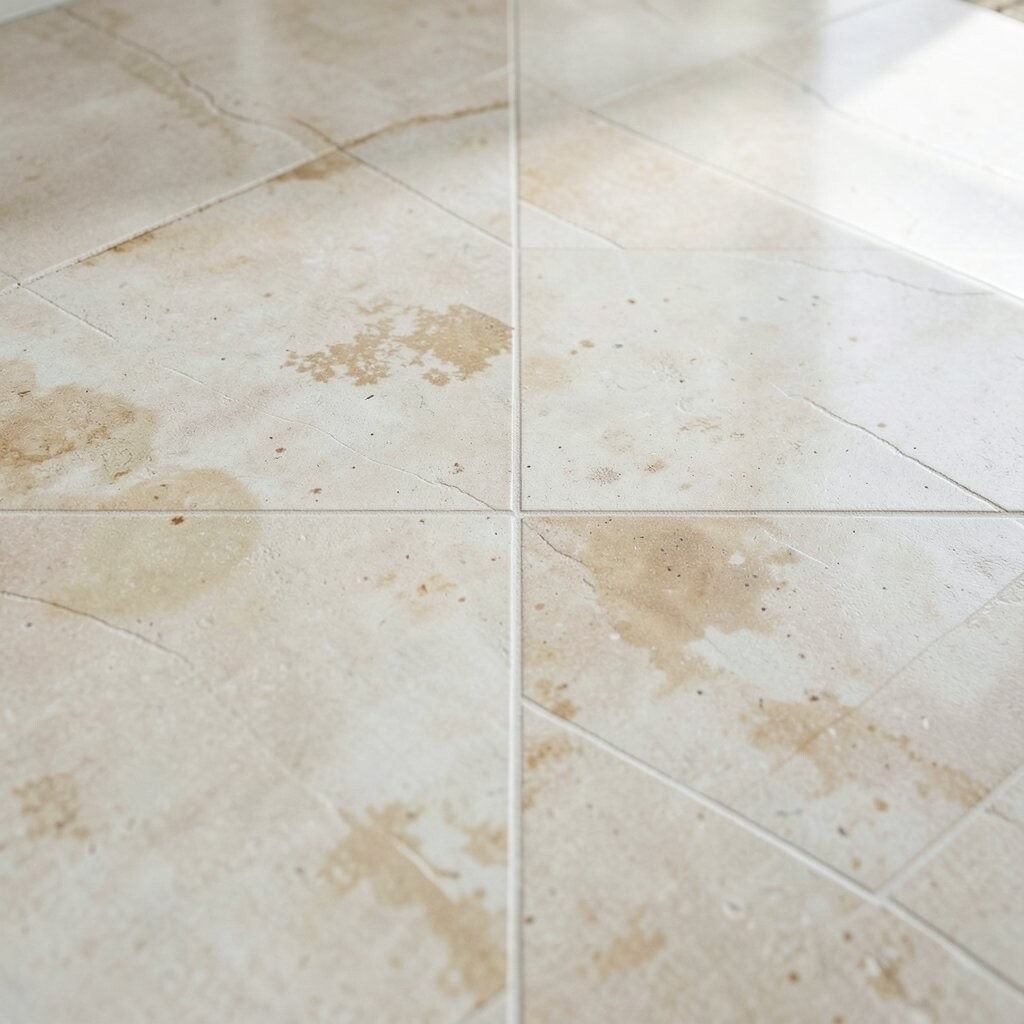
Your cleaning routine should match your tile choice. Some finishes show water spots quickly, while others are more forgiving.
For scratch-prone areas, consider how the glaze holds up against daily movement. Sweeping and gentle mopping usually work best, but harsh products can dull certain surfaces. Read care instructions and keep them in mind before committing.
If you love bold colors or high-contrast patterns, check how they age with real life. Dark grout can hide some dirt but may show residue if cleaners aren’t chosen carefully. A practical tip is to choose a tile that looks good even when it’s not spotless.
Maintenance-friendly selection keeps your home looking fresh without extra stress. It also helps your tile stay beautiful for years.
14. Consider Temperature and Comfort Underfoot

Ceramic can feel cool because it stores less heat than some materials. If comfort matters, plan for rugs or heated flooring where it makes sense.
In colder climates, warm underfloor systems can make a huge difference. In warmer places, ceramic may feel comfortable and steady. Think about how you move barefoot in the morning and choose accordingly.
15. Choose Patterns and Veins That Look Natural, Not Fake

When ceramic imitates stone, the realism should feel believable. Look for natural-looking movement in the pattern rather than repetitive streaks.
Examine several tiles in a batch to understand how the veining will connect across the floor. Some designs look best when each tile shows a unique section, while others are meant to line up in a more uniform way. Choose the style that fits how you plan to install.
A good benefit of modern printing is consistent color that still mimics nature. That gives you the luxury look with the practicality of ceramic. If you enjoy personalization, you can place statement tiles near entries to create a focal moment.
16. Evaluate the Price Breakdown: Tile, Waste, Labor, and Extras

Tile cost is only one part of your budget. You’ll also pay for installation materials, grout, sealers, and possibly leveling supplies.
Factor in waste based on your layout and the complexity of cuts. Larger formats often require more careful planning, which can affect labor time. Getting a clear quote helps you compare options fairly.
17. Compare Sample Costs and Request Swatches Early

Swatches save money by preventing guesswork. Holding a small sample near your counters and paint shows you the true color and finish.
Ask for the exact tile finish you plan to use, not a similar one. Lighting in a store can trick your eye, especially for matte and textured surfaces. When you compare swatches at home, you can spot undertone mismatches quickly.
It’s also helpful to test a small area for cleaning habits. If you have specific cleaners, use a mild test method on a sample. This helps you avoid unpleasant surprises after installation.
18. Shop Smart: Quality Signals That Matter More Than Discounts

A great deal is only great if the tile performs well. Check for reputable brands, clear product ratings, and consistent packaging.
Beware of missing details like slip rating or installation guidelines. Those omissions can mean you’re not getting the full picture. When you prioritize the right specs, you can avoid rework and protect your timeline.
19. Keep an Eye on Current Trends Without Losing Your Personal Taste
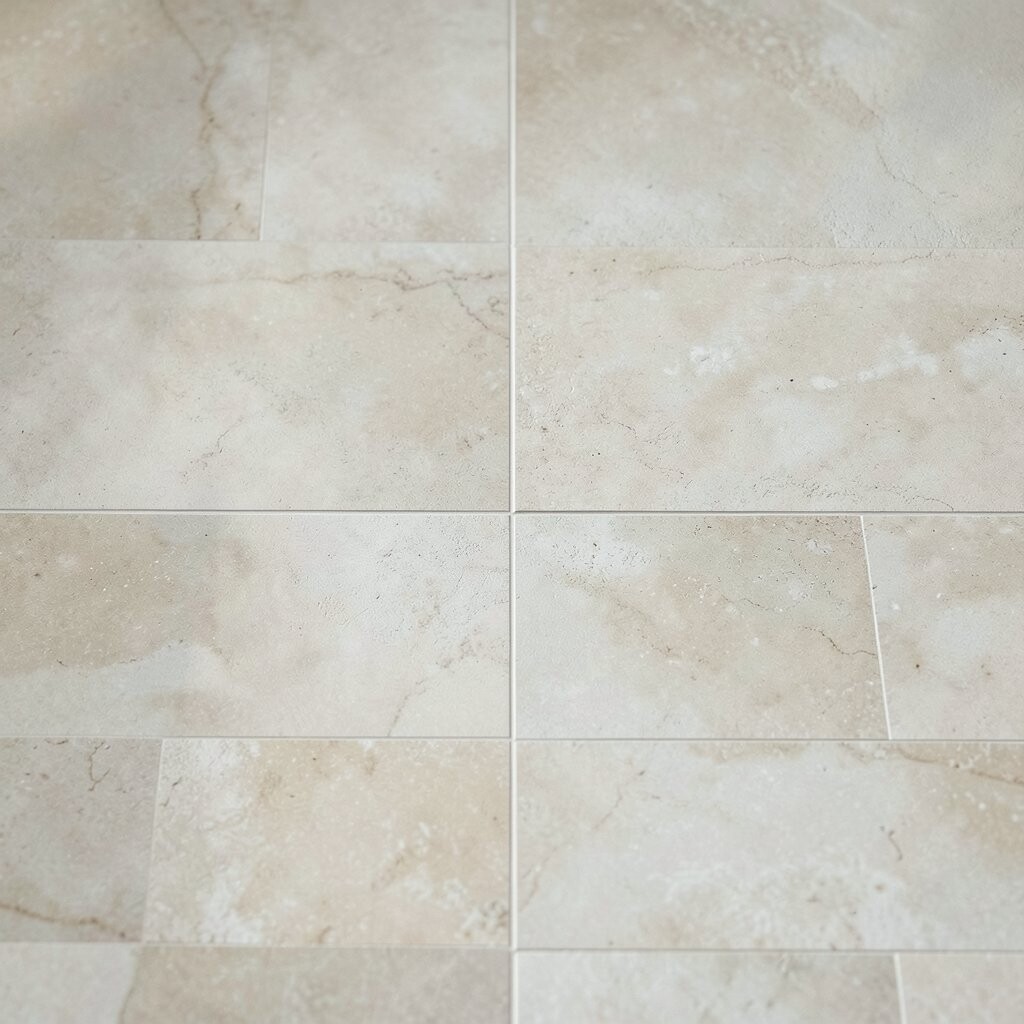
Trends can inspire your home, but you still need to enjoy it for years. Right now, realistic stone looks, earthy neutrals, and textured finishes are popular.
Concrete-style tiles and warm beiges also keep showing up because they match many interior styles. The unique part is how the texture can bring depth even in simple palettes. If you want to lean into trends, choose one trending element, like a textured accent wall, rather than changing everything at once.
Personalization could mean adding a patterned border or choosing a specific grout tone that matches your décor. When trends meet your existing style, the result feels curated instead of temporary.
20. Plan for Sealing, Grout Care, and Long-Term Protection

Some ceramic tiles need sealing, especially if they have a porous surface or specific grout requirements. The manufacturer’s instructions should guide what you use and how often you apply it.
Grout is often the main maintenance spot in real life. Using appropriate grout cleaners and avoiding harsh scrubbing helps it stay clean longer. If you choose a tile and grout combo that’s easy to maintain, your home will look better with less effort.
21. Buy the Right Quantity and Keep Extra Tiles for Matching

Ordering enough tile prevents delays and protects your design continuity. A larger layout with patterns often needs more planning and waste allowance.
Check how many square feet each box covers and confirm coverage against your floor plan. Keep extra tiles from the same batch in a labeled bag for future repairs. That small step can make repairs far simpler if something happens later.
22. Work With a Pro When the Job Needs Precision
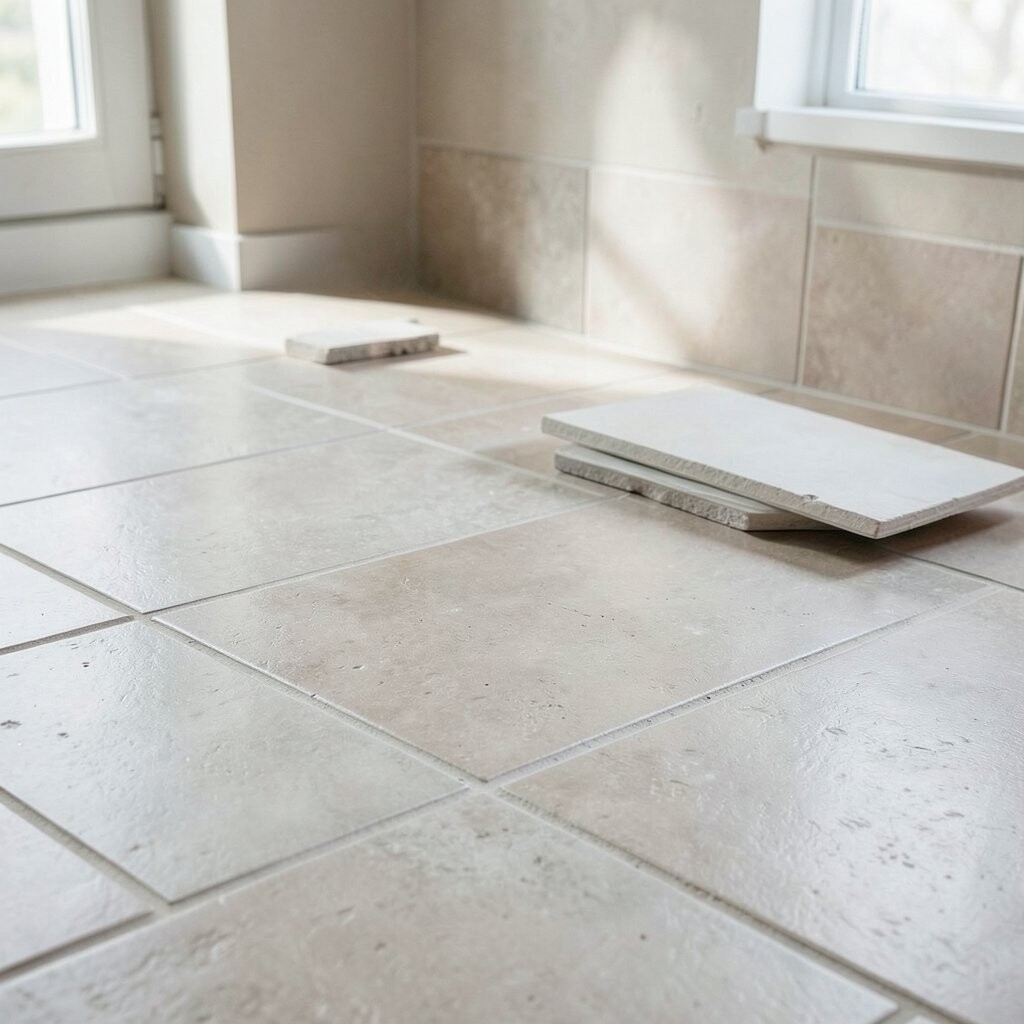
DIY can be rewarding, but tile installation demands precision and patience. If you’re dealing with complex patterns or wet-area waterproofing, a professional can help a lot.
A skilled installer understands leveling, spacing, and how to manage corners and transitions. This can improve the look and reduce the risk of problems like cracks or uneven tiles. If you want to keep costs controlled, you can still do simpler prep work while letting the installer handle the critical details.