A great backsplash can make your kitchen feel finished and cared for. A few common mistakes can quietly waste money, time, and style.
1. Skipping a Real Measurement Pass

People often measure once and assume it’s right. A tiny mistake shows up fast on tile lines and outlets.
Start by measuring the full backsplash area plus any returns at the edges. Mark where cabinets end, where countertops begin, and where the wall is uneven. Then add a little buffer for cuts around outlets and light fixtures.
2. Choosing Tile Before You Check the Wall Condition

A pretty backsplash tile won’t hide a wavy wall for long. If the surface is cracked, it will telegraph through and can loosen the adhesive.
Check for peeling paint, stubborn grease, and drywall damage before installation. If you see bumps or holes, fix them first so the final layout looks smooth.
Unique kitchens often need a fresh layer of primer or proper backing. When the wall is solid, your grout lines and patterns stay crisp instead of looking stretched.
3. Ignoring the Grout Color and Maintenance Needs
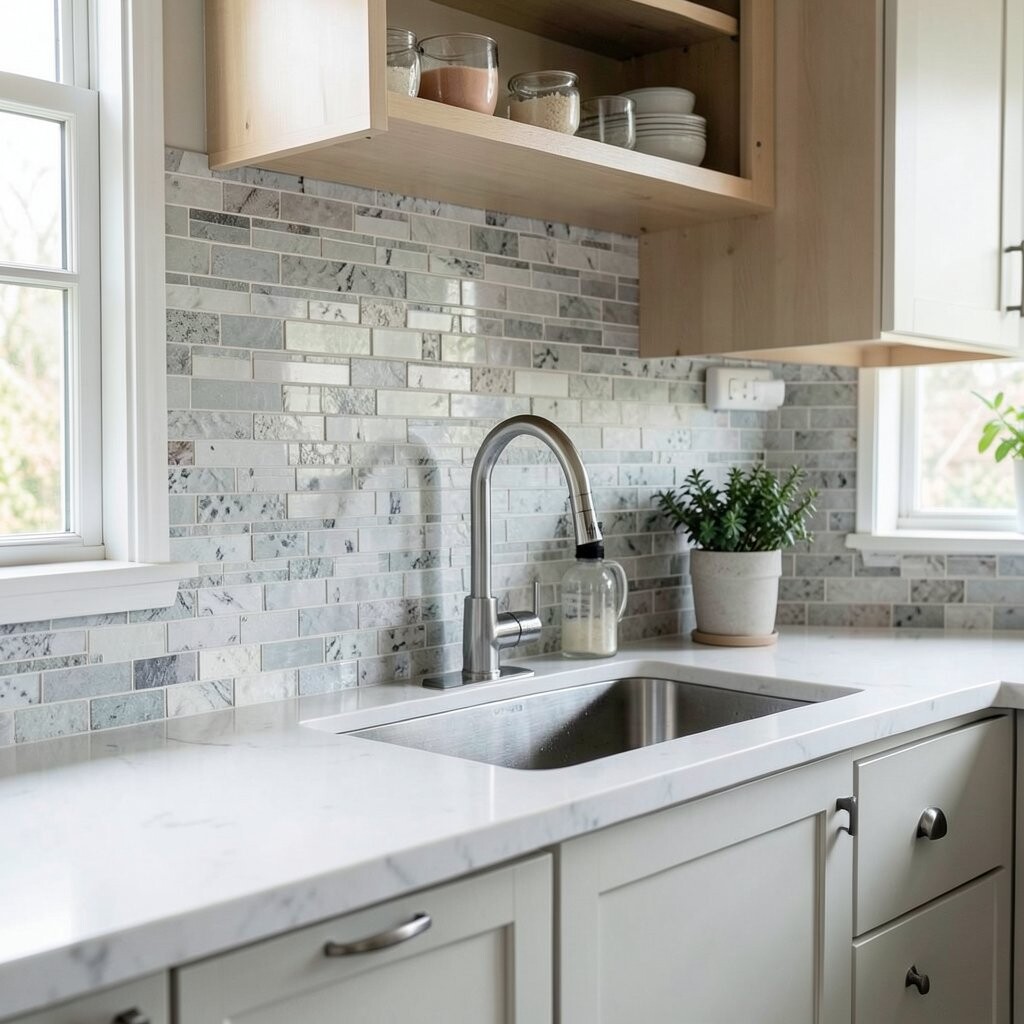
Grout is not just “the filler,” it’s part of the design. The wrong color can make your backsplash look dirty even right after cleaning.
Light grout can look elegant, but it may stain faster in busy cooking areas. Dark grout can hide marks, but it can also make small spaces feel heavier.
Pick grout based on your cooking habits and cleaning routine, not only your favorite swatch. Sealing grout adds protection and can reduce the hassle of frequent scrubbing.
For a unique look, match grout to the lightest tile tone for a seamless feel. Or choose a contrasting grout to emphasize the pattern and create visual rhythm.
4. Underestimating Edge Trims and Finishing Details
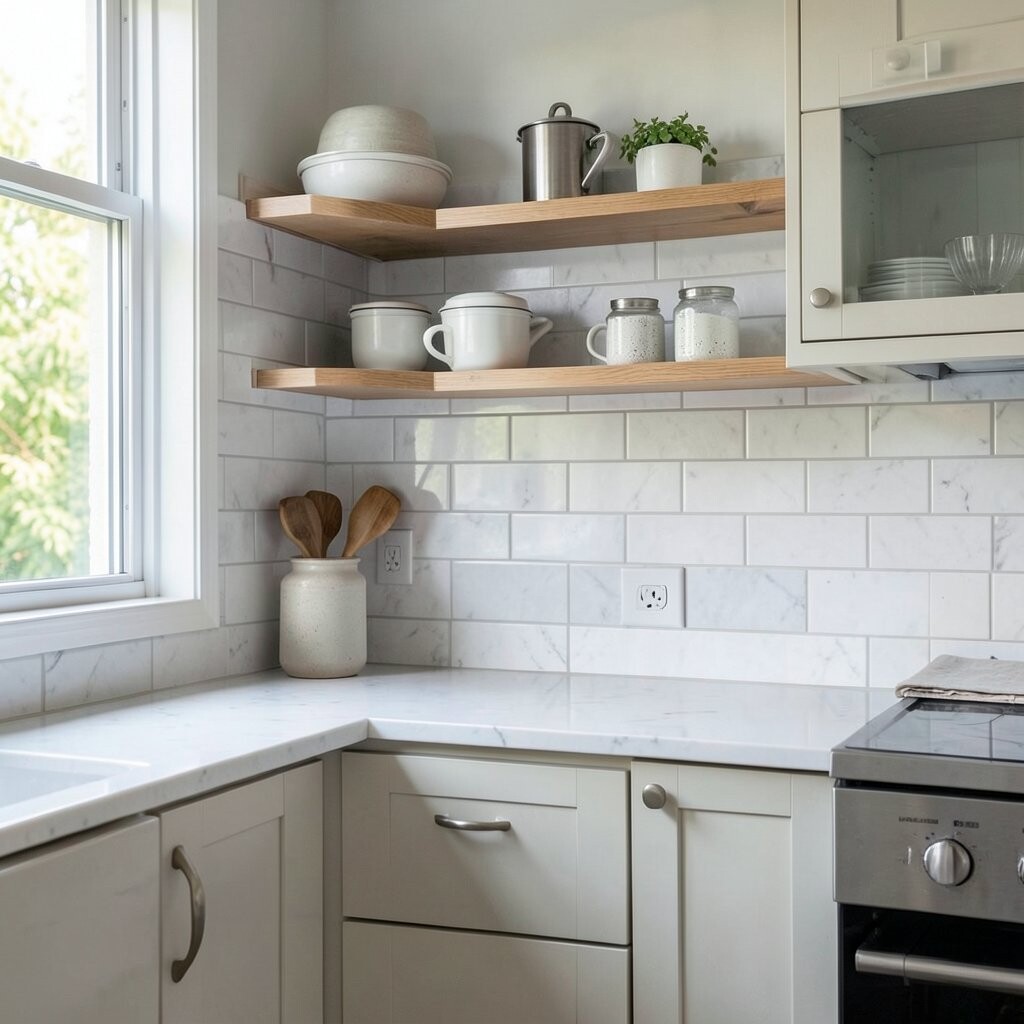
The last 5% of the backsplash—edges, corners, and transitions—often decides whether it looks “professional.” If you skip trims, the edges can look jagged or wear down over time.
Plan how tile will end at corners, around windows, and beside tall cabinets. Using the right trim or edge profile gives a clean boundary and helps prevent chipping.
5. Rushing Outlet and Switch Planning
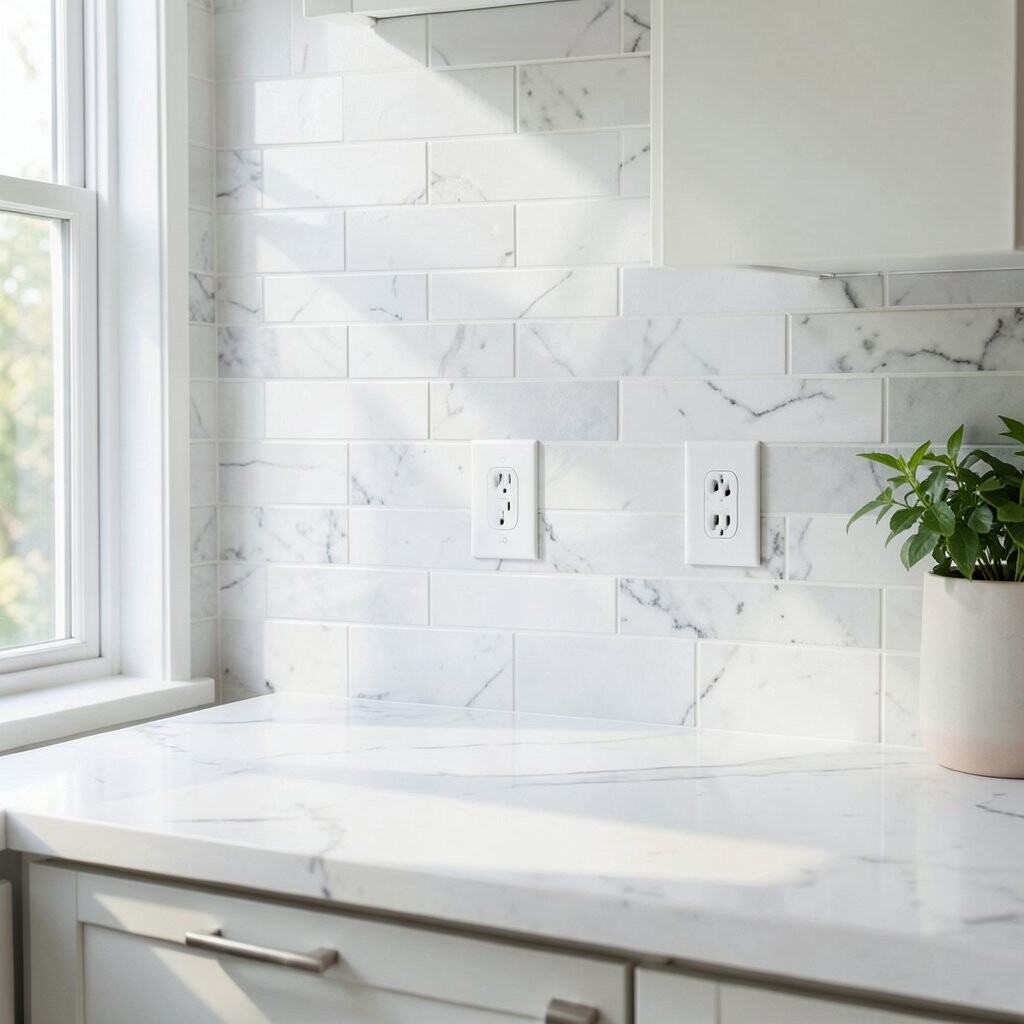
Outlets and switches interrupt the design in obvious ways, so ignoring them is risky. Misplacing them can force awkward cuts that weaken the tile.
Before buying anything, confirm how many outlets you’ll cover and whether any are too close to the counter. Test-fit a few tiles dry so you can see where lines will land.
For personalization, align your pattern so outlet covers look centered and intentional. This small step makes the backsplash feel custom instead of patched together.
6. Using the Wrong Adhesive or Mortar Type
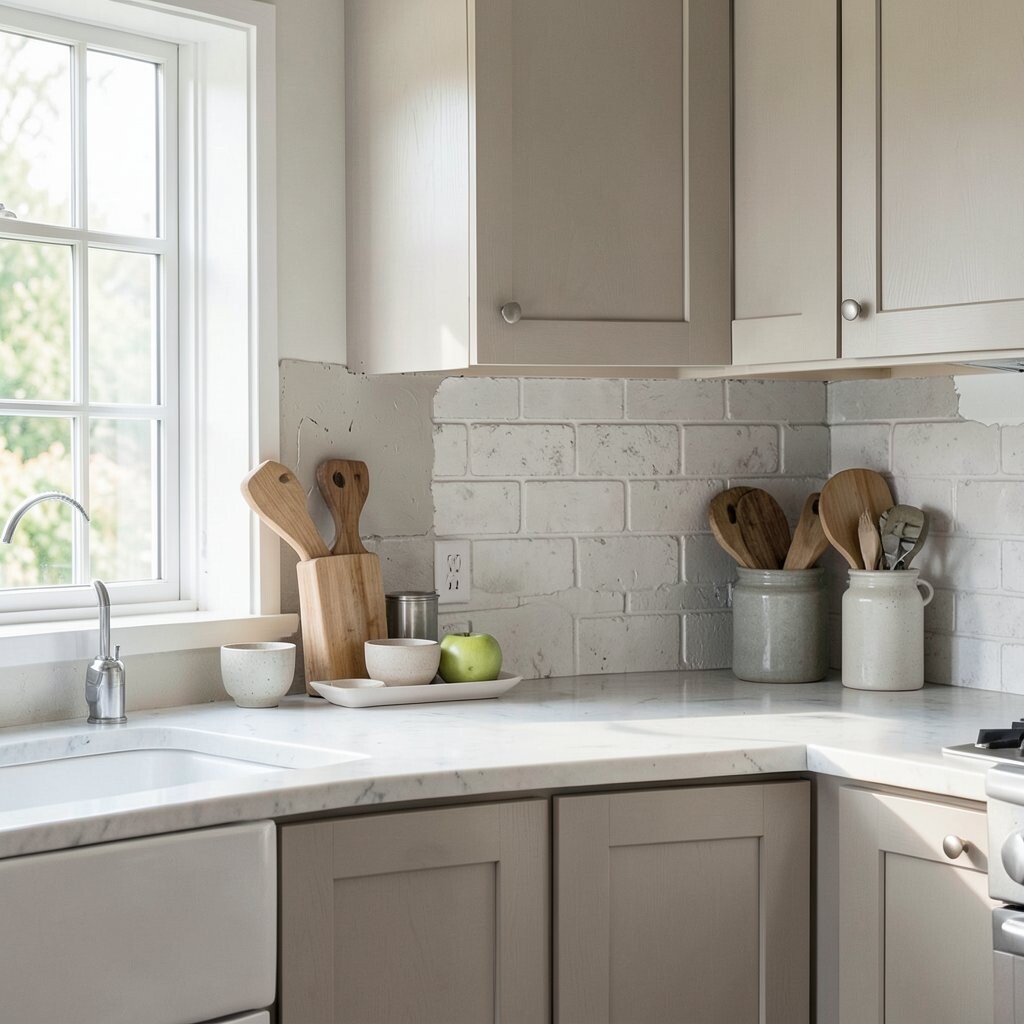
Tile can look perfect for a month and then start lifting if the wrong adhesive was used. Different tiles need different products to bond correctly.
Check whether your tile is ceramic, porcelain, glass, stone, or metal, and match the adhesive to that material. For wet areas or glass surfaces, use the recommended thin-set or setting method.
7. Forgetting About Heat and Moisture Exposure
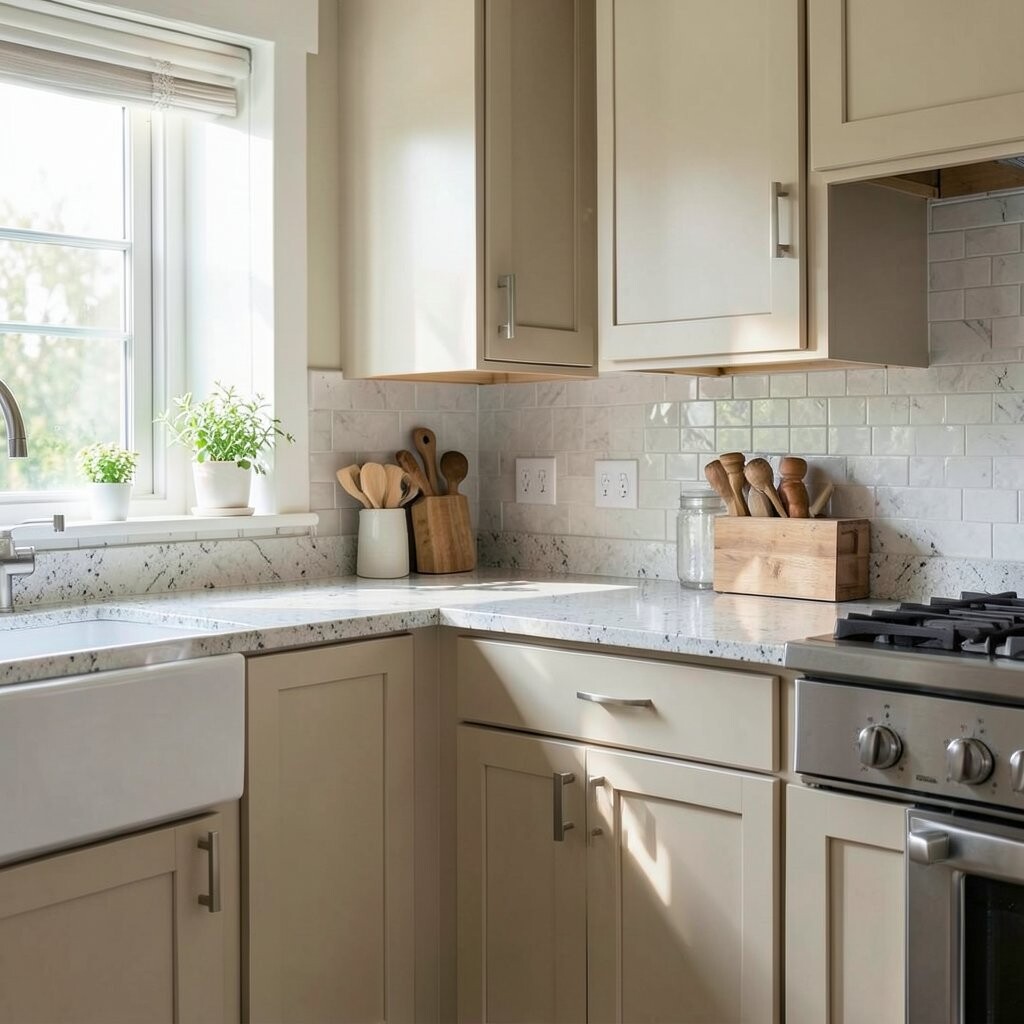
Heat builds up behind the cooktop and around steam vents. If your backsplash design can’t handle it, grout cracks and tiles can discolor.
Look for heat-safe and moisture-resistant materials, especially near the stove and dishwasher. Consider a backsplash that includes a proper barrier on the wall if you’re tiling over bare drywall.
A unique trend is adding a slightly wider splash zone around the cooktop for cleaner protection. It also gives your kitchen a more “built-in” style.
8. Picking a Pattern Scale That Doesn’t Fit the Space

Large tiles in a tiny kitchen can feel overwhelming, while tiny tiles can look busy. Pattern scale changes how the whole room reads.
Think about the wall length and height where the backsplash sits. If you have lots of narrow areas, a simpler layout may keep things balanced.
For practical beauty, use larger tiles on long walls and add interest with accents. If you love a mosaic look, limit it to a feature strip instead of the entire backsplash.
This is a great place to personalize, like pairing a classic neutral base with a bold vertical accent. It brings personality without turning the wall into a visual blur.
9. Ignoring Lighting and How It Changes Color
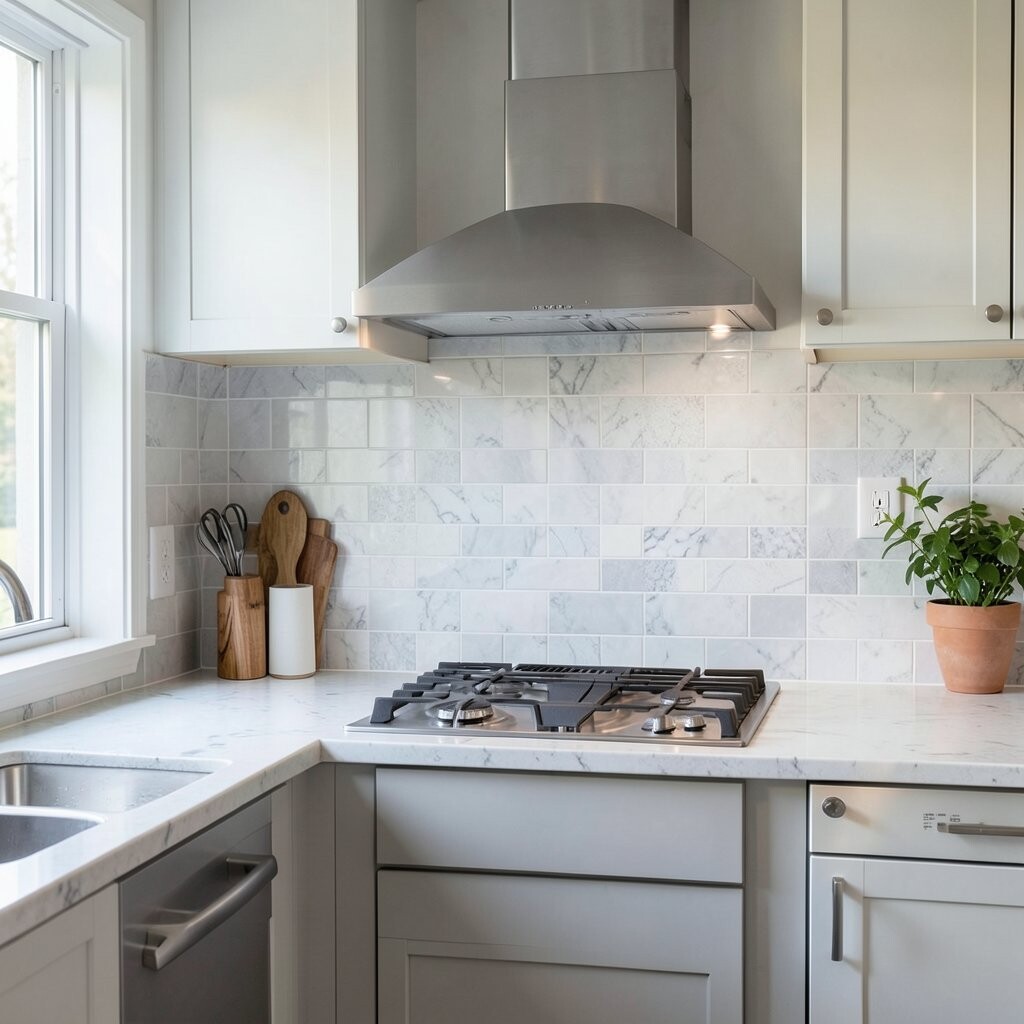
Backsplashes look different at noon versus evening. Under warm bulbs, colors can shift and grout can appear more yellow or gray.
Bring tile samples home and view them in your kitchen lighting. Compare them near the counter, under the microwave area, and in shadowed corners.
10. Choosing a Style That Fights Your Cabinets and Countertops
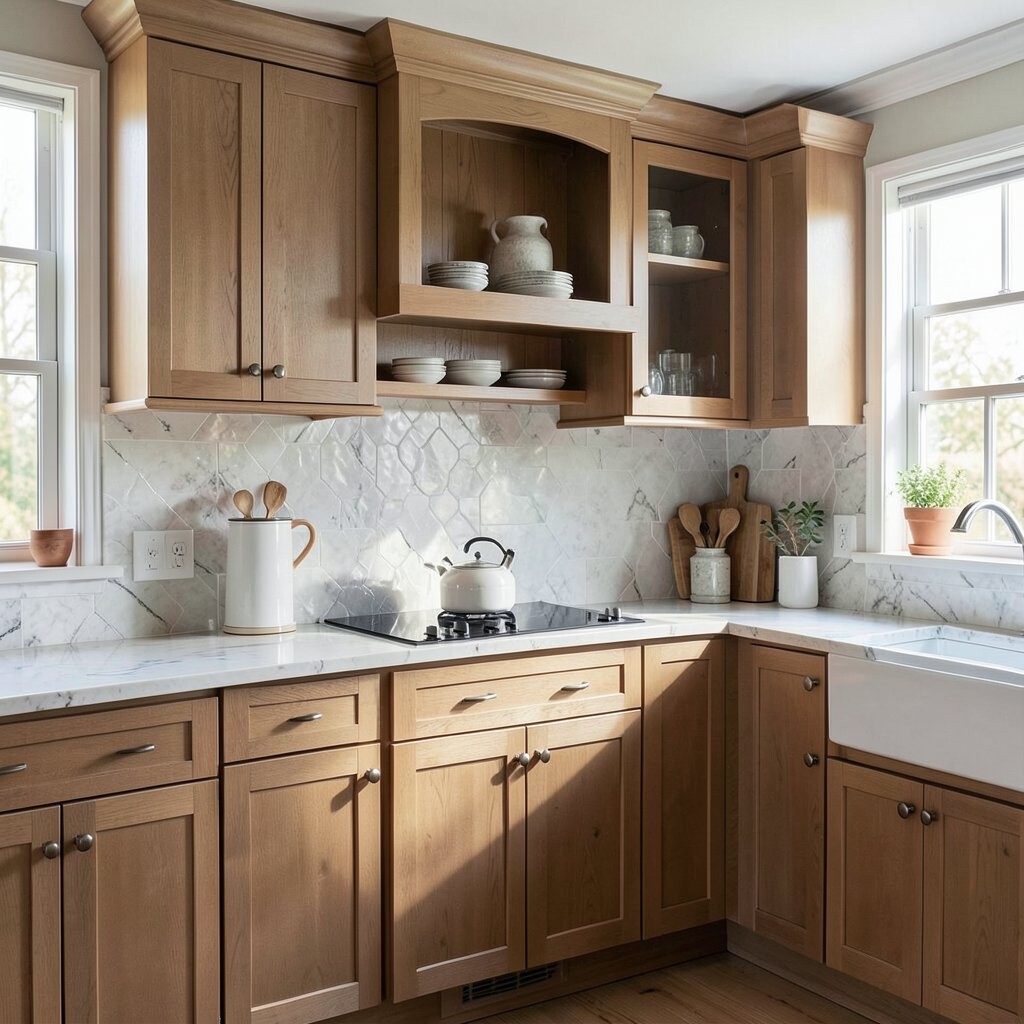
Your backsplash should blend, not clash, with the biggest surfaces. If it clashes too strongly, the kitchen can feel visually noisy.
Look at cabinet color, countertop finish, and hardware tone before finalizing the backsplash. If your counters have busy movement, a calmer backsplash often looks more intentional.
For uniqueness, you can still add character with a subtle texture or a small accent color. The goal is harmony, so everything feels like it belongs together.
11. Buying Too Little Tile and Running Into Color Batches
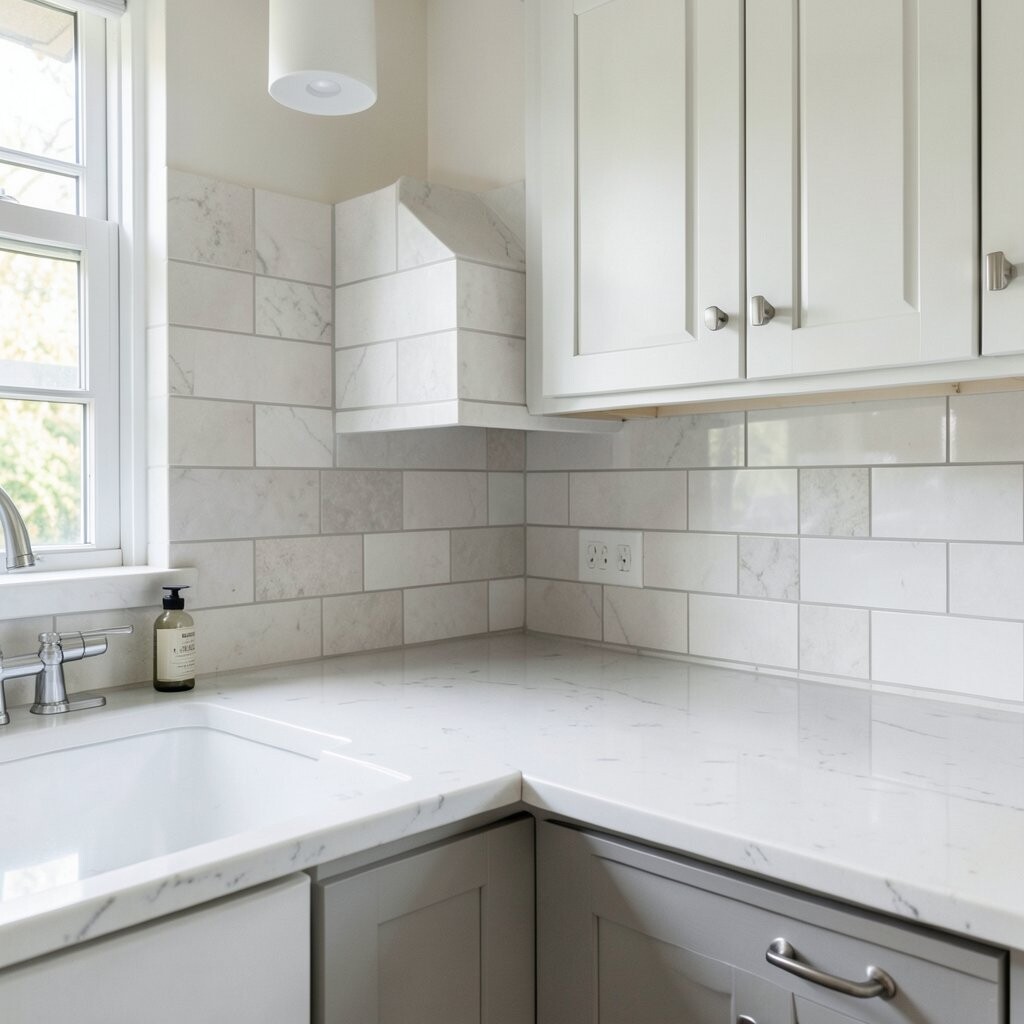
Tile color can vary between batches, and that’s normal. The problem is realizing you’re short after you’ve already set half the wall.
Order extra tile for cuts, mistakes, and future repairs. Keep the extra boxes labeled so you can match the look later if anything chips.
12. Overlooking Tile Thickness and Covering Obstacles

Not all tiles sit the same way, and thickness changes how things line up. If you don’t plan for thickness, edges can hit trim or outlet plates won’t fit well.
Measure how tile height will affect outlet covers, cabinet bottoms, and any existing features on the wall. Dry-fit a small section to confirm everything stays aligned.
This is especially important with thicker stone or stacked materials. Planning now keeps the installation smooth and prevents last-minute frustration.
13. Expecting Peel-and-Stick to Fix a Problem Wall
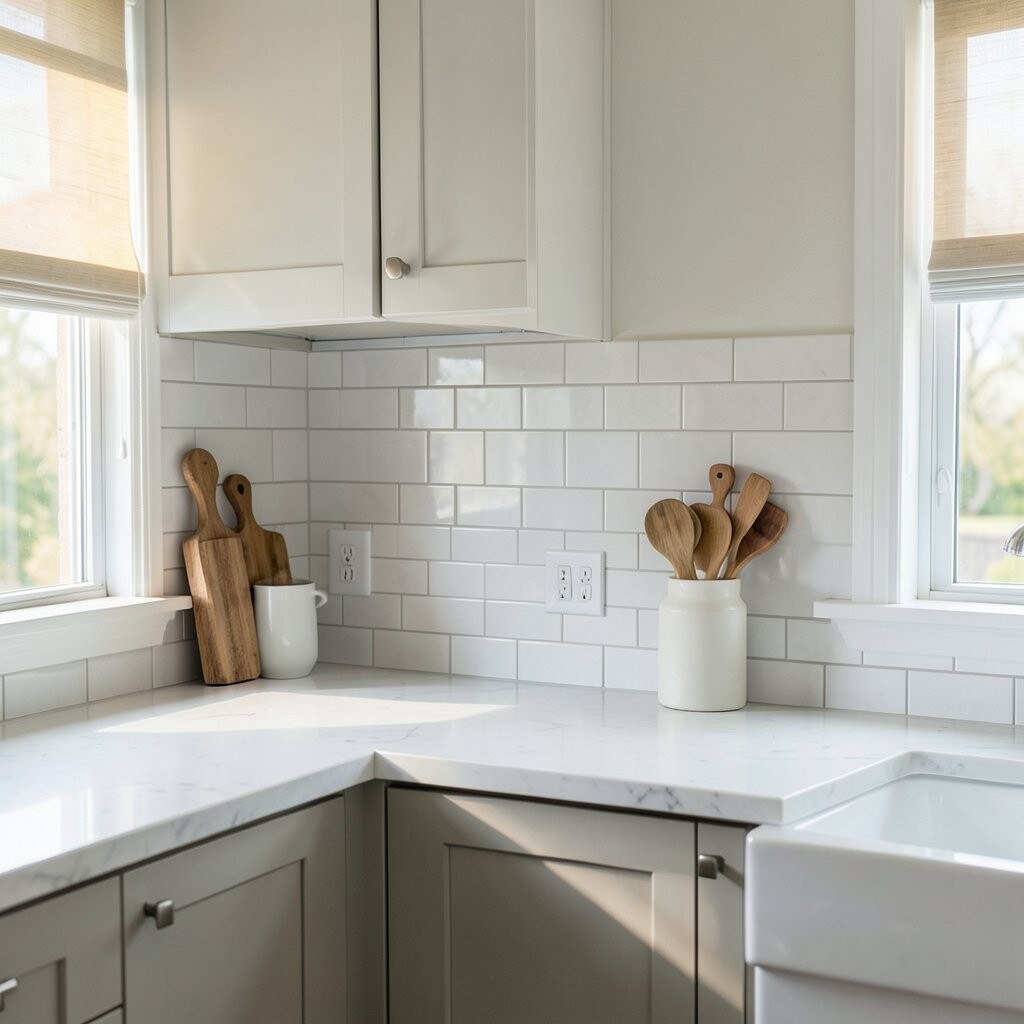
Peel-and-stick backsplash is convenient, but it isn’t magic. It needs a clean, smooth surface to stick properly.
If the wall is glossy with grease or textured like popcorn, the adhesive may fail. Clean thoroughly and follow the product instructions, including drying time.
For a practical approach, use peel-and-stick in rentals or as a temporary refresh. If you want a longer-lasting option, consider a method made for your wall condition.
Personalization can be quick here, like trying a new color scheme without a major renovation. It’s a smart way to test your taste before committing.
14. Using One-Note Colors and Ignoring Texture
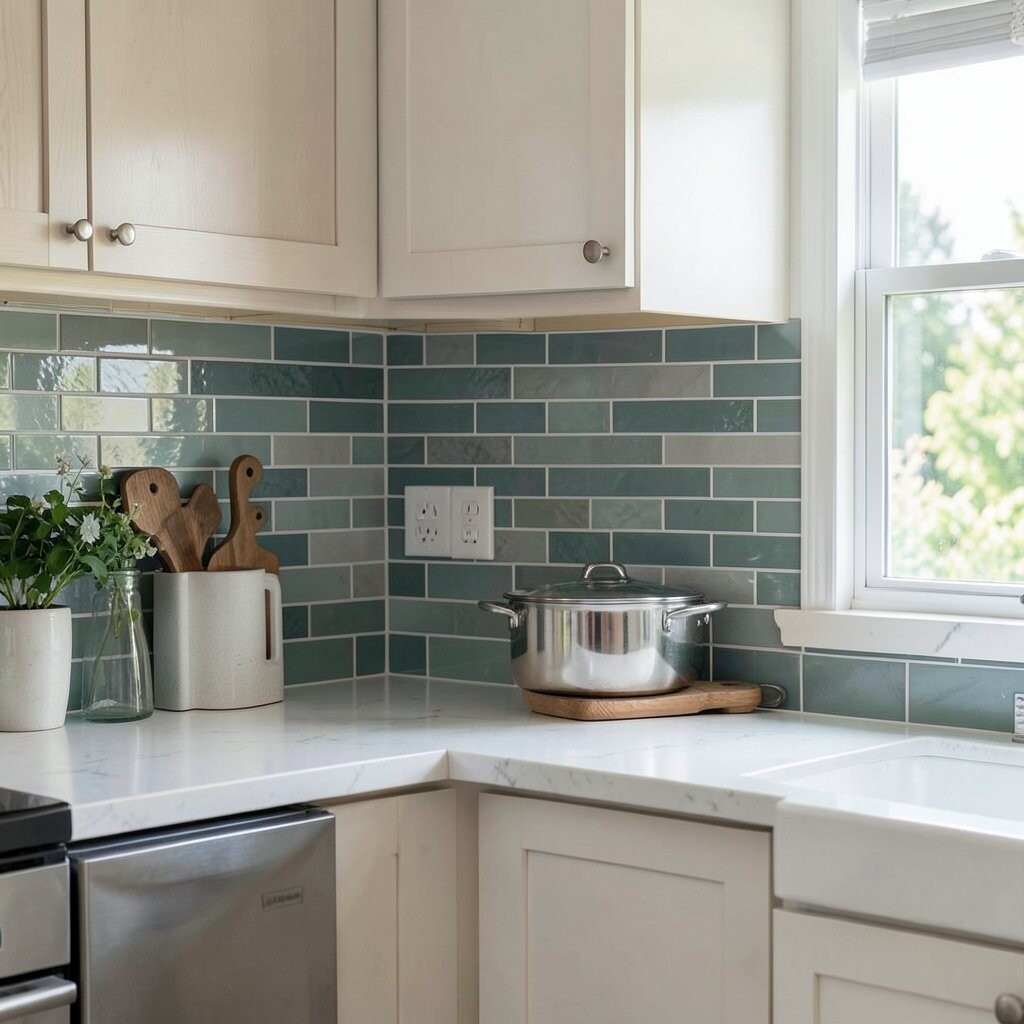
Color isn’t the only visual cue that makes a backsplash feel high-end. Texture helps materials catch light and hides everyday messes better.
If everything is flat and matte, the backsplash may look dull after installation. Try adding a slight sheen, a raised pattern, or a subtle variation in finish.
15. Forgetting the Transitional Space Above and Around the Backsplash
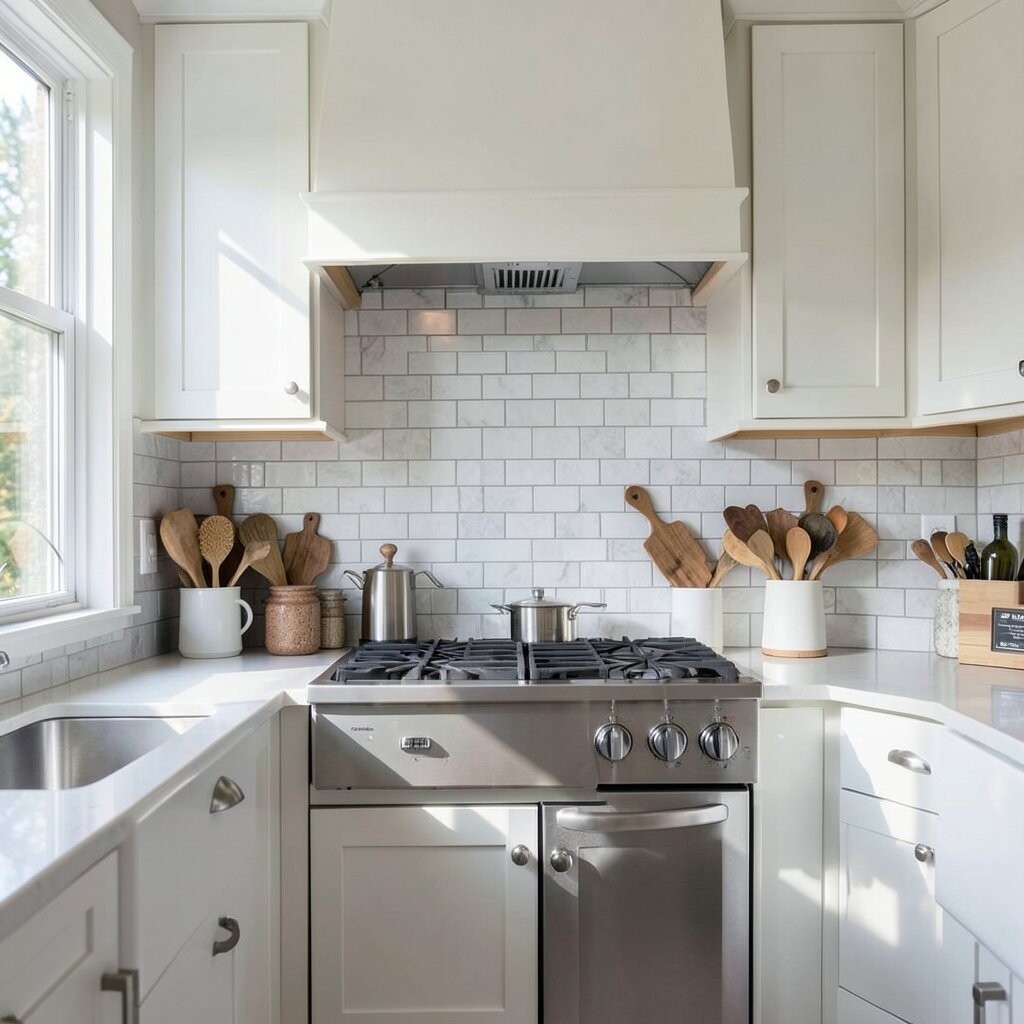
Some kitchens leave the wall blank above cabinets or below windows, and it can look unfinished. Others extend the backsplash too high and make the room feel cramped.
Consider how far the backsplash should go behind the stove, where it ends under upper cabinets, and what happens at the underside of shelves. A consistent stop line creates a calm, tailored look.
Current trends often include a “soft boundary,” where the backsplash meets paint with a crisp edge. That can be achieved with trim, a clean grout line, or a well-planned material transition.
16. Choosing a Tricky Material Without Knowing How It’s Maintained
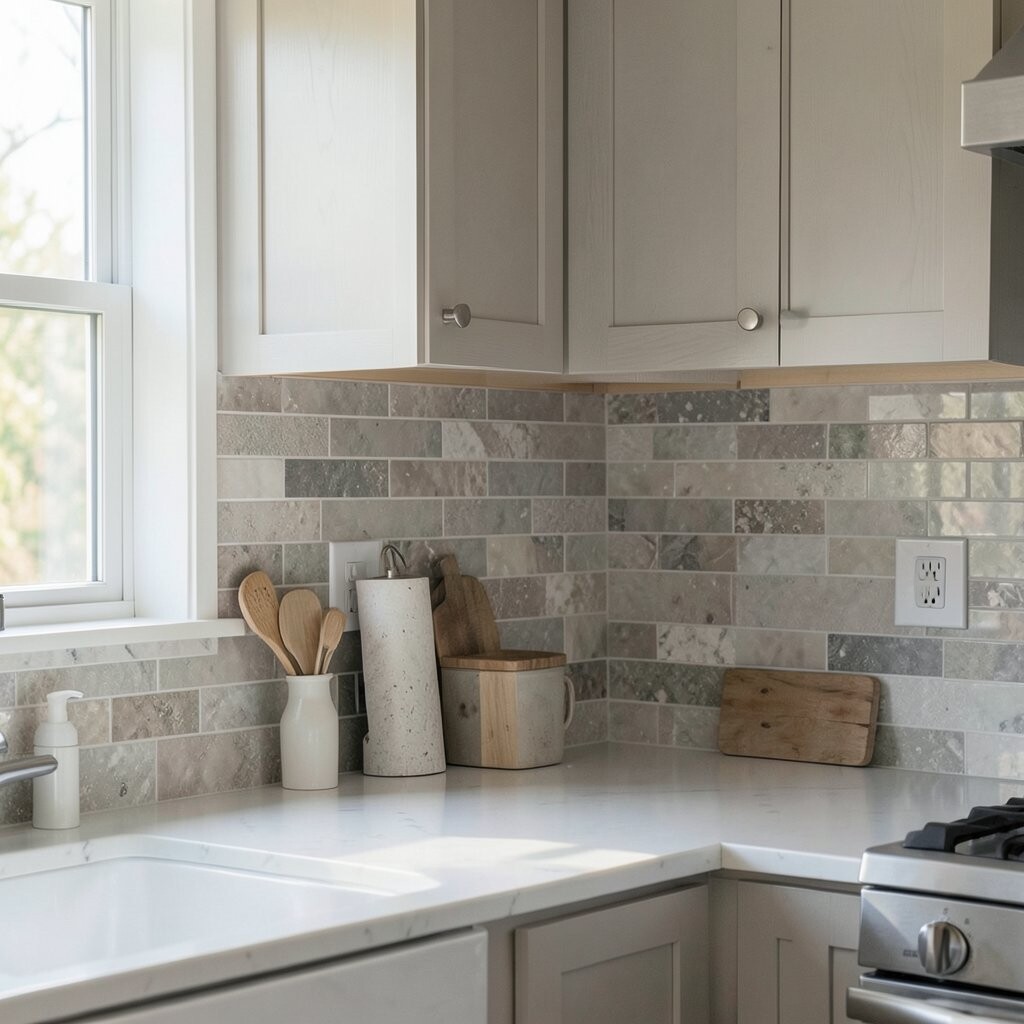
Some backsplash surfaces look stunning but fight fingerprints or water spots. If you don’t know the upkeep, you may end up avoiding the area you worked hardest on.
Look at how the tile handles stains, grease, and cleaning products. Glossy glass can show smudges, while natural stone may need sealing.
To make it practical, pick maintenance-friendly finishes for heavy-cooking kitchens. Or choose a more forgiving pattern that hides minor marks so daily life doesn’t ruin your look.
17. Neglecting Grout Lines and Layout Alignment

Even small misalignment makes a backsplash feel “off.” Straight lines are especially important for subway tile and grid-style layouts.
Dry-lay tiles first and use spacers to keep grout lines consistent. If you’re working with a staggered pattern, confirm the offset stays uniform across the whole wall.
18. Treating the Backsplash Like an Afterthought Instead of a Design Moment

When the backsplash is an afterthought, it often ends up generic or mismatched. It may not match your lifestyle, cooking habits, or aesthetic goals.
Choose materials and layout with intention, from the outlet placement to the finish. Then personalize with accents, a small focal section, or a carefully selected color that ties the room together.